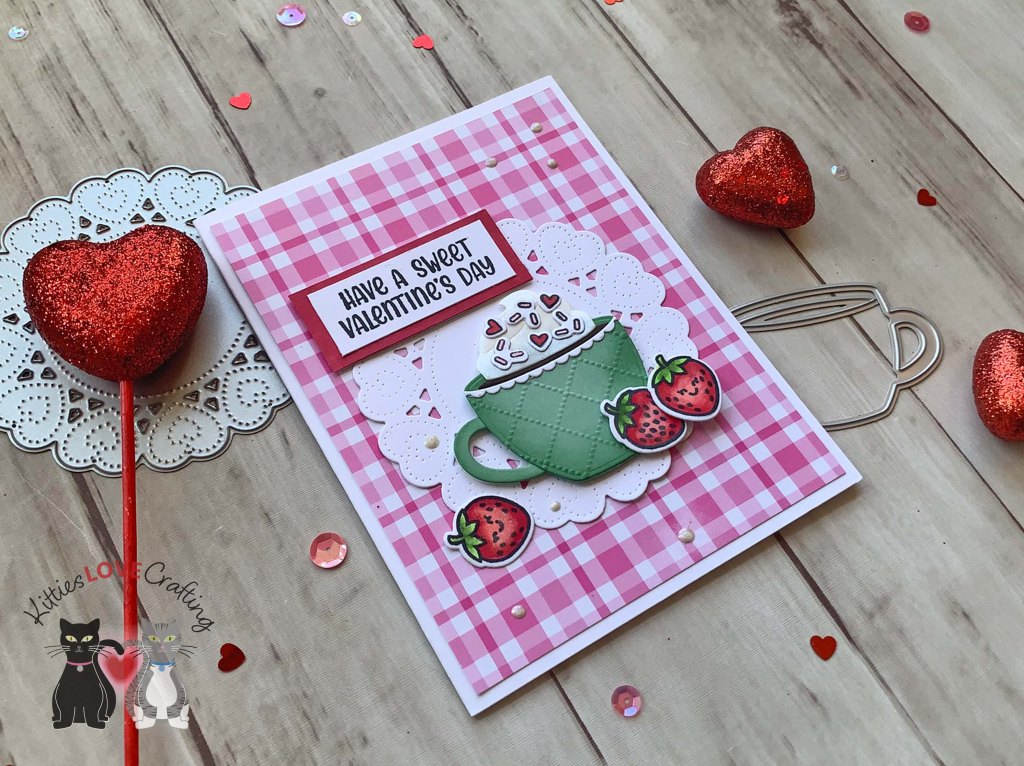
Hello friends. Another cute card using the Lawn Fawn Doily Hearts Die. This time I combined it with the Trinity Stamps Tiny Teacup Die Set. The new release from Lawn Fawn has so many adorable products. I can’t help but keep making cards!!! 🙂
Thanks for reading this post. I hope I’ve inspired you to give this cute penguin scene card a try for yourself. Leave comments or questions below or feel free to email.
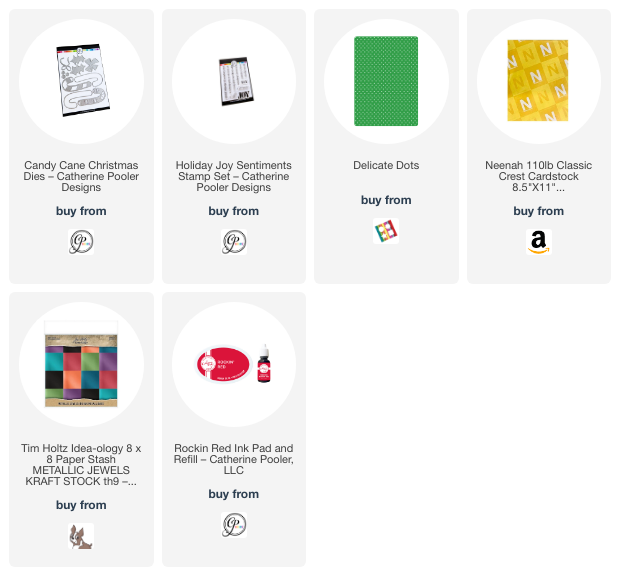
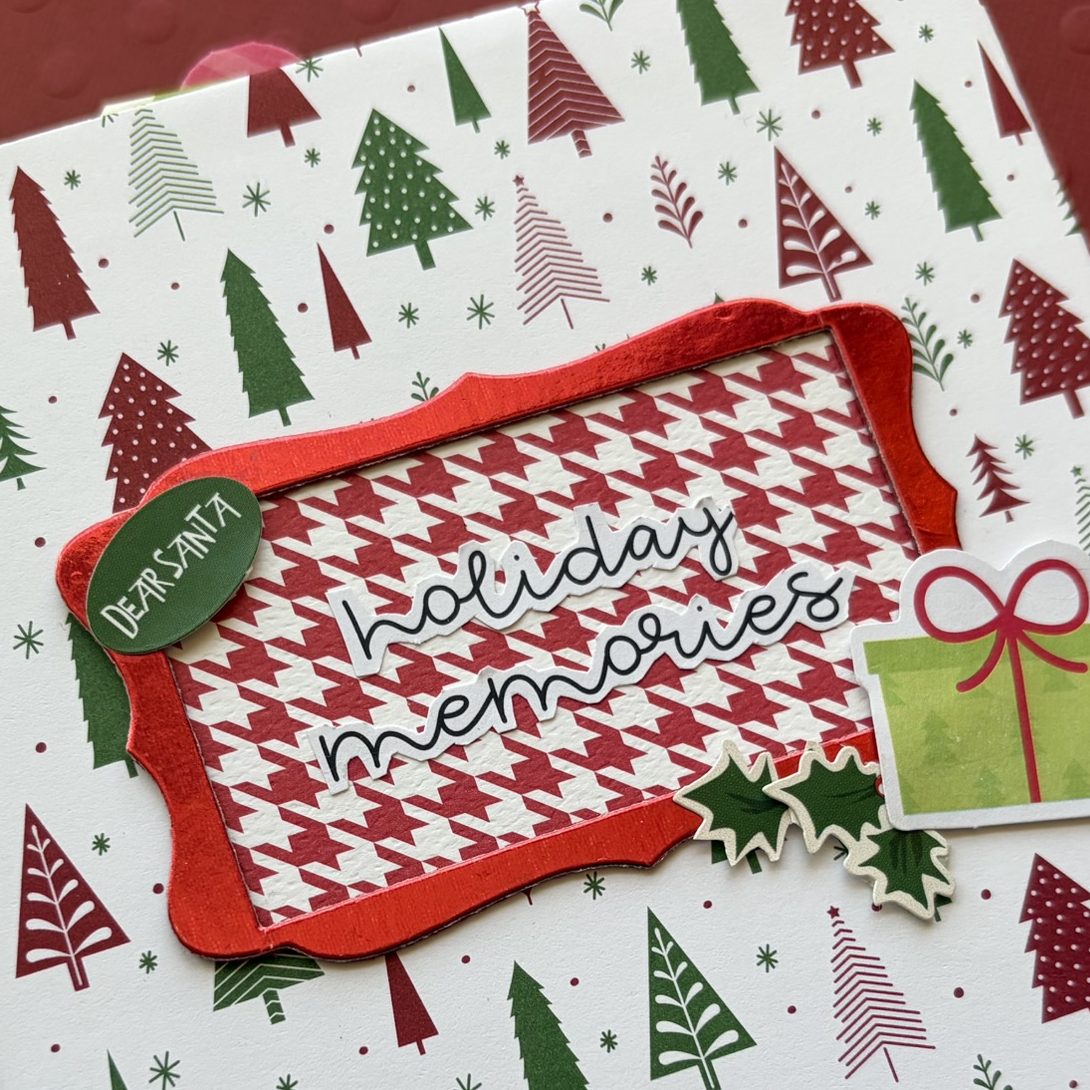
Hello friends. Need a quick holiday card that packs a punch?!? Today I’m showing how to make this mini slimline card that uses minimal supplies. See how easy this was to create!
For this card, I cut a piece of Neenah 100lb Classic Crest Cardstock 8.5 X 11″ to 7 x 6 and scored at 3-1/2″ to create a mini slimline card base, as well as a piece which I cut to 3-1/2 x 6″. Then embossed it using the Craftwell Delicate Dots Embossing Folder. I also cut a strip of patterned paper from Catherine Pooler Under the Tree Slimline Patterned Paper (discontinued) to 1 x 6″.
Thanks for reading this post. I hope I’ve inspired you to make this easy mini slimline holiday card! Leave comments or questions below or feel free to email.
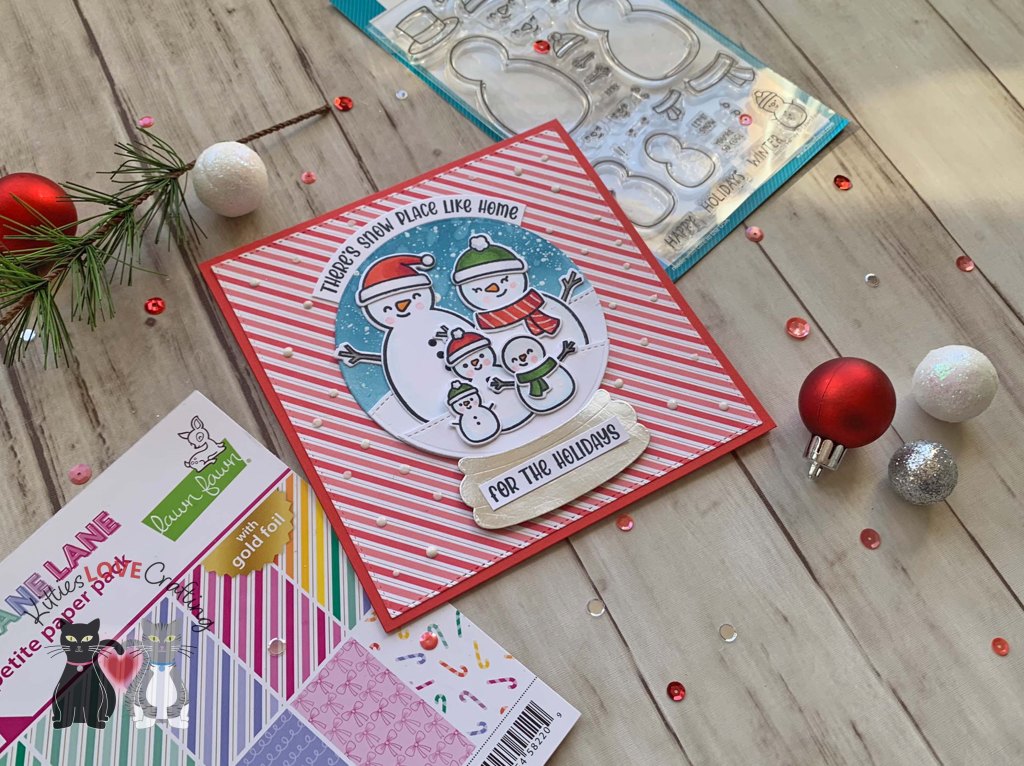
Hello friends. This cute little snowman family from Lawn Fawn Frosty Family Stamps was just so much fun to color and use on a card. I used the Catherine Pooler Snowglobe Dies (discontinued) to create this cute snowglobe scene.
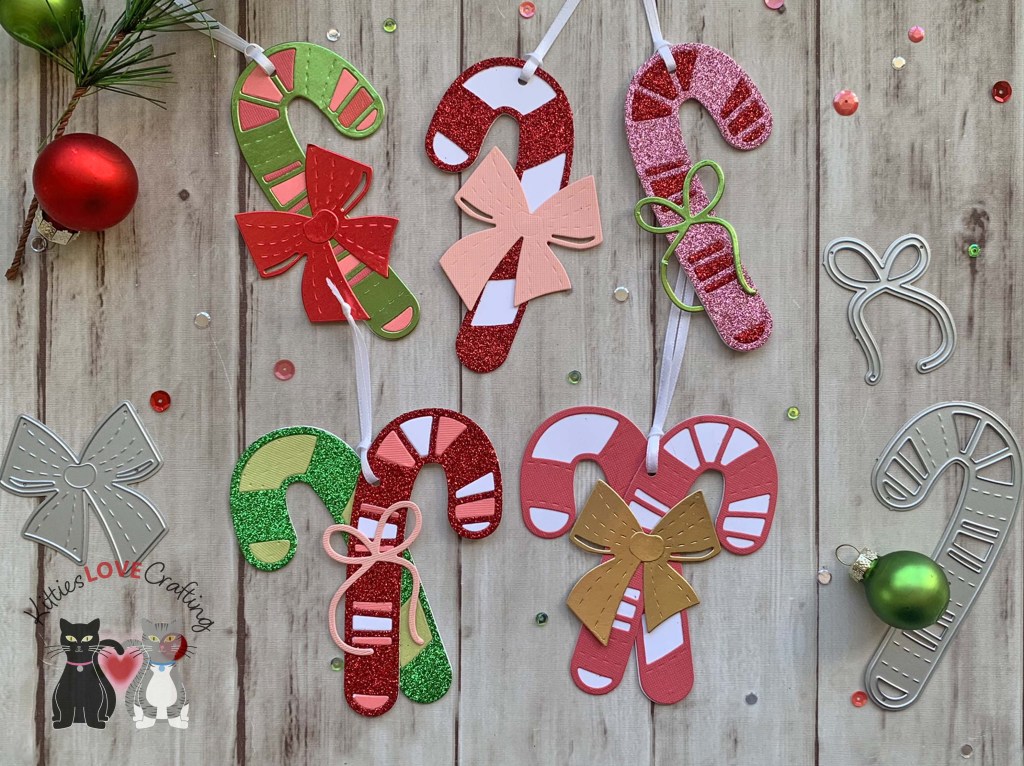
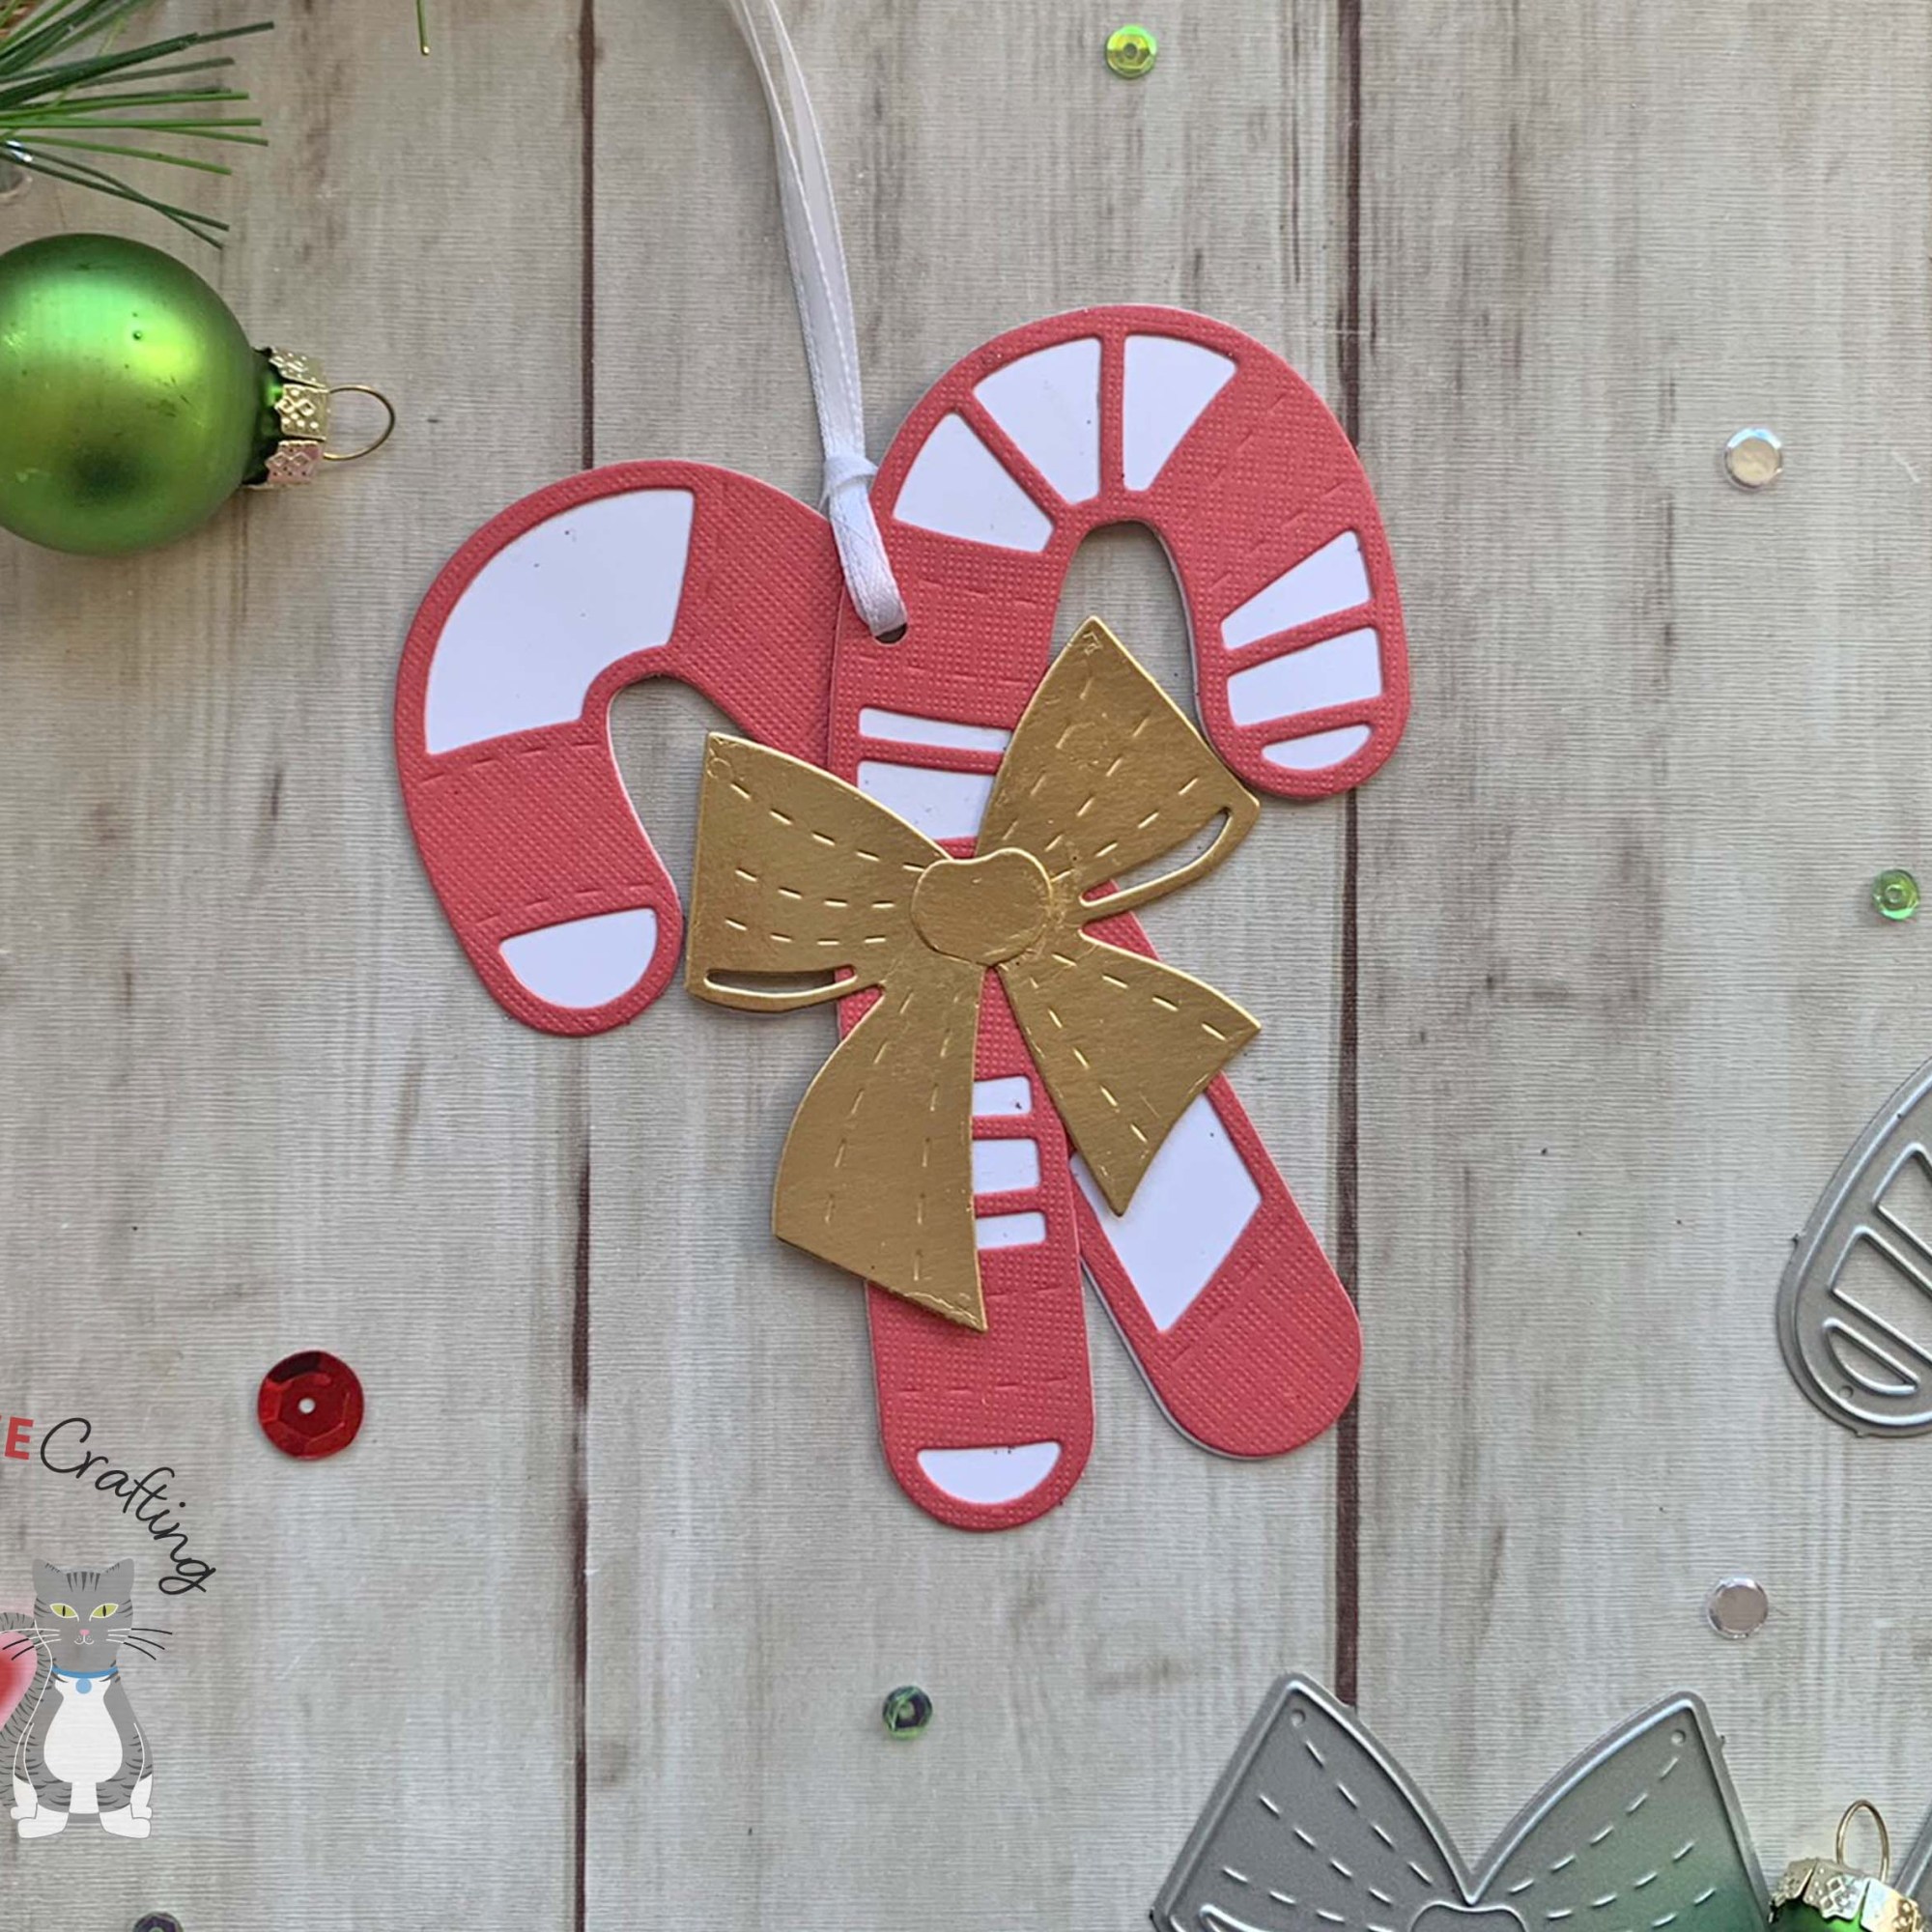
Hello friends. Need some quick cute holiday tags or tree ornaments?!? The Catherine Pooler Designs Candy Cane Christmas Dies is a great die set to create those! Let’s see how easy it was to make these.
After adhering all the candy canes, I punched a 1/8″ hole in each and added some ribbon to each. I used 1/8″ white satin ribbon. You can make single candy cane tags/ornaments or double one! So fun and really east to make a bunch at once.
Thanks for reading this post. I hope I’ve inspired you to make some cute candy cane holiday tags and ornaments! Leave comments or questions below or feel free to email.
Hello friends. Here’s a quick and simple Holiday card that was created entirely from dies. No stamping required! This card combines Catherine Pooler Designs, Lawn Fawn and Queen & Company products.
Thanks for reading this post. I hope I’ve inspired you to make this quick and easy holiday card! Leave comments or questions below or feel free to email.
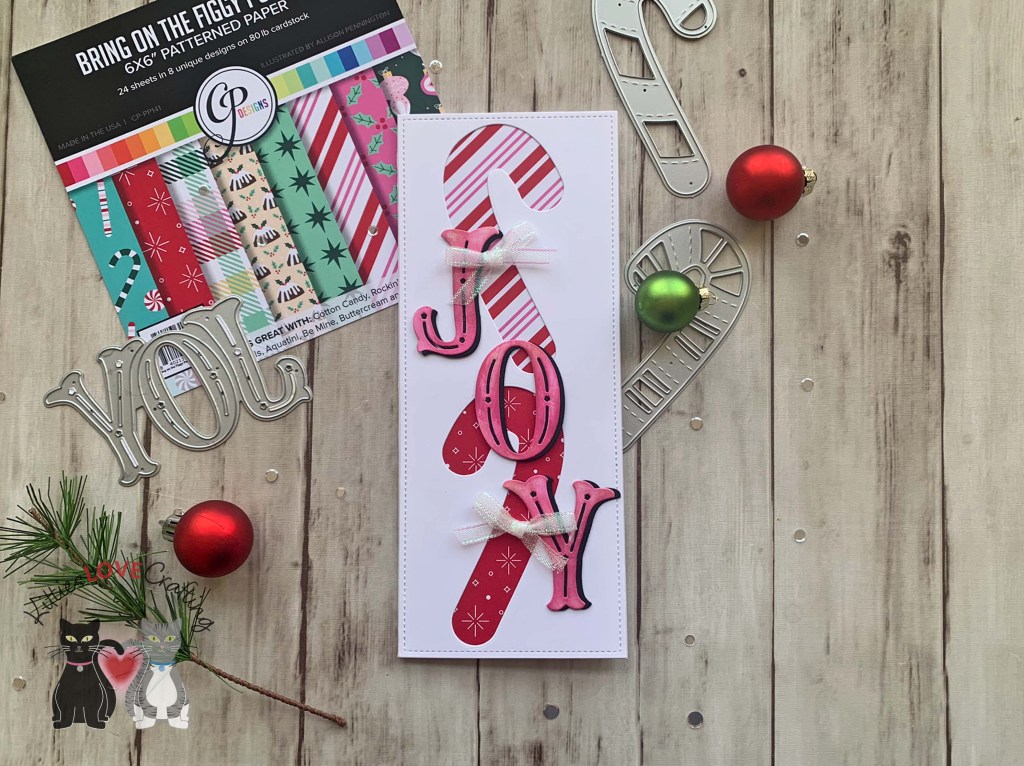
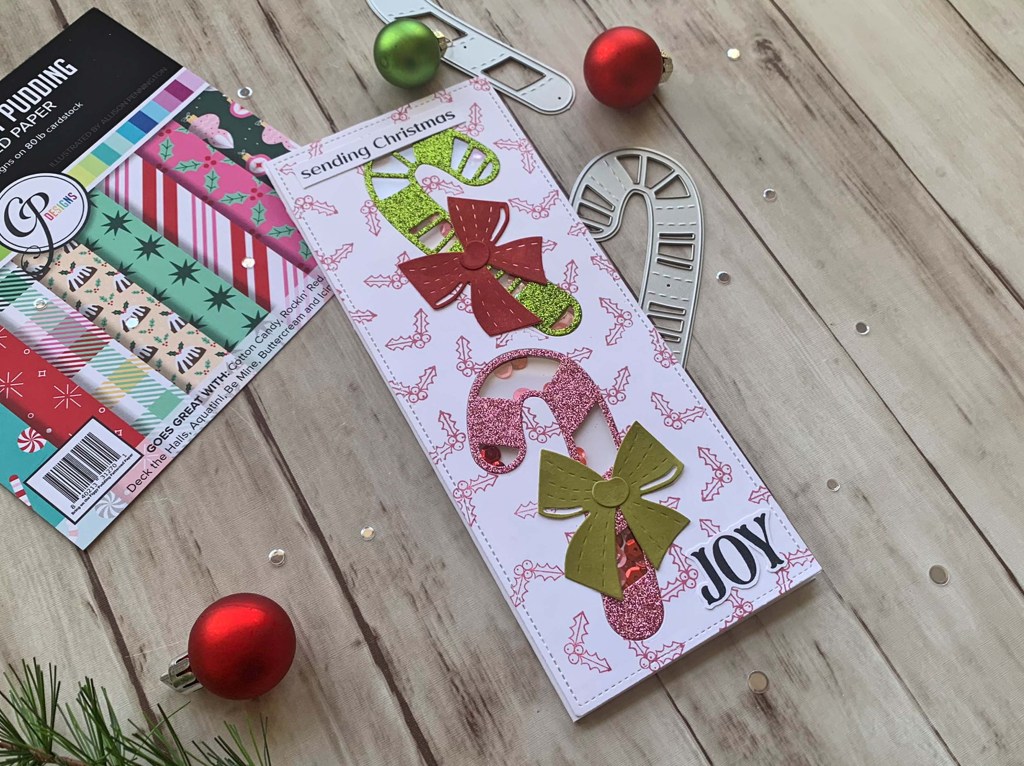
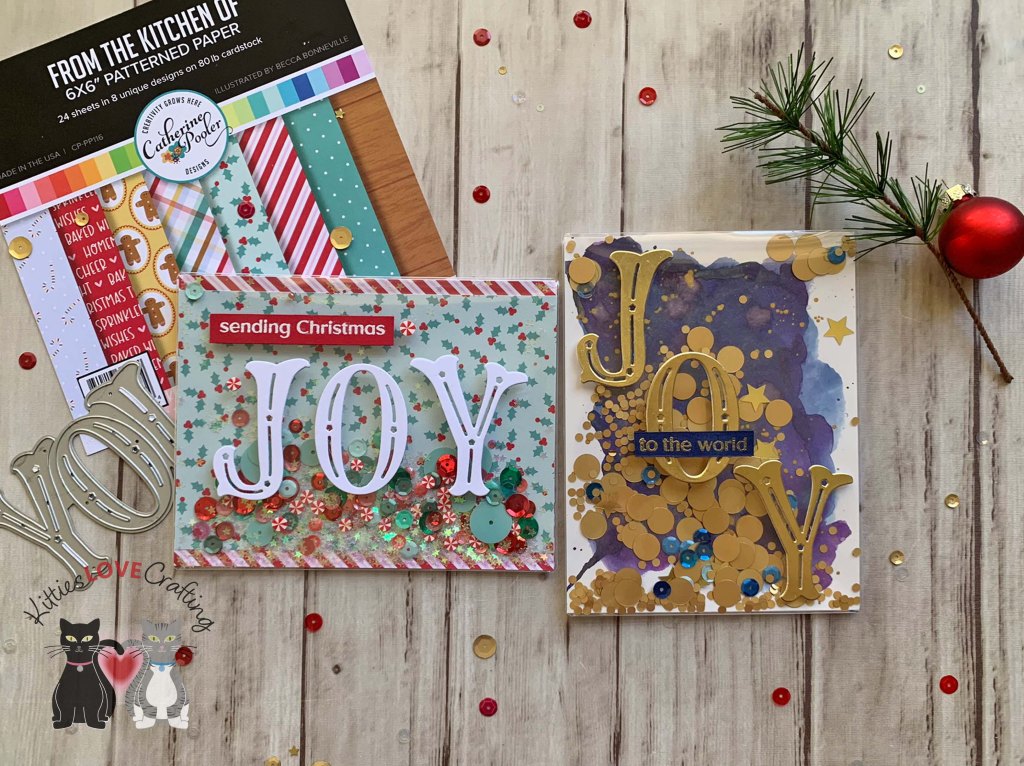
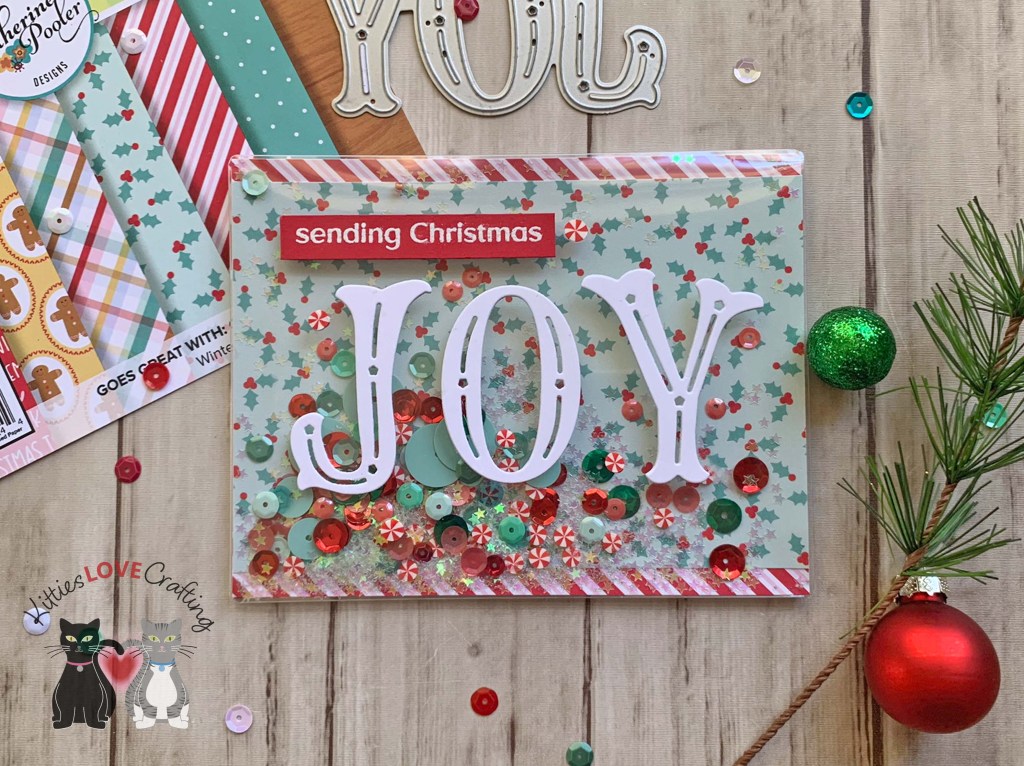
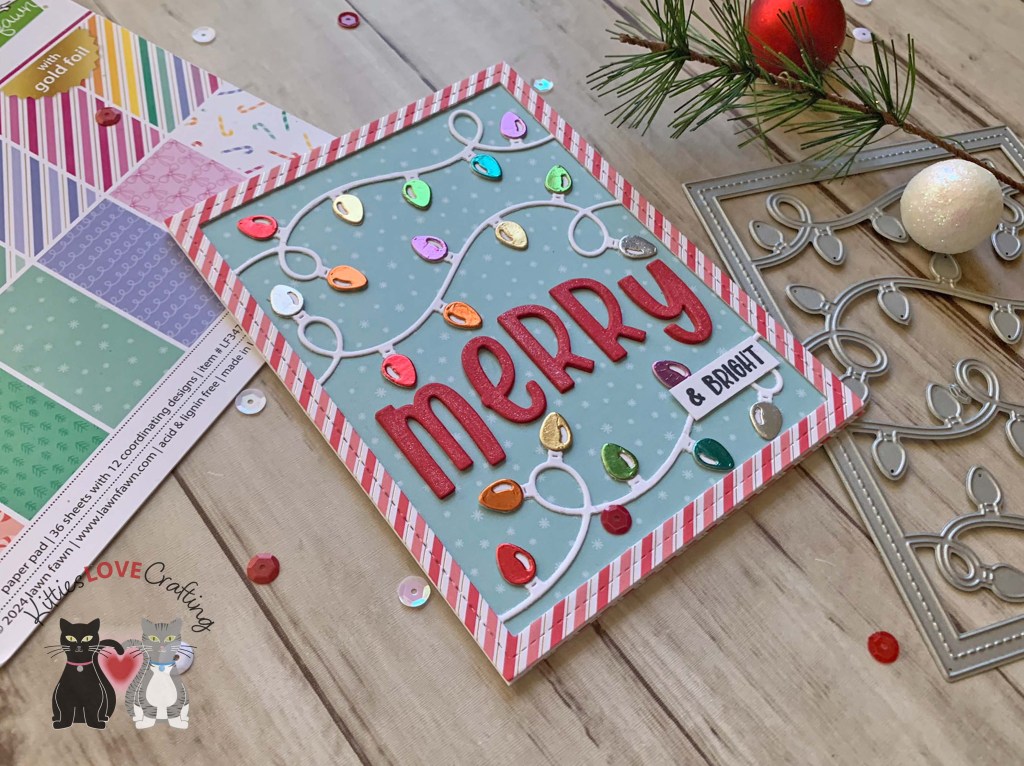
Hello friends. Here’s a fun way to use the same dies to get two different looks. My cards feature the Catherine Pooler Designs Candy Cane Christmas and Festive Joy Word Dies. One card uses the Candy Cane Christmas dies as a background for a large dimensional sentiment and the other uses the same dies as the focal image which are shakers.
I die cut the candy canes from the back panel using the base candy cane dies from the Catherine Pooler Designs Candy Cane Christmas Dies. Then added pattern paper behind them from CP Bring on the Figgy Pudding Patterned Paper and Under the Tree Slimline Patterned Paper (discontinued).
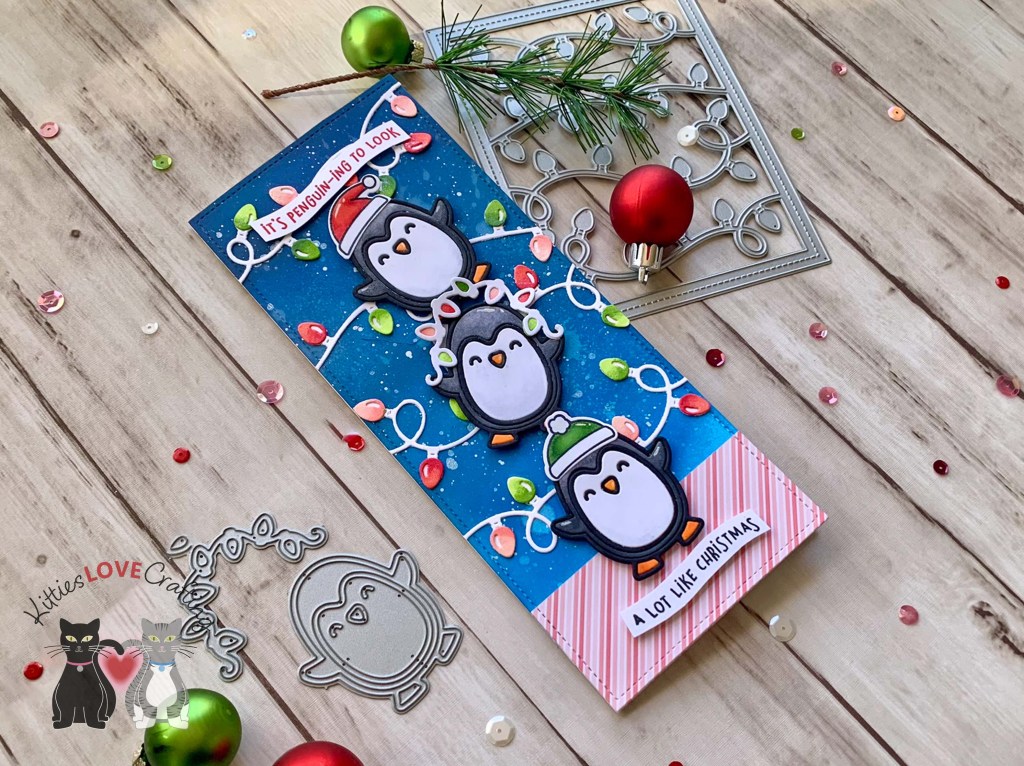
Hello friends. Once again, I cannot resist using this cute penguin die set from Lawn Fawn. I knew I had to have this little penguin when the release came out! He is very versatile and can be used for many occasions. On this card, I have three penguins precariously perched on top of each other. So very cute!!!
Thanks for reading this post. I hope I’ve inspired you to give this cute slimline penguin card a try for yourself. Leave comments or questions below or feel free to email.
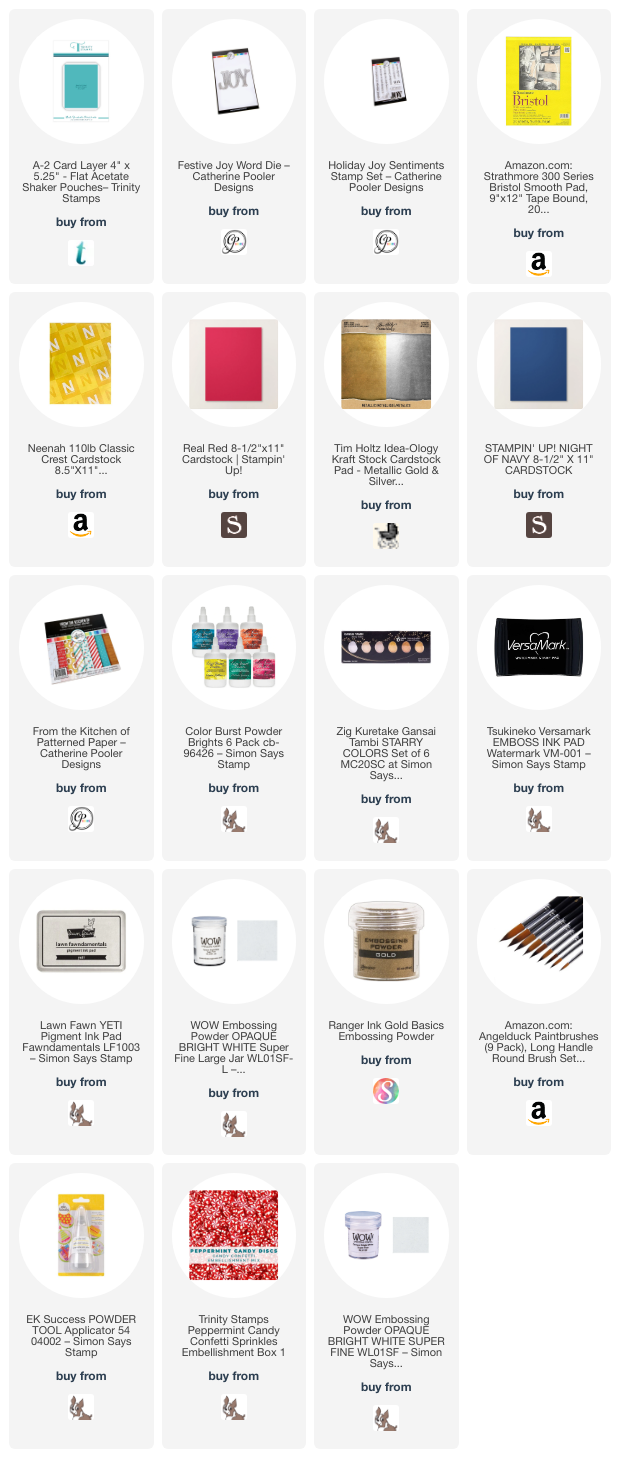
Hello friends. Want to make some fun interactive holidays cards that won’t cost you extra postage?!? Try making flat shaker cards. These cards, using the Trinity Stamps A-2 Card Flat Acetate Shaker Pouches and Catherine Pooler Designs Festive Joy Word Die were quick to make. The watercolor background takes a little longer due to drying time but doesn’t add much extra time to the process and it elevates the card with little effort.
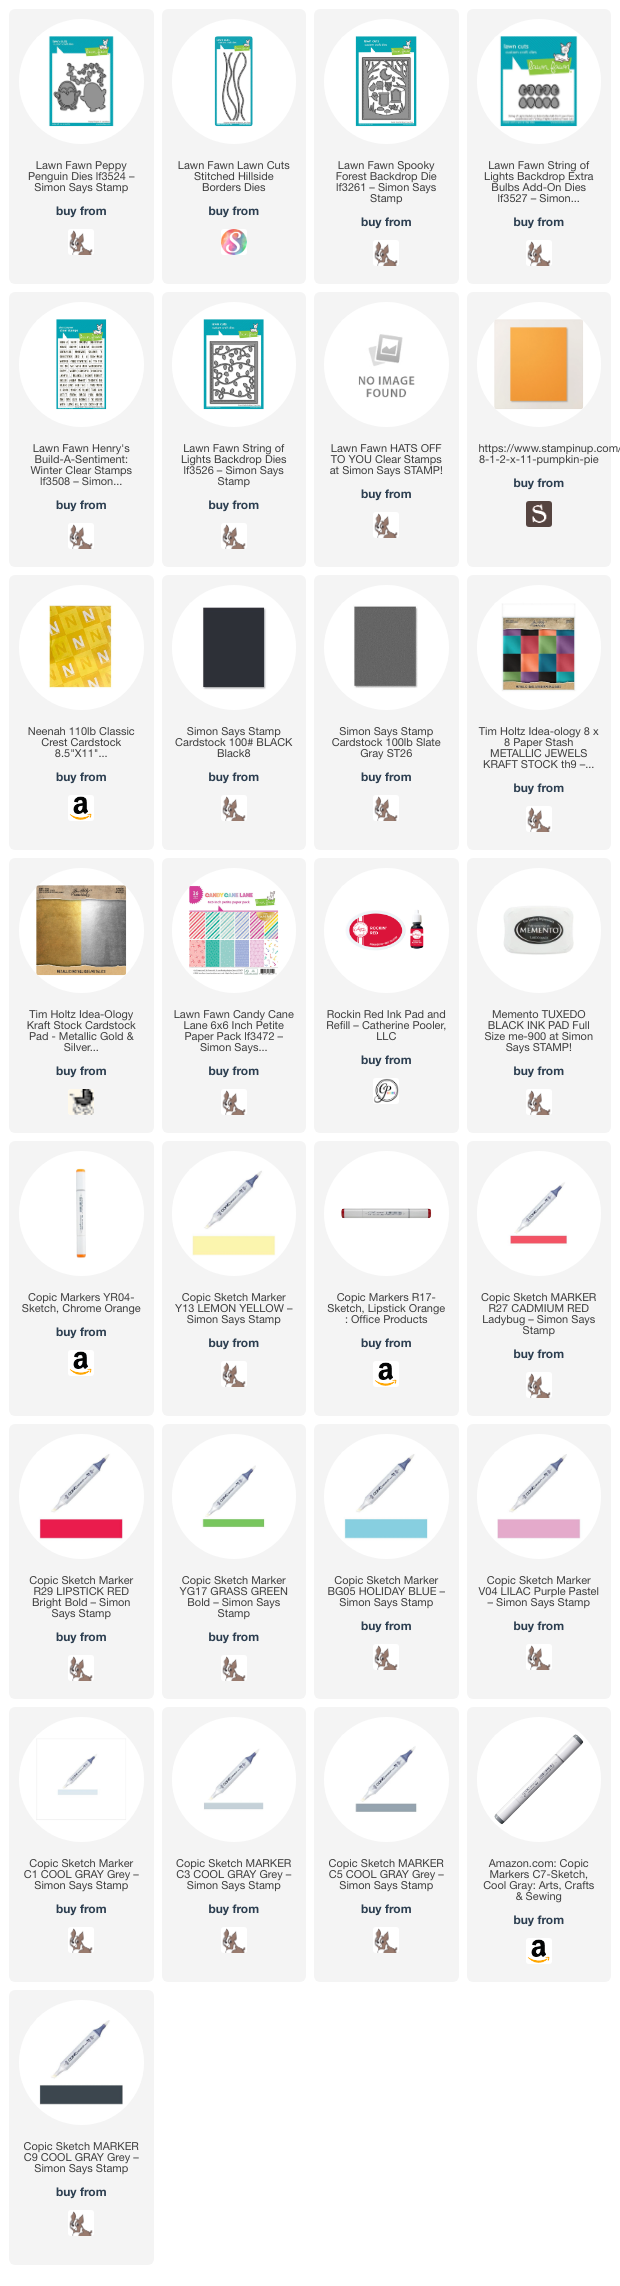
Hello friends. This cute scene card was created using some older Lawn Fawn dies with their new holiday collection. I used the Lawn Fawn Spooky Forest Backdrop die which came out for Halloween as the forest on this card. I combined it with the new Peppy Penguin and String of Lights Backdrop dies to create this cute scene.
Thanks for reading this post. I hope I’ve inspired you to give this cute penguin scene card a try for yourself. Leave comments or questions below or feel free to email.
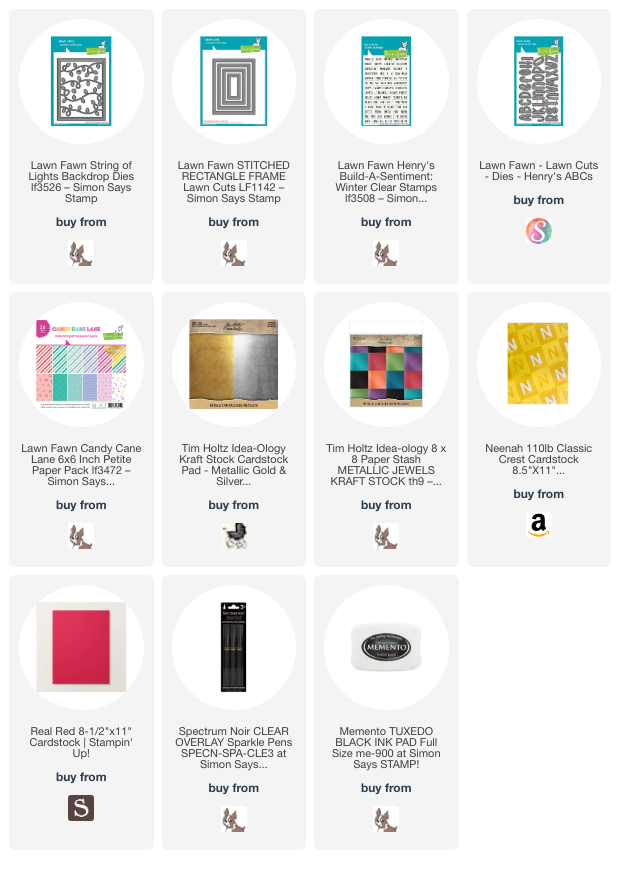
Hello friends. Need a quick card for the holidays?!? The Lawn Fawn String of Lights Backdrop Die makes that very easy! Actually this die could be used for other occasions – Halloween, Valentine’s Day cards… So many combinations are available with this die set. Stay tuned for future blog posts showing how I use pieces of this die on other cards.
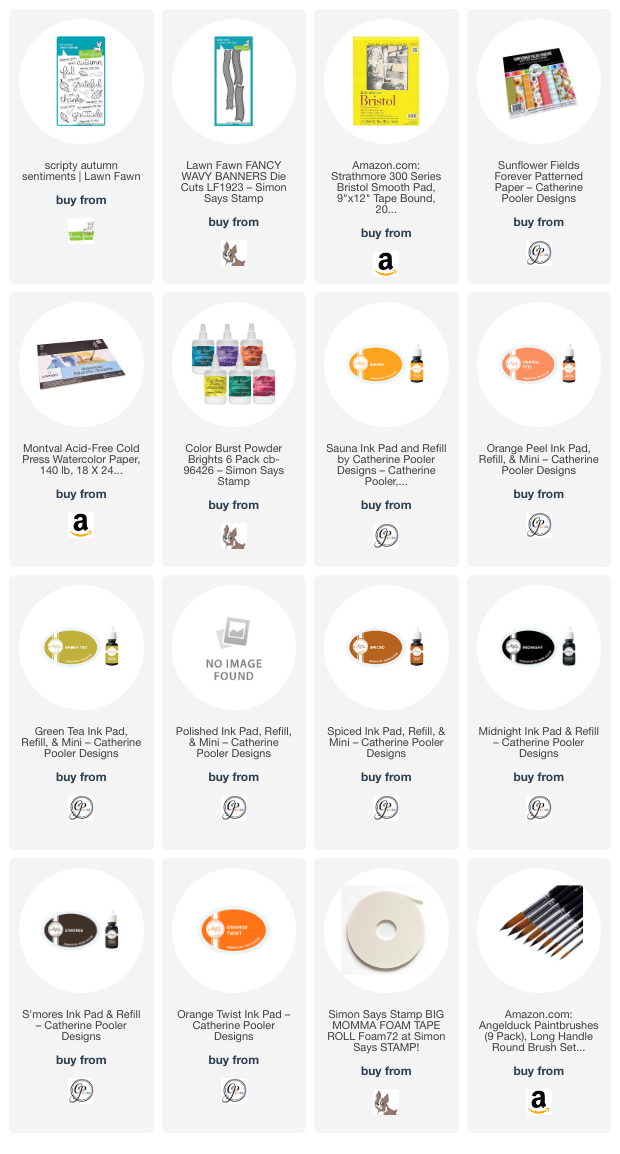
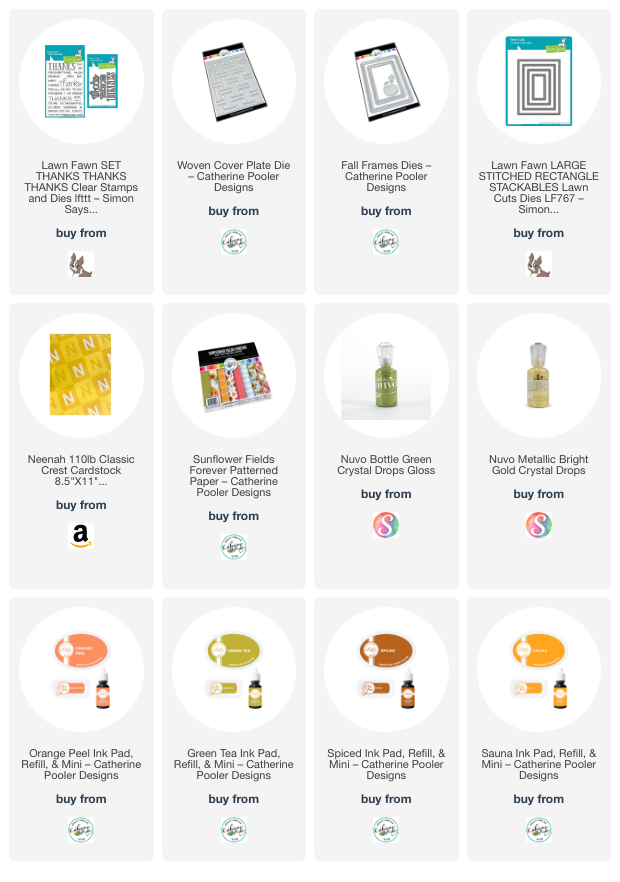
Hello friends. Here’s another Fall card featuring Catherine Pooler Designs Count to Six Cover Plate and the cute owl mug from the Halloween Mug Shots Stampset.
For the back panel I used Color Burst Powder (Brights) to add watercolor. Then die cut the Catherine Pooler Designs Count to Six Cover Plate (included in the Boo Box) from Catherine Pooler Designs Sunflower Fields Forever 6 x 6 Patterned Paper.
On the inside of the card, I cut a piece of Catherine Pooler Designs Sunflower Fields Forever 6 x 6 Patterned Paper to 1 x 4-1/4″ and stamped a sentiment from the Honey Bee Stamps Autumn Stampset (retired) with CP Spiced and Green Tea Inks and some more leaves.
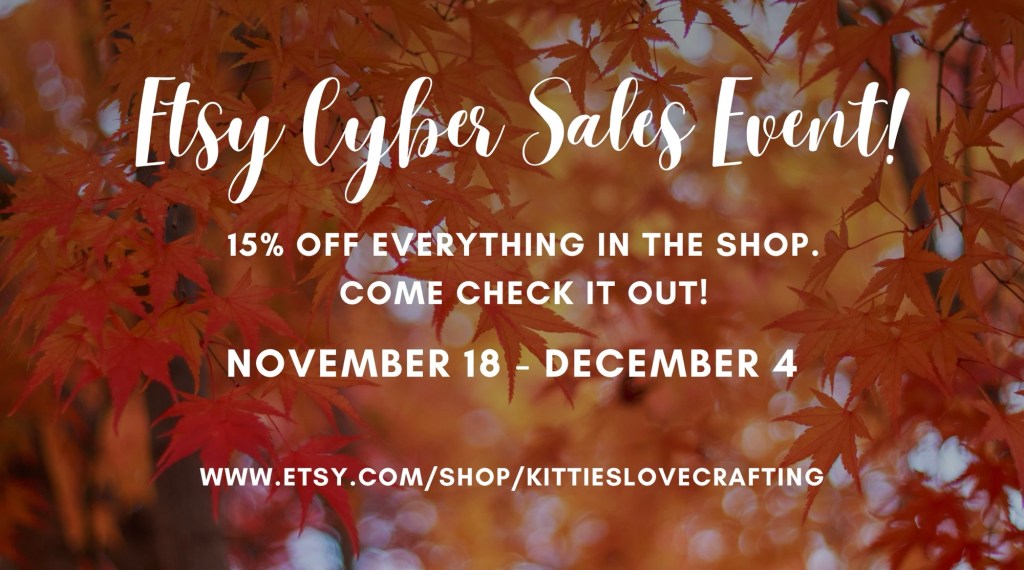
Don’t miss the sale happening from November 18 (12am)-December 4 (12am) in my Etsy Shop! Everything in my shop will be 15% off. It’s a great time to stock up on cards and printables.
If you have comments or questions about anything in my shop or the sale leave them below or feel free to email me.
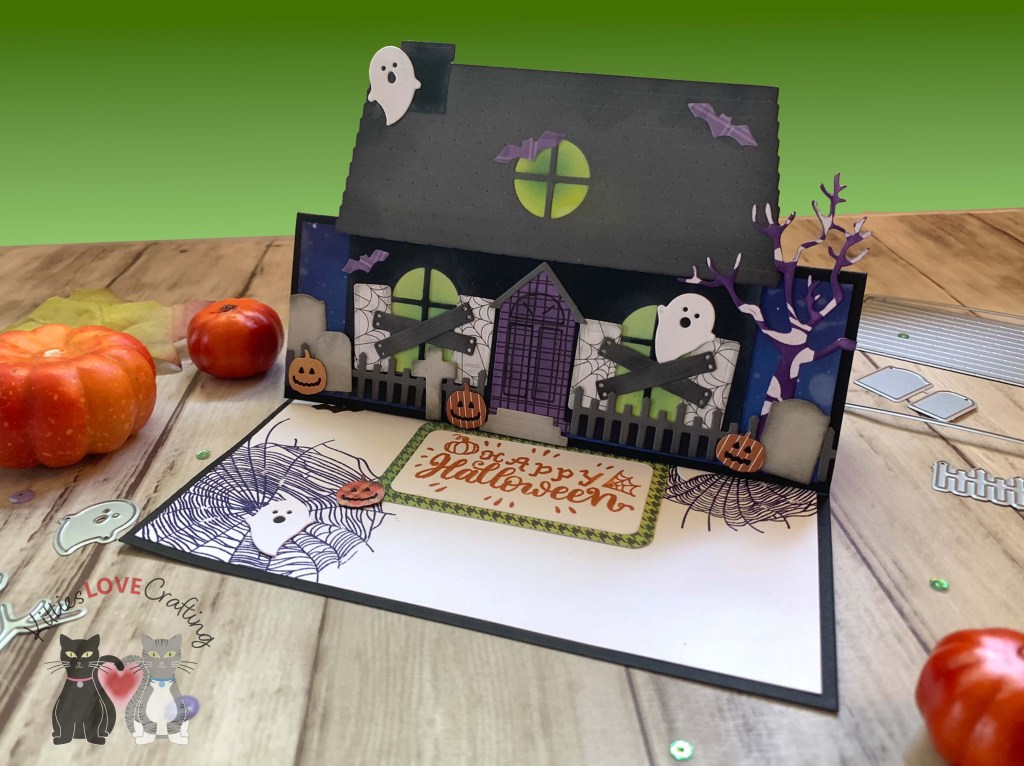
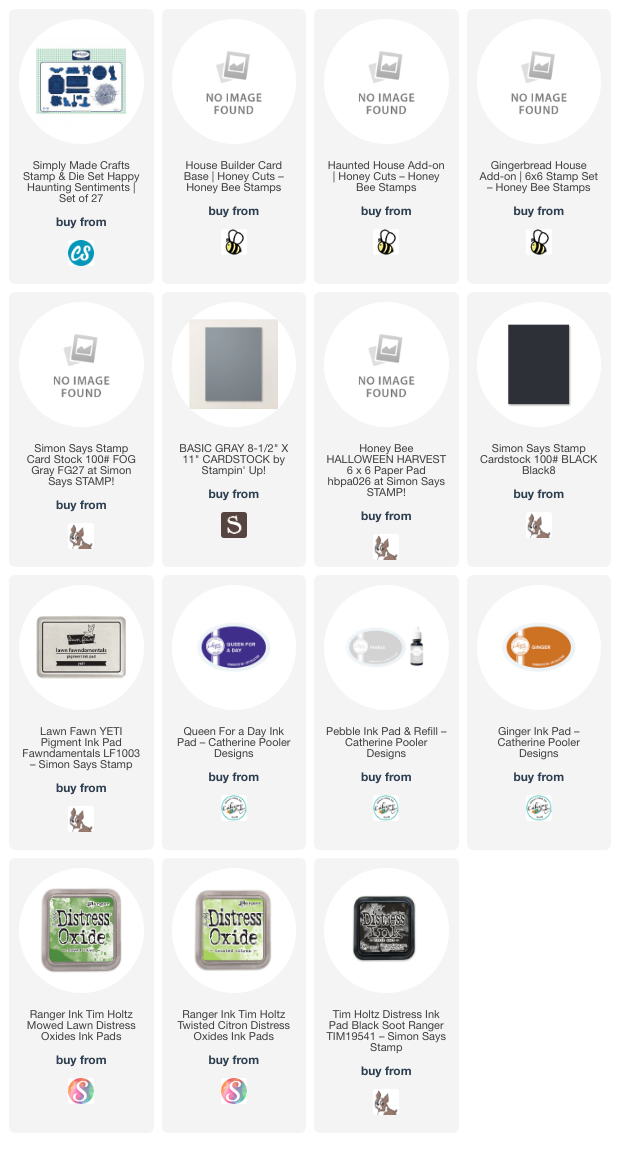
Hi friends. It’s time to start making Halloween cards. Never too early in my opinion! Today I’ve made an easel card using the House Builder Card Base Dies from Honey Bee Stamps!!! These dies are one of my most used ideas. I’ve made lots of cards with these dies and I continue to be inspired to make more… Unfortunately these dies are discontinued but if you have them I encourage you to take them out and use them!
Thanks for reading this post. I hope you enjoyed and I’ve inspired you to try making this cute Halloween easel card! Leave comments or questions below or feel free to email me.
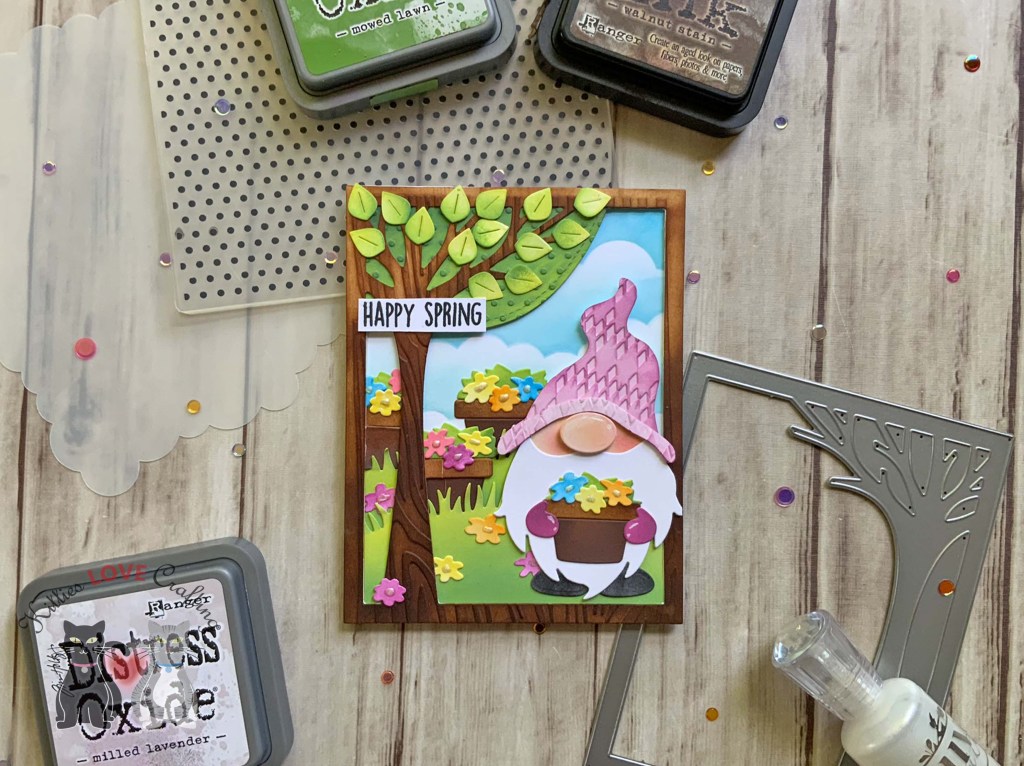
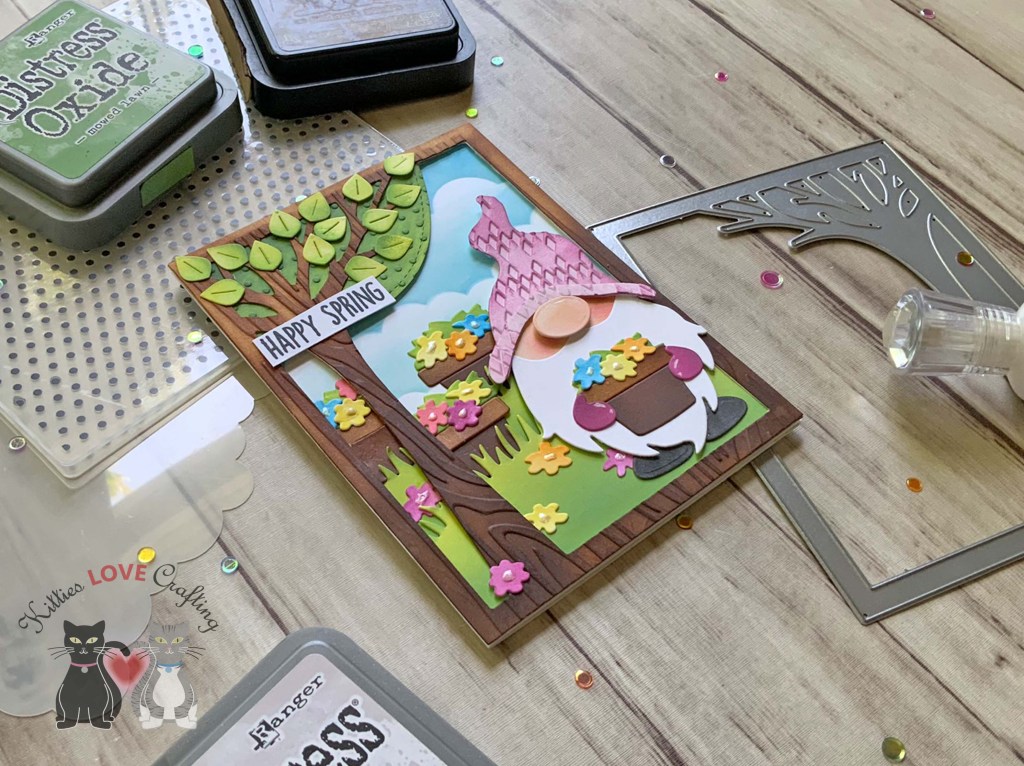
Hello friends. I couldn’t pass up the opportunity to make another card with this gnome die set from Trinity Stamps, Springtime Gnome! I’m thinking Christmas gnomes or maybe turn him into a witchy gnome!!! Stay tuned and find out.
Thanks for reading this post. I hope I’ve inspired you to give this cute Springtime gnome card a try for yourself. Leave comments or questions below or feel free to email.
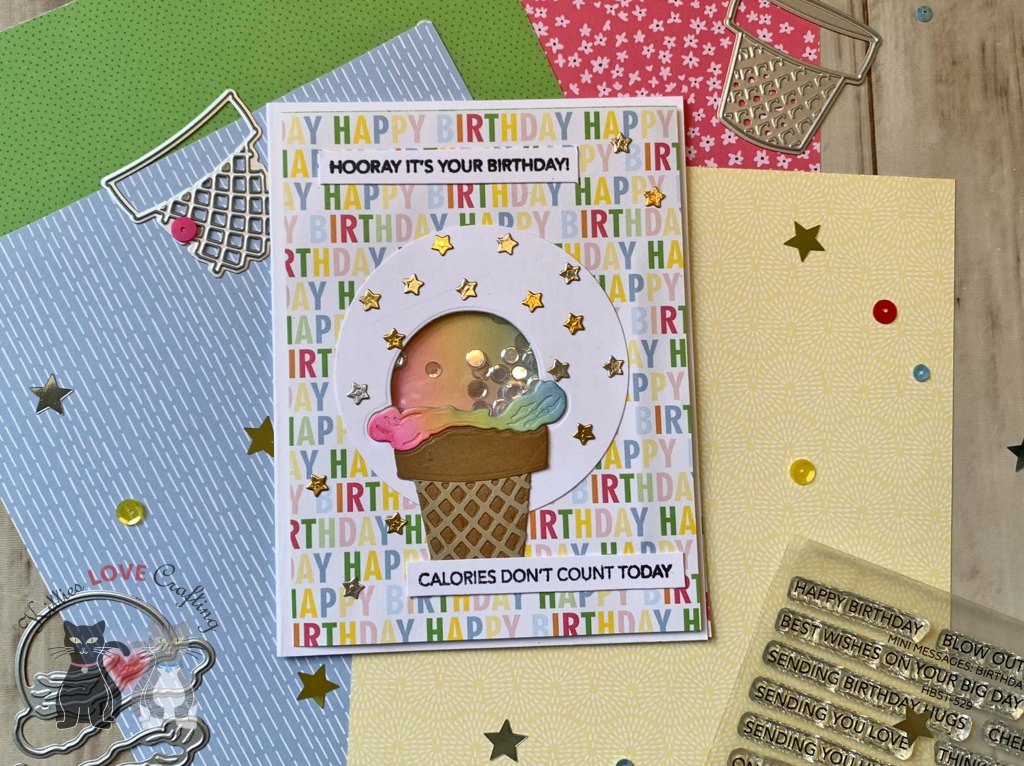
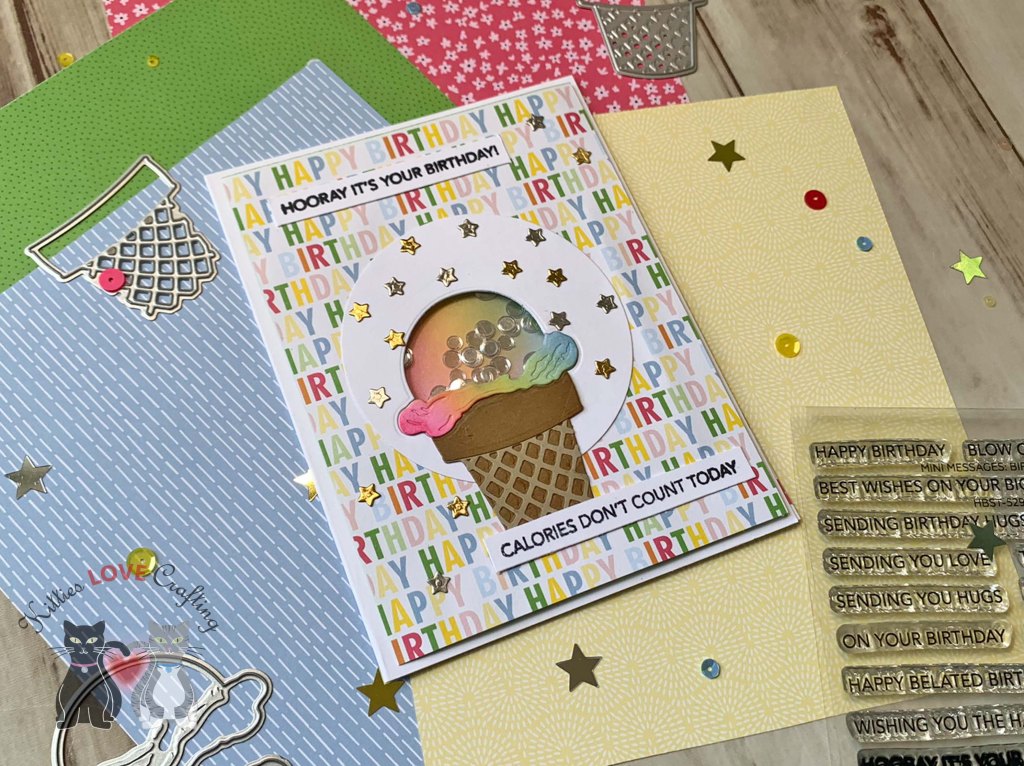
Hello friends. Here’s another quick and easy birthday card using the Lovely Layers: Cupcakes & More die set from Honeybee Stamps. For this one I created a shaker card using the ice cream dies.
Thanks for reading this post. I hope I’ve inspired you to give this cute shaker birthday card a try and use some of your older supplies. Leave comments or questions below or feel free to email.
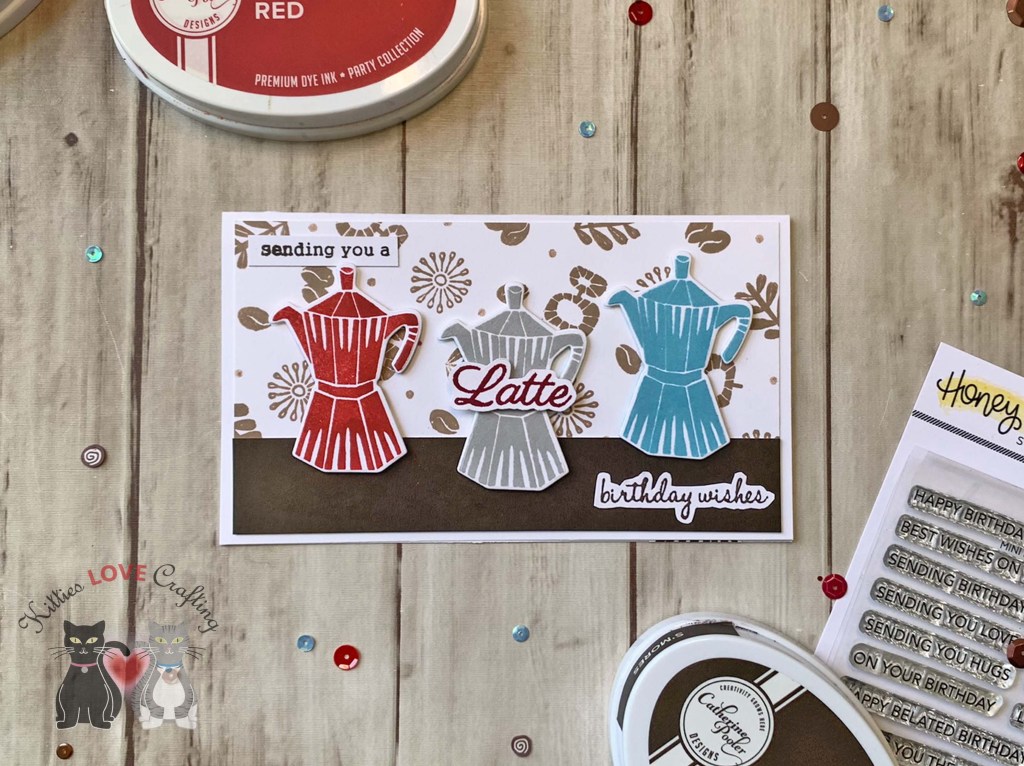
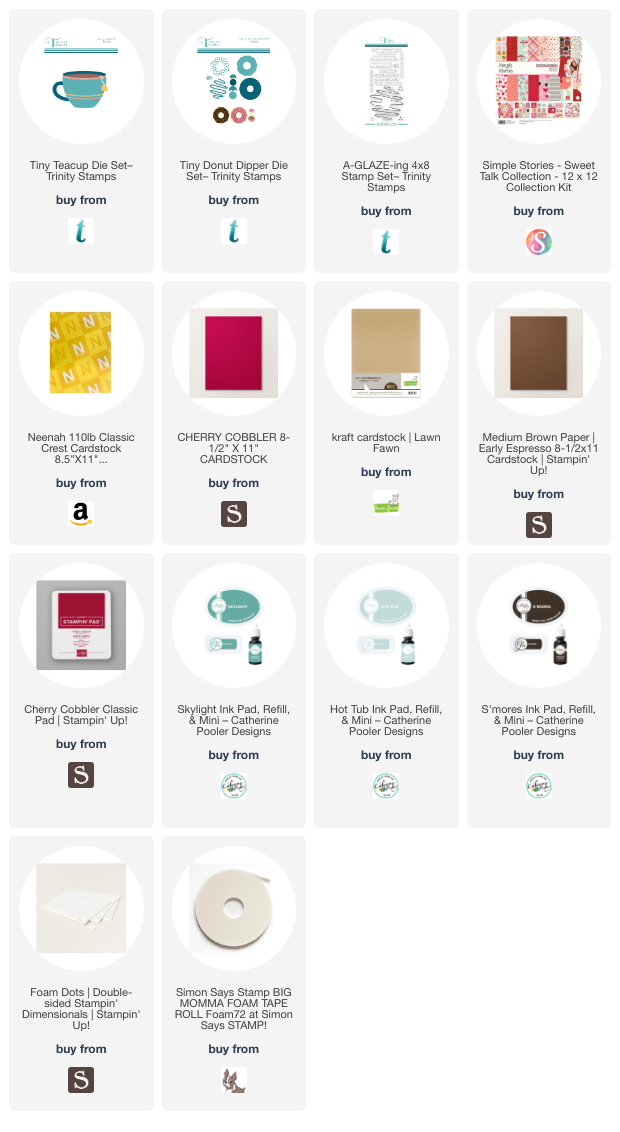
Hello friends. Here’s a quick and easy coffee-themed birthday card using older stamp sets from my stash. I love the modern graphic style of this coffee set!
For the background piece, I stamped the smaller images from the Catherine Pooler Designs Perfect Blend Stampset (discontinued) with Catherine Pooler Sand Castle Ink and then I used the direct-to-paper technique with S’mores Ink to color the strip.
Thanks for reading this post. I hope I’ve inspired you to give this cute mini slimline coffee birthday card a try for yourself. Leave comments or questions below or feel free to email.
Hello friends. I realize this is kinda late but I still wanted to share this cute Mother’s Day card using the Trinity Stamps Tiny Teacup dies. I combined it was some older stamps and dies from Queen & Company as well as Catherine Pooler dies.
For this card, I cut a piece of Neenah 100lb Classic Crest Cardstock 8.5 X 11″ to 5-1/2 x 8-1/2″ and scored at 4-1/4″ to create the card base and another piece to 4-1/4 x 5-1/2″. I stenciled the background using the Catherine Pooler Designs Cookie Sheet Die (included in the Baking Spirits Bright Card Kit) and Matcha Ink.
Thanks for reading this post. I hope I’ve inspired you to give this cute Mother’s Day card a try and use some of your older supplies. Leave comments or questions below or feel free to email.
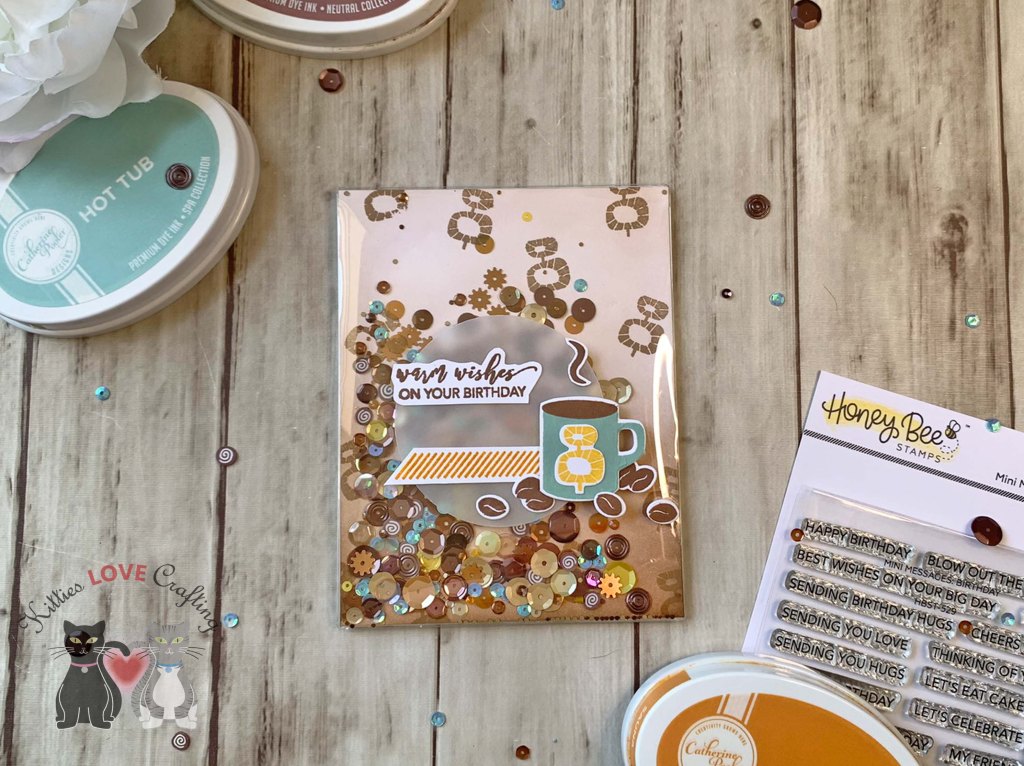
Hello friends. Continuing on my quest to make birthday cards and give new life to some older supplies, I made this flat shaker. I pulled out some older Catherine Pooler Designs stampsets for this one and combined it with some modern elements like the flat shaker to create a fun interactive card!
I adhered the panel to one of the Trinity Stamps A-2 Card Flat Acetate Shaker Pouches. You must adhere three sides first, add your sequins then seal the fourth side. I used Honey Bee Stamps Freshly Brewed Sequin Mix, as well as some aqua and yellow ones from my stash.
I stamped the coffee cup, graphic image, and beans from Catherine Pooler Designs Perfect Blend Stampset (discontinued) onto Neenah 100lb Classic Crest Cardstock 8.5 X 11″ with Catherine Pooler Designs Hot Tub and Over Coffee Inks. I stamped the diagonal stripe piece from Catherine Pooler Designs For Everything Stampset (discontinued) with CP Sauna Ink.
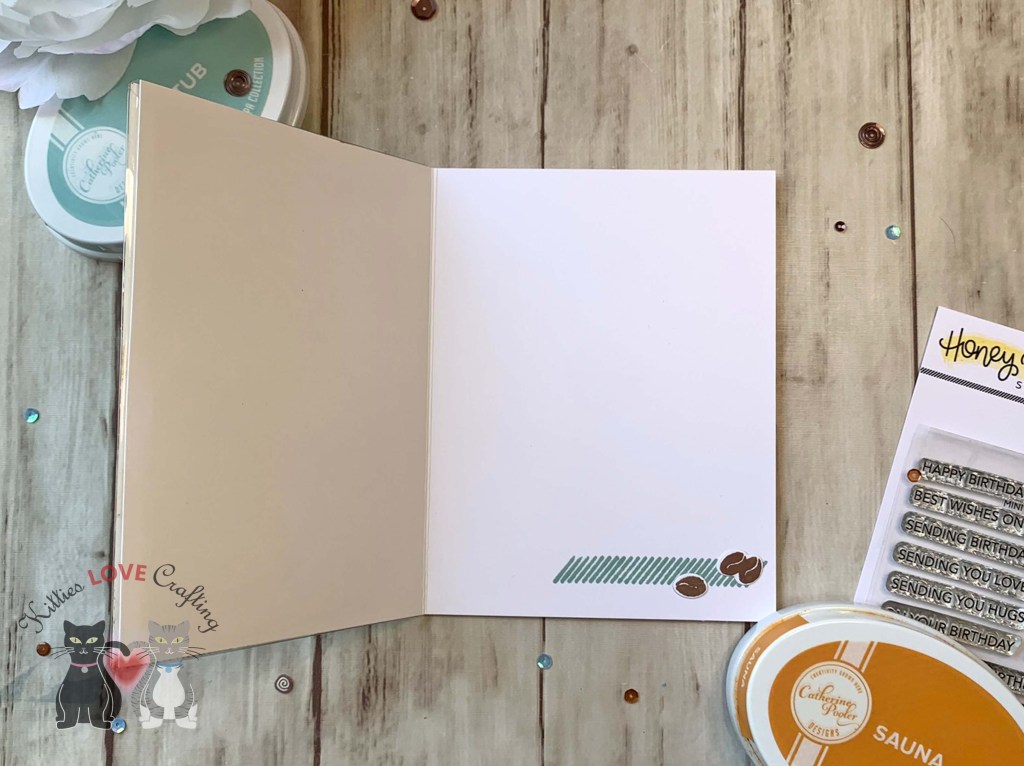
I left the inside of the card blank and added the same diagonal stripe piece from Catherine Pooler Designs For Everything Stampset (discontinued) which I stamped with Catherine Pooler Designs Hot Tub Ink. I also added some beans.
Thanks for reading this post. I hope I’ve inspired you to give this fun flat shaker card a try and to use some of your older supplies. Leave comments or questions below or feel free to email.
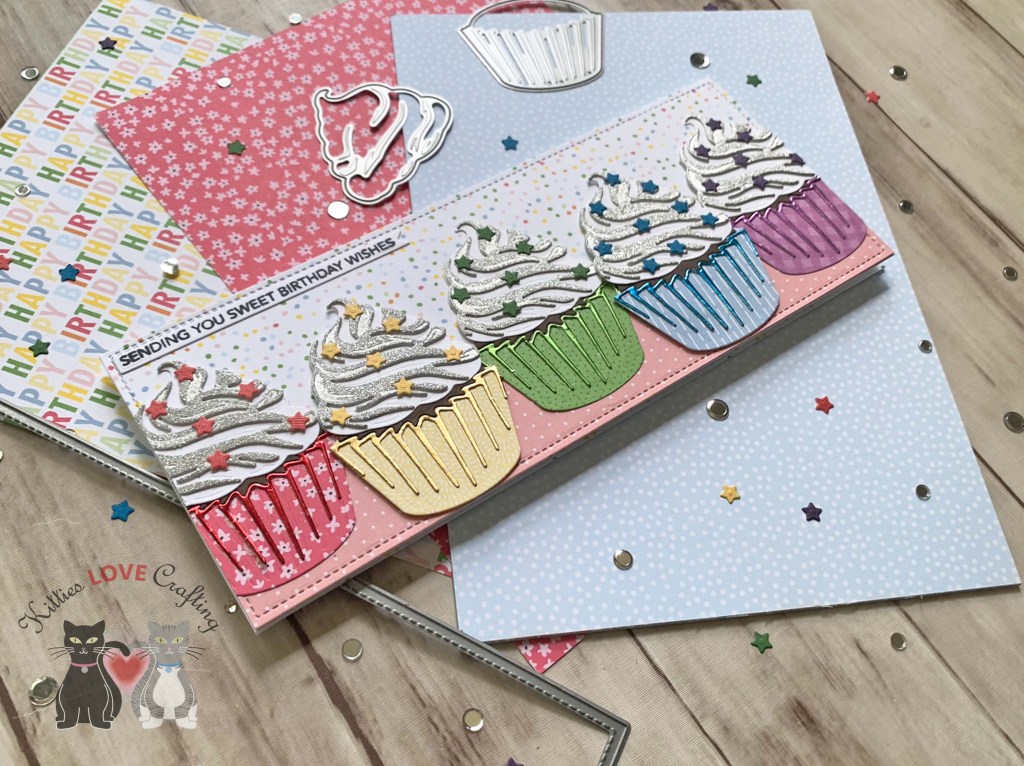
Hello friends. I couldn’t resist making a rainbow card using the Honey Bee Stamps Lovely Layers: Cupcakes & More set. The cupcakes look so cute in rainbow colors! And it was really easy to make as well!!! Let’s see how I made this card.
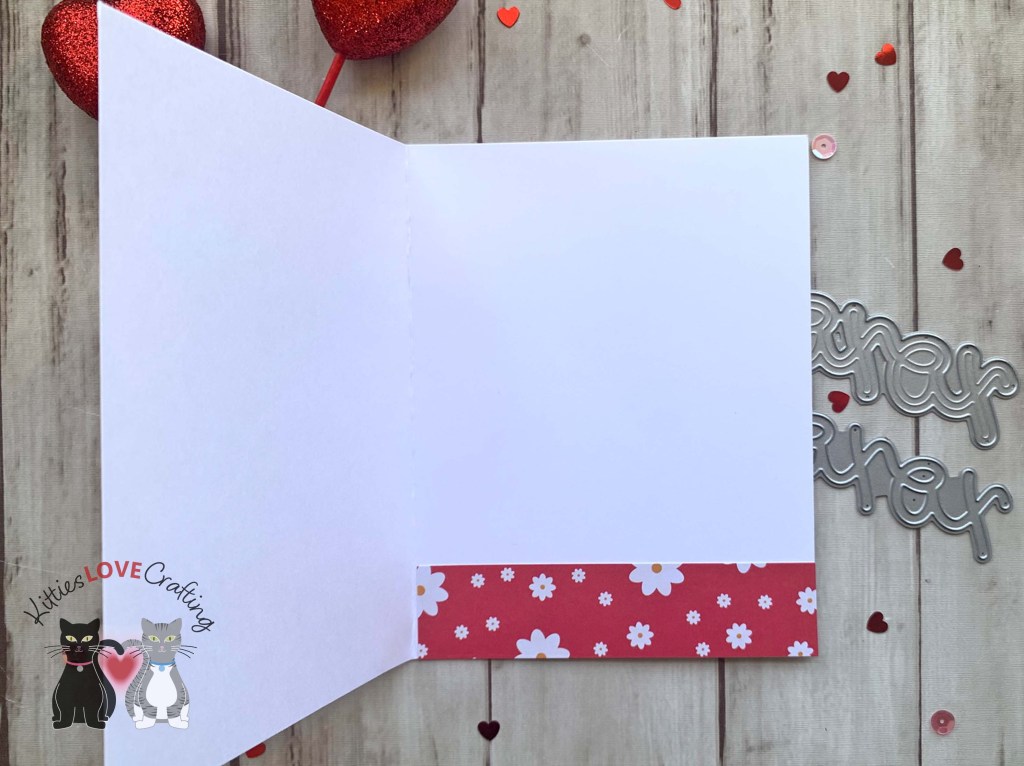
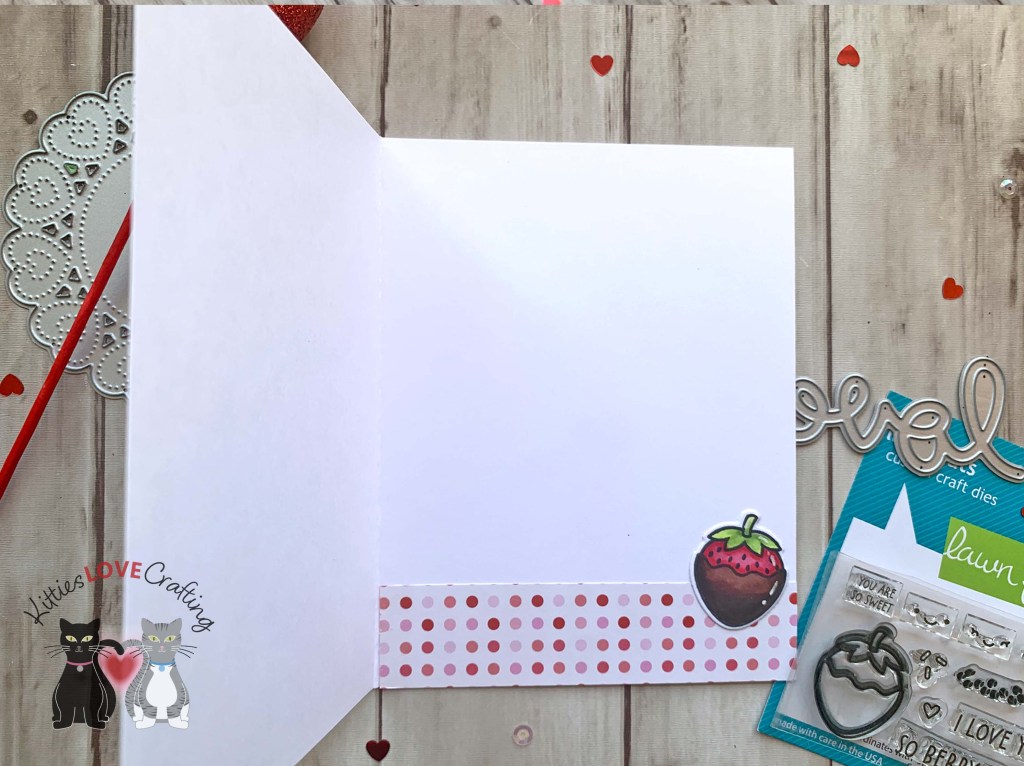
On the inside of the card I cut two strips of the same pattern paper from the front panel to 1 x 8-1/2″ and 7/8 x 8-1/2″. Then added some more of the star sprinkles.
Thanks for reading this post. I hope I’ve inspired you to give this sweet slimline birthday card a try for yourself. Leave comments or questions below or feel free to email.
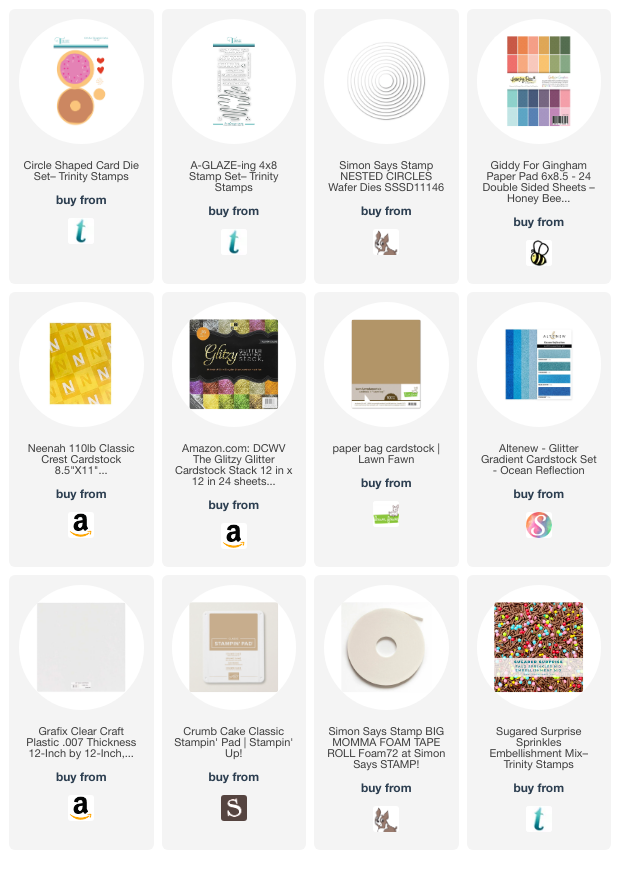
Hello friends. Here is a very easy and quick shaker Birthday card featuring Trinity Stamps new Circle Shaped Card Die Set as well as the A-GLAZE-ing 4×8 Stamp Set. I love how all fun sparkly shaker bits look inside this card!
Thanks for reading this post. I hope I’ve inspired you to give this cute circle shaped Birthday card a try for yourself. Leave comments or questions below or feel free to email.
Hello friends. This Lovely Layers: Cupcakes & More die set from Honeybee Stamps is so much fun to play with. Lots of options to create cupcakes, sundaes, ice cream cones and more! So many options…
Thanks for reading this post. I hope I’ve inspired you to give this cute mini slimline birthday card a try for yourself. Leave comments or questions below or feel free to email.
Hello friends. In an effort to spend less this year, I’m trying to shop my stash and use some less loved items. This embossing folder (Crafter’s Companion – Embossalicious – Birthday Cupcake) has been in my stash for a very long time and I cannot remember when las I used it so it’s time. I used watercolor paper so I can color the image with watercolors. It gives it a fun organic look.
Then I colored the image with watercolors. Once everything was dry I re-embossed the image because when you add water to an embossed image it can lose some of the details.
Thanks for reading this post. I hope I’ve inspired you to try watercoloring an embossed image. Leave comments or questions below or feel free to email.
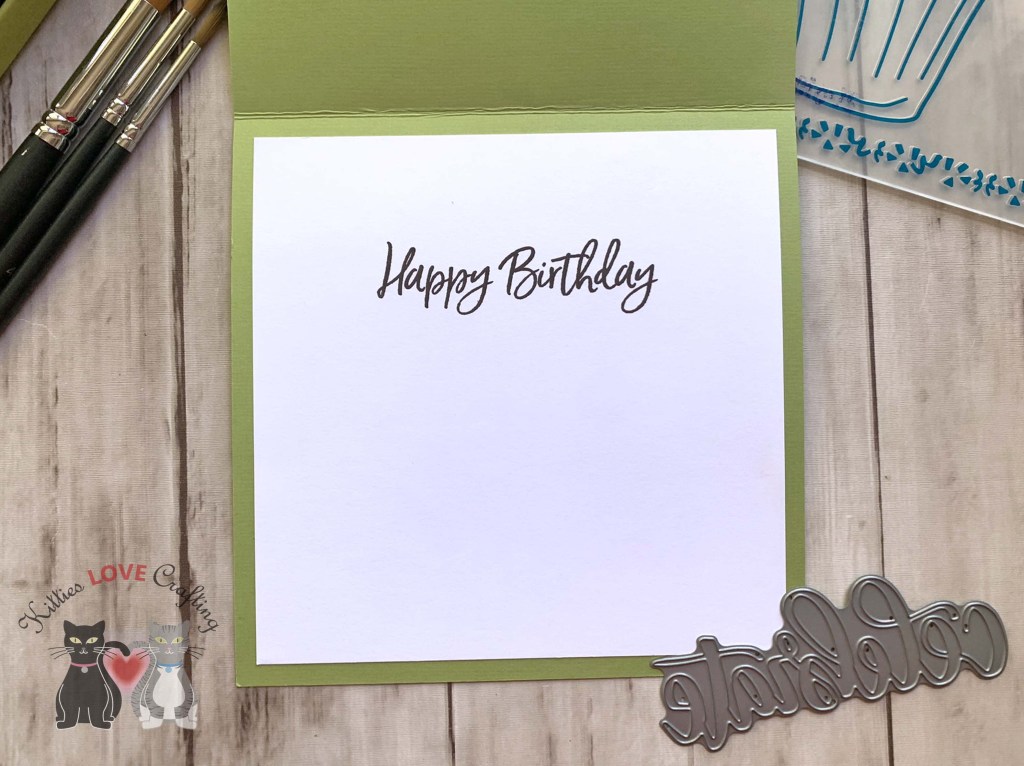
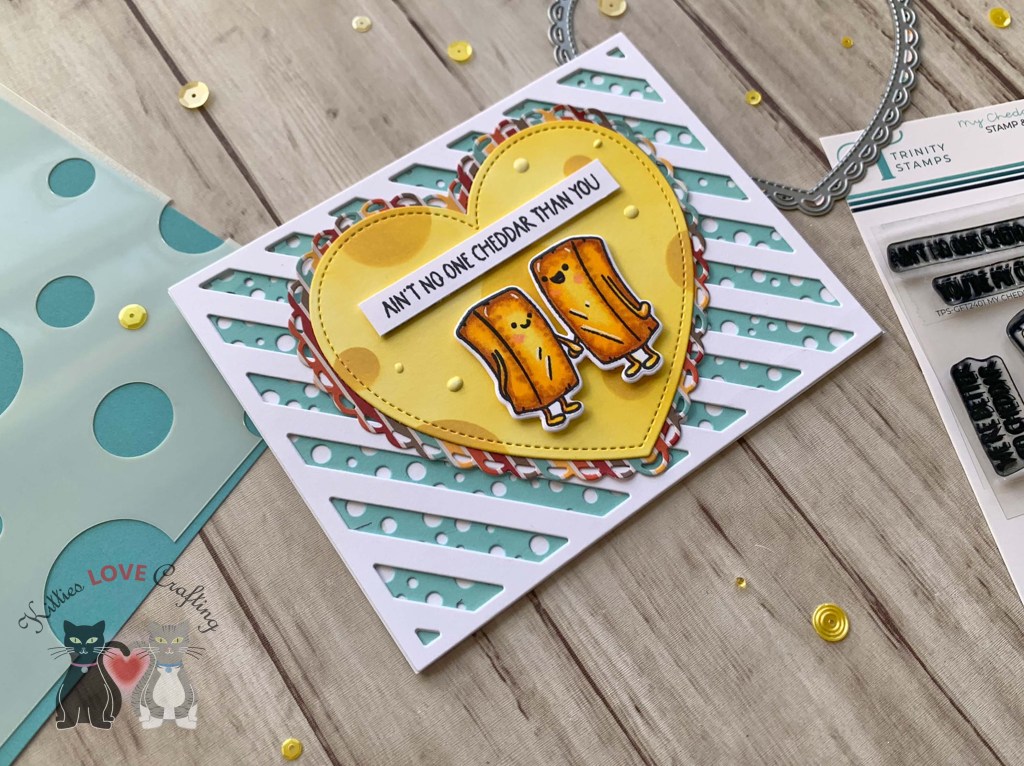
On the inside of the card, I cut a strip of pattern paper from Queen and Company Vintage Truck – Sweater Weather 6 x 6 Paper Pad (discontinued) to 1 x 5-1/2″ and added another cheddar couple.
Thanks for reading this post. I hope I’ve inspired you to give this cute cheddar card a try for yourself. Leave comments or questions below or feel free to email.
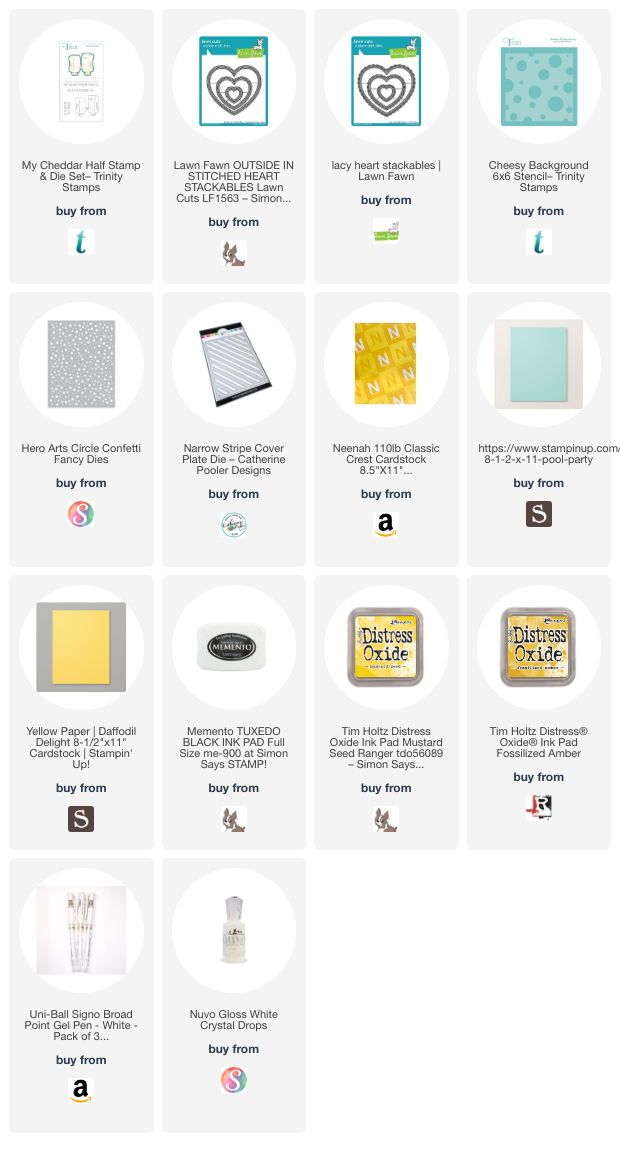
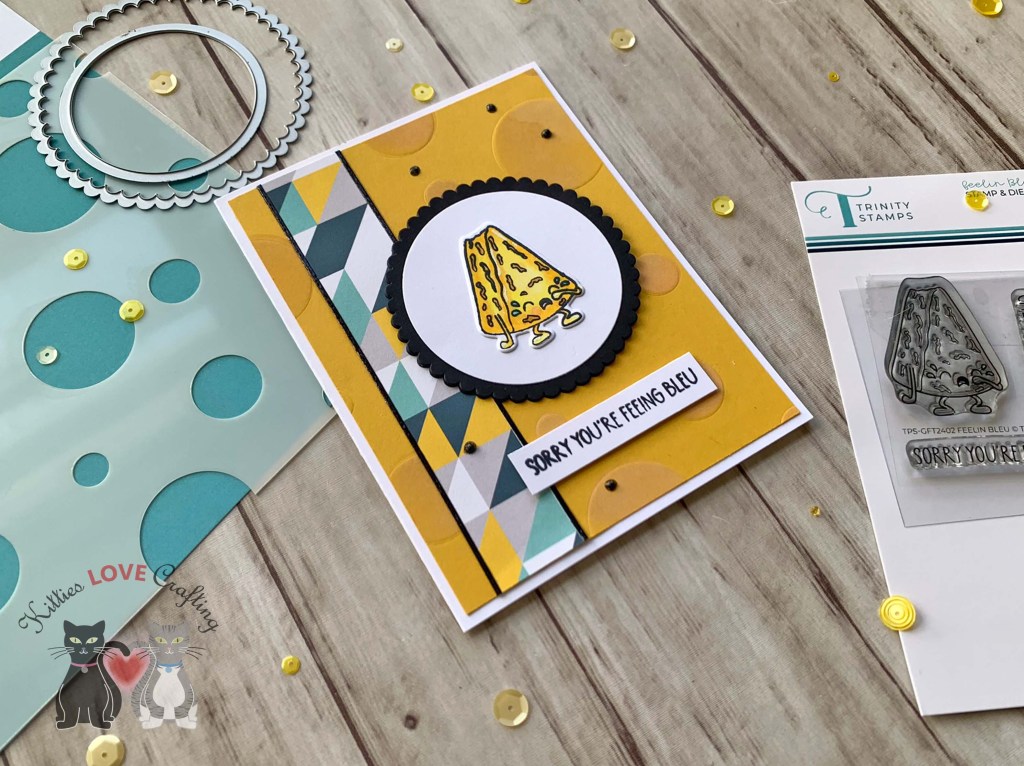
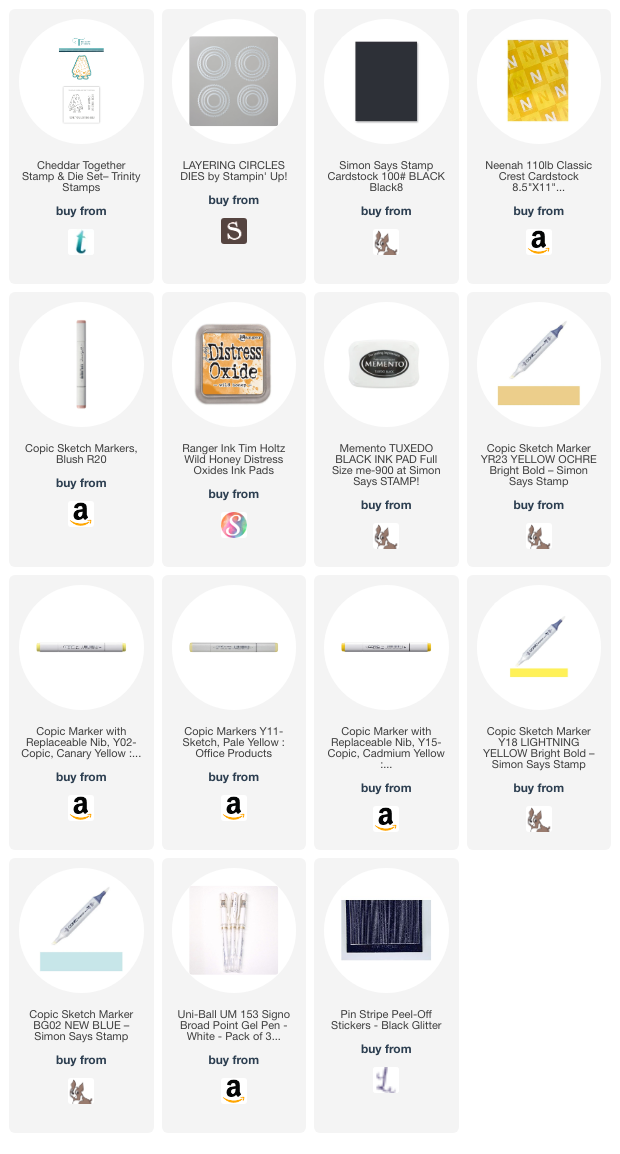
Hello friends. This mini stamp and die set, Feelin Bleu, from Trinity Stamps is just too cute! Had to make a card with it. This turned out to be a really quick card to make. Love that!
For this card, I cut a piece of Neenah 100lb Classic Crest Cardstock 8.5 X 11″ to 5-1/2 x 8-1/2″ and scored at 4-1/4″ to create a card base, and another piece of Stampin’ Up! Crushed Curry 80lb 8-1/2 x 11 Cardstock (retired) to 4 x 5-1/4″. I embossLove Fed this panel using the Cheesy Background 6×6 Stencil. To accomplish this, I used the same sandwich in my Sizzix Big Shot as I do for embossing folders which includes adding an impression plate and silicone plate (check your die cutting machine for the proper sandwich).
I stamped the sentiment from the stampset onto Neenah 100lb Classic Crest Cardstock 8.5 X 11″ with Memento Tuxedo Ink and cut the strip to 1/2 x 2-1/4″. I finished off the card by adding som Nuvo Midnight Sky Glitter Drops (not sure if this is still available).
On the inside of the card, I added a strip of pattern paper from Honey Bee Stamps The Bees Knees 6 x 6 Paper Pad (unavailable) to 1 x 5-1/2″ and stamped a sentiment from the same stampset with Memento Tuxedo Ink.
Background Panel = 4 x 5-1/4″ Stampin’ Up! Crushed Curry 80lb 8-1/2 x 11 Cardstock (retired); 1 x 5-1/4″ Honey Bee Stamps The Bees Knees 6 x 6 Paper Pad (unavailable)
Inside Strip = 1 x 5-1/2″ Honey Bee Stamps The Bees Knees 6 x 6 Paper Pad (unavailable)
Thanks for reading this post. I hope I’ve inspired you to give this cute get well card a try for yourself. Leave comments or questions below or feel free to email.
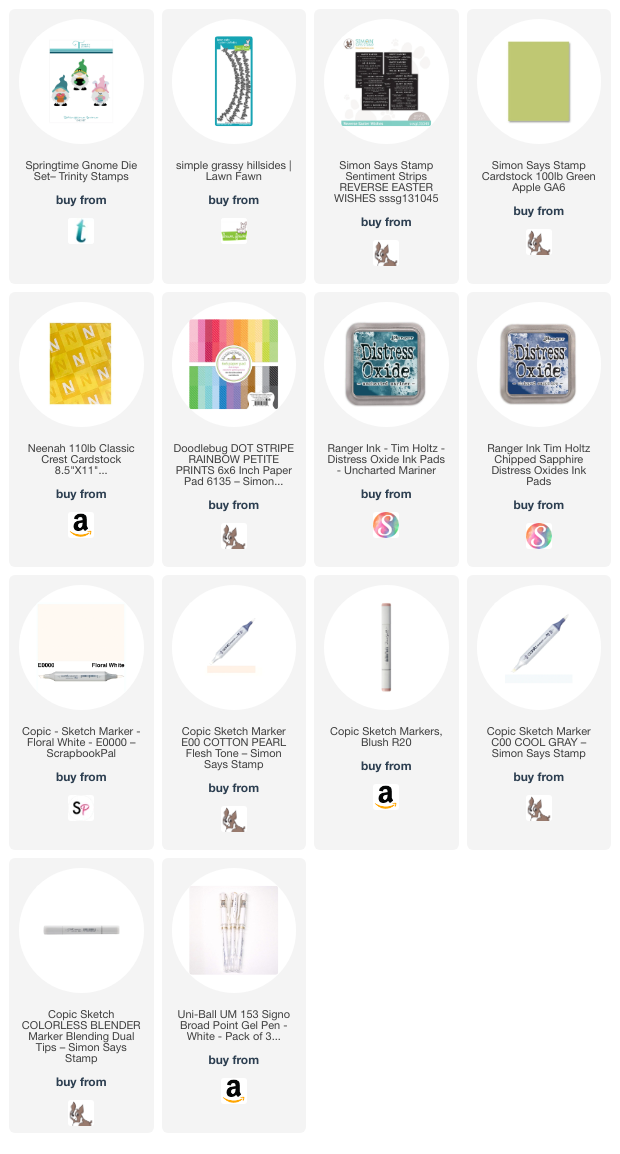
Hello friends. This cute egg shaped card features the Trinity Stamps Springtime Gnome Die Set. This little gnome is very easy to put together and the can be used for many occasions. Let’s put this card together…
For this card, I die cut a piece of Neenah 100lb Classic Crest Cardstock 8.5 X 11″, folded in half using the Sizzix Framelits Die Set 10PK – Egg (discontinued) to create the card base. to accomplish this I simply left one side of the die off the edge of the folded card base before die cutting. This card base measures 3-3/4 x 5-1/4″ I also cut a smaller egg shape for the front panel.
I die cut the gnome’s hat, hands and bunny ear insides from Echo Park 12 x 12 I Love Easter Cardstock Pack (discontinued I believe) using the Trinity Stamps Springtime Gnome Die Set. The bunny ears, nose, face and beard were die cut from Neenah 100lb Classic Crest Cardstock 8.5 X 11″ and colored with Copic Markers. I used E000 for the nose, E000, E00, R20 & 0 for the face; and C0 & 0 for the ears. His shoes, hat band and all the eggs were die cut from Doodlebug 6 x 6 Dot Grid Daisy Stripe Pack (discontinued I think).
Thanks for reading this post. I hope I’ve inspired you to give this cute gnome Easter card a try for yourself. Leave comments or questions below or feel free to email.
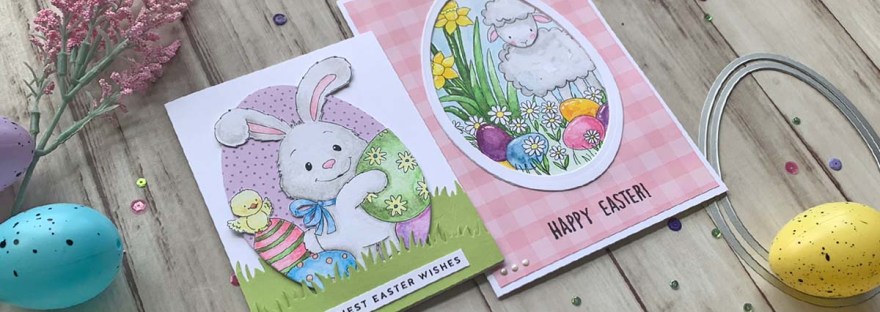
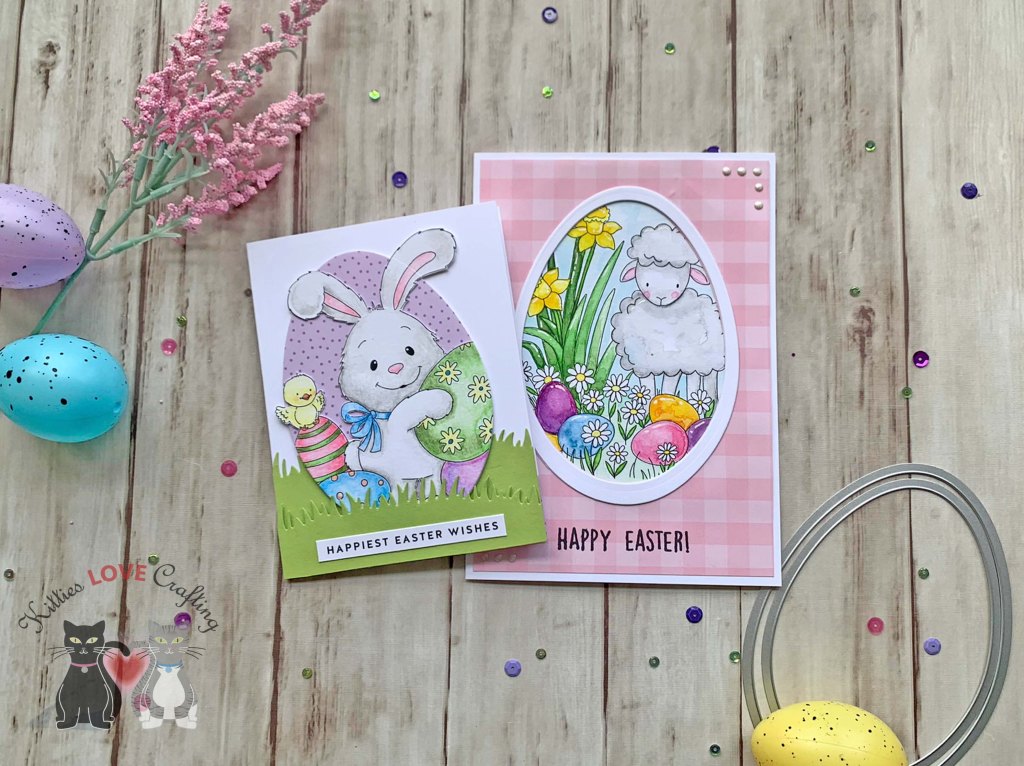
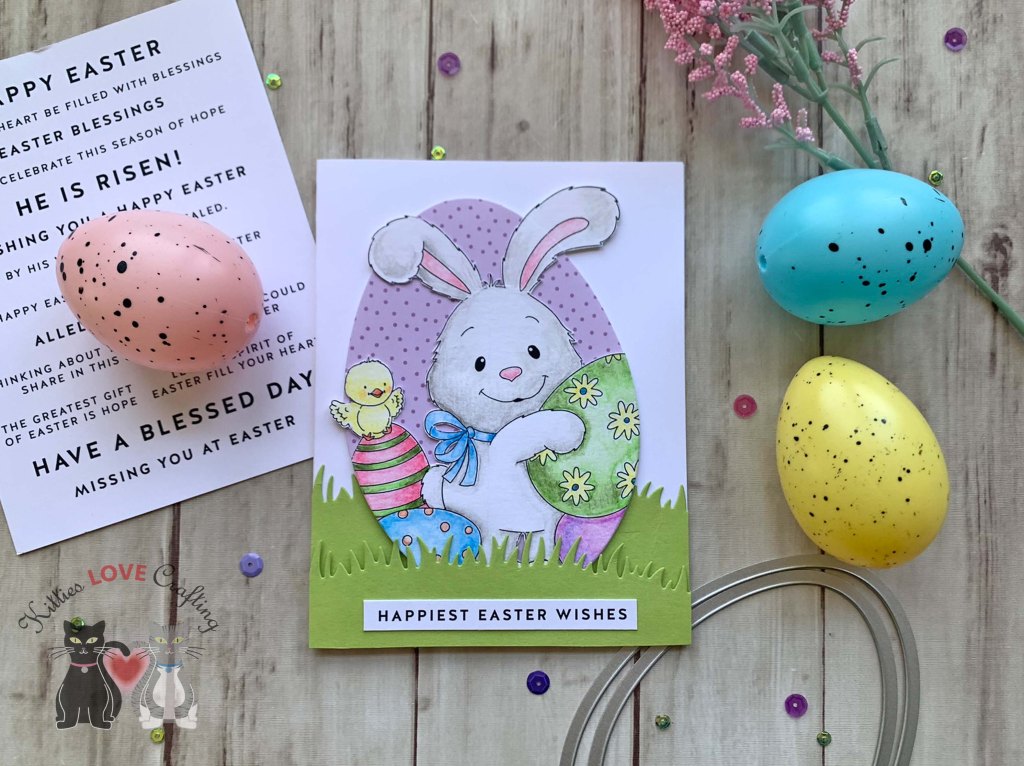
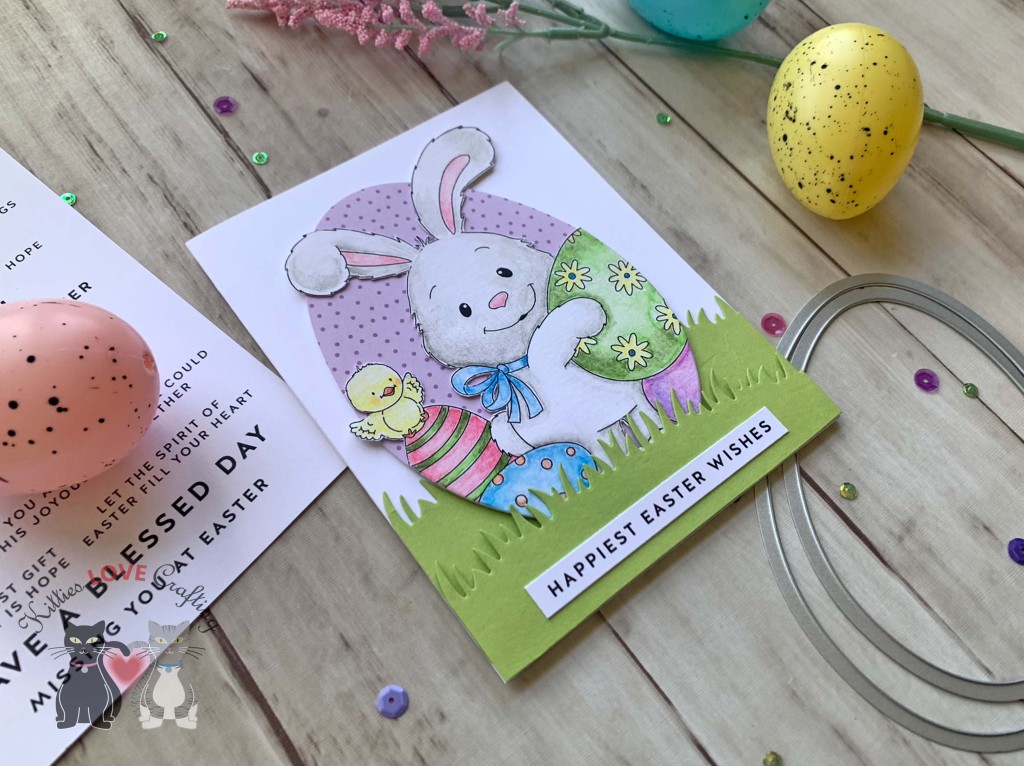
Hello friends. I made these two cute Easter cards using the Simon Says Stamp Suzy’s Watercolor Prints. The prints I used are from an older set but I will link to the newer one that was released this year. I created cute scene cards by using them in a non traditional way.I love to just sit and watercolor these prints! It’s very relaxing and fun to me. If watercolor isn’t your thing you can probably use color pencils to color the images.
I used my Kuretake GANSAI TAMBI Watercolor Paint Set (I love this set!) to color the images. Then cut all the background white areas out and used one of the Egg framelits from Sizzix Framelits Die Set 10PK – Egg (discontinued) to cut out the watercolor print, making sure to not cut his ears. I die cut a piece of Lawn Fawn Stripes ‘n Sprinkles 6×6 Paper with the same framelit for the background.
For the second card, I cut a piece of Neenah 100lb Classic Crest Cardstock 8.5 X 11″ to 5-1/2 x 8-1/2″ and scored at 4-1/4″ to create a card base and a piece of Echo Park I Love Easter 12 x 12 Pattern Paper (discontinued) to 4 x 5-1/4″. I die cut a window from the panel using the Egg framelits from Sizzix Framelits Die Set 10PK – Egg (discontinued). I also used 2 of them to cut out a frame from Neenah 100lb Classic Crest Cardstock 8.5 X 11″.
On the inside of the card, I cut two strips of the pattern paper from Echo Park I Love Easter 12 x 12 Pattern Paper (discontinued), measuring 1 x 4-1/4″ and 1-1/4 x 4-1/4″.
Thanks for reading this post. I hope I’ve inspired you to give these cute Easter cards a try for yourself. Leave comments or questions below or feel free to email.
For this card, I cut a piece of Neenah 100lb Classic Crest Cardstock 8.5 X 11″ to 5-1/2 x 8-1/2″ and scored at 4-1/4″ to create a card base, and another piece to 4-1/4 x 5-1/2″. I embossed this panel with the Darice Embossing Essentials Folder 1218-66 Basket Weave (discontinued). I colored the panel with Tim Holtz Seedless Preserves and Villainous Potion Distress Oxide Inks.
Thanks for reading this post. I hope I’ve inspired you to give this easy Easter window scene card a try for yourself. Leave comments or questions below or feel free to email.
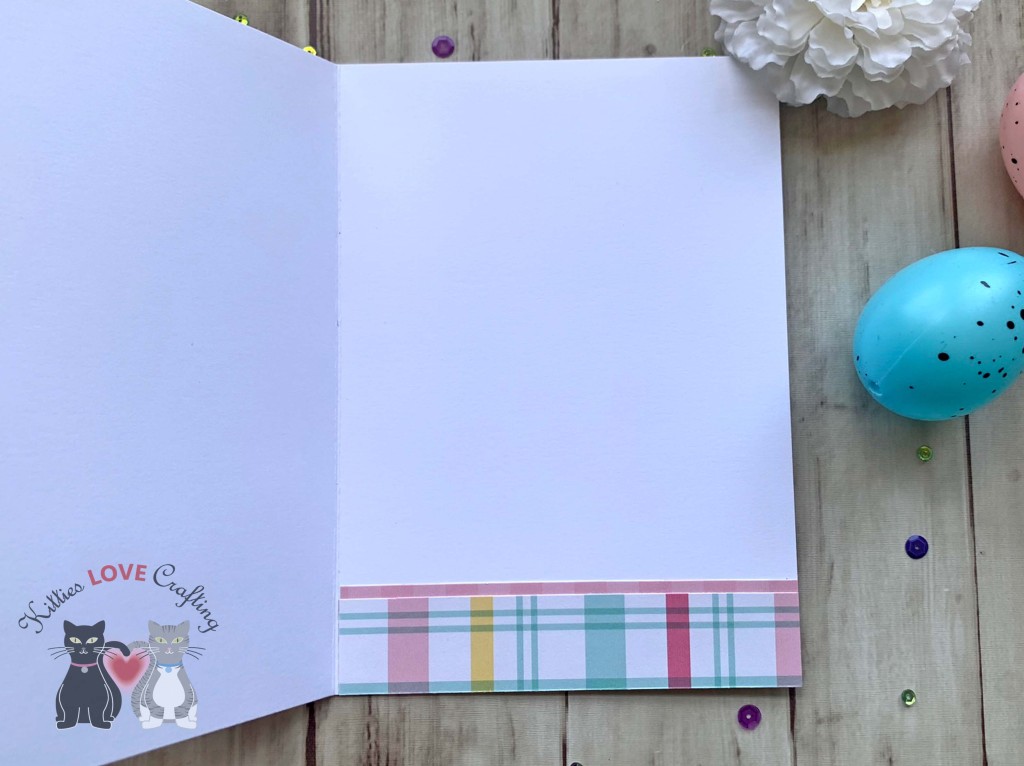
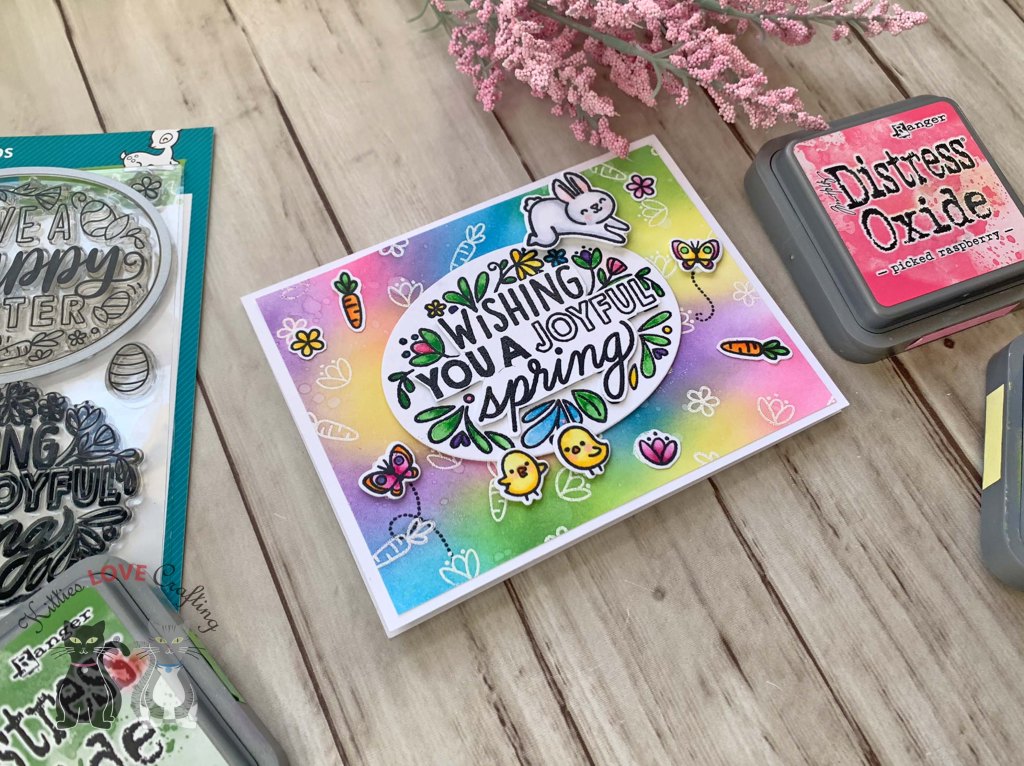
Hello friends. Here’s another cute card featuring the Lawn Fawn Giant Easter Messages. For this one I created a bright background using the emboss resist technique with Distress Oxides. I also watercolored the center panel for a softer look.
I colored the panel with my Kuretake GANSAI TAMBI Watercolors. Heat embossing the image first makes it easier for the watercolors to stay in place and not bleed. Then I die cut the sentiment with Stampin’ Up! Layering Ovals Dies (retired). As previously mentioned I also fussycut the second sentiment panel that I had stamped and heat embossed and popped it up with 3M Foam Tape.
I colored them with Copic Markers. I used C0, C1, R20 & 0 for the bunnies; Y11, Y13 & Y18, R20, YR07 for the chics; RV52, RV19 & RV55, Y13 & Y18, V22, V25 & BV17 for the flowers; YG06 & YG67, and YR07 & YR04 for the carrots; RV52, RV19 & RV55, Y13 & Y18, V22, V25 & BV17, and YR07 & YR04 for the butterflies.
Thanks for reading this post. I hope I’ve inspired you to give this cute and bright Spring card a try for yourself. Leave comments or questions below or feel free to email.
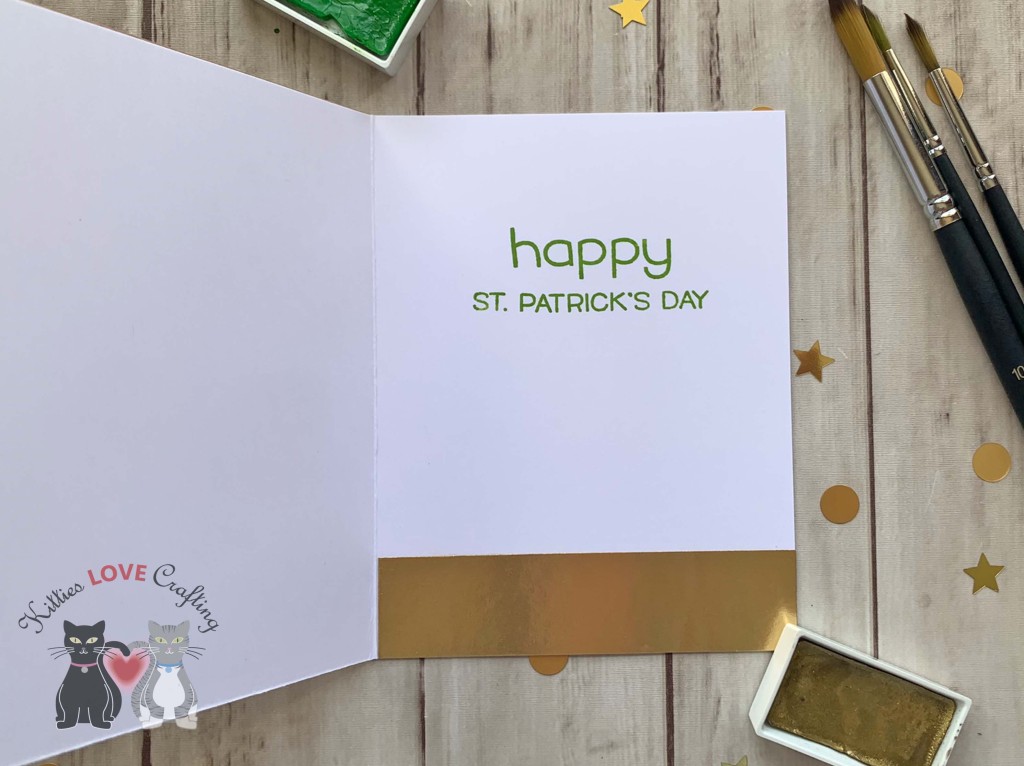
Thanks for reading this post. I hope I’ve inspired you to give this cute slimline St. Patrick’s Day card a try for yourself. Leave comments or questions below or feel free to email.
Hello friends. Want to make a fun card for St. Patrick’s Day but short on time?!? This flat shaker card was super quick to make! I used the Flat Acetate Shaker Pouches from Trinity Stamps which made it so much easier.
I used a Trinity Stamps A-2 Card Flat Acetate Shaker Pouches with double-sided tape to adhere to the back panel. I adhered 3 sides then filled it with different shaker bits. Then closed the fourth side and adhered it to the card base.
Thanks for reading this post. I hope I’ve inspired you to give this cute flat shaker card a try for yourself. Leave comments or questions below or feel free to email.
Thanks for reading this post. I hope I’ve inspired you to give this easy St. Patrick’s Day card a try for yourself. Leave comments or questions below or feel free to email.
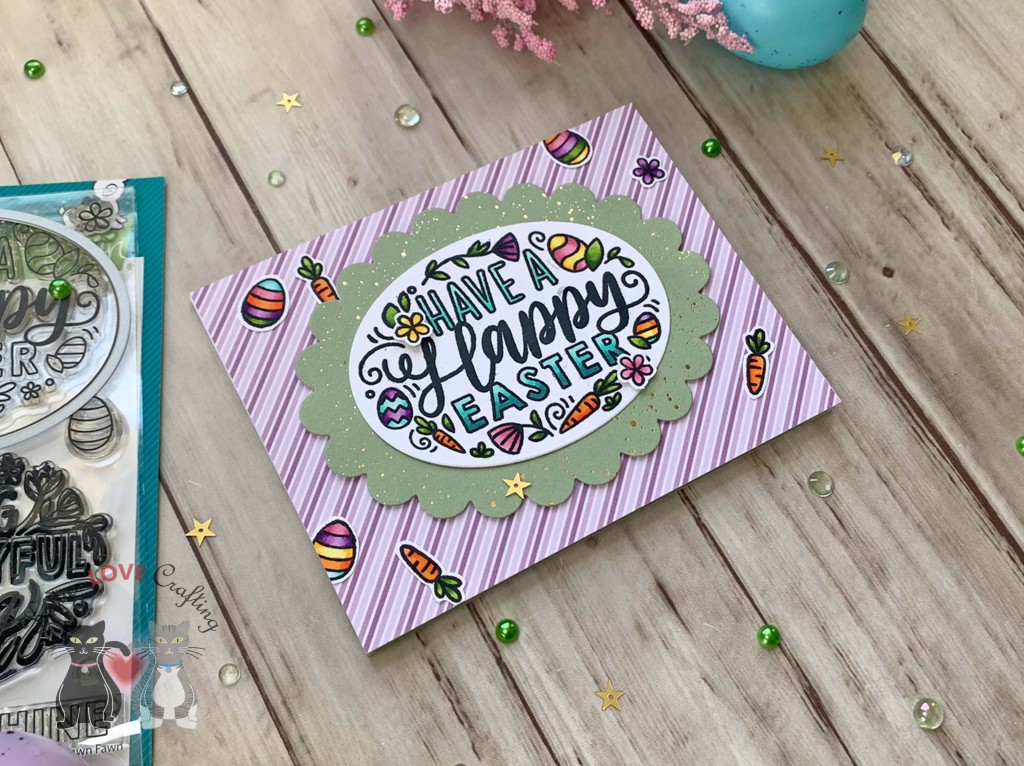
Hello friends. A simple card to start the Easter season… This card features the Lawn Fawn Giant Easter Messages which are nice large standalone sentiments!
I stamped the Easter sentiment and some of the tiny images from the Lawn Fawn Giant Easter Messages onto Neenah 100lb Classic Crest Cardstock 8.5 X 11″ with Memento Tuxedo Black Ink. I colored them with Copic Markers. I used Y13 & Y17, R81, R83 & R85, V01, V06 & V09, YG25 & YG67, BG10, BG11 & BG32, and YR09 & YR12 for the eggs; YG25 & YG67 and YR09 & YR12 for the carrots; R81, R83 & R85, V01, V06 & V09, and Y13 & Y17 for the flowers; and YG25 & YG67 for the leaves.
Thanks for reading this post. I hope I’ve inspired you to give this cute Easter card a try for yourself. Leave comments or questions below or feel free to email.
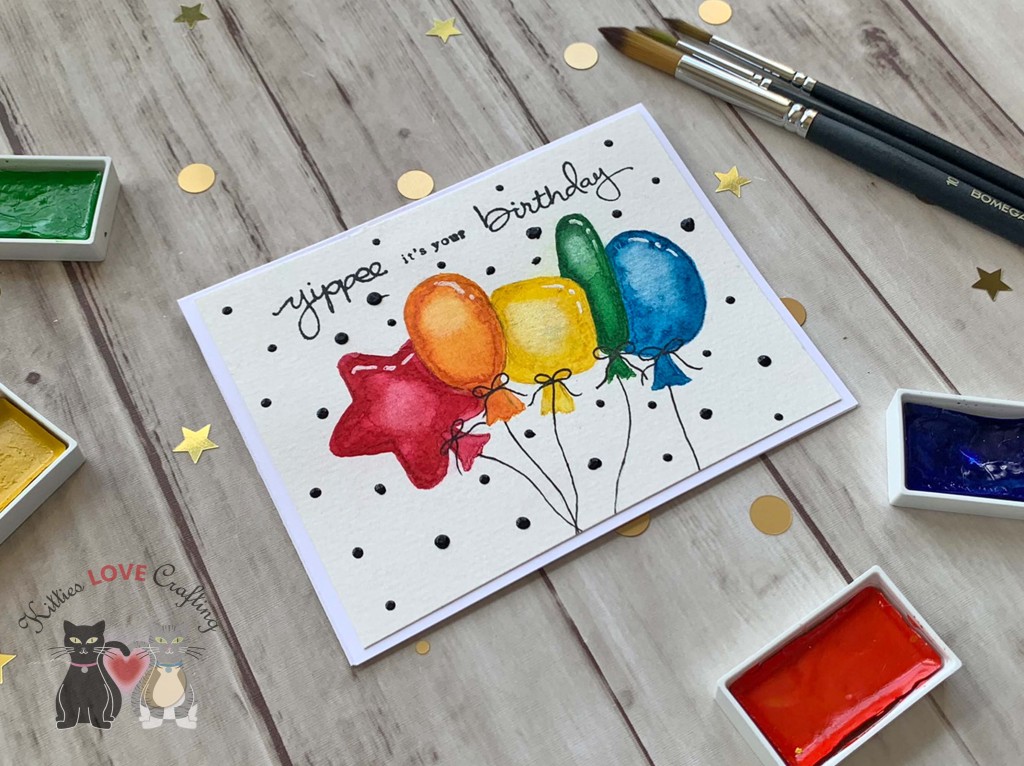
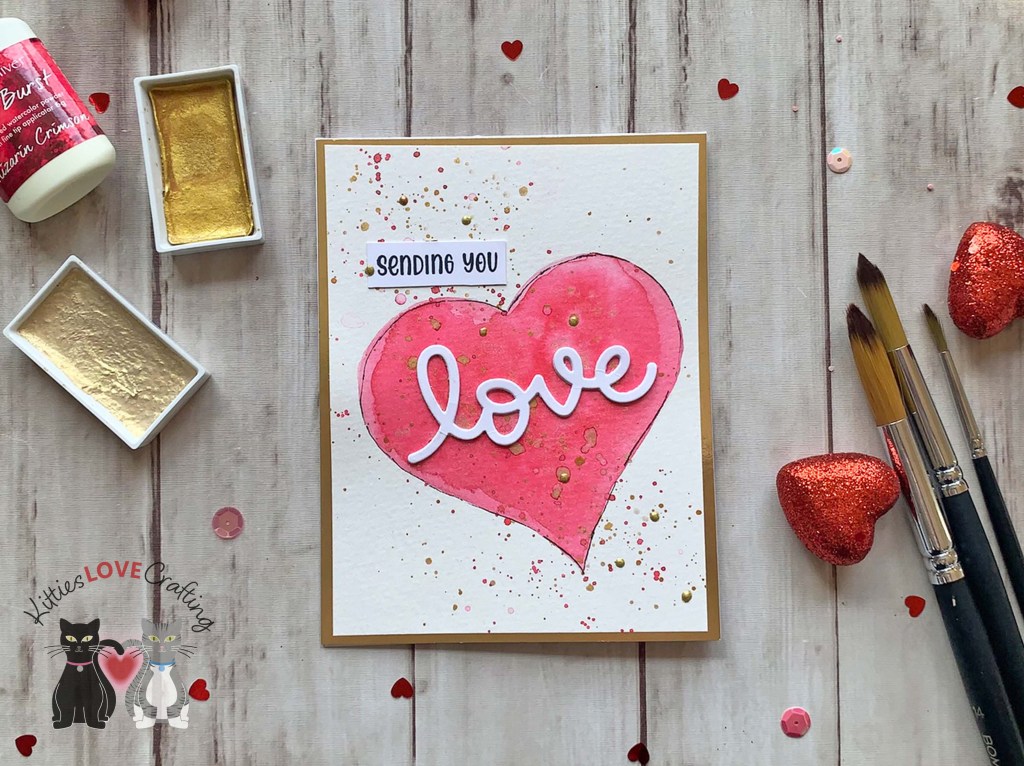
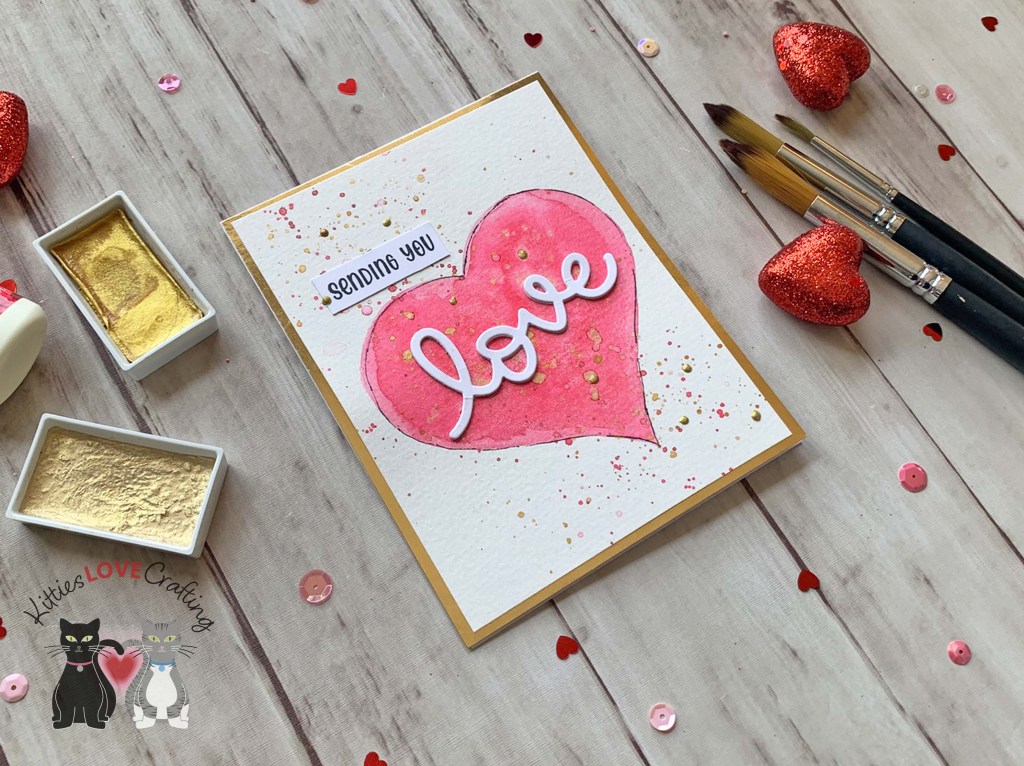
Hello friends. Here are some easy watercolor cards anyone can make! While I am an artist I am not super comfortable doing freehand watercolor paintings. But these 3 cards were very easy to make. If you cannot draw either use a stencil, die or printable to trace a simple drawing. I used this technique for one of my cards. More on this later…
I did a quick sketch for the egg (I actually used an egg shaped framelit die to trace the outside). I used my Kuretake GANSAI TAMBI Watercolor Paint Set (I love this set!) to color the egg. I kept the coloring simple – one color and white. You can be as elaborate with your painting as you like though. Once the egg and grass were colored and dry, I added some splatters with some Zig Kuretake Gansai Tambi STARRY COLORS. Then I added some sketchy lines around the egg with a 0.5 Sakura Pigma Micron Fineliner Pen.
While I do not have a picture of the sketch to show you, I just drew very basic shapes for the balloons. They don’t have to be perfect. If you feel like you cannot draw them, get an image from the internet etc and trace it or use stencils or dies. Again very simple painting here. This time I used one color plus a White Gold watercolor from the Zig Kuretake Gansai Tambi STARRY COLORS.
The sketch for this card was super simple. I drew 3 hearts and a stem. I used my Kuretake GANSAI TAMBI Watercolor Paint Set again. And finished the background by adding some splatters with White and Gold Acrylic paint.
Thanks for reading this post. I hope I’ve inspired you to give these easy watercolor cards a try for yourself. Leave comments or questions below or feel free to email.
Thanks for reading this post. I hope I’ve inspired you to give this cute Valentine’s Day card a try for yourself. Leave comments or questions below or feel free to email.
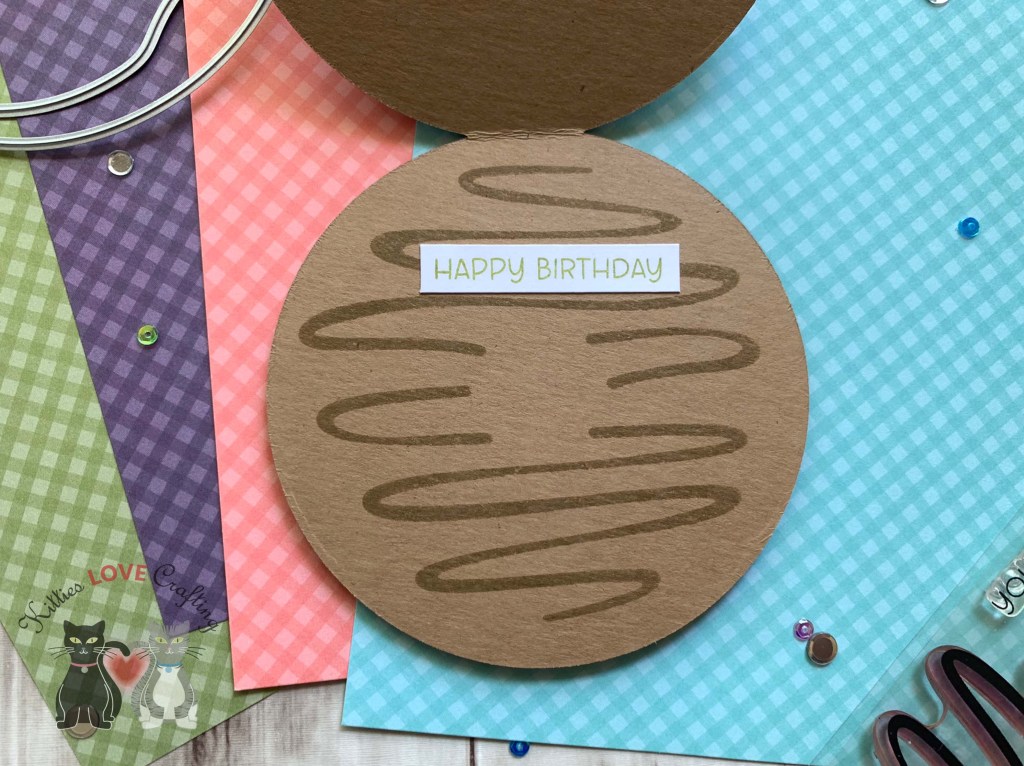
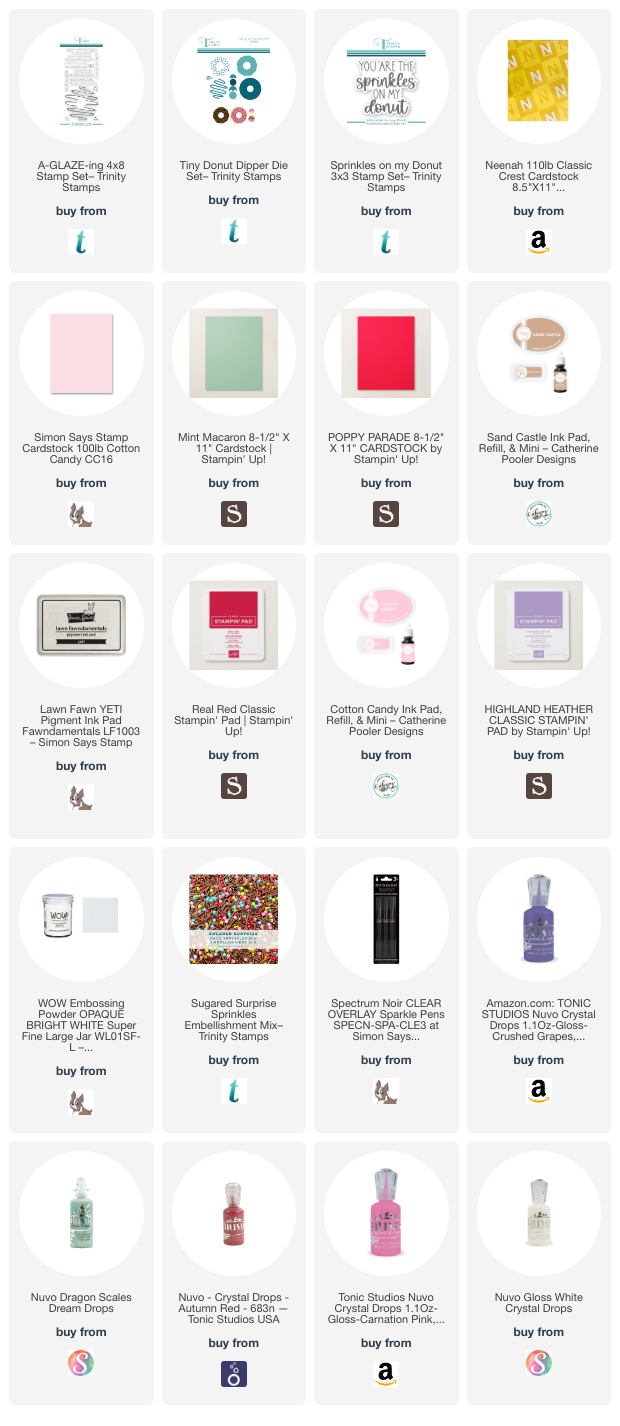
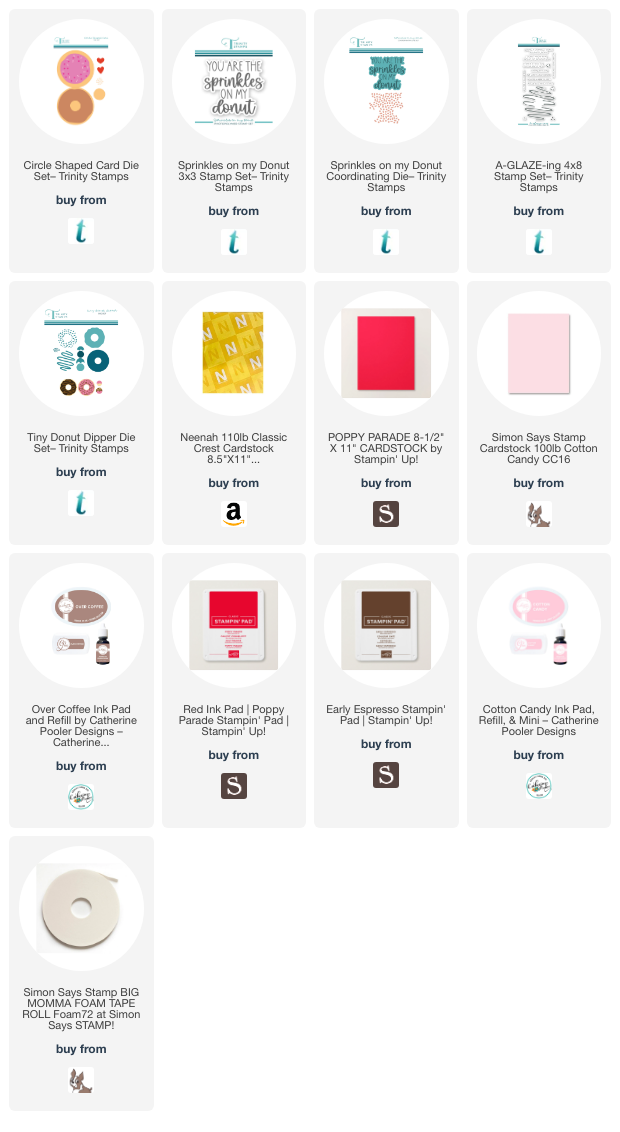
Hello friends. I am loving all the new Trinity Stamps yummy donut dies and stamps! It’s so easy to make cards with these dies, I just had to make more… For this one I had to CASE a card from Carrie Rhoades (from the Trinity Stamps Creative Team), featuring the Tiny Teacup and Tiny Donut Die Sets. It is a super cute card!
Thanks for reading this post. I hope I’ve inspired you to give this cute Valentine’s Day card a try for yourself. Leave comments or questions below or feel free to email.
Hello friends. You don’t have pattern paper for your card background?!? No problem. Use tissue paper. Tissue paper is readily available at several store in the gift wrap section. Dollar Tree or any other dollar store sells them and you can make several cards from one sheet!
For this card, I die cut a piece of Neenah 100lb Classic Crest Cardstock 8.5 X 11″ to 5-1/2 x 11″ and scored at 5-1/2″ to create a card base and another piece which I cut to 5 x 5″. I adhered a piece of Valentine’s Day tissue paper I got from the Dollar Tree to that 5 x5″ panel. Then, ran it through my embossing/diecutting machine with an embossing folder from Queen & Company (unfortunately no longer available).
I added a piece of acetate to the center of the donut and the added the heart on top and the other white piece of the circle card which I added to the back of the front panel.
Thanks for reading this post. I hope I’ve inspired you to give this cute Valentine’s Day card a try for yourself. Leave comments or questions below or feel free to email.
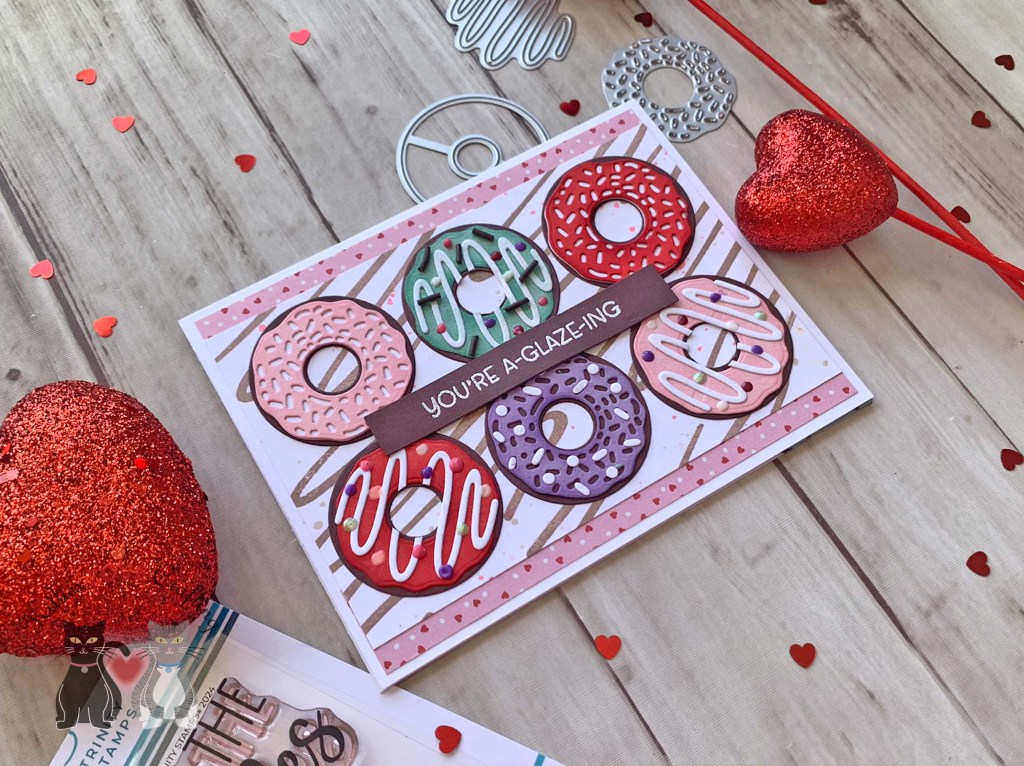
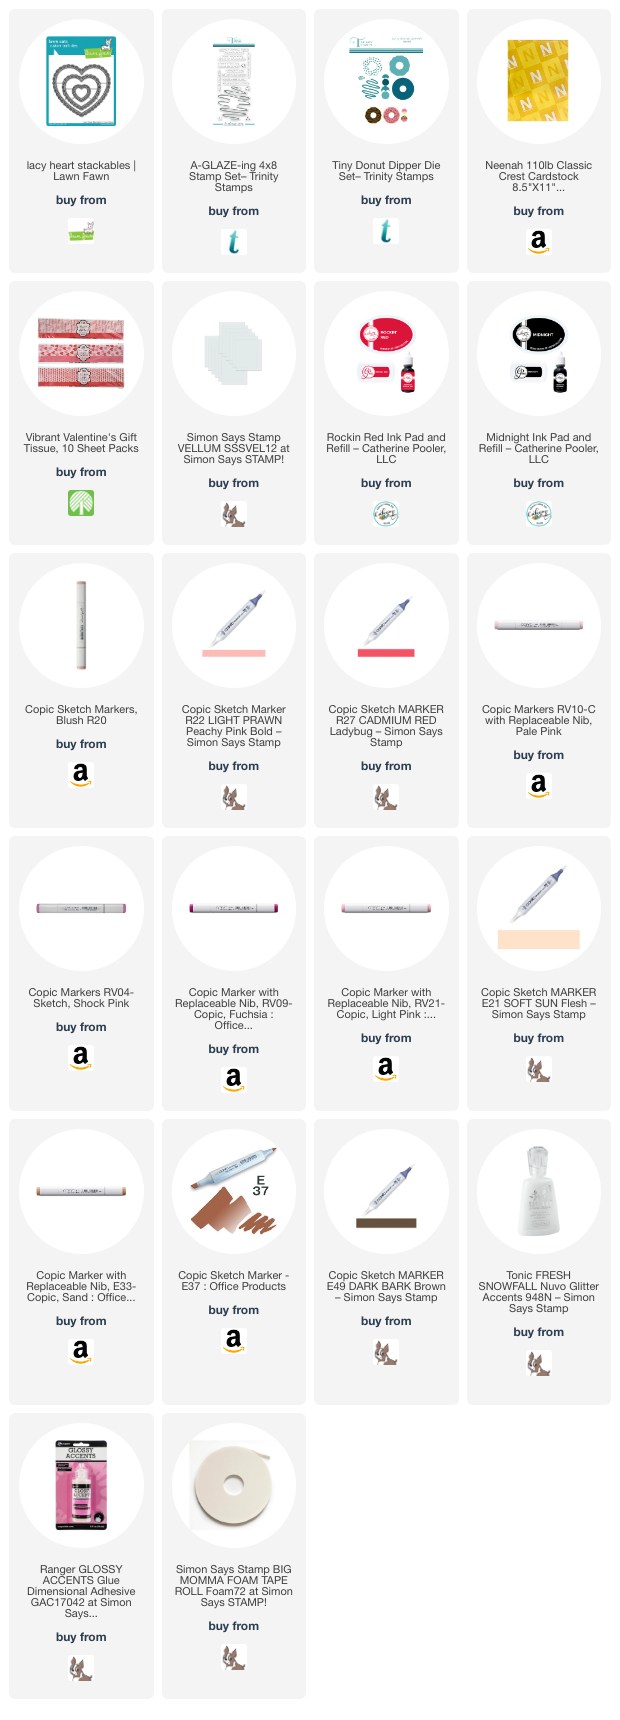
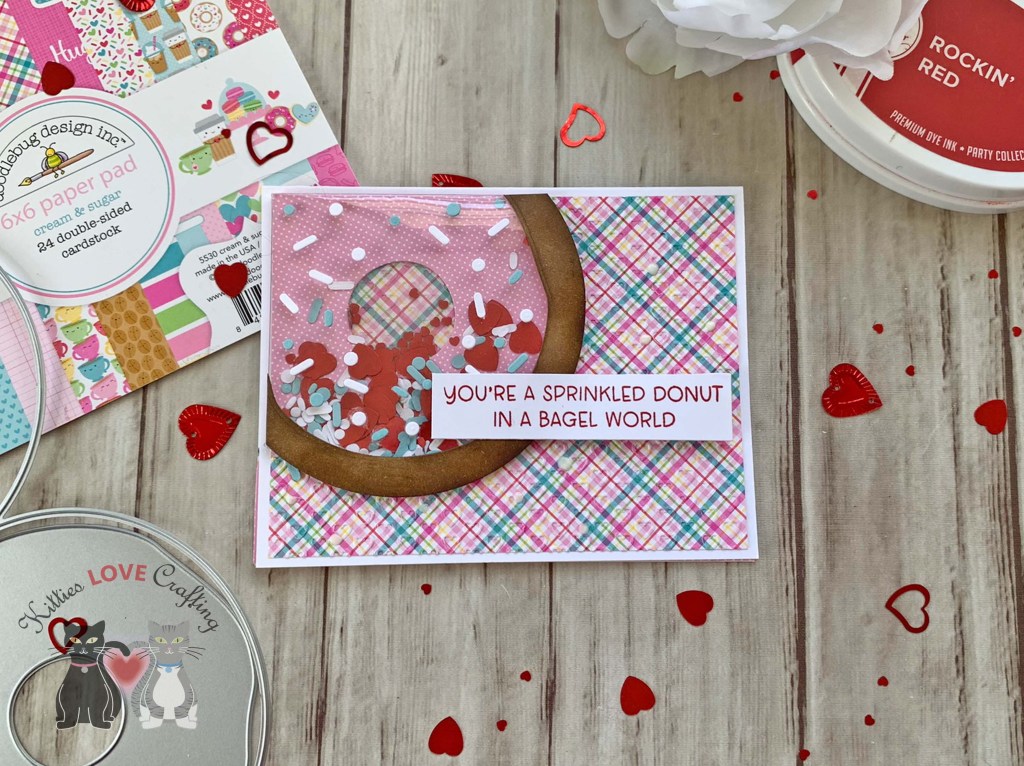
Hello friends. Here is another way to use the new Circle Shaped Card Die Set from Trinity Stamps to make a cute Valentine’s Day card — a flat shaker donut! I love making shaker cards but sometimes they can be bulky. This is a way to keep your card flatter so you can mail it without spending textra on postage. And who doesn’t want to save some money these days?!? Now my shaker pouch puffed a little bit but it’s still flatter than a traditional shaker pouch and I can remedy this next time by using a thinner plastic/acetate.
For this card, I cut a piece of Neenah 100lb Classic Crest Cardstock 8.5 X 11″ to 5-1/2 x 8-1/2″ and scored at 4-1/4″. I also cut a piece of Doodlebug Designs Cream & Sugar 6 x 6 Paper (discontinued?) to 4 x 5-1/4″. Then I ran that through my die cutting machine with an embossing folder from Queen & Company which has tiny open hearts all over it. This was part of a bundle they sold one time. Not sure if they will bring them back.
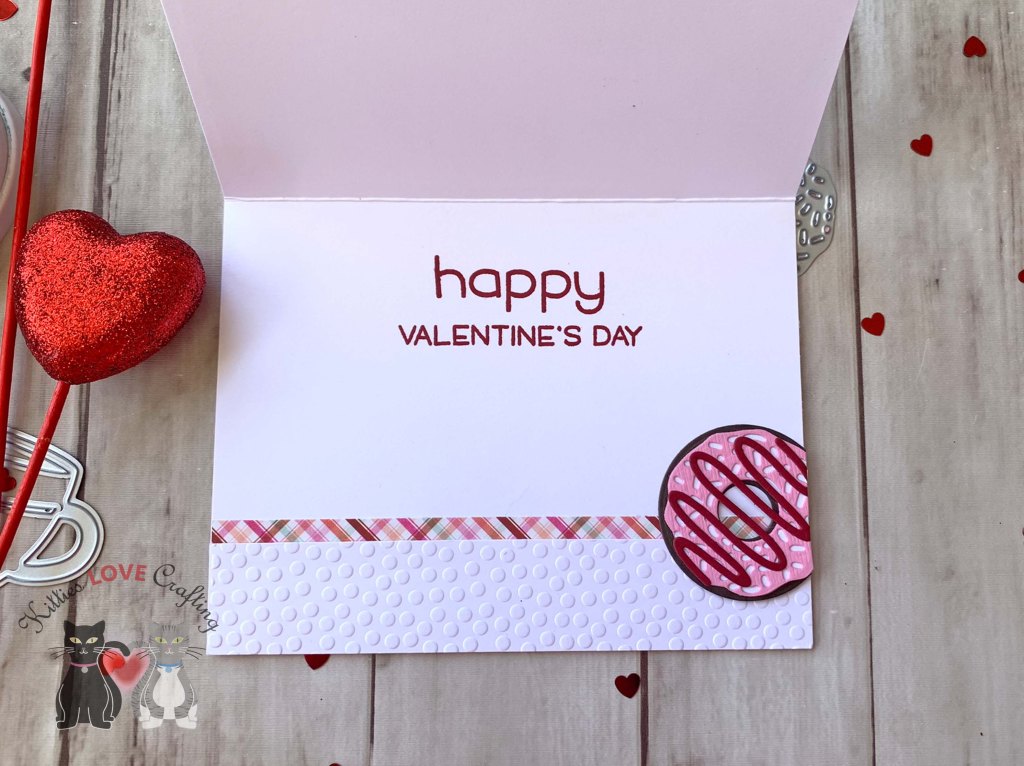
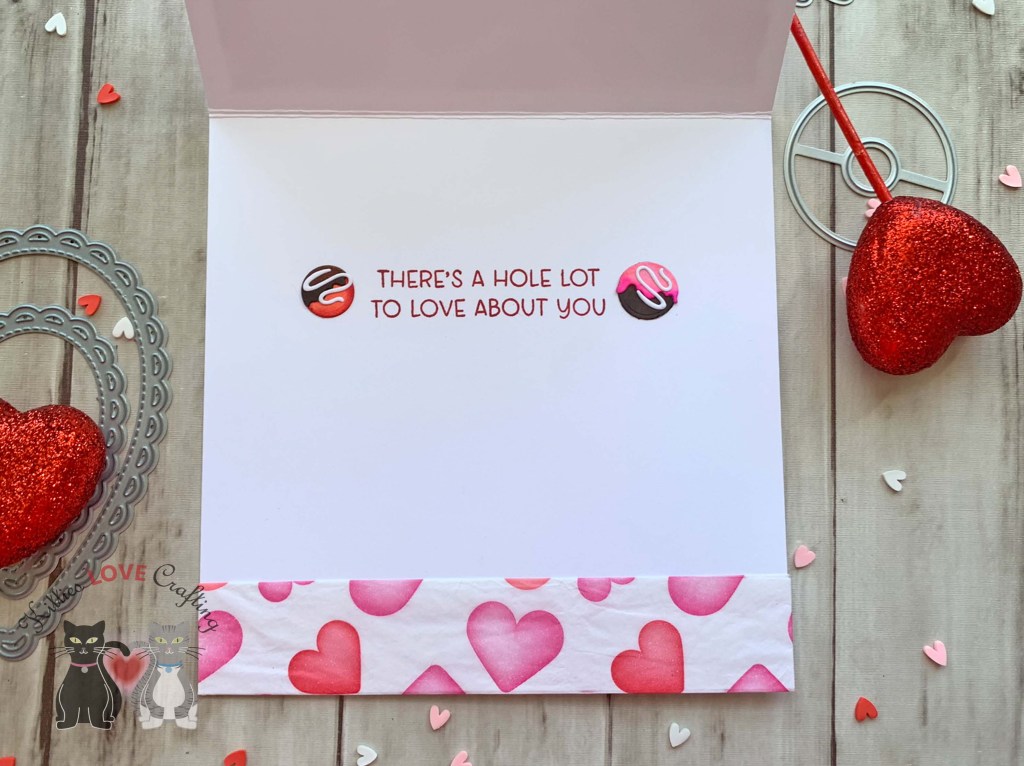
On the inside of the card, I cut a piece of the same pattern papers used on the front to 1 x 5-1/2″ and 1-1/4 x 5-1/2″. Then stamped a sentiment from my stash with Catherine Pooler Designs Rockin’ Red Ink.
Thanks for reading this post. I hope I’ve inspired you to give this cute donut Valentine’s Day card a try for yourself. Leave comments or questions below or feel free to email.
Thanks for reading this post. I hope I’ve inspired you to give this cute Valentine’s Day card a try for yourself. Leave comments or questions below or feel free to email.
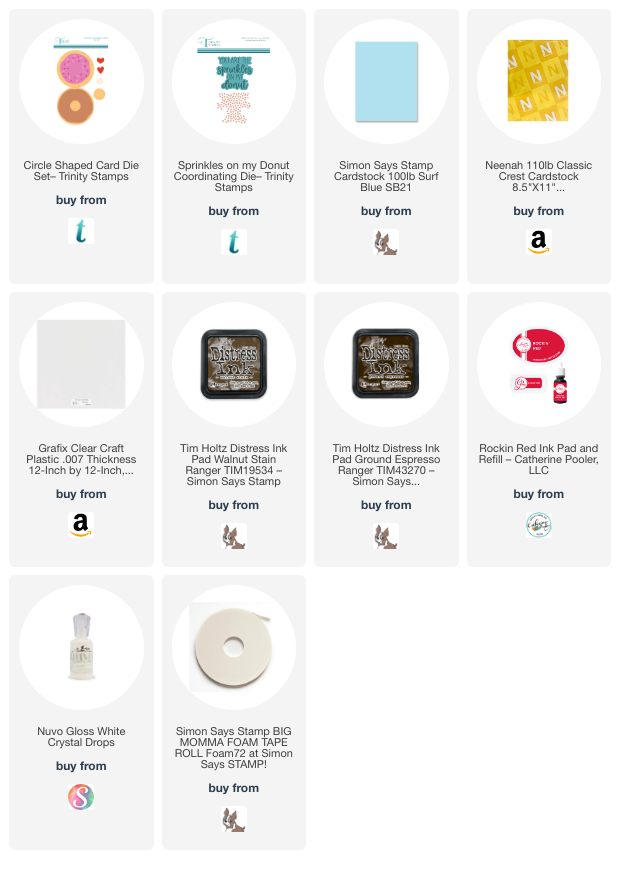
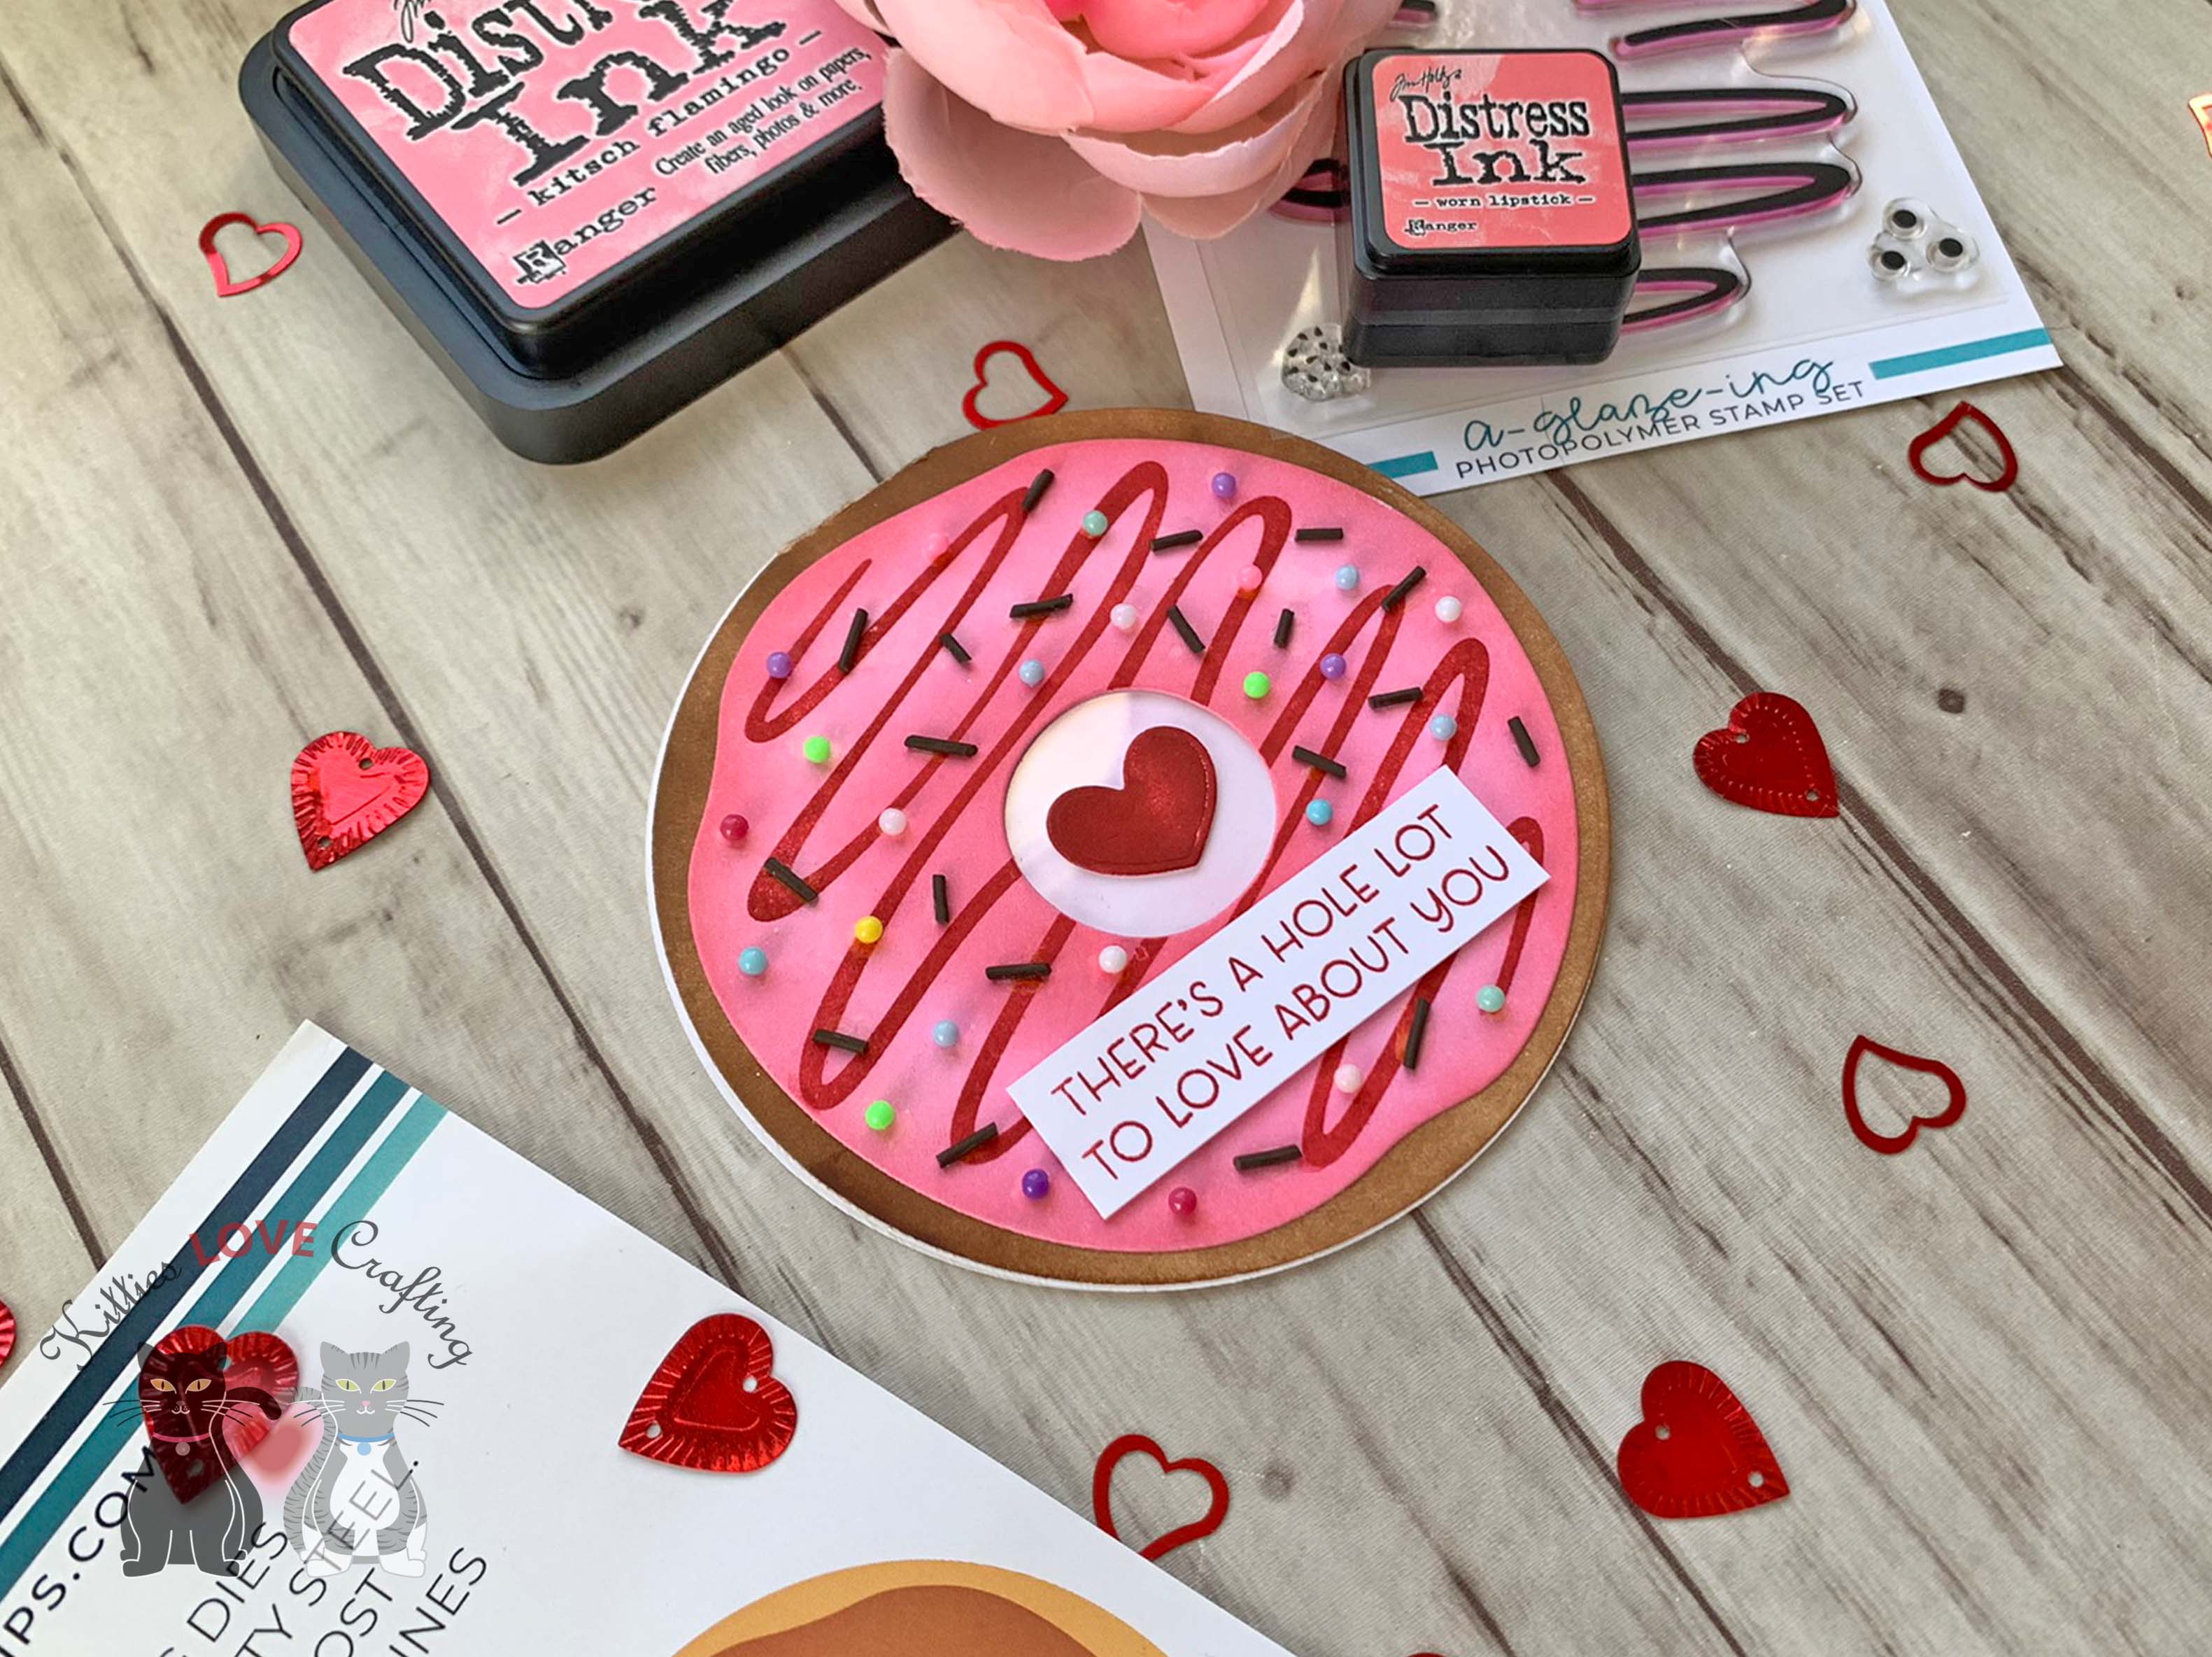
Hello friends. For this post I decided to CASE Brenda Noelke’s card from the Trinity Stamps’ design team. I used distress ink to color all the pieces of the donut, however. I was surprised how quickly you can make a card with these dies! Look for more posts featuring Trinity Stamps new dies.
I added a piece of acetate to the center of the donut and the added the heart on top and the other white piece of the circle card which I added to the back of the front panel.
Thanks for reading this post. I hope I’ve inspired you to give this cute donut Valentine’s Day card a try for yourself. Leave comments or questions below or feel free to email.
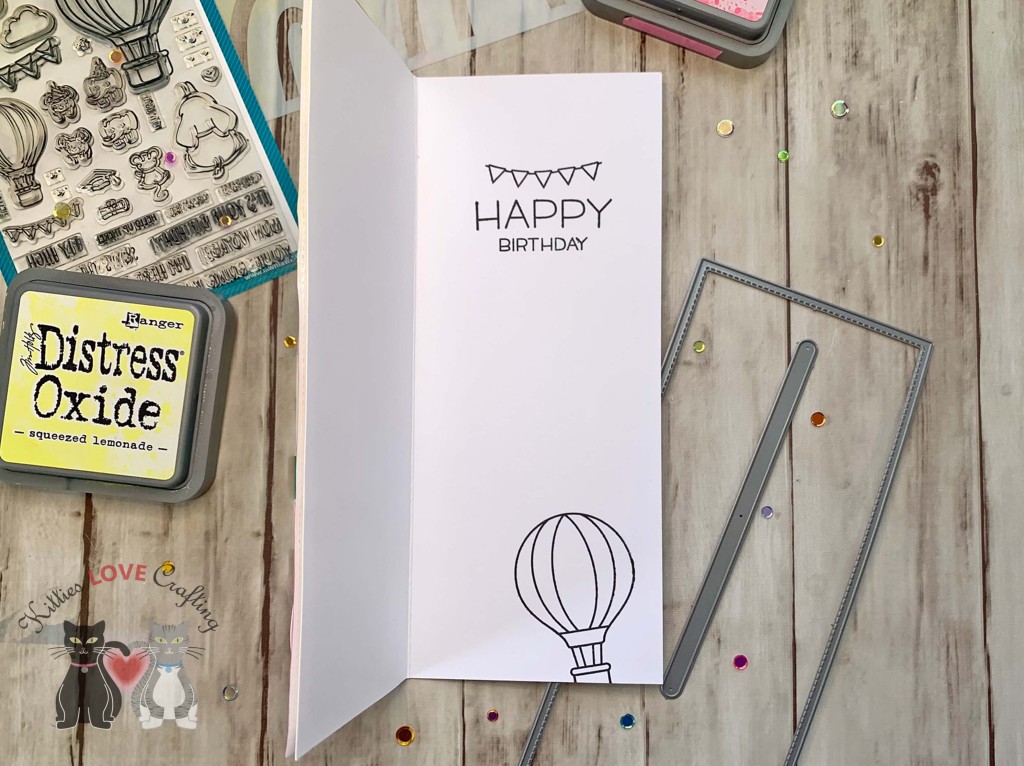
Hello friends. This card features the Lawn Fawn Fly High stampset. This is an example on how to create an interactive slimline card with this stampset. The hot air balloons can be used in a variety of ways. Check out the mini slimline Valentine’s Day card I made with it to see more ideas in my previous post.
Thanks for reading this post. I hope I’ve inspired you to give this cute slimline birthday card a try for yourself. Leave comments or questions below or feel free to email.
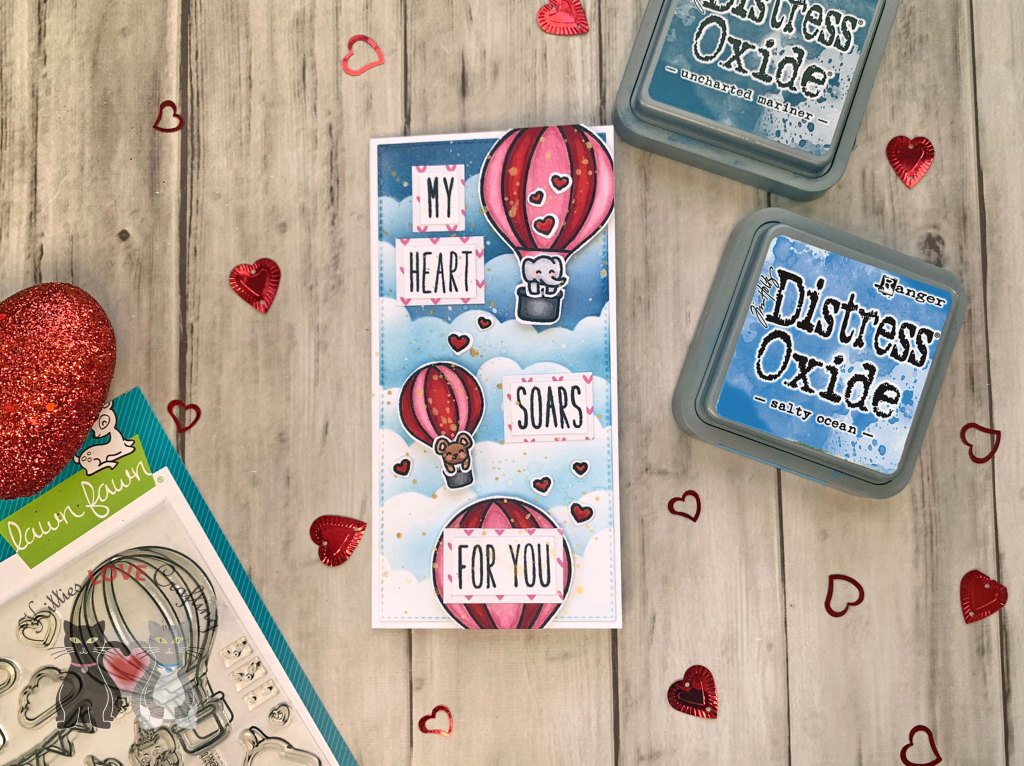
Hello friends. It’s time to start the new year off with some Valentine’s Day cards. My first card is a mini slimline featuring the Lawn Fawn Fly High stampset. The little critters are adorable and can be used in a variety of ways.
Thanks for reading this post. I hope I’ve inspired you to give this cute mini slimline Valentine’s Day card a try for yourself. Leave comments or questions below or feel free to email.
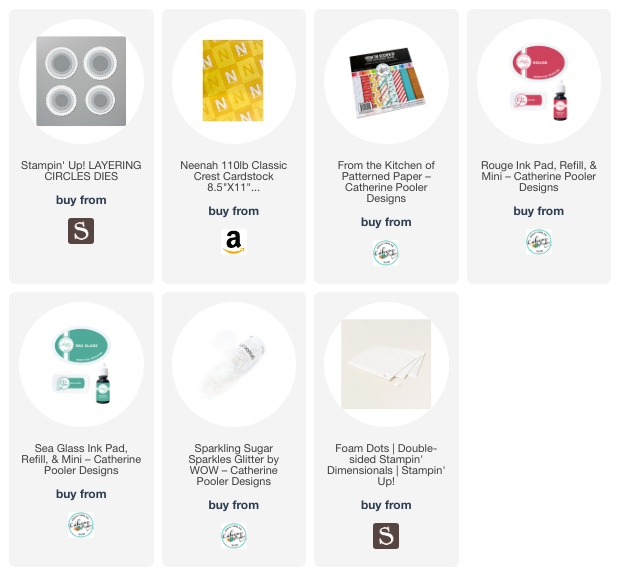
Hello friends. For this card, I decided to try using one of the dies included in the Baking Spirits Bright Card Kit Box (from Catherine Pooler Designs) in a different way — as a background for my images. Let’s see how easy it was to make…
For this card, I cut a piece of Neenah 100lb Classic Crest Cardstock 8.5 X 11″ to 5-1/2 x 8-1/2″ and scored at 4-1/4″. I also cut a piece of CP From the Kitchen 6 x 6 Paper (included in the Baking Spirits Bright Card Kit) to 4-1/4 x 5-1/2″, and another piece to 4 x 5-1/4″.
I die cut three baking racks from the CP Cookie Sheet Dies (included in the Baking Spirits Bright Card Kit) from Neenah 100lb Classic Crest Cardstock 8.5 X 11″. Then cut 3 circles, measuring 2-3/8″ and 1-7/8″, using Stampin’ Up! Layering Circles Dies (may be retired). I also cut scalloped circles from using the same die set that were slightly larger. I colored those circles with CP Rouge, Matcha and Sea Glass Inks using the direct-to-paper technique.
I stamped the sentiment from the CP Sweet Holiday Sentiments (included in the Baking Spirits Bright Card Kit) onto a piece of Neenah 100lb Classic Crest Cardstock 8.5 X 11″ with CP Midnight Ink then cut it to 1 x 4-1/4″ and also cut a piece of CP From the Kitchen 6 x 6 Paper 1-1/4 x 4-1/4″. I popped it up by adding some Foam Tape.
I finished the card by adding some Nuvo Crystal Drops in White Gloss.
On the inside of the card I cut a piece of pattern paper to 1 x 5-1/2″ and another to 1-1/4 x 5-1/2″. I stamped a sentiment from the CP Sweet Holiday Sentiments Stampset with CP Rouge Ink and added a cookie.
Thanks for reading this post. I hope I’ve inspired you to give this cute and sweet holiday card a try for yourself. Leave comments or questions below or feel free to email.
Hello friends. Here’s another card featuring these adorable penguins from the Lawn Fawn HERE WE GO A-WADDLING stamps. I paired it with an old die set from Catherine Pooler Designs. It was featured in the Winterhaven Stamp of Approval several years ago!
For this card, I cut a piece of Neenah 100lb Classic Crest Cardstock 8.5 X 11″ to 5-1/2 x 8-1/2″ and scored at 4-1/4″ to create a card base and another piece to 4 x 5-1/4″ for the background. I used the Tim Holtz Salty Ocean, Uncharted Mariner, and Chipped Sapphire Distress Oxide Inks to color the background. Then used a snowflake embossing folder (Stampin’ Up! Winter Snow) to give it some dimension. Then I lightly ran a white pigment ink pad (Lawn Fawn Yeti Pigment Ink) over the raised areas; This enhanced the snowflakes a bit more. (TIP: Make sure to let this dry for several hours before touching the panel or use a heat tool to set it). Lastly, I added some splatters using White Acrylic paint.
Thanks for reading this post. I hope I’ve inspired you to give this cute penguin Christmas card a try for yourself. Leave comments or questions below or feel free to email.
Hello friends. For this cute holiday card, I uses a technique I had forgotten about but recently reminded of while watching a Youtube video. The technique is stenciling on pattern paper. It’s an easy way to add depth and interest to a background without adding extra bulk. This card features the Lawn Fawn Spooky Forest Backdrop die and the Lawn Fawn Winter Village Stamps.
I decided to do a radical thing on this card and have NO sentiment on the outside. What?!? Unheard of, right? LOL. Sometimes it’s ok to leave the outside of your card with just a pretty scenes. Let the recipient be surprised when they open the card.
Thanks for reading this post. I hope I’ve inspired you to give this cute penguin Christmas card a try for yourself. Leave comments or questions below or feel free to email.
Hello friends. When I’m making cards, I like to be as non-wasteful as possible. With these cards, I am using the Positive and Negative die cuts to make two cards. I am using products from the Baking Spirits Bright Card Kit Box (from Catherine Pooler Designs) as well as some others. See how easy this was below.
For the first card, I cut a piece of Neenah 100lb Classic Crest Cardstock 8.5 X 11″ to 5-1/2 x 8-1/2″ and scored at 4-1/4″. I also cut another to 3-3/4 x 4″ which I stenciled the panel using the Ditsy Holly Stencil (included in the Baking Spirits Bright Card Kit) and CP Rouge, Cotton Candy, Matcha and Sea Glass Inks.
I die cut a circle (measuring 2-7/16″) from the left side of the panel (save this for another card) as well as two circles (measuring 2-3/8″ and 2-3/4″) from Neenah 100lb Classic Crest Cardstock 8.5 X 11″ using the Stampin’ Up! LAYERING CIRCLES Dies (retired). I colored the scallop circle using the direct-to-paper technique with CP Rouge Ink and stamped a sentiment from the CP Sweet Holiday Sentiments Stampset (included in the Baking Spirits Bright Card Kit) on the smaller one with Sea Glass Ink.
I die cut the spatula and rolling pin from the CP Mix & Bake dieset. I used Neenah 100lb Classic Crest Cardstock 8.5 X 11″ for the spatula and colored it with Matcha Ink. The handle and all the rolling pin was die cut from CP From the Kitchen 6 x 6 Pattern Paper (included in the Baking Spirits Bright Card Kit).
Lastly I finished the card by adding some CP Bavaria Sequin Mix (included in the Baking Spirits Bright Card Kit).
On the inside of the card I stamped a sentiment from the CP Here We Come A Caroling Stampset (this was part of the Winterhaven Stamp of Approval 2017 release) with CP Rouge Ink and added a mitten and spatula.
For the second card, I cut a piece of Neenah 100lb Classic Crest Cardstock 8.5 X 11″ to 5-1/2 x 8-1/2″ and scored at 4-1/4″. I also cut a piece of CP From the Kitchen 6 x 6 Patterned Paper (included in the Baking Spirits Bright Card Kit) to 4-1/4 x 5-1/2″, and a piece of Neenah 100lb Classic Crest Cardstock 8.5 X 11″ to 4 x 5-1/4″. I die cut a piece of white cardstock with the Hobnob Cover Plate Die and used that as a stencil with some CP Matcha Ink to add some interest to the background panel.
Next I cut a strip of CP Bushel and a Peck 6 x 6 Patterned Paper to 1 x 4-1/4″ and one from CP From the Kitchen 6 x 6 Patterned Paper (included in the Baking Spirits Bright Card Kit) to 1-1/4 x 4-1/4″. I used the left over stenciled circle (2-7/16″) from the previous card and added a Vellum scallop circle measuring 2-7/16″ which I die cut using the Stampin’ Up! LAYERING CIRCLES Dies (retired). I stamped a sentiment from the CP Sweet Holiday Sentiments Stampset (included in the Baking Spirits Bright Card Kit) with Tsukineko Stazon MIDI JET BLACK Ink.
I used a 1-3/8″ circle punch to cut some circles from same white panel I die cut with the Hobnob Cover Plate Die. And colored them using the direct-to-paper technique and CP Rouge and Matcha Inks.
I finished the card by adding some CP Bavaria Sequin Mix (included in the Baking Spirits Bright Card Kit).
On the inside of the card I cut two strips of CP From the Kitchen 6 x 6 Patterned Paper to 1 x 4-1/4″ and 1-1/8 and 4-1/4″.
Thanks for reading this post. I hope I’ve inspired you to give this cute and sweet holiday card a try for yourself. Leave comments or questions below or feel free to email.
Thanks for reading this post. I hope I’ve inspired you to give this easy Thank You card a try for yourself. Leave comments or questions below or feel free to email.
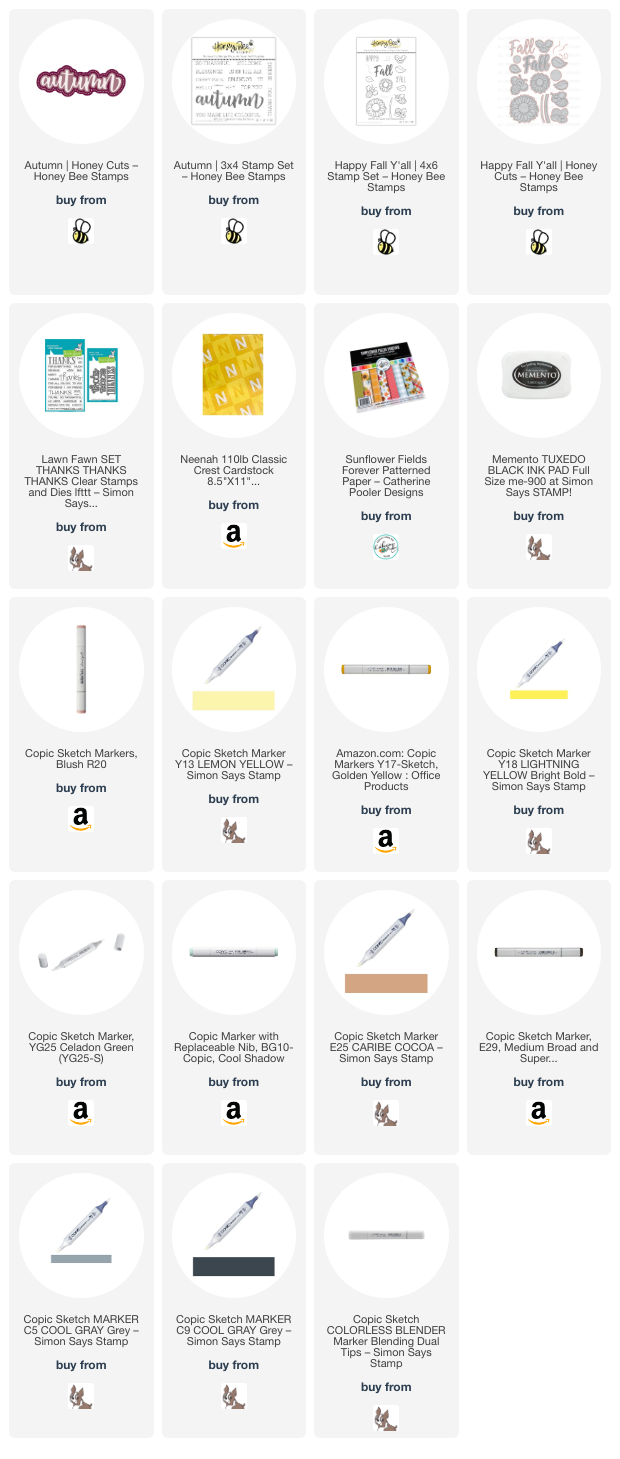
Hello friends. There are still a few more weeks left of Fall and even though I’ve been knee deep in Christmas card making, I wanted to make some more Fall cards. I brought out some Honey Bee Stamps stamps and dies for this one. An easy way to make a dimensional background without having to emboss is to use diecuts.
Thanks for reading this post. I hope I’ve inspired you to give this cute Fall card a try for yourself. Leave comments or questions below or feel free to email.
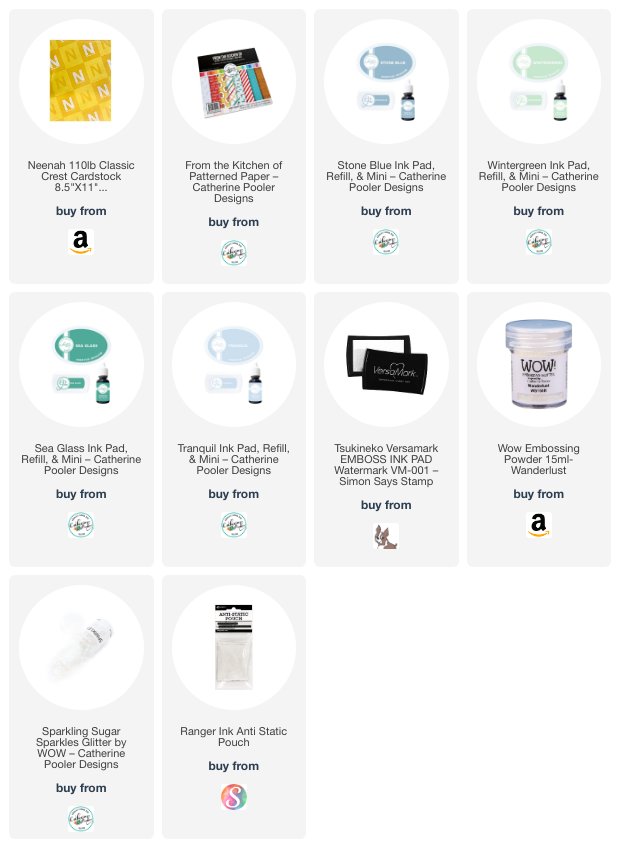
Hello friends. This card was inspired by Daniel West’s card tutorial for the Baking Spirits Bright Virtual Retreat!This card uses glitter embossing powder to easily add sparkle to the background. It didn’t take very long to make and the end result is so pretty!
I stamped the sentiment from the CP Here We Go A Caroling Stampset (retired) onto a piece of Neenah 100lb Classic Crest Cardstock 8.5 X 11″ with CP Rouge Ink and cut it to 1-1/16 x 5″. I also added a strip of pattern paper from the CP From the Kitchen 6 x 6 Paper behind it.
On the inside of the card I cut a piece of pattern paper to 1-7/8 x 5-1/2″ and another to 1 x 5- 1/2″. I stamped a sentiment from the CP Baking Spirits Bright stampset with CP Sea Glass Ink and added a snowflake with CP Tranquil Ink.
Thanks for reading this post. I hope I’ve inspired you to give this very easy and sparkly holiday card a try for yourself. Leave comments or questions below or feel free to email.
Thanks for reading this post. I hope I’ve inspired you to give this cute penguin Christmas card a try for yourself. Leave comments or questions below or feel free to email.
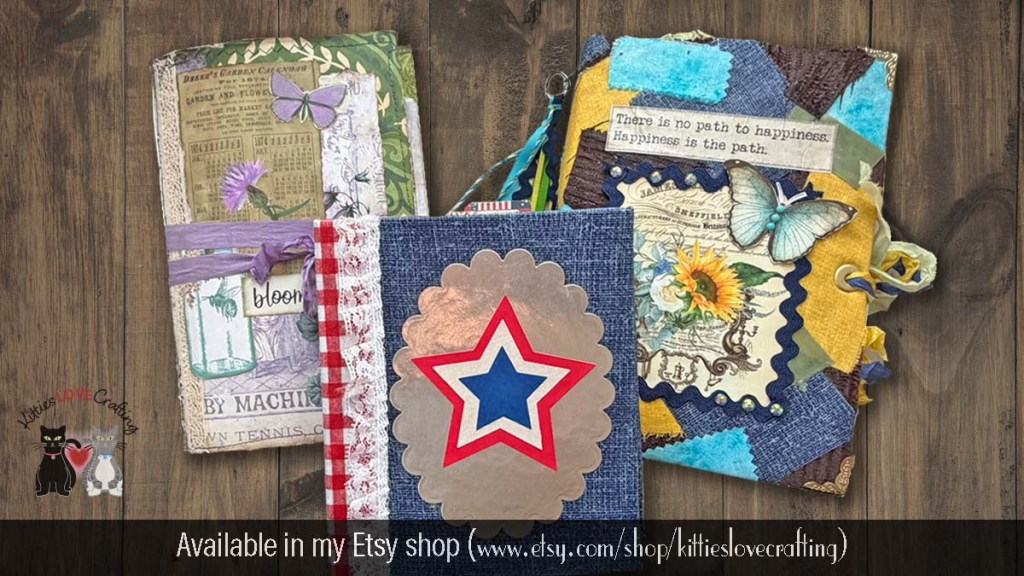
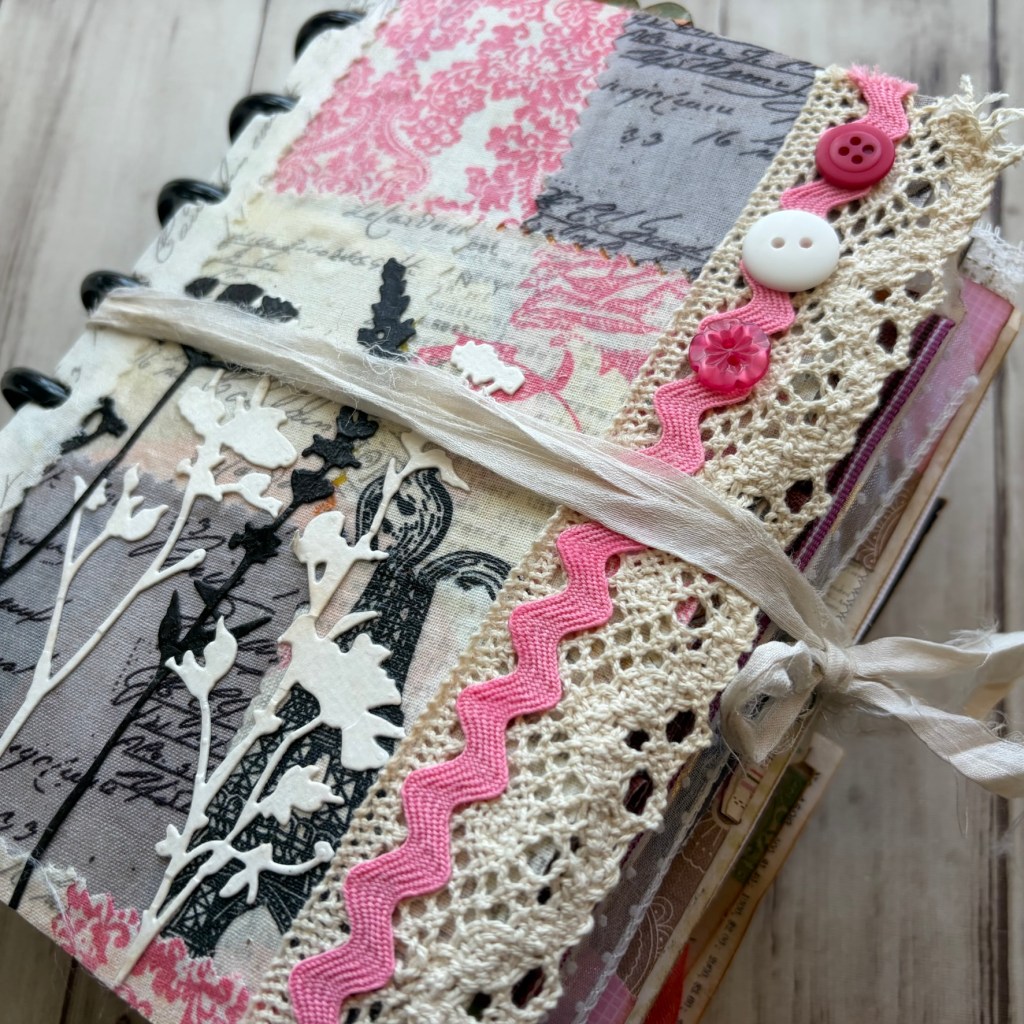
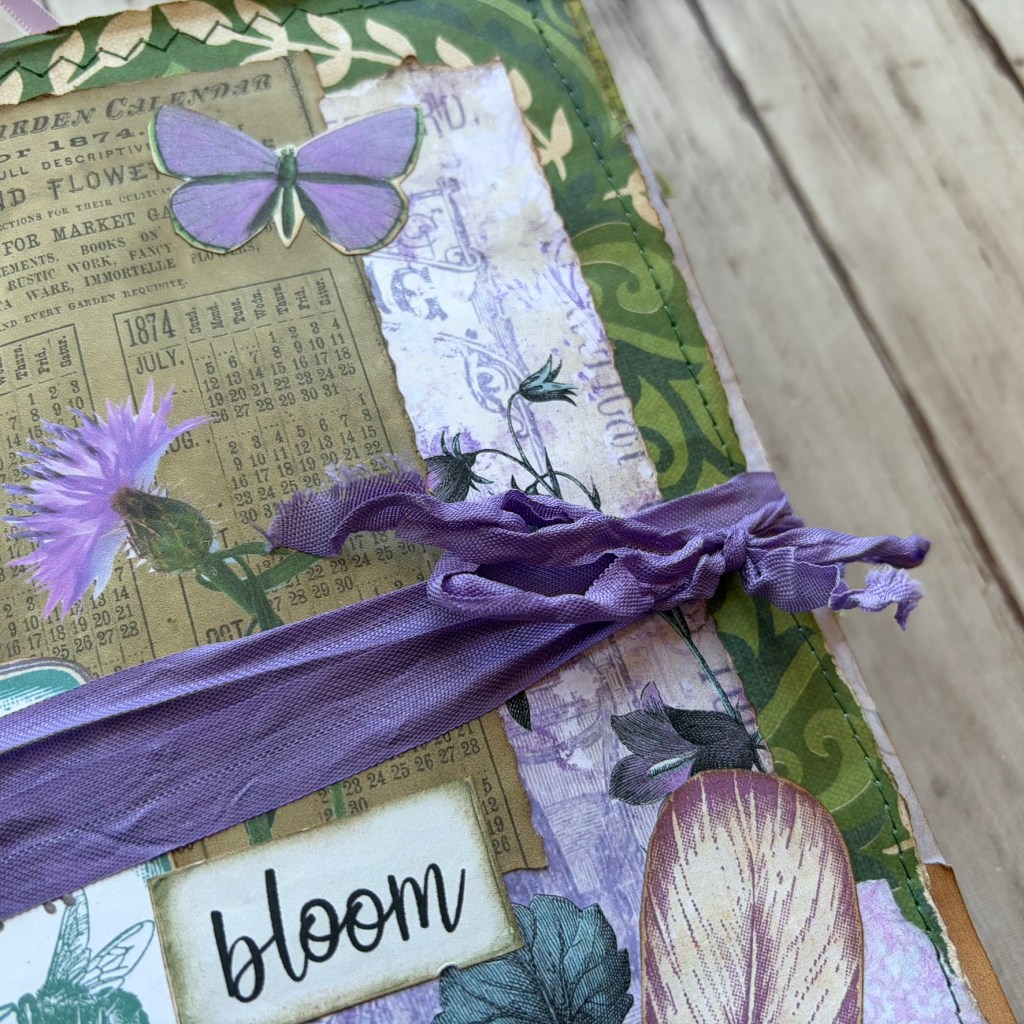
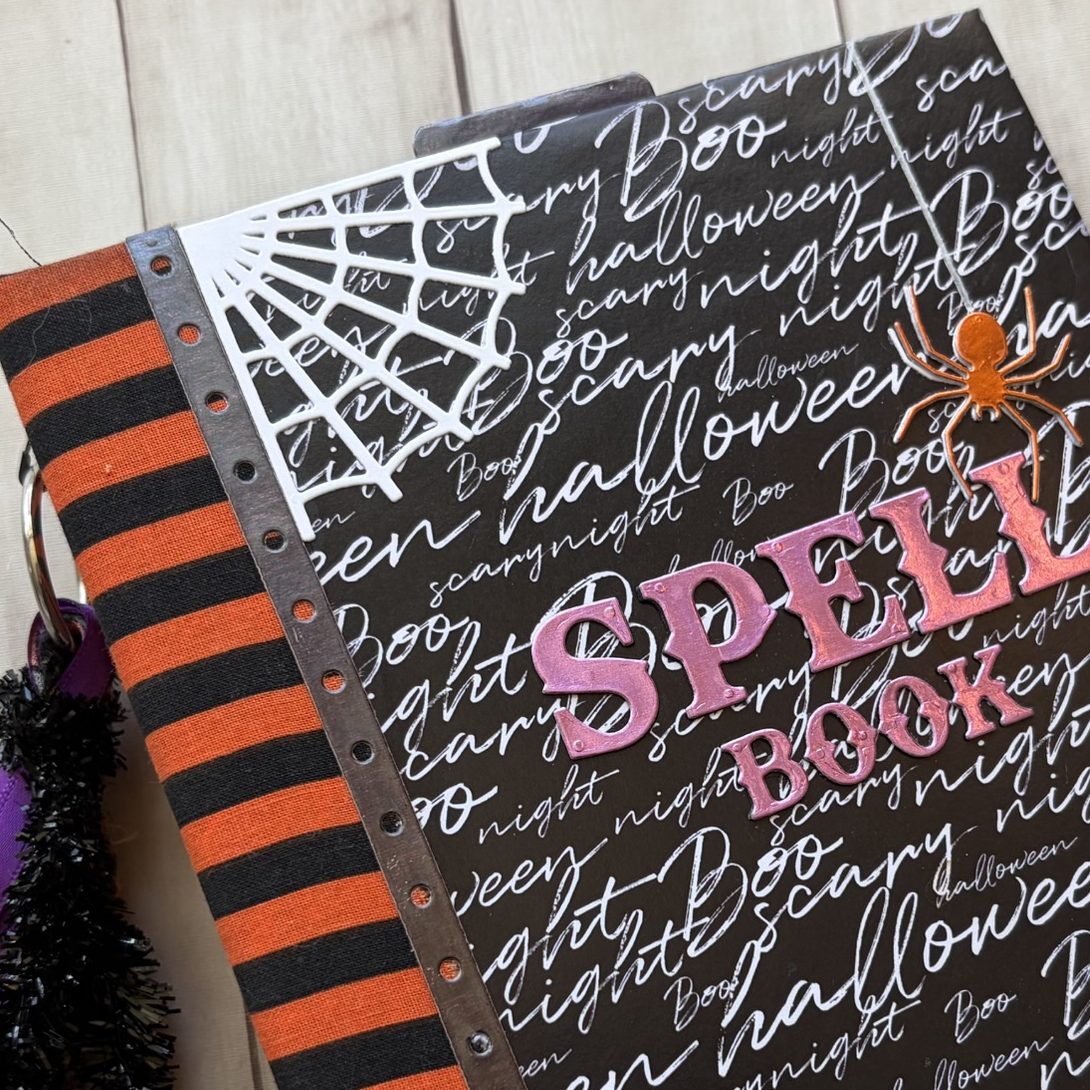
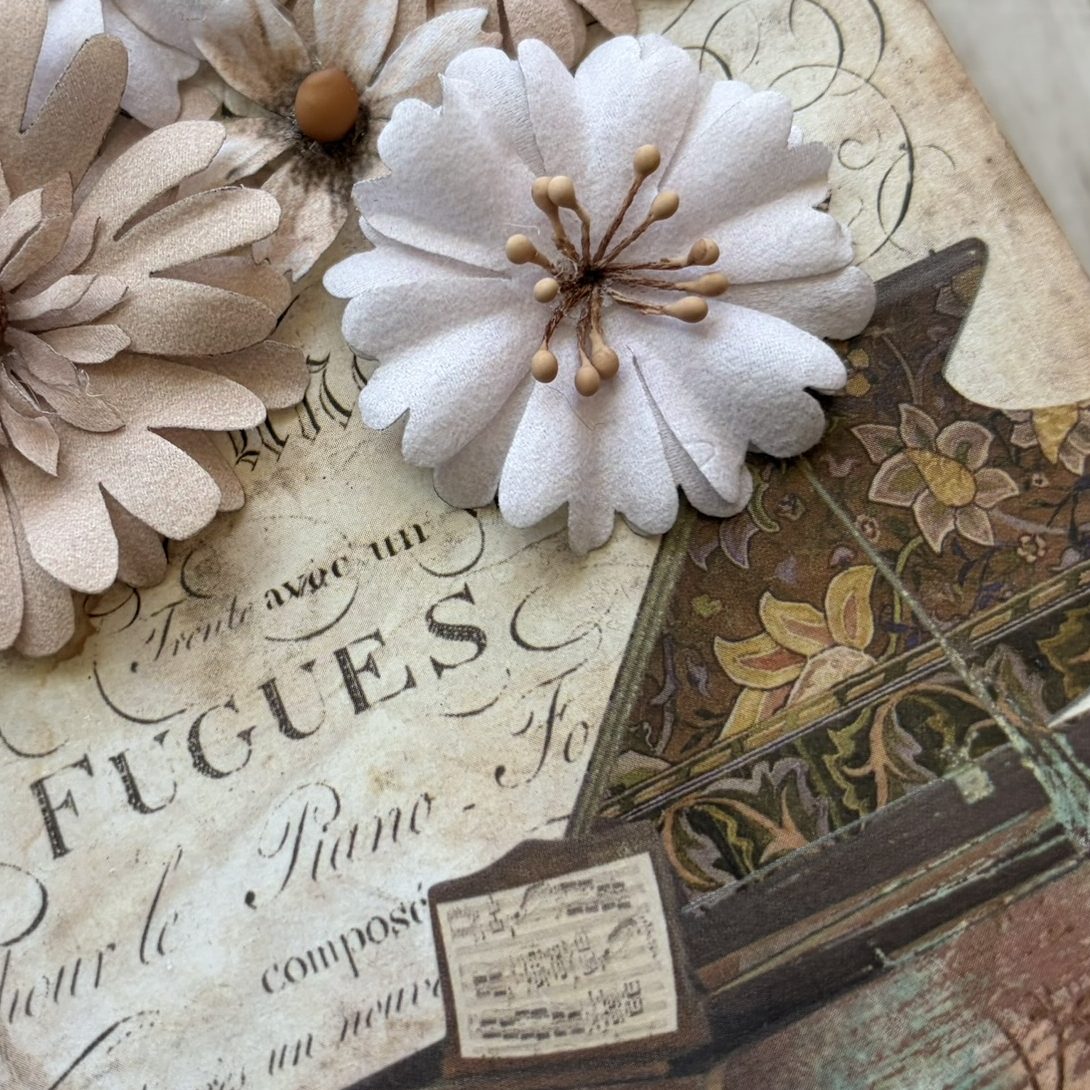
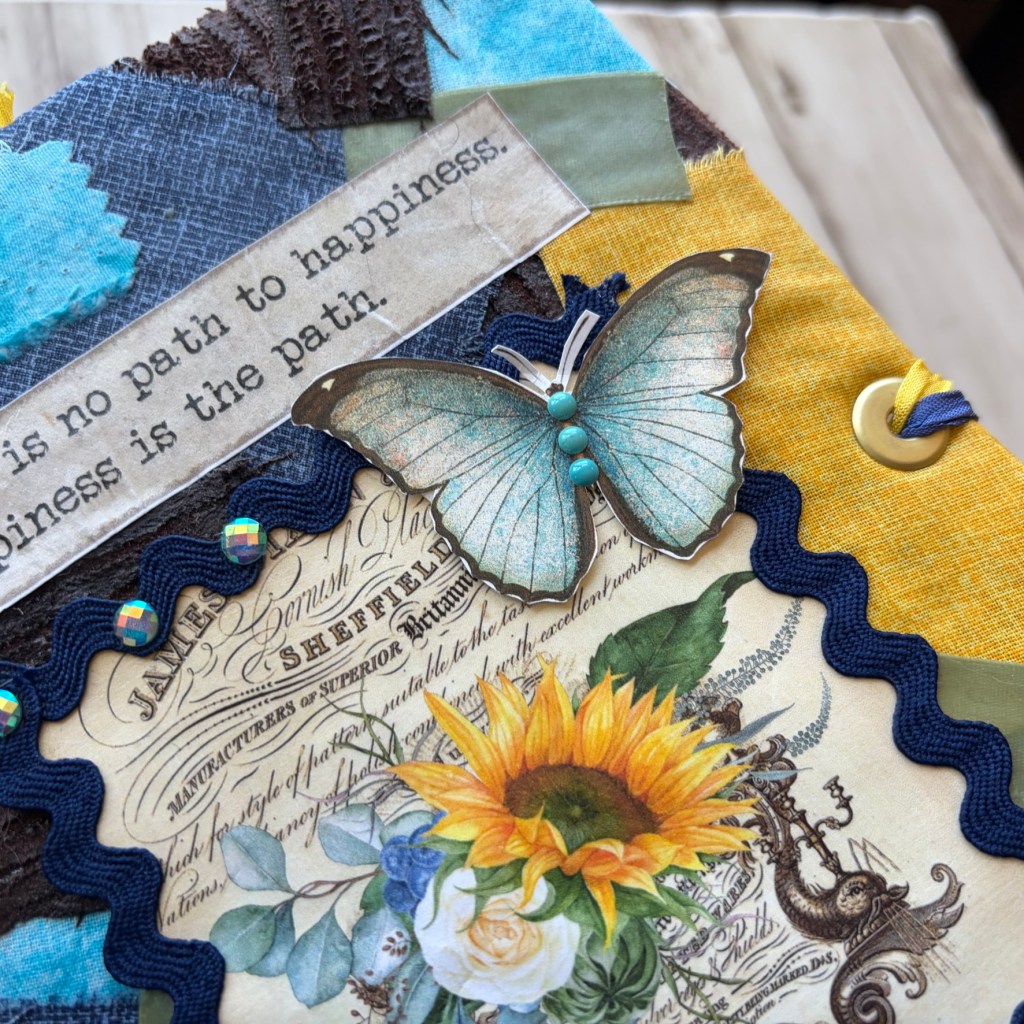
I’m excited to share that a fresh collection of handmade junk journals and photo albums is now available in my Etsy shop! Each piece is crafted with layered textures, vintage‑inspired details, and the cozy, nostalgic aesthetic I love—perfect for memory keeping, creative journaling, or gifting something truly meaningful.
This release includes a mix of styles: soft florals, cottagecore patchwork, vintage botanicals, Americana, holiday themes, and whimsical designs. Every journal and album is one‑of‑a‑kind, filled with thoughtful embellishments like lace, buttons, fabric trims, pockets, and interactive elements that make each book feel like a tiny treasure chest.
If you enjoy slow crafting, storytelling, or collecting beautiful handmade pieces, I’d love for you to explore the new collection.
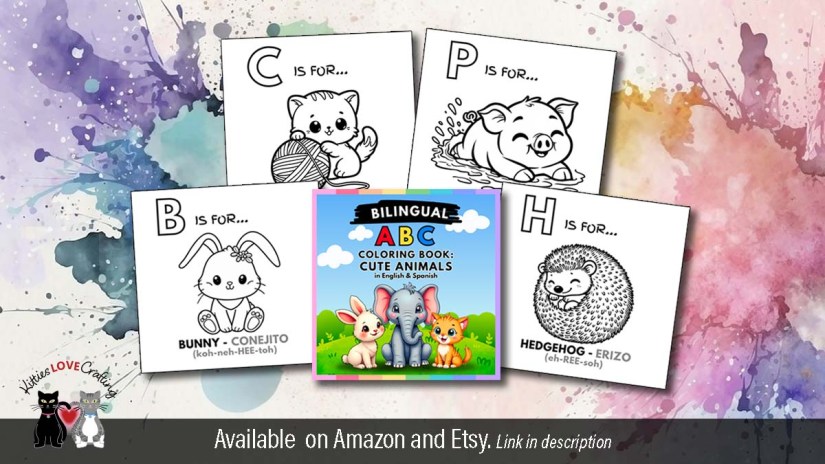
Hi friends. I have created some paperback coloring books to sell on Amazon. I’m offering a few of the pages from each of the books in my Etsy shop as a PDF download. These adorable coloring book pages feature super simple animal illustrations, each matched with a letter of the alphabet!
These books are ABC coloring books featuring cute animals. It’s a fun way for young children to learn their alphabet. There is a bilingual version which teaches kids to learn Spanish as well while having fun coloring the adorable animals! The paperback coloring books feature 26 8.5 x 8.5 pages of adorable animals to color!
If you want to try out the pages check out my Etsy Shop. And if you would like to purchase the full paperback book, please check out my Amazon store.
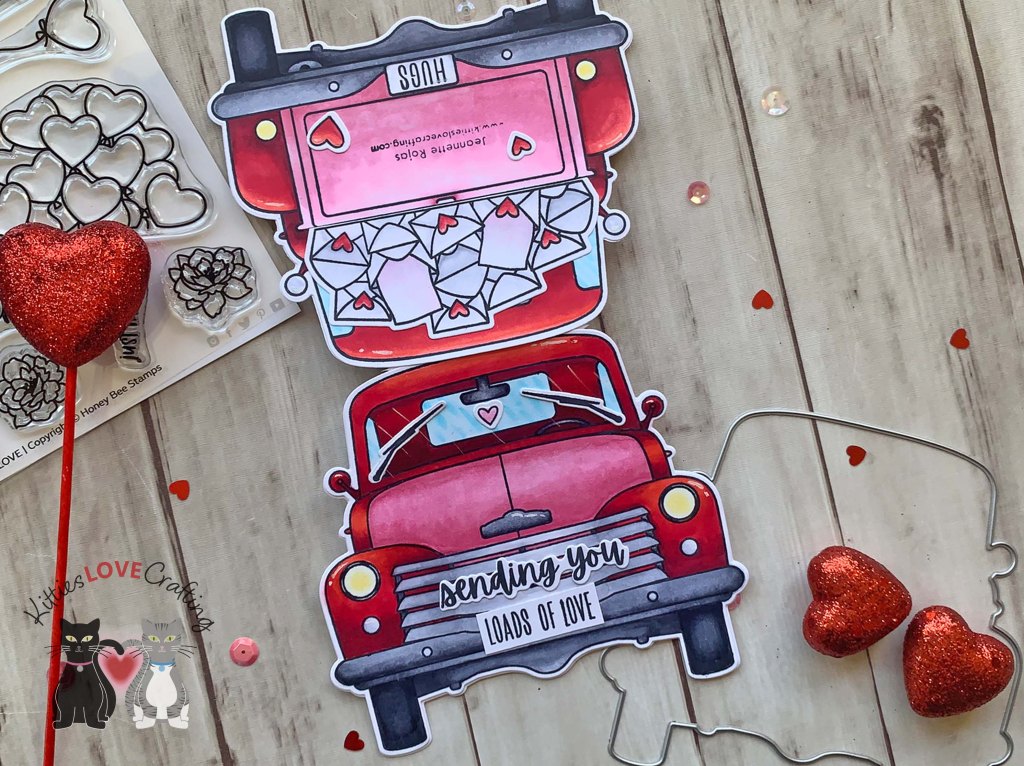
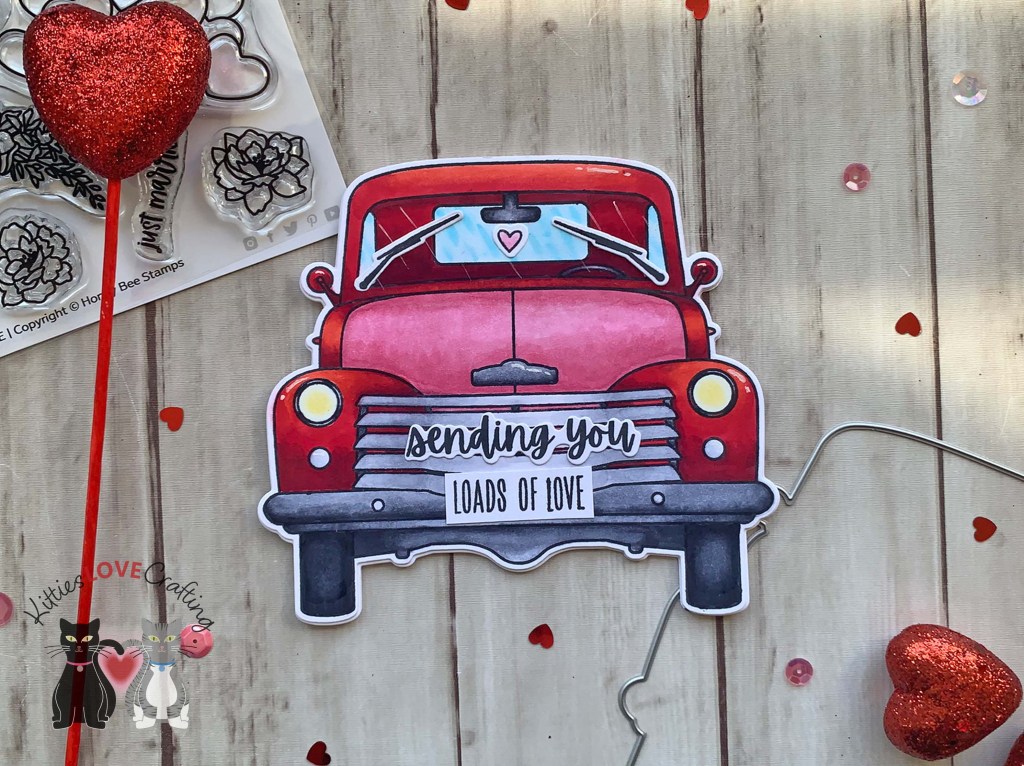
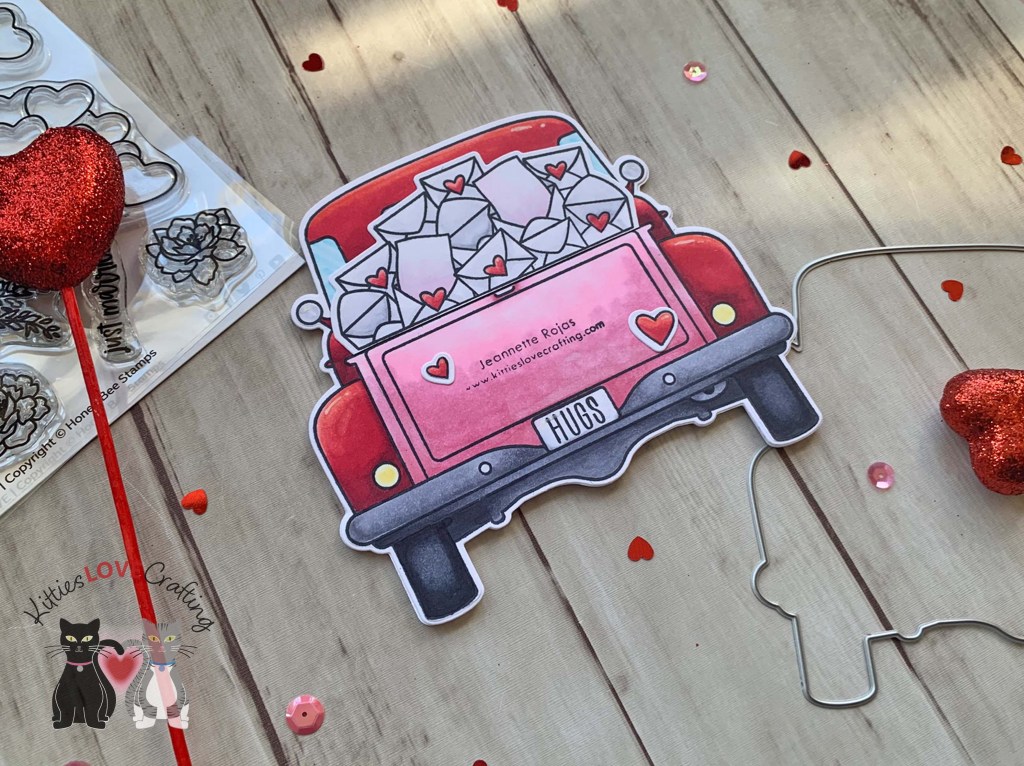
Hello friends. For this card, I decided to create a shaped card with the Honey Bee Stamps Big Pickup Cab, Big Pickup Tailgate, and Loads of Love 6×6 Stamp Sets. This card was a little time-consuming because of all the coloring but I think worth it in the end! I love how this turned out!!!
For this card, I cut a piece of Neenah 100lb Classic Crest Cardstock 8.5 X 11″ to 7 x 10 and scored at 5″ to create an A7 card base. I folded the card base and then die cut the shaped truck card by aligning the truck die up against the fold line but overhanging it a little. This will create the shape card. You can do this with any shape die.
Next, I stamped both the front and back of the truck and envelope images from the Big Pickup Cab, Big Pickup Tailgate, and Loads of Love 6×6 Stamp Sets onto Neenah 100lb Classic Crest Cardstock 8.5 X 11″ with Memento Tuxedo Black Ink. I colored them with Copic markers. I used R17, R29, R59 & R69 for the truck; R83, R85 & RV10 for the truck bed; C0, C1, C3, C5 & C7 for the bumper and mirrors; C7 & C9 for the tires; BG000, BG10 & 0 (blender) for the windows; Y0000 & Y15 for the lights; and C1, 0, & RV10 for the envelopes. I die cut everything with the coordinating dies for each stamp set.
Thanks for reading this post. I hope I’ve inspired you to give this cute pickup truck shaped Valentine’s Day card a try for yourself. Leave comments or questions below or feel free to email.
Hello friends. If you like watercolor cards but think you have to be an artist to create them, I’m here to tell you that you don’t. The great thing about watercoloring is that it doesn’t have to be perfect. Also using the correct paper helps; I used both watercolor cardstock as well as multimedia paper to test them both out and see what I prefer.
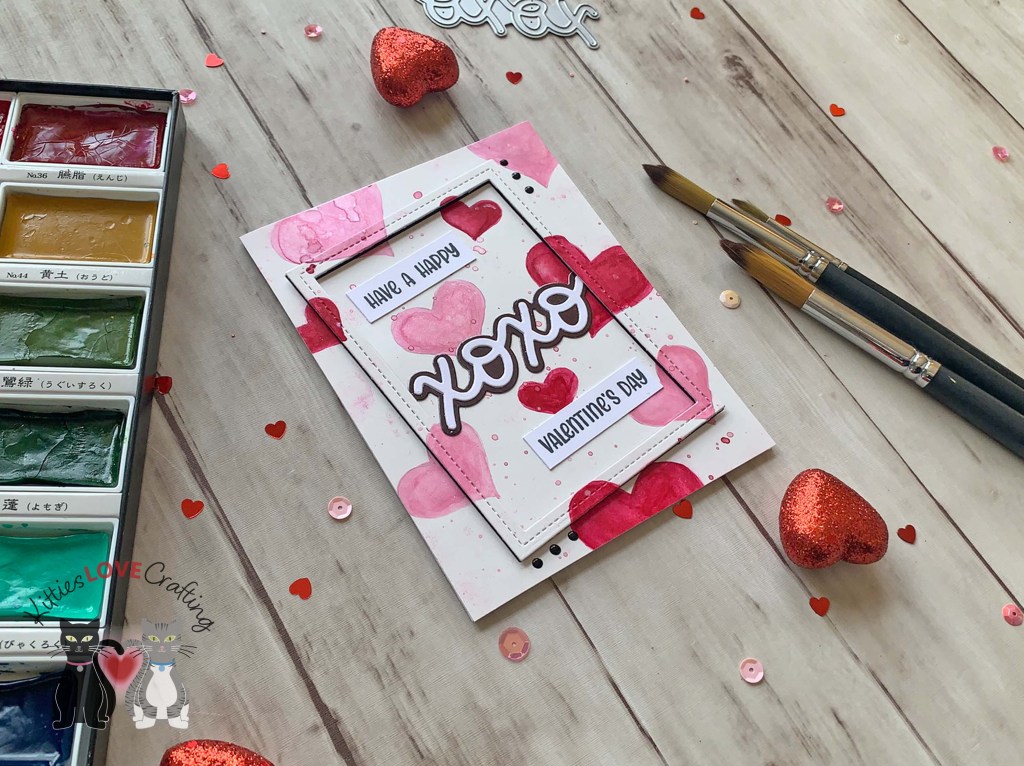
I used heart shaped wafer dies as stencils for all of these cards. The only thing hand-drawn on these cards are the stems on the flowers and the bow. Let me show you how easy this can be!
Next, I used a heart die to trace the six hearts onto my paper. Don’t go too dark when drawing. It’ll be easier to erase the remaining pencil lines after you’ve colored everything. I used my Ken Oliver Color Burst Brights Powder for this card. I added splatters with the same colors as well as some gold splatters using the Zig Kuretake Gansai Tambi STARRY COLORS.
Once the paint was dry (make sure to let it dry fully), I erased any left over pencil marks and sketched lines around the hearts. Feel free to skip this step or use the dies again to trace around with a pen or marker.
I used a large heart die to trace the heart onto my paper. I used my Kuretake Gansai Tambi Watercolor Paint Set for this card. I added splatters with the same colors as well as some gold splatters using the Zig Kuretake Gansai Tambi STARRY COLORS. Once dried, I erased any left over pencil marks and sketched lines around the hearts.
Thanks for reading this post. I hope I’ve inspired you to give these easy Valentine’s Day watercolor cards a try for yourself. Leave comments or questions below or feel free to email.
Hello friends. Here’s an easy way to create a textured pattern paper background when you don’t have any pattern paper. I used a heart die with various papers and an embossing folder to create this background. This card also requires no stamping and uses minimal supplies! Let’s see how easy this was to create.
For this card, I cut a piece of Neenah 100lb Classic Crest Cardstock 8.5 X 11″ to 5-1/2 x 8-1/2″ and scored at 4-1/4″ to create an A2 card base. Then die cut another piece to 4 x 5-1/4″. On this piece I added die cut hearts using various papers from my stash to form a pattern. Then I ran it through my die cut machine with a 6 x 6 polka dot embossing folder from Queen & Company (I think it might be retired). And that’s it. Background created!
Thanks for reading this post. I hope I’ve inspired you to give this sweet Valentine’s Day card a try for yourself. Leave comments or questions below or feel free to email.
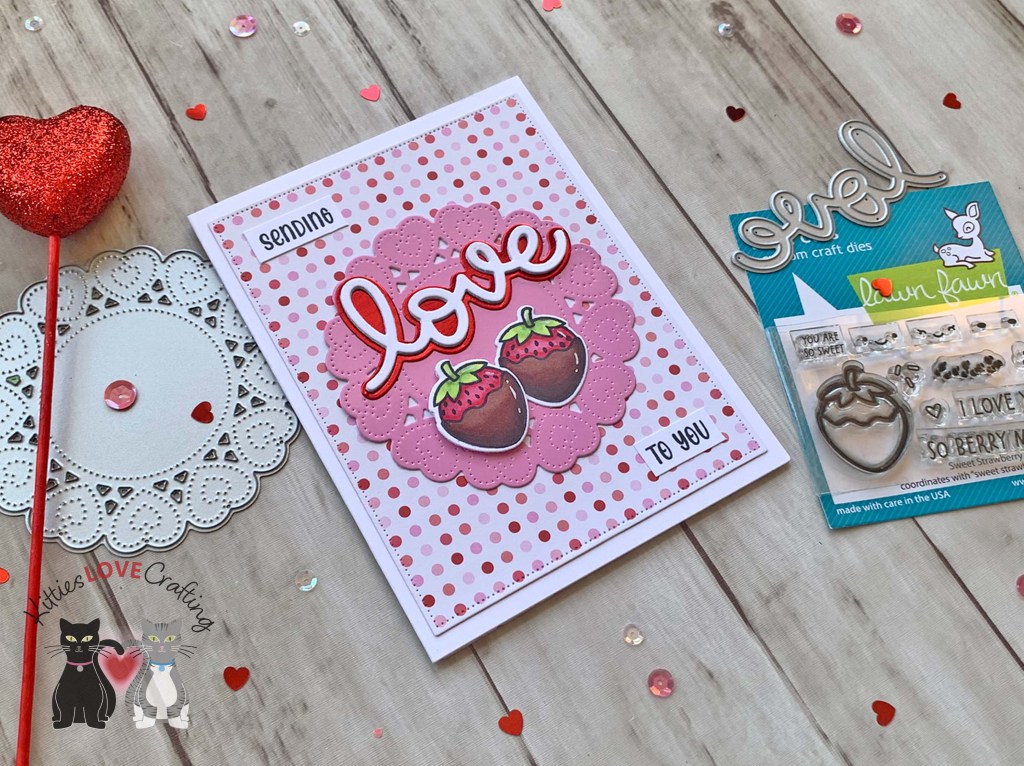
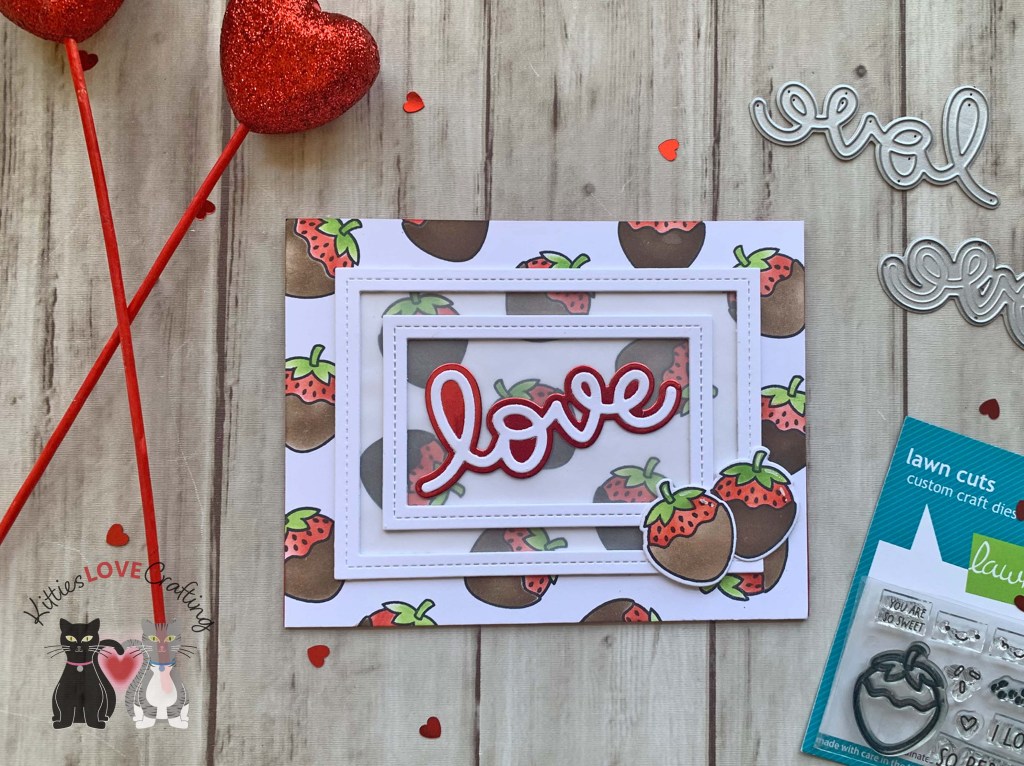
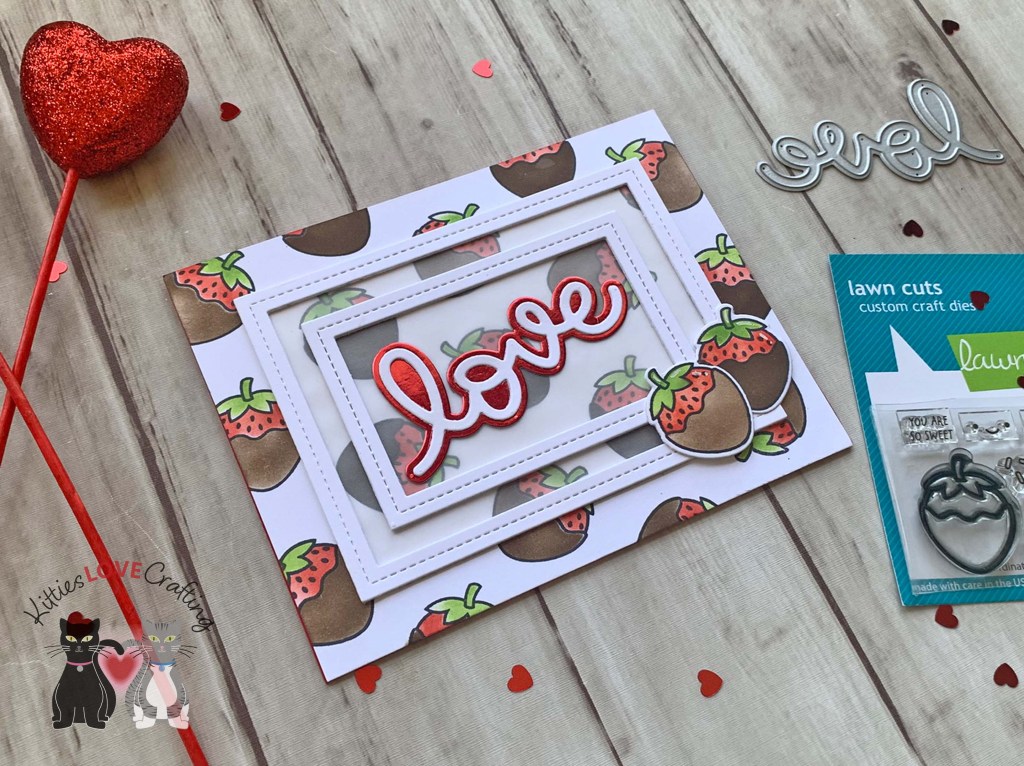
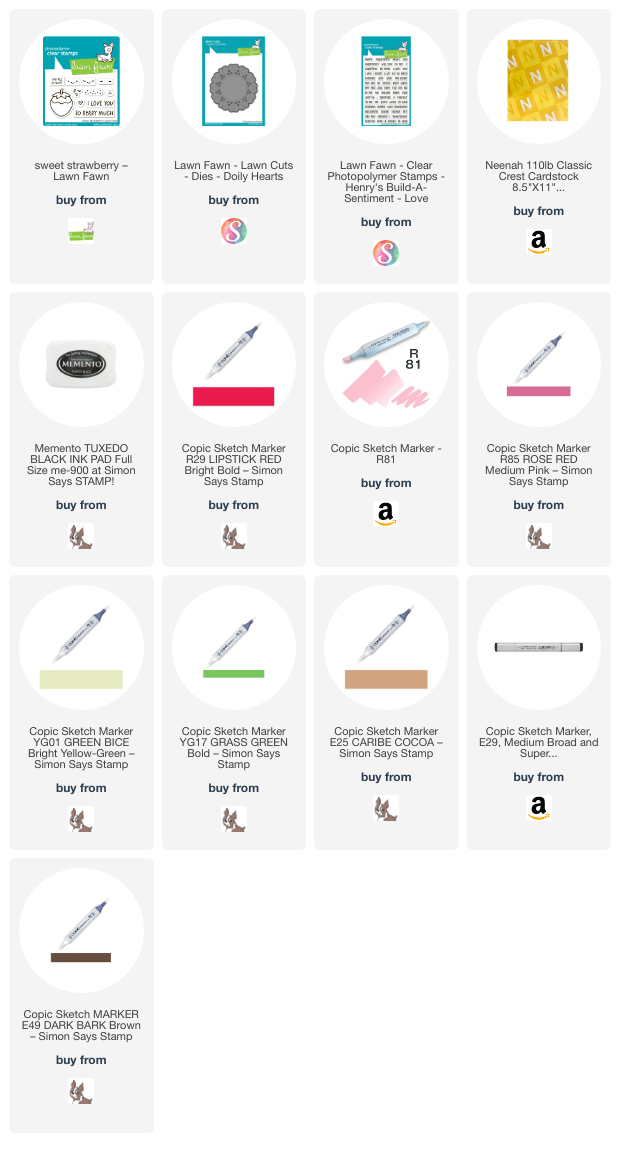
Hello friends. If you need a quick and simple card for this Valentine’s Day, check out this card! I combined the Lawn Fawn’s Sweet Strawberry and Scripty Love Dies to create this sweet card. Even with the coloring it didn’t take long to make.
Thanks for reading this post. I hope I’ve inspired you to give this sweet Valentine’s Day card a try for yourself. Leave comments or questions below or feel free to email.
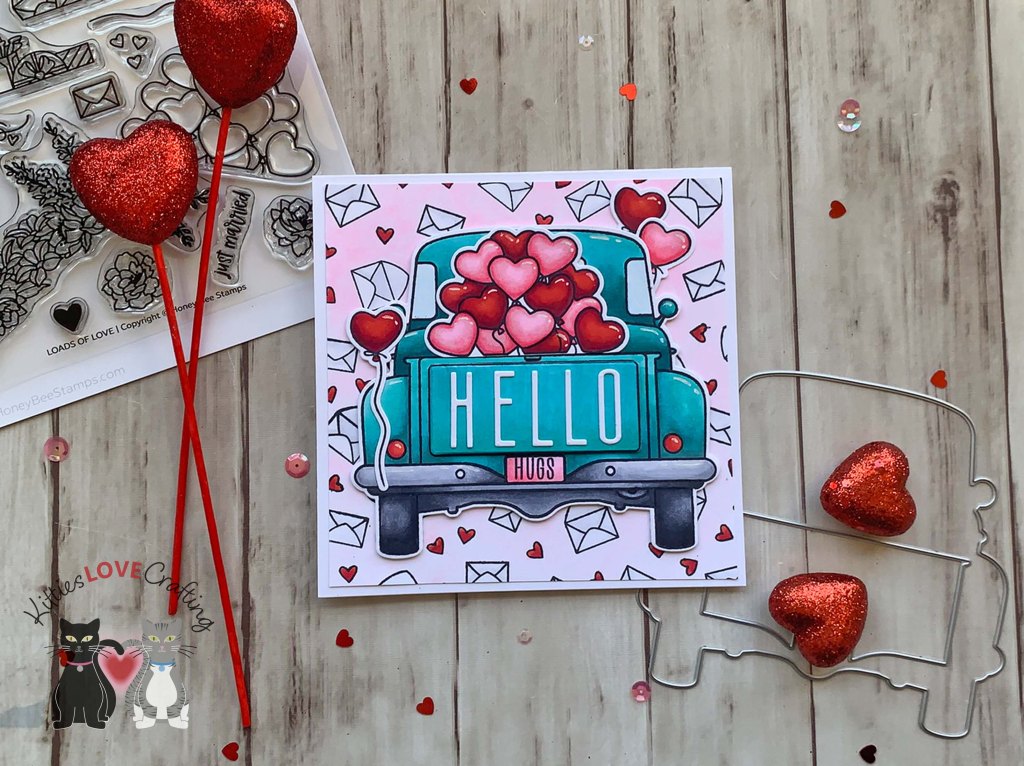
Hello friends. Here’s a cute Valentine’s Day Card that can be masculine or feminine, depending on you’re definition. This card features an oldy but goody from my Honey Bee Stamps, the Big Pickup Tailgate and the Loads of Love Add-on. I’ve had this add-on in my cart for a year now and I’m glad I finally bought it. So very cute and lots of options.
I stamped the little envelopes and hearts from the Loads of Love Add-on stampset onto the back panel with Memento Tuxedo Black Ink. Then colored the images with Copics. I used C0, C1, and 0 (blender) for the envelopes, R17 & R29 for hearts, and RV0000, RV000 & RV10 for the background.
Next, I stamped the truck image from the Honey Bee Stamps Big Pickup Tailgate stamp set and the heart stack and balloons from the HBS Loads of Love Add-on onto Neenah 100lb Classic Crest Cardstock 8.5 X 11″ with Memento Tuxedo Black Ink. I also colored them with Copic Markers. I used BG15, BG09, BG45, & BG18 for the truck; R17 & R29 for the back lights; C5, C7 & C9 for the tires; C1, C3, C5, & C7 for the bumper; B00 & 0 (blender) for the windows; and R17, R29, & R39, RV10, RV11 & RV14 for the hearts and the license plate. I stamped and colored a second truck bed which I die cut out with the coordinating dies and popped up with foam tape.
Thanks for reading this post. I hope I’ve inspired you to give this cute pickup truck Valentine’s Day card a try for yourself. Leave comments or questions below or feel free to email.
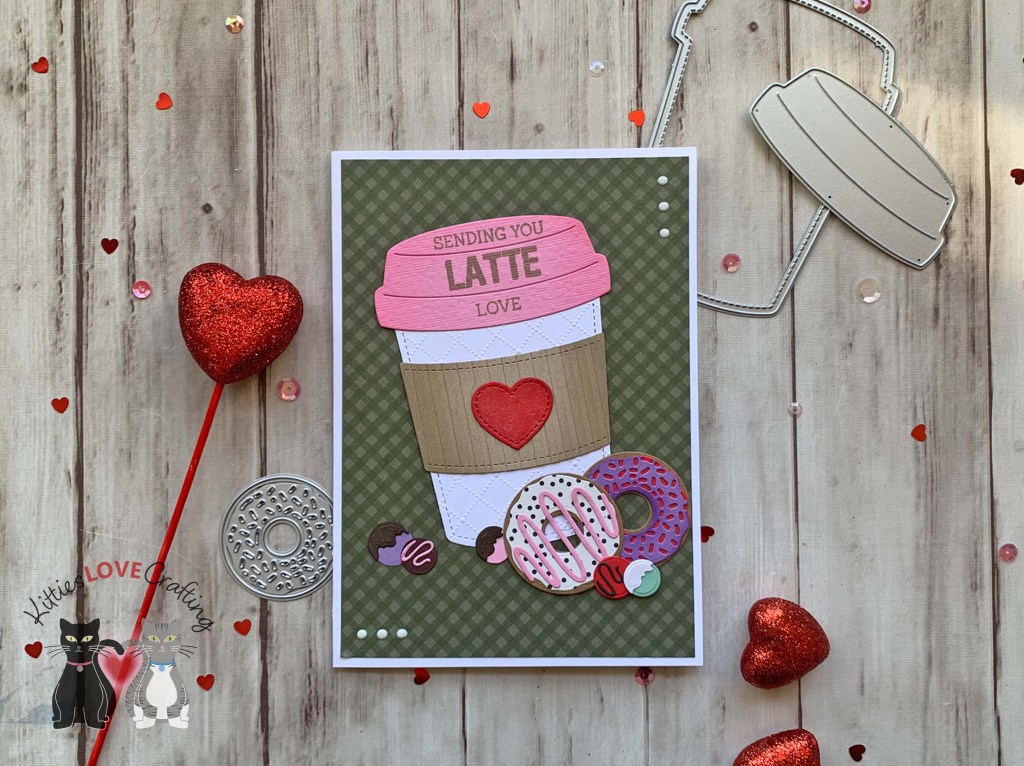
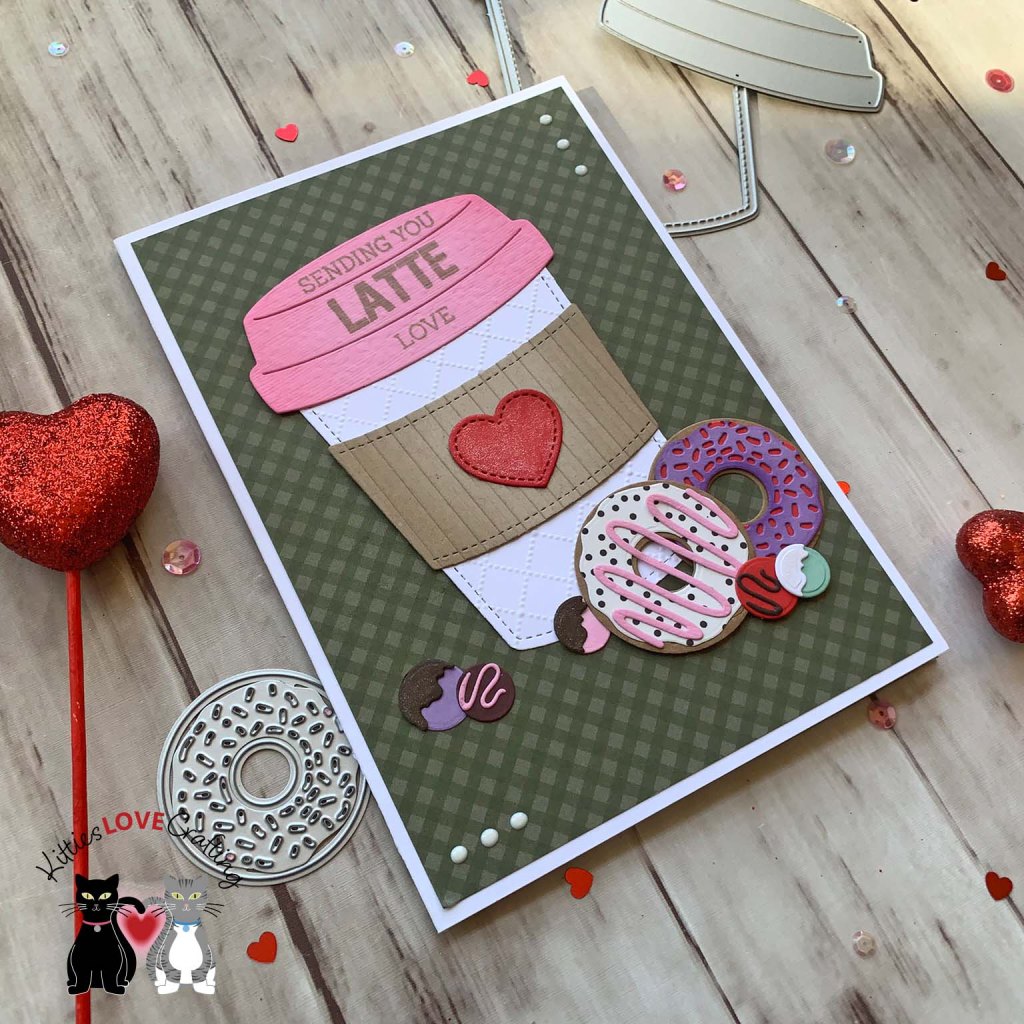
Hello friends. Here’s a cute coffee-themed Valentine’s Day card created using only dies and very minimal stamping. Great for the coffee lover in your life! Let me show you how I made this card.
I stamped the sentiment directly onto the coffee cup lid. I used Stampin’ Up! Crumb Cake Ink along with Honey Bee LATTE and Sugar Pea Designs Espresso Yourself (retired) Stamp Sets.
Thanks for reading this post. I hope I’ve inspired you to give this cute coffee-themed Valentine’s Day card a try for yourself. Leave comments or questions below or feel free to email.
Hello friends. I’m starting my Valentine’s Day card series with a cute but simple card using new Lawn Fawn Sweet Strawberry stamp and coordinating stencil. The stencil made building my background so much faster than coloring with markers. I love my Copic markers but sometimes it’s nice not to have to color.
Thanks for reading this post. I hope I’ve inspired you to give this cute strawberry background card a try for yourself. Leave comments or questions below or feel free to email.


 https://linkdeli.com/widget.js?id=f5e8378456858c916708