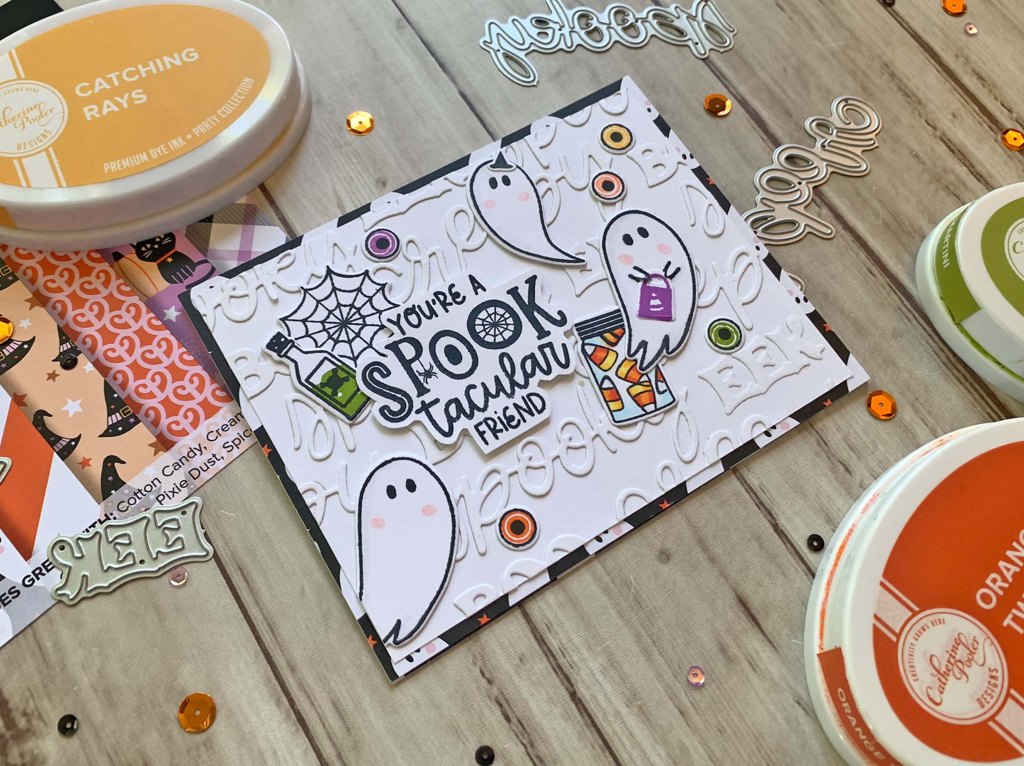
Hello friends. Here’s a quick Halloween shaker card featuring Simply Made Crafts Happy Haunting collection products. In case you are not familiar with this company, it is the creation of Helen Griffin from the UK. Go check out her blog. She has lots of cool dies and stamps.

For this card, I cut a piece of Lawn Fawn Black Licorice Cardstock to 5-1/2 x 8-1/2″ and scored at 4-1/4″ to create an A2 card base, a piece of pattern paper from the Simply Made Crafts Happy Haunting Digital Papers to 4 x 5-1/4 and another to 1-1/4 x 4″.
I glued those two pieces of pattern paper together and die cut a window using the largest tombstone in the Simply Made Crafts Happy Haunting Spell Book Elements Die Set. I backed it with a piece of acetate scut to a litlle bit smaller than 4 x 5-1/4. Then added foam tape to the back. I used a variety of green, purple, black and orange sequins from my stash. And backed it with a piece of Doodlebug Happy Haunting 12 x 12 Petite Print Paper (discontinued).
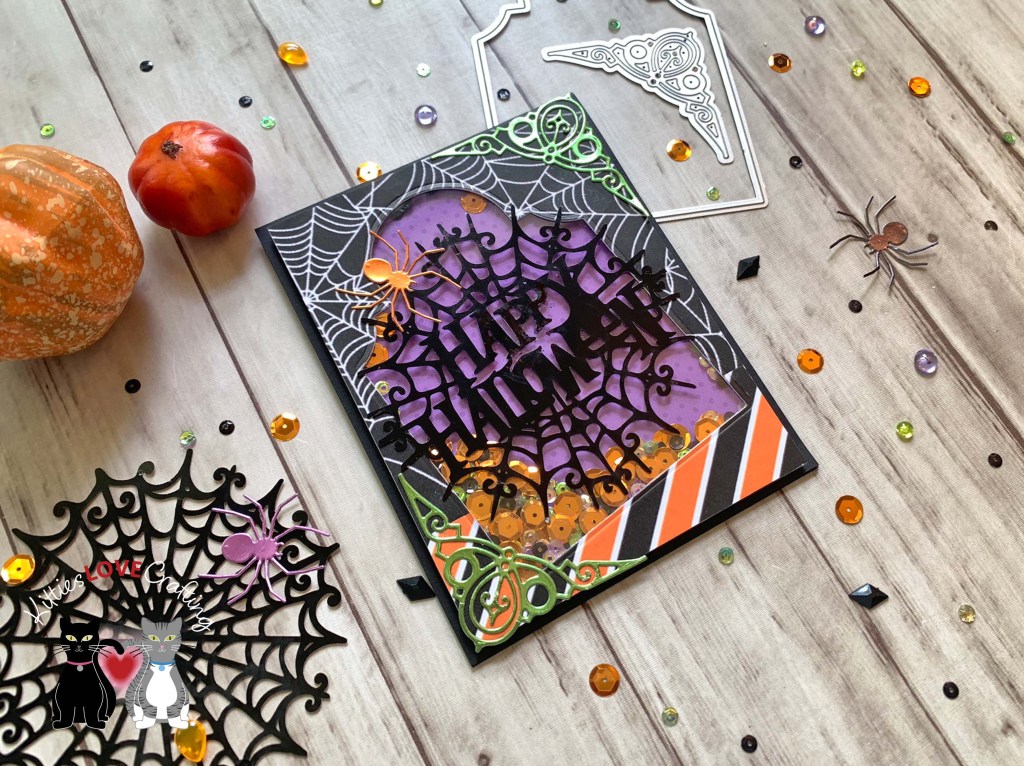
To the front panel, I added some decorations by die cutting the ornate corner embellishments from the Simply Made Crafts Happy Haunting Spell Book Elements Die Set from green metallic cardstock from the Tim Holtz idea-ology 8 x 8 Paper Stash Metallic Jewels Kraft Stock and an orange spider using the same carstock pack. For the sentiment I used one of the large spider web sentiments from the Simply Made Crafts A5 Ephemera Pack Spooky Specials Halloween Spooky Webs. I love these sentiment diescuts because they really create a great focal point.
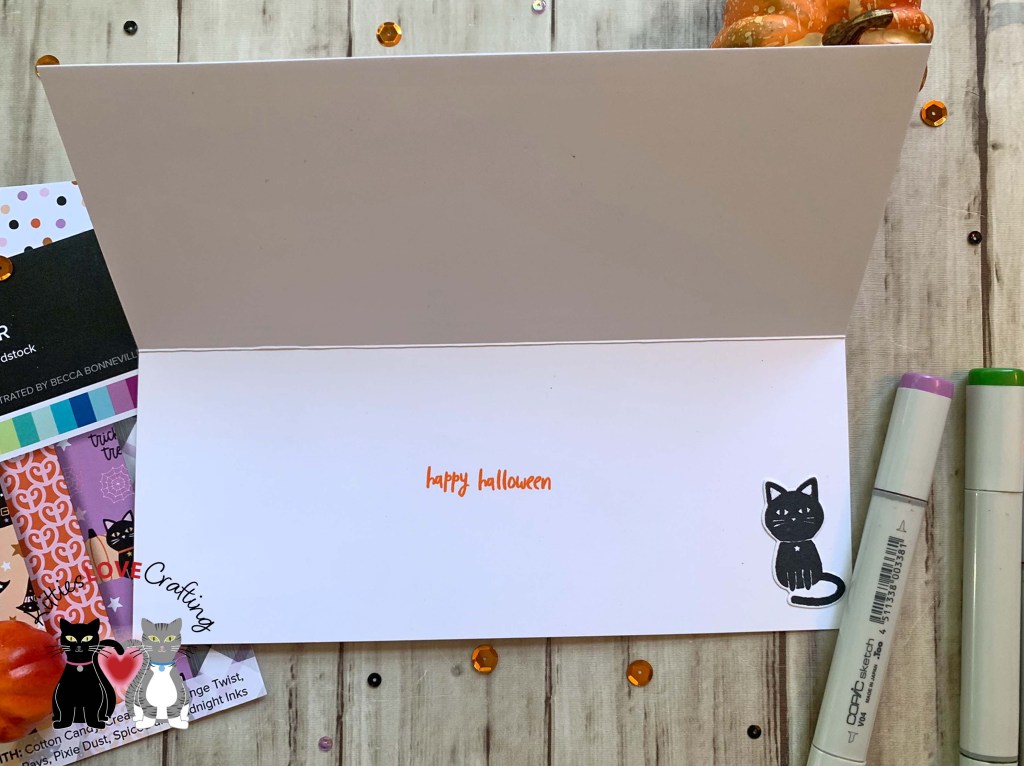
On the inside of the card, I cut a piece of Neenah 100lb Classic Crest Cardstock 8.5 X 11″ to 4 x 5-1/4″, added a strip of Doodlebug Happy Haunting 12 x 12 Petite Print Paper (discontinued) to 1-1/4 x 4″ and a piece of Simply Made Crafts Happy Haunting Digital Papers to 1 x 4-1/4″. I added a white web and black metallic spider die cut from the Simply Made Crafts Happy Haunting Spell Book Elements Die Set.

Dimensions
- Card Base = 5-1/2 x 8-1/2″ and scored at 4-1/4″ Lawn Fawn Black Licorice Cardstock
- Background Panel = 4 x 5-1/4 and 1-1/4 x 4″ Simply Made Crafts Happy Haunting Digital Papers
- Inside Panel = 4 x 5-1/4 Neenah 100lb Classic Crest Cardstock 8.5 X 11″; 1-1/4 x 4″ and 1 x 4-1/4″ Simply Made Crafts Happy Haunting Digital Papers
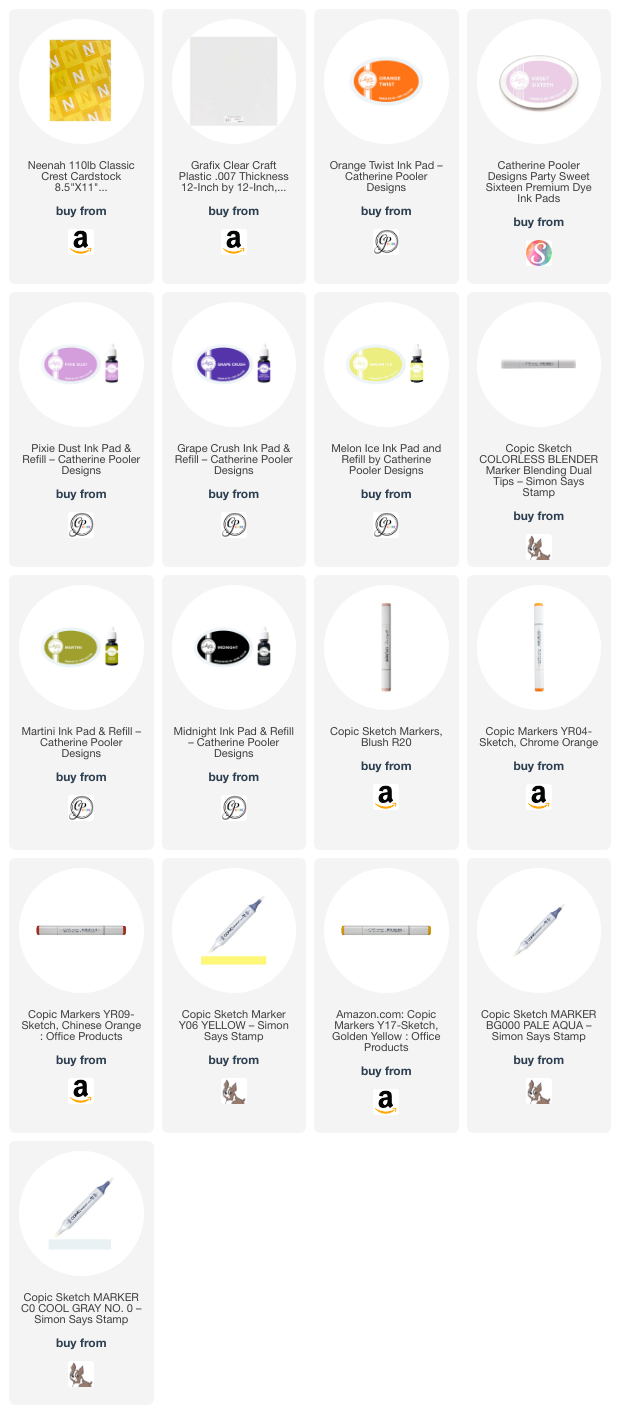
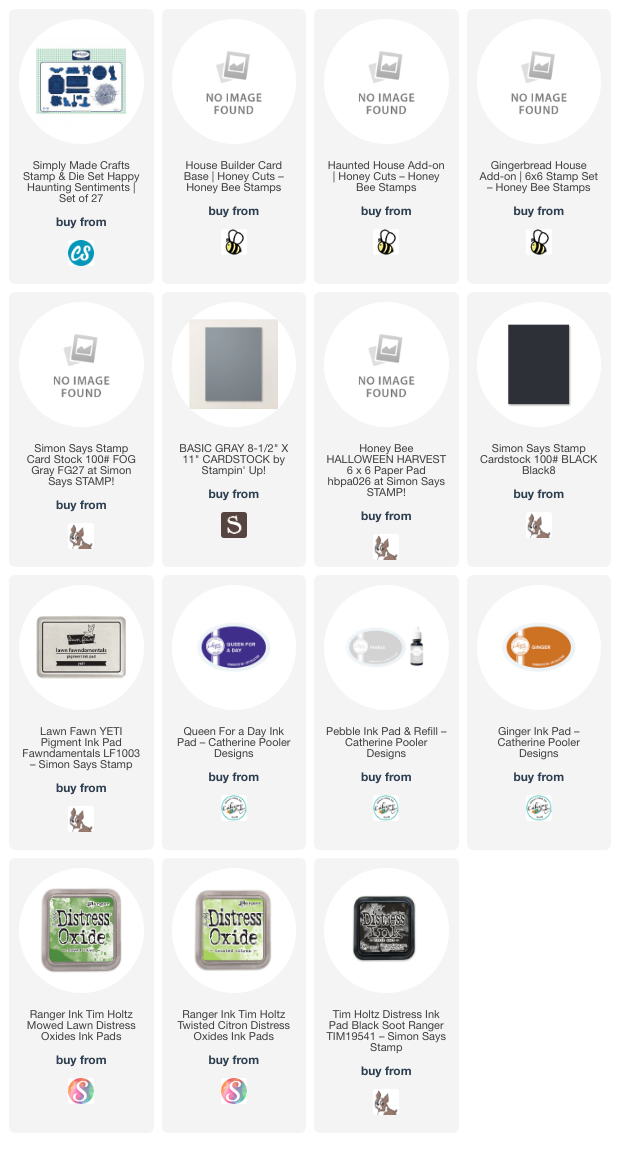
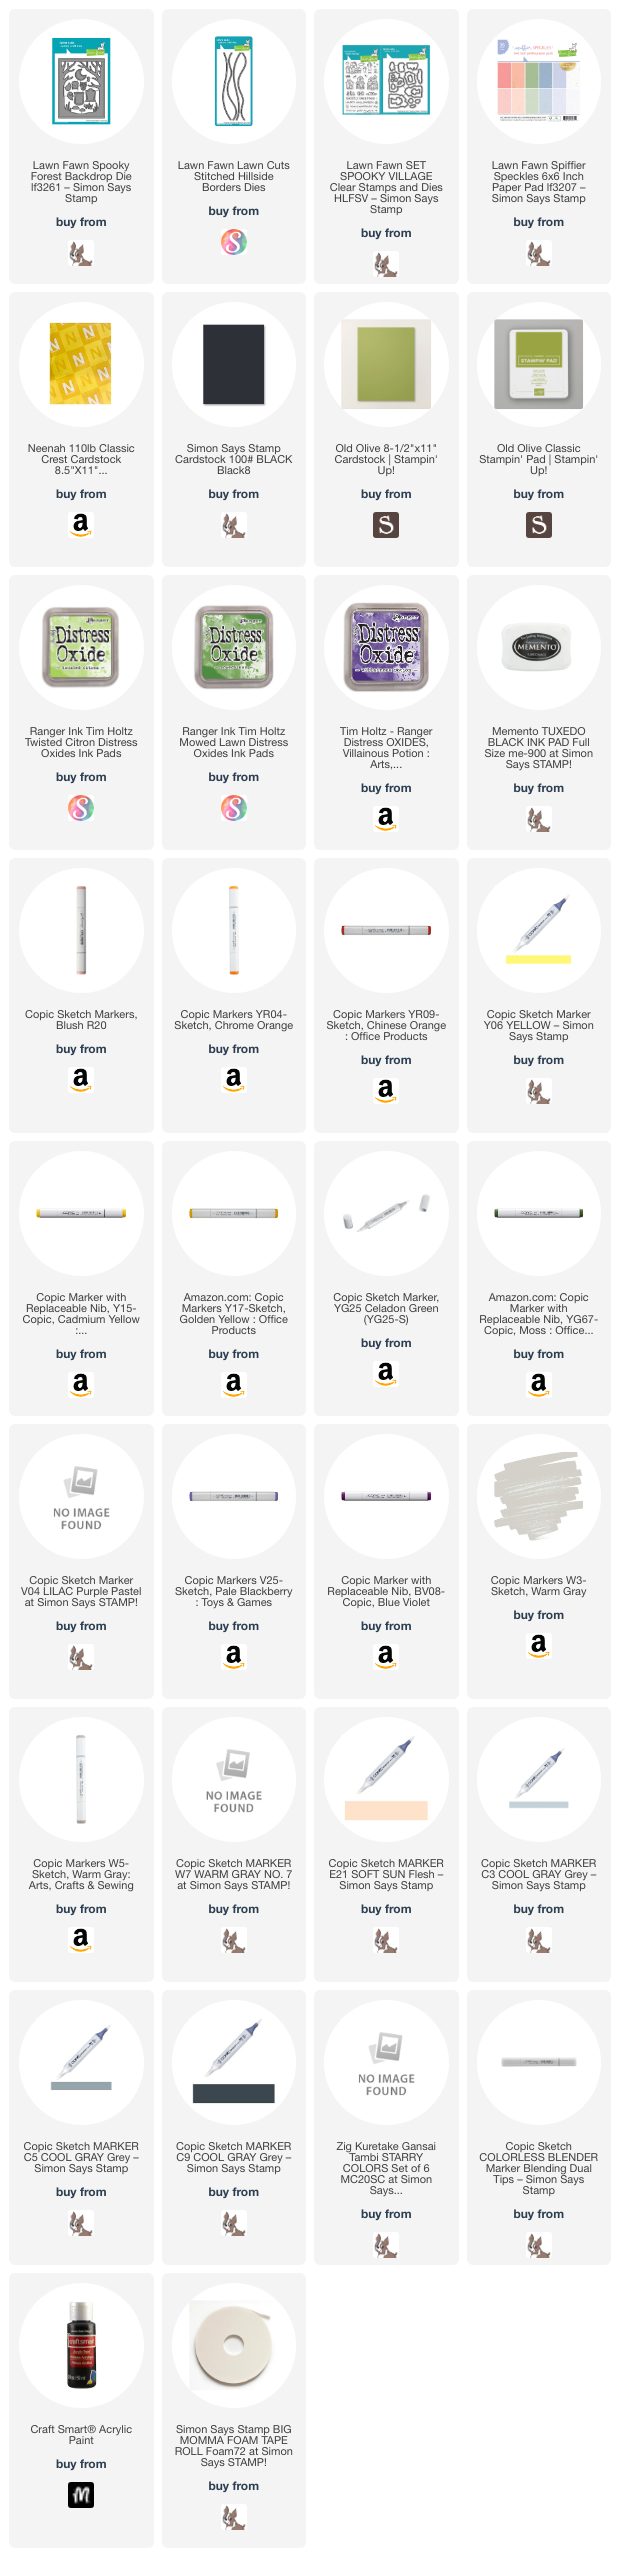
Supplies
 https://linkdeli.com/widget.js?id=f5e8378456858c916708
Thanks for reading this post. I hope I’ve inspired you to give this cute shaker card a try for yourself! Leave comments or questions below or feel free to email.