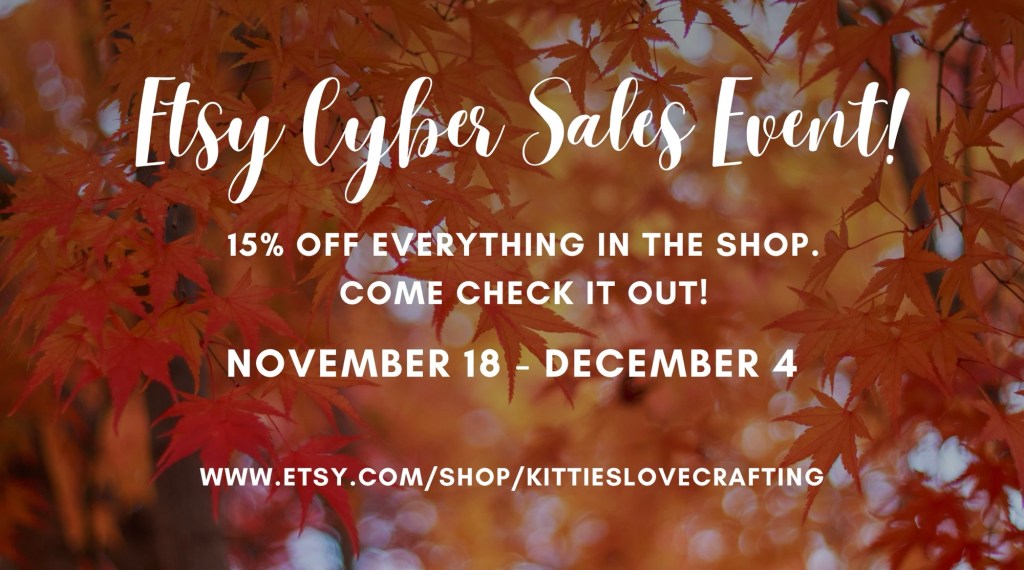
Don’t miss the sale happening from November 18 (12am)-December 4 (12am) in my Etsy Shop! Everything in my shop will be 15% off. It’s a great time to stock up on cards and printables.
If you have comments or questions about anything in my shop or the sale leave them below or feel free to email me.
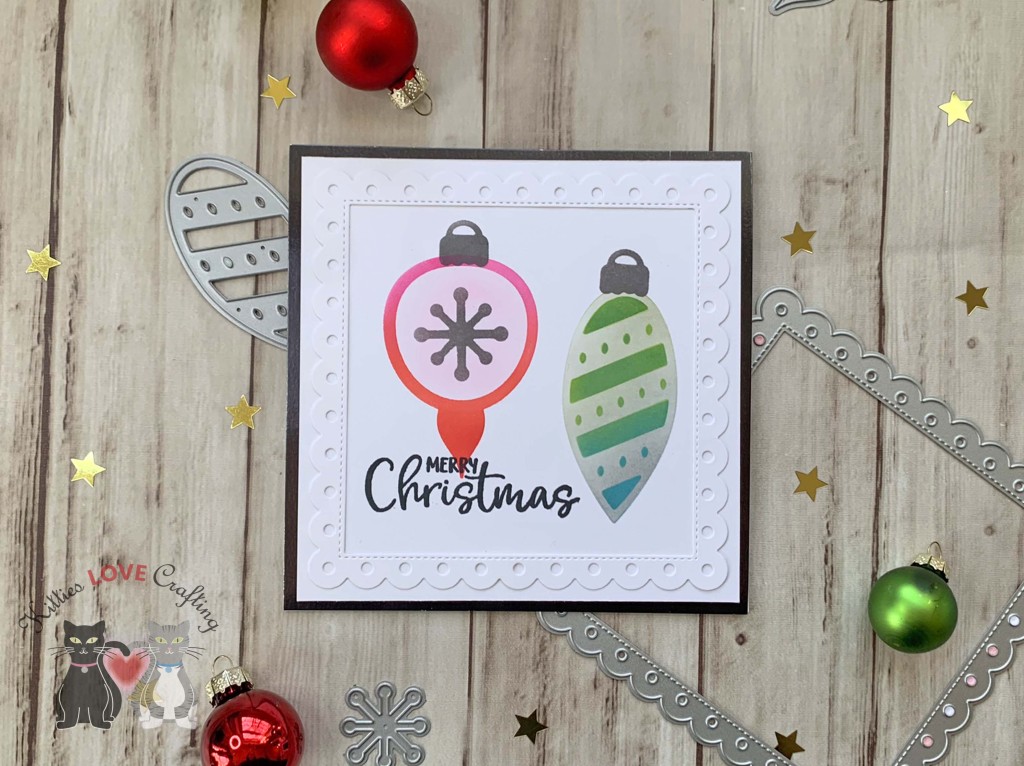
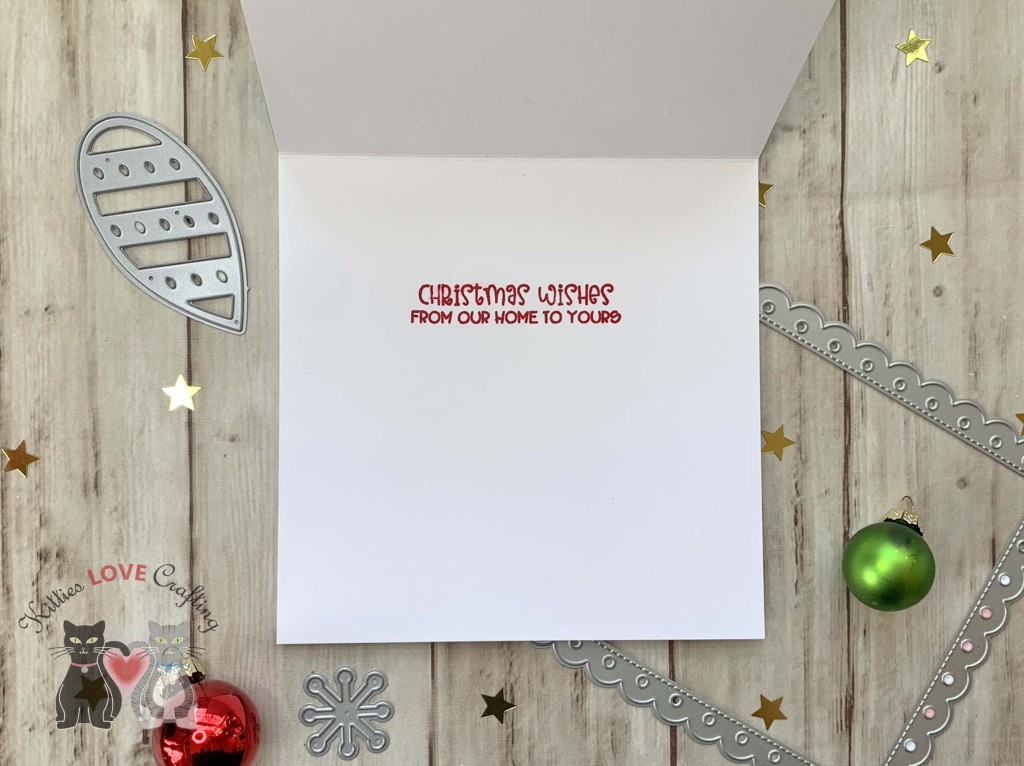
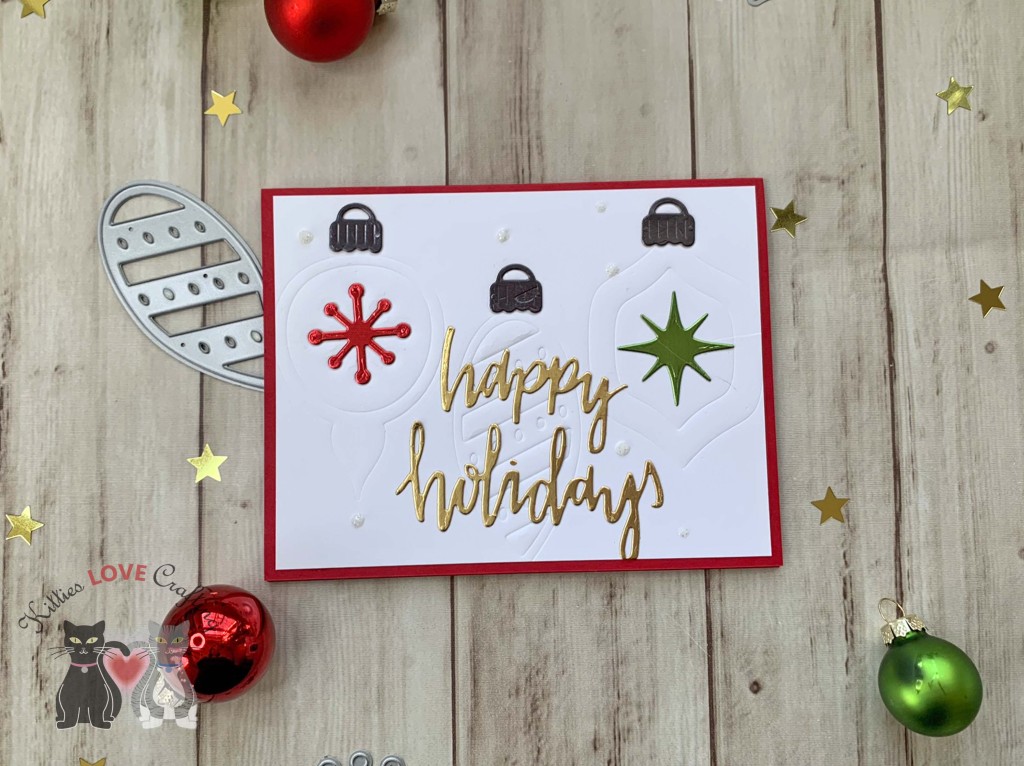
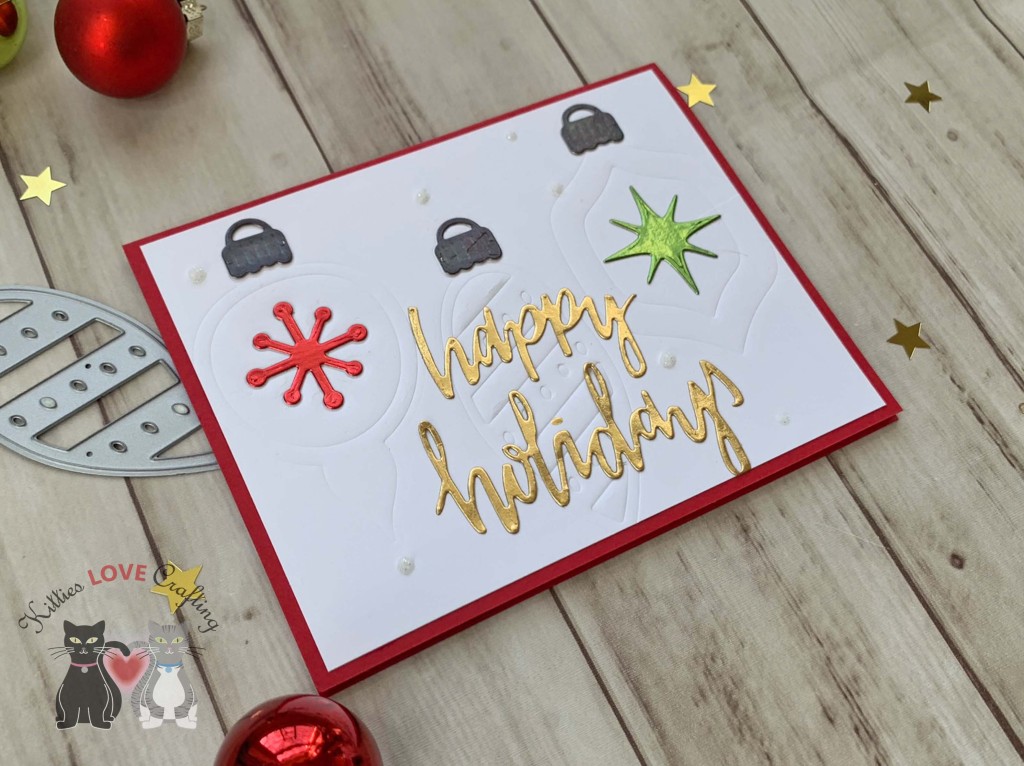
Hello friends. Have you ever tried using your dies to emboss or stencil your backgrounds?!? It’s super easy and you can make quick cards using these techniques. I created three cards demonstrating these techniques using the Catherine Pooler Retro Ornament Dies. Let me show you how easy they are to make. For more stenciled backgrounds using dies check out my previous post.
I took the ornament dies from the Catherine Pooler Designs Retro Ornament Dies and embossed the background panel. For my Sizzix Big Shot machine I used the following sandwich from the bottom up: 1.) Multipurpose Platform, 2.) Cutting Plate, 3.) Emboss mat, 4.) Paper. 5.) Die face down, and 6.) Cutting Plate. Check your machines guide for the proper snadwich. I also added additonal paper to deepen the embossing a bit.
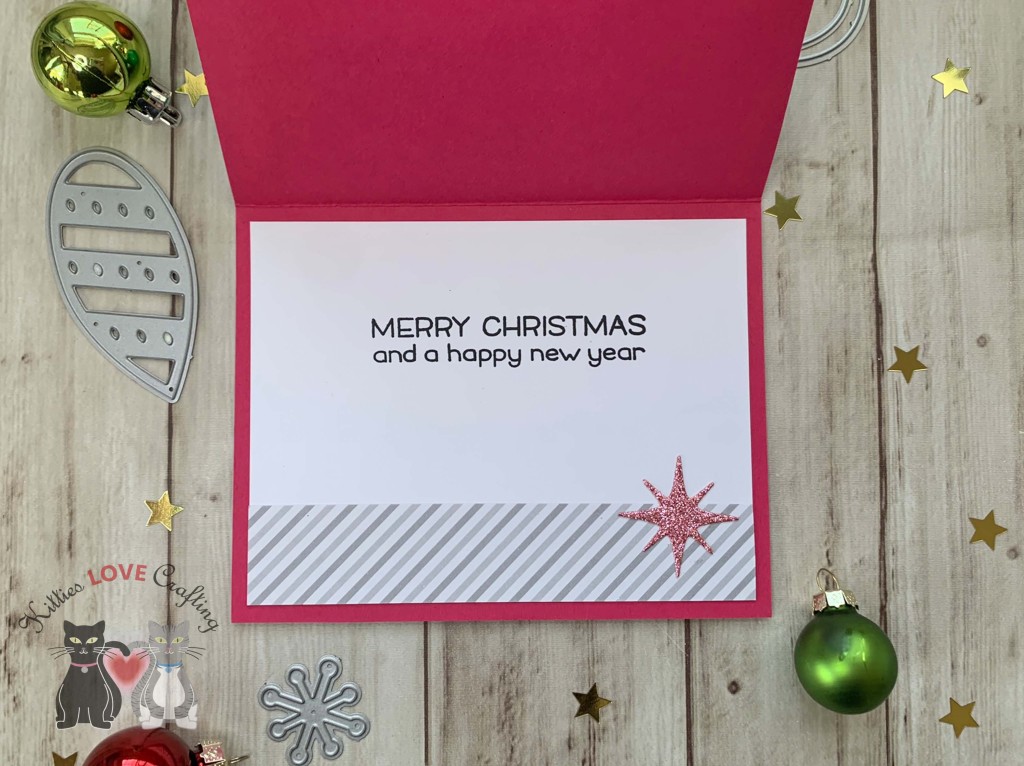
For this third card, I made a fun shaker pocket card. I cut a piece of Stampin’ Up! Melon Mambo 8-1/2 x 11″ Cardstock (retired) to 5-1/2 x 8-1/2″ and scored at 4-1/4″ to create a card base and piece of patter paper from my stash to 4-1/4 x 5-1/2” for the inside of the shaker panel.
I cut a piece Acetate slightly larger than my back panel. then used double sided tape to adhere three sides of the acetate to the back of the panel, creasing the edges. I filled the pocket with a variety of flat sequins and stars and sealed the last side of the pocket. I adhered the panel to the card and then die cut a frame from Neenah 110lb Classic Crest Cardstock 8.5 X 11″ using the Spellbinders Nestabilities A2 Card Creator Dies Matting Basics A 4-1/4 x 5-1/2″ and 4-5/8 x 4-7/8″.
Thanks for reading this post. I hope you enjoyed and I’ve inspired you to give these cards a try for yourself. Leave comments or questions below or feel free to email.
New Christmas items will be available in my shop on November 1st. I will be (hopefully) adding more Christmas stock during November. Check back often for new items.
Any questions about any product feel free to email me directly or message me through Etsy.