Thanks for reading this post. I hope you enjoyed and I’ve inspired you to give this card a try for yourself. Leave comments or questions below or feel free to email.
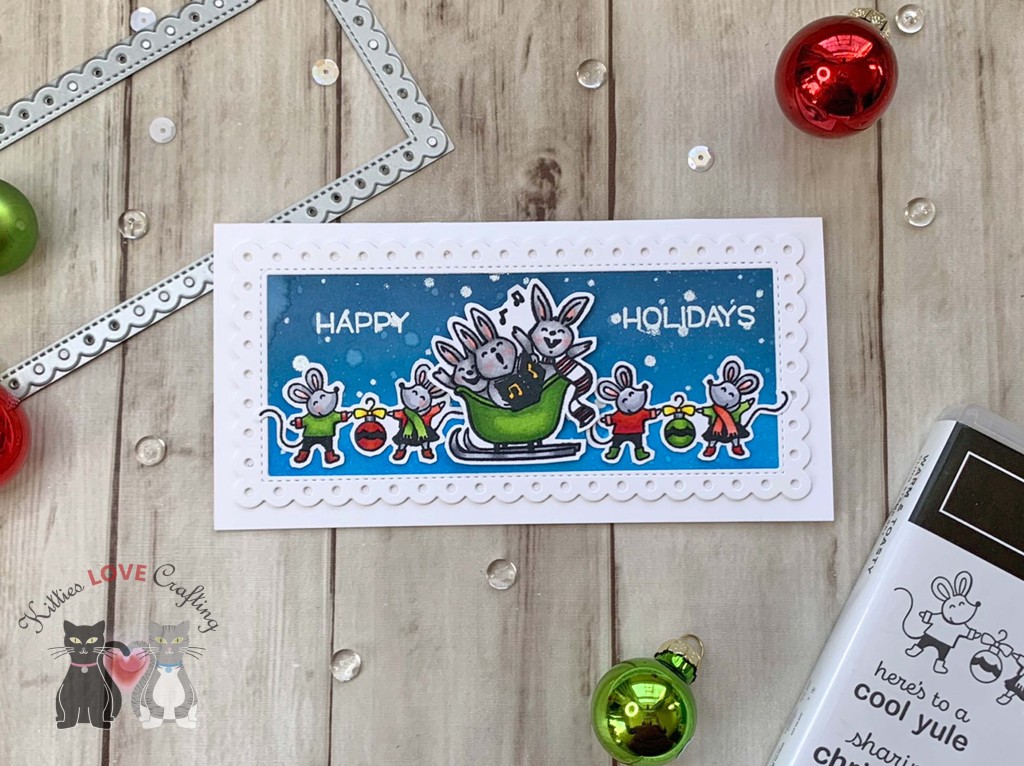
Hello friends. Want to make an impactful background with little effort. Try using an emboss resist technique. You can stamp or stencil the embossing. Either way the results are impressive!
I stamped the images from Stampin’ Up!’s Warm & Toasty Stamp Set (retired) onto Neenah 110lb Classic Crest Cardstock 8.5 X 11″ with Memento Tuxedo Black Ink. I colored them with Copic Markers. I used YG03, YG17 & YG67, C1, C3 & C5 for the sleigh; N1, N2 & N4, R20 & R46 for the bunnies; R46 & R32, C1 & C3, YG03 & YG17, R20 for the mice; and R17 & R46, Y06 & Y17 for the ornaments.
Thanks for reading this post. I hope you enjoyed and I’ve inspired you to give this card a try for yourself. Leave comments or questions below or feel free to email.
Hello friends. It’s time to make some holiday cards. Starting things off with some super easy cards using dies to emboss backgrounds. It’s a super easy technique and produces some really cool results. You can use the embossed or debossed side as well.
For the first card, I cut a piece of Neenah 110lb Classic Crest Cardstock 8.5 X 11″ to 5-1/2 x 8-1/2″ and scored at 4-1/4″ to create a card base and piece of Neenah 80lb Classic Crest Cardstock 8.5 X 11″ to 4 x 5-1/4” for the top panel.I used the Stampin’ Up! So Many Snowflakes dies (retired) to emboss the background. I followed the sandwich for wafer dies on my diecut machine (Sizzix Big Shot) and added another piece of cardstock to get a deeper impression. Play around with your sandwich and add a shim if necessary to get the desired raised effect.
I die cut snowflakes from Neenah 110lb Classic Crest Cardstock 8.5 X 11″, Simon Says Stamp 6×6 Silver Glitter Cardstock and Stampin; Up! 12 x 12 Balmy Blue Glimmer Paper (retired) as well as some bright pink glitter paper from my stash. I used the Hero Arts Fancy Snowflake Die (discontinued), Stampin’ Up! So Many Snowflakes (retired) and Stampin’ Up! Colorful Seasons.
I die cut snowflakes from Neenah 110lb Classic Crest Cardstock 8.5 X 11″, Stampin; Up! 12 x 12 Balmy Blue Glimmer Paper (retired) as well as some pale and bright pink glitter paper from my stash. I used the Hero Arts Fancy Snowflake Die (discontinued), Stampin’ Up! So Many Snowflakes (retired) and Stampin’ Up! Colorful Seasons.
I die cut snowflakes from Neenah 110lb Classic Crest Cardstock 8.5 X 11″ as well as some bright pink glitter paper from my stash. I used the Catherine Pooler Designs Delicate Snowflake Die (discontinued), Stampin’ Up! So Many Snowflakes (retired) and Stampin’ Up! Colorful Seasons.
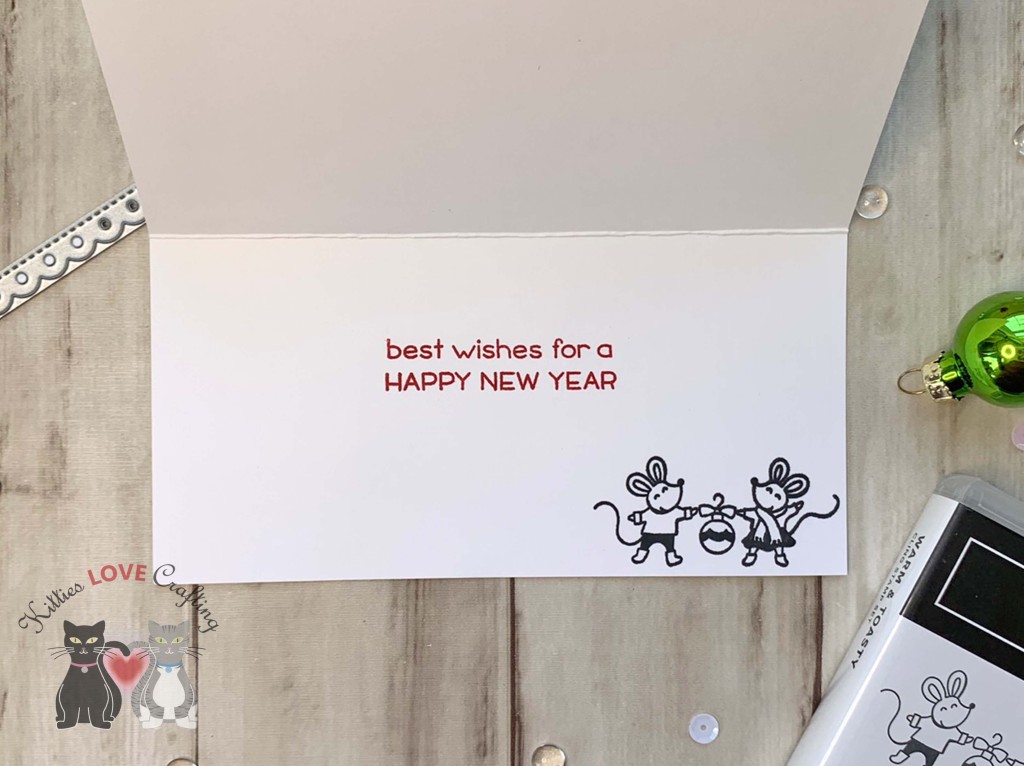
I stamped the sentiment from the Stampin’ Up! Joy to the World Paper Pumpkin Stampset (retired) directly onto the card with Catherine Pooler Designs Black Jack Ink.
Thanks for reading this post. I hope you enjoyed and I’ve inspired you to give these cards a try for yourself. Leave comments or questions below or feel free to email.
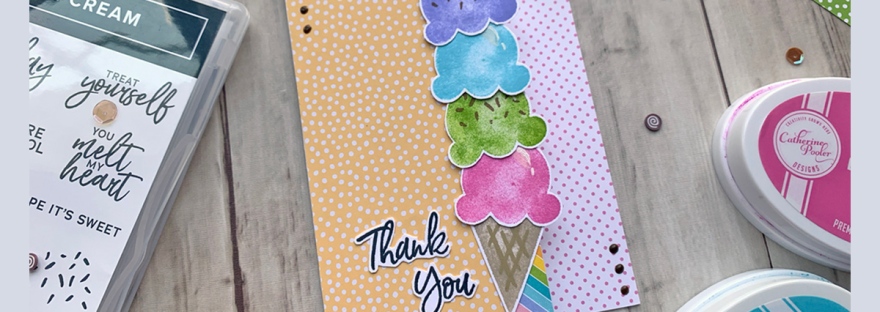
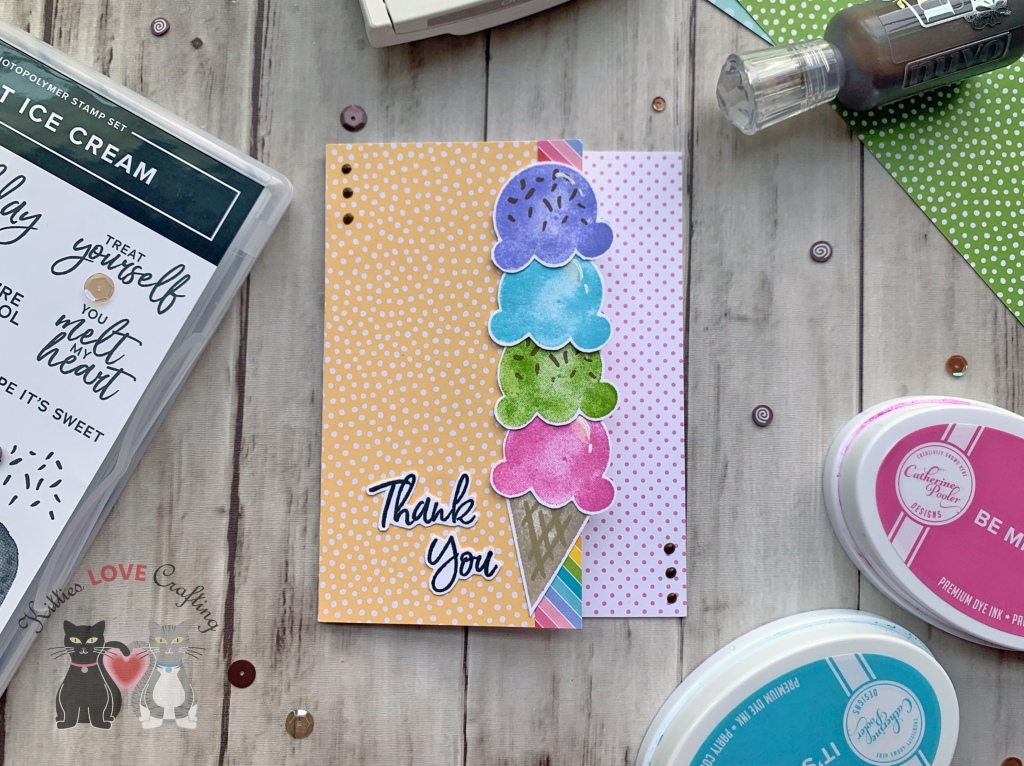
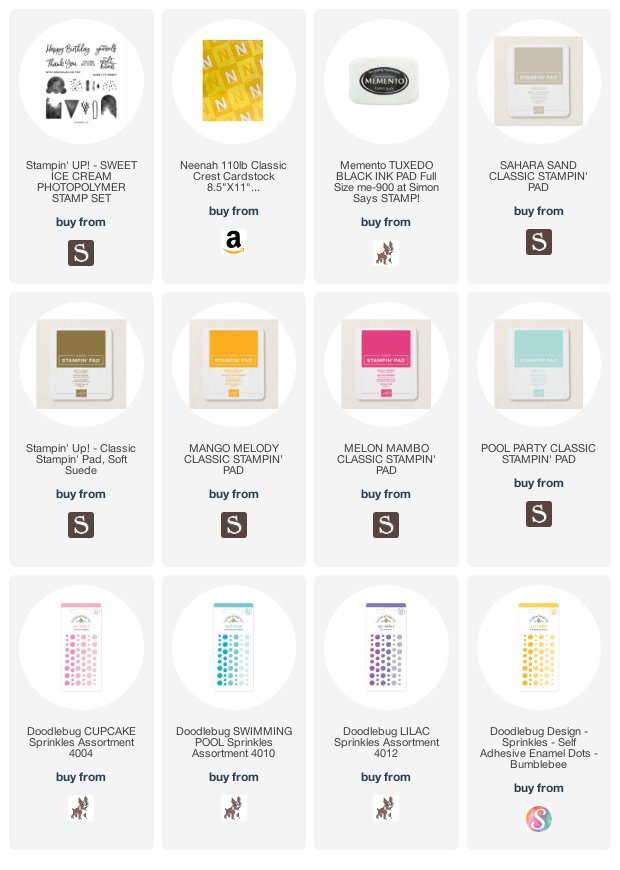
Hi everyone! I was playing with the Stampin’ Up!’s Sweet Ice Cream Stampset and tried to think of a card I can make using minimal supplies and taking advantage of all the paper in my stash! Here’s what I came up with.
I used Neenah 110lb Classic Crest Cardstock 8.5 X 11″ cut to 5-1/2 x 8-1/2″ and scored at 4-1/4″ to make the card base and cut off 1-1/2″ from the front right side of the card base. I also cut a piece of Stampin’ Up! 6 x 6 Subtles (retired) polka dot paper in So Saffron to 3 x 5-1/2″ and a piece of Lawn Fawn Really Rainbow 6 x 6 Petite Paper Pack to 1/2 x 5-1/2″ which I adhered to the front of the card and a piece of pink polka dot paper from the Doodlebug Designs 12 x 12 Milk and Cookies Petite Print Assortment (not sure if it’s available anymore) for the inside, which I cut to 1-3/8 x 5-1/2″.
Thanks for reading this post. I hope you enjoyed and I’ve inspired you to try this cute summer fun fold card using this stampset and paper from your stash! Leave comments or questions below or feel free to email me. If you want to share you creations with me tag me on instagram @kittieslovecrafting.
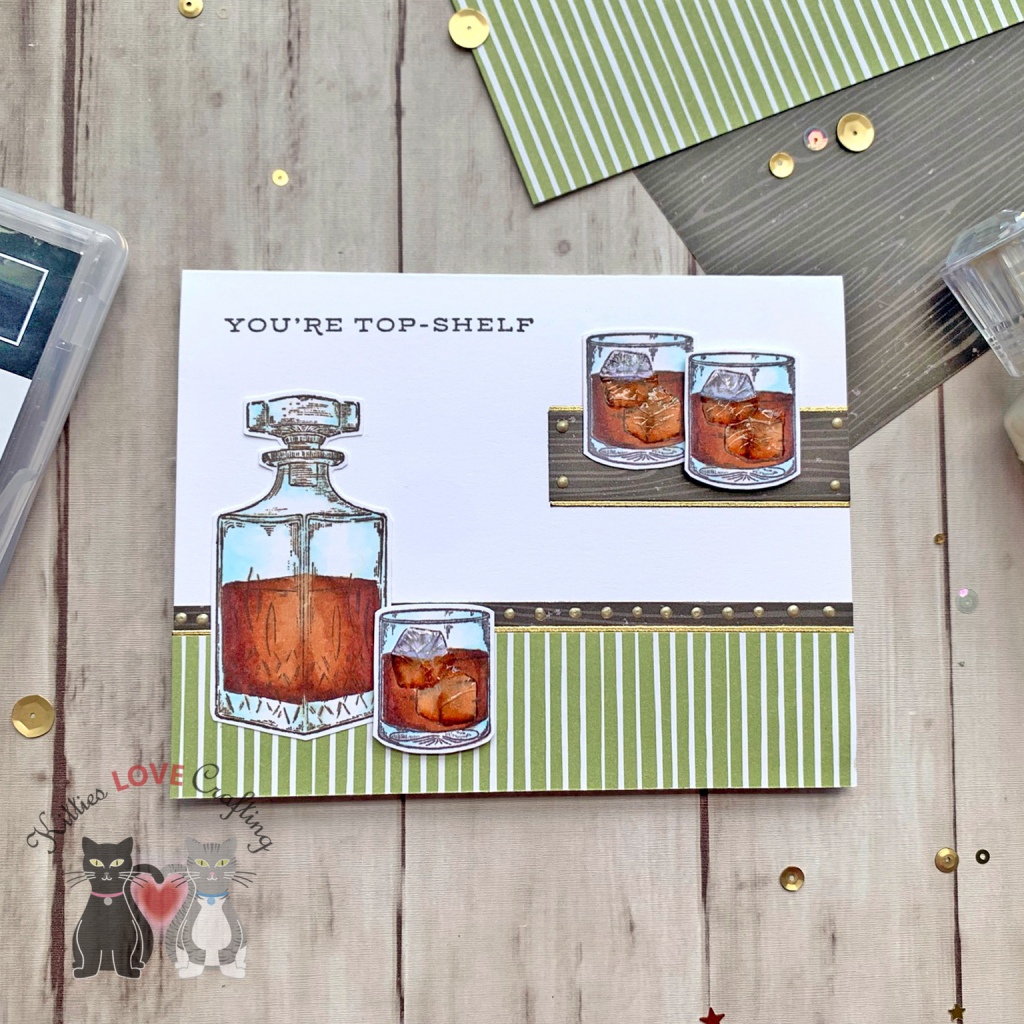
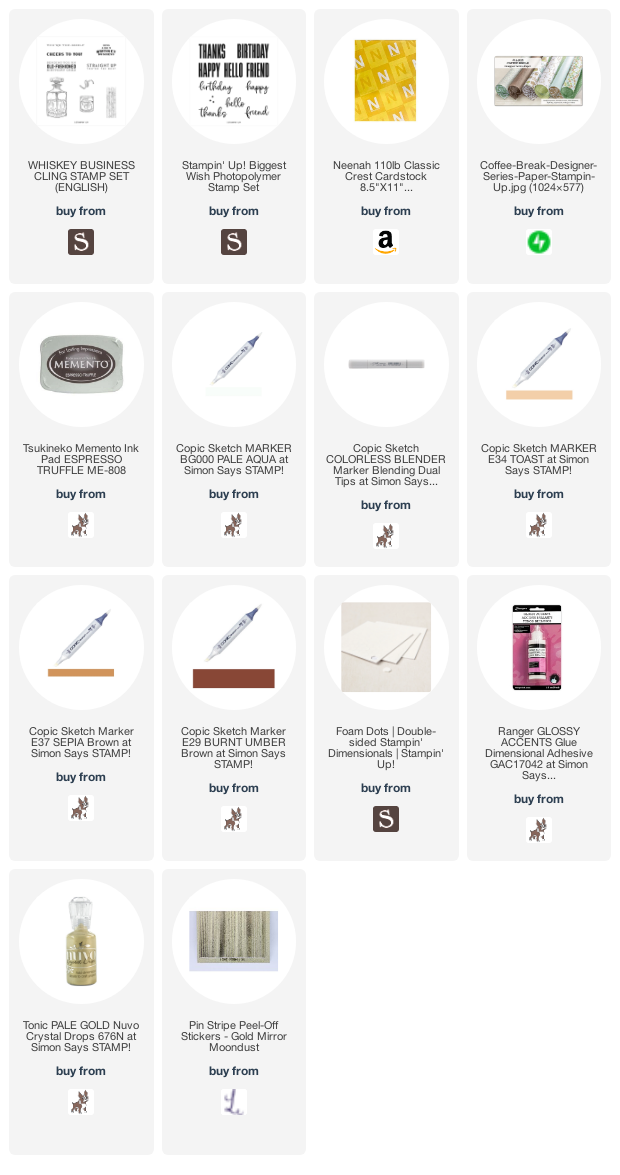
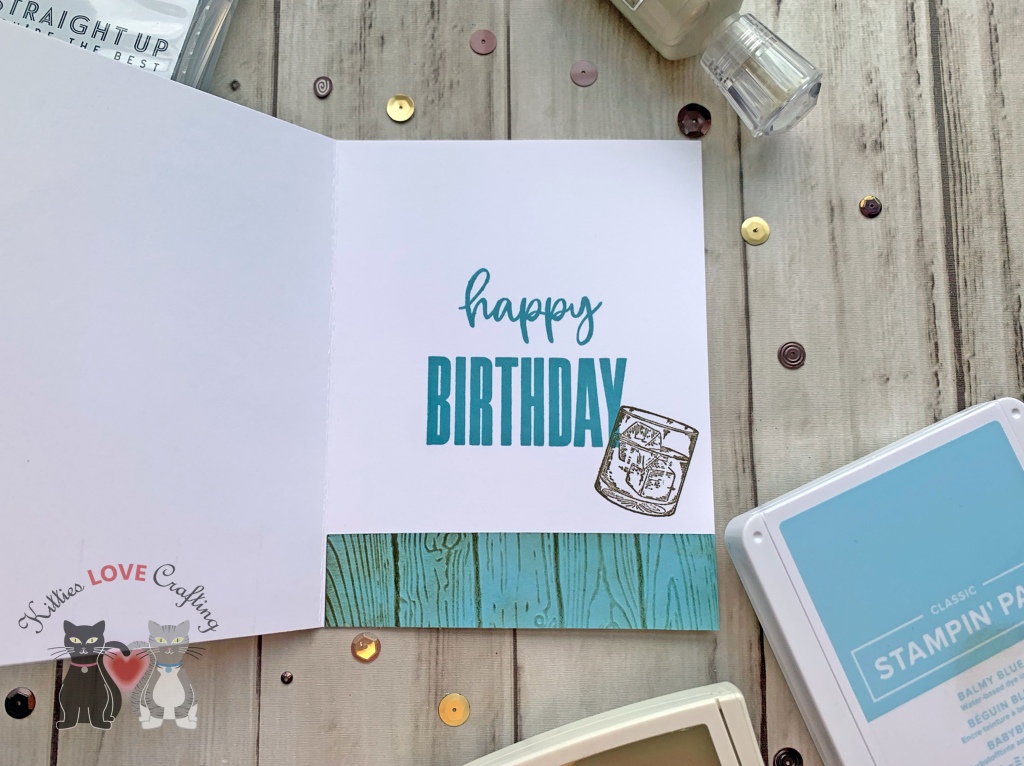
Hi friends! As promised, here I another quick and simple masculine card idea using Stampin’ Up!’s Whiskey Business Stamp Set. These can be easily mass produced and allows you to use up some of your pattern papers.
For this card, I used Neenah 110lb Classic Crest Cardstock 8.5 X 11″ cut to 5-1/2 x 8-1/2″ and scored at 4-1/4″ to make the card base. I cut a piece of striped Pear Pizazz pattern paper from the Stampin’ Up! Coffee Break 12 x 12 Designer Series Paper (retired), measuring 1-1/4 x 5-1/2″ and two pieces of the woodgrain pattern paper from the same paper pack measuring 1-1/2 x 5-1/2″ and 3/4 x 2-1/2″.
Thanks for reading this post. I hope you enjoyed and I’ve inspired you to try this easy masculine card using this stampset and paper for yourself! Leave comments or questions below or feel free to email me. If you want to share you creations with me tag me on instagram @kittieslovecrafting.
Hi friends! Love the look of watercolor but not so great at it like me?!? This Sweet Ice Cream Stampset from Stampin’ Up! is a great option. You can make quick cards with little effort but they look like you spent lots of time watercoloring the images. 🙂 And they look so cute when complete!
Thanks for reading this post. I hope you enjoyed and I’ve inspired you to try this cute summer slimline ice cream card using this stampset for yourself! Leave comments or questions below or feel free to email me. If you want to share you creations with me tag me on instagram @kittieslovecrafting.
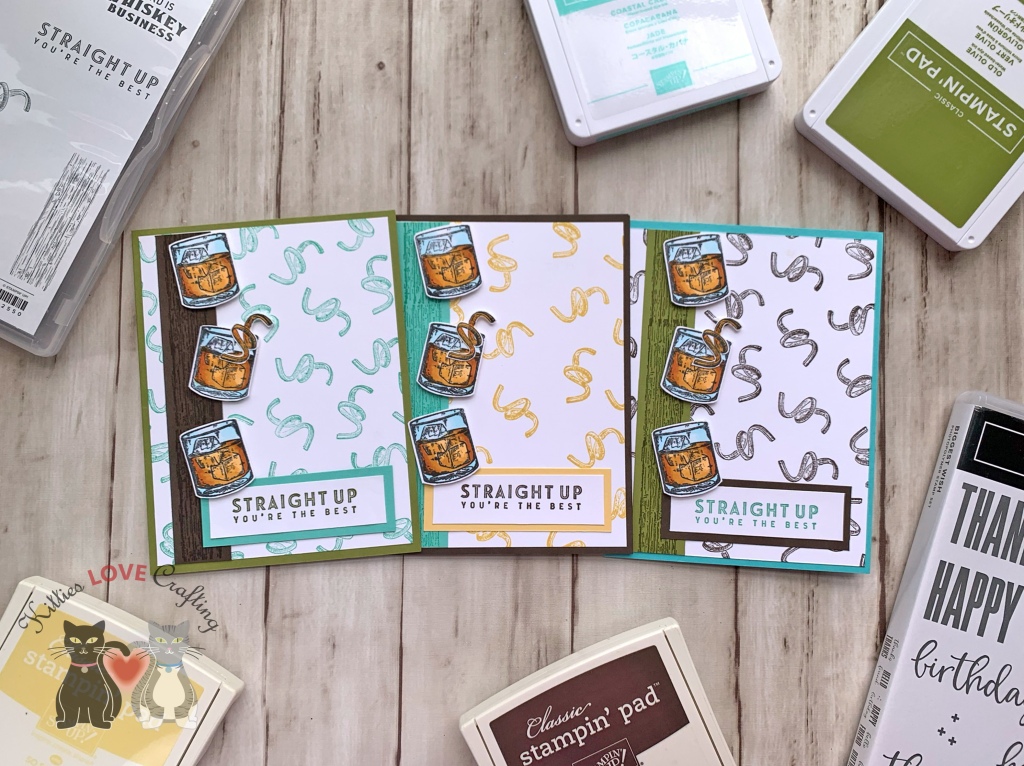
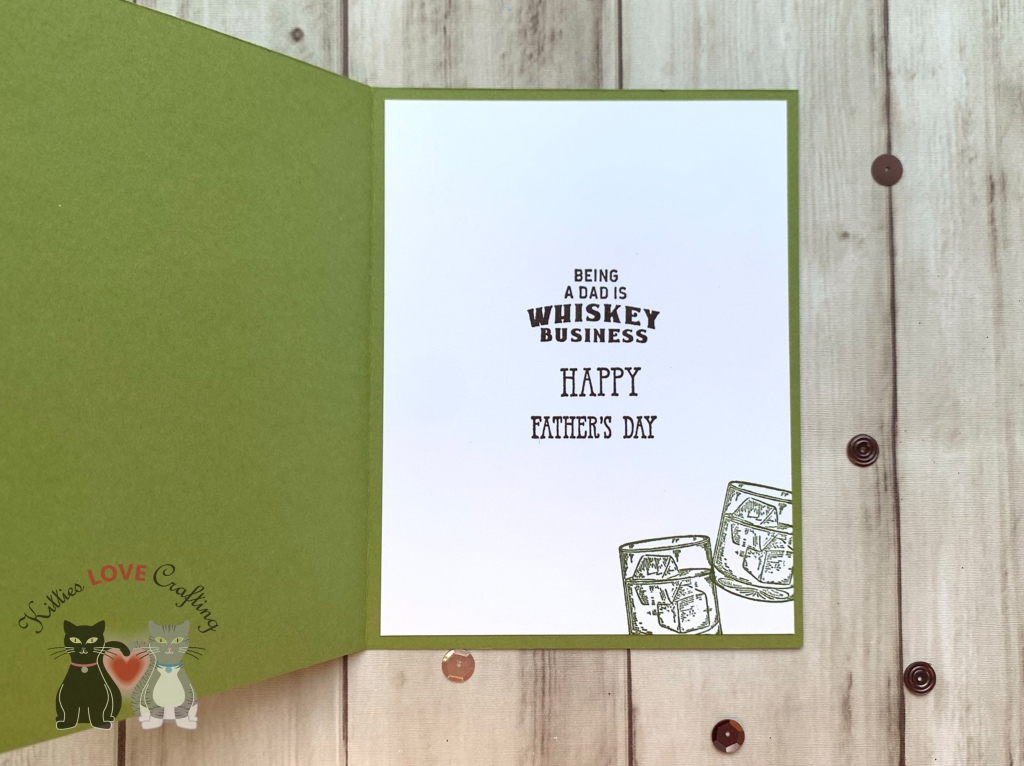
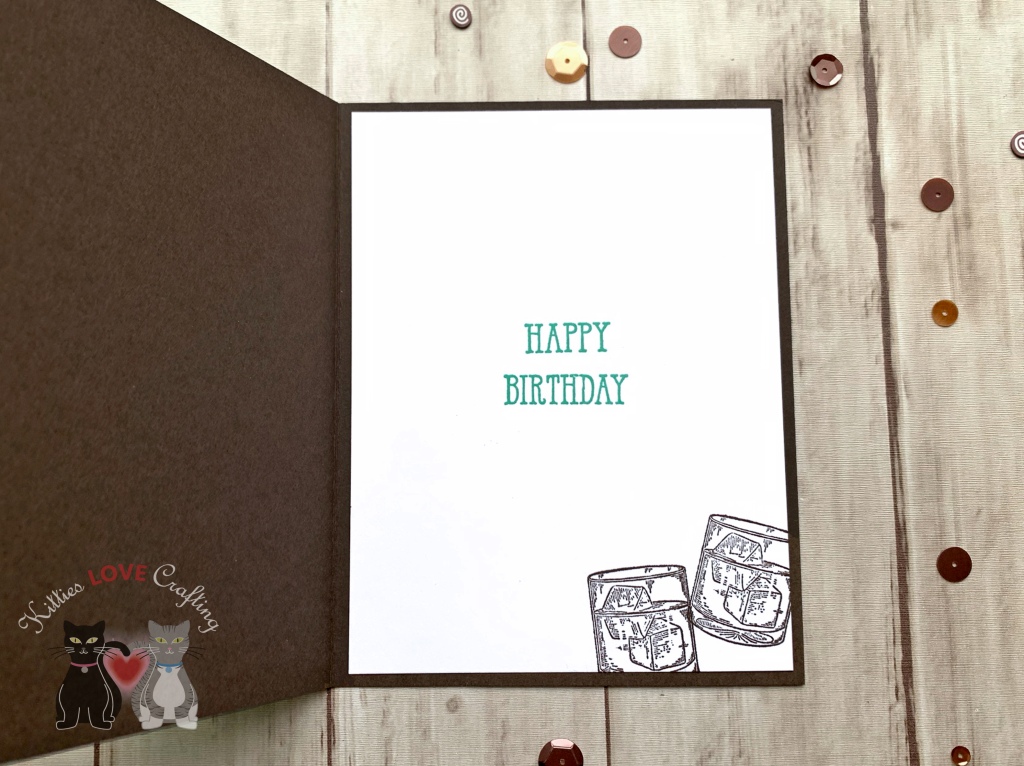
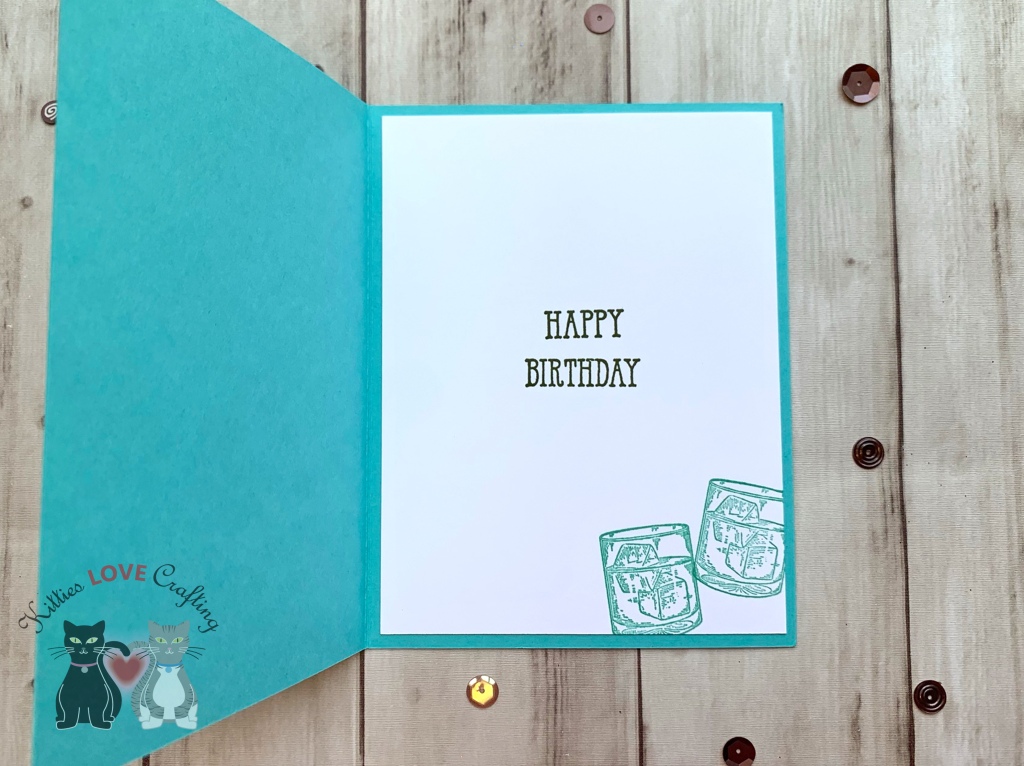
Hi friends! As promised, here a few more masculine card ideas using Stampin’ Up!’s Whiskey Business Stamp Set. These can be easily mass produced and are great for birthdays, Father’s Day or any celebration.
Thanks for reading this post. I hope you enjoyed and I’ve inspired you to try these easy maSCULINE cards using this stampset and paper for yourself! Leave comments or questions below or feel free to email me. If you want to share you creations with me tag me on instagram @kittieslovecrafting.
Hi everyone! Need an easy masculine card or for someone who loves a good old fashioned adult beverage??? Well have I got some cards for you! This post features one pretty quick and simple card. More cards to come… stay tuned.
I used Copic Markers to color the images. Be very careful with the tips of your markers as embossing powder will get stuck to it. You have to keep rubbing it off as you color so as not to ruin your nibs. I used B0000 + 0 for the glasses and decanter, YR21, YR23 and YR27 for the liquid.
Thanks for reading this post. I hope you enjoyed and I’ve inspired you to try these easy masculine card using this stampset and paper for yourself! Leave comments or questions below or feel free to email me. If you want to share you creations with me tag me on instagram @kittieslovecrafting.
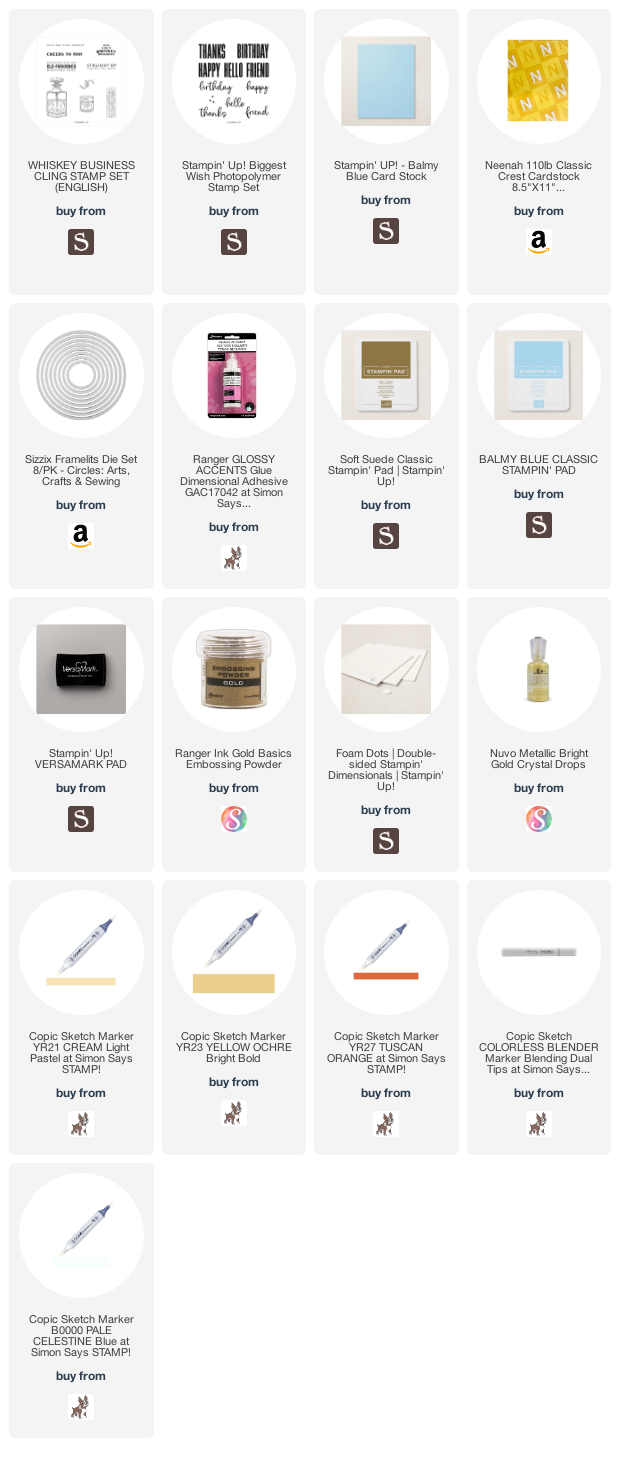
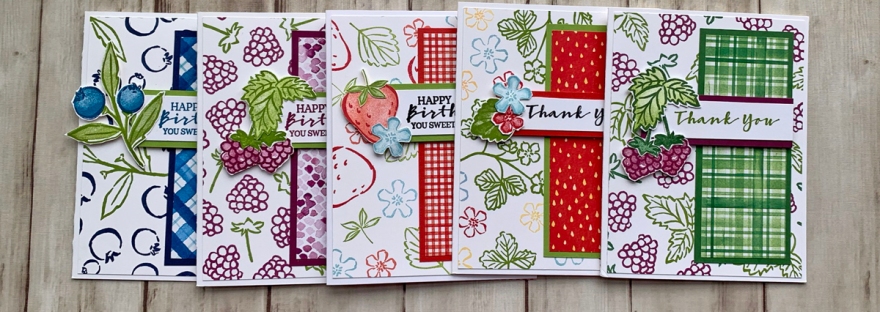
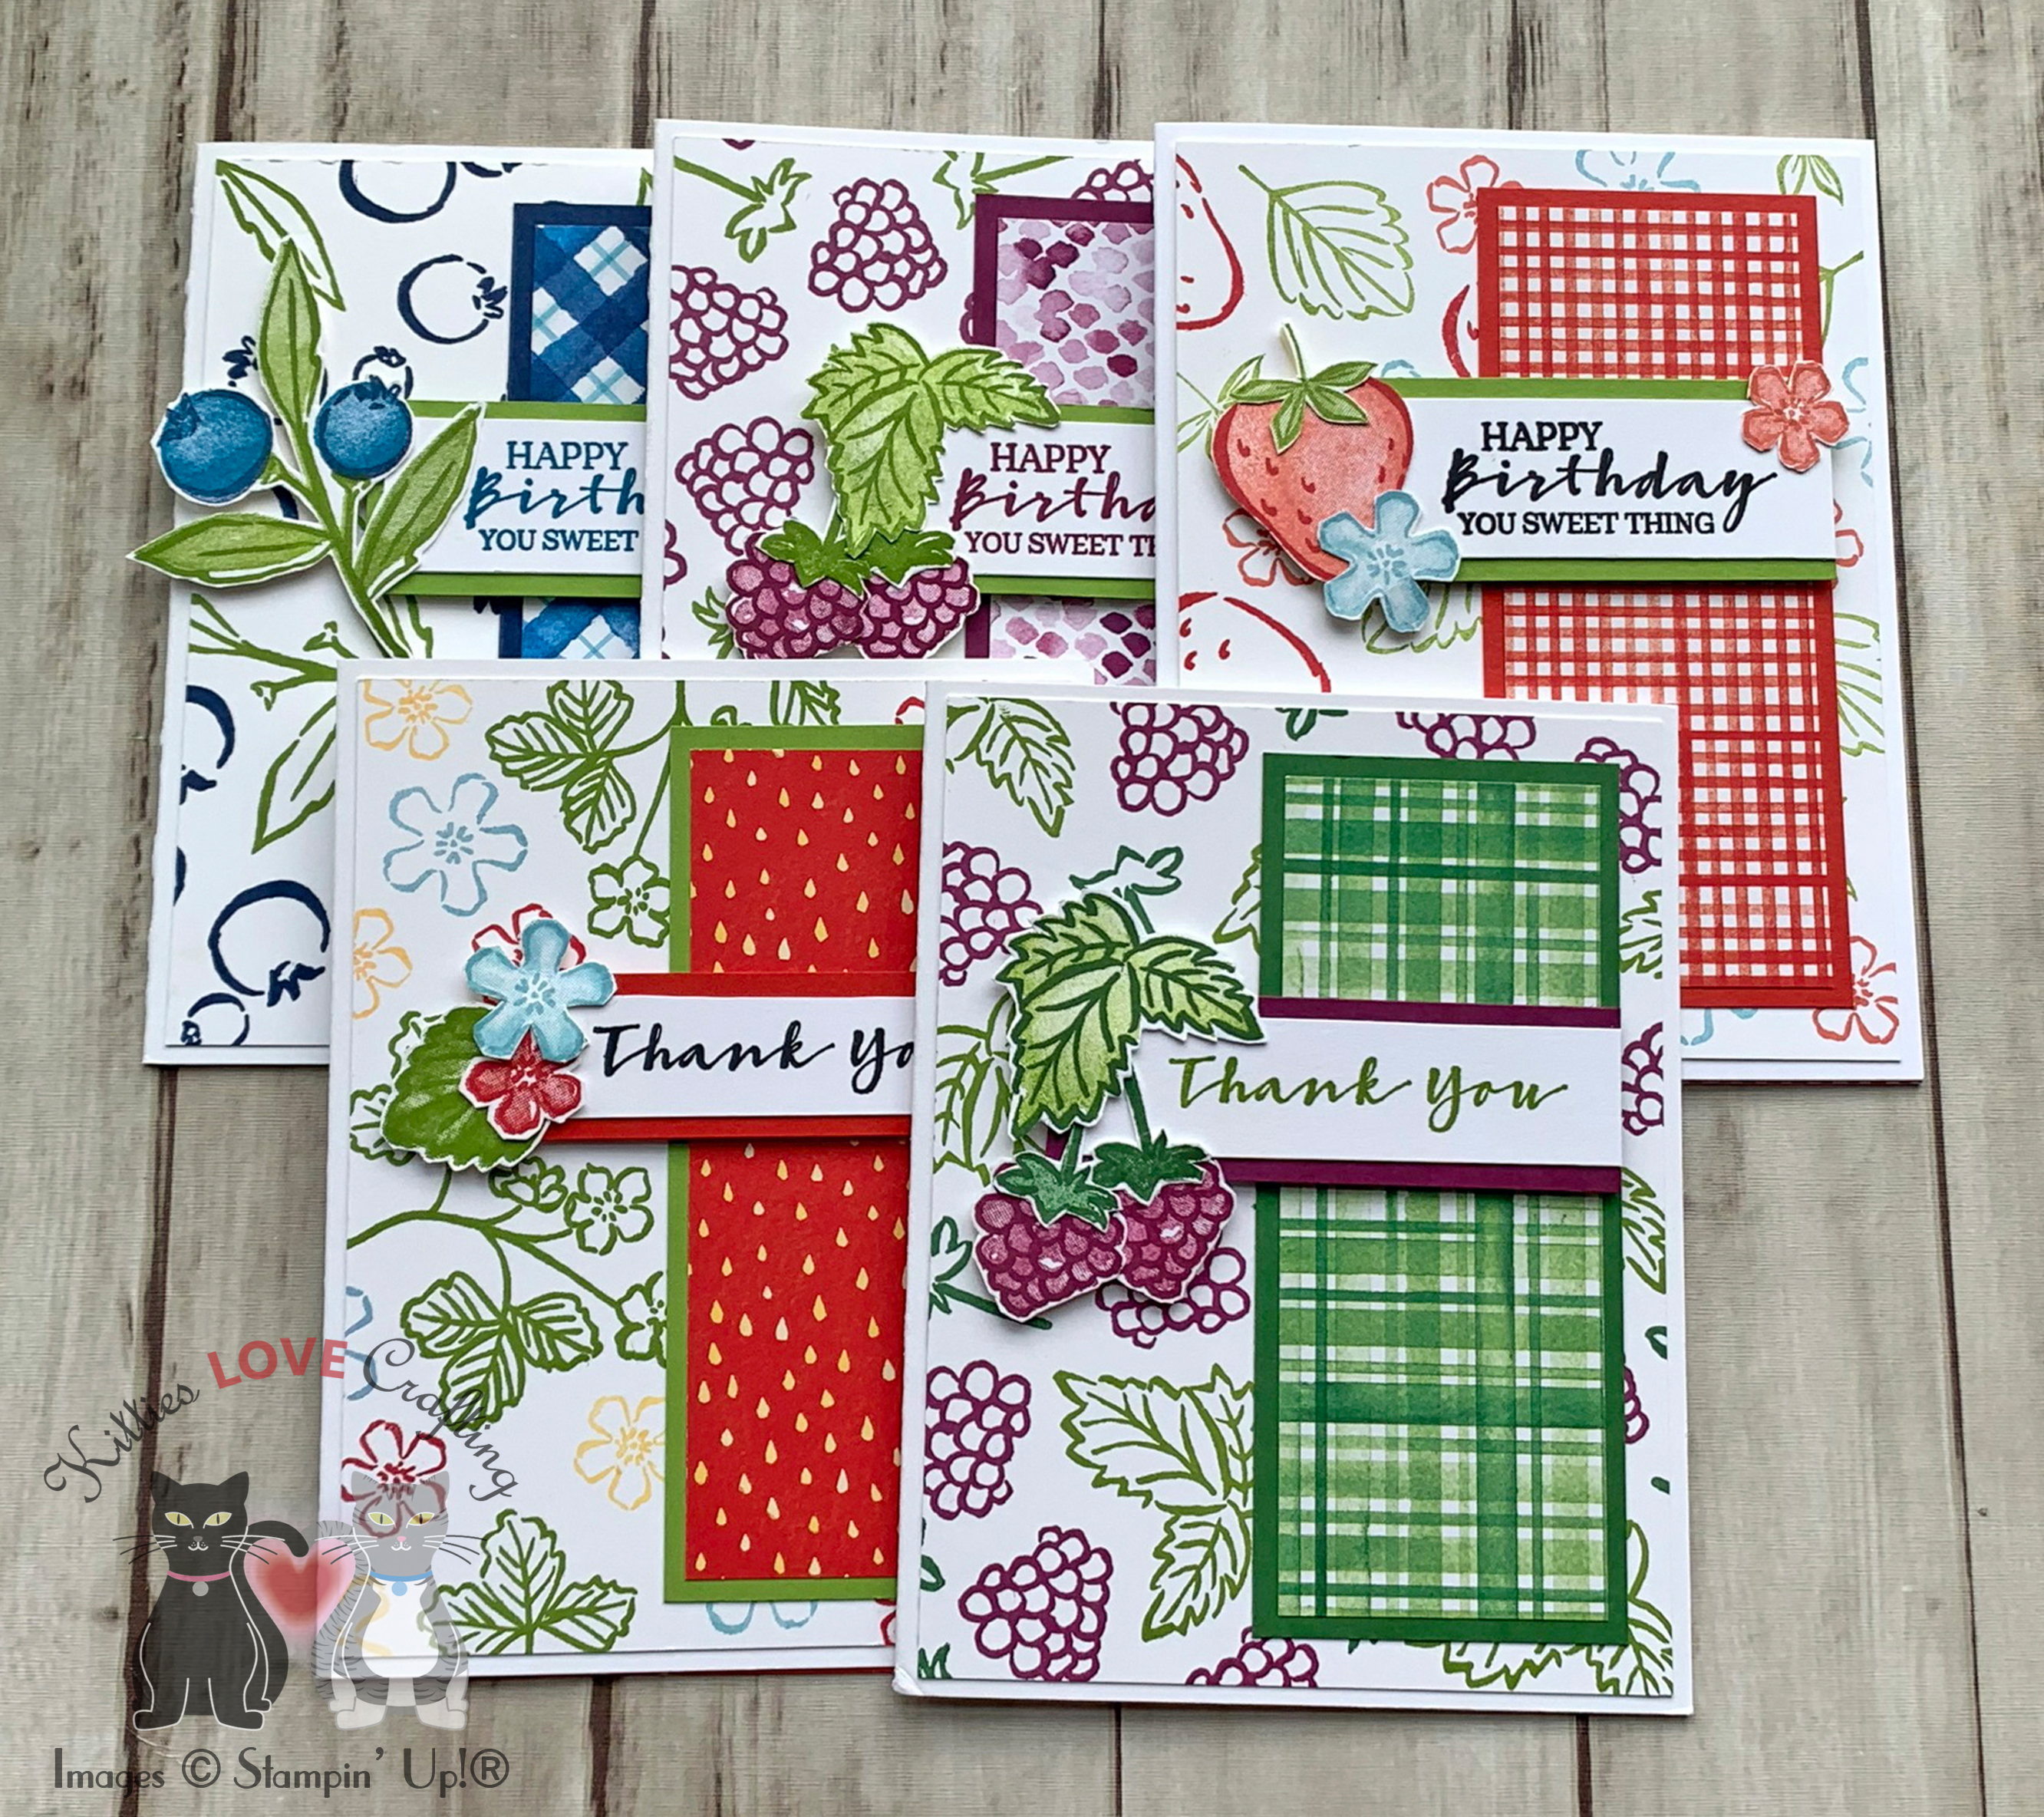
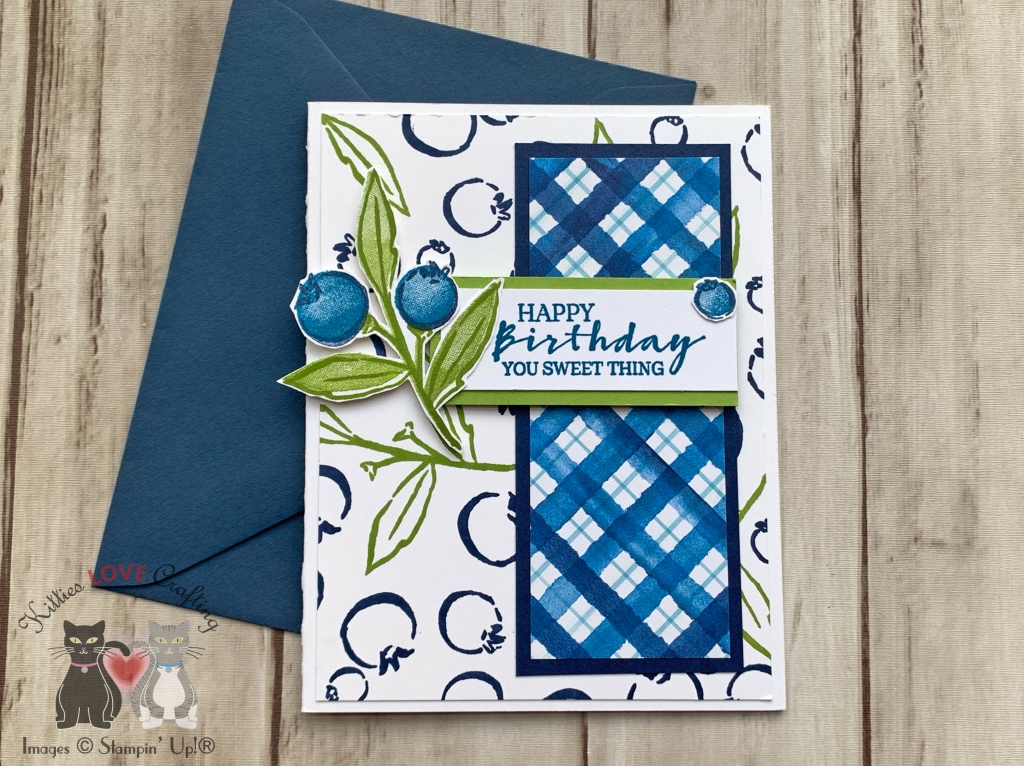
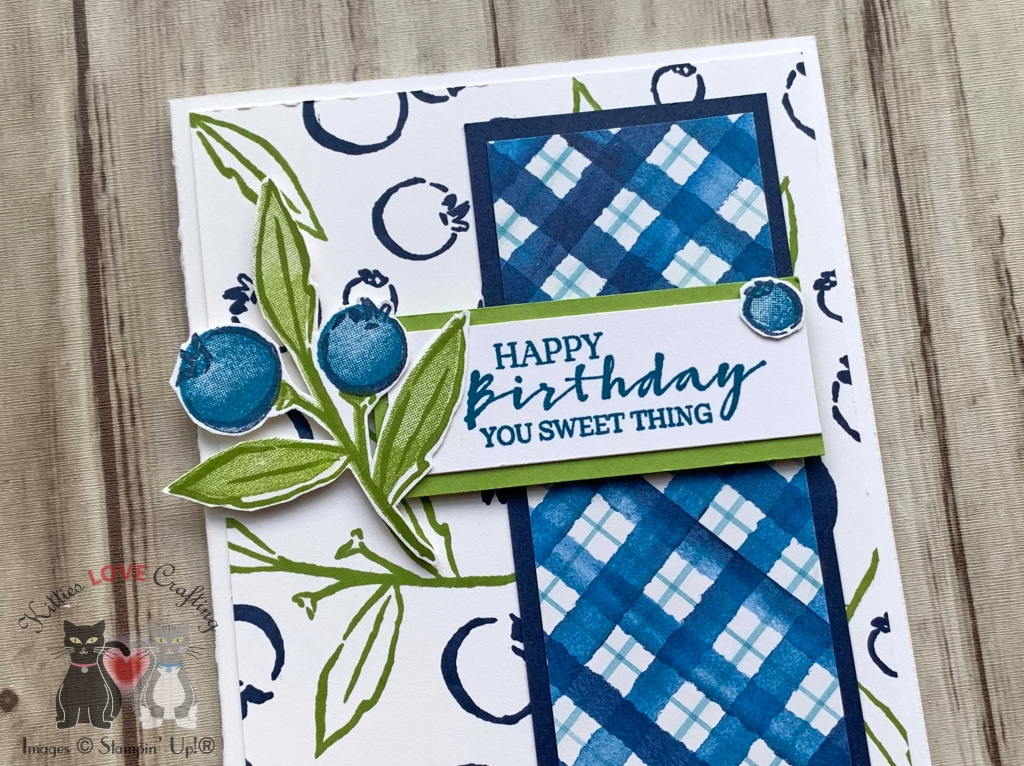
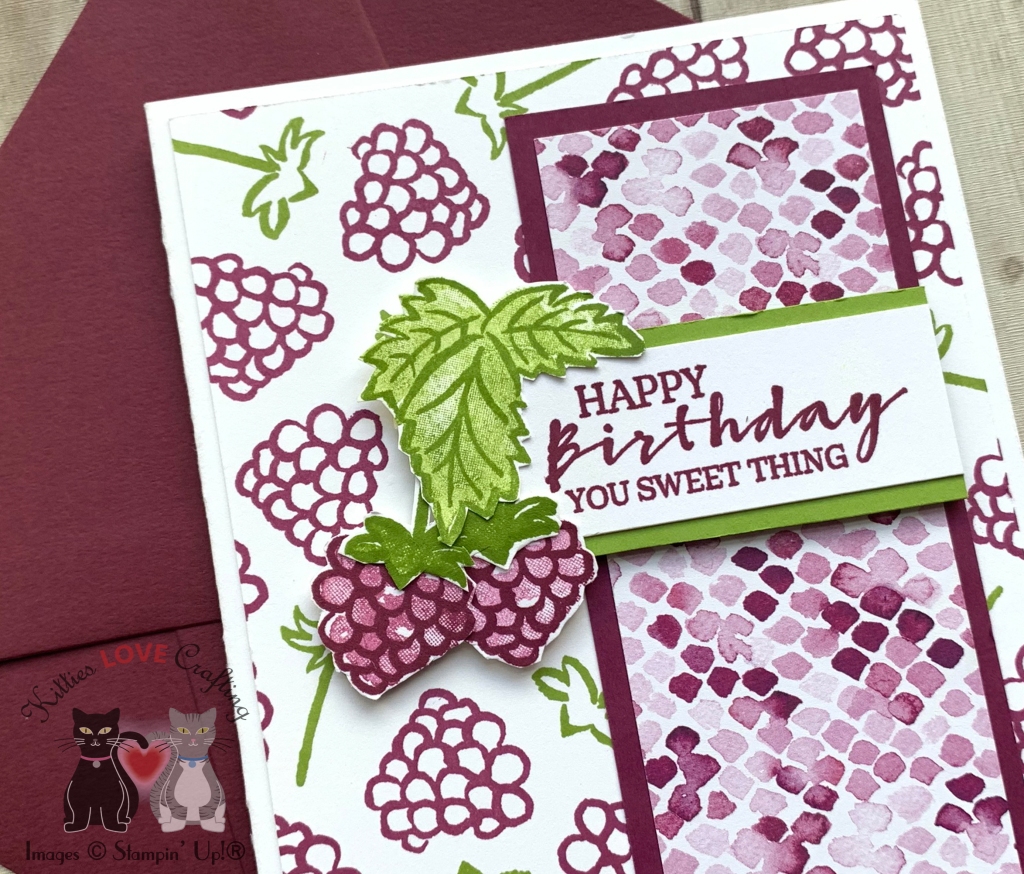
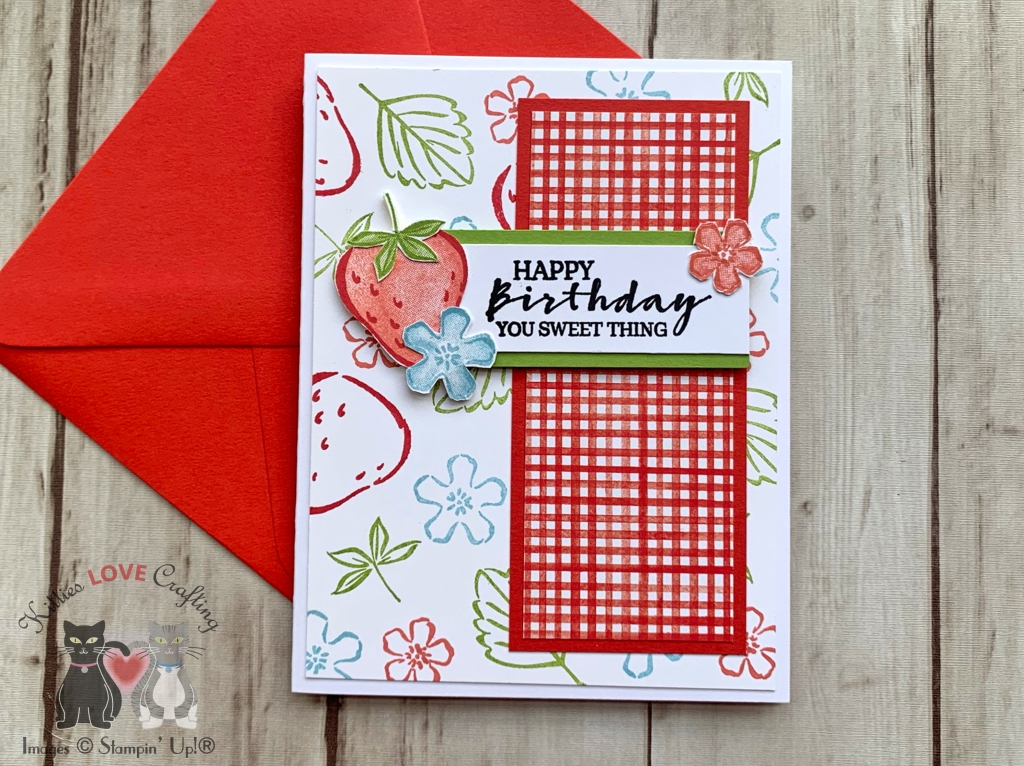
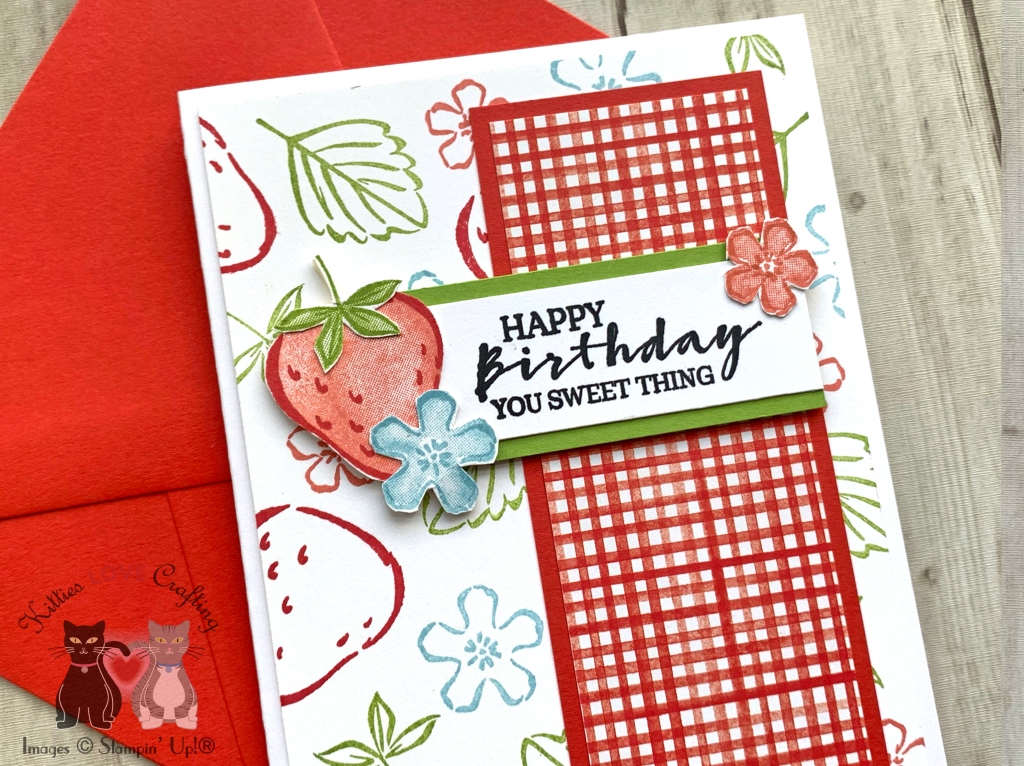
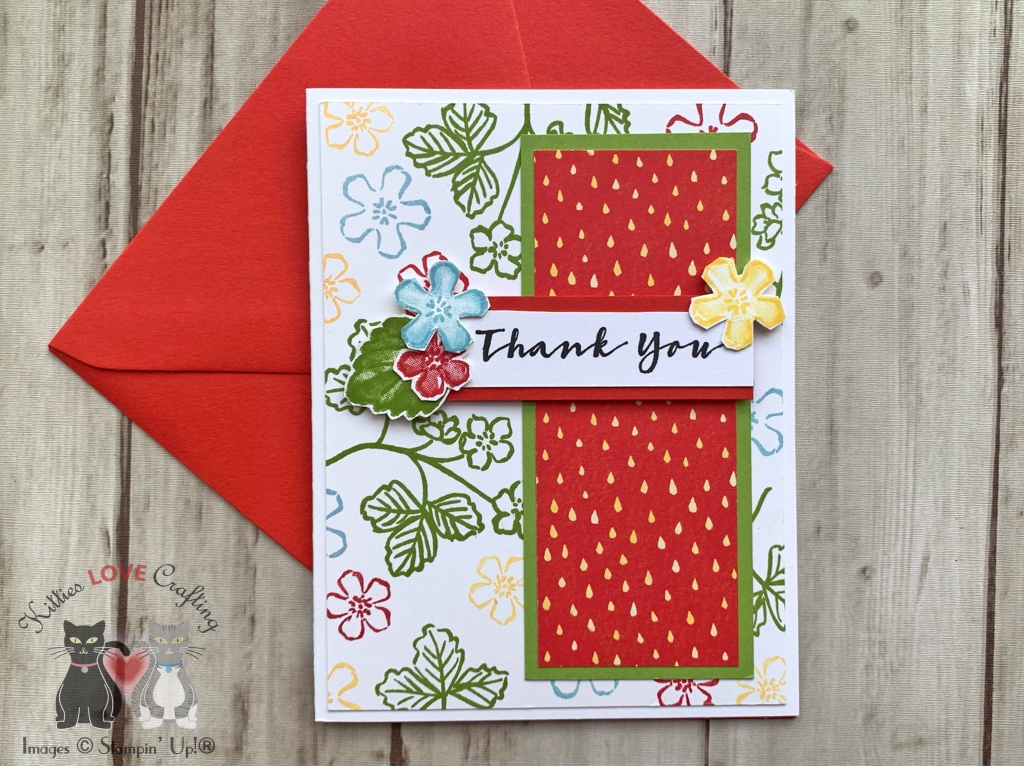
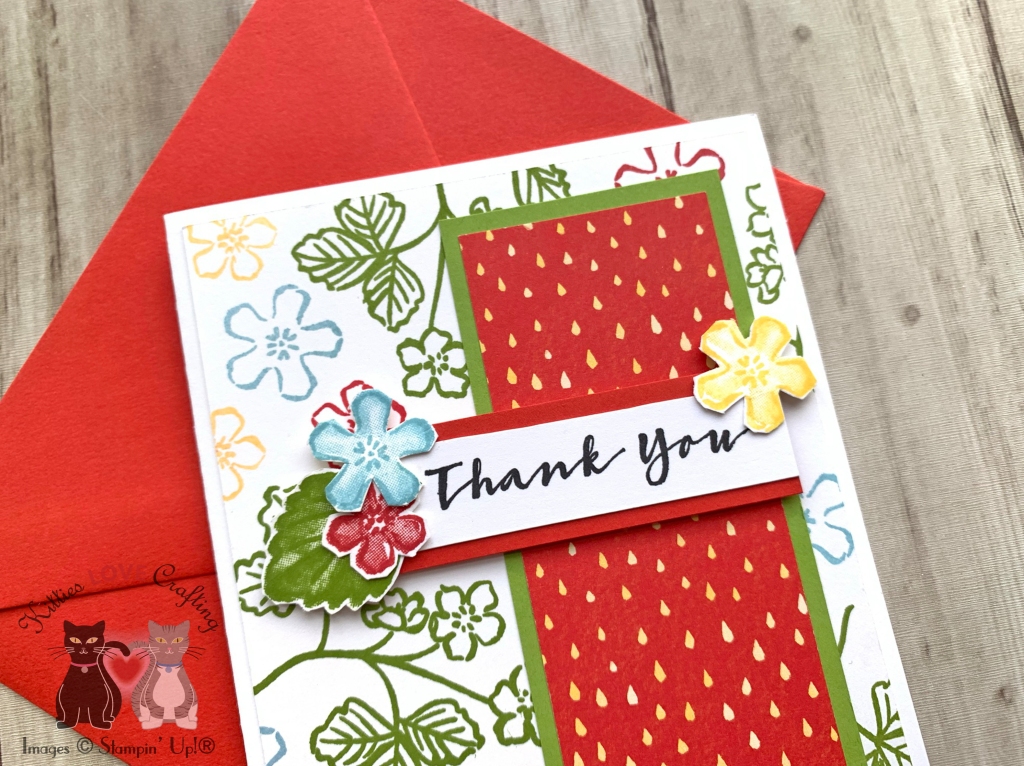
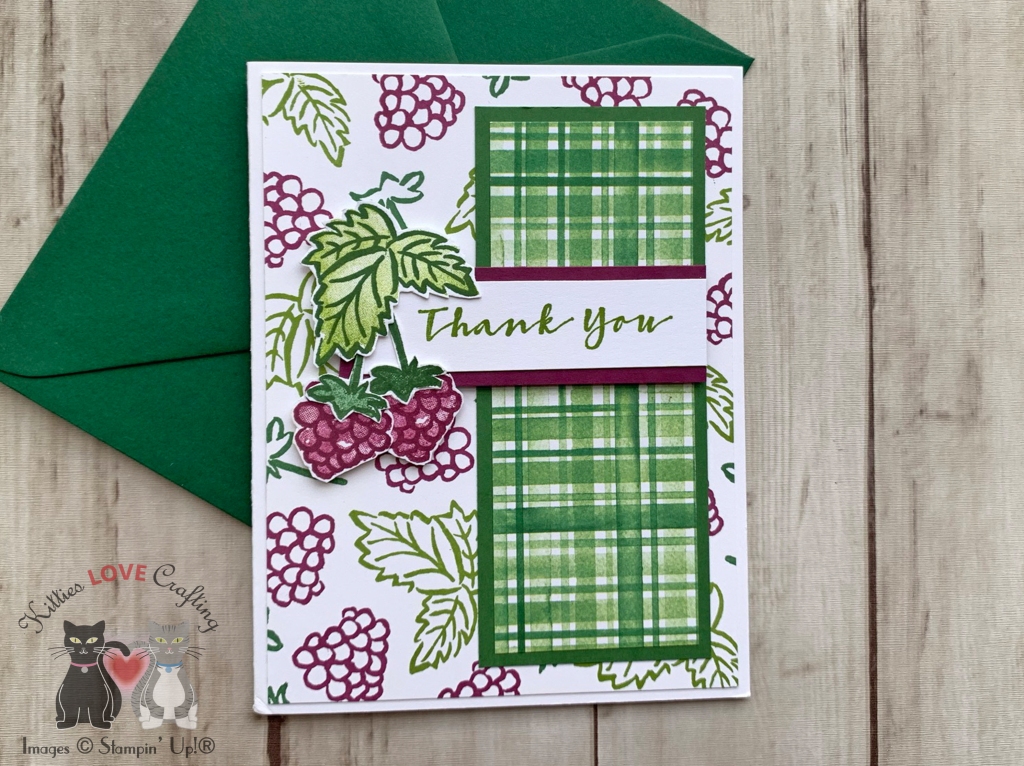
For the all the cards, I started by cutting a piece of Whisper White 8-1/2″ X 11″ Thick Cardstock to 5-1/2 x 8-1/2″ and scored at 4-1/4″ to make a card base and a panel to 4 x 5-1/4″.I stamped the outline images from the Berry Blessings Stampset and Sweet Strawberry Stampset to create the background and adhered it to the card base. Then cut a piece of Berry Delightful 12 x 12 DSP to 1-7/8 x 4-1/2″ and a piece of a Stampin’ Up! colored cardstock to x 1-3/4 x 4-3/4″ and adhered them together. I stamped and fussycut all focal point images using both the outlines and solid stamps. I then stamped all the sentiments onto a piece of Whisper White 8-1/2″ X 11″ Thick Cardstock, Cut them down and added colored cardstock behind them. I adhered the sentiment and images with 3M Foam Tape and Stampin’ Dimensionals.
Thanks for reading this post. I hope you enjoyed and I’ve inspired you to try these easy birthday cards using this stampset and paper for yourself! Leave comments or questions below or feel free to email me. If you want to share you creations with me tag me on instagram @kittieslovecrafting.
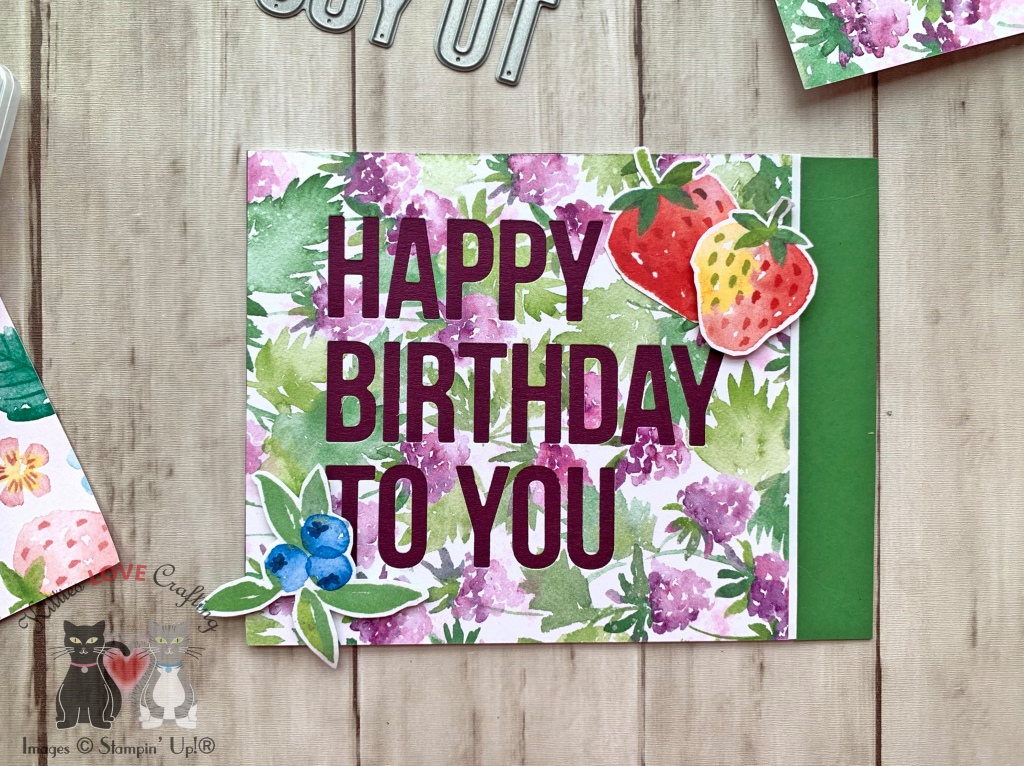
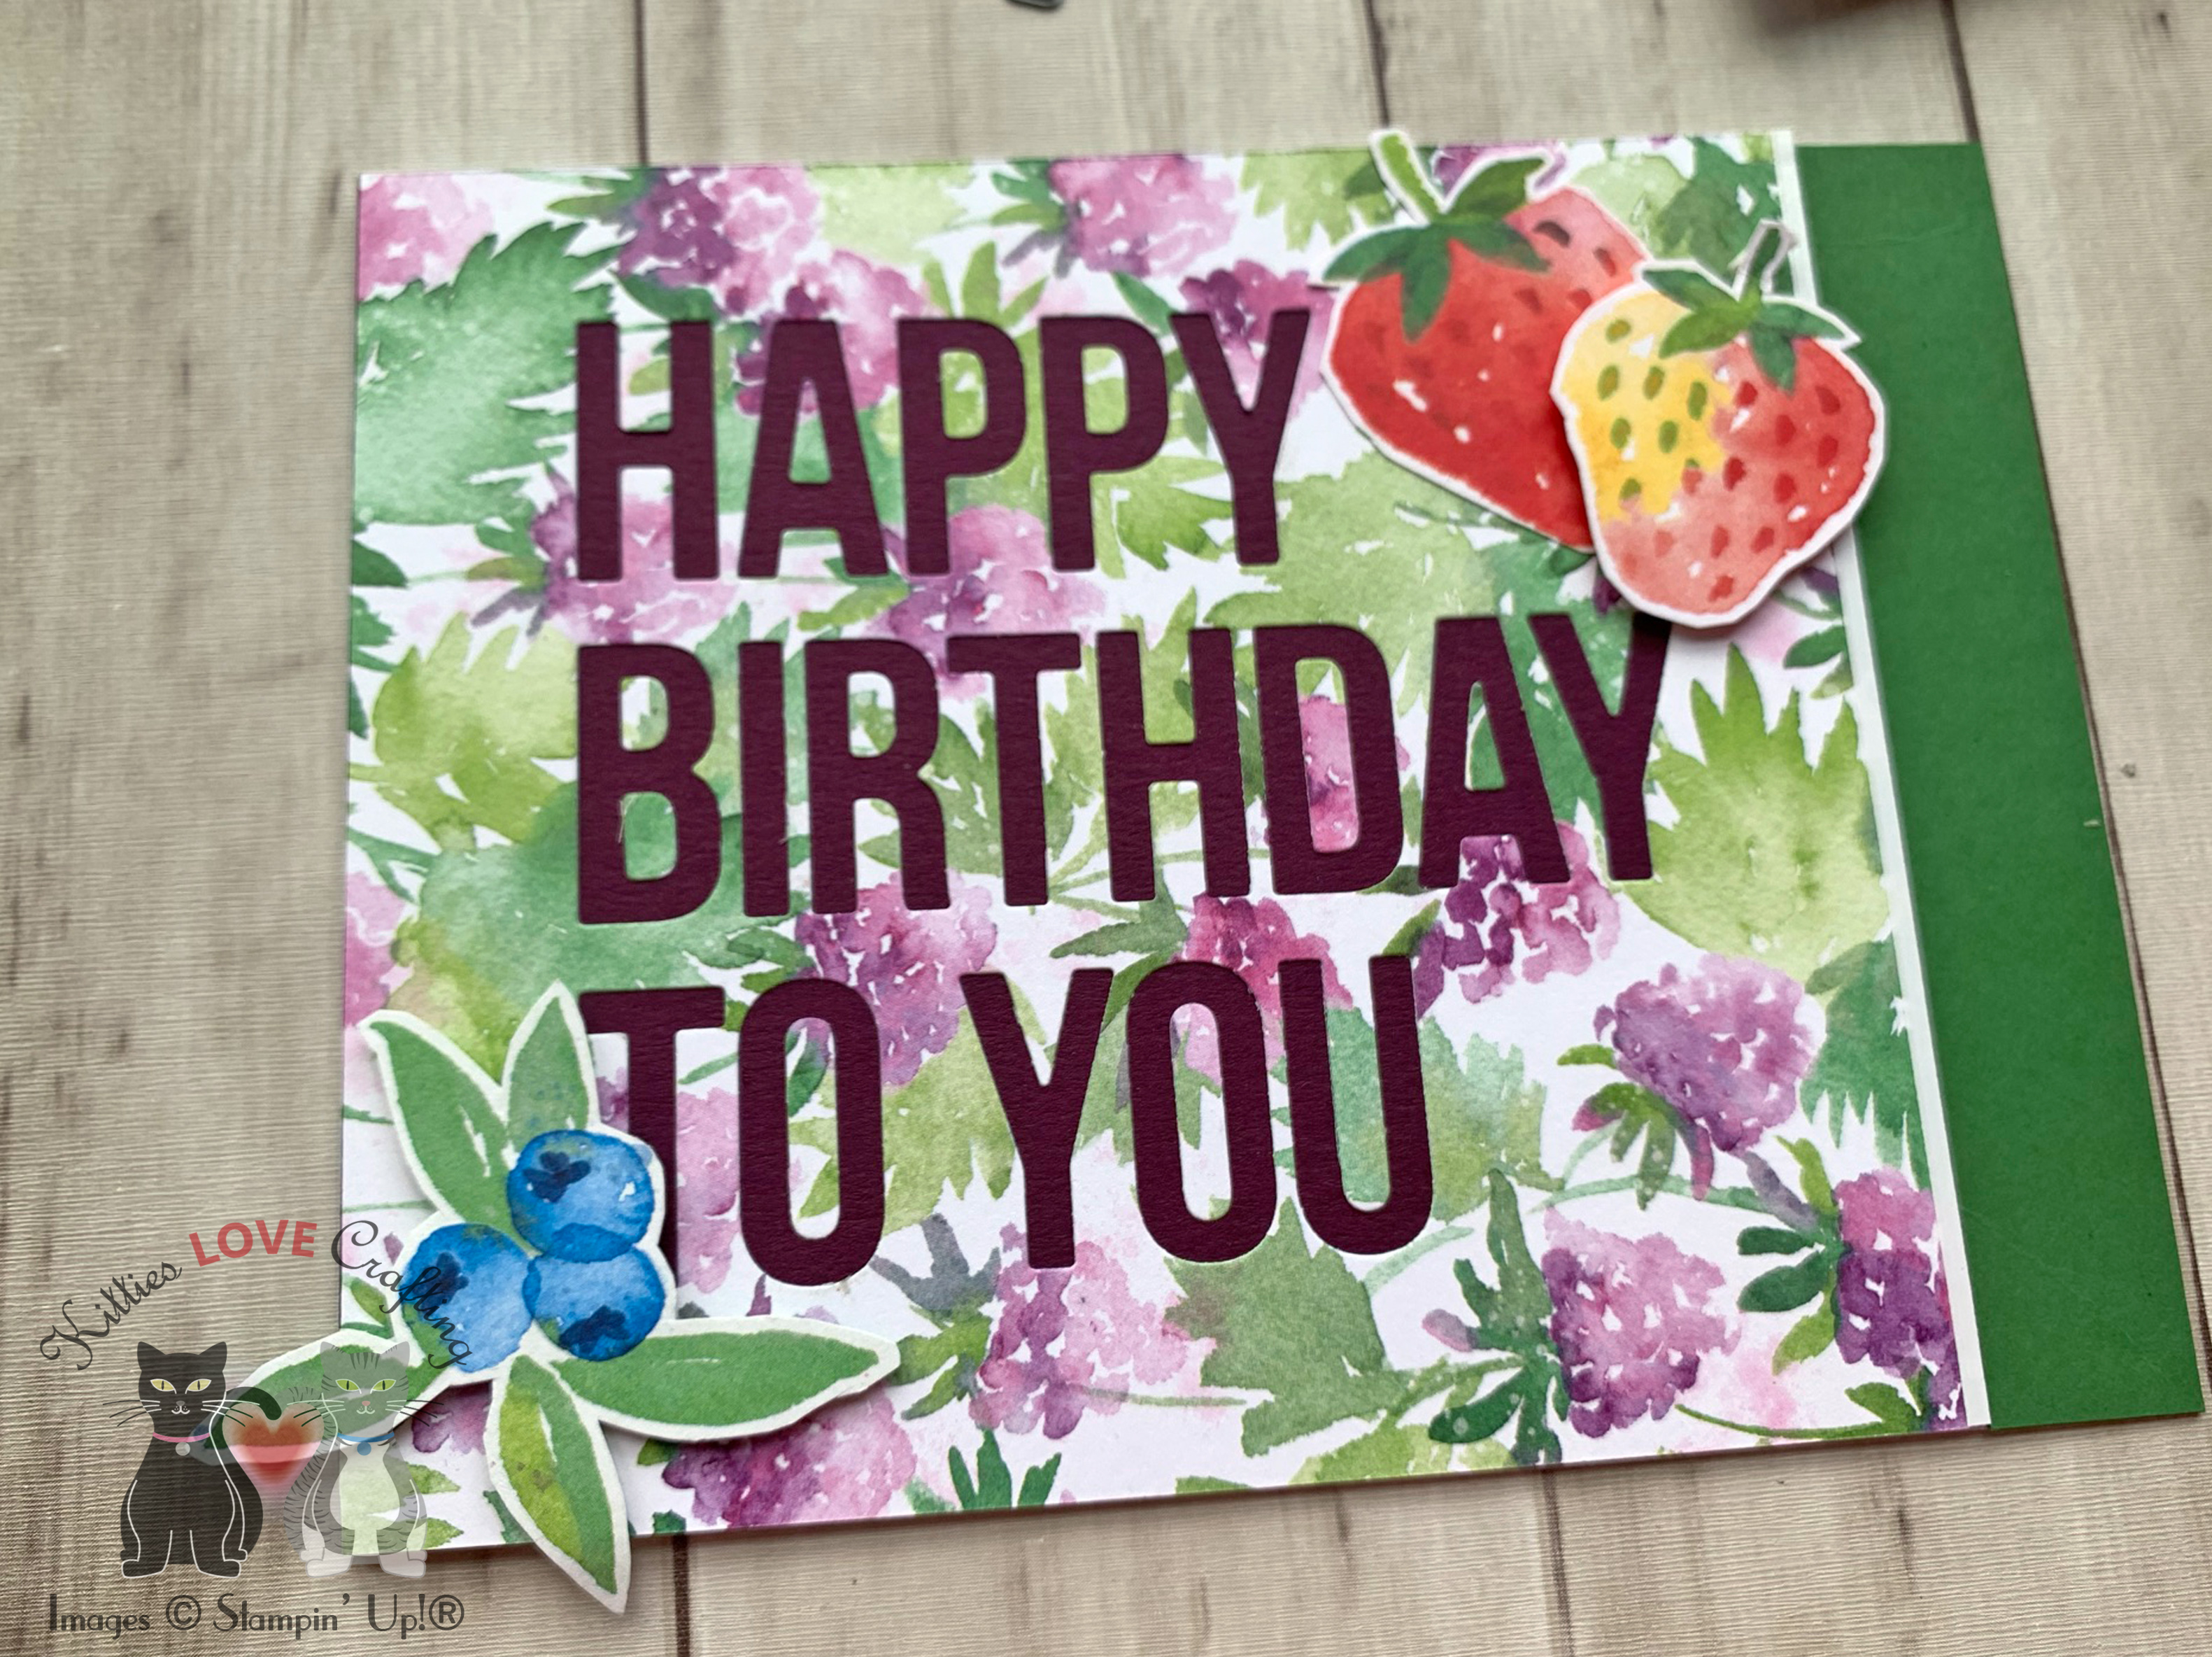
Hi everyone! I made some fruity birthday cards using the positive and negative created using the Happy Birthday To You Die from My Favorite Things (discontinued). This is a great way to make multiple cards with minimal supplies and not waste anything. This paper I uses can be found on page 14 of the new Sale-A-Bration Catalog.
For the first card, I started by cutting a piece of Whisper White 8-1/2″ X 11″ Thick Cardstock to 5-1/2 x 8-1/2″ and scored at 4-1/4″ to make a card base. I adhered the letters for the sentiment to the card with Tombow Mono Multipurpose Glue. Tip: To easily aand perfectly dhere the sentiment, cut a scrap piece of the sentiment and tape it down to the card suing low-tack tape. Then adhere your letters in the negative space. You won’t need to try to space out or align the letters.
Thanks for reading this post. I hope you enjoyed and I’ve inspired you to try these easy birthday cards using this stampset and paper for yourself! Leave comments or questions below or feel free to email me. If you want to share you creations with me tag me on instagram @kittieslovecrafting.


 https://linkdeli.com/widget.js?id=f5e8378456858c916708