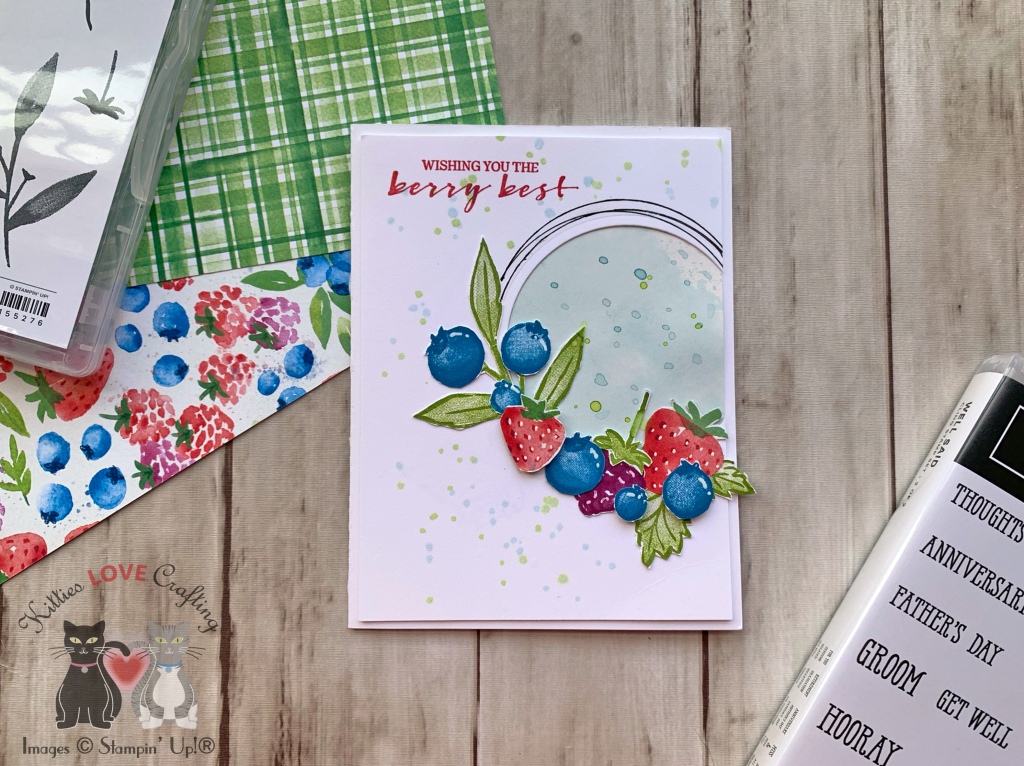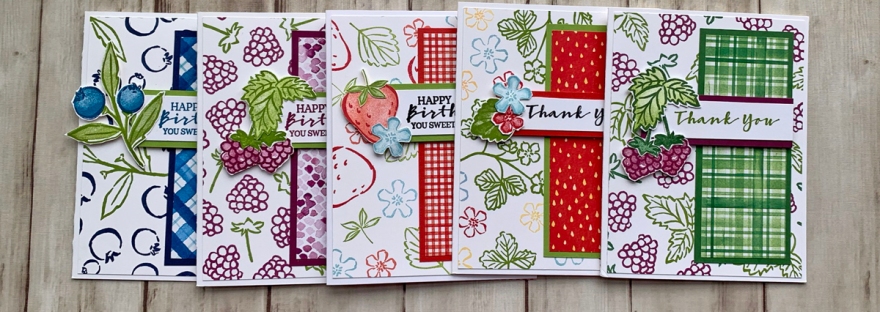
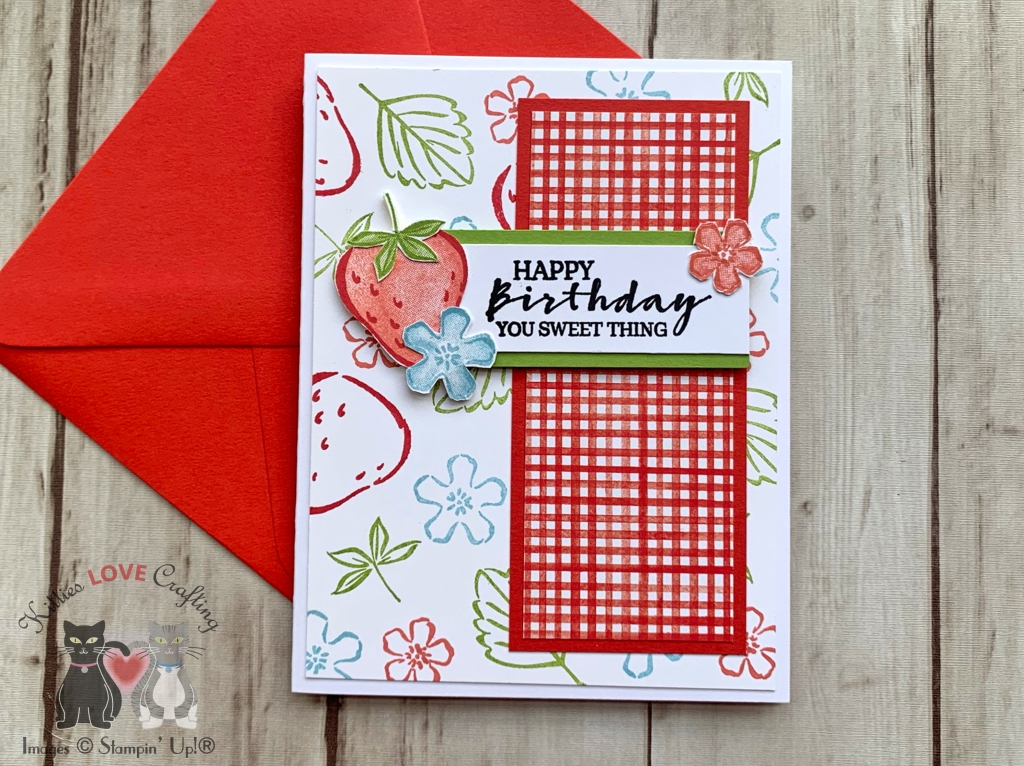
Hello friends. I had a lot of fun creating this very easy fruity card set featuring Stampin’ Up!’s Berry Blessings Stampset (featured on page 14 of the Sale-A-Bration Catalog) and Sweet Strawberry Stampset. The Sweet Strawberry Stampset coordinates with the Strawberry Builder Punch found on page 44 of the January-June 2021 Mini Catalog. This set is available for purchase in my shop.
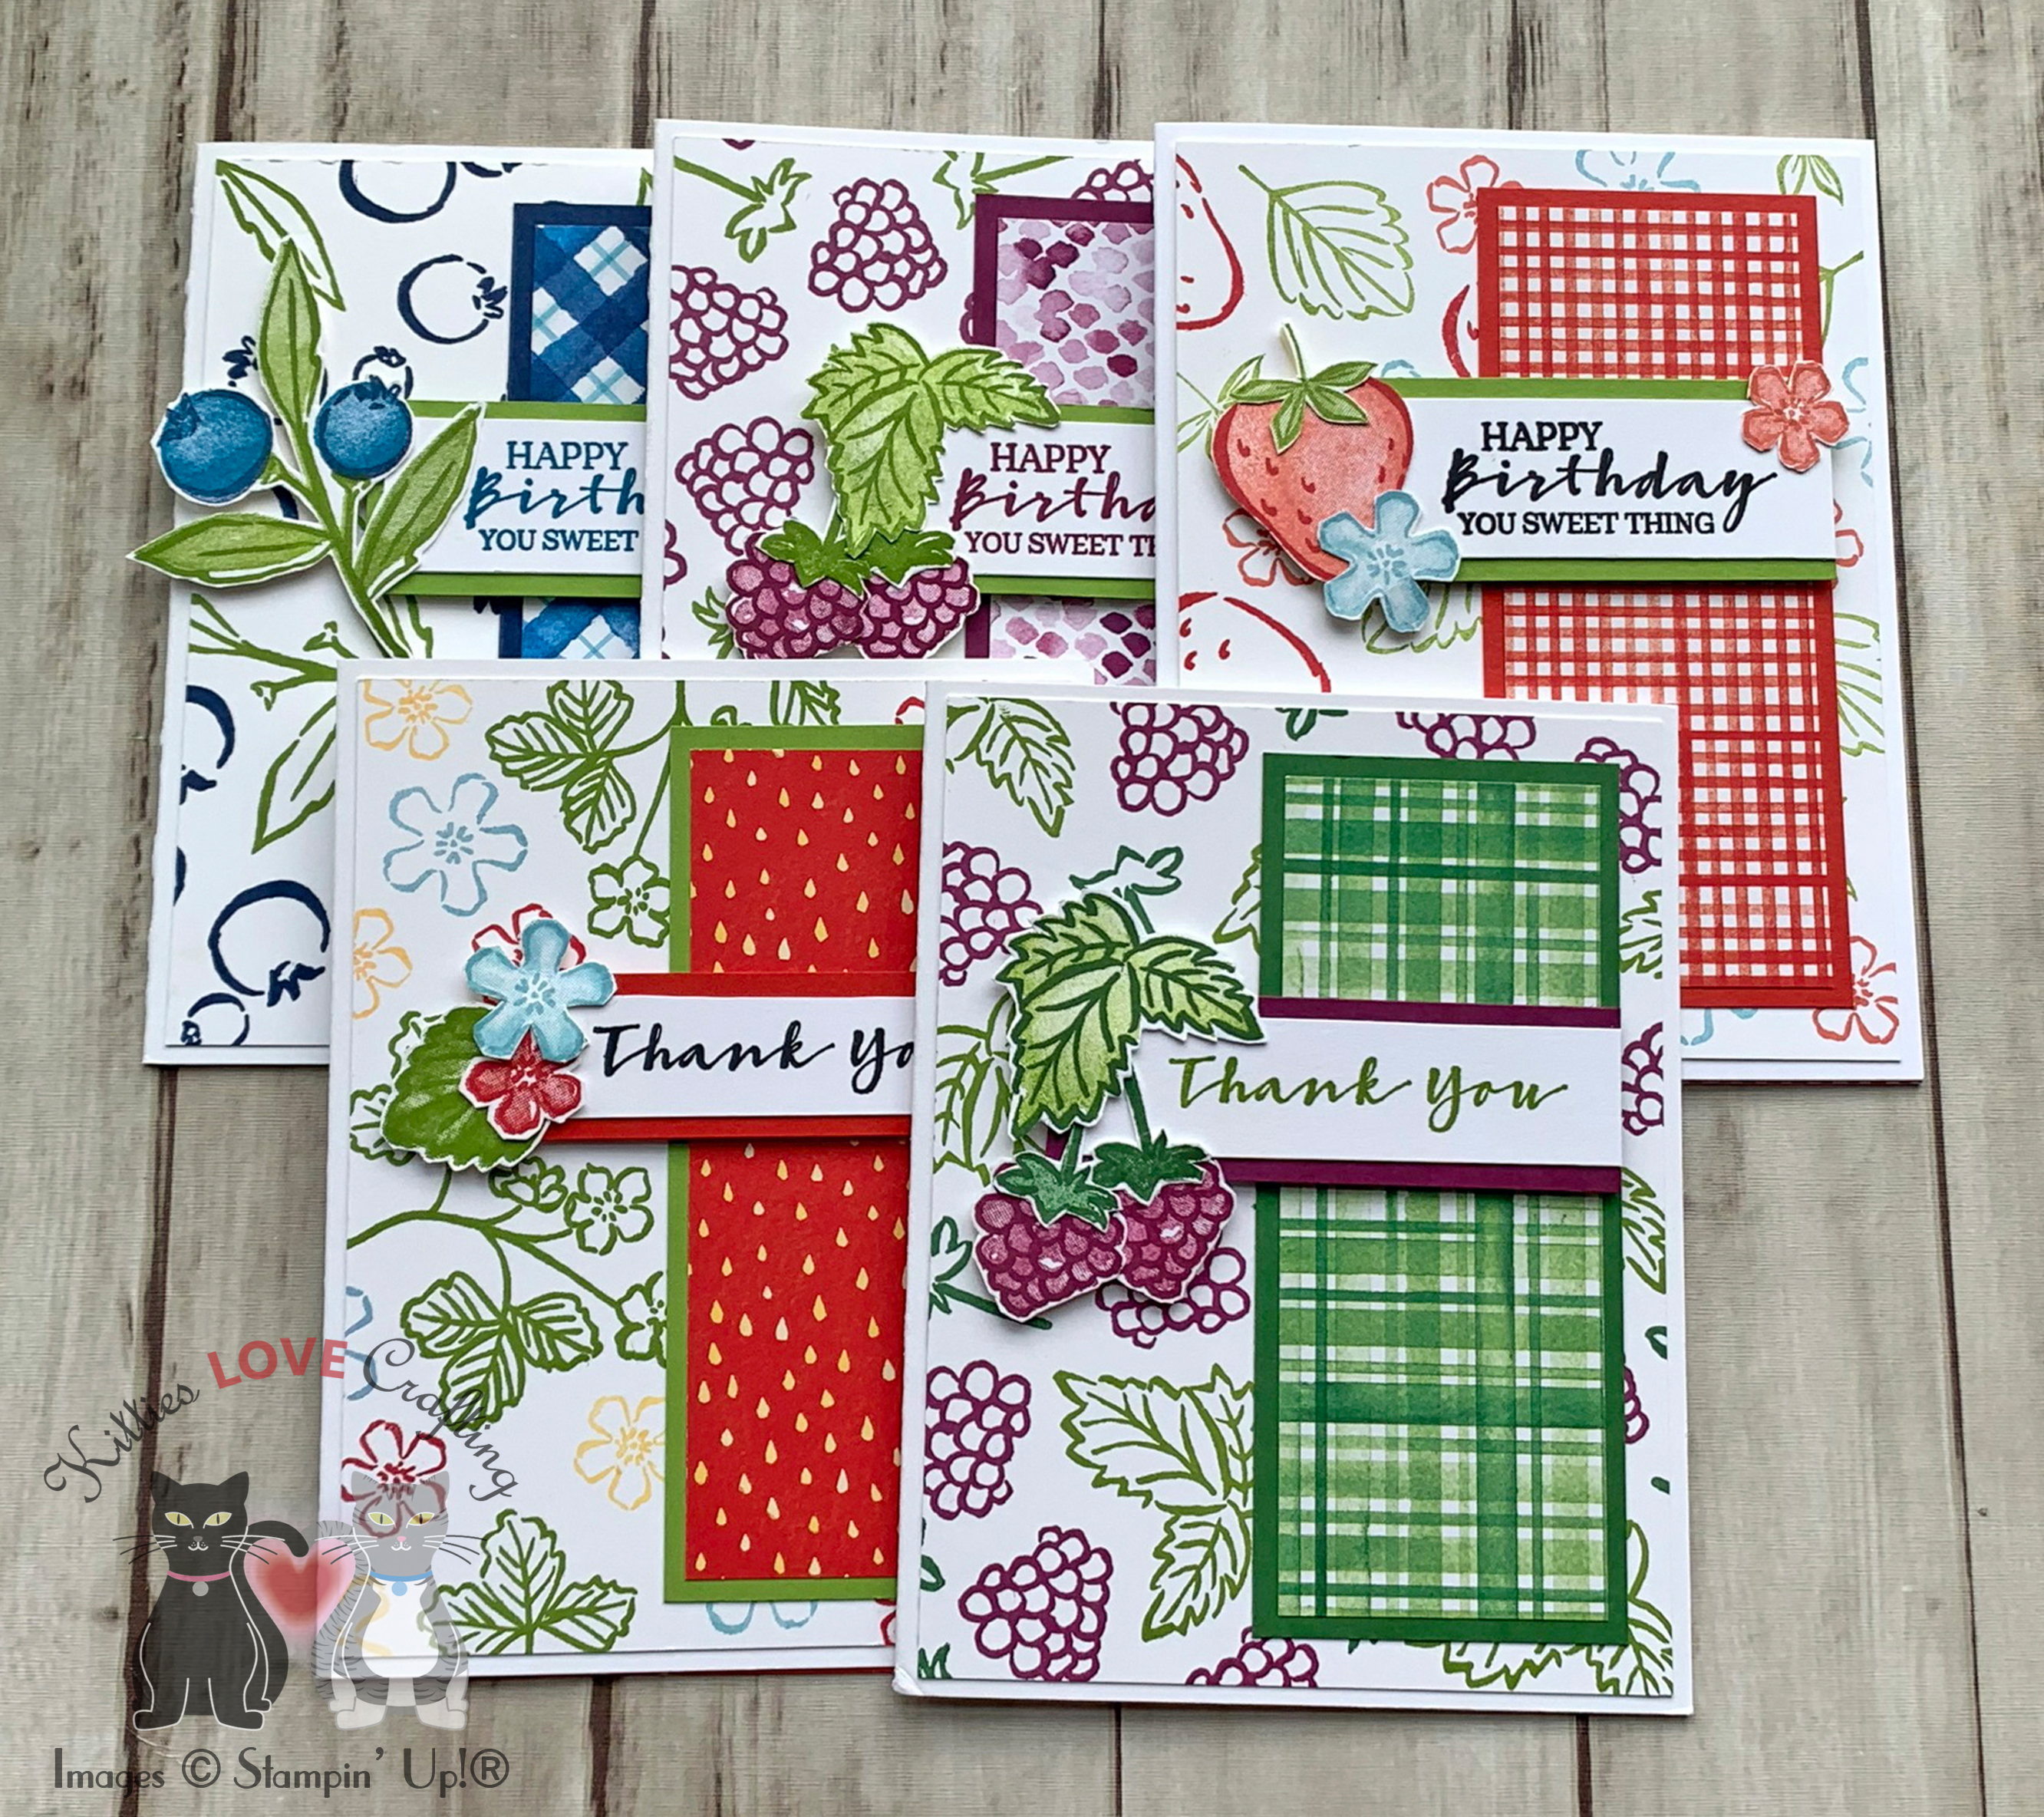
For the all the cards, I started by cutting a piece of Whisper White 8-1/2″ X 11″ Thick Cardstock to 5-1/2 x 8-1/2″ and scored at 4-1/4″ to make a card base and a panel to 4 x 5-1/4″. I stamped the outline images from the Berry Blessings Stampset and Sweet Strawberry Stampset to create the background and adhered it to the card base. Then cut a piece of Berry Delightful 12 x 12 DSP to 1-7/8 x 4-1/2″ and a piece of a Stampin’ Up! colored cardstock to x 1-3/4 x 4-3/4″ and adhered them together. I stamped and fussycut all focal point images using both the outlines and solid stamps. I then stamped all the sentiments onto a piece of Whisper White 8-1/2″ X 11″ Thick Cardstock, Cut them down and added colored cardstock behind them. I adhered the sentiment and images with 3M Foam Tape and Stampin’ Dimensionals.
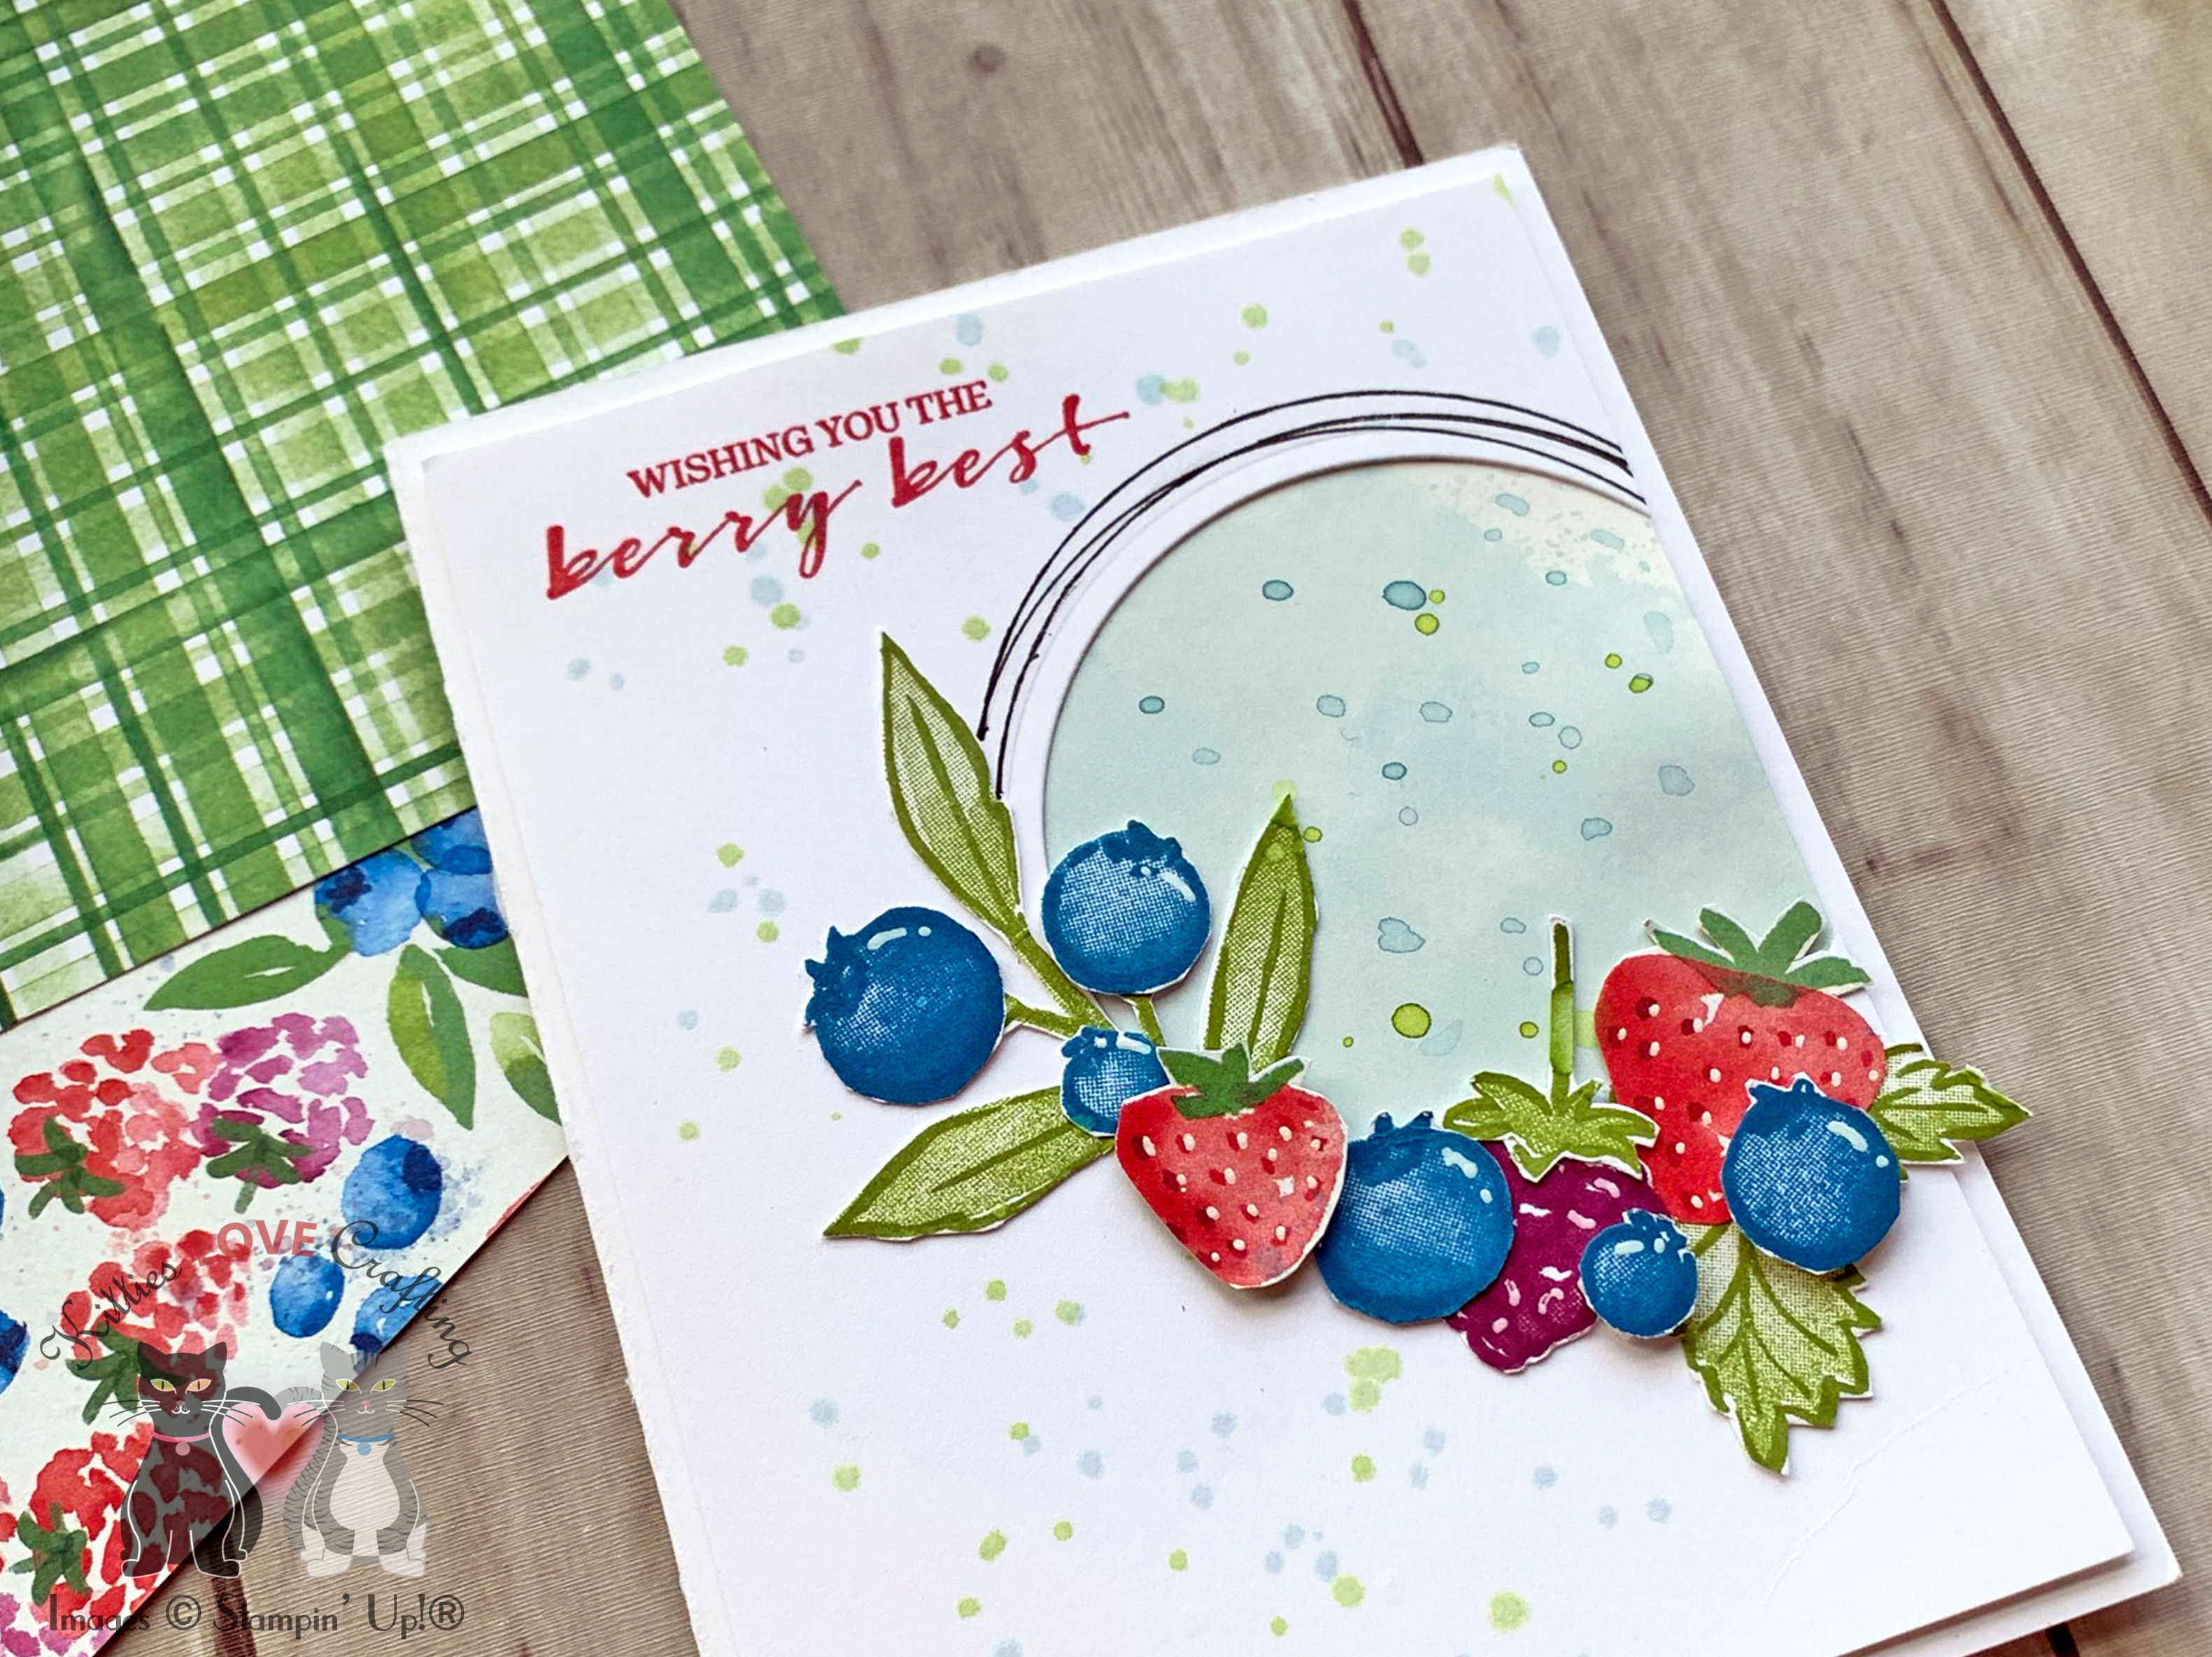
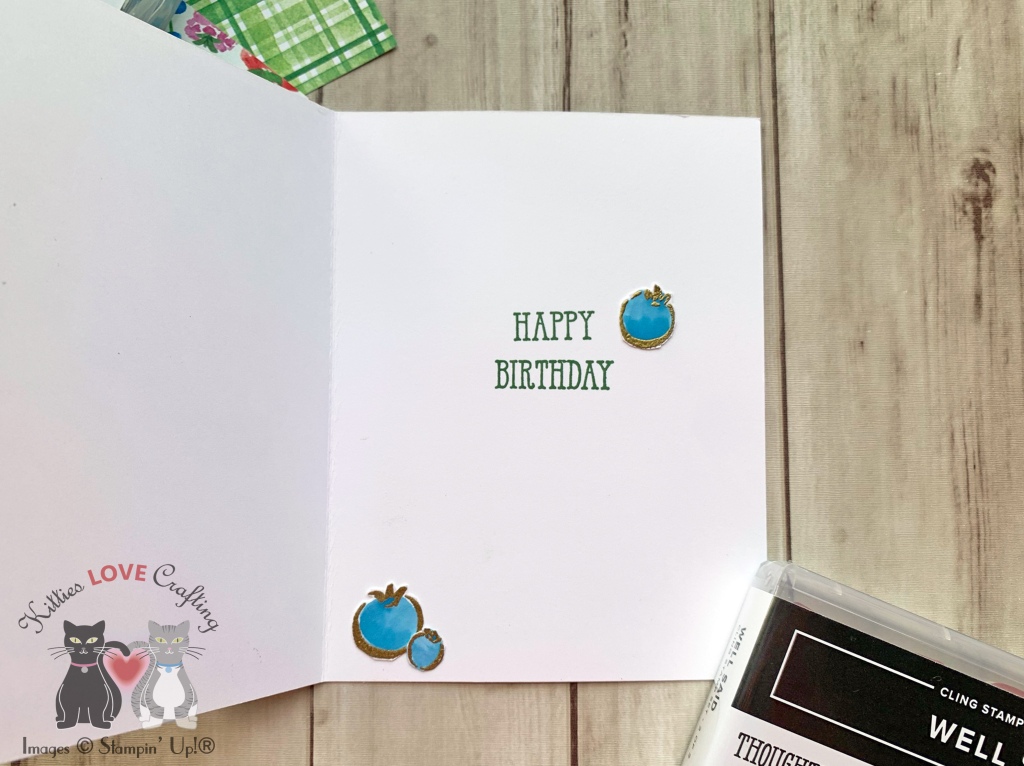
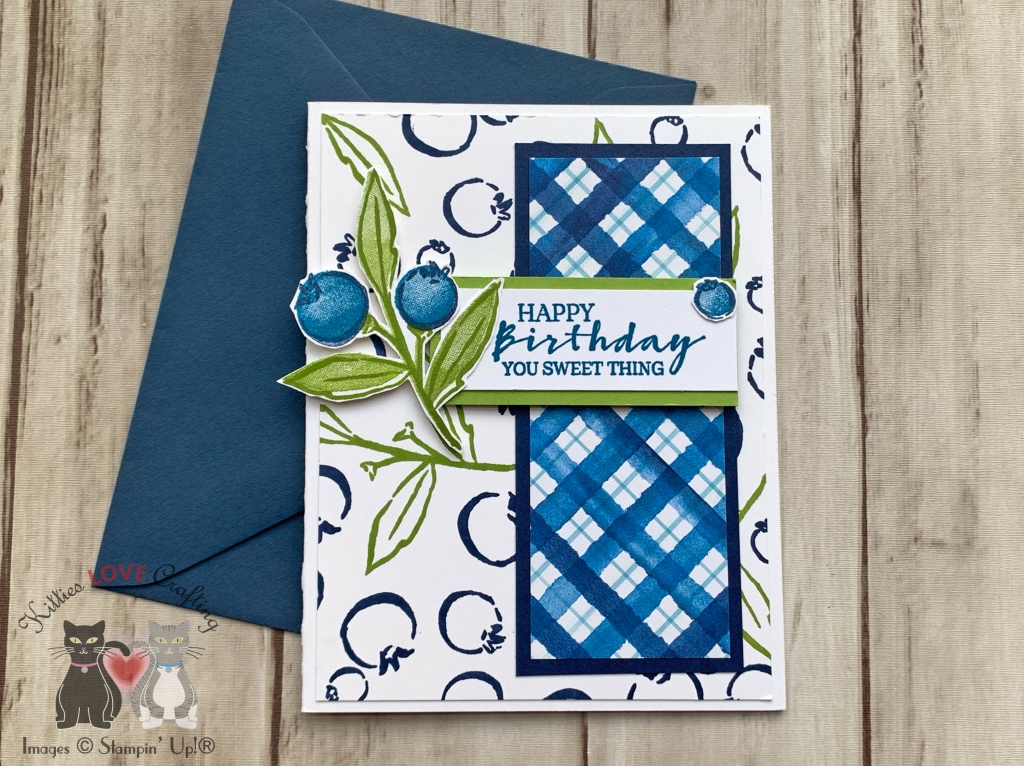
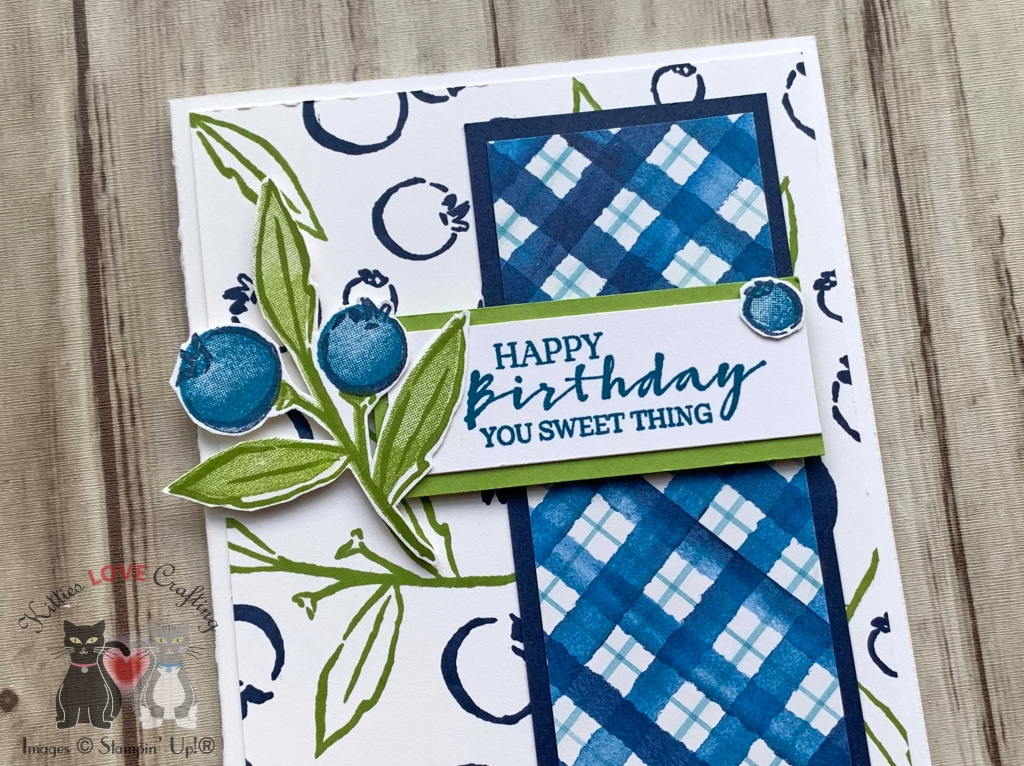
For the first card, I used Stampin’ Up! Night of Navy 8-1/2 x 11″ Cardstock and Ink, Granny Apple Green 8-1/2 x 11″ Cardstock and Ink and Pacific Point Ink. And the sentiment strip measures 15/16 x 2-3/4″ and the color cardstock behind it measures 1-3/16 x 2-3/4″.
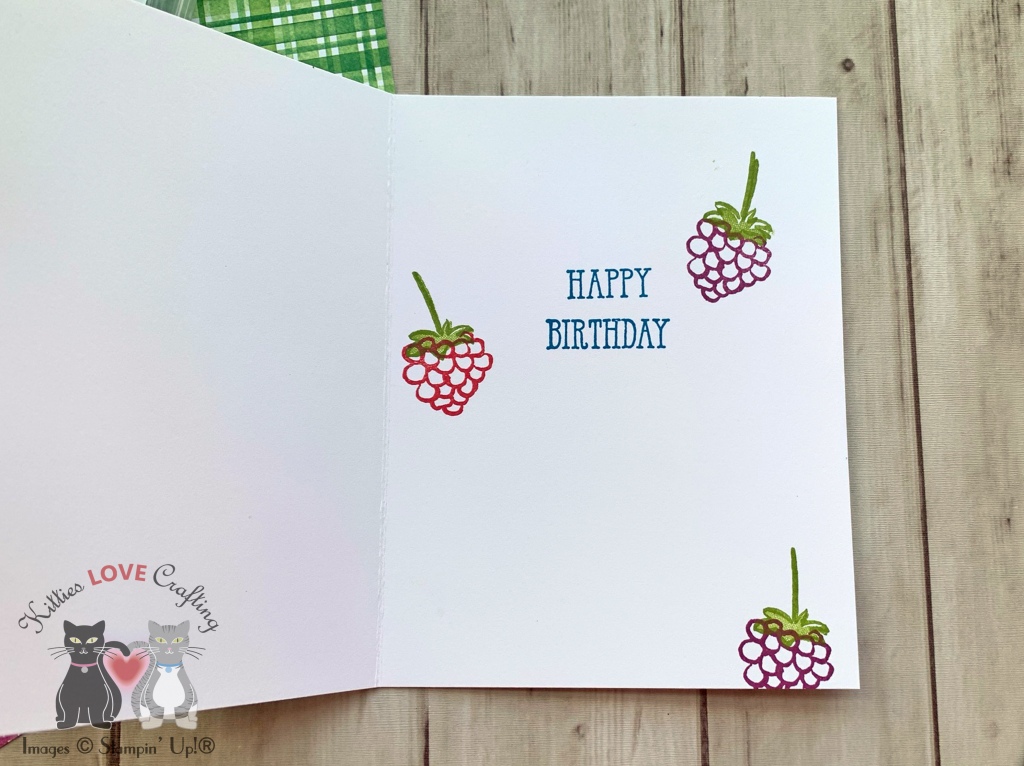
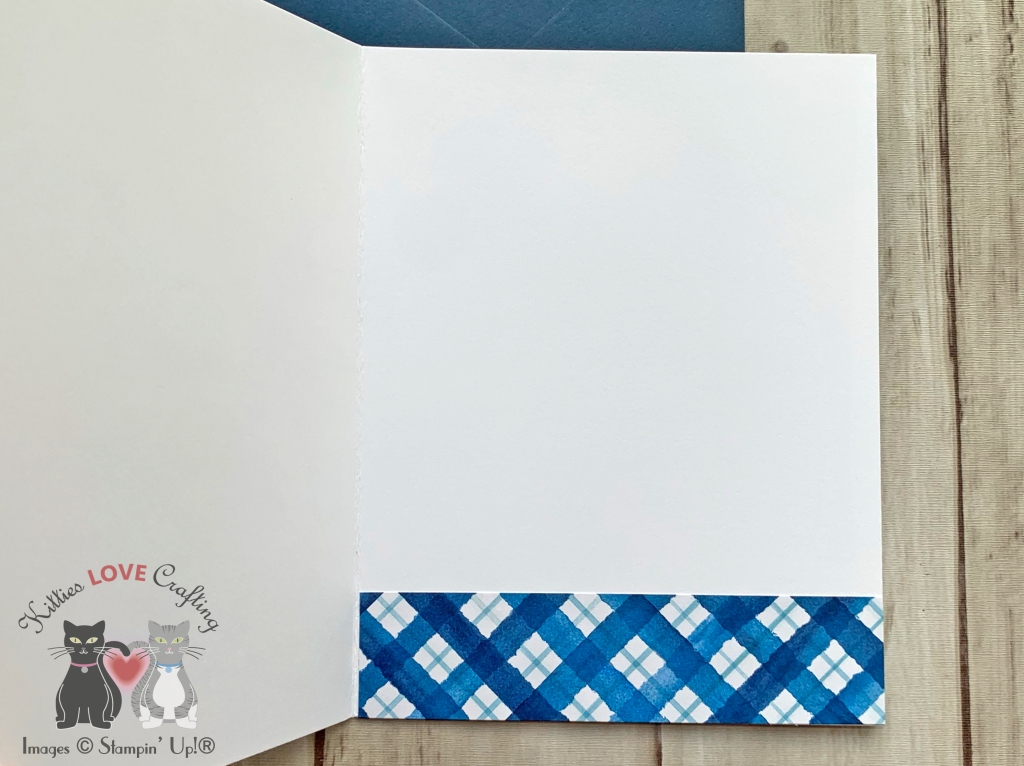
On the inside, I cut a piece of Berry Delightful 12 x 12 DSP to 1 x 4-1/4″ and left the inside blank.
Dimensions
- Card Base = 5-1/2 x 8-1/2″ and scored at 4-1/4″ Whisper White 8-1/2″ X 11″ Thick Cardstock
- Top Panel = 4 x 5-1/4″ Whisper White 8-1/2″ X 11″ Thick Cardstock; 1-7/8 x 4-1/2″ Berry Delightful 12 x 12 DSP; 1-3/4 x 4-3/4″ Night of Navy 8-1/2 x 11″ Cardstock
- Sentiment Strip = 15/16 x 2-3/4″ Whisper White 8-1/2″ X 11″ Thick Cardstock; 1-3/16 x 2-3/4″ Granny Apple Green 8-1/2 x 11″ Cardstock.
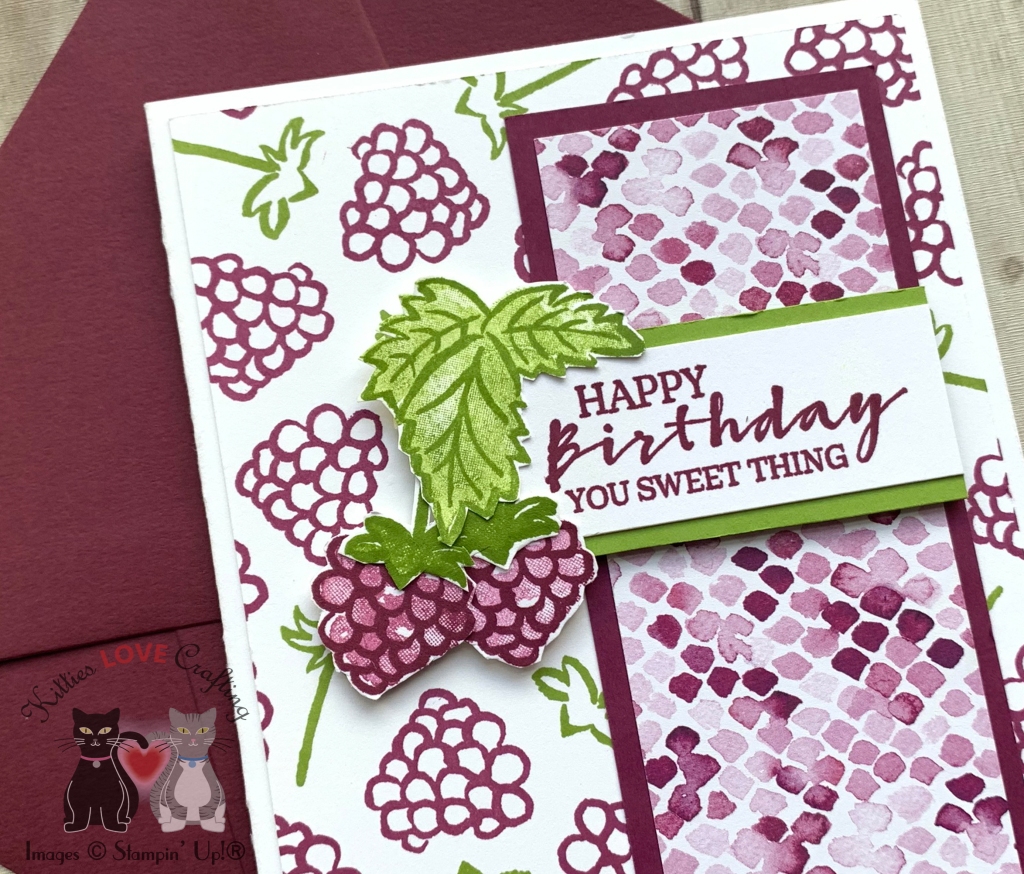
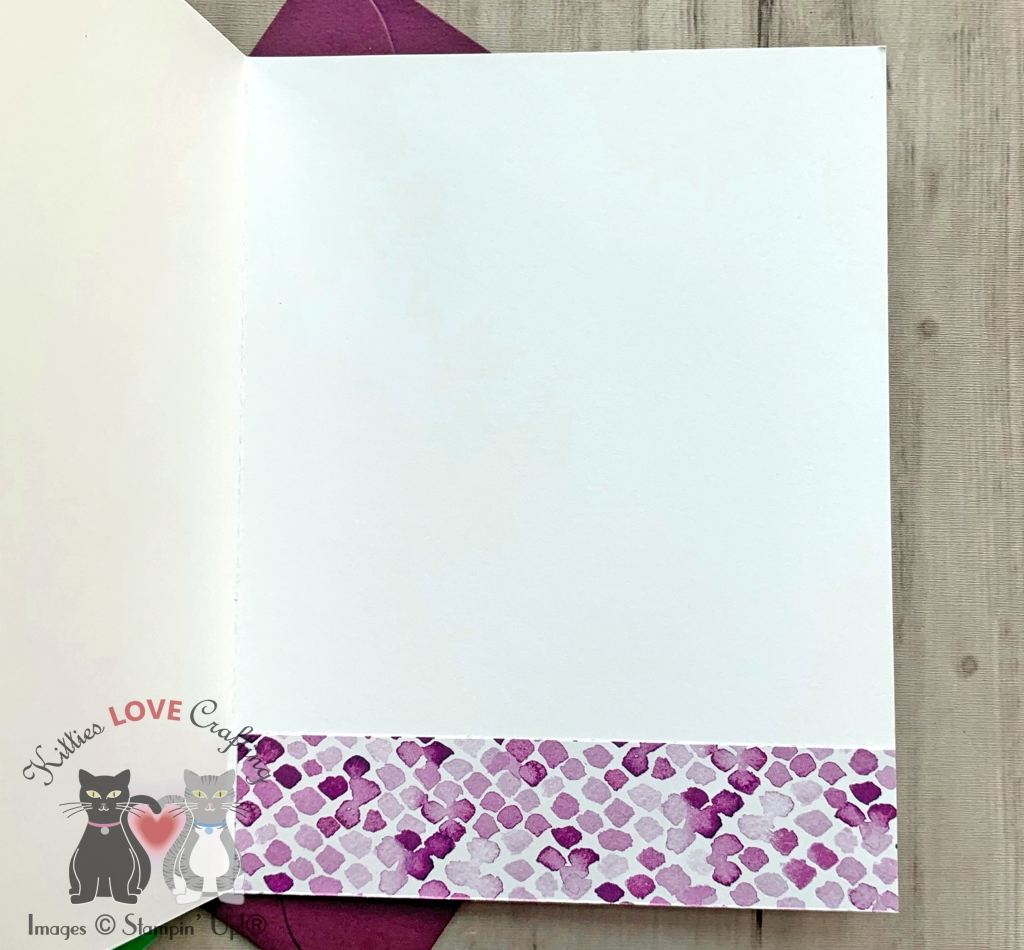
For the second card, I used Stampin’ Up! Rich Razzleberry 8-1/2 x 11″ Cardstock and Ink, and Granny Apple Green 8-1/2 x 11″ Cardstock and Ink. And the sentiment strip measures 15/16 x 2-3/4″ and the color cardstock behind it measures 1-3/16 x 2-3/4″.

On the inside, I cut a piece of Berry Delightful 12 x 12 DSP to 1 x 4-1/4″ and left the inside blank.
Dimensions
- Card Base = 5-1/2 x 8-1/2″ and scored at 4-1/4″ Whisper White 8-1/2″ X 11″ Thick Cardstock
- Top Panel = 4 x 5-1/4″ Whisper White 8-1/2″ X 11″ Thick Cardstock; 1-7/8 x 4-1/2″ Berry Delightful 12 x 12 DSP; 1-3/4 x 4-3/4″ Rich Razzleberry 8-1/2 x 11″ Cardstock
- Sentiment Strip = 15/16 x 2-3/4″ Whisper White 8-1/2″ X 11″ Thick Cardstock; 1-3/16 x 2-3/4″ Granny Apple Green 8-1/2 x 11″ Cardstock.
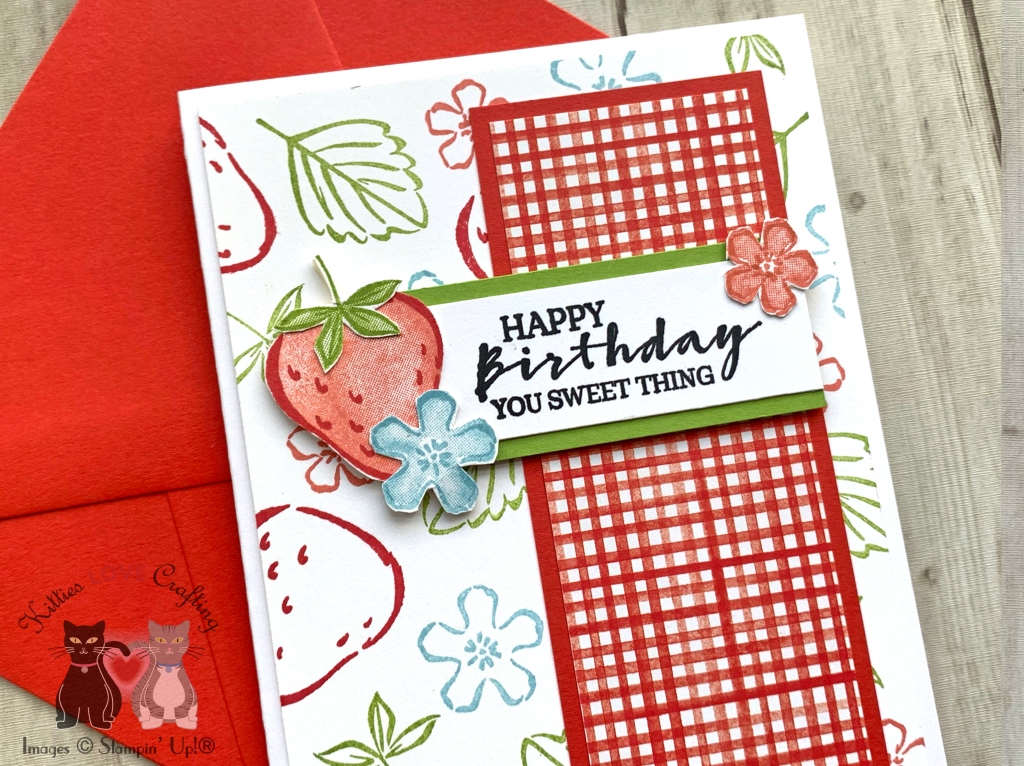
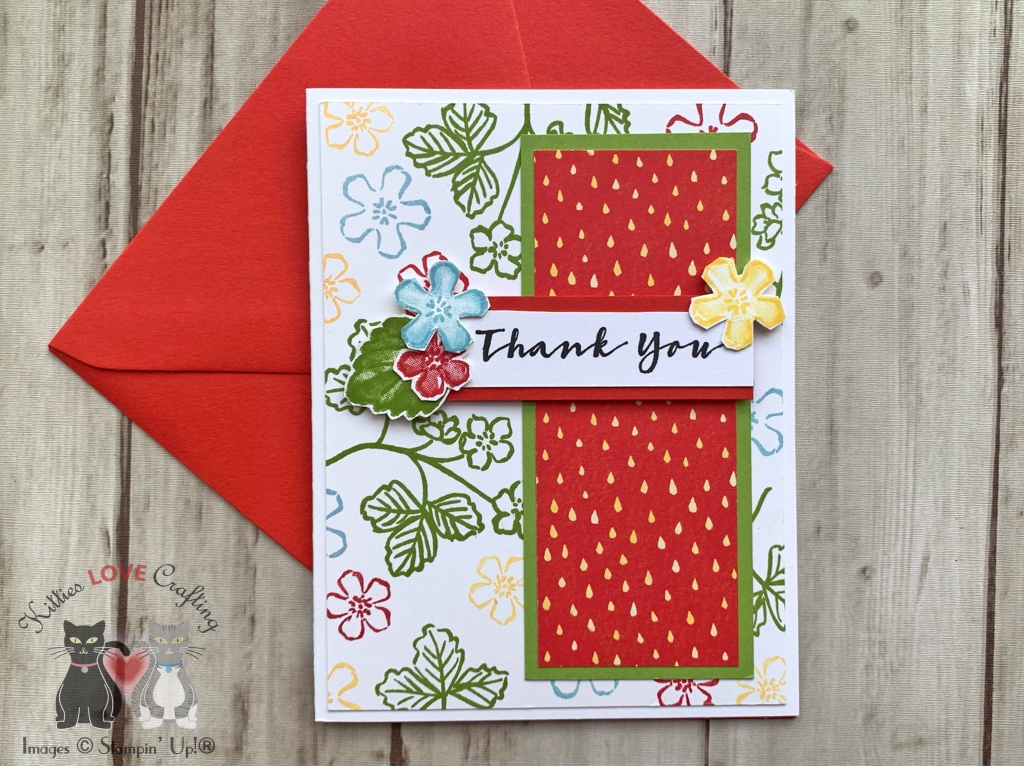
For the third card, I used Stampin’ Up! Poppy Parade 8-1/2 x 11″ Cardstock and Ink, and Granny Apple Green 8-1/2 x 11″ Cardstock, Balmy Blue Ink, Calypso Coral Ink, and Memento Tuxedo Ink. And the sentiment strip measures 15/16 x 2-3/4″ and the color cardstock behind it measures 1-3/16 x 2-3/4″.
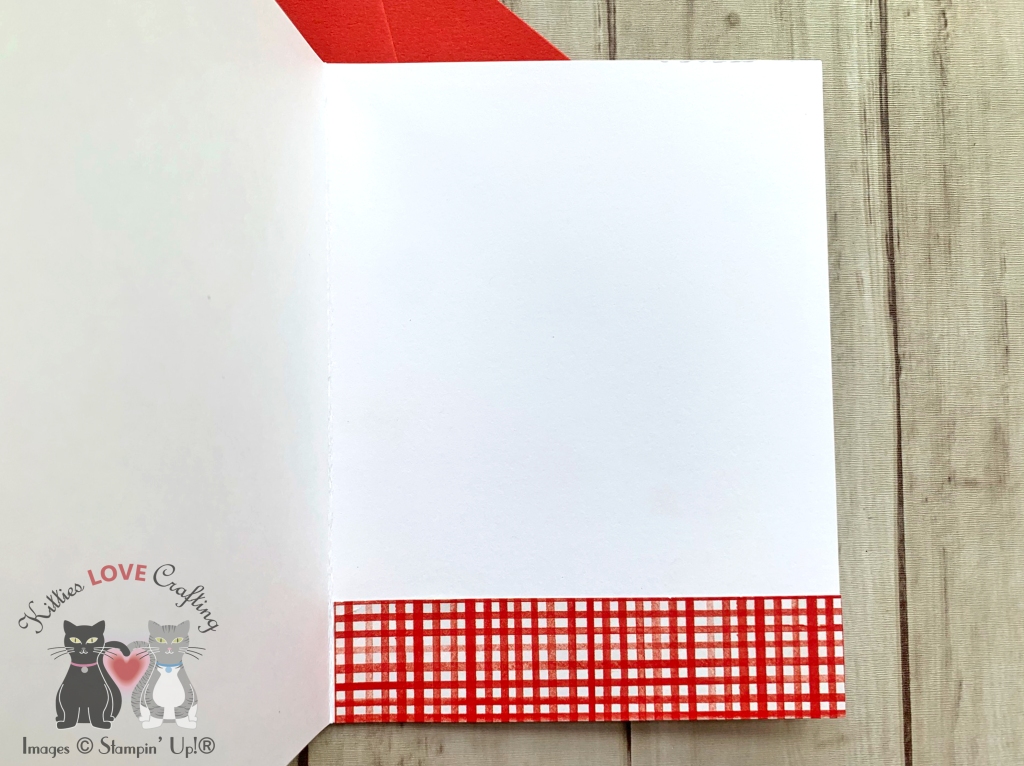
On the inside, I cut a piece of Berry Delightful 12 x 12 DSP to 1 x 4-1/4″ and left the inside blank.
Dimensions
- Card Base = 5-1/2 x 8-1/2″ and scored at 4-1/4″ Whisper White 8-1/2″ X 11″ Thick Cardstock
- Top Panel = 4 x 5-1/4″ Whisper White 8-1/2″ X 11″ Thick Cardstock; 1-7/8 x 4-1/2″ Berry Delightful 12 x 12 DSP; 1-3/4 x 4-3/4″ Poppy Parade 8-1/2 x 11″ Cardstock
- Sentiment Strip = 15/16 x 2-3/4″ Whisper White 8-1/2″ X 11″ Thick Cardstock; 1-3/16 x 2-3/4″ Granny Apple Green 8-1/2 x 11″ Cardstock
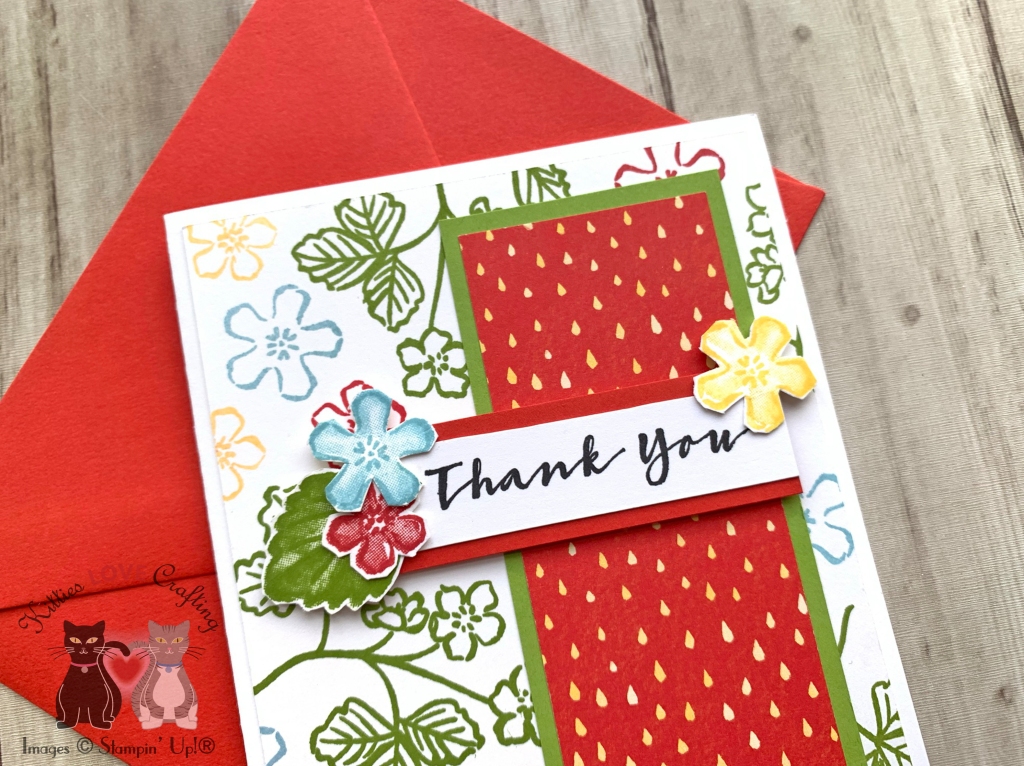
For the fourth card, I used Stampin’ Up! Poppy Parade 8-1/2 x 11″ Cardstock and Ink, and Granny Apple Green 8-1/2 x 11″ Cardstock, Balmy Blue Ink, Daffodil Delight, and Memento Tuxedo Ink. And the sentiment strip measures 15/16 x 2-3/4″ and the color cardstock behind it measures 1-3/16 x 2-3/4″.
On the inside, I cut a piece of Berry Delightful 12 x 12 DSP to 1 x 4-1/4″ and left the inside blank.

Dimensions
- Card Base = 5-1/2 x 8-1/2″ and scored at 4-1/4″ Whisper White 8-1/2″ X 11″ Thick Cardstock
- Top Panel = 4 x 5-1/4″ Whisper White 8-1/2″ X 11″ Thick Cardstock; 1-7/8 x 4-1/2″ Berry Delightful 12 x 12 DSP; 1-3/4 x 4-3/4″ Granny Apple Green 8-1/2 x 11″ Cardstock.
- Sentiment Strip = 15/16 x 2-3/4″ Whisper White 8-1/2″ X 11″ Thick Cardstock; 1-3/16 x 2-3/4″ Poppy Parade 8-1/2 x 11″ Cardstock
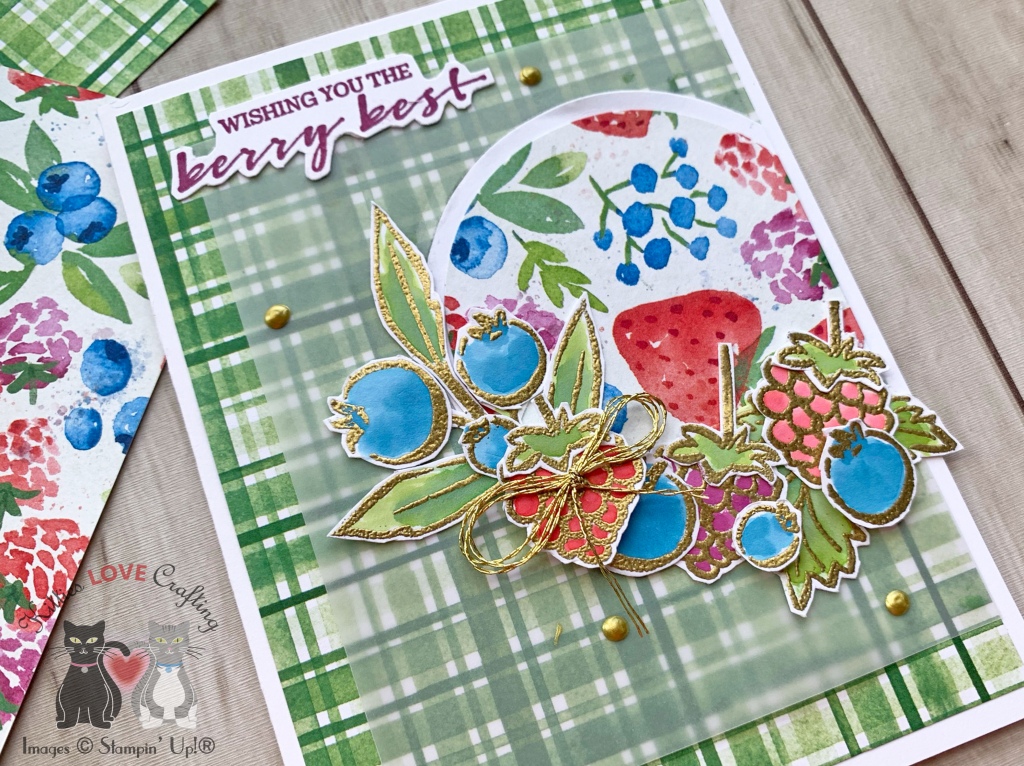
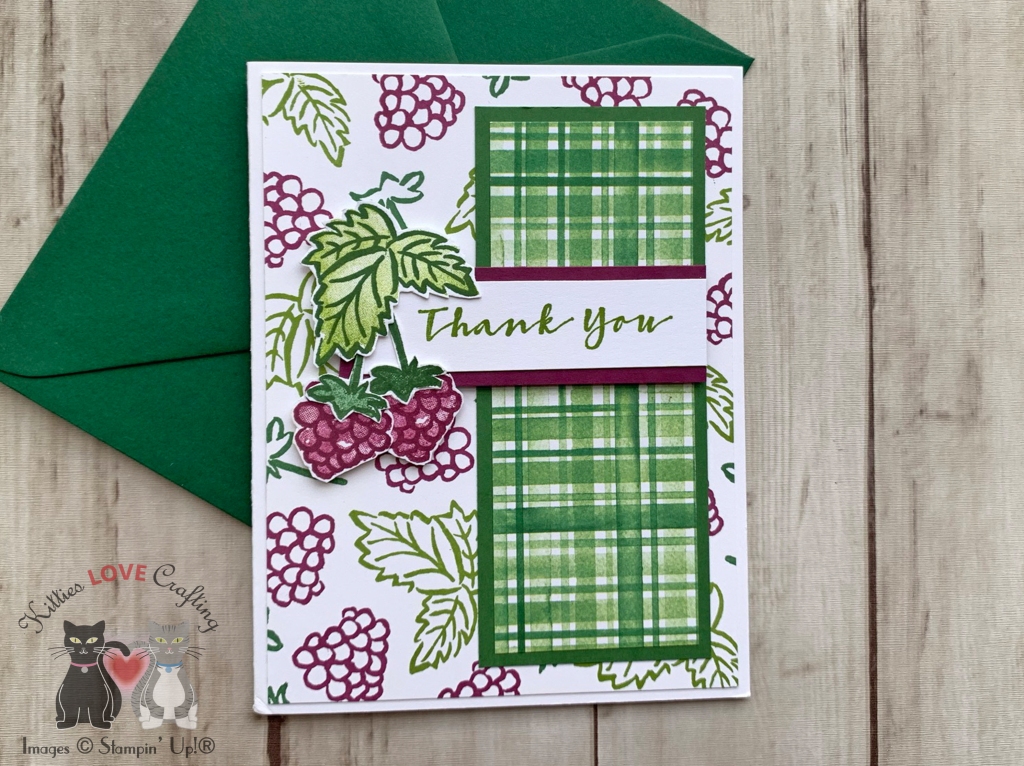
For the fifth card, I used Stampin’ Up! Garden Green 8-1/2 x 11″ Cardstock and Ink, and Granny Apple Green Ink, and Rich Razzleberry 8-1/2 x 11″ Cardstock and Ink. And the sentiment strip measures 15/16 x 2-3/4″ and the color cardstock behind it measures 1-3/16 x 2-3/4″.

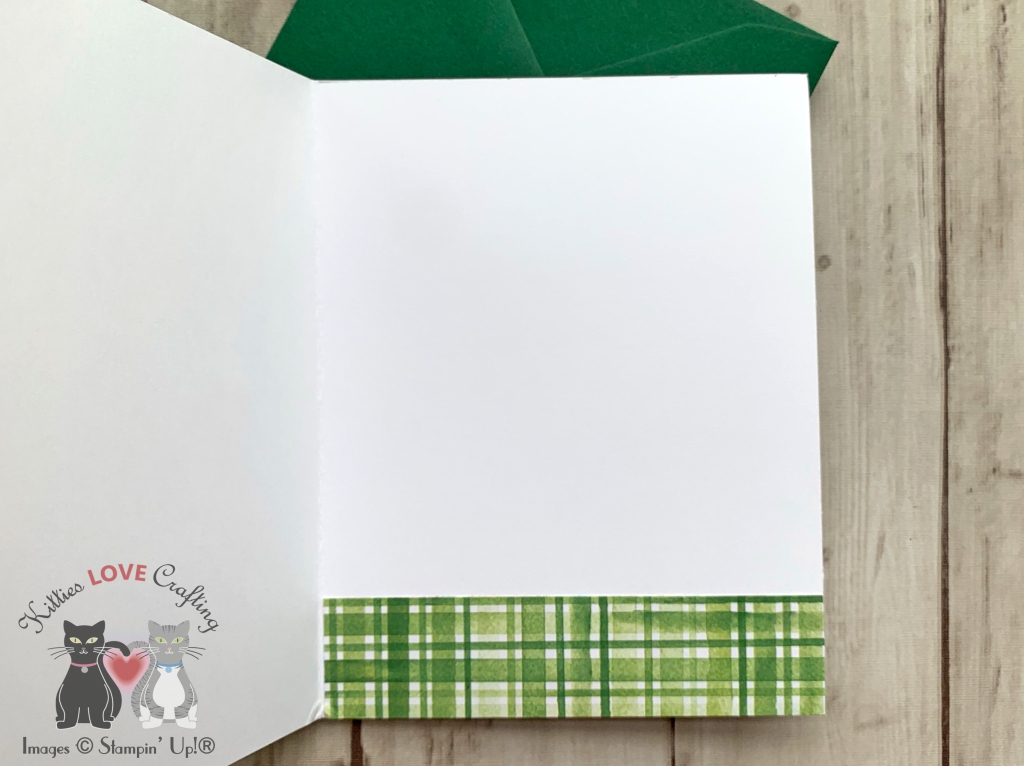
On the inside, I cut a piece of Berry Delightful 12 x 12 DSP to 1 x 4-1/4″ and left the inside blank.
Dimensions
- Card Base = 5-1/2 x 8-1/2″ and scored at 4-1/4″ Whisper White 8-1/2″ X 11″ Thick Cardstock
- Top Panel = 4 x 5-1/4″ Whisper White 8-1/2″ X 11″ Thick Cardstock; 1-7/8 x 4-1/2″ Berry Delightful 12 x 12 DSP; 1-3/4 x 4-3/4″ Garden Green 8-1/2 x 11″ Cardstock
- Sentiment Strip = 15/16 x 2-3/4″ Whisper White 8-1/2″ X 11″ Thick Cardstock; 1-3/16 x 2-3/4″ Rich Razzleberry 8-1/2 x 11″ Cardstock
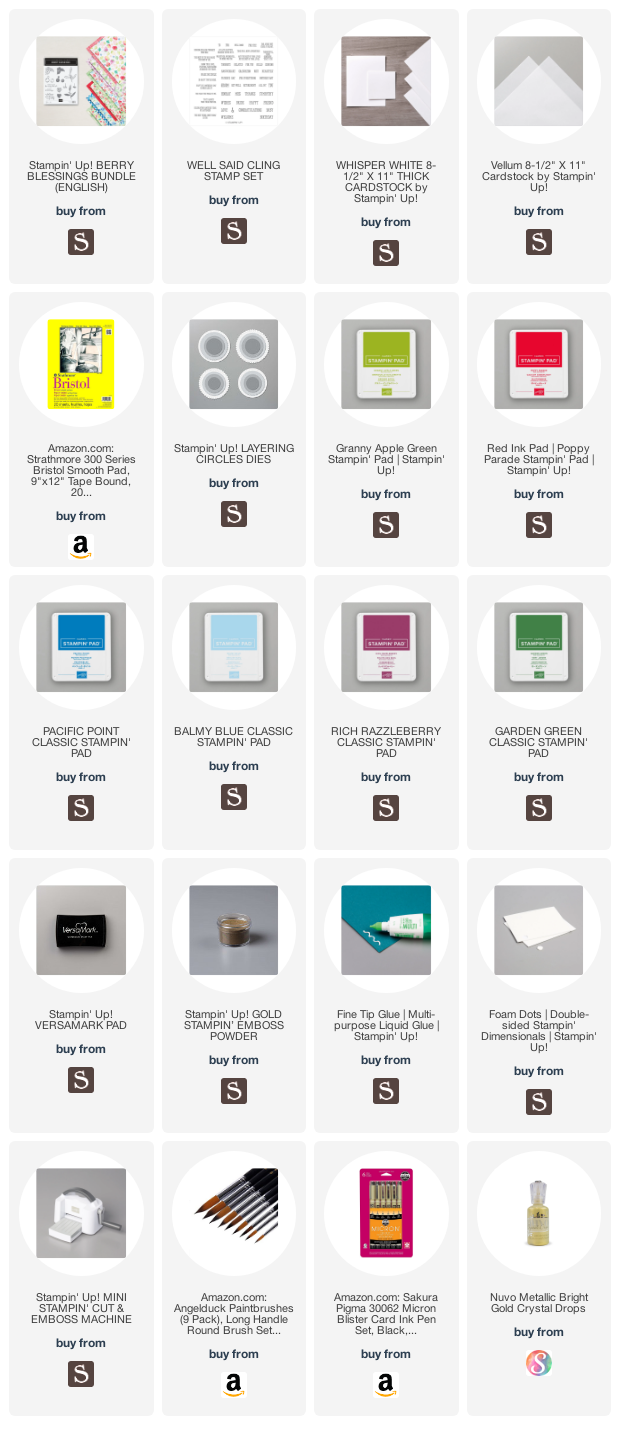
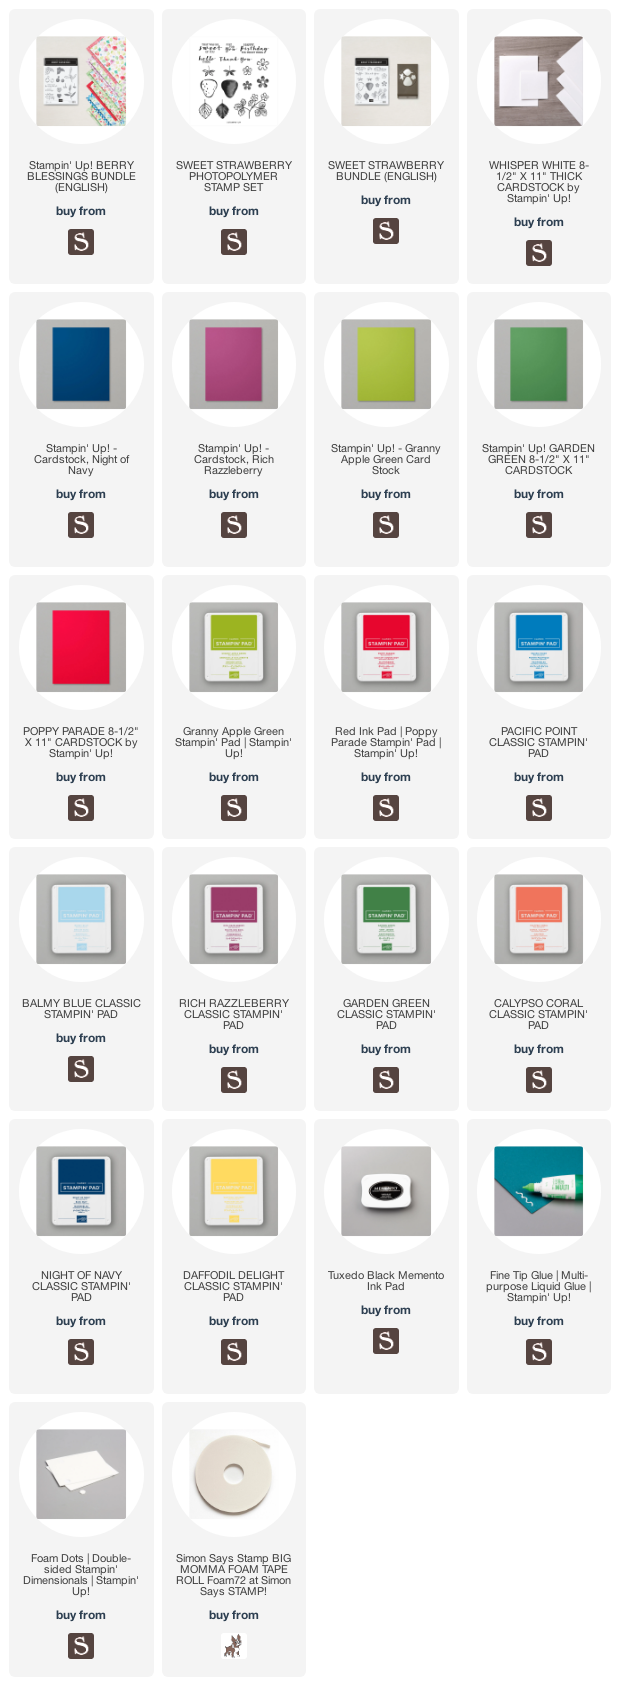
Supplies
 https://linkdeli.com/widget.js?id=f5e8378456858c916708
Thanks for reading this post. I hope you enjoyed and I’ve inspired you to try these easy birthday cards using this stampset and paper for yourself! Leave comments or questions below or feel free to email me. If you want to share you creations with me tag me on instagram @kittieslovecrafting.