Hi friends. Here are a few more cute Easter cards using the Simon Says Stamp’s Suzy’s Easter Pals Watercolor Prints and Simon Says Stamp EASTER WISHES Sentiment Strips.

For all these cards, I started by cutting a piece of Neenah 110lb Classic Crest Cardstock to 5-1/2 x 8-1/2″ and scored at 4-1/4″ to create the card bases. I colored the watercolor panels with Kuretake Gansai Tambi watercolor and Zig Kuretake Gansai Tambi Starry Colors.
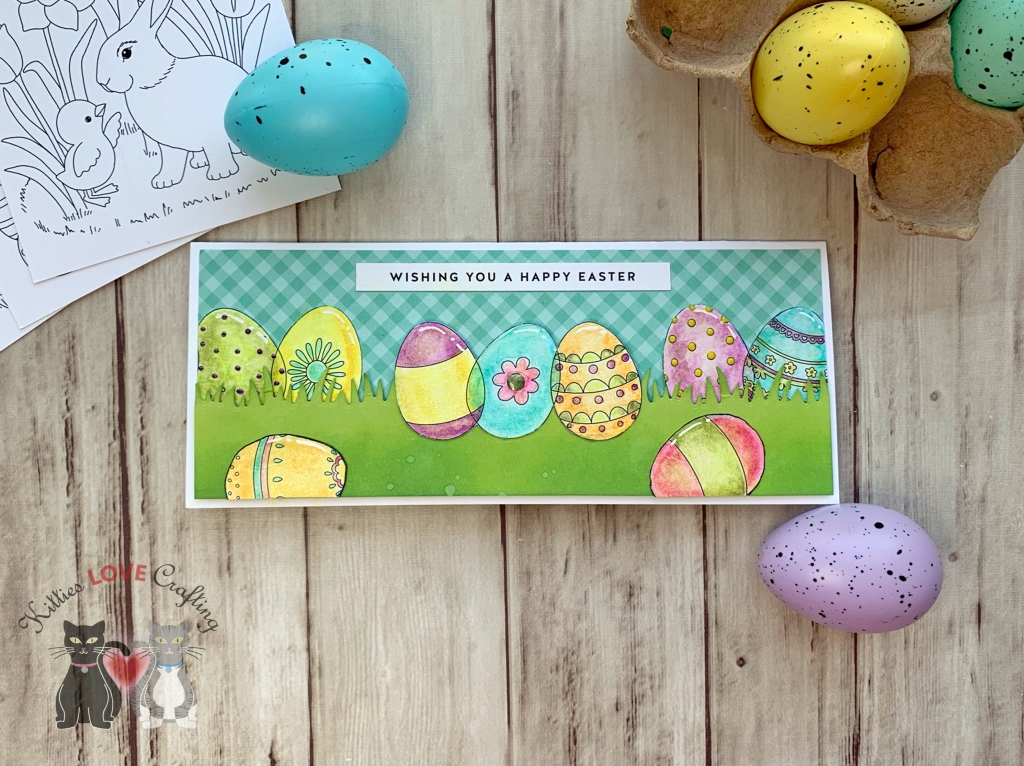
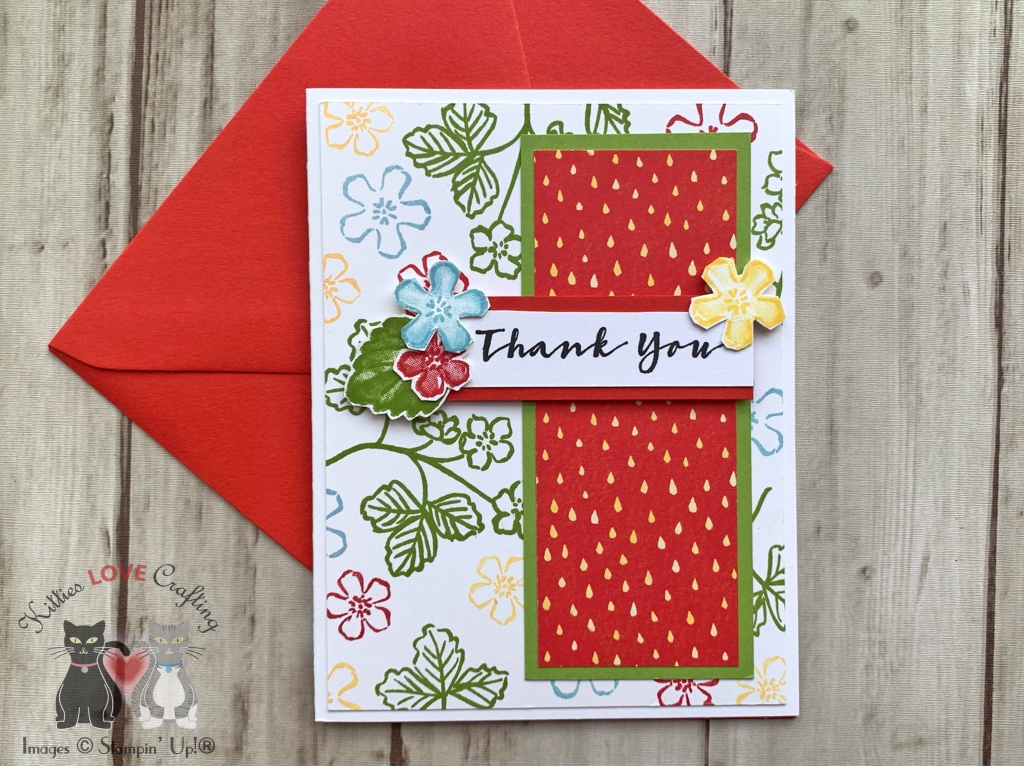
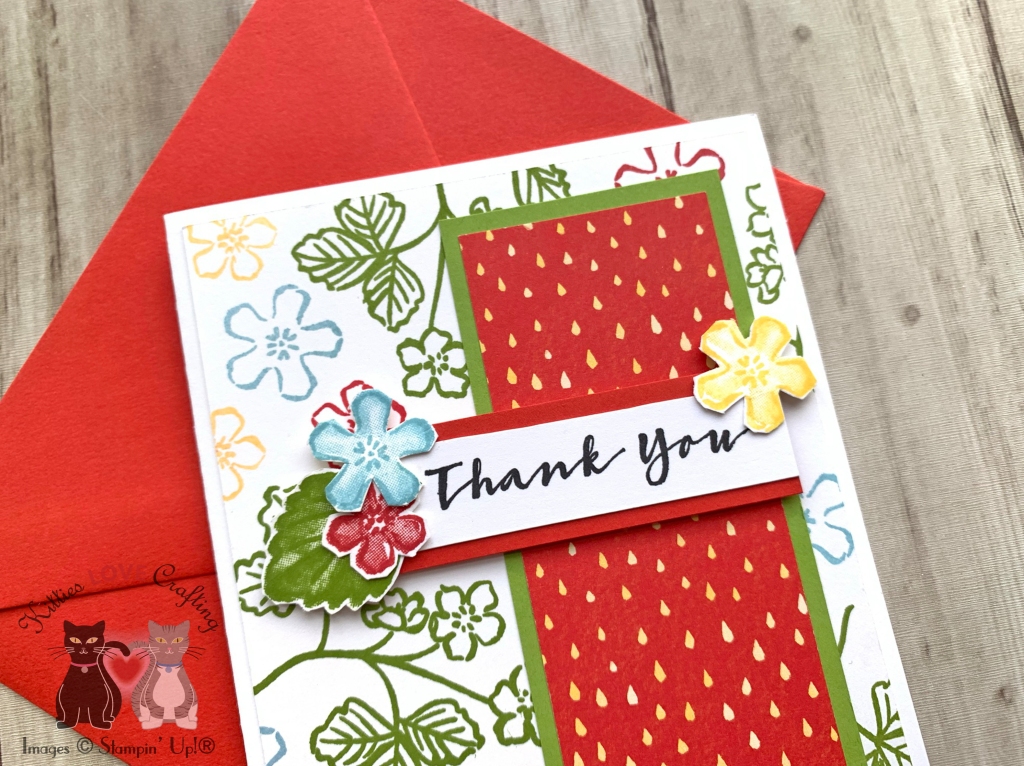
For the first card, I cut down the watercolor panel to 4 x 5-1/4″ and adhered it to the card base. I cut down a sentiment strip from the Simon Says Stamp EASTER WISHES Sentiment Strips and added it to a piece of Simon Says Stamp 8.5 x 11″ Black Cardstock, measuring 5/8 x 4″.

I finished it off by adding Nuvo Drops in Dandelion Yellow and some highlights with a White Gel Pen.

Dimensions
- Card Base = 5-1/2 x 8-1/2″ and scored at 4-1/4″ Neenah 110lb Classic Crest Cardstock 8.5 X 11″
- Top Panel = 4 x 5-1/4″ Simon Says Stamp’s Suzy’s Easter Pals Watercolor Prints
- Sentiment Strip = 5/8 x 4″ Simon Says Stamp 8.5 x 11″ Black Cardstock
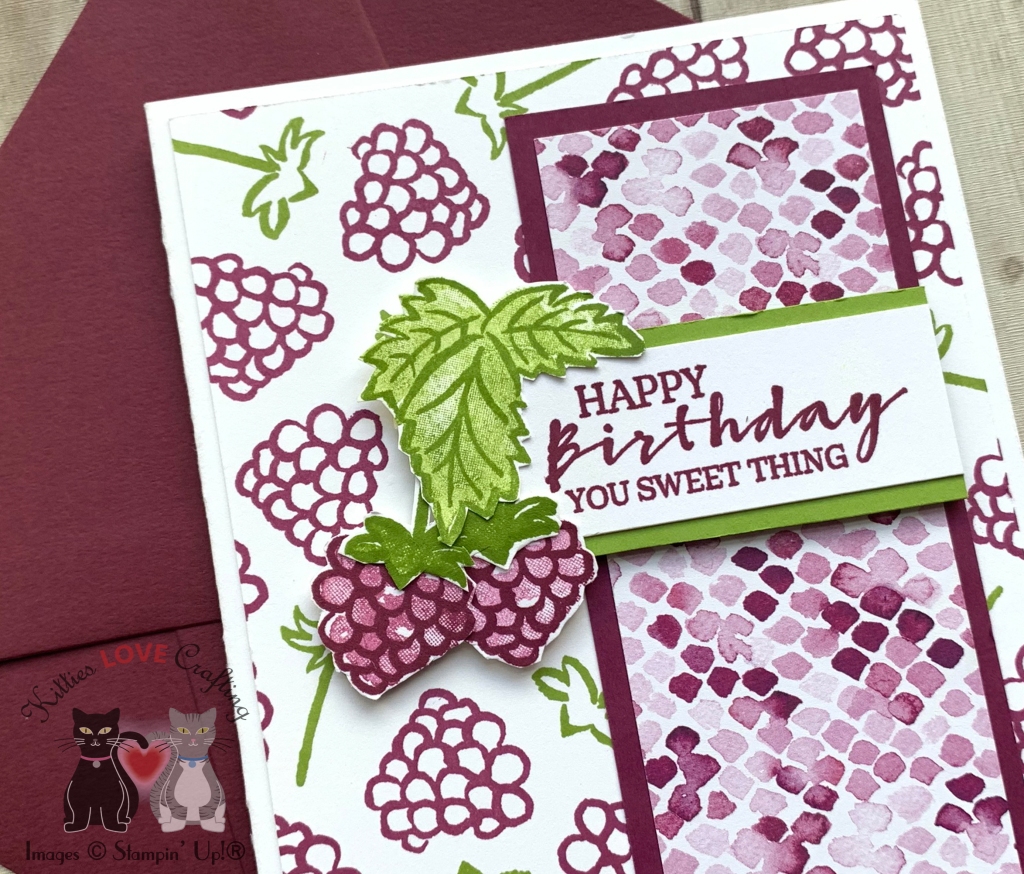
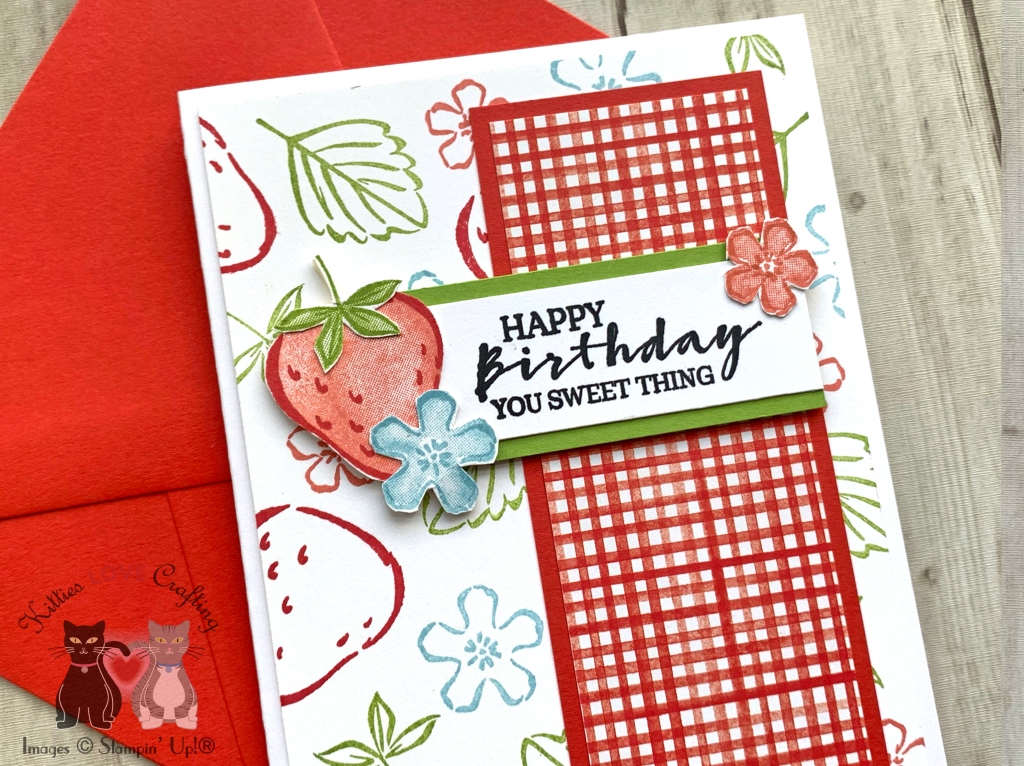
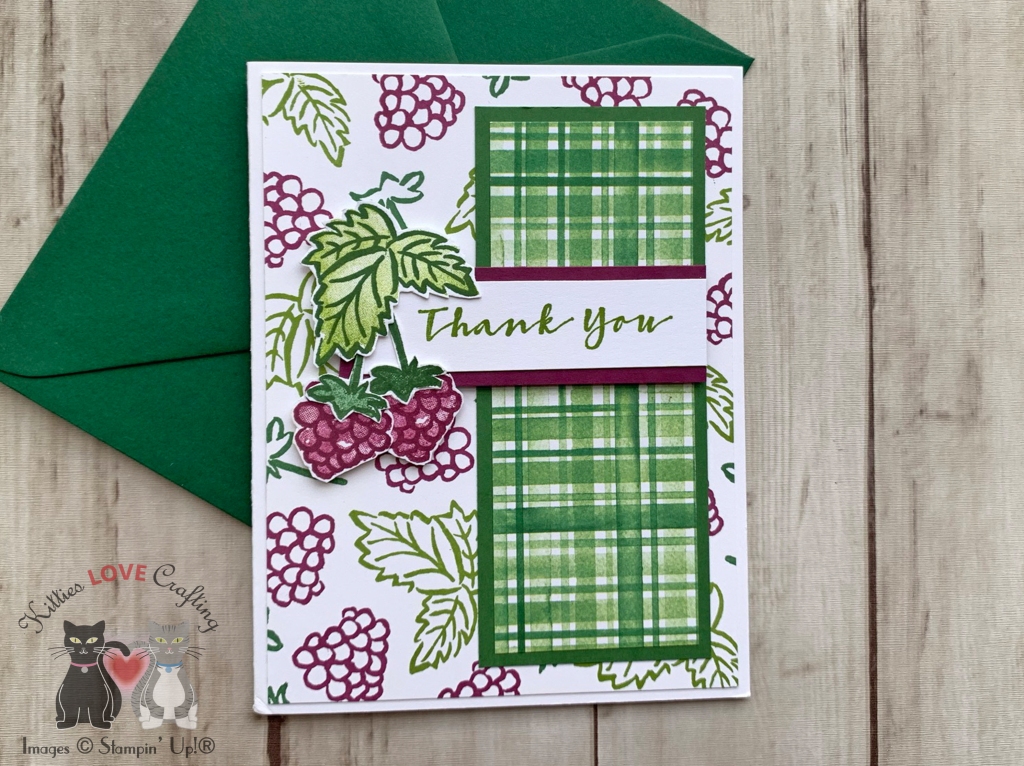
For the second card, I cut down the watercolor panel to 4 x 5-1/4″ and a piece of Lawn Fawn 6 x 6 Perfectly Plaid Paper (no longer available) to 4-1/4 x 5-1/2″and adhered them to the card base. I cut down a sentiment strip from the Simon Says Stamp Sentiment Strips Reverse Easter Wishes and added using 3M Foam Tape.

I finished it off by adding Nuvo Drops in Dandelion Yellow and Ebony Black as well as some highlights with a White Gel Pen.

Dimensions
- Card Base = 5-1/2 x 8-1/2″ and scored at 4-1/4″ Neenah 110lb Classic Crest Cardstock 8.5 X 11″
- Top Panel = 4-1/4 x 5-1/2″ Lawn Fawn 6 x 6 Perfectly Plaid Paper (no longer available); 4 x 5-1/4″ Simon Says Stamp’s Suzy’s Easter Pals Watercolor Prints
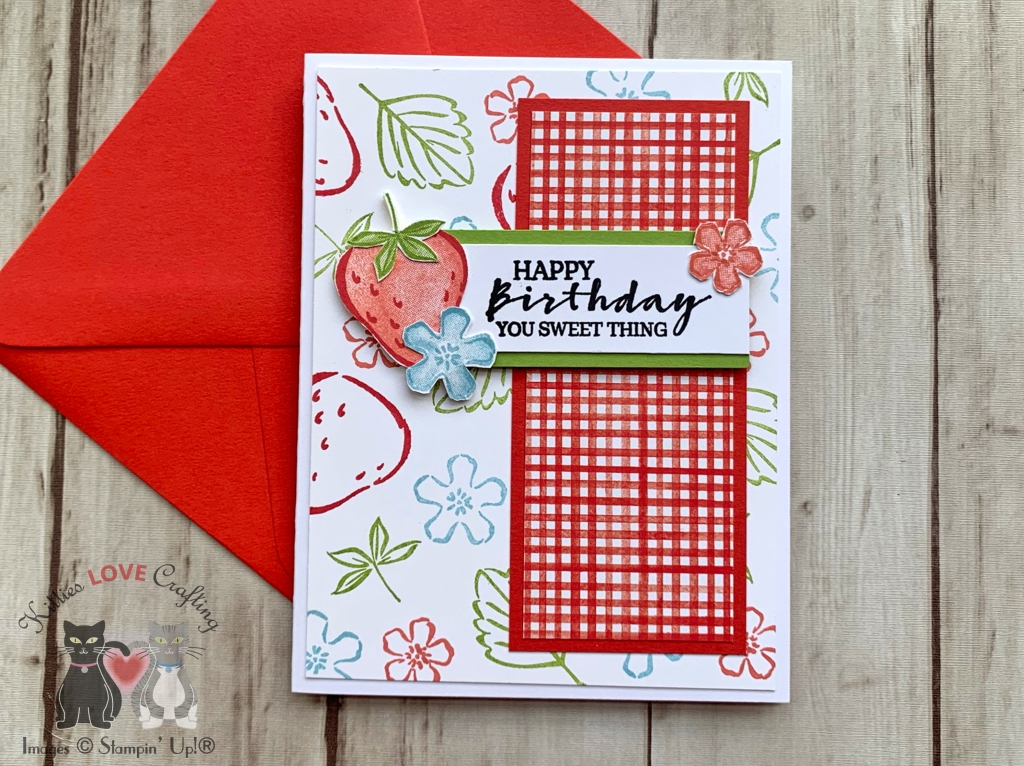
For the third card, I fussycut image and a piece of Lawn Fawn 6 x 6 Perfectly Plaid Paper (no longer available) toto 4 x 5-1/4″ and adhered them to the card base. I cut down a sentiment strip from the Simon Says Stamp Sentiment Strips Reverse Easter Wishes and added using 3M Foam Tape.

I finished it off by adding Nuvo Drops in Dandelion Yellow and some highlights with a White Gel Pen.

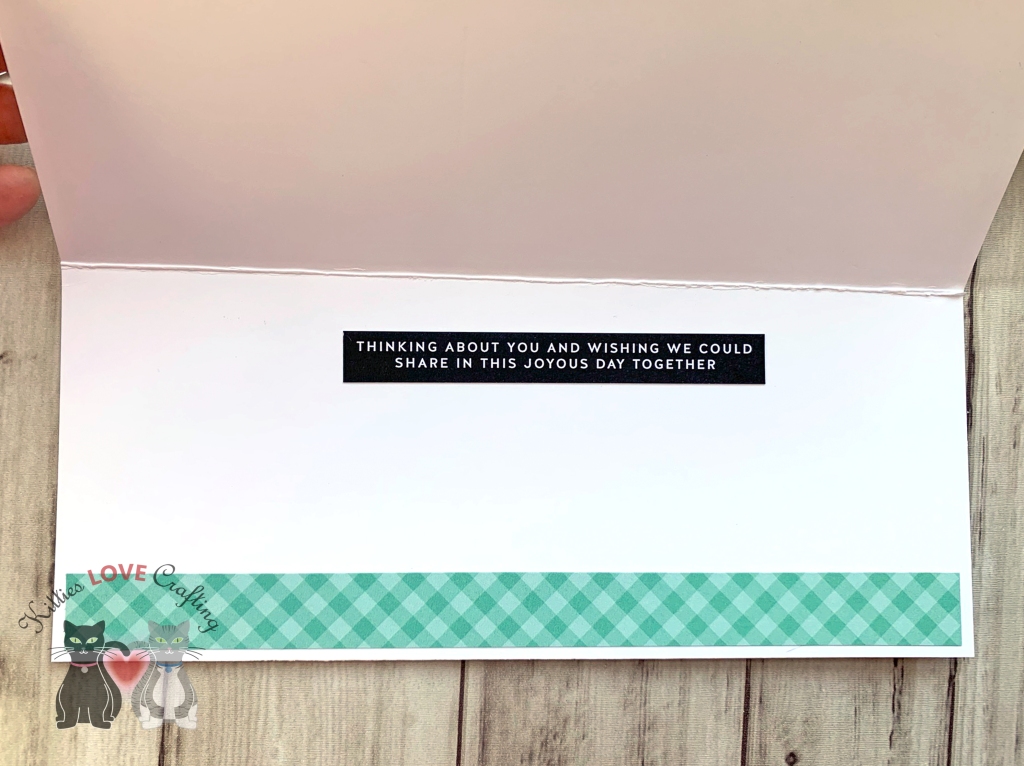
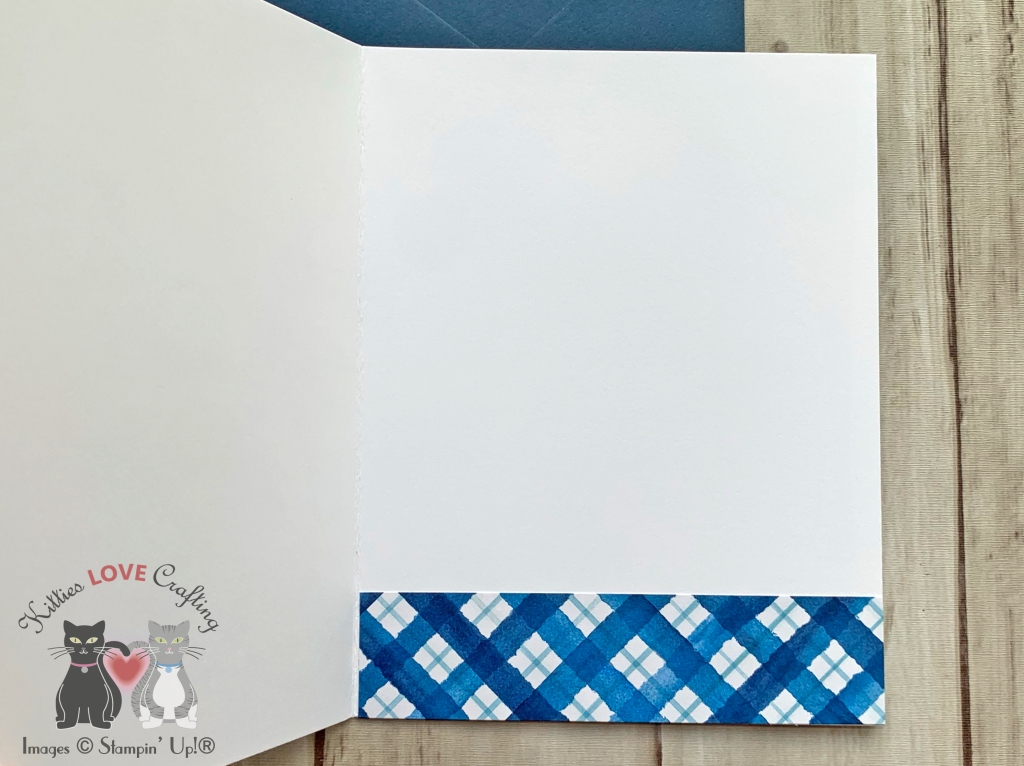
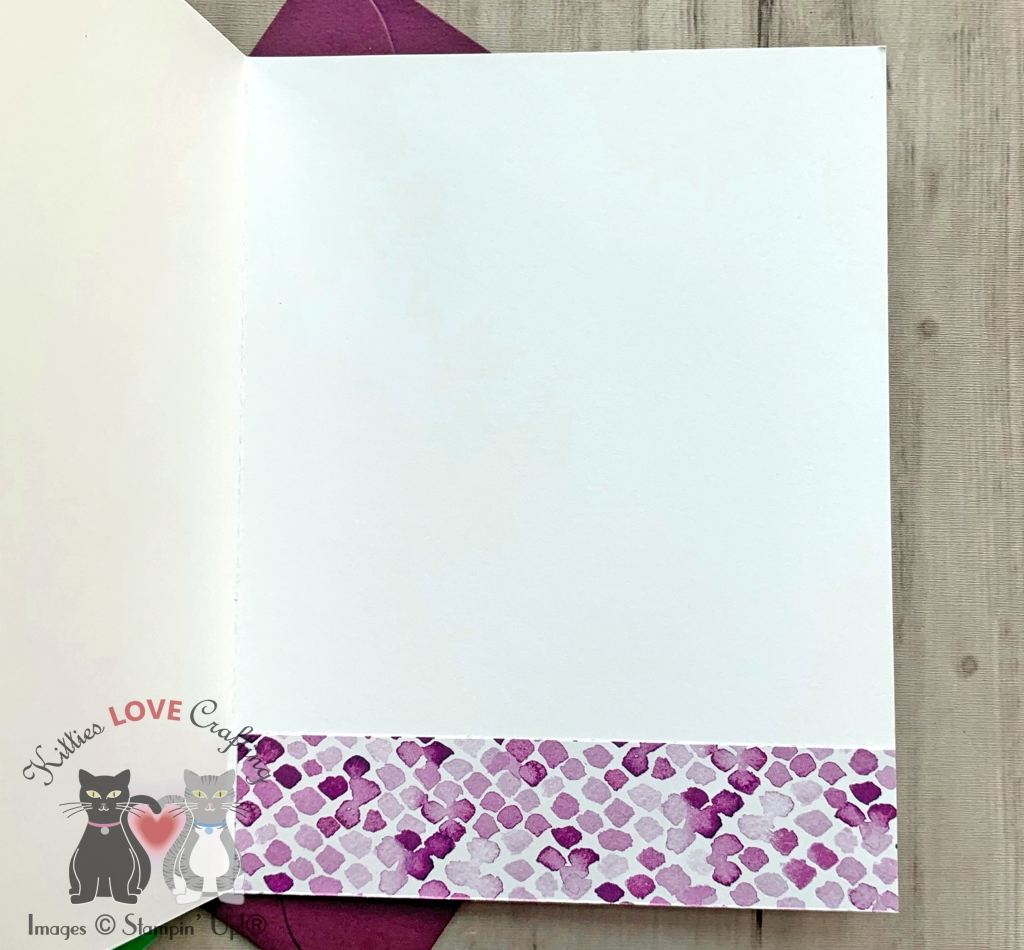
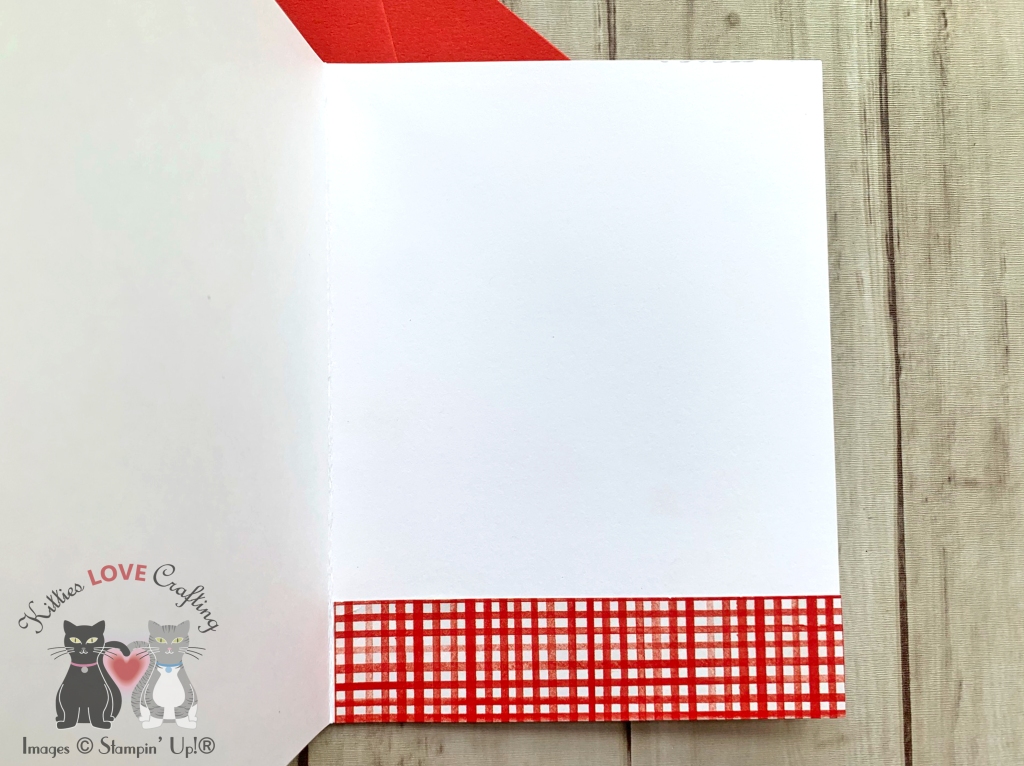
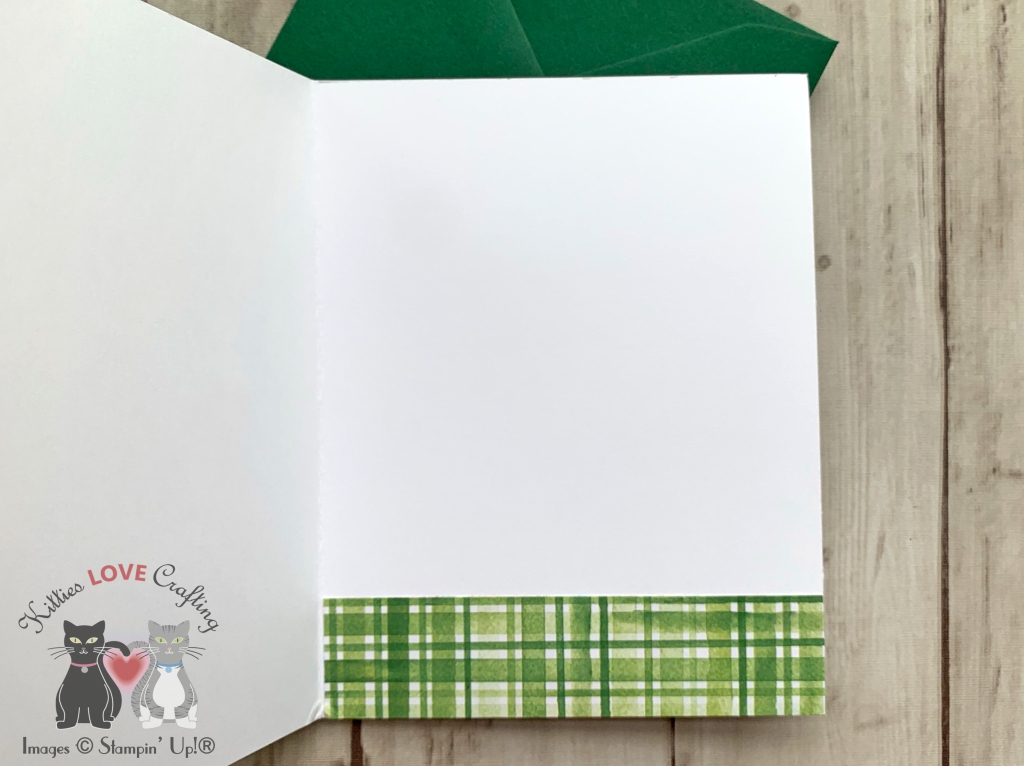
I left the inside of the cards blank.
Dimensions
- Card Base = 5-1/2 x 8-1/2″ and scored at 4-1/4″ Neenah 110lb Classic Crest Cardstock 8.5 X 11″
- Top Panel = 4 x 5-1/4″ Lawn Fawn 6 x 6 Perfectly Plaid Paper (no longer available)
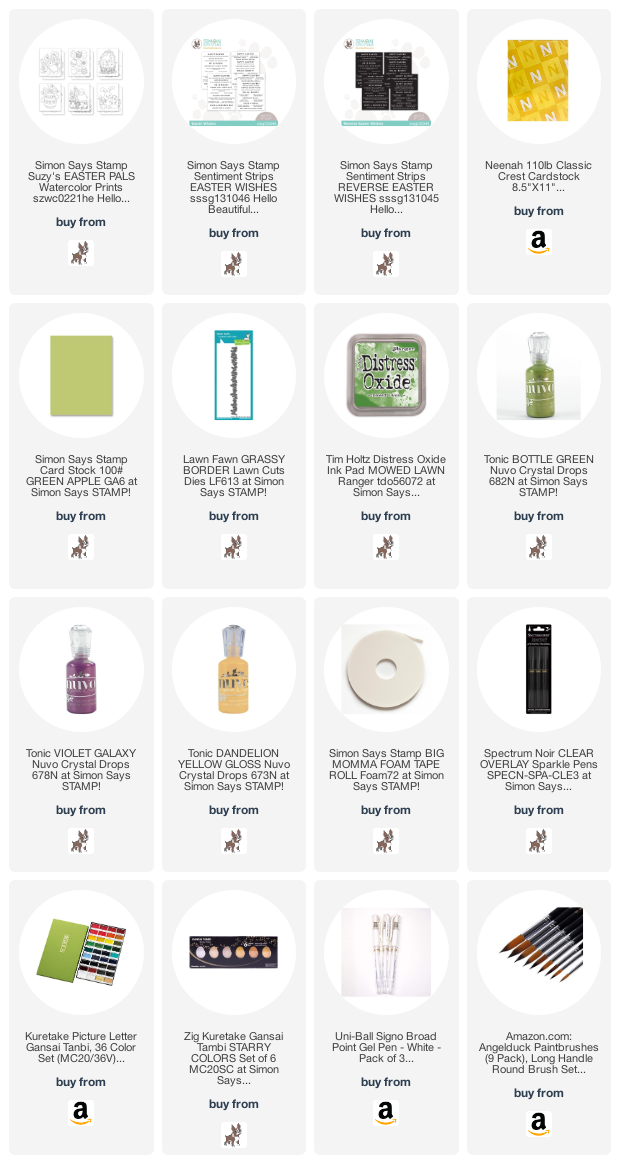
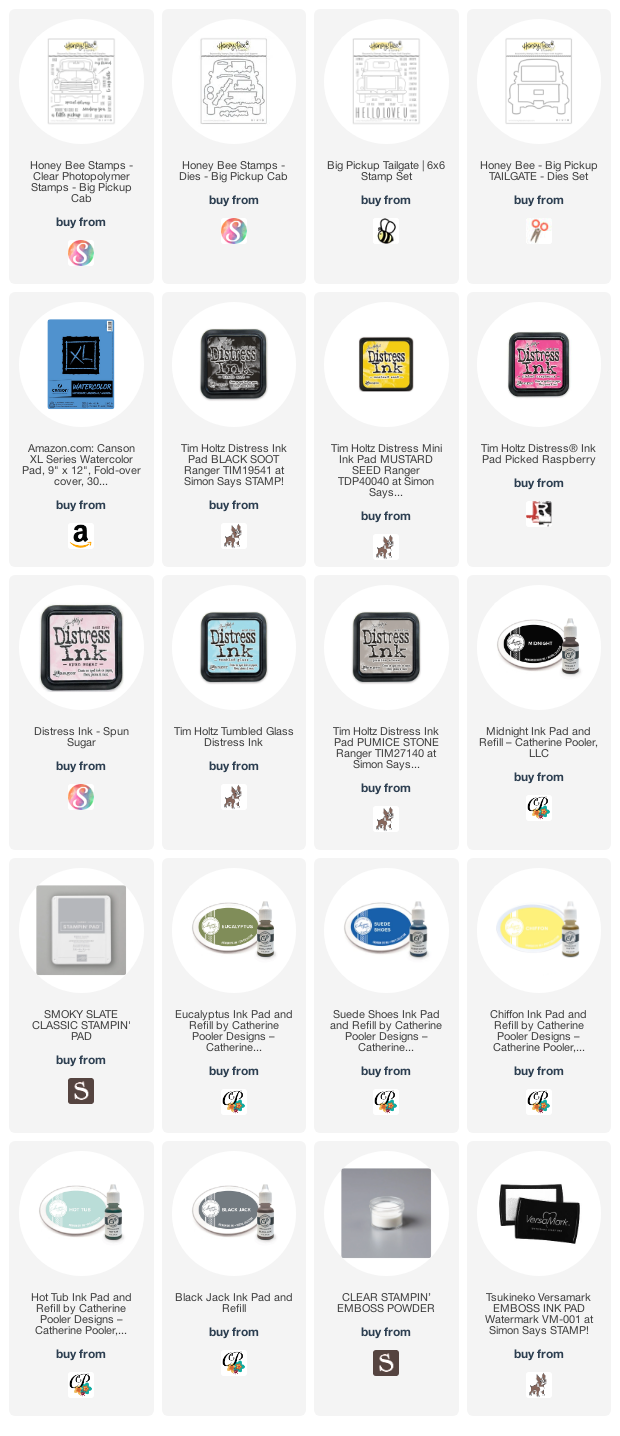
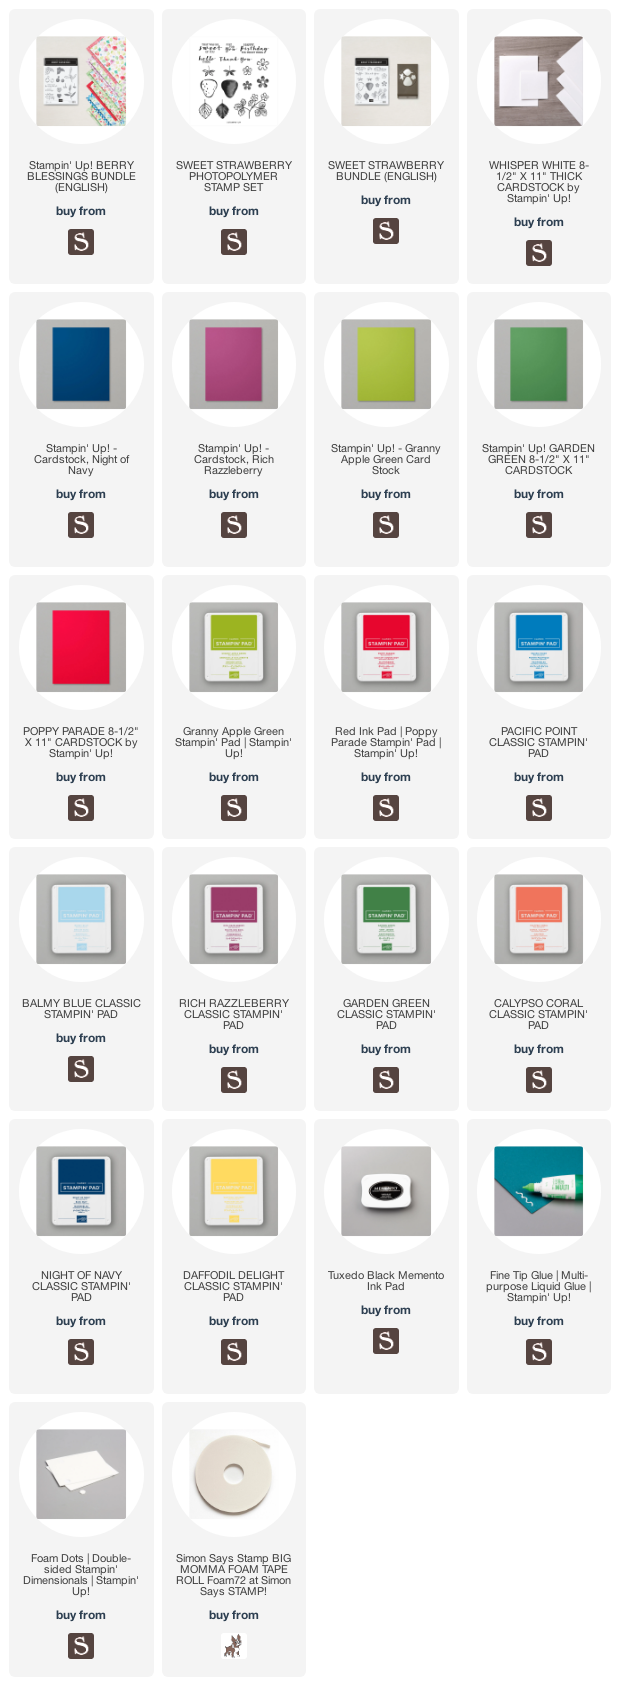
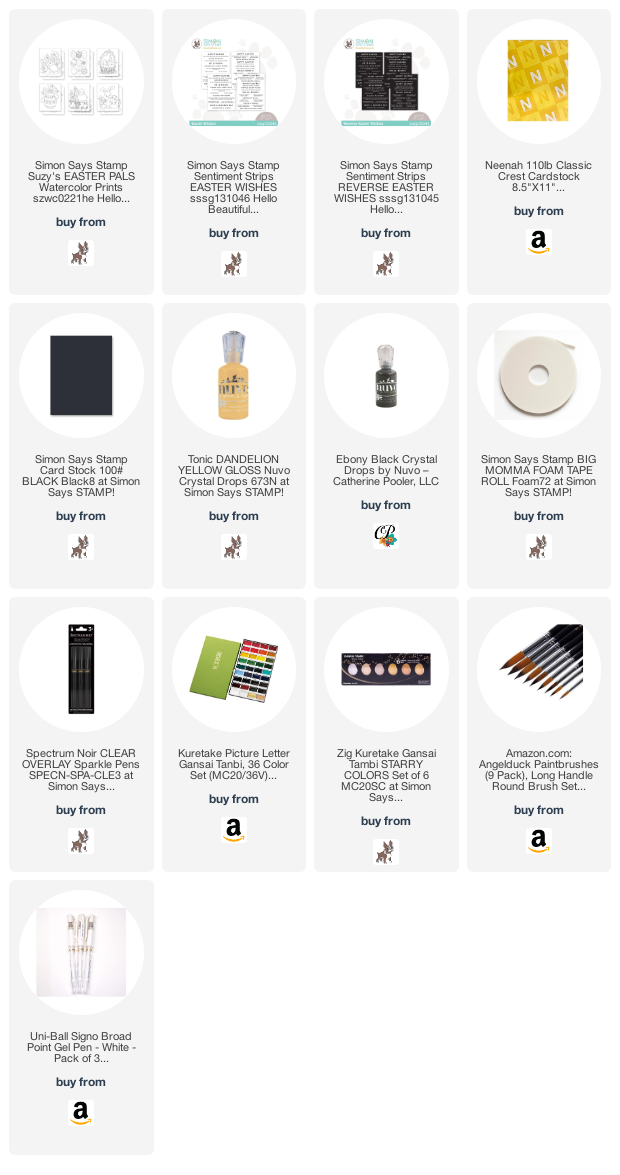
Supplies
 https://linkdeli.com/widget.js?id=f5e8378456858c916708
Thanks for reading this post. I hope you enjoyed and I’ve inspired you to make some watercolor Easter cards yourself! If you want to share you creations with me tag me on instagram @kittieslovecrafting. Leave comments or questions below or feel free to email me.