Hi friends. Time to work on Halloween cards! It’s never too soon to start making Halloween Cards in my opinion. For this card I decided to use an older Lawn Fawn mason jar stampset (Summertime Charm) with the How You Bean? Candy Corn Add-on stampset.

For this card, I cut a piece of Simon Says Stamp 100# Black Cardstock to 8-1/2 x 5-1/2″ and scored at 4-1/4″ to create the card base. Then die cut a piece of Stampin’ Up! Elegant Eggplant 8-1/2 x 11″ Cardstock (retired) with the Catherine Pooler Scallops and Dots dies.and embossed it with Stampin’ Up!’s Cobwebs 3D Embossing Folder (retired). Then added some Catherine Pooler Grape Crush Ink as well as Tim Holtz Distress BLACK SOOT Ink to accentuate the raised areas. I also created the moon using Lawn Fawn YETI Pigment Ink and masking paper.
I die cut a piece of Stampin’ Up! Old Olive 8-1/2 x 11″ Cardstock with the Catherine Pooler Scallops and Dots dies. Then die cut that piece with the Lawn Fawn Grassy Border. I used Tim Holtz Mowed Lawn Distress Oxides Ink to add some dimension.
I die cut the fence from Simon Says Stamp 100# Black Cardstock using Lawn Fawn’s Spooky Fence Border.

I stamped all the images onto Neenah 110lb Classic Crest with Memento Tuxedo Black Ink. The mason jar is from Lawn Fawn’s Summertime Charm, the candy corn is from Lawn Fawn’s How You Bean? Candy Corn Add-on, the pumpkins and squirrels from the Lawn Fawn Pick of the Patch, and the ghosts and bats from Lawn Fawn Happy Haunting Stampsets.
I colored all the images with Copic Marker. I used C00, R20 and the blender for the ghosts; Y11, Y13, Y15, YR04, YR07, YR09, C00 & the blender for the candy corn;YG17, YG25, YG67, YR04, YR07, YR09, & YR27 for the pumpkins; BG000, B0000 & 0 for the mason jar; R20, C00, C3 & C5 for the squirrels; YR31, YR14 & Y11 for the pumpkin guts; and BV0000, BV11 & BV04 for the pumpkin scoop.
I stamped the sentiment from the Lawn Fawn Pick of the Patch onto Neenah 110lb Classic Crest with Catherine Pooler Orange Peel Ink and cut it to 5/8 x 3-1/8″.
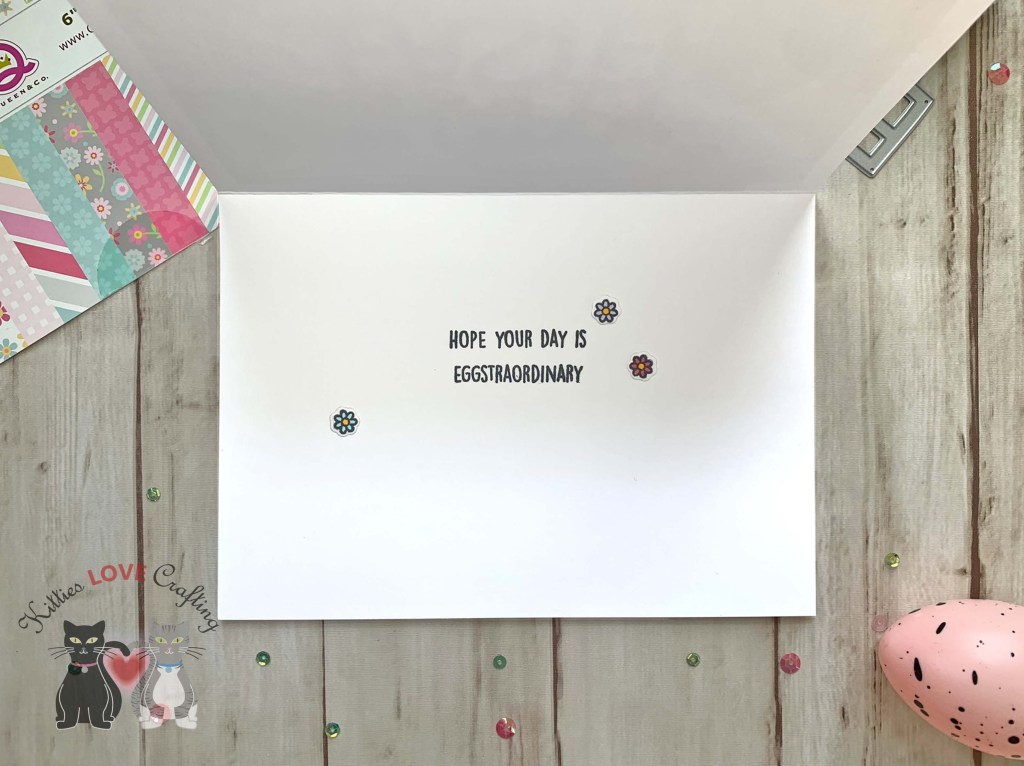
On the inside of the card, I cut a piece of Neenah 110lb Classic Crest to 4 x 5-1/4″ and added an extra ghost, pumpkin and bats.

Dimensions
- Card base = 5-1/2 x 8-1/2″ and scored at 4-1/4″ Simon Says Stamp 100# Black Cardstock
- Top panel = 3-3/4 x 5″ Stampin’ Up! Elegant Eggplant 8-1/2 x 11″ Cardstock (retired) and Stampin’ Up! Old Olive 8-1/2 x 11″ Cardstock
- Sentiment Strip = 5/8 x 3-1/8″ Neenah 110lb Classic Crest
- Inside panel = 4 x 5-1/4″ Neenah 110lb Classic Crest
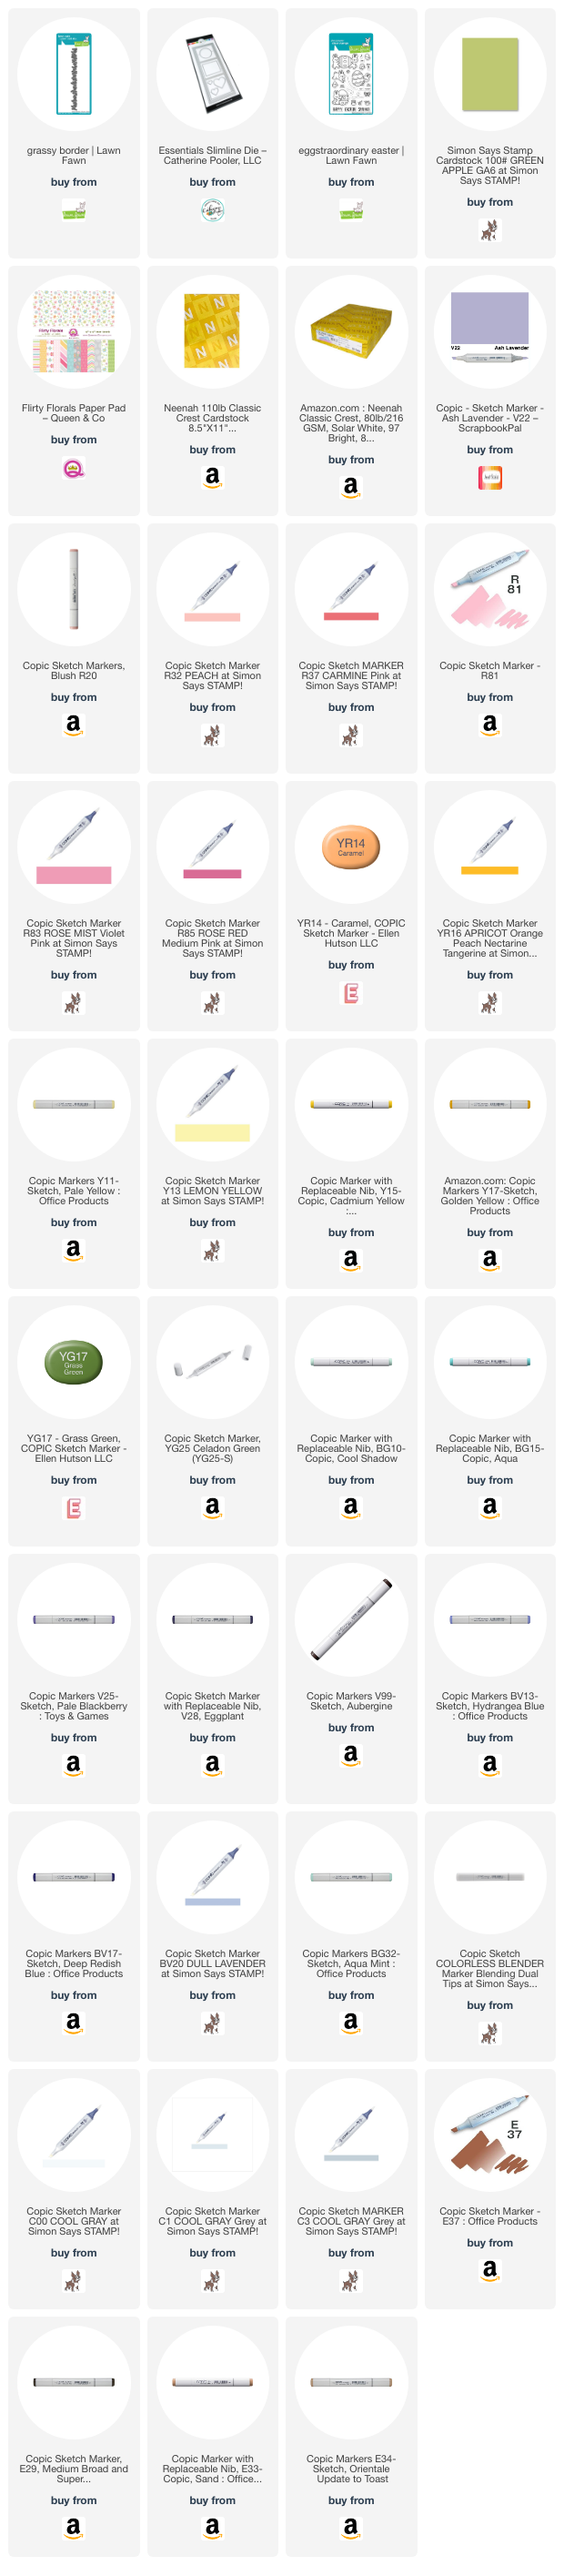
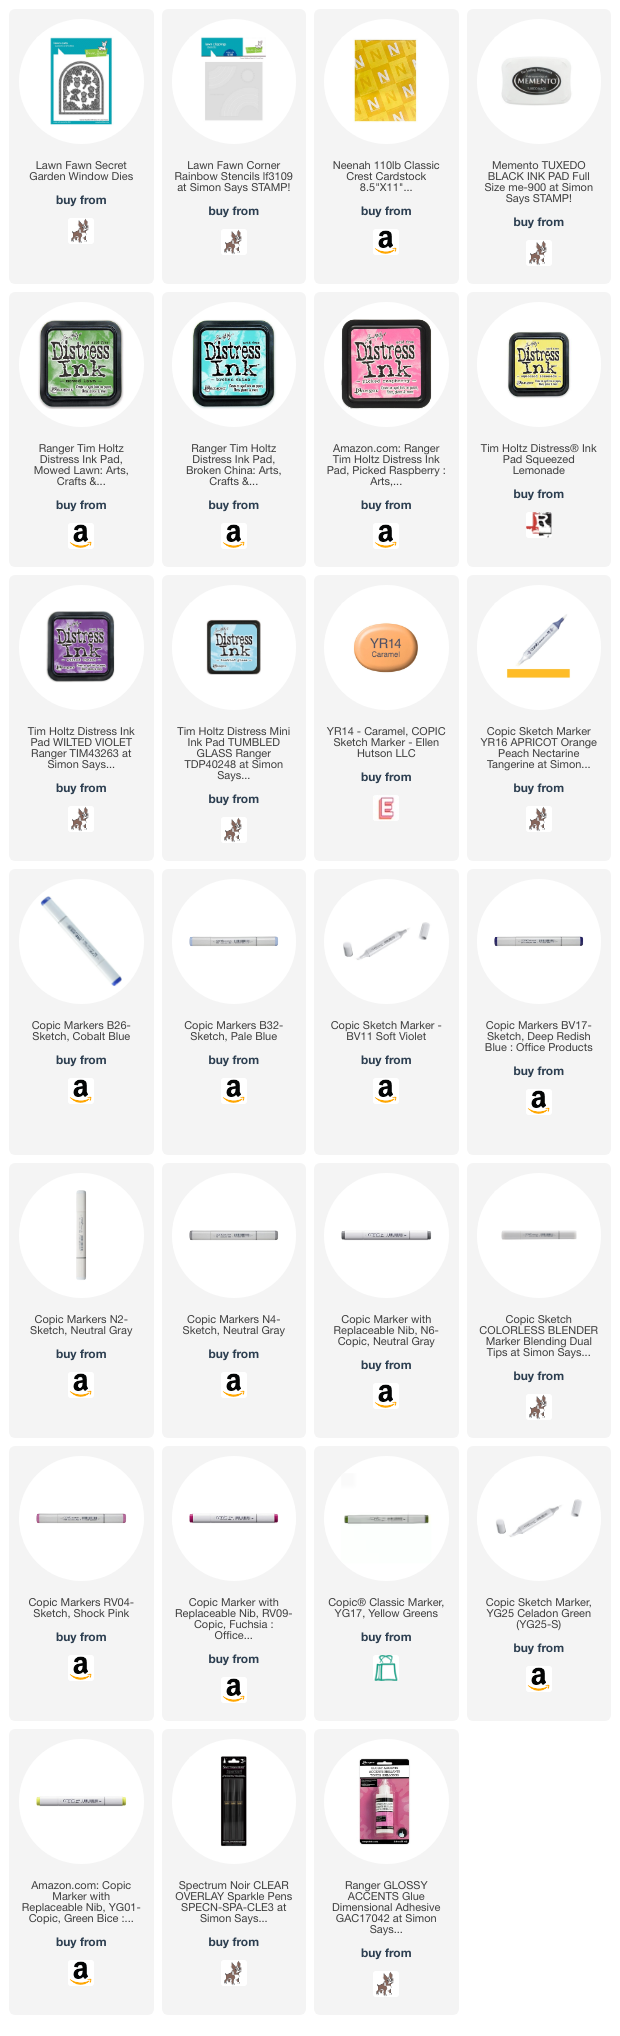
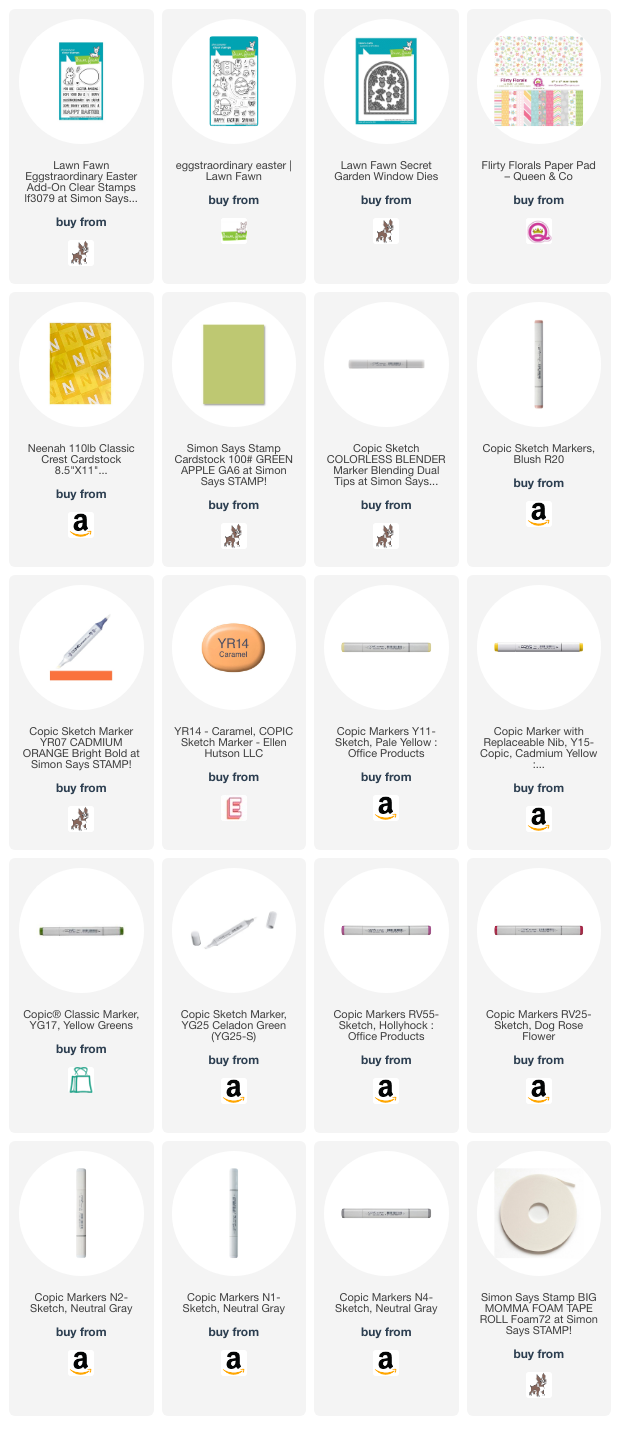
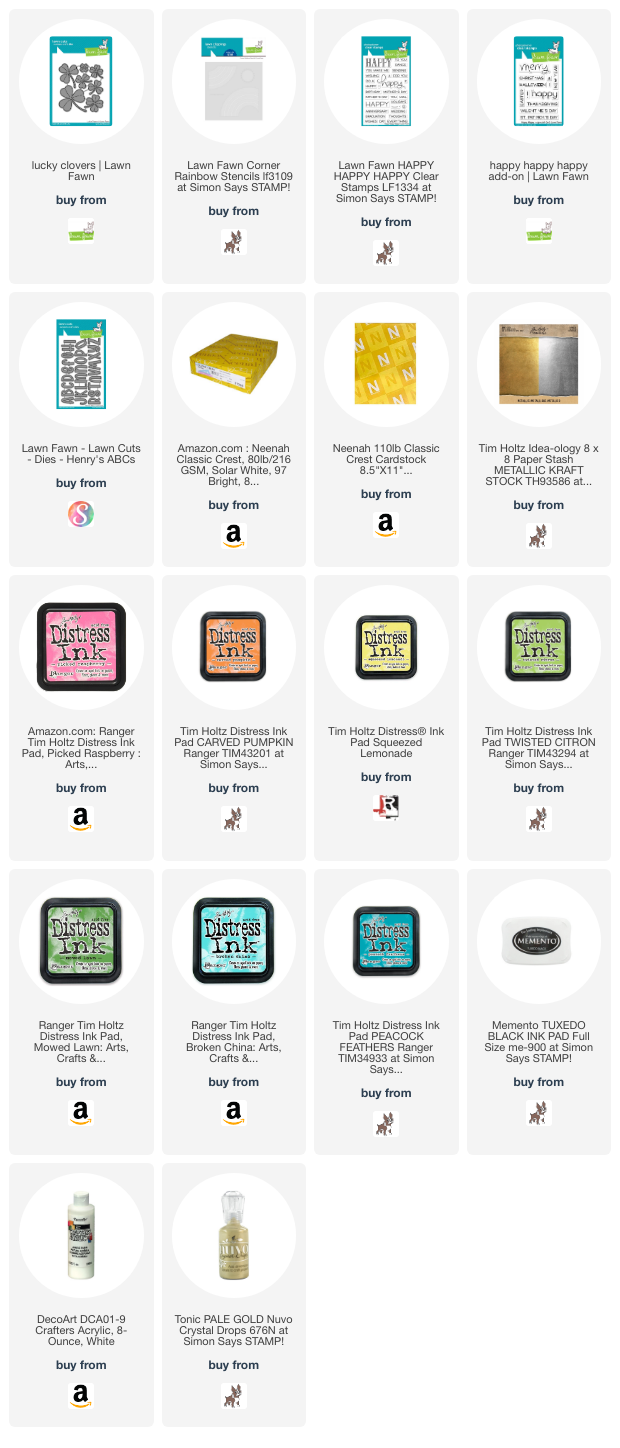
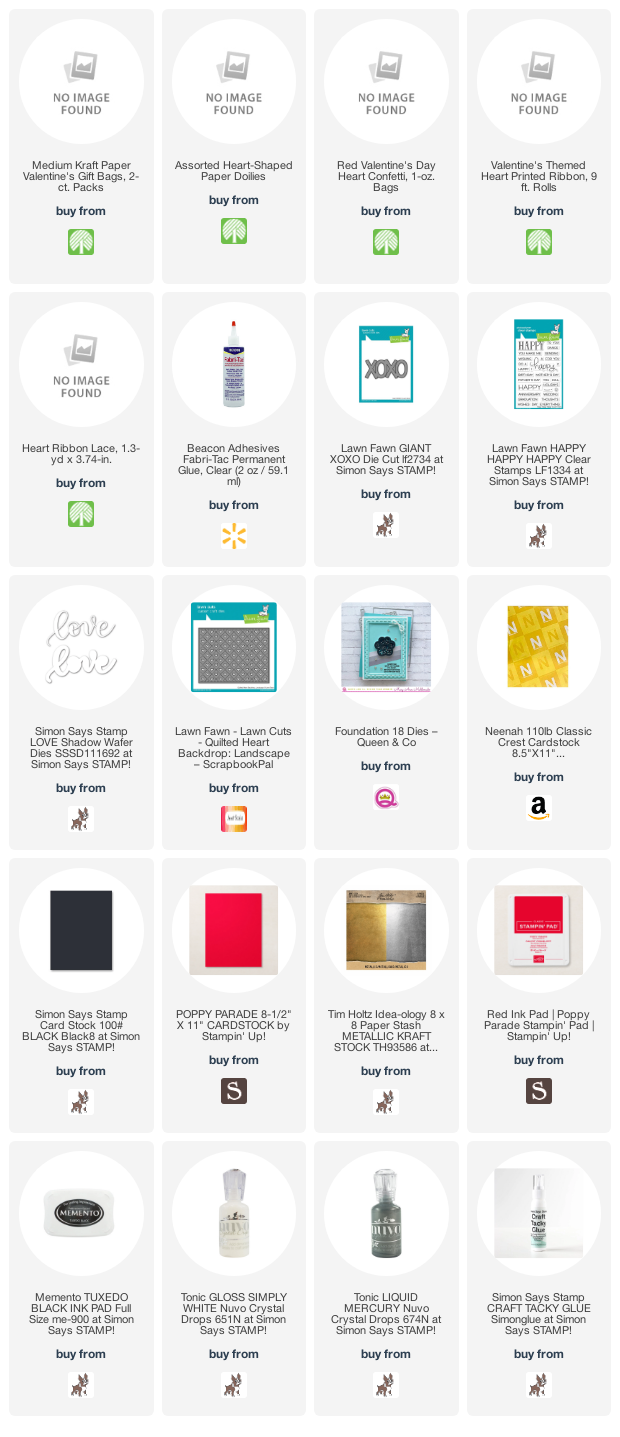
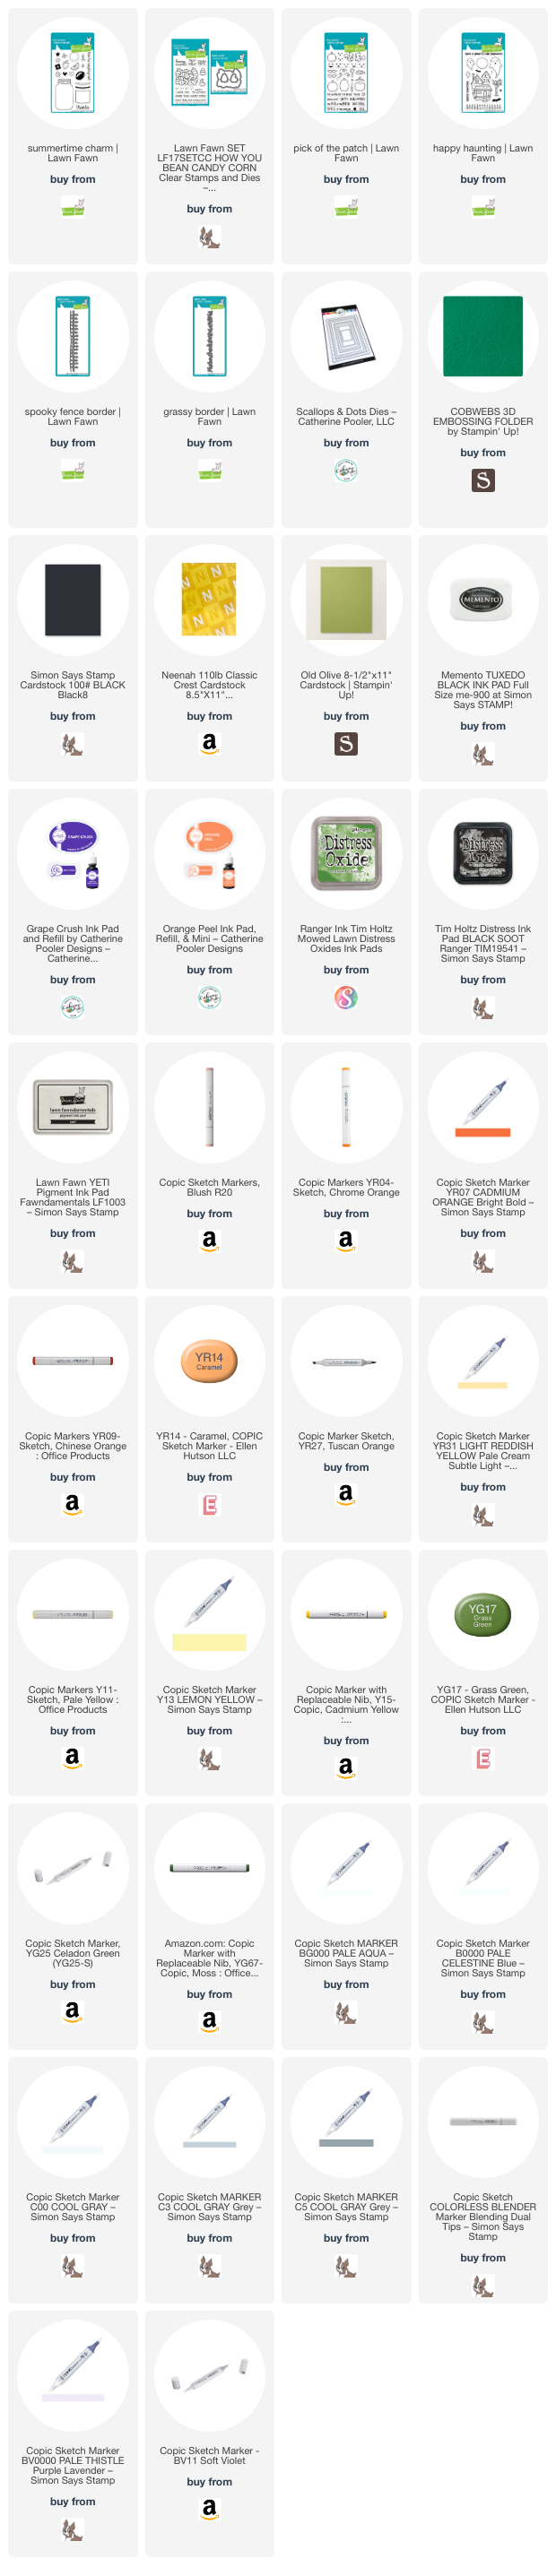
Supplies
 https://linkdeli.com/widget.js?id=f5e8378456858c916708
Thanks for reading this post! I hope you enjoyed and I’ve inspired you to make this cute Halloween card yourself! If you want to share you creations with me tag me on instagram @kittieslovecrafting. Leave comments or questions below or feel free to email me.