Hello friends. I am loving the new Springtime Gnome Die Set from Trinity Stamps! You can make so many cute gnomes and they are a nice size too!

For this card, I cut a piece of Neenah 100lb Classic Crest Cardstock 8.5 X 11″ to 7 x 8-1/2″ and scored at 3-1/2″ to create a slimline card base, and another piece 3-1/4 x 8-1/4″.
For the background I used the Simon Says Stamp BUILD A RAINBOW Stencil with Catherine Pooler Designs Samba, Limoncello, Lime Rickey, and Something Borrowed Inks to create rainbows. I used same stencil with Catherine Pooler Designs Oh Boy! Ink to create the sky.
I die cut the gnomes from the Springtime Gnome Die Set with Doodlebug Essentials 12 x 12 Lots o’ Luck Paper (I think the paper pack is discontinued), Stampin’ Up! Petal Pink 8-1/2″ X 11″ Cardstock, Simon Says Stamp 100lb Black Cardstock, Simon Says Stamp 100lb Green Apple Cardstock, Stampin’ Up! Cajun Craze 8-1/2″ X 11″ Cardstock, Tim Holtz Idea-ology 8 x 8 METALLIC KRAFT STOCK Paper Stash, Tim Holtz Idea-ology 8 x 8 METALLIC JEWELS KRAFT STOCK Paper Stash, and DCWV Single-Sided 4.5″ x 6.5″ Brights Mat Stack. And the pot of gold was die cut using Trinity Stamps Leprechaun Loot Die Set from Simon Says Stamp 100lb Black Cardstock and Tim Holtz Idea-ology 8 x 8 METALLIC KRAFT STOCK Paper Stash. And the clover in the leprechaun’s hands is from the Lawn Fawn Lucky Clovers.

I added a sentiment from the Simon Says Stamp Sentiment Strips Lucky which I die cut from the DCWV Single-Sided 4.5″ x 6.5″ Brights Mat Stack.
On the inside of the card, I added a strip of pattern paper from Doodlebug Essentials 12 x 12 Lots o’ Luck Paper (same as on the gnome) measuring 1 x 3-1/2″ and stamped a sentiment from Lawn Fawn Happy Happy Happy Add-on with Catherine Pooler Designs Lime Rickey Ink.

Dimensions
- Card Base = 7 x 8-1/2″ and scored at 3-1/2″ Neenah 100lb Classic Crest Cardstock 8.5 X 11″
- Background Panel = 3-1/4 x 8-1/4″ Neenah 100lb Classic Crest Cardstock 8.5 X 11″
- Inside Strip = 1 x 3-1/2″ Doodlebug Essentials 12 x 12 Lots o’ Luck Paper
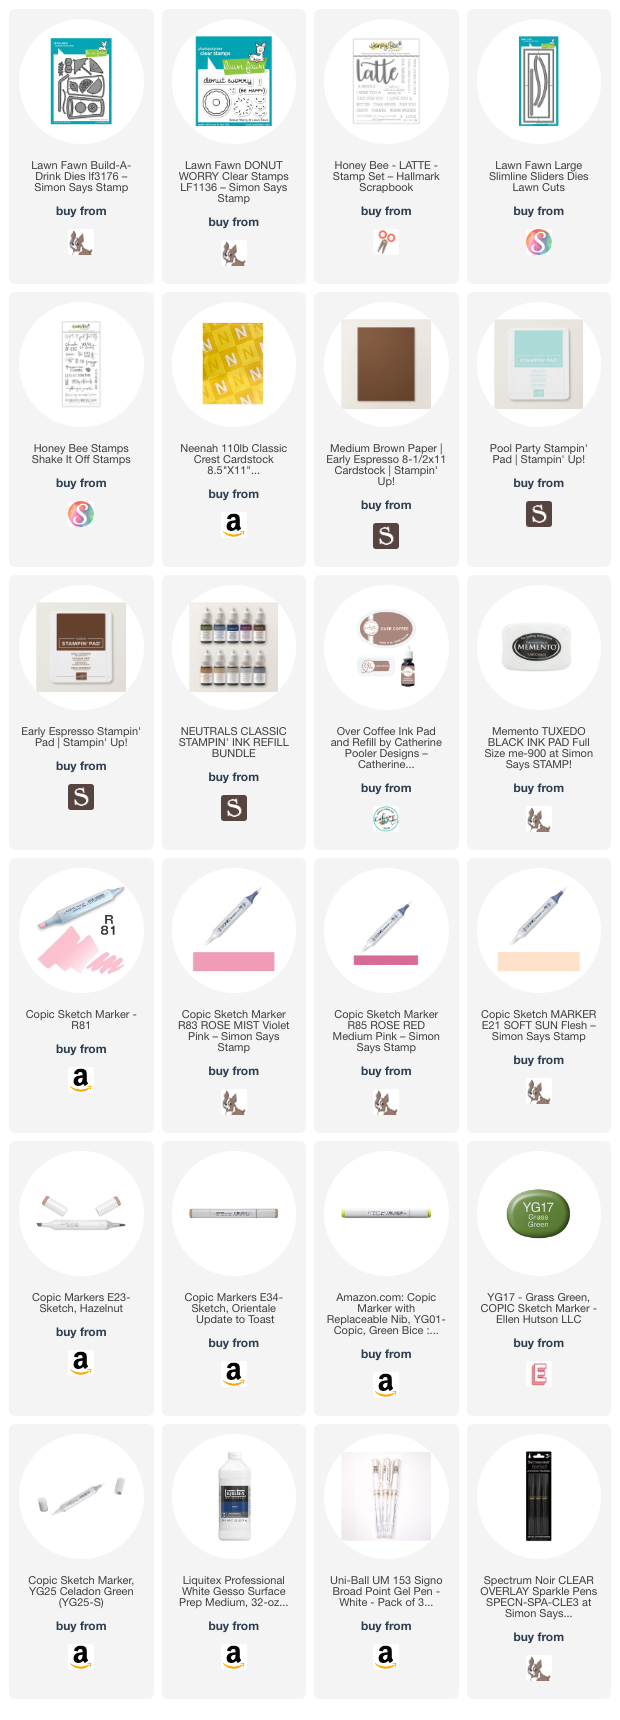
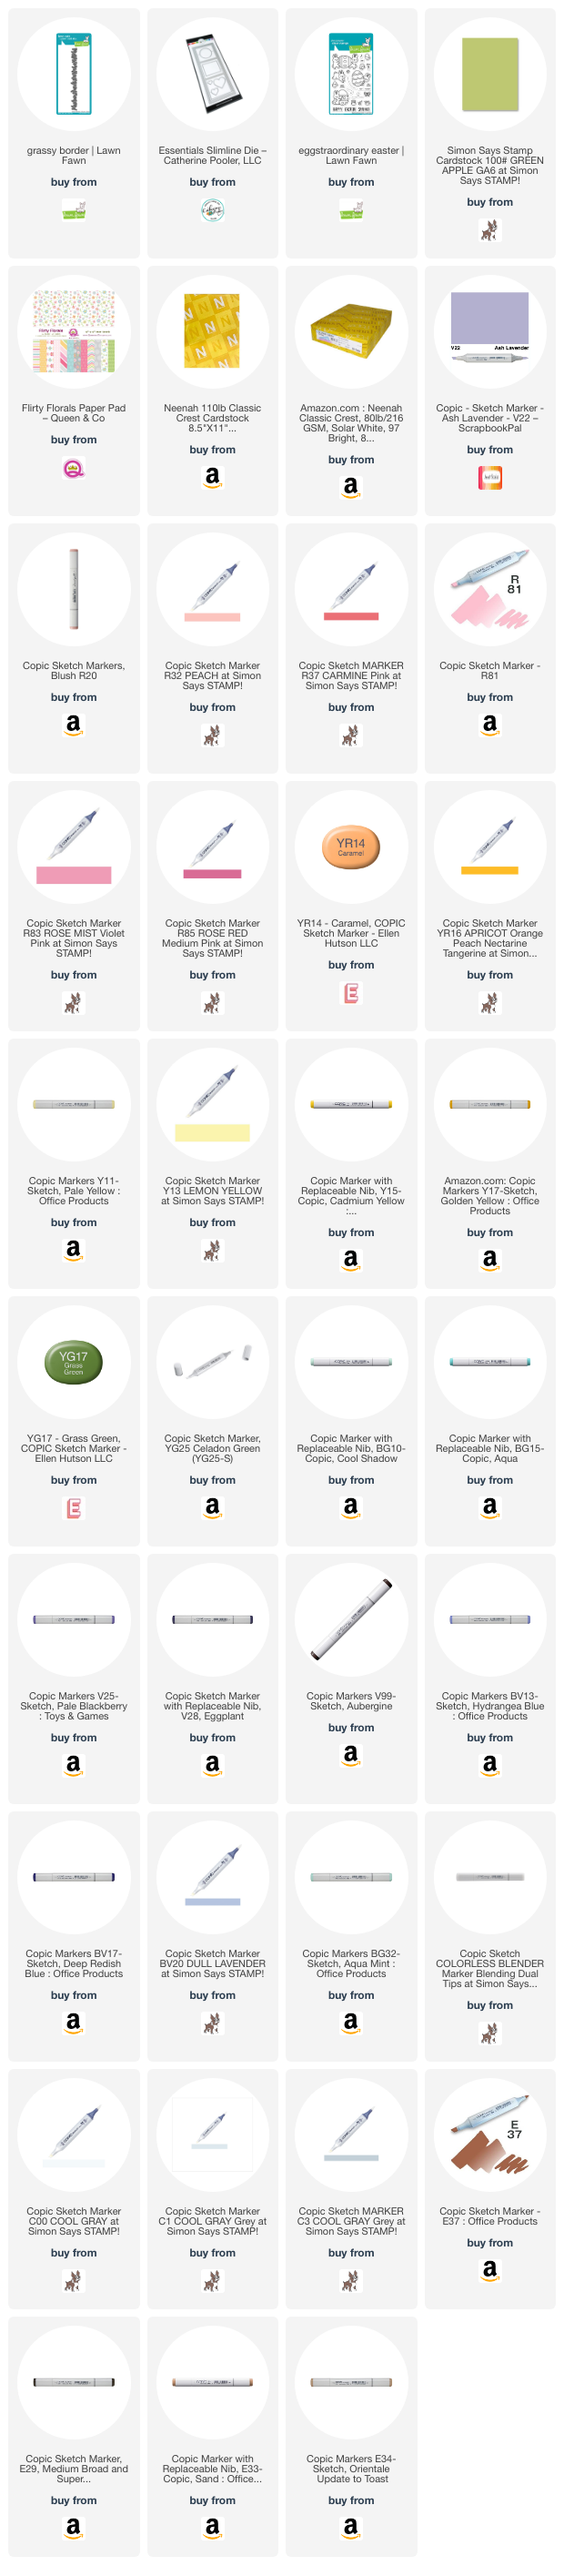
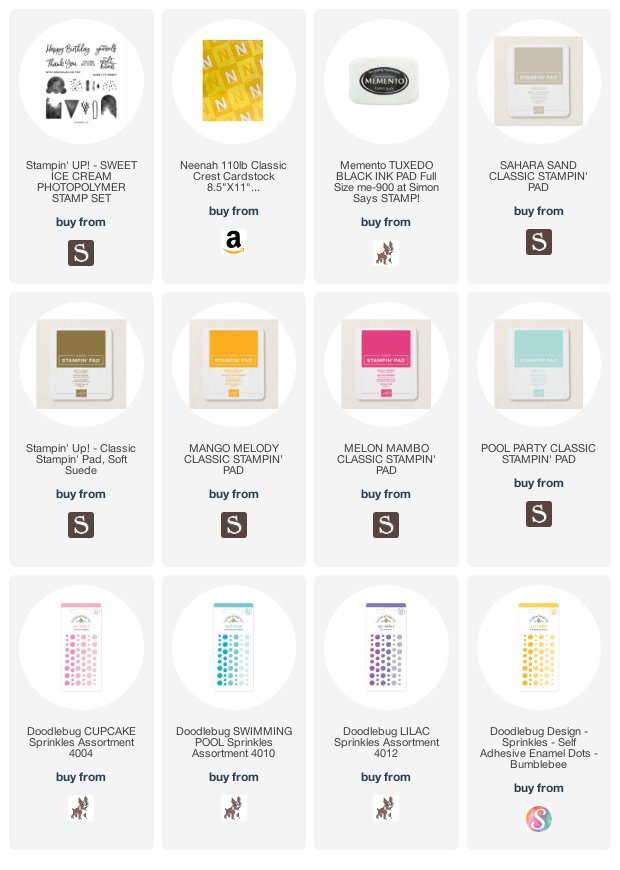
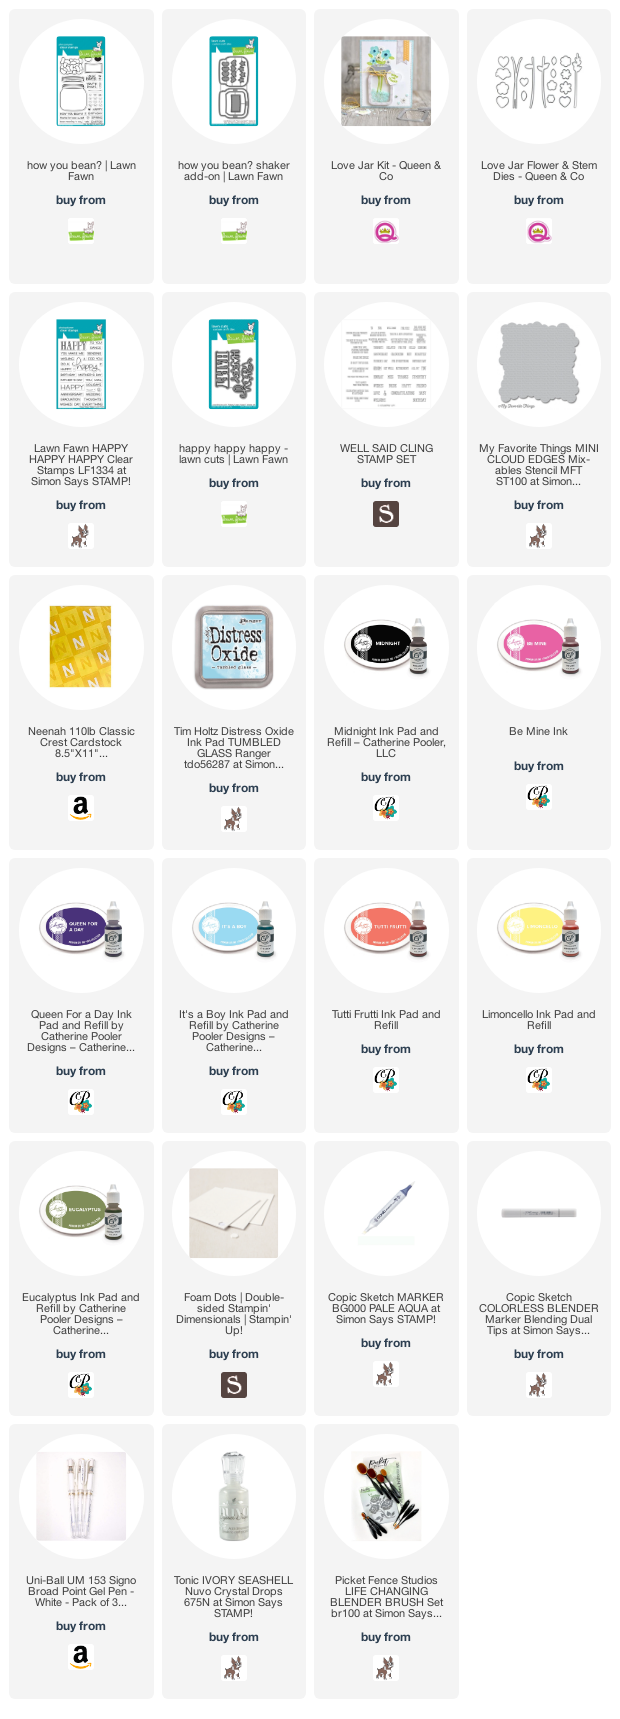
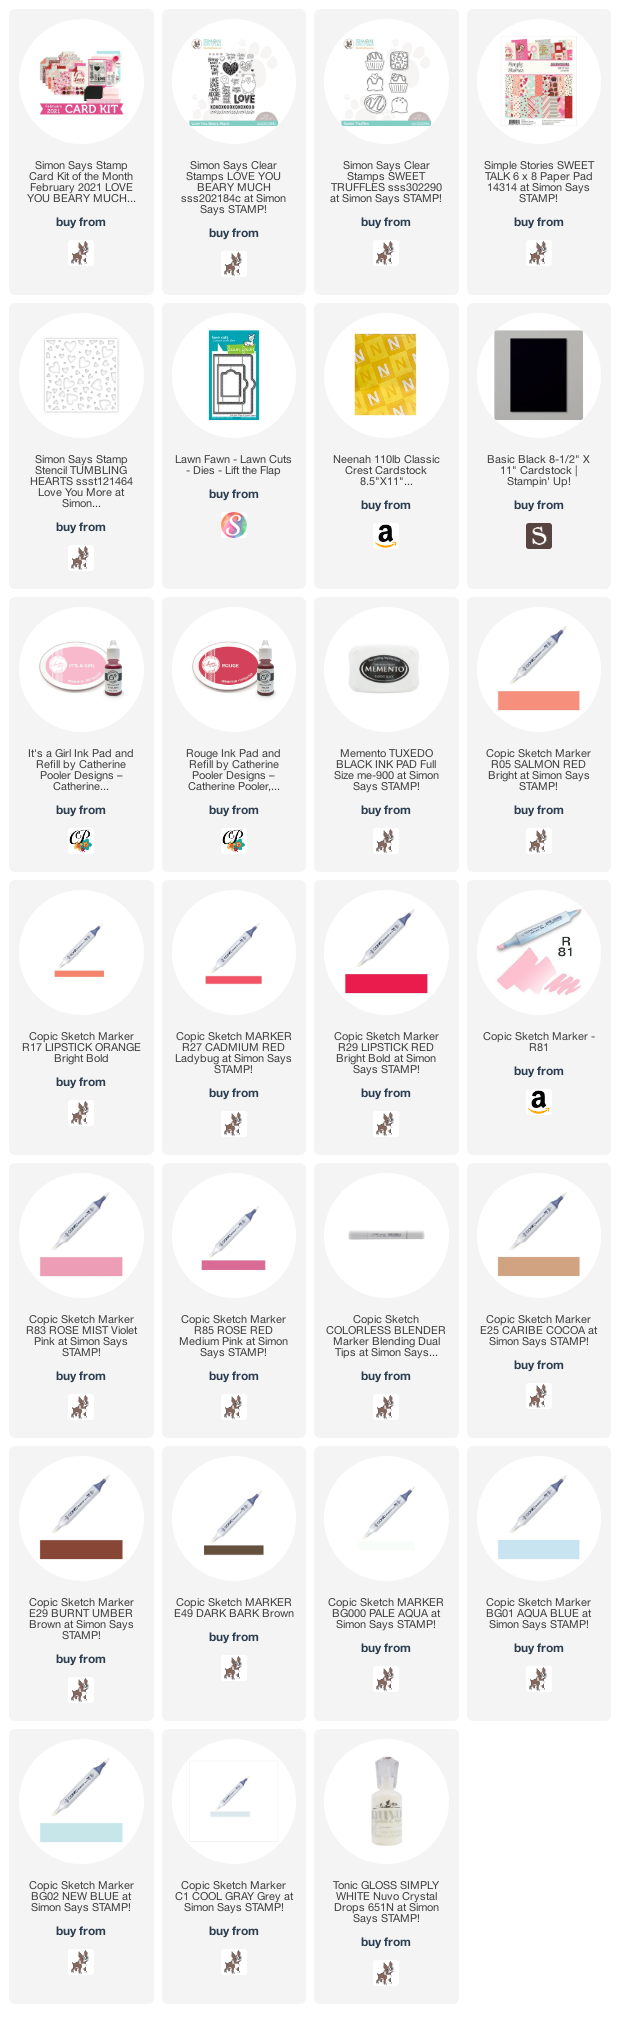
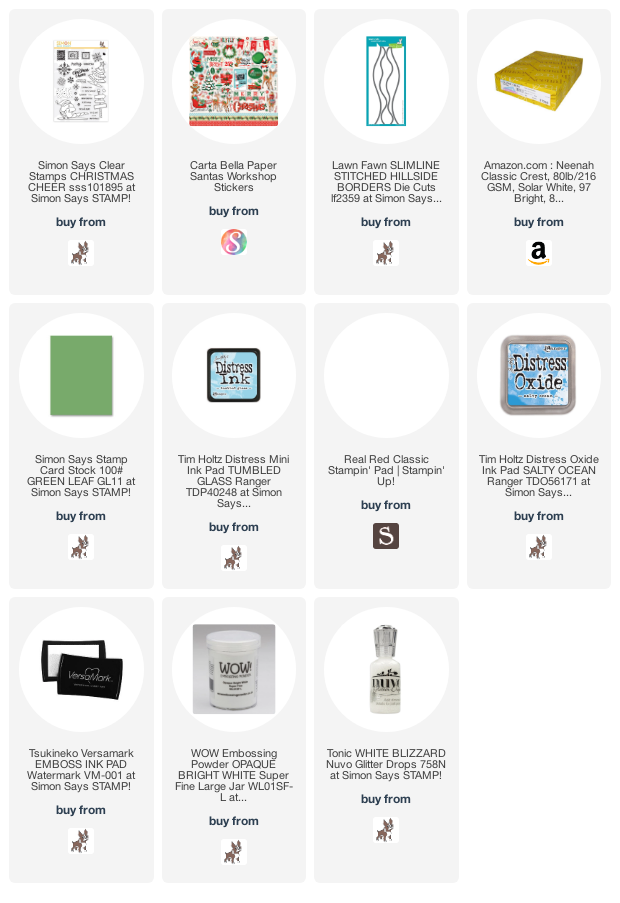
Supplies
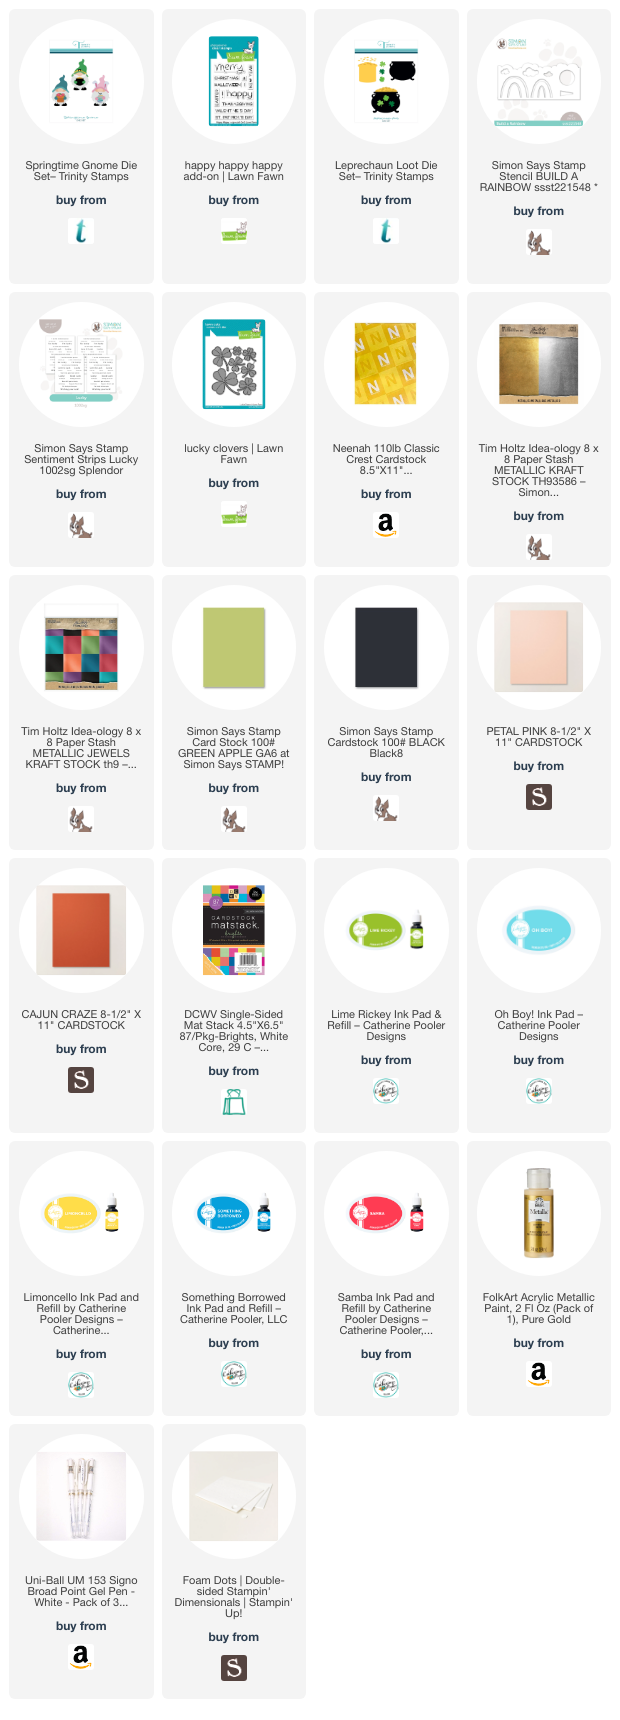 https://linkdeli.com/widget.js?id=f5e8378456858c916708
Thanks for reading this post. I hope I’ve inspired you to give this cute slimline St. Patrick’s Day card a try for yourself. Leave comments or questions below or feel free to email.