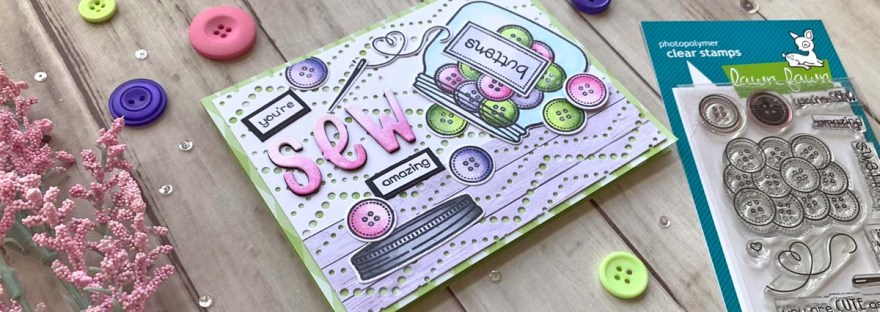
Hello friends. Are you in need of a Mother’s Day Card? Does the woman in your life love sewing? Then the new Lawn Fawn How You Bean? Buttons Add-on stampset is perfect for them. I absolutely love the How You Bean? stampset and all the add-ons Lawn Fawn has developed since it’s inception. Mason jars are super cute on cards and having lots of add-ons helps.

For the first card, I cut a piece of Simon Says Stamp 100# GREEN APPLE Cardstock to 5-1/2 x 8-1/2″ and scored at 4-1/4″ to create a card base and a piece of a piece of My Favorite Things Tranquil Textures 6 x 6 Cardstock (I think this paper is discontinued) to 4-1/4 x 5-1/2″. Then diecut another piece from the same paper pack and one from Neenah 100lb Classic Crest Cardstock 8.5 X 11″ with the Catherine Pooler Designs Dotted Zig Zag Cover Plate. I trimmed the white piece to 4 x 5-1/4″ and the pattern paper to 1-3/8 x 4″.
I stamped the images from Lawn Fawn How You Bean? Buttons Add-on stampset onto Neenah 100lb Classic Crest Cardstock 8.5 X 11″ with Memento Tuxedo Black Ink and colored them with Copic Markers. I used BV0000, BV00 & BV13, RV000, RV52 & RV55, YG01, YG03 & YG11 for the buttons; BG000 and Copic blender (0) for the mason jar; C3, C5 & N6 for the jar lid; and C00 & C1 for the label.
I stamped the sentiment from Lawn Fawn How You Bean? Buttons Add-on stampset onto Neenah 100lb Classic Crest Cardstock 8.5 X 11″ with Memento Tuxedo Black Ink and trimmed down and added some Simon Says Stamp 100# Black Cardstock behind it.
I die cut the letters from Neenah 100lb Classic Crest Cardstock 8.5 X 11″ 1x and 3x from Simon Says Stamp 100# Black Cardstock using the Lawn Fawn Henry’s ABCs and stacked them. I colored the white letters with RV000, RV52 & RV55, Copic Markers. To finish off the card, I added some shimmer with the Spectrum Noir Clear Overlay Sparkle Pens to the buttons and the die cut letters.

On the inside of the card, I cut a piece of Neenah 100lb Classic Crest Cardstock 8.5 X 11″ to 4 x 5-1/4″ and a piece of the same pale purple pattern paper to 1 x 5-1/4″. I also diecut the sentiment from the same paper pad with the Lawn Fawn Giant Happy Mother’s Day and added some addtional buttons.

Dimensions
- Card Base = 5-1/2 x 8-1/2″ and scored at 4-1/4″ Simon Says Stamp 100# GREEN APPLE Cardstock
- Back Panel = 4-1/4 x 5-1/2″ My Favorite Things Tranquil Textures 6 x 6 Cardstock
- Front Panel = 4 x 5-1/4″ Neenah 100lb Classic Crest Cardstock 8.5 X 11″ ; 1-3/8 x 4″ My Favorite Things Tranquil Textures 6 x 6 Cardstock
- Inside Panel = 4 x 5-1/4″ Neenah 100lb Classic Crest Cardstock 8.5 X 11″ ; x 5-1/4″ My Favorite Things Tranquil Textures 6 x 6 Cardstock
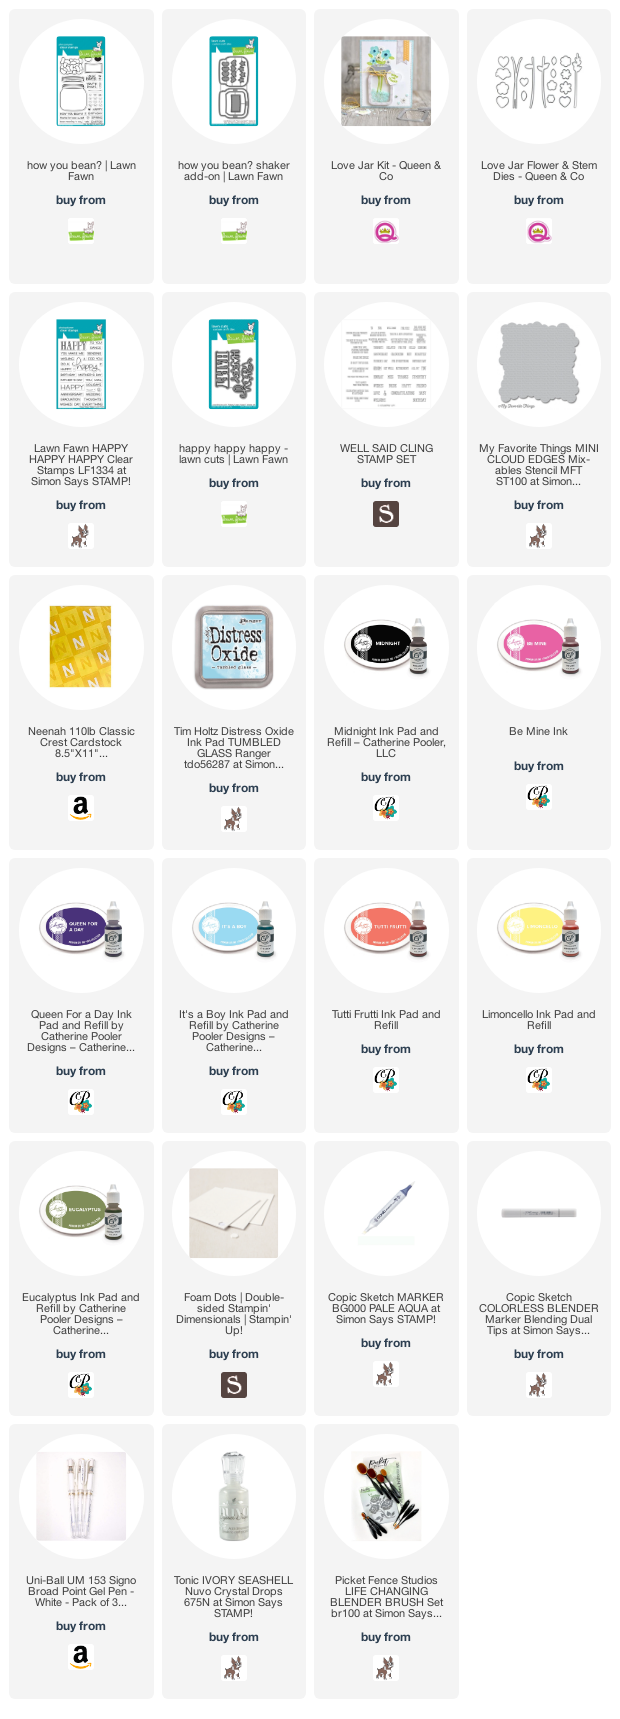
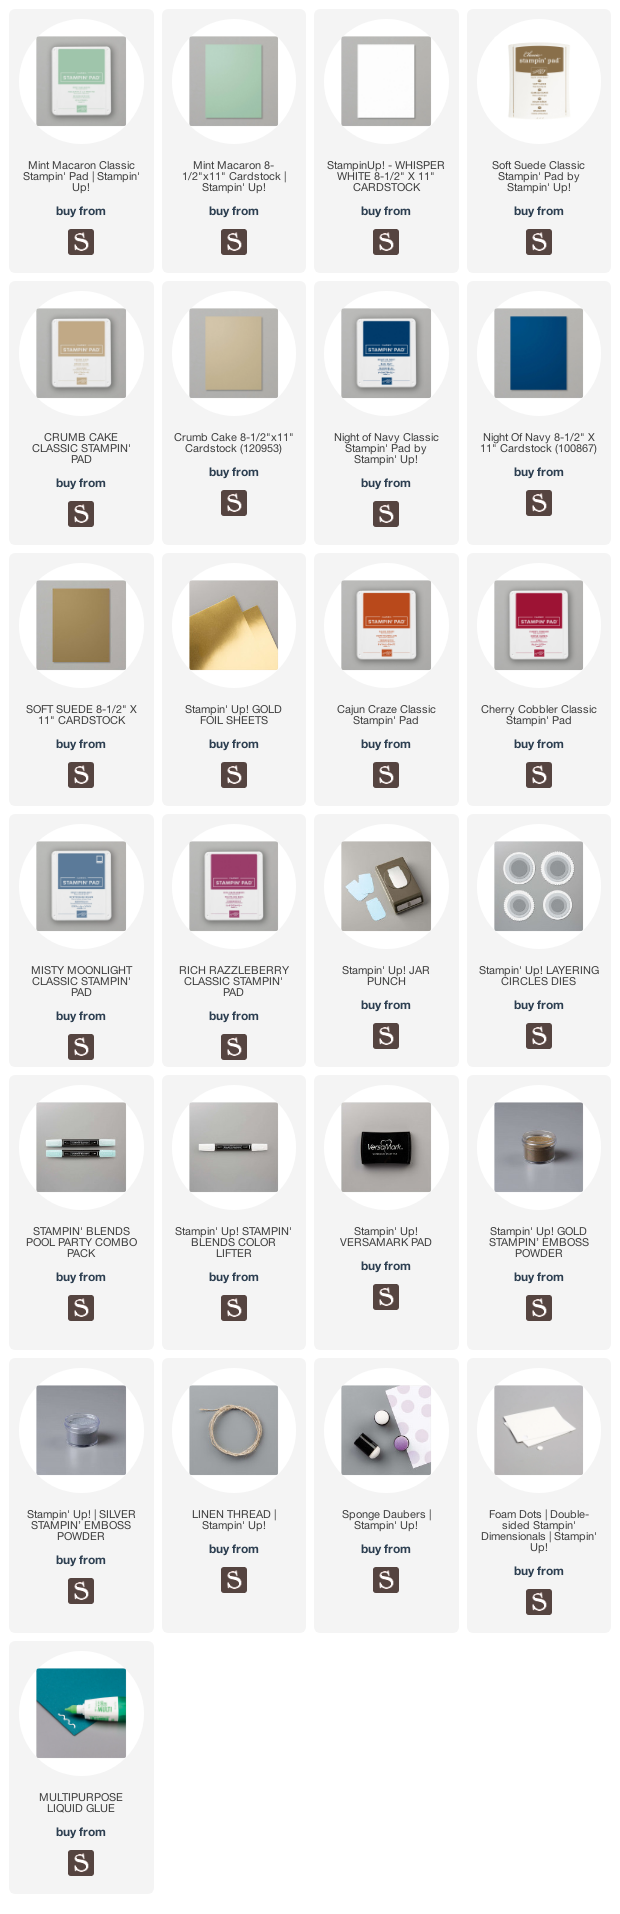
Supplies
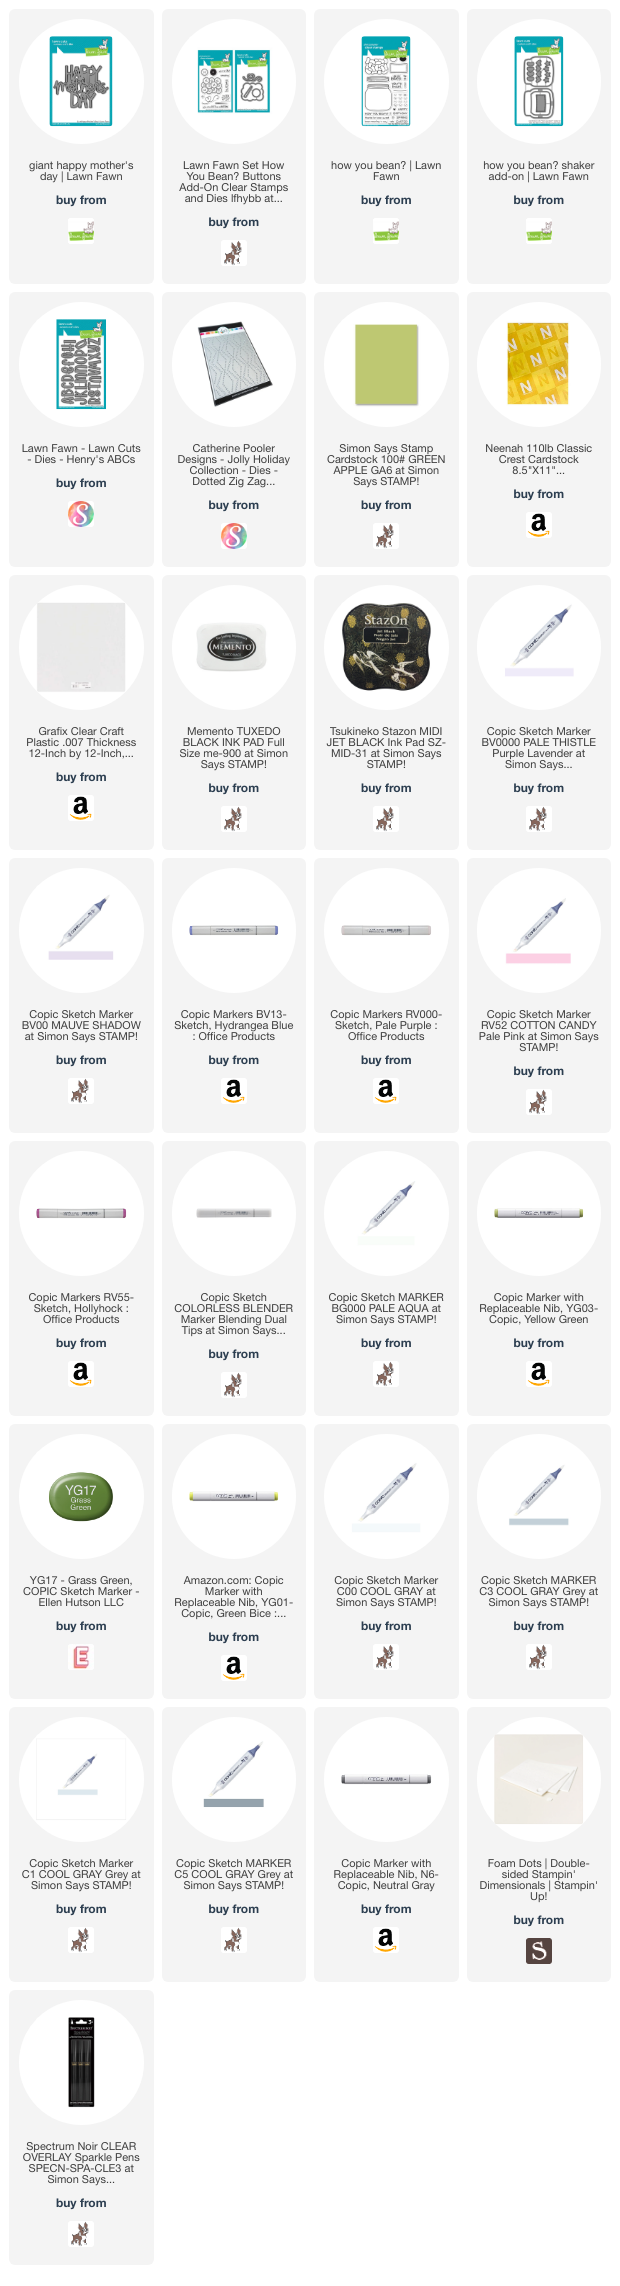 https://linkdeli.com/widget.js?id=f5e8378456858c916708
Thanks for reading this post. I hope I’ve inspired you to give these fun birthday cards a try for yourself. Leave comments or questions below or feel free to email.