
Hello friends. Here’s a cute Halloween shaker card using the Count to Six Coverplate included in the Catherine Pooler Boo Box. If you purchased this box then you know how absolutely adorable it is! If not, you can still make this style of card using stamps and dies you own.

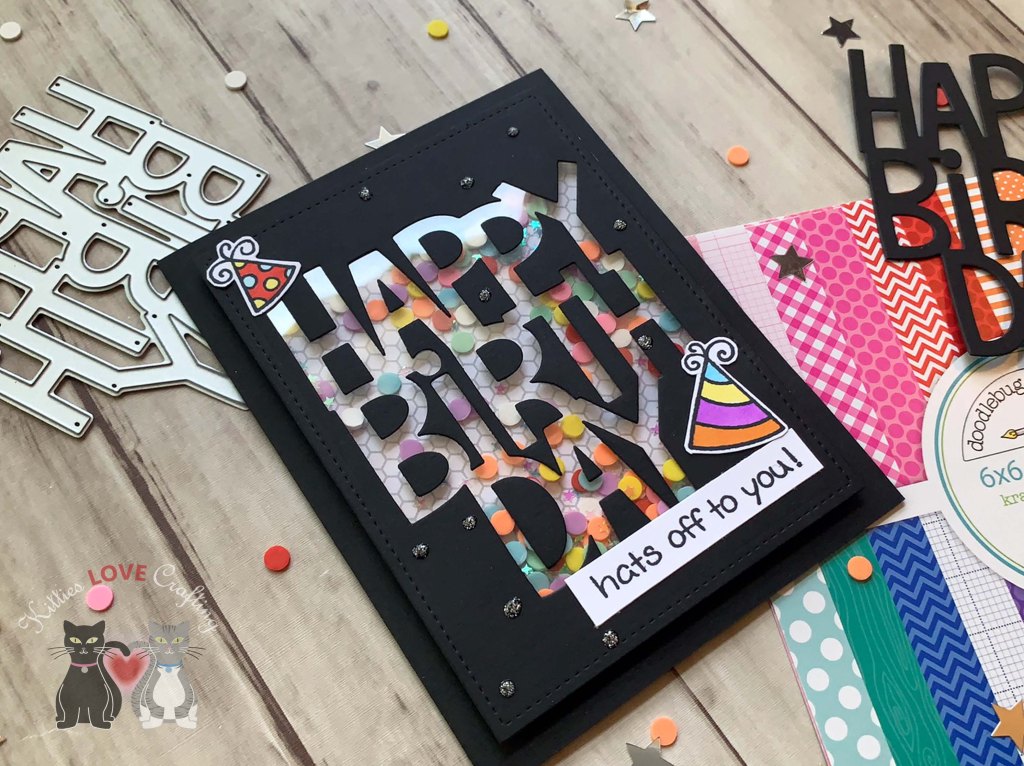
For this card, I cut a piece of Simon Says Stamp 100lb Black Cardstock to 4-1/4 x 11″ and scored at 5-1/2″ to create a top folding A2 card base. I die cut 3 window frames from the same black cardstock using the Catherine Pooler Designs Count to Six Cover Plate (included in the Boo Box). I cut a piece of acetate to 4-1/4 x 5-1/2 and placed it behind the frames. Then added foam tape strips to the back.
I created a background by cutting a piece of Neenah 100lb Classic Crest Cardstock 8.5 X 11″ 4-1/4 x 5-1/2 and using CP Sweet Sixteen and Pixie Dust inks to ink blend the background then stamped the web with CP Grape Crush Ink using the CP Spider Web Background Stamp (included in the Boo Box).
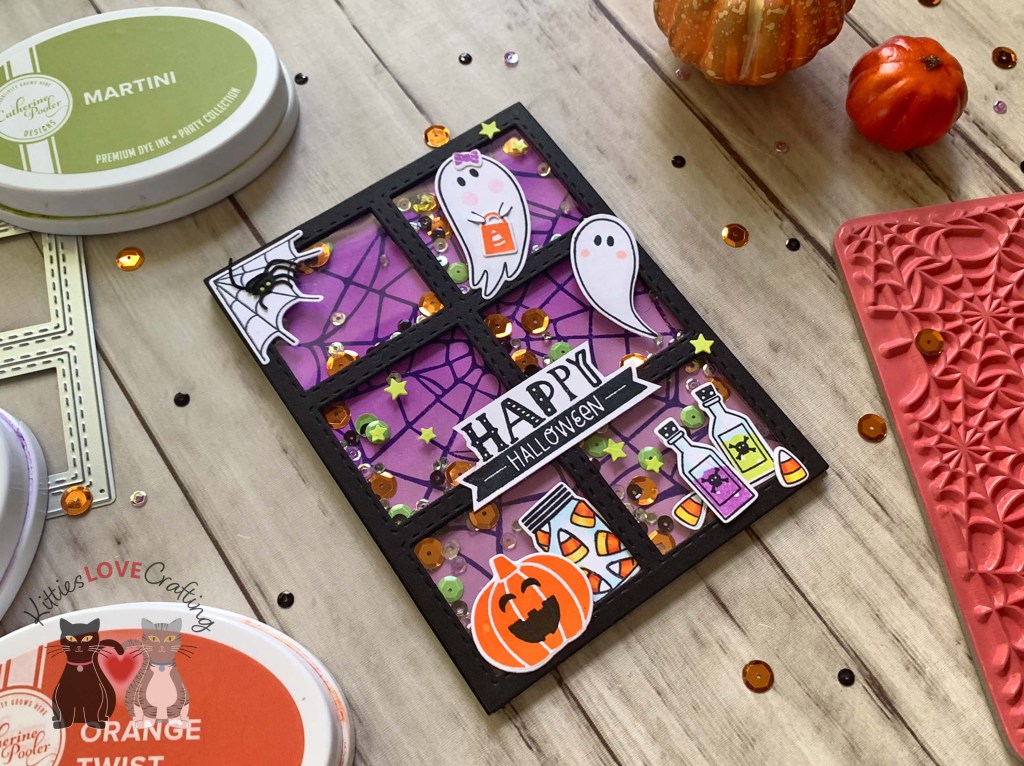
I stamped the images from Catherine Pooler Designs Fright Night Stampset (included in the Boo Box) using CP Midnight, Cotton Candy, Orange Twist, Melon Ice, and Pixie Dust Inks. I used Copic Markers to give the ghosts some dimension as well as the jar, candy corn and poison bottles. I used C0, R20 & 0 for the ghosts; BG000 & 0 for the bottles and jar; and C0 & 0, Y06 & Y17, and YR04 & YR09 for the candy corn.
The little spider came was die cut from black cardstock using the CP Haunted Tags & Charms die set (included in the Boo Box).
I stamped the sentiment from the Catherine Pooler Designs Fright Night Stampset (included in the Boo Box) onto Neenah 100lb Classic Crest Cardstock 8.5 X 11″ with CP Midnight Ink and fussy-cut it out.
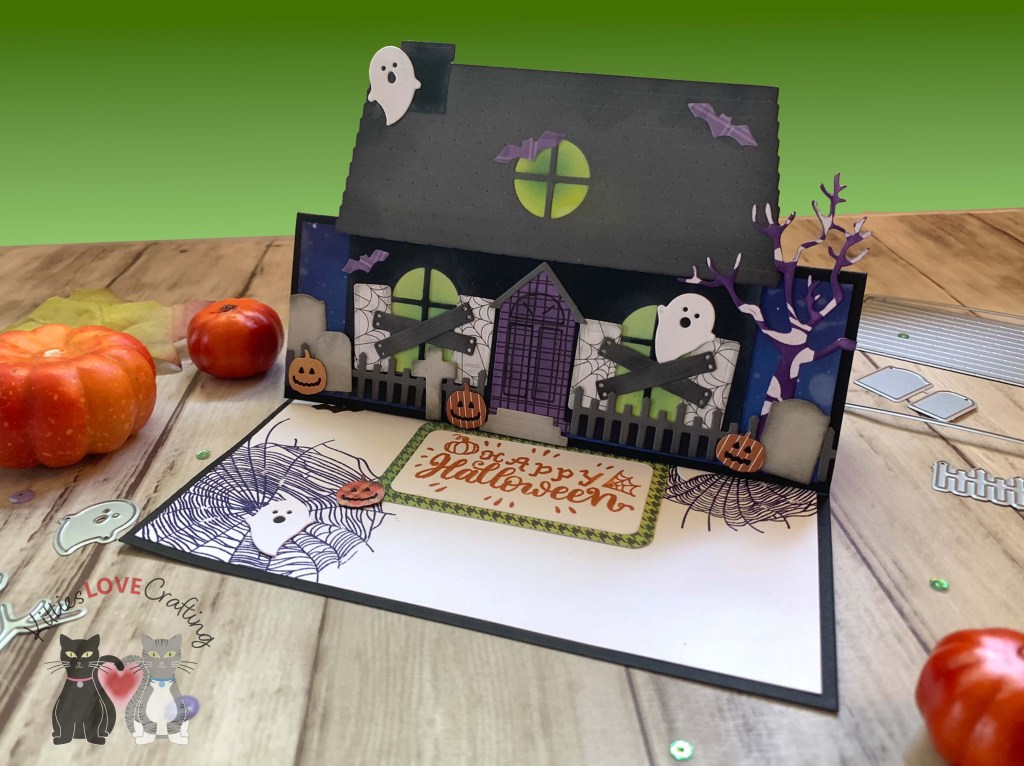
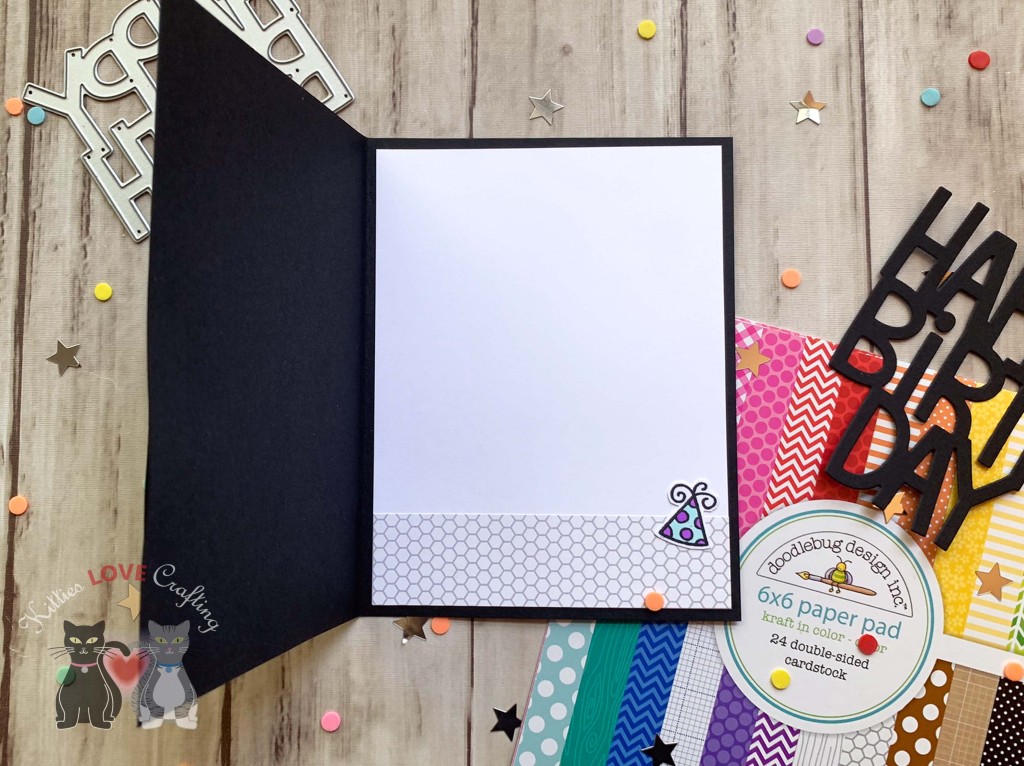
On the inside of the card, I cut a piece of Neenah 100lb Classic Crest Cardstock 8.5 X 11″ to 4 x 5-1/4″. I stamped the sentiment from the Catherine Pooler Designs Fright Night Stampset (included in the Boo Box) with CP Martini Ink and added a black witch hat.

Dimensions
- Card Base = 4-1/4 x 11″ and scored at 5-1/2″ Simon Says Stamp 100lb Black Cardstock; acetate to 4-1/4 x 5-1/2
- Background Panel = 4-1/4 x 5-1/2 Neenah 100lb Classic Crest Cardstock 8.5 X 11″
- Inside panel = 4 x 5-1/4″ Neenah 100lb Classic Crest Cardstock 8.5 X 11″
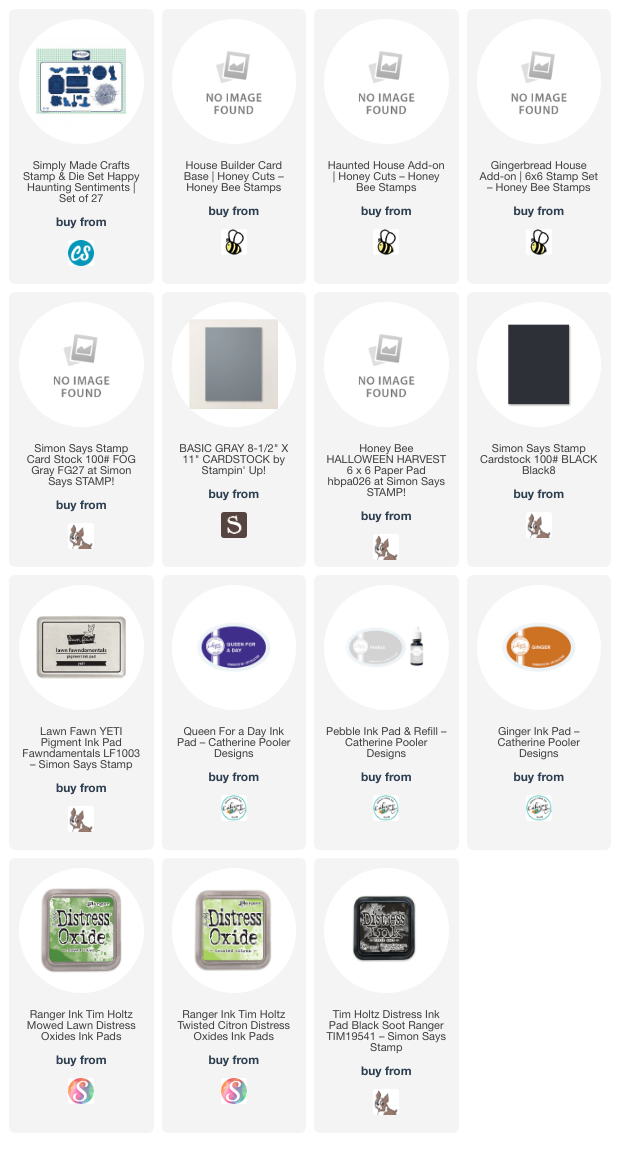
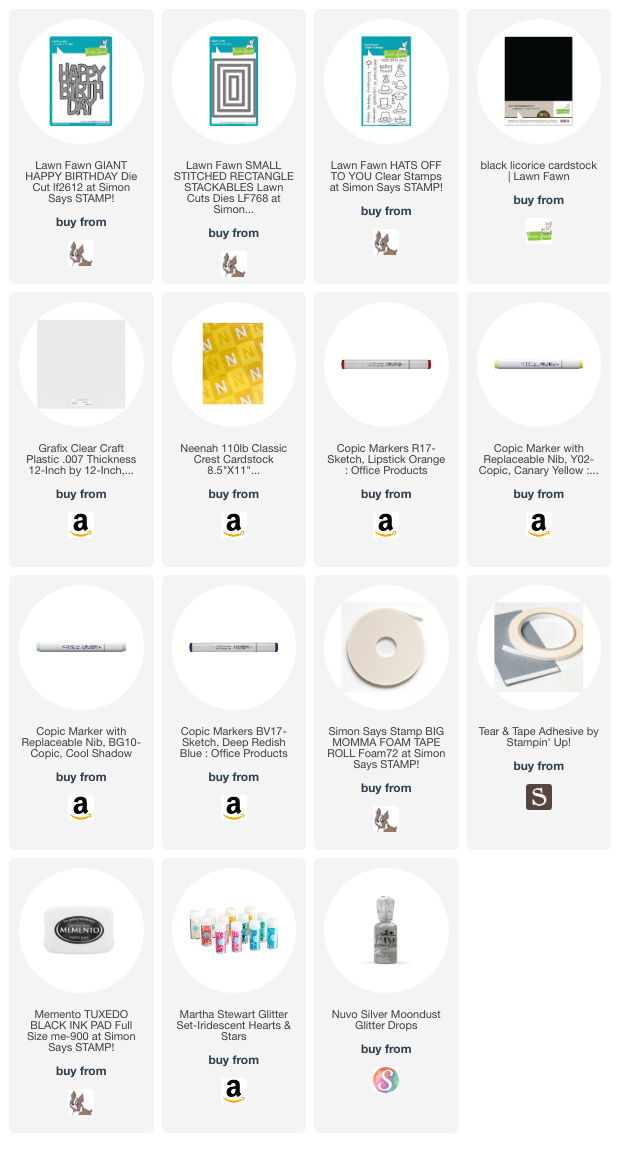
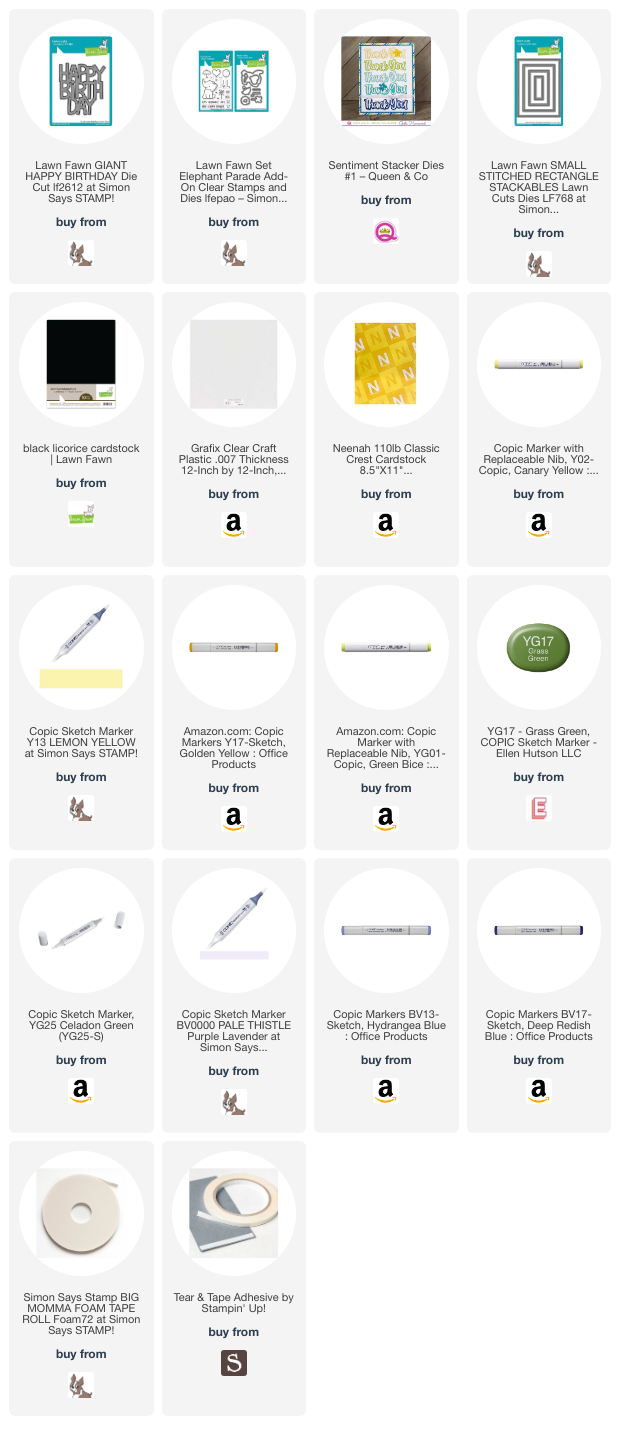
Supplies
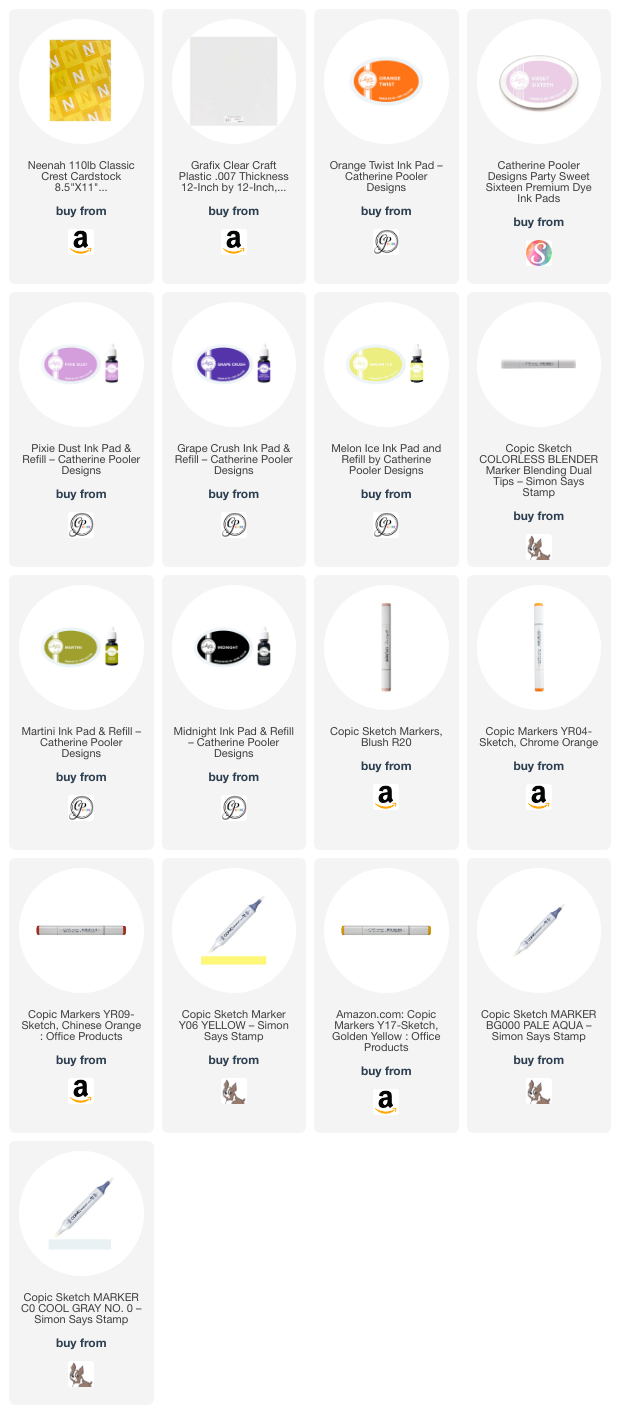 https://linkdeli.com/widget.js?id=f5e8378456858c916708
Thanks for reading this post. I hope I’ve inspired you to give this fun interactive Halloween card a try for yourself. Leave comments or questions below or feel free to email.


