Celebrations, Summer

Summer Cocktails Card feat. Lawn Fawn Build-A-Drink Cocktail Add-on and Scripty Enjoy

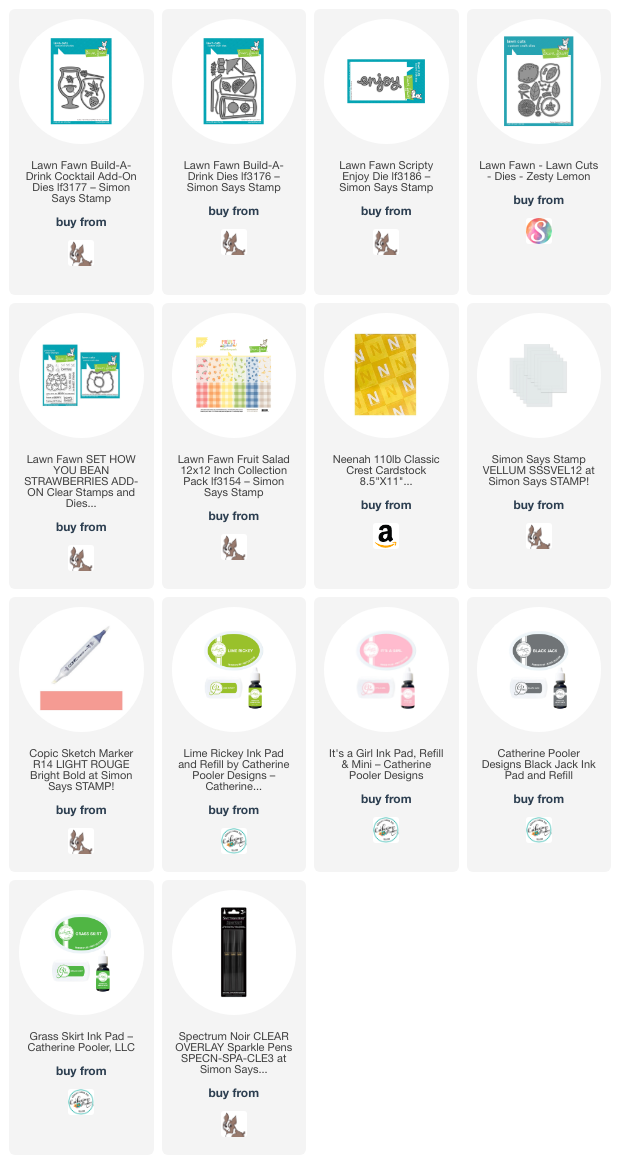
Hello friends. The Lawn Fawn Build-A-Drink Dies and Lawn Fawn Build-A-Drink Cocktail Add-On Dies are a great addition to my summer card line-up. There are so many beverages you can make with these diesets. I’m starting off with a cute pink daiquiri card. I love to combine pink and green and ths card was a great opportunity to do just that! Look for more cards to come using these dies.

For this card, I cut a piece of Neenah 100lb Classic Crest Cardstock 8.5 X 11″ to 5-1/2 x 8-1/2″ and scored at 4-1/4″ to create a card base and a piece of pattern paper from the Lawn Fawn Fruit Salad 6×6 Inch Petite Paper Pack to 4 x 5-1/4″ which I die cut a window from using the Lawn Fawn Secret Garden Window Dies and another piece cut to 3-3/4 x 5″.

I die cut the cocktail glass, drink strawberries, umbrella, leaves, straw and flowers from Neenah 100lb Classic Crest Cardstock 8.5 X 11″ using the Lawn Fawn Build-A-Drink, Lawn Fawn Build-A-Drink Cocktail Add-On and Lawn Fawn Zesty Lemon Dies. I die cut the ice cubes from Vellum and the umbrella top from retired Stampin’ Up! Designer Series Papers.

I inked all the images with Catherine Pooler Design inks. I used It’s a Girl for the drink, It’s a Girl and Rouge for the strawberries, Lime Rickey and Grass Skirt for the leaves, Lime Rickey for the flower, and Black Jack for the straw and umbrella base.

I die cut the sentiment from Neenah 100lb Classic Crest Cardstock 8.5 X 11″ using the Lawn Fawn Scripty Enjoy Die. I cut it 3x and stacked them. But before adhering them I used Black Jack Ink to color the top sentiment.

I finished off the card by adding shimmer to the drink portion with a Spectrum Noir Clear Sparkle Pen.

On the inside of the card, I add pattern paper cut to 1 x 4-1/4″ and 1-3/16 x 4-1/4″ and stamped a sentiment from Lawn Fawn How You Bean Strawberries Add-on with Memento Tuxedo Black Ink.

These cards fold flat to fit into a regular A2 envelope. My balloons go outside the box top so I made a custom envelope to fit it better.


Supplies

Thanks for reading this post. I hope I’ve inspired you to give this fun summer cocktail card a try for yourself. Leave comments or questions below or feel free to email.

Stampin' Up!, Summer, Thank Yous

Fun Fold Sweet Ice Cream Thank You Card and Using Your Older 6 x 6 Paper Pads

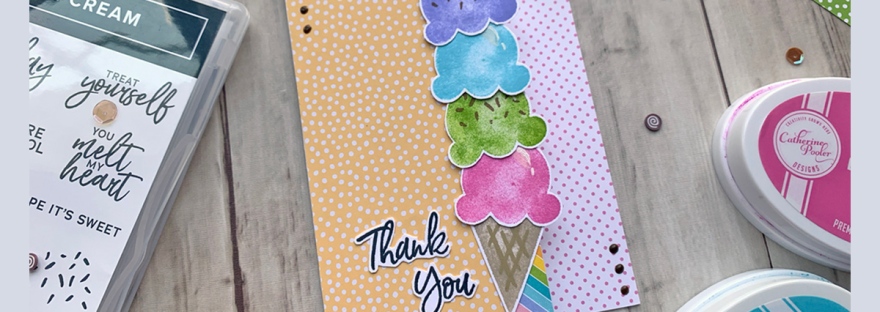
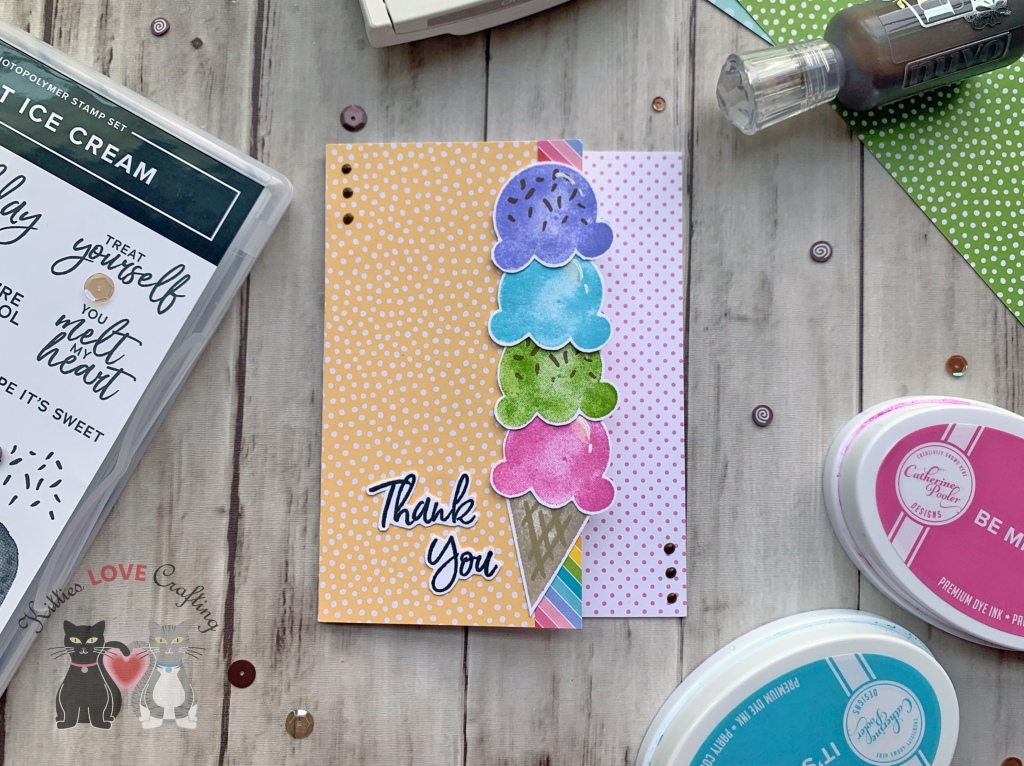
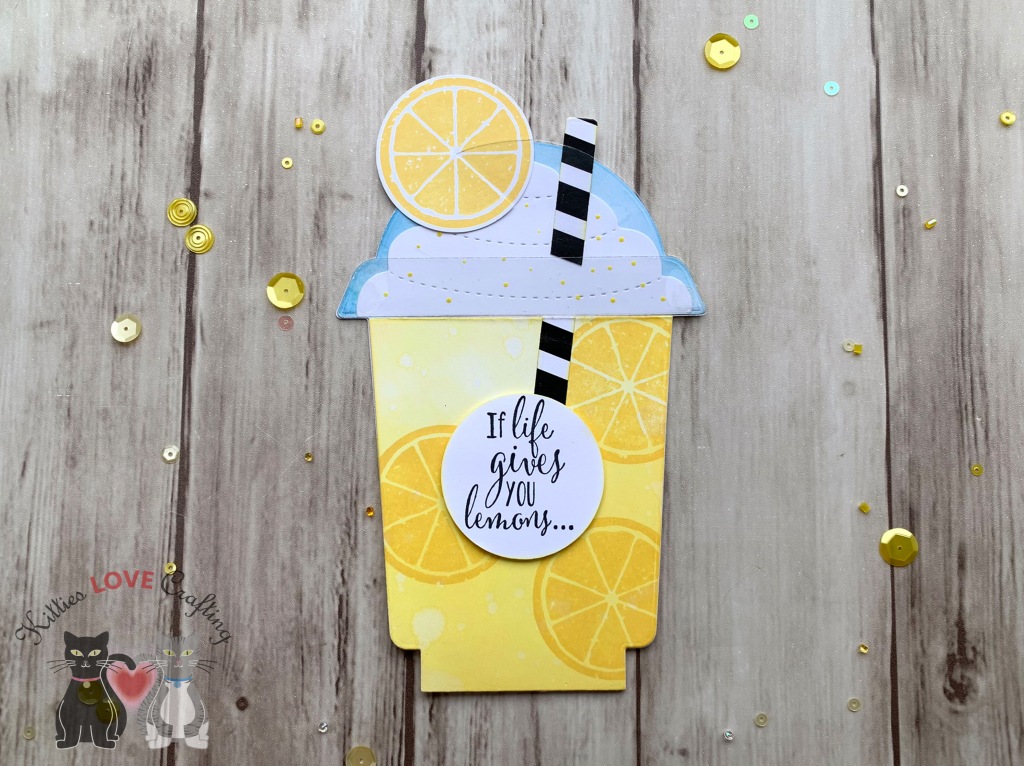
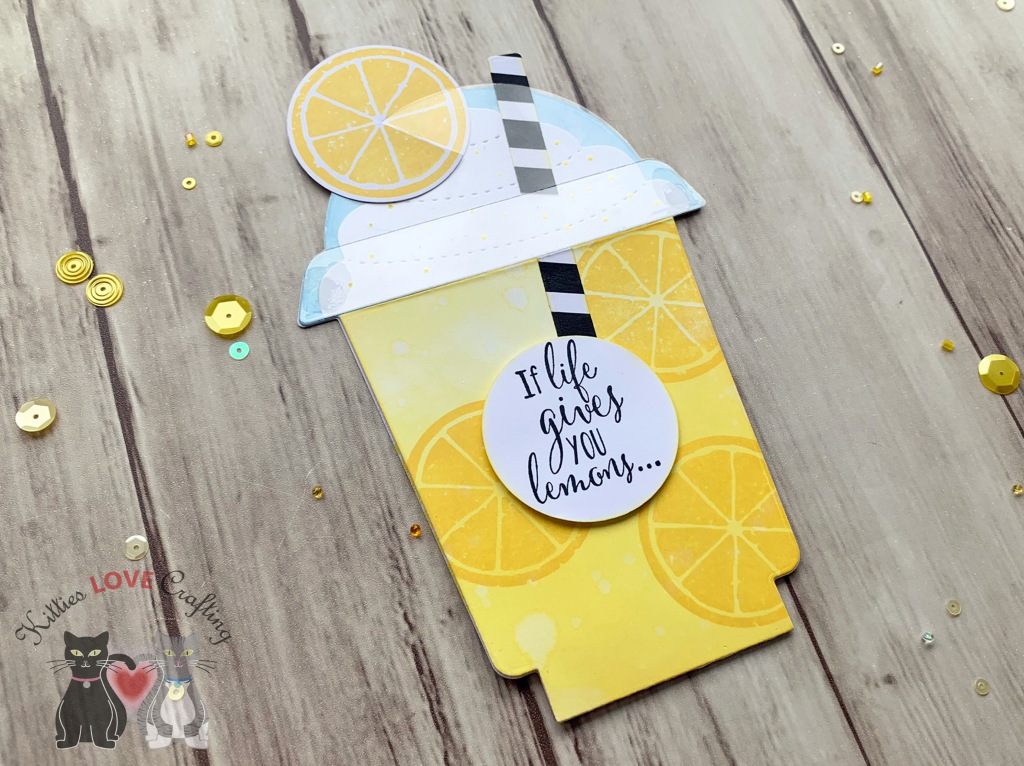
Hi everyone! I was playing with the Stampin’ Up!’s Sweet Ice Cream Stampset and tried to think of a card I can make using minimal supplies and taking advantage of all the paper in my stash! Here’s what I came up with.

I used Neenah 110lb Classic Crest Cardstock 8.5 X 11″ cut to 5-1/2 x 8-1/2″ and scored at 4-1/4″ to make the card base and cut off 1-1/2″ from the front right side of the card base. I also cut a piece of Stampin’ Up! 6 x 6 Subtles (retired) polka dot paper in So Saffron to 3 x 5-1/2″ and a piece of Lawn Fawn Really Rainbow 6 x 6 Petite Paper Pack to 1/2 x 5-1/2″ which I adhered to the front of the card and a piece of pink polka dot paper from the Doodlebug Designs 12 x 12 Milk and Cookies Petite Print Assortment (not sure if it’s available anymore) for the inside, which I cut to 1-3/8 x 5-1/2″.

I stamped the ice cream cone from Stampin’ Up!’s Sweet Ice Cream Stampset onto Neenah 110lb Classic Crest Cardstock 8.5 X 11″ with Stampin’ Up! Sahara Sand Ink (cone) and Stampin’ Up! Crumb Cake Ink (waffle pattern), and four ice cream scoops with Catherine Pooler Designs Be Mine, Lime Rickey, It’s a Boy and Serenade Inks. I also stamped the highlight that comes in the stampset with Lawn Fawn Yeti Ink on the pink and blue scoops and sprinkles on the green and purple scoops with Catherine Pooler Designs Over Coffee Ink and adhered the ice cream pieces to the card.

I stamped and fussycut the sentiment from the Stampin’ Up!’s Sweet Ice Cream Stampset onto Neenah 110lb Classic Crest Cardstock 8.5 X 11″ with Memento Tuxedo Black Ink. I finished it off by adding some Nuvo Crystal Drops in Dark Walnut.

On the inside, I stamped a sentiment from Stampin’ Up!’s Sweet Ice Cream Stampset with Memento Tuxedo Black Ink and the ice cream cone with Stampin’ Up! Sahara Sand Ink and the scoop with Catherine Pooler Designs Be Mine Ink.

Dimensions


Supplies

Thanks for reading this post. I hope you enjoyed and I’ve inspired you to try this cute summer fun fold card using this stampset and paper from your stash! Leave comments or questions below or feel free to email me. If you want to share you creations with me tag me on instagram @kittieslovecrafting.

Birthdays, Celebrations, Slimline, Stampin' Up!, Summer

A Sweet Summer Slimline Birthday Card featuring Stampin’ Up!’s Sweet Ice Cream

Hi friends! Love the look of watercolor but not so great at it like me?!? This Sweet Ice Cream Stampset from Stampin’ Up! is a great option. You can make quick cards with little effort but they look like you spent lots of time watercoloring the images. 🙂 And they look so cute when complete!

I started by cutting a piece of Neenah 110lb Classic Crest Cardstock 8.5 X 11″ to 7 x 8-1/2″ and scored a at 3-1/2″ to create the card base and another piece to 3-1/4 x 8-1/4″. I used Stampin’ Up! Pool Party Ink and the sprinkle dots from the Sweet Ice Cream Stampset to create the background.

I stamped 3 popsicles and 2 ice cream cones onto Neenah 110lb Classic Crest Cardstock 8.5 X 11″ with Sahara Sand and Soft Suede (cone, popsicle sticks and one ice cream scoop and sprinkles) Inks, Mango Melody, Gorgeous Grape and Melon Mambo (popsicles). I used second generation stamping to get the different shades on the popsicles as well as for the pink ice cream scoop.

I stamped a sentiment from the Sweet Ice Cream Stampset onto a piece of Neenah 110lb Classic Crest Cardstock 8.5 X 11″ with Gorgeous Grape and fussycut it. I also stamped the rest of my sentiment directly on the card with Memento Tuxedo Black Ink. After adhereing all the images and esntiment to teh card I finished it off ny adding some Doodlebug Sprinkles Self Adhesive Enamel Dots in Bumblebee, Lilac, Swimming Pool, and Cupcake.

On the inside, I stamped the sprinkle dots from the Sweet Ice Cream Stampset with Stampin’ Up! Pool Party Ink.

Dimensions


Supplies

Thanks for reading this post. I hope you enjoyed and I’ve inspired you to try this cute summer slimline ice cream card using this stampset for yourself! Leave comments or questions below or feel free to email me. If you want to share you creations with me tag me on instagram @kittieslovecrafting.

Birthdays, Summer

Shop Your Stash Day 4: Reveal Wheel Mason Jar Aquarium

When I was going through my die stash I remembered how much I loved my Reveal Wheel dies from Lawn Fawn as well as the Lawn Fawn How You Bean? Stamp sets so I decided to combine them and see what happens. After all fish fit in a mason jar right?? (I probably wouldn’t put real fish in the mason jar but it’s fine for fake fish!)

For this card I started by cutting a piece of Neenah 110lb Classic Crest Cardstock 8.5 X 11″ to 5-1/2 x 8-1/2″ and scored at 4-1/4″. Then I used the Lawn Fawn Reveal Wheel Die to diecut the 2 wheels and two panels of the reveal wheel base. I diecut the the window into one of the panels with the Lawn Fawn Reveal Wheel Semicircle Add-on Die Cut and then turned it 180 degrees and diecut it under the first window.

I inked up the panel using MFT’s Snow Drifts Coverup Die (not available) as a stencil ccombined with Salty Ocean and Mermaid Lagoon, Mowed Lawn and Tumbled Glass Distress Oxide Ink. I created a gradient using Salty Ocean and Mermaid Lagoon first, then turned the die 180 degrees and used Mowed Lawn to layer over it, and finally Tumbled Glass over all of it to mute it some. I used the same color combo on the large wheel, without the stencil. I sprayed some water on everything with my RANGER Tim Holtz DISTRESS SPRAYER and blotted it.

I set that aside to dry and stamped all the images from the Lawn Fawn FINTASTIC FRIENDS onto a piece of Neenah 110lb Classic Crest Cardstock 8.5 X 11″ with Memento Tuxedo Black Ink. I also stamped the large fishtank (I will use just the sand) and the mason jar from Lawn Fawn HOW YOU BEAN? (onto clear acetate) with Tsukineko Stazon Black Ink .

Once the inked panel was dry I added splashes of white acrylic paint and heat embossed bubbles and a sentiment from Lawn Fawn FINTASTIC FRIENDS. I prepped the surface with an anti-static tool first (make sure the acrylic paint has dried) then used Versamark Ink and WOW Embossing Powder Opaque Bright White Super Fine. I assembled the reveal wheel using 3M Foam Tape and adhered it to the card base. To see how to assemble the reveal wheel check out this video from Lawn Fawn.

I colored the images with COPIC markers. I used Y06, Y15 and YR04 for the goldfish, E53, E33, and E37 for the sandcastle, B95 and 97 for the shark, YG25 and YG03 for the plants, R05, R14, R17 and R27 for the crab, R05 and R12 for the coral, Y06, Y15, B24 and B26 for the striped fish and E53 and E33 for the sand in the jar tank.

I diecut all the images and adhered them to the card using Tombow Mono Multi Liquid Glue. I used Glossy Accents Glue Adhesive to adhere the mason jar. I stamped the arrow from Lawn Fawn’s Push Here stampset with Memento Tuxedo Black Ink onto the card base and finished it off by adding White Blizzard Nuvo Drops and a few Pretty Pink Posh 4MM ClearDroplets.

On the inside, I stamped a sentiment from the Lawn Fawn HOW YOU BEAN? with Memento Tuxedo Black Ink and an extra sandcastle I had colored.

Dimensions


Supplies

Thanks for reading this post. I hope you enjoyed and I’ve inspired you to Shop Your Stash and see what fun ideas you come up with and maybe rediscover supplies you forgot you had! Leave comments or questions below or feel free to email me.

Encouragement, Fourth of July, Fourth of July, Summer, Summer

Shop Your Stash Day 3: Making Summer Cards Using Honeybee Stamps Frappe Shake Card Dies

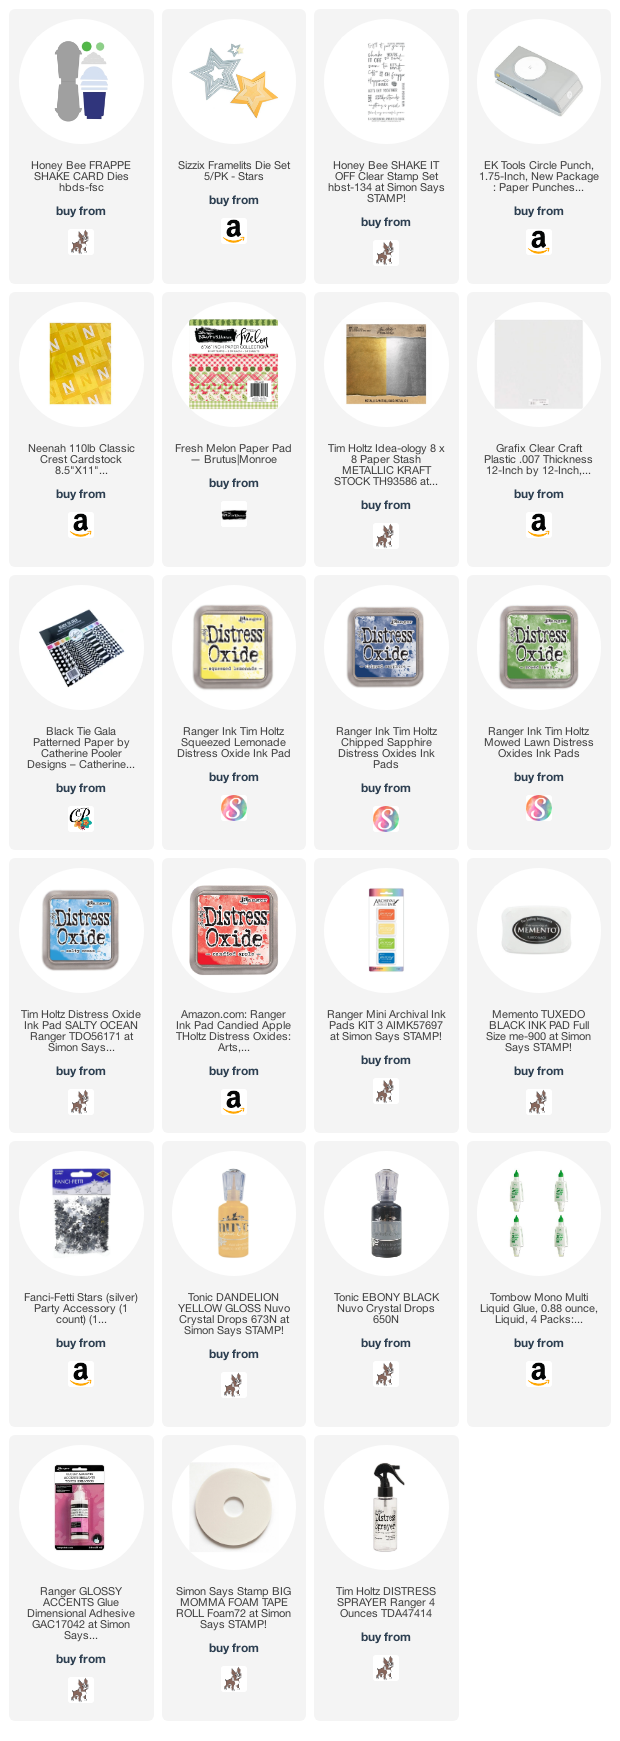
While it’s probably no surprise too many that I love coffee, I love coffee stamps and dies even more. This Honeybee Stamps Frappe Shake Card Dieset as well as their Honey Bee COFFEE CUP CARD Dies are my favorites! They have everything you need to make cute coffee cup and frappe cup shaped cards and shakers. And they fit in an A2 size envelope which is great!

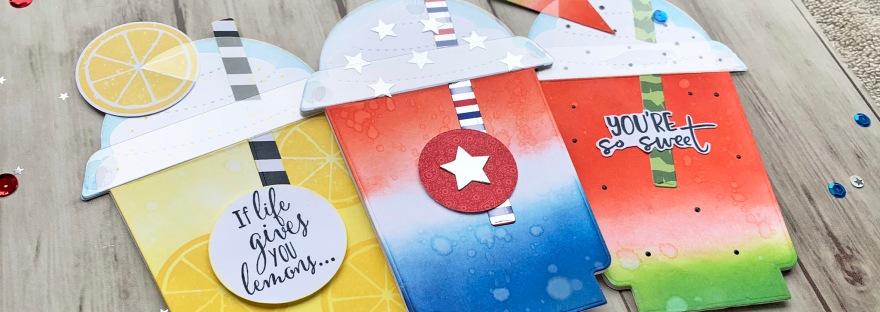
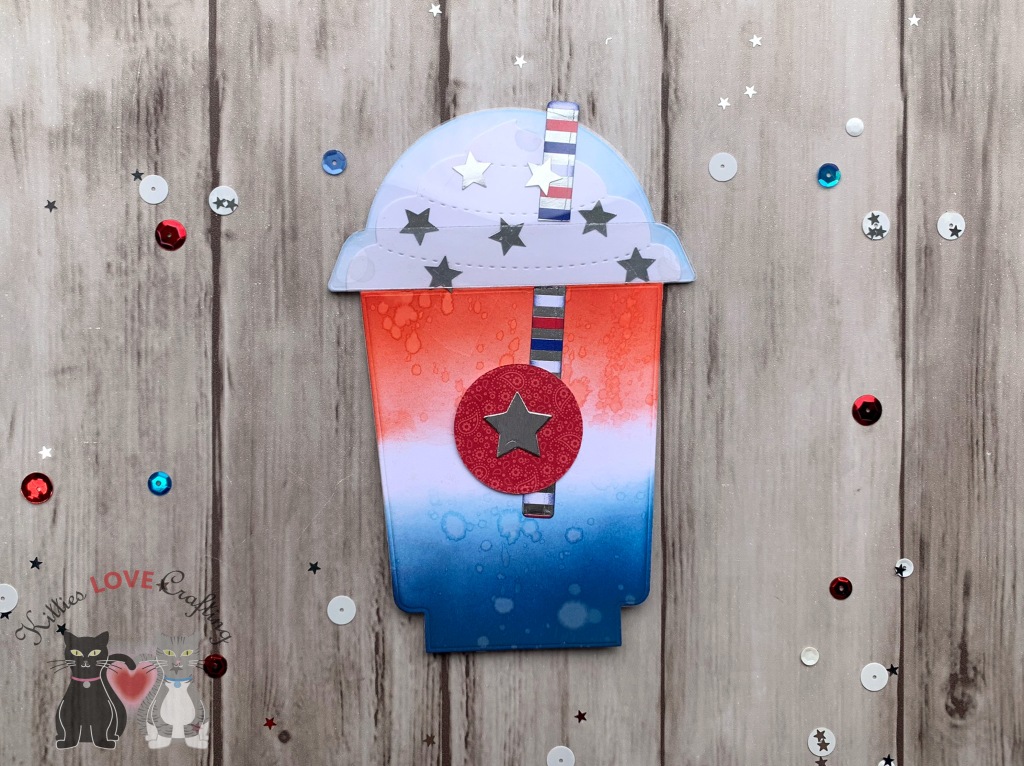
I thought it would be fun to reuse this dieset to make some non-coffee cards, instead make brightly colored summer beverages. I don’t know if you all remember the rocket bomb popsicles that were red, white and blue. I remember many summers as a kid eating those popsicles (they were refreshing and turned my tongue red or blue, depending on which end I ate first—what could be better??). LOL That was the inspiration for my first card.

I started by diecutting card bases using the large card, coffee cup, and the whipped cream dies in the set from Neenah 110lb Classic Crest Cardstock 8.5 X 11″ 3 times. I also diecut 3 sets of the lid and its rim from Acetate.

I also went ahead and added Tim Holtz Salty Ocean Distress Oxide Ink to the lid section of the card base on all 3 cards to create a background for the lid. Then, used Tim Holtz Candied Apple Distress Oxide Ink, Tim Holtz Salty Ocean Distress Oxide Ink and Tim Holtz Chipped Sapphire Distress Oxide Ink to create an ombre effect on the coffee cup, leaving the middle area white. I sprayed some water onto it with my Tim Holtz DISTRESS SPRAYER and blotted it with a paper towel.

While the ink dried, I diecut the straw and the larger circle from the dieset from a piece of Doodlebug Designs Yankee Doodle 6 x 6 Pattern Paper (no longer available) and used the smallest star from the Sizzix Framelits Stars Die Set and Tim Holtz Idea-ology 8 x 8 Paper Stash METALLIC KRAFT STOCK to diecut a small star. I adhered the star to the circle, the coffee cup and whipped cream to the card base and then cut the straw in half and adhered it to the front of the card using Tombow Mono Multi Liquid Glue. I adhered the circle to the card front and added some silver confetti stars from Fanci-Fetti Stars (silver) Party Accessory to the whipped cream and then the clear lid on top of the stars (I used Ranger GLOSSY ACCENTS Glue Dimensional Adhesive to adhere the acetate and metallic stars).

On the inside of the card, I stamped “Happy 4th of July” with a very old stampset I had (sorry don’t know where it came from) using Tim Holtz Chipped Sapphire Distress Oxide Ink and added 3 silver stars.

Card Inside

For the second card, I decided to make a delicious watermelon smoothie. Who doesn’t like a tasty frozen watermelon beverage on a hot summer day?!? I’m now craving a smoothie while writing this post. LOL.

For this card, I started by using Tim Holtz Candied Apple Distress Oxide Ink, and Tim Holtz Mowed Lawn Distress Oxide Ink to create an ombre effect on the coffee cup. I cut a small triangle from some Neenah 110lb Classic Crest Cardstock 8.5 X 11″ and also inked it up with the distress oxide inks. I sprayed some water onto it with my Tim Holtz DISTRESS SPRAYER and blotted it with a paper towel.


While the ink dried, I diecut the straw from a piece of Brutus Monroe Fresh Melon 6 x 6 Paper Pad. I adhered the coffee cup and whipped cream to the card base and then cut the straw in half and adhered it to the front of the card using Tombow Mono Multi Liquid Glue. I added Nuvo EBONY BLACK Crystal Drops to the whipped cream and then adhered the clear lid on top of the stars (I used Ranger GLOSSY ACCENTS Glue Dimensional Adhesive to adhere the acetate). I cut a slit in the watermelon slice and adhered it to the card. I stamped a sentiment from Honey Bee Stamps SHAKE IT OFF Clear Stamp Set onto a piece of Neenah 110lb Classic Crest Cardstock 8.5 X 11″ using Memento Tuxedo Black Ink. I fussycut it and adhered it to the card front and added more Black Nuvo drops. I left the inside of the card blank.


And if I’m making fruity drinks for the summer, I can’t forget about a refreshing frozen lemonade! Yum!

For this card, I started by using Tim Holtz Squeezed Lemonade Distress Oxide Ink to create an ombre effect on the coffee cup. I sprayed some water onto it with my Tim Holtz DISTRESS SPRAYER and blotted it with a paper towel. Then I stamped a couple of slices from the Stampin’ Up! Lemon Zest Clear-Mount Stamp Set (which was retired recently) and Ranger Archival Chrome Yellow Ink onto the cup and one onto some Neenah 110lb Classic Crest Cardstock 8.5 X 11″.

While the ink dried, I diecut the straw from a piece of Catherine Pooler Designs Black Tie Gala Patterned Paper. I adhered the coffee cup and whipped cream to the card base and then cut the straw in half and adhered it to the front of the card using Tombow Mono Multi Liquid Glue. I added Nuvo DANDELION YELLOW Glossy Drops to the whipped cream and then adhered the clear lid on top (I used Ranger GLOSSY ACCENTS Glue Dimensional Adhesive to adhere the acetate). I cut a slit in the lemon slice and adhered it to the card. I stamped a sentiment from Stampin’ Up! Lemon Zest Clear-Mount Stamp Set (which was retired recently) onto a piece of Neenah 110lb Classic Crest Cardstock 8.5 X 11″ using Memento Tuxedo Black Ink and cut it out with a 1-3/4 inch punch. I adhered to the card with 3M Foam Tape

On the inside of the card, I stamped a sentiment from the Stampin’ Up! Lemon Zest Clear-Mount Stamp Set (which was retired recently) with Memento Tuxedo Black Ink and lemon slices with Tim Holtz Squeezed Lemonade Distress Oxide Ink.

Card Inside

Supplies

Thanks for reading this post. I hope you enjoyed and I’ve inspired you to Shop Your Stash and see what fun ideas you come up with and maybe rediscover supplies you forgot you had! Leave comments or questions below or feel free to email me.