Hello friends. I decided to challenge myself and make Valentine’s Day cards using Dollar Tree products and a few of my own stamps and dies. My Dollar Tree doesn’t have an abundance of craft supplies like stamps but they have enough that you can create some fun crafts. Three of the cards use only Dollar Tree products.

I found some gift bags in the Valentine’s Day section that I used to replace my pattern paper as well as some doilies, 5/8″ ribbon, and confetti I used to decorate my cards. The doilies (30 count), ribbon (9ft), and confetti (1oz.) packages contain enough product to make several type of crafts so it’s a steal at $1.25! Ok let’s get into the making of the cards.

For the first card, I cut a piece of Stampin’ Up! Poppy Parade 8.5 X 11″ Cardstock to 5-1/2 x 8-1/2″ and scored at 4-1/4″ to create a card base. I took one of the gift bags and fussy cut out the heart on one side and then die cut the background from the other side of the bag using the Lawn Fawn Quilted Heart Landscape Backdrop. I also cut a piece of a metallic gift bag I also purchased at the Dollar Tree to 4-1/4 x 5-1/2″ to back the background.

I adhered the heart to the front panel and die cut the “love” and shadow from Simon Says Stamp Cardstock White GLITTER 6×6 Cardstock and Simon Says Stamp Cardstock 100# 8-1/2 x 11″ Black Cardstock using the Simon Says Stamp LOVE Shadow Wafer Dies. I stamped the rest of the sentiment onto Neenah 100lb Classic Crest Cardstock 8.5 X 11″ with Memento Tuxedo Black with the Simon Says Stamp LOVE stampset (discontinued) and die cut it with the Queen and Company’s Foundation 18.

On the inside of the card, I cut a piece of stamped a sentiment from Lawn Fawn’s Happy Happy Happy Stamp Set with Memento Tuxedo Black and added a 1 x 4-1/4″ strip of the same gift bag.

Dimensions
- Card Base = 5-1/2 x 8-1/2″ and scored at 4-1/4″ Stampin’ Up! Poppy Parade 8.5 X 11″ Cardstock
- Inside Panel = 4 x 5-1/4″ Neenah 100lb Classic Crest Cardstock 8.5 X 11″ ; 1 x 5-1/2″ Gift Bag
For the second card, I cut a piece of Neenah 100lb Classic Crest Cardstock 8.5 X 11″ to 7 x 10″ and scored at 5″ to create a card base. I took one of the gift bags and cut a piece to 4-3/4 x 6-3/4″. I added a Heart-Shaped Paper Doily to the front panel as well.

Then I die cut the word “XOXO” from the metallic gift bag using Lawn Fawn Giant XOXO dies 3 times and adhered them to the card.

On the inside of the card, I stamped a sentiment from Lawn Fawn’s Happy Happy Happy Stamp Set with Stampin’ Up! Poppy Parade Ink and added a 1 x 5-1/2″ strip of the same gift bag.

Dimensions
- Card Base = 7 x 10″ and scored at 5-1/2″ Neenah 100lb Classic Crest Cardstock 8.5 X 11″
- Top panel = 4-3/4 x 6-3/4″ Gift Bag
- Inside Panel = 1 x 5-1/2″ Gift Bag
For the third card, I cut a piece of Stampin’ Up! Poppy Parade 8.5 X 11″ Cardstock to 7 x 10″ and scored at 5-1/2″ to create a card base. I took one of the gift bags and cut a piece to 4-3/4 x 6-3/4″. I added a Heart-Shaped Paper Doily to the front panel as well as the heart sentiment I fussy cut from one of the gift bags
I added some of the Valentine’s Themed Heart Printed Ribbon tied in a bow which finished off the card.


On the inside of the card, I stamped a sentiment from Lawn Fawn’s Happy Happy Happy Stamp Set with Stampin’ Up! Poppy Parade Ink and added a piece of the Heart-Shaped Paper Doily.

Dimensions
- Card Base = 7 x 10″ and scored at 5-1/2″ Stampin’ Up! Poppy Parade 8.5 X 11″ Cardstock
- Top panel = 4-3/4 x 6-3/4″ Gift Bag
For the fourth card, I cut a piece of Neenah 100lb Classic Crest Cardstock 8.5 X 11″ to 7 x 10″ and scored at 5-1/2″ to create a card base. I took one of the gift bags and cut a piece to 4-3/4 x 6-3/4″. I added a sentiment piece from another gift bag to the front panel as well.

I finished the card off by adding some Nuvo Liquid Mercury Drops (discontinued).

I left the inside of the card blank and added a 1 x 5-1/2″ strip of the same gift bag.

Dimensions
- Card Base = 7 x 10″ and scored at 5-1/2″ Neenah 100lb Classic Crest Cardstock 8.5 X 11″
- Top panel = 4-3/4 x 6-3/4″ Gift Bag
- Inside Panel = 1 x 5-1/2″ Gift Bag
For the fifth card, I cut a piece of Neenah 100lb Classic Crest Cardstock 8.5 X 11″ to 7 x 10″ and scored at 5-1/2″ to create a card base. I cut down one of the gift bags which had a heart and sentiment on it to 5 x 5-1/2″ and adhered it to a piece of gold cardstock from the Tim Holtz Idea-ology Metallic Kraft 8 x 8 Paper Stash.

I die cut the panel with the Queen and Company Foundation 18 Dies. I used the die that is 4-3/4 x 6-3/4.

I finished the card off by adding some Red Valentine’s Day Heart Confetti.
On the inside of the card, I stamped a sentiment from Simon Says Stamp Love Stamp Set (discontinued I believe) with Stampin’ Up! Poppy Parade Ink and added a 1 x 7″ strip of the same gift bag.

Dimensions
- Card Base = 7 x 10″ and scored at 5-1/2″ Neenah 100lb Classic Crest Cardstock 8.5 X 11″
- Top panel = 4-3/4 x 5-1/2″ Gift Bag; 4-3/4 x 6-3/4 Tim Holtz Idea-ology Metallic Kraft 8 x 8 Paper Stash
- Inside Panel = 1 x 7″ Gift Bag
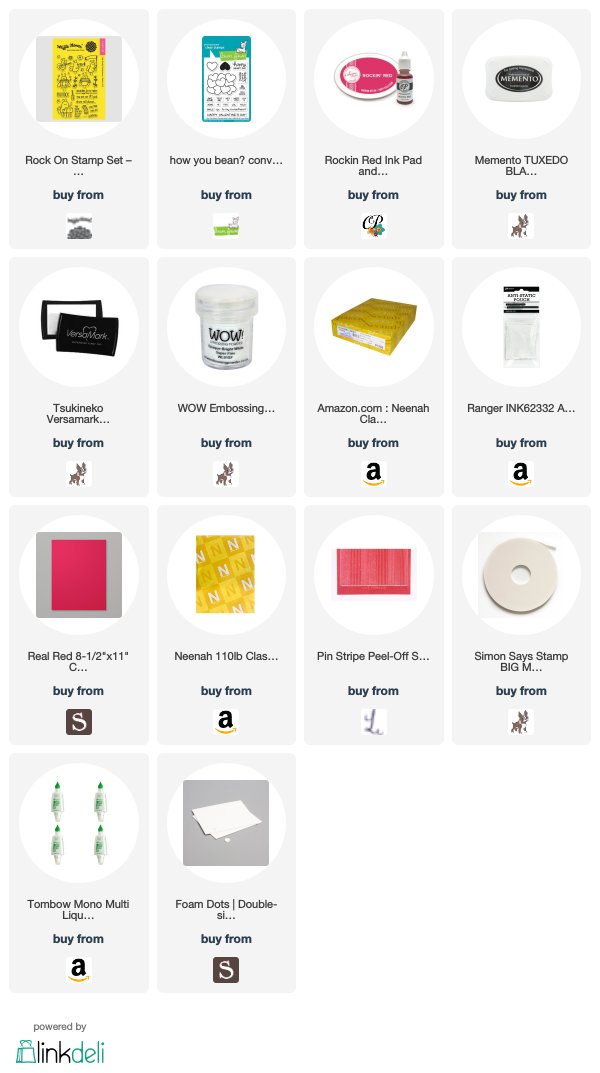
Supplies
 https://linkdeli.com/widget.js?id=f5e8378456858c916708
Thanks for reading this post. I hope I’ve inspired you to give these quick and easy Valentine’s Day cards a try for yourself. Leave comments or questions below or feel free to email.