Birthdays, Distress Ink Techniques, Shaker, Stenciled Background

Rainbow Birthday Cards feat. Lawn Fawn Giant Outlined Happy Birthday

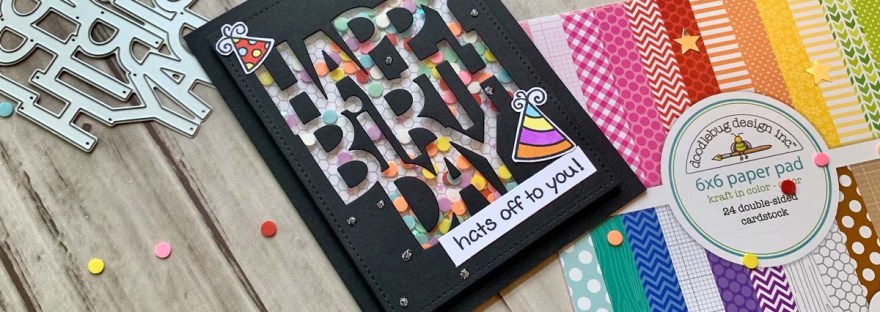
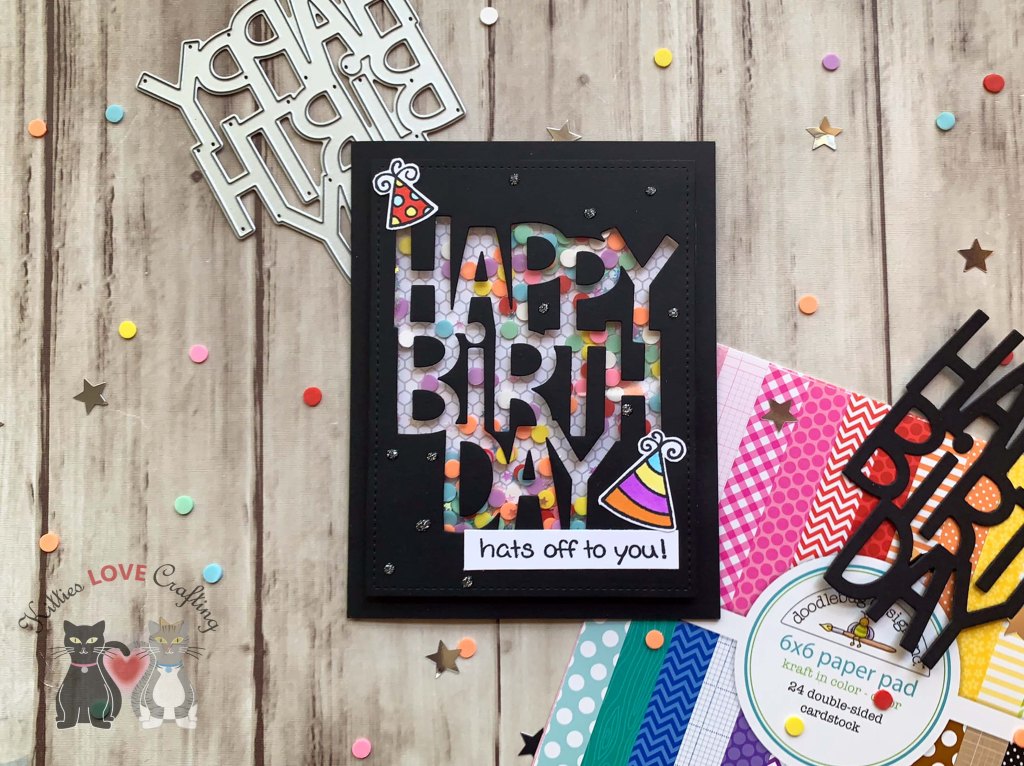
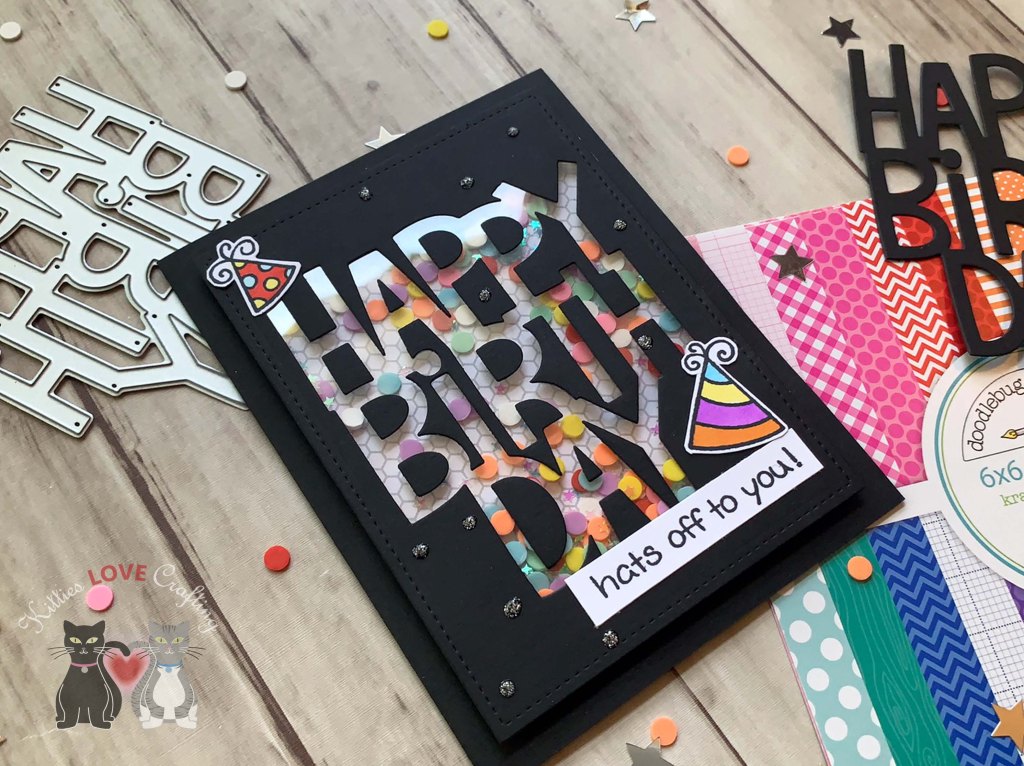
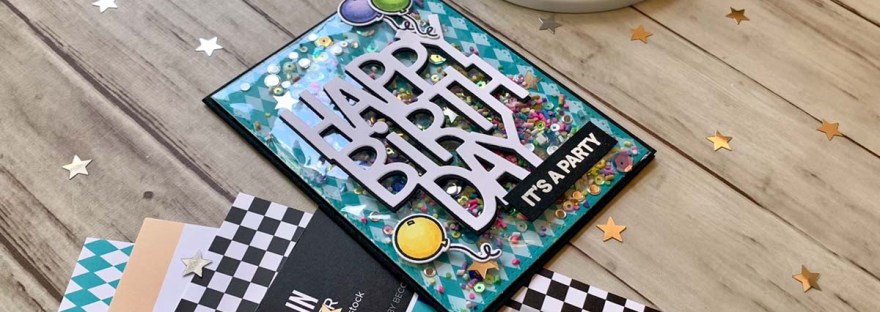
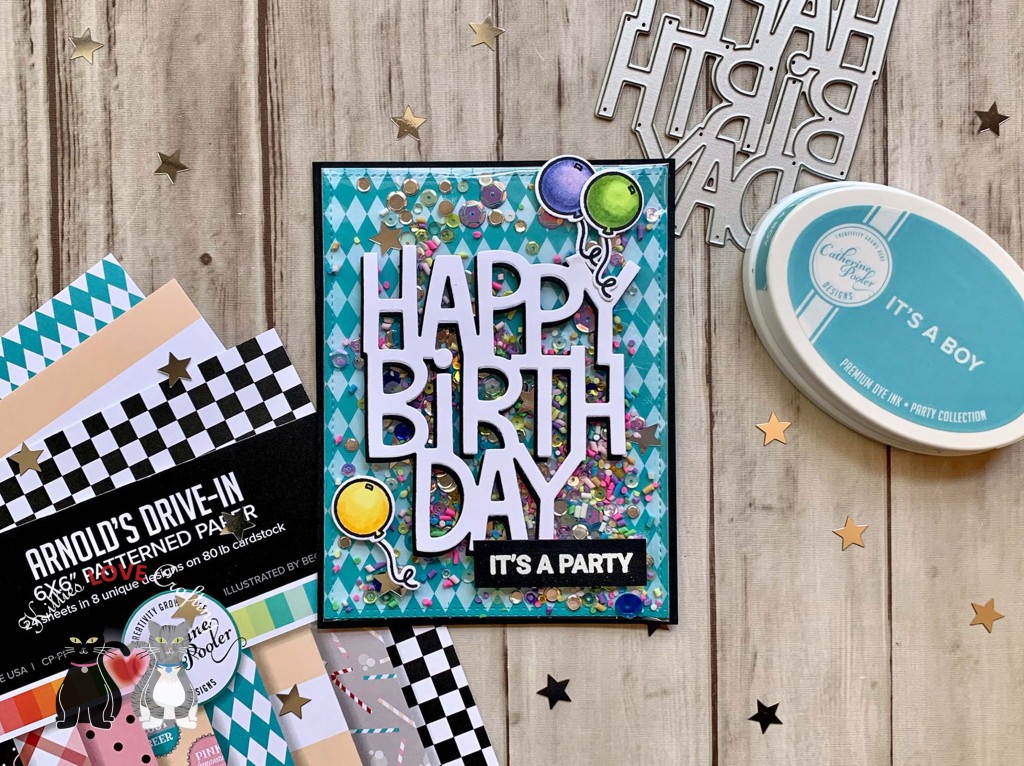
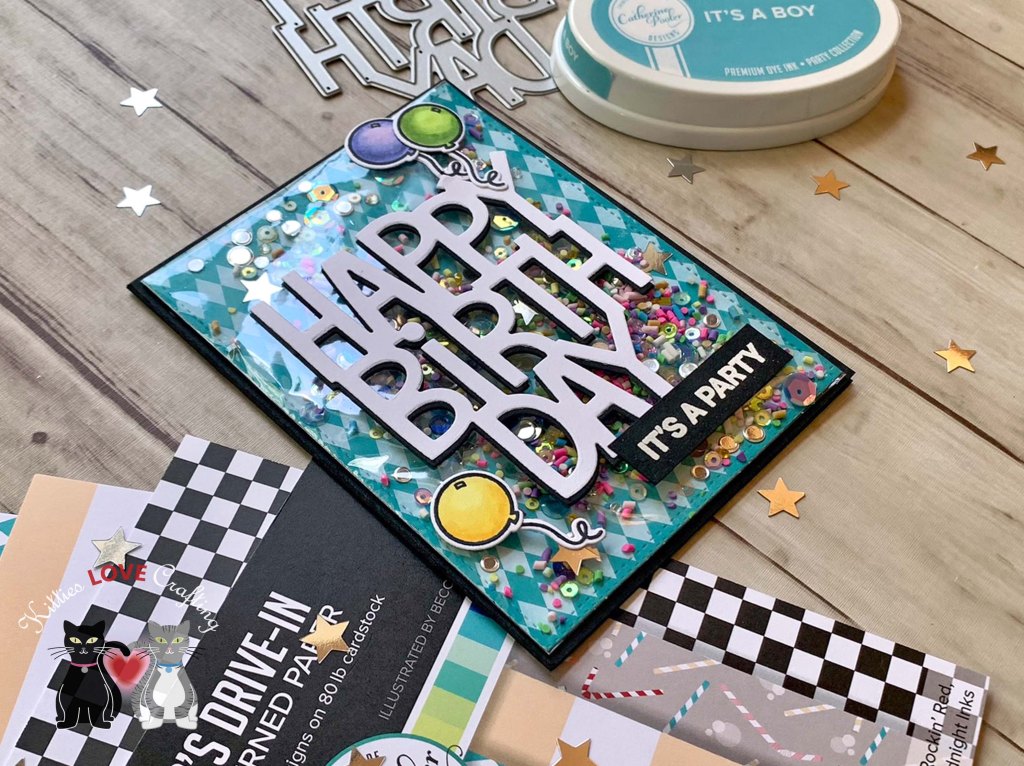
Hello friends. I’m having more fun today with the Lawn Fawn Giant Outlined Happy Birthday dies. This time I’m using the Portrait die with very simple backgrounds. I’m also turning one into a shaker card. These two cards both feature rainbow backgrounds but in two very different ways.

For the first card, I cut a piece of Neenah 100lb Classic Crest Cardstock 8.5 X 11″ to 5-1/2 x 8-1/2″ and scored at 4-1/4″ to create a card base, a piece Strathmore 100lb Smooth Bristol Paper to 3-3/4 x 5″ for the background, and a piece of Doodlebug FAIRY GARDEN 6×6 Paper to 4-1/4 x 5-1/2.

I stenciled the background using the Lawn Fawn Corner Rainbow Stencils and Tim Holtz Picked Raspberry, Spiced Marmalade, Mustard Seed, Mowed Lawn, Broken China, Salty Ocean, and Wilted Violet Distress Inks. Then added clouds using the My Favorite Things Mini Edge Clouds Stencil and Tumbled Glass Distress Oxide Ink.

I die cut the sentiment panel from Neenah 100lb Classic Crest Cardstock 8.5 X 11″ using the Lawn Fawn Portrait Giant Outlined Happy Birthday Die. To finish it off I added some shimmer with the Spectrum Noir Clear Overlay Sparkle Pens.

On the inside of the card, I cut a piece of the same pattern paper to 1 x 5-1/2″ and stamped a sentiment from Catherine Pooler Designs Young at Heart stampset (not available-part of the Stamp of Approval Collections she used to produce) with Memento Tuxedo Black Ink.

Dimensions


For the second card, I cut a piece of Neenah 100lb Classic Crest Cardstock 8.5 X 11″ to 5-1/2 x 8-1/2″ and scored at 4-1/4″ to create a card base, a piece Strathmore 100lb Smooth Bristol Paper to 4 x 5-1/4″ for the background.

I ink blended the background using Tim Holtz Picked Raspberry, Spiced Marmalade, Mustard Seed, Mowed Lawn, Broken China, Salty Ocean, and Wilted Violet Distress Inks.

I die cut the sentiment panel from Neenah 100lb Classic Crest Cardstock 8.5 X 11″ using the Lawn Fawn Portrait Giant Outlined Happy Birthday Die. I added a piece of Acetate measuring 3-3/4 x 5″ and very thin strips of 3M Foam Tape to the back of the panel to create a shaker. I added some Pretty Pink Posh 4MM Sparkling Clear Sequins and Martha Stewart Sugar Cube Iridescent Hearts & Stars.

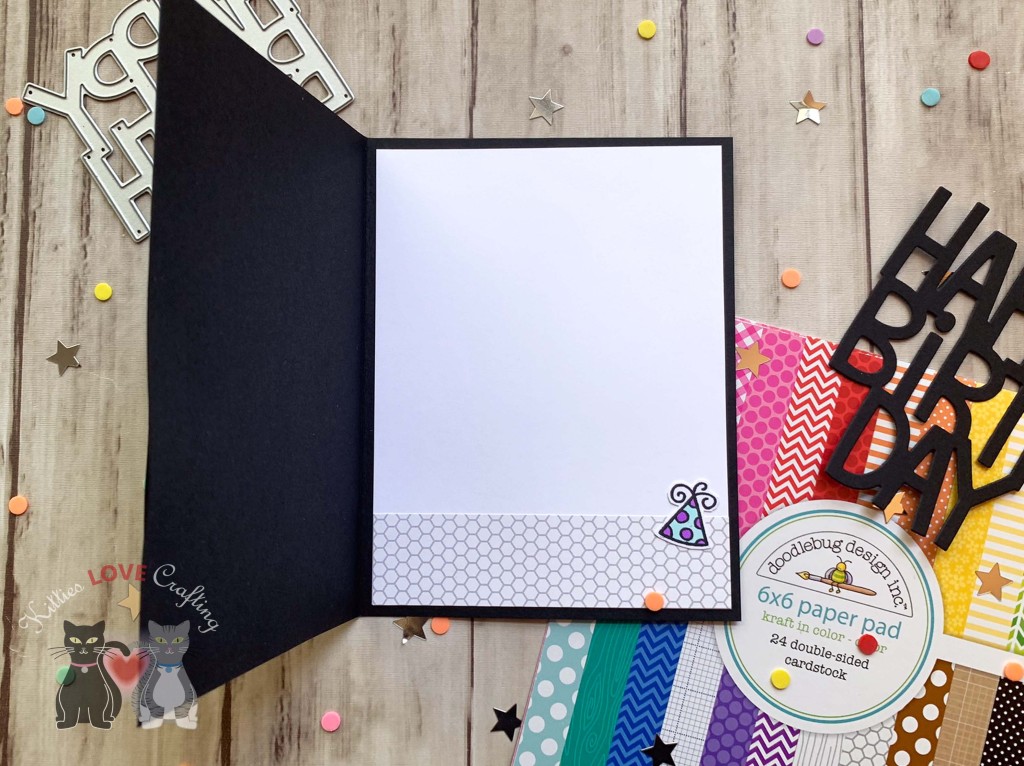
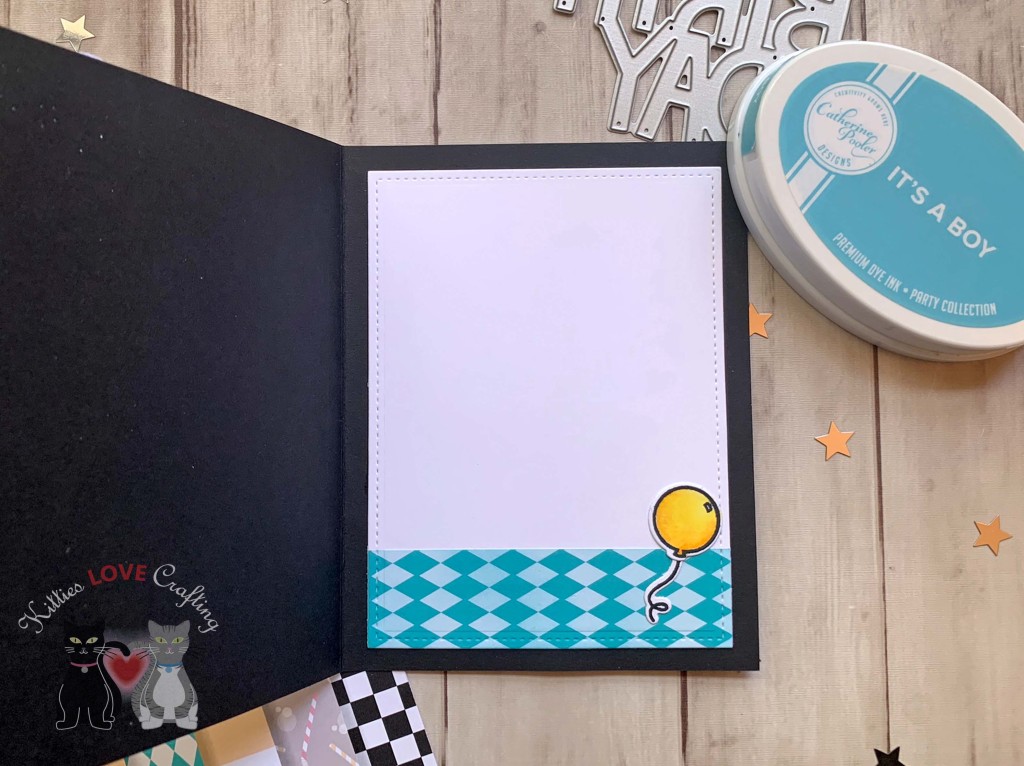
On the inside of the card, I stamped a sentiment from Catherine Pooler Designs Young at Heart stampset (not available-part of the Stamp of Approval Collections she used to produce) with Memento Tuxedo Black Ink.

Dimensions


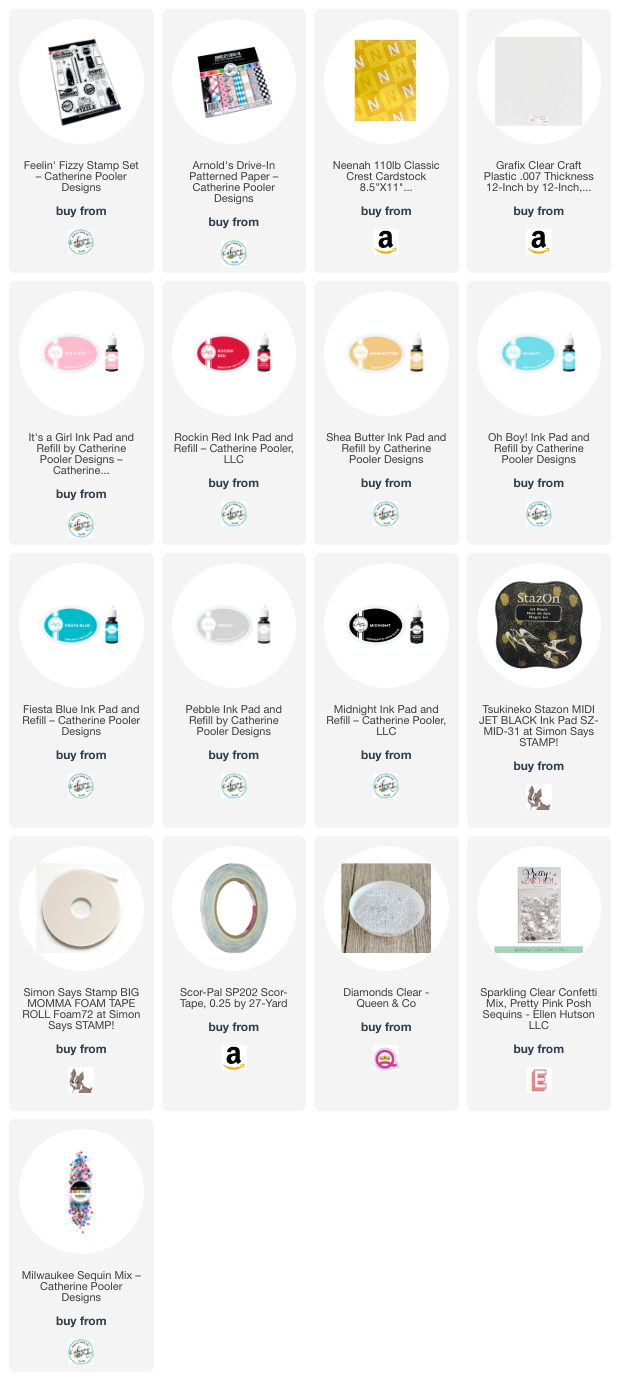
Supplies

Thanks for reading this post. I hope I’ve inspired you to give these fun birthday cards a try for yourself. Leave comments or questions below or feel free to email.

Distress Ink Techniques, Easter, Holidays 2023, Shaker, Spring, Window Cards

2 for 1! Two Cards Using the Positive and Negative With One Die!

Hello friends. I made this cute Easter card using the Lawn Giant Happy Easter die and decided instead of being wasteful, I made 2 cards instead using the positive and negative of the die produces. These giant sentiment dies make great shakers and make an impact on your cards.

For the first card, I cut a piece of Neenah 100lb Classic Crest Cardstock 8.5 X 11″ to 10 x 7″ and scored at 5″ to create a card base and another piece to 4-3/4 x 6-3/4″. I inked the background with Broken China Distress Oxide Ink and sprayed with water.

I die cut the sentiment once from Queen & Company’s Flirty Florals 6 x 6 Mat Stack and 3x from Simon Says Stamp 100# GREEN APPLE Cardstock. I also die cut the grass from the same green cardstock using the Lawn Fawn Grassy Border die and used Mowed Lawn Distress Oxide Ink to add dimension.

I stamped images from Lawn Fawn Eggstraordinary Easter onto Neenah 100lb Classic Crest Cardstock 8.5 X 11″ with Memento Tuxedo Ink. Then colored with Copic Markers. I used R20, C1 and the blender for the bunnies; YG25 & YG17 for the grasses; R81, R83, & R85, Y13 & Y15, BV13 & BV17 for the eggs; W3 & W7, C1 and Y13 for the brush; Y11, Y13 & Y15, E55, E57 & E27 for the paint bucket; YR14 & YR07, R81 & R83, Y13, and Y11 & Y15, B11 & B17, R83 for the butterflies; Y11, Y13 & Y15, YR07, and R20 for the chicks; and Y17, B00, B01, R81 & R85 for the flowers.

On the inside of the card, I stamped a sentiment from Lawn Fawn Eggstraordinary Easter Add-on stamp set with Memento Tuxedo Ink and added some extra flowers.

On the inside of the card, I stamped a sentiment from Lawn Fawn Eggstraordinary Easter Add-on stamp set with Memento Tuxedo Ink and added some extra flowers.

Dimensions


For the second card, I cut a piece of Simon Says Stamp 100# GREEN APPLE Cardstock to 5-1/2 x 8-1/2″ and scored at 4-1/4″ to create a card base. I also cut down the piece of from Queen & Company’s Flirty Florals 6 x 6 Mat Stack that I die cut the sentiment from to 4 x 5-1/4″. And cut another piece from the same paper stack to 4 x 5-1/4″.

I turned the panel into a shaker by adding a piece of Acetate behind it and adding some 3M Foam Tape and sequins from my stash. I addedsome Love From Lizi Peel-offs in Pink Holographic.

I stamped the images onto Neenah 100lb Classic Crest Cardstock 8.5 X 11″ from the Lawn Fawn Eggstraordinary Easter Add-on stamp set with Memento Tuxedo Ink. I colored the images with Copic Markers. I used R20, C1, C3 and the blender for the bunny; YG25 & YG17, YR07 & YR14 for the carrots; and Y11, Y15, & Y17 for the egg.

I added a sentiment from the Simon Says Stamp Sentiment Strips Easter Wishes and added some flowers from the Lawn Fawn Secret Garden Window Dies which i die cut from colored cardstock from my stash.

I finished off the card by adding some White Nuvo Gloss Drops to the egg and Nuvo French Lilac Gloss Drops to the card front.

On the inside of the card, I cut a piece of Neenah 100lb Classic Crest Cardstock 8.5 X 11″ to 4 x 5-1/4″ and a piece of the pattern paper from the front panel to 1 x 4-1/4″. I stamped a sentiment from Lawn Fawn Eggstraordinary Easter Add-on stamp set with Memento Tuxedo Ink.

Dimensions


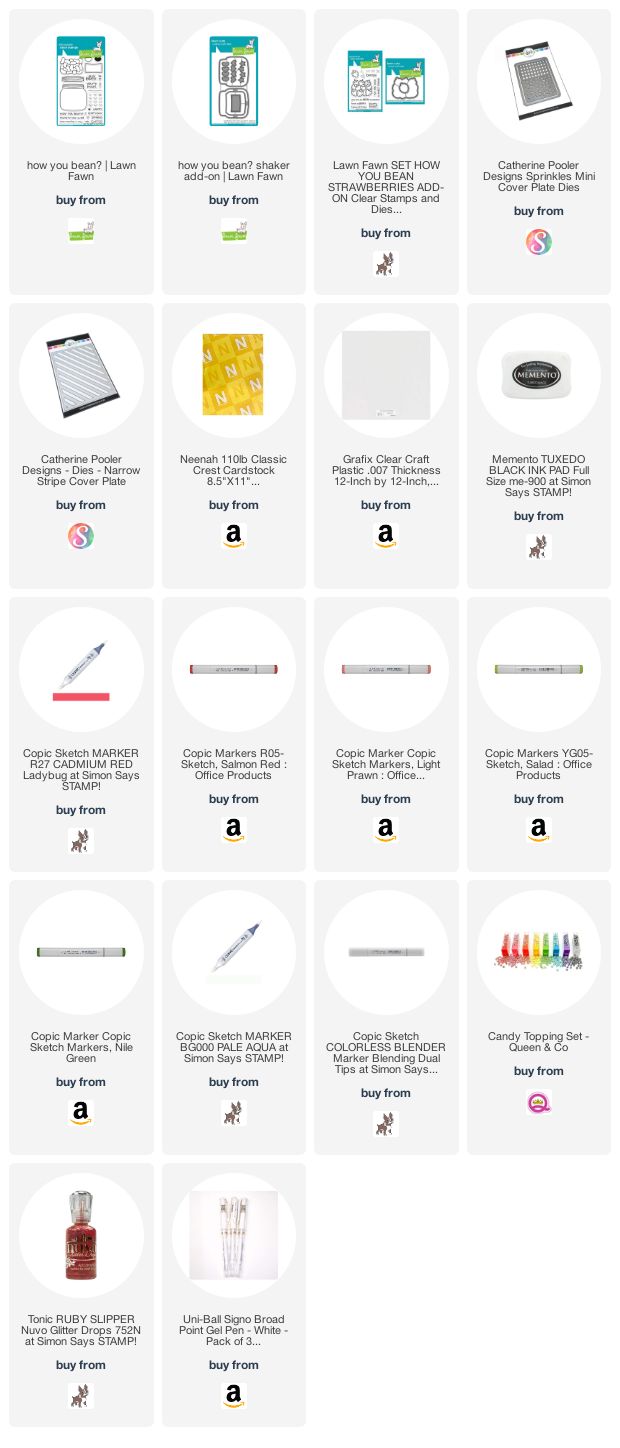
Supplies

Thanks for reading this post. I hope I’ve inspired you to give this cute Easter card a try for yourself. Leave comments or questions below or feel free to email.
Birthdays, Shaker, Summer, Summer

Combining Dies to Make a Background: Strawberry Jar Shaker Card (feat. Lawn Fawn)

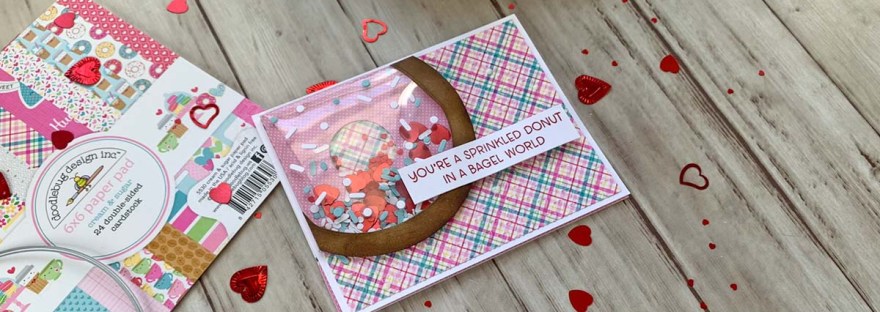
Hi friends. I tried something new with my background dies which gave me a cool 3-dimensional background. I combined the Catherine Pooler Designs Narrow Stripe Cover Plate and the Catherine Pooler Designs Sprinkles Mini Cover Plate to create this fun background. It was super easy. Here’s how I did it…

For this card, I cut a piece of Neenah 110lb Classic Crest Cardstock to 5-1/2 x 8-1/2″ and scored at 4-1/4″ to create the card base. I also cut a piece of Lawn Fawn Gotta Have Gignham Rainbow 12×12 Collection Pack to 4 x 5-1/4″ for the top panel. I die cut two pieces of Neenah 110lb Classic Crest Cardstock with the frame from the Catherine Pooler Designs Sprinkles Mini Cover Plate (3/4 x 4-1/2″) and then used the Catherine Pooler Designs Narrow Stripe Cover Plate to diecut that piece. Then added every other stripe to the rectangle panel I previously die cut to create a tone-on-tone 3-d effect for my background.

I stamped and colored all my images from the Lawn Fawn How You Bean? and Lawn Fawn How You Bean? Strawberries Add-on stampsets. I stamped them onto some Neenah 110lb Classic Crest Cardstock with Memento Tuxedo Ink. I colored the images with Copic Markers. I used BG000 + 0 for the mason jar and R22, R05 + R27 and YG05 + G07 for the strawberries. Then I die cut all the images using the coordinating dies.

For the mason jar shaker, instead of using foam tape (which would be a slight pain to add due to the small size) I diecut about 7 mason jars from Neenah 110lb Classic Crest Cardstock using the Lawn Fawn How You Bean? Shaker Add-on and stacked them. I diecut the acetate piece with the same die set (using the background die included) as well as the backing piece for the shaker which I colored with the same copic markers (BG000 + 0).

For the shaker element, I used Queen & Co Toppings in Pink and Clear Diamonds and some older Martha Stewart Iridescent Hearts and Stars Glitter (no longer available).

For the sentiment, I stamped one from the Lawn Fawn How You Bean? Strawberries Add-on stampset onto some Neenah 110lb Classic Crest Cardstock with Memento Tuxedo Ink and cut it down to 3/4 x 1″ and popped it onto the card using some 3M Foam Tape.

Lastly, I finished it off by adding some highlights with a White Gel Pen. One note: I added the highlights to the strawberries on the inside before adhering it inside the shaker element. I also added some Ruby Slipper Nuvo Glitter Drops to the card.

On the inside of the card, I stamped a sentiment from the Lawn Fawn How You Bean? stampset with Stampin’ Up! Real Red Ink. I also added a strip of the same pattern paper from the front of the card measuring 1 x 4-1/4″ and adhered 1/2 a strawberry image I had left over.

Dimensions


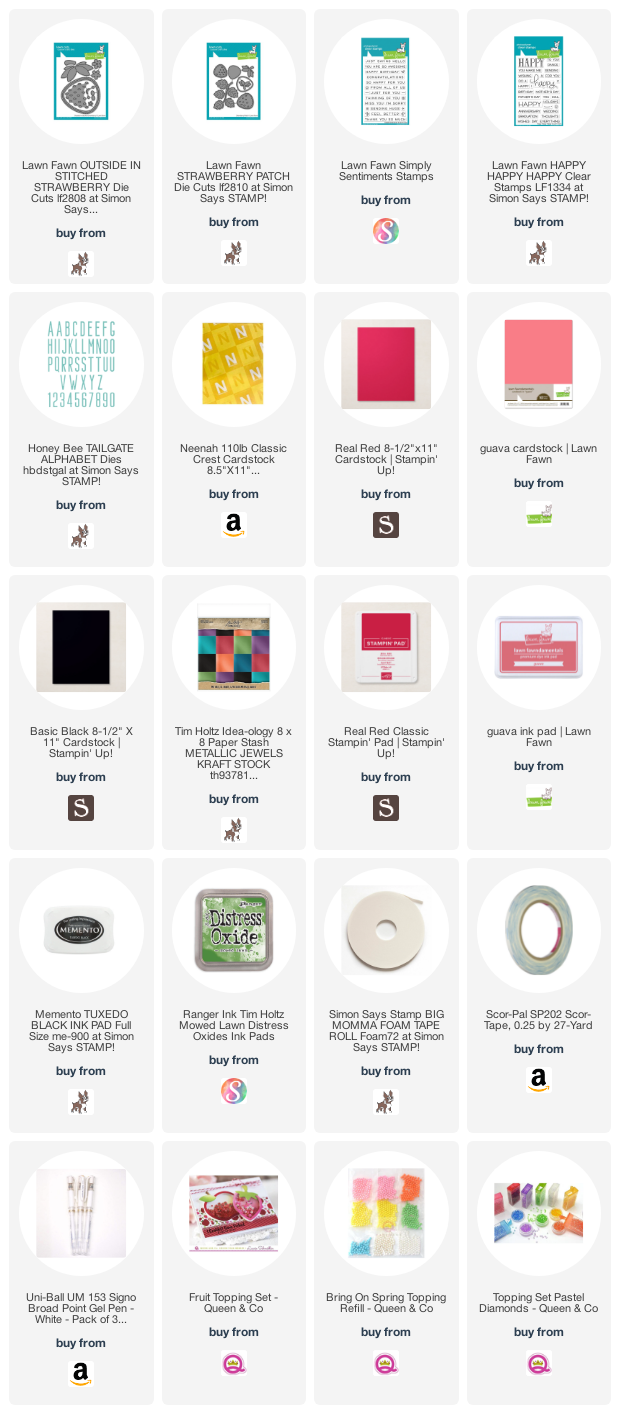
Supplies

Thanks for reading this post! I hope you enjoyed and I’ve inspired you to make this cute shaker card yourself! If you want to share you creations with me tag me on instagram @kittieslovecrafting. Leave comments or questions below or feel free to email me.

Birthdays, Shaker

Strawberry Shaker Card (feat. Lawn Fawn)

Hi friends. I had lots of fun making this cute strawberry shaker card using the Lawn Fawn Outside In Stitched Strawberry Die Cuts and Lawn Fawn Strawberry Patch Die Cuts. I love that this large strawberry die comes with face elements you can add to make it cuter.

For this card, I cut a piece of Neenah 110lb Classic Crest Cardstock to 5-1/2 x 8-1/2″ and scored at 4-1/4″ to create the card base. I also cut a piece of Stampin’ Up! Real Red 8-1/2 x 11″ Cardstock to 4-1/2 x 4-1/2″ for the top panel. I die cut the strawberry window from the panel using the Lawn Fawn Outside In Stitched Strawberry Die Cuts.

Next, I die cut a ton of the seeds with the same die set from Simon Says Stamp 100# Black Cardstock and adhered them around the window. I diecut the leaves from Lawn Fawn Outside In Stitched Strawberry Die Cuts and Lawn Fawn Strawberry Patch Die Cuts from Authentique 6 x 6 Emerald Papers (retired) and added some dimension by coloring them with Tim Holtz Mowed Lawn Distress Oxides Ink. I cut the flowers from Neenah 110lb Classic Crest Cardstock and colored the back piece with Lawn Fawn Guava Ink.

Next, I built the shaker element by adding a piece of Acetate behind the window and two layers of 3M Foam Tape behind. I added shaker bits from Queen and Company Fruit Toppings, Pastel Diamonds Toppings, and pink pearls from Bring On Spring Topping Refill. I sealed the shaker by adding a piece of Lawn Fawn 100lb Guava 8 1/2″ x 11″ Cardstock.

For the sentiment, I stamped part of it from the Lawn Fawn HAPPY HAPPY HAPPY Stampset and the rest from Lawn Fawn Simply Sentiments onto some Neenah 110lb Classic Crest Cardstock with Memento Tuxedo Ink and cut them down into strips. To finish off the sentiment, I die cut the word “BERRY” from Tim Holtz Idea-ology 8 X 8 Paper Stash Metallic Jewels Kraft Stock with Honey Bee Tailgate Alphabet Dies. I also added the eyes and a mouth from the Lawn Fawn Outside In Stitched Strawberry Die Cuts which I cut from Simon Says Stamp 100# Black Cardstock.

Lastly, I finished it off by adding some highlights with a White Gel Pen.

I left the inside of the card blank.

Dimensions


Supplies

Thanks for reading this post! I hope you enjoyed and I’ve inspired you to make this cute shaker card yourself! If you want to share you creations with me tag me on instagram @kittieslovecrafting. Leave comments or questions below or feel free to email me.

Christmas

Two Backgrounds Using the Same Die and No Stamping

Hello friends. Love making holiday cards but hate stamping?!? Here are two quick and easy holiday cards that require no stamping — only dies. I used the same background die from Lawn Fawn to create both, utilizing the negative and positive pieces that were cut. This is a great way to make multiple cards without waste.

I worked on the backgrounds simultaneously because it’s easier. First, I cut two pieces of Neenah 110lb Classic Crest Cardstock 8.5 X 11″ to 5-1/2 x 8-1/2″ and scored at 4-1/4″ to create card bases. Then I die cut Stampin’ Up! Berry Burst 8-1/2″ x 11″ Cardstock (retired) with the Lawn Fawn PEPPERMINT STRIPES BACKDROP Die Cut. I adhered the negative pieces to one card base first by using the positive one as a guide to place the pieces. Then adhered the positive background piece to the other card base.

I die cut two wreaths from Neenah 110lb Classic Crest Cardstock 8.5 X 11″ with the Catherine Pooler Joy Wreath Dies. Then colored them with Garden Party and Lime Rickey Inks from Catherine Pooler using direct-to-paper technique. To help keep them together and make it easier to adhere the sentiment I added a piece of Acetate which I cut with a 2-5/8″ circle die. I used the Stampin’ Up! Layering Circle Dies (retired).

I die cut the sentiment from a piece of Neenah 110lb Classic Crest Cardstock 8.5 X 11″ and Stampin’ Up! Basic Black 8-1/2″ X 11″ Cardstock with the Catherine Pooler Round of Merry Dies. I finished it by adding some Nuvo Crystal Drops in Ivory Seashell.

On the inside of the card, I stamped a sentiment from Lawn Fawn’s Merry Messages Stamp Set with Stampin’ Up! Berry Burst Ink (retired).

Dimensions


I created a simple shaker for the second card. I die cut the sentiment from Neenah 110lb Classic Crest Cardstock 8.5 X 11″ with the Catherine Pooler Round of Merry Dies and colored it with Garden Party and Eucalyptus Inks from Catherine Pooler. I used blender brushes to create a gradient.

I die cut a piece of Acetate with a 2-1/2″ circle punch and adhered it to the back of the sentiment and added a very thin piece of 3M Foam Tape around the edges. I used Queen and Company Clear and Pink Diamond toppings (these are currently out of stock but I think will be back once Q and Co moves) and Candy Toppings to fill the shaker. I added another 2.5 inch circle behind the shaker from white cardstock.

I diecut a bow and several “snowflake” or “asterisk” images from Stampin’ Up! Gold Foil Sheets with the Catherine Pooler Retro Ornament Dies.

On the inside of the card, I stamped a sentiment from the Stampin’ Up! ‘Joy to the World’ Paper Pumpkin stampset (Paper Pumpkin is a subscription box so this stampset is not available for purchase) and Eucalyptus Ink.

Dimensions


Supplies

Thanks for reading this post. I hope you enjoyed and I’ve inspired you to give these cards a try for yourself. Leave comments or questions below or feel free to email.
Emboss Resist, Halloween, Holidays 2021, Shaker

Boo Shaker Card featuring Honey Bee Stamps Buzzword Dies

Hello friends. I’ve got another cute Halloween card to share with you all. This is a very simple shaker card using the Honey Bee Stamps Boo Buzzword dies and the Honey Bee Stamps Halloween Harvest 6×6 Paper Pad. Very little stamping and absolutely no coloring involved. I love making these kinds of cards!

I started by cutting a piece of Simon Says Stamp 100lb Black 8-1/2 x 11″ Cardstock to 5-1/2 x 8-1/2″ and scored at 4-1/4″ to make the card base. I also cut a piece of the Honey Bee Stamps Halloween Harvest 6×6 Paper Pad to 4 x 5-1/4″. I diecut a window from it with the Catherine Pooler Designs Scallops & Dots Dies, added a piece of acetate with double-side tape and added some 3M Foam Tape to make the shaker element. I added sequins from the Honey Bee Stamps Halloween Harvest Sequin Mix and backed it with another piece of pattern paper from the Honey Bee Stamps Halloween Harvest 6×6 Paper Pad.

I diecut the sentiment with the Honey Bee Stamps BOO Dies from the Honey Bee Stamps Halloween Harvest 6×6 Paper Pad and Simon Says Stamp 100lb Black 8-1/2 x 11″ Cardstock (for the shadow). I stamped the rest of the sentiment from the Honey Bee Stamps BOO Stamp Set onto some more black card stock with Versamark Ink and and heat embossed with WOW Embossing Powder in Super Fine Opaque Bright White.

I diecut ghosts, bats and pumpkins from the Honey Bee Stamps Haunted House Add-On (this die works with the House Builder Card Base Dieset) from Neenah 110lb Classic Crest Cardstock 8.5 X 11″, Simon Says Stamp 100lb Black 8-1/2 x 11″ Cardstock, and orange cardstock from my scrap stash.

I finished it off by adding some Honey Bee Stamps Halloween Harvest Sequin Mix.

On the inside of the card, I cut a piece of Neenah 110lb Classic Crest Cardstock 8.5 X 11″ to 4 x 5-1/4” and a piece of pattern paper from Honey Bee Stamps Halloween Harvest 6×6 Paper Pad to 1 x 5-1/4″ and stamped a sentiment from the Queen and Co Halloween Hoopla Kit with Catherine Pooler Designs Orange Twist Ink.

Dimensions


Supplies

Thanks for reading this post. I hope you enjoyed and I’ve inspired you to give this cute Halloween shaker card a try for yourself. Leave comments or questions below or feel free to email me.

Hello, Love & Friendship, Shaker, Spring

Spring Shaker Card Featuring Catherine Pooler Designs Pitter Pattern Stampset

Hi all. Need a fun card for Spring or to pick someone’s spirits up? This fun shaker using Catherine Pooler Designs Pitter Pattern Stampset is a great option.

I started by cutting a piece of Neenah 110lb Classic Crest Cardstock 8.5 X 11″ to 5-1/2 x 8-1/2″ and scored at 4-1/4″ to create a card base and a top panel to 4 x 5-1/4″. I stamped the medium and large rain drops from the Catherine Pooler Designs Pitter Patterns Stamp Set with CP Cummerbund, Suede Shoes, and Juniper Mist Inks, then dies cut four of them with the Pitter Pattern Dies. I added 3M Foam Tape to the back of the panel to create a shaker panel, added some Catherine Pooler Designs Porland Sequin Mix and adhered it to the card base.

I diecut two umbrella bases using the Catherine Pooler Designs Under the Umbrella Dies from Neenah 110lb Classic Crest Cardstock 8.5 X 11″. One I colored with CP Chiffon and Limoncello Inks, using an ink blending tool and the other I used the direct-to-paper technique with CP Black Jack Ink on the handle only, cut it out and adhered to the yellow umbrella base. Then diecut the patterned section from Neenah 110lb Classic Crest Cardstock 8.5 X 11″, adhered them to the umbrella base and adhered the umbrella to the card.

I cut a piece of Neenah 110lb Classic Crest Cardstock 8.5 X 11″ to 13/16 x 3-13/16″ which I colored with CP Chiffon Inks using the direct-to-paper technique. I stamped a sentiment from Catherine Pooler Designs Pitter Patterns Stamp Set onto another piece of Neenah Cardstock with CP Black Jack Ink and cut it to 5/8 x 3-1/16″ and adhered them to the card I finished the card by adding some sequins from the Catherine Pooler Designs Portland Sequin Mix.

I left the inside of the card blank.

Dimensions


Supplies

Thanks for reading this post. I hope you enjoyed and I’ve inspired you to make this cute umbrella card yourself! If you want to share you creations with me tag me on instagram @kittieslovecrafting. Leave comments or questions below or feel free to email me.

Christmas, Slimline

Super Easy Christmas Slimline Shaker Card featuring the Catherine Pooler Candy Cane Slimline Die

Hello everybody! I don’t know about you but I love a good shaker card and when it’s easy to make I’m all for it! I also love slimline cards so I decided to combine the two. This new Candy Cane Slimline Die from Catherine Pooler is perfect for all kinds of backgrounds You can layer it, inlay the pieces or do a tone on tone like I did here. The other die that I am loving from the Jolly Holiday release is the Peppermint Twist Cover Plate Die. You will see how I used it for this card.

I started by cutting a piece of Neenah 110lb Classic Crest Cardstock 8.5 X 11″ to 7 x 8-1/2″ and scored at 3-1/3″ for my card base. next I used the Candy Cane Slimline Die to cut the front panel and adhered it to the card base. I used the My Favorite Things Stitched Circle Scallop Frames (I think this is no longer available but you can achieve the same look with a scallop circle die or punch and a smaller circle for the inside) to cut out a frame from Neenah 110lb Classic Crest Cardstock 8.5 X 11″.

I stamped the sentiment from Catherine Pooler’s Nice List Stamp Set onto another piece of Neenah 110lb Classic Crest Cardstock 8.5 X 11″ with Catherine Pooler’s Cranberry Fizz Ink and used a 2-1/4″ punch to cut it out.

I put together my shaker element by adding acetate to the back of the frame, using a punch to cut it out, some foam tape behind that and adding some Queen and Company Topping Pastel Diamonds in red, green and clear. I adhered the circle with the sentiment and adhered the whole thing to the card.

To make it more festive, I used Catherine Pooler’s Cranberry Fizz Ink and a direct-to-paper technique to color some Neenah 110lb Classic Crest Cardstock 8.5 X 11″ then diecut it using the Peppermint Twist Cover Plate Die. I adhered several of the peppermints around the card front and added some Bottle Green and Ivory Seashell Nuvo Crystal Drops to the peppermints for some dimension.

On the inside of the card, I stamped another greeting from the Catherine Pooler’s Nice List Stamp Set with Catherine Pooler’s Eucalyptus Ink and some more peppermints. And that completes this card.

Dimensions

Supplies

Thanks for reading this post. I hope you enjoyed and I’ve inspired you to give this card a try for yourself. Leave comments or questions below or feel free to email.
Encouragement, Faux Embossing, Just Because, Stampin' Up!, Summer, Techniques

Faux Embossed Background Using Dies

Hello friends. This faux embossed technique that I discovered a few years ago and is a great way to add dimension to your card without having to emboss. It can be done with most images and all text. I used the word dies from Nothing’s Better Than Bundle from Stampin’ Up! to create an embossed background. But to step it up I also decided to add a shaker element to the card.

I started by cutting a piece of Bumblebee 8-1/2X11 Cardstock to 5-1/2 x 8-1/2″ and scored at 4-1/4″ to create a card base. I die cut the “Cocktails” word with the Love You More Than Dies from Bumblebee 8-1/2X11 Cardstock several times. I adhered them to the card using Tombow Mono Multipurpose Liquid Glue. I added some Bumblebee Classic Stampin’ Ink to the top of the text and edges of the card base with a Sponge Dauber. Adding ink gives it more of an embossed look because it highlights the raised edges.

I stamped the outline image of the cocktail again as well as the sentiment onto a scrap piece of Whisper White 8-1/2″ X 11″ Cardstock with Tuxedo Black Memento Ink. I used the solid stamps with Granny Apple Green Stampin’ Ink and Misty Moonlight Classic Stampin’ Ink to create an ombre effect for the drink. I used a Sponge Dauber to soften the line between the two colors on the stamp before stamping. I colored the glass with Light Pool Party Stampin’ Blends and the Stampin’ Blends Color Lifter.

I stamped a second version of the solid image. I used Bumblebee Classic Stampin’ Ink for the fruit and Misty Moonlight Classic Stampin’ Ink for the umbrella. I trimmed the image to a piece, measuring 1-1/2 x 2-1/4″ and left the second solid image without diecutting. I cut another piece of Whisper White 8-1/2″ X 11″ Cardstock to 2 x 6″ and used the Scalloped Tag Topper Punch to punch one end, creating a tag. I adhered the rectangle piece with the image to the tag and then cut out the center of the drink. I stamped a sentiment from Nothing’s Better Than Stampset with Granny Apple Green Stampin’ Ink onto the tag. Then added Acetate and Foam behind the tag, some Clear Diamond Shaker Toppings, adhered the extra stamped cocktail beverage behind and adhered the tag to the card. I finished it off by adding ribbon in Misty Moonlight. Since I don’t have any Misty Moonlight Ribbon I found some white grosgrain ribbon from my stash and colored it using Misty Moonlight Classic Stampin’ Ink and added some Pearls which I colored yellow with a Light Daffodil Delight Stampin’ Blends.

On the inside of the card, I stamped another sentiment from the Nothing’s Better Than Stampset with Tuxedo Black Memento Ink and the cocktail outline image with Bumblebee Classic Stampin’ Ink.

Dimensions


Supplies

Thanks for reading this post. I hope you enjoyed and I’ve inspired you to try this fun summery card for yourself! Leave comments or questions below or feel free to email me. If you want to share you creations with me tag me on instagram @kittieslovecrafting. If you would like a Stampin’ Up! catalog, please email me as well. All current catalogs can be found on the right side of this post and the Stampin’ Up! page. All news and fun stuff happening at Stampin’ Up! are listed there!

Birthdays, Celebrations

Shop Your Stash Day 1: Birthday Shaker Card

This month I decided to challenge myself to NOT buy any new craft supplies (with the exception of necessary supplies like white cardstock and adhesive). Like many of you, I realized that I have been spending a ton of money on cleaning supplies, hygiene and groceries since I have had to order online more than usual so it was time to cut some corners. I also thought this would help people who are struggling financially but who still want to craft.

I went through my stamps, dies, stencils and picked out some that I know I have not used very often and combined with the other things I already own. I alos thought it was a good time to go through my already made card stash and see what categories I was low on –birthdays is one such category so I started there.

For this card, I started by cutting a piece of Neenah 110lb Classic Crest Cardstock 8.5 X 11″ to 5-1/2 x 8-1/2″ and scored at 4-1/4″ to create a card base and a piece of Neenah 80lb Classic Crest Cardstock 8.5 X 11″ to 3-7/8 x 5-3/16″ for the top panel. Next I created a window, measuring 2-15/16 x 2-15/16″, using the Sizzix Framelits Die Set 8PK – Squares to make the card front look like a polaroid. I also wanted it to be a simple shaker. I also diecut a black frame, measuring 3-3/8 x 3-3/8 x 3/16″ from Simon Says Stamp 100lb Black Cardstock. I used the 5th largest and the 6th largest dies.

Card front

I adhered the black frame onto the front panel window and added 3M Foam Tape behind it to create the shaker element and set that aside. Next, I used a scrap piece of Neenah 80lb Classic Crest Cardstock 8.5 X 11″ and marked off the window using a pencil. I stamped the balloon from Sugarpea Designs HB2U Stamp Set. This was included in the Young At Heart Stamp of Approval Box from Catherine Pooler (SoA boxes are no longer available). I used Catherine Pooler Designs Be Mine, Bellini, Shea Butter, Garden Party, It’s A Boy, and Sweet Sixteen inks. I trimmed the panel a bit so it would fit behind the window, I added bows and strings to the balloons using my Micron 08 Pen and some sparkle with the Spectrum Noir Sparkle Clear Fine Glitter Brush Pen. Then filled the shaker with Pretty Pink Posh 4 mm Sparkling Clear Sequins and Martha Stewart Crafts Iridescent Glitter in clear (no longer available). I adhered the background to the shaker and the shaker to the card base.

Next, diecut a sentiment from Catherine Pooler Designs ‘Celebrate Die’ from Neenah 110lb Classic Crest Cardstock 8.5 X 11″ and Simon Says Stamp 100# Black Card Stock. I used a direct-to-paper technique using Catherine Pooler Designs It’s A Boy Ink to color the white sentiment. Once dry, I adhered the two together slightly offsetting the black layer to create a shadow, and adhered that to the card.

On the inside of the card, I stamped the sentiment that comes with the Sugarpea Designs HB2U Stamp Set and Catherine Pooler Designs Sweet Sixteen Ink. And that completes this card. I challenge you to Shop Your Stash and share your creations below in the comments.

Card inside

Dimensions

Supplies

Thanks for reading this post. I hope you enjoyed and I’ve inspired you to Shop Your Stash and see what fun ideas you come up with and maybe rediscover supplies you forgot you had! Leave comments or questions below or feel free to email me.