Hello friends. Want to make an impactful background with little effort. Try using an emboss resist technique. You can stamp or stencil the embossing. Either way the results are impressive!
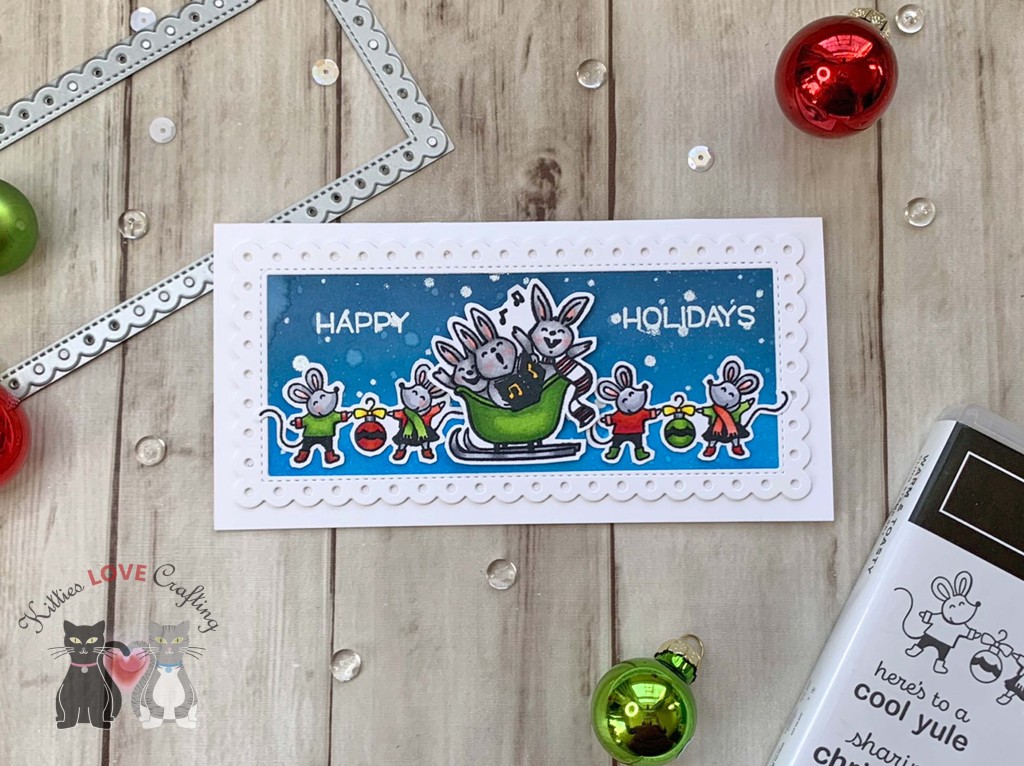
For this card, I cut a piece of Neenah 110lb Classic Crest Cardstock 8.5 X 11″ to 6 x 6″ and scored at 3″ to create a card base. I cut a piece of Neenah 80lb Classic Crest Cardstock 8.5 X 11″ to 2-1/8 x 5-1/8″ and die cut a scalloped border using Queen & Co Foundation 17 Dies.
I used Tim Holtz Chipped Sapphire, Salty Ocean and Uncharted Mariner Distress Oxide Inks to color the background. I sprayed some water on it before adding the snowflakes. Next I used Simon Says Stamp’s Falling Snow Stencil with Versamark Ink and White Embossing Powder to create the snow in the background.
I stamped the images from Stampin’ Up!’s Warm & Toasty Stamp Set (retired) onto Neenah 110lb Classic Crest Cardstock 8.5 X 11″ with Memento Tuxedo Black Ink. I colored them with Copic Markers. I used YG03, YG17 & YG67, C1, C3 & C5 for the sleigh; N1, N2 & N4, R20 & R46 for the bunnies; R46 & R32, C1 & C3, YG03 & YG17, R20 for the mice; and R17 & R46, Y06 & Y17 for the ornaments.

I stamped the sentiment from the Lawn Fawn Happy Happy Happy Stampset onto the card with Versamark Ink and White Embossing Powder.
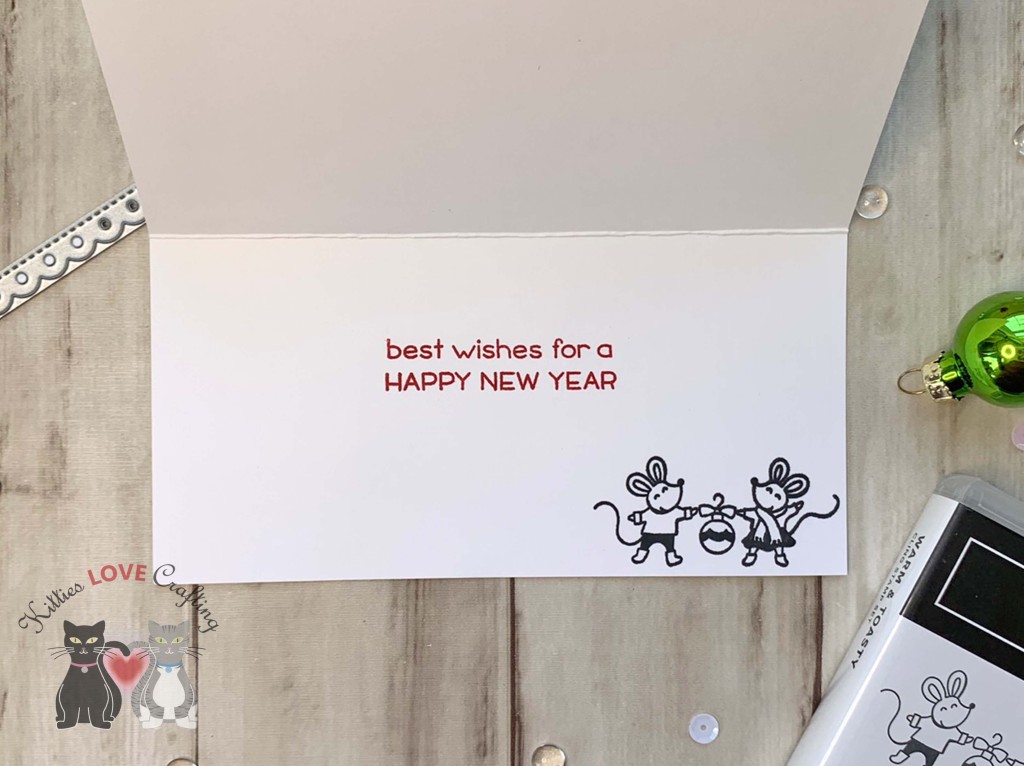
On the inside of the card, I stamped a sentiment from Lawn Fawn’s Merry Messages Stamp Set with Stampin’ Up! Real Red Ink and the mice from Stampin’ Up!’s Warm & Toasty Stamp Set (retired) with Memento Tuxedo Black Ink.
Dimensions
- Card Base = 6 x 6″ and scored at 3″ Neenah 110lb Classic Crest Cardstock 8.5 X 11″
- Top Panel = 2-1/8 x 5-1/8″ Neenah 80lb Classic Crest Cardstock 8.5 X 11″
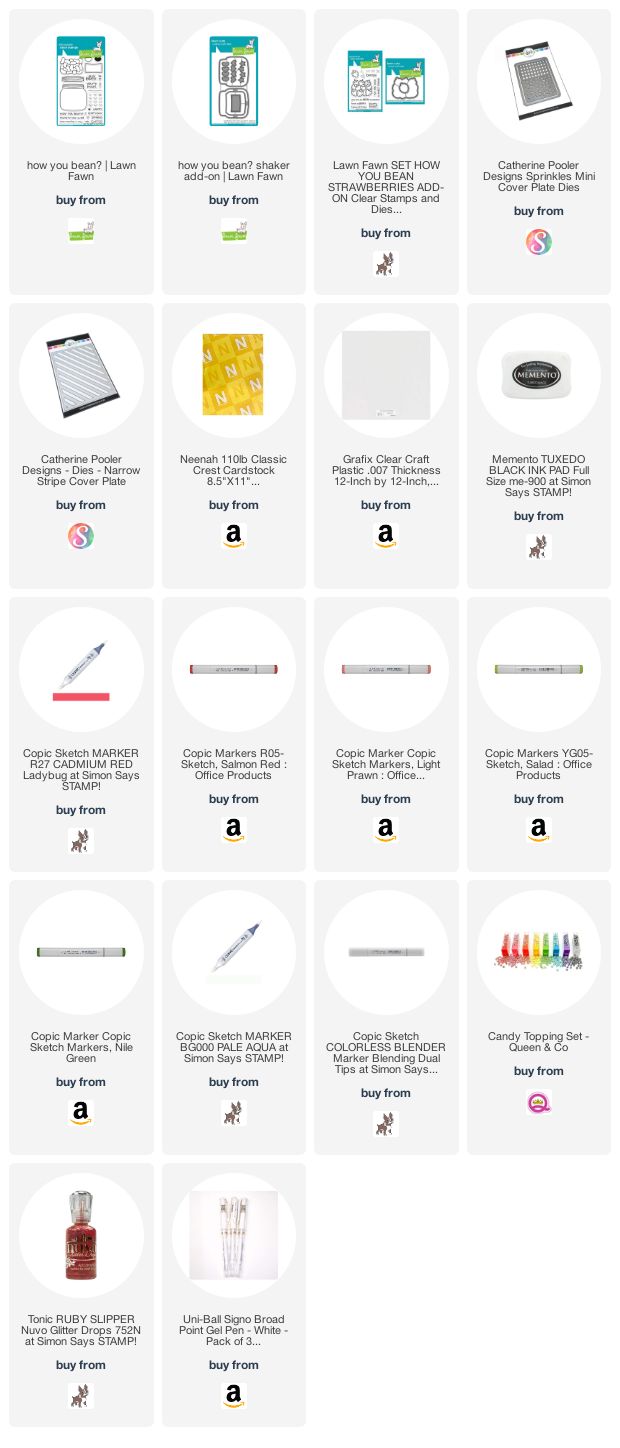
Supplies
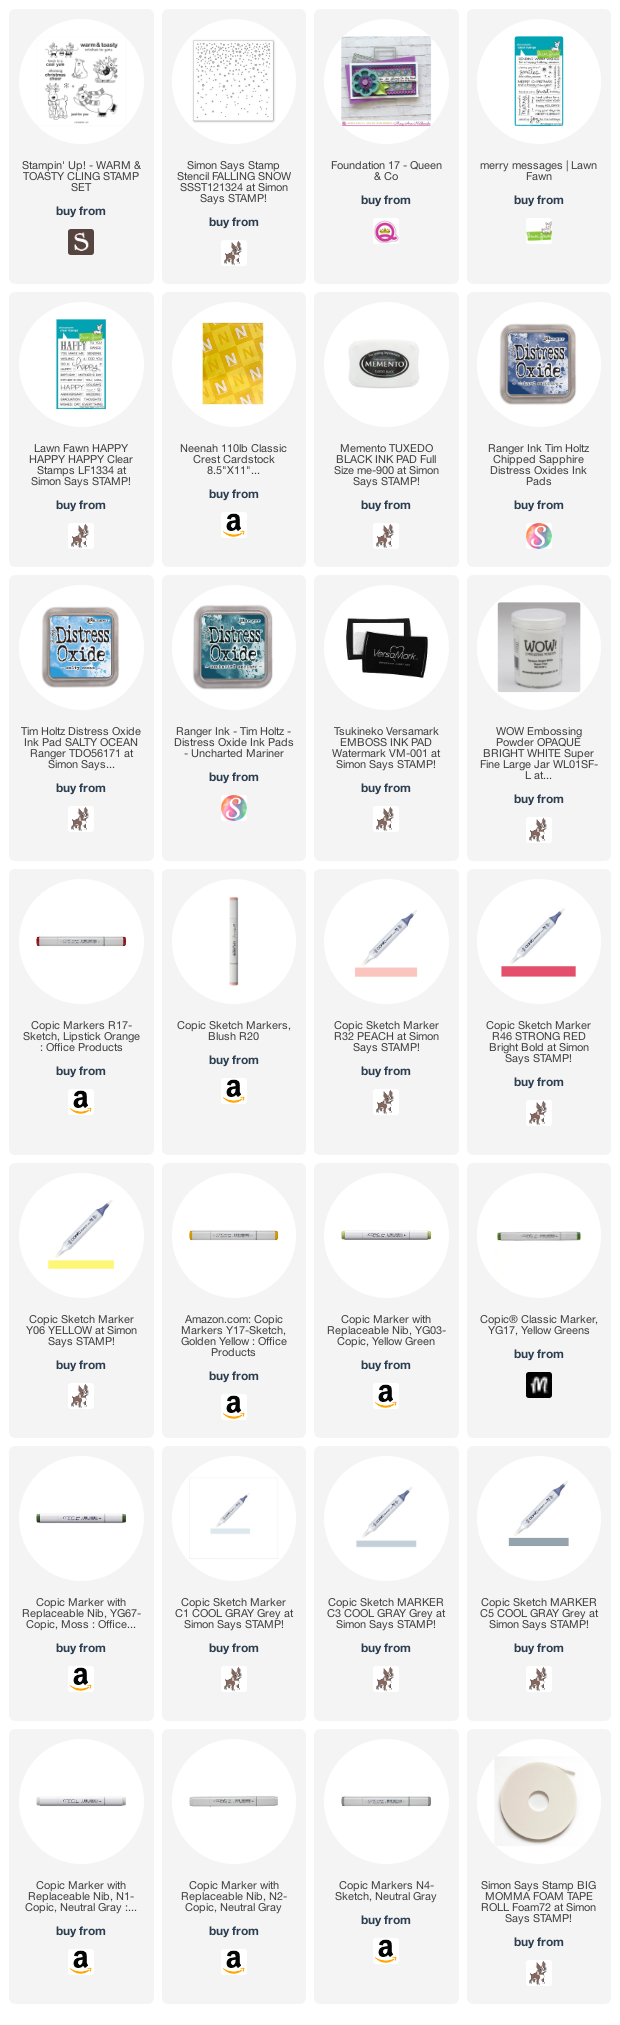 https://linkdeli.com/widget.js?id=f5e8378456858c916708
Thanks for reading this post. I hope you enjoyed and I’ve inspired you to give this card a try for yourself. Leave comments or questions below or feel free to email.