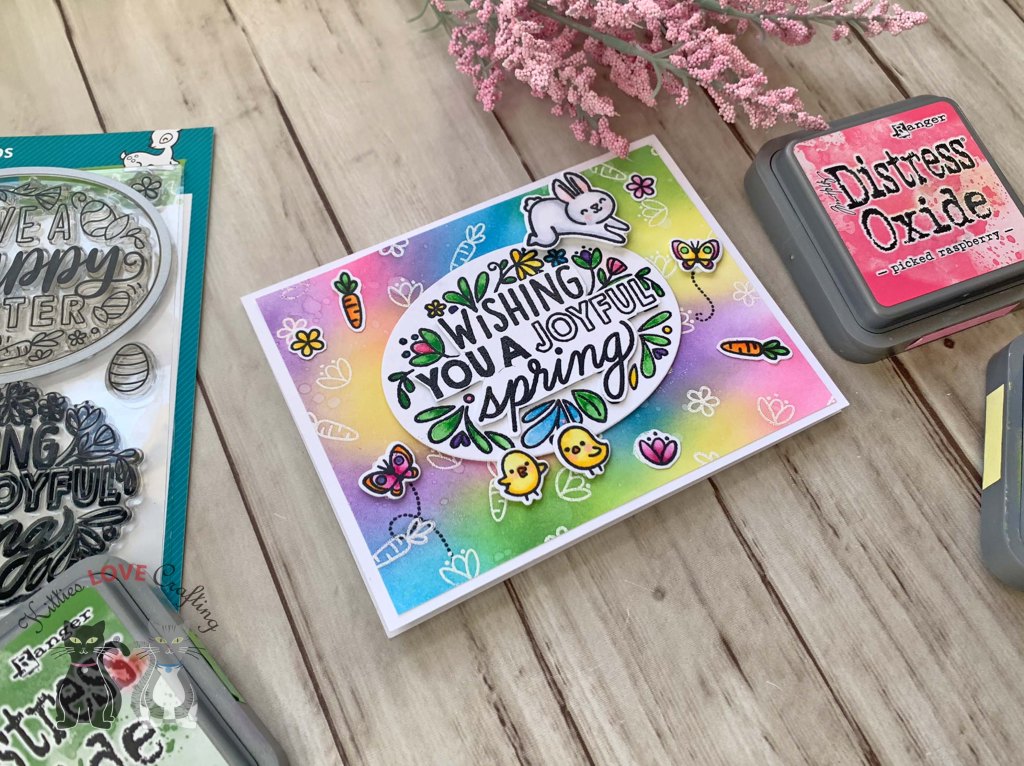
Hello friends. I couldn’t pass up the opportunity to make another card with this gnome die set from Trinity Stamps, Springtime Gnome! I’m thinking Christmas gnomes or maybe turn him into a witchy gnome!!! Stay tuned and find out.
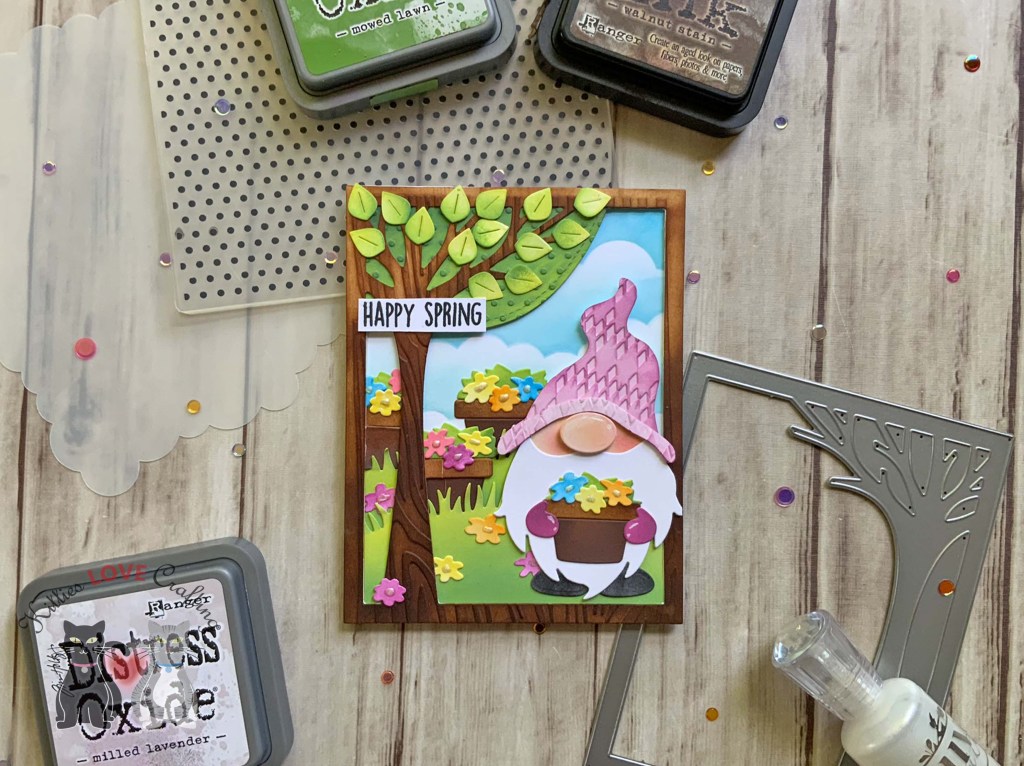
For this card, I cut a piece of Neenah 100lb Classic Crest Cardstock 8.5 X 11″ to 5-1/2 x 8-1/2″ and scored at 4-1/4″ to create an A2 card base, and another piece I die cut using the Lawn Fawn Leafy Tree Backdrop: Portrait.
I embossed the tree trunk with the Darice 5 x 7″ Woodgrain Embossing Folder Background and then colored it with Ranger Ink/Tim Holtz Vintage Photo and Walnut Stain Distress Oxides Inks. I embossed the leaf part with a tiny 6 x 6 polka dot embossing folder from Queen and Company (discontinued). I colored the leaves with Ranger Ink/Tim Holtz Twisted Citron, Mowed Lawn, and Rustic Wilderness Distress Oxides Inks.
I die cut the grass from Neenah 100lb Classic Crest Cardstock 8.5 X 11″ using the Lawn Fawn Simple Grassy Hillsides and colored them with Twisted Citron and Mowed Lawn Distress Oxides Inks. For the sky I cut a panel of Neenah 100lb Classic Crest Cardstock 8.5 X 11″ to 4-1/4 x 5-1/2″. Using the My Favorite Things Mini Cloud Edges – Mix-ables Stencils and Tumbled Glass and Salty Ocean Distress Oxides Inks, I created the sky.
I die cut the gnome and the flowerpot from the Springtime Gnome Die Set out of Neenah 100lb Classic Crest Cardstock 8.5 X 11″. I used Sizzix Argyle Embossing Folder on the gnome’s hat and used Milled Lavender and Seedless Preserves Distress Oxides Inks.
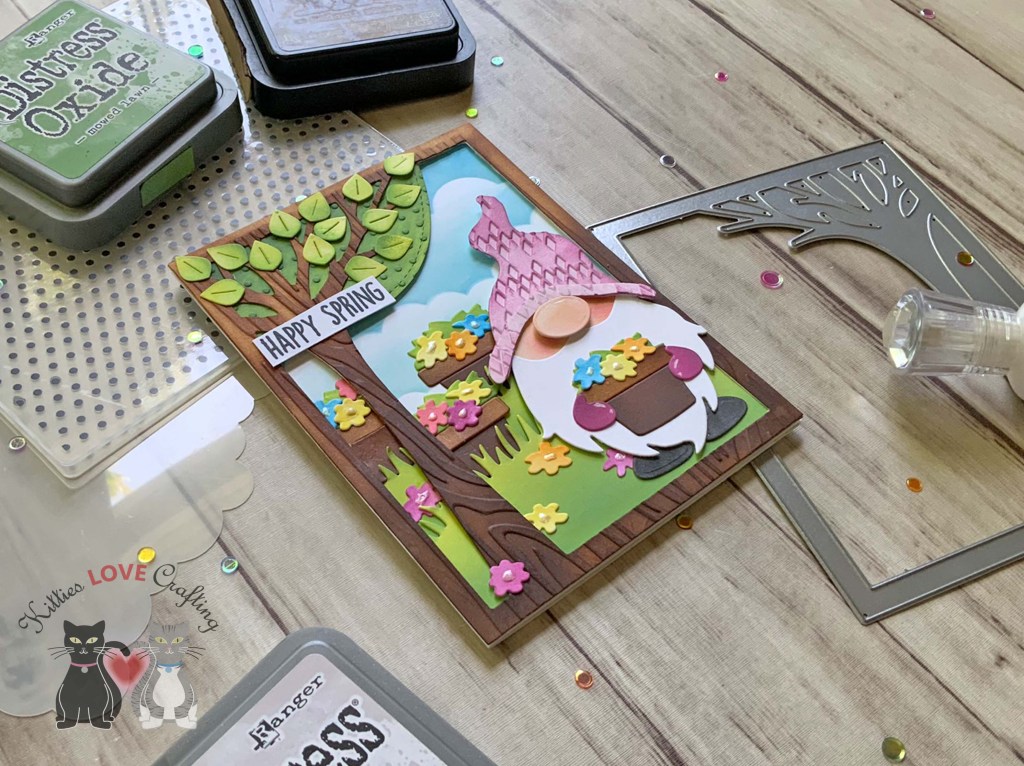
I used Spun Sugar, Tea Dye, and Worn Lipstick Distress Inks for the face and nose; Seedless Preserves Distress Oxides Ink for the hands; Black Soot Distress Ink; Vintage Photo Distress Oxides Ink and Gathered Twigs Distress Ink for the pots; and Squeezed Lemonade Distress Ink, Worn Lipstick, I used Spun Sugar, Tea Dye, and Worn Lipstick Distress Inks for the face and nose; Seedless Preserves Distress Oxides Ink for the hands; Black Soot Distress Ink; Vintage Photo Distress Oxides Ink and Gathered Twigs Distress Ink for the pots; and Squeezed Lemonade Distress Ink, Worn Lipstick, Salty Ocean, and Spiced Marmalade Distress Oxide Inks for the flowers.
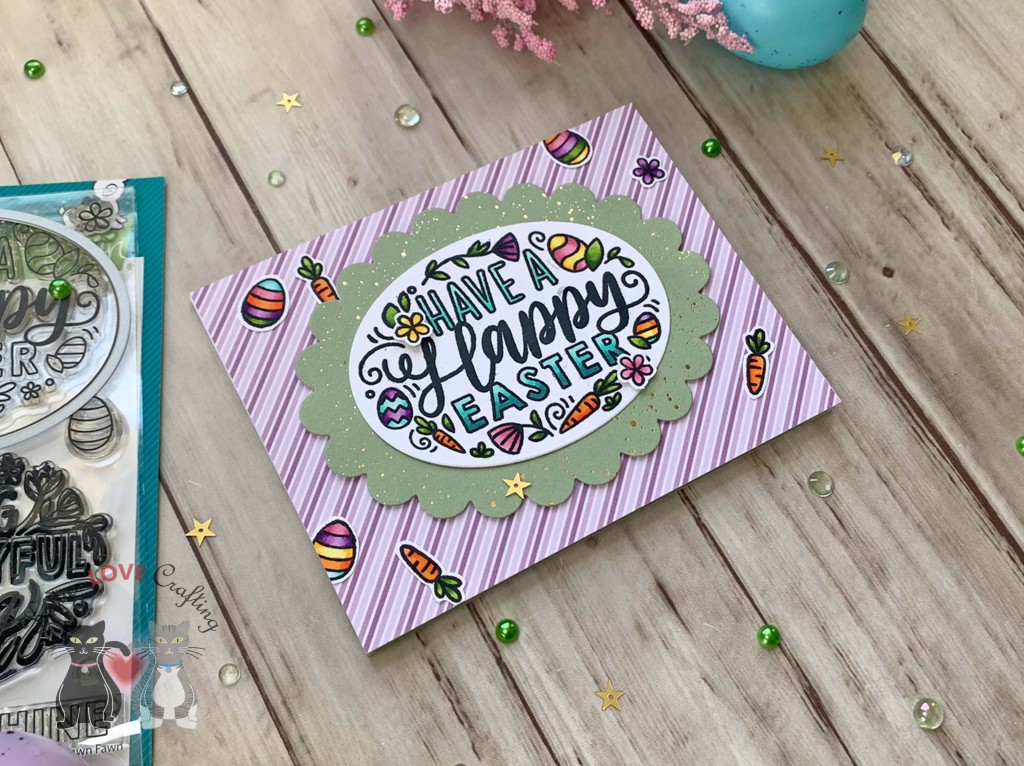
I stamped a sentiment from the Lawn Fawn Window Scene: Spring onto Neenah 100lb Classic Crest Cardstock 8.5 X 11″ with Tsukineko Memento Tuxedo Black Ink. I finished off the card by adding some Nuvo Drop in Ivory Seashell to the flowers.
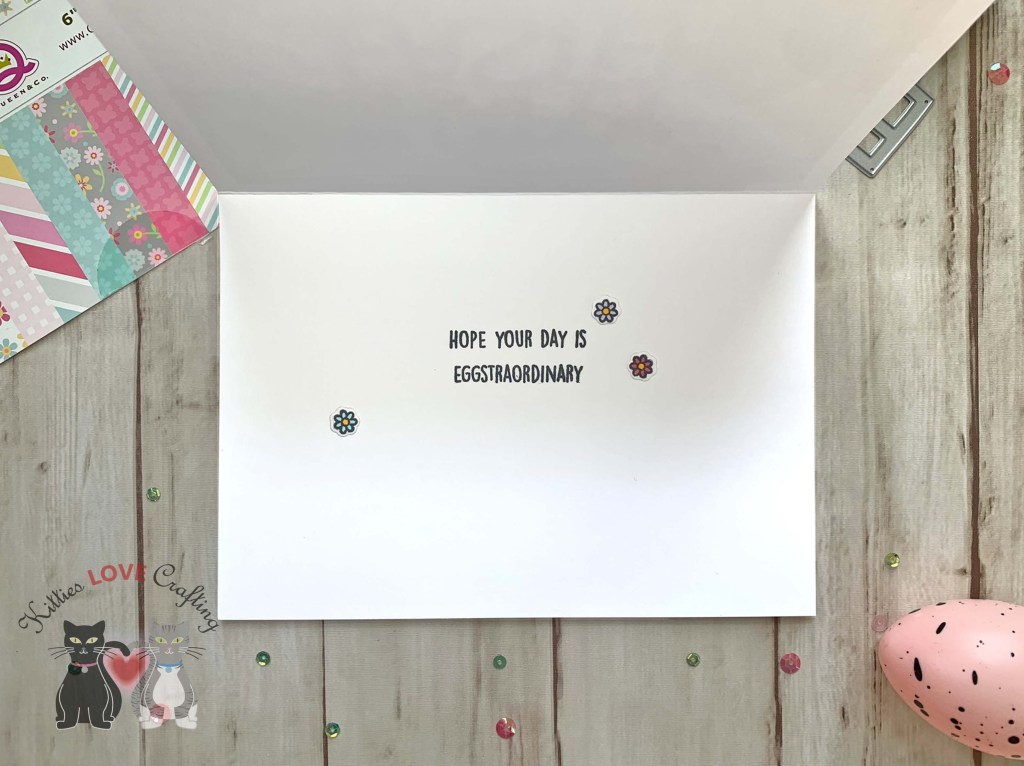
I left the inside of the card blank.
Dimensions
- Card Base = 5-1/2 x 8-1/2″ and scored at 4-1/4″ Neenah 100lb Classic Crest Cardstock 8.5 X 11″
- Background Panel = 4-1/4 x 5-1/2″ Neenah 100lb Classic Crest Cardstock 8.5 X 11″
Supplies
 https://linkdeli.com/widget.js?id=f5e8378456858c916708
Thanks for reading this post. I hope I’ve inspired you to give this cute Springtime gnome card a try for yourself. Leave comments or questions below or feel free to email.