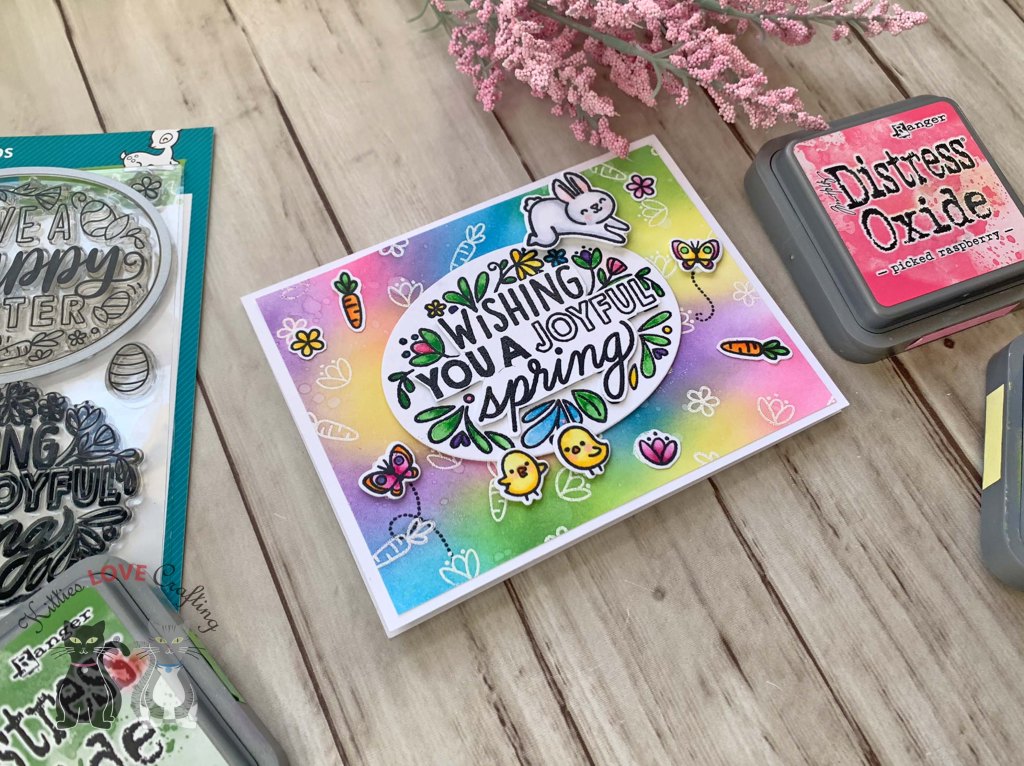
Hello friends. Here’s another cute card featuring the Lawn Fawn Giant Easter Messages. For this one I created a bright background using the emboss resist technique with Distress Oxides. I also watercolored the center panel for a softer look.

For this card, I cut a piece of Neenah 100lb Classic Crest Cardstock 8.5 X 11″ to 5-1/2 x 8-1/2″ and scored at 4-1/4″ to create a card base, another piece to 4 x 5-1/4.
For the background, I stamped the tiny images from the Lawn Fawn Giant Easter Messages using Lawn Fawn YETI Pigment Ink and heat embossed it using WOW OPAQUE BRIGHT WHITE Super Fine Embossing Powder. Then used Tim Holtz Picked Raspberry, Squeezed Lemonade, Mowed Lawn, Salty Ocean, and Villainous Potion Distress Oxide Inks.
Next, I stamped the sentiment panel 2x from the Lawn Fawn Giant Easter Messages onto Neenah 100lb Classic Crest Cardstock 8.5 X 11″ with Catherine Pooler Designs Midnight Ink and then poured Ranger Clear Embossing Powder overtop and heat set it. The second piece I will fussycut and pop up with 3M Foam Tape later.
I colored the panel with my Kuretake GANSAI TAMBI Watercolors. Heat embossing the image first makes it easier for the watercolors to stay in place and not bleed. Then I die cut the sentiment with Stampin’ Up! Layering Ovals Dies (retired). As previously mentioned I also fussycut the second sentiment panel that I had stamped and heat embossed and popped it up with 3M Foam Tape.
I stamped the tiny images from the same stampset as well as some from the Lawn Fawn Eggstraordinary Easter onto Neenah 100lb Classic Crest Cardstock 8.5 X 11″ with Memento Tuxedo Black Ink.
I colored them with Copic Markers. I used C0, C1, R20 & 0 for the bunnies; Y11, Y13 & Y18, R20, YR07 for the chics; RV52, RV19 & RV55, Y13 & Y18, V22, V25 & BV17 for the flowers; YG06 & YG67, and YR07 & YR04 for the carrots; RV52, RV19 & RV55, Y13 & Y18, V22, V25 & BV17, and YR07 & YR04 for the butterflies.
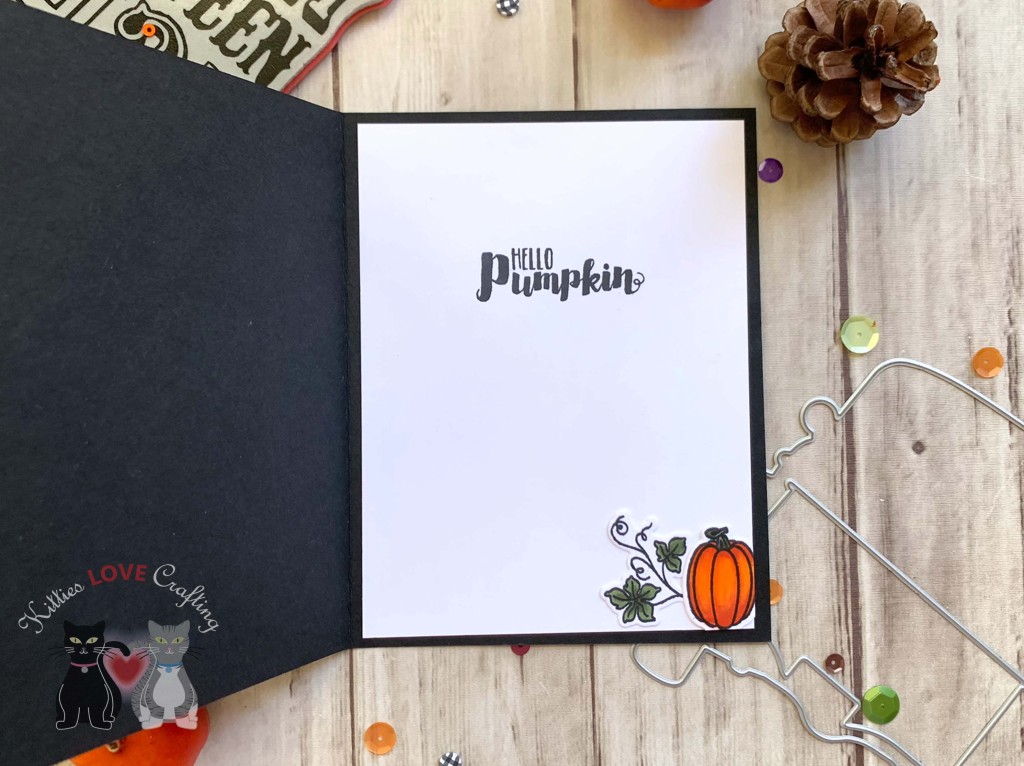
I left the inside of the card blank.
Dimensions
- Card Base = 5-1/2 x 8-1/2″ and scored at 4-1/4″ Neenah 100lb Classic Crest Cardstock 8.5 X 11″
- Background Panel = 4 x 5-1/4 Neenah 100lb Classic Crest Cardstock 8.5 X 11″
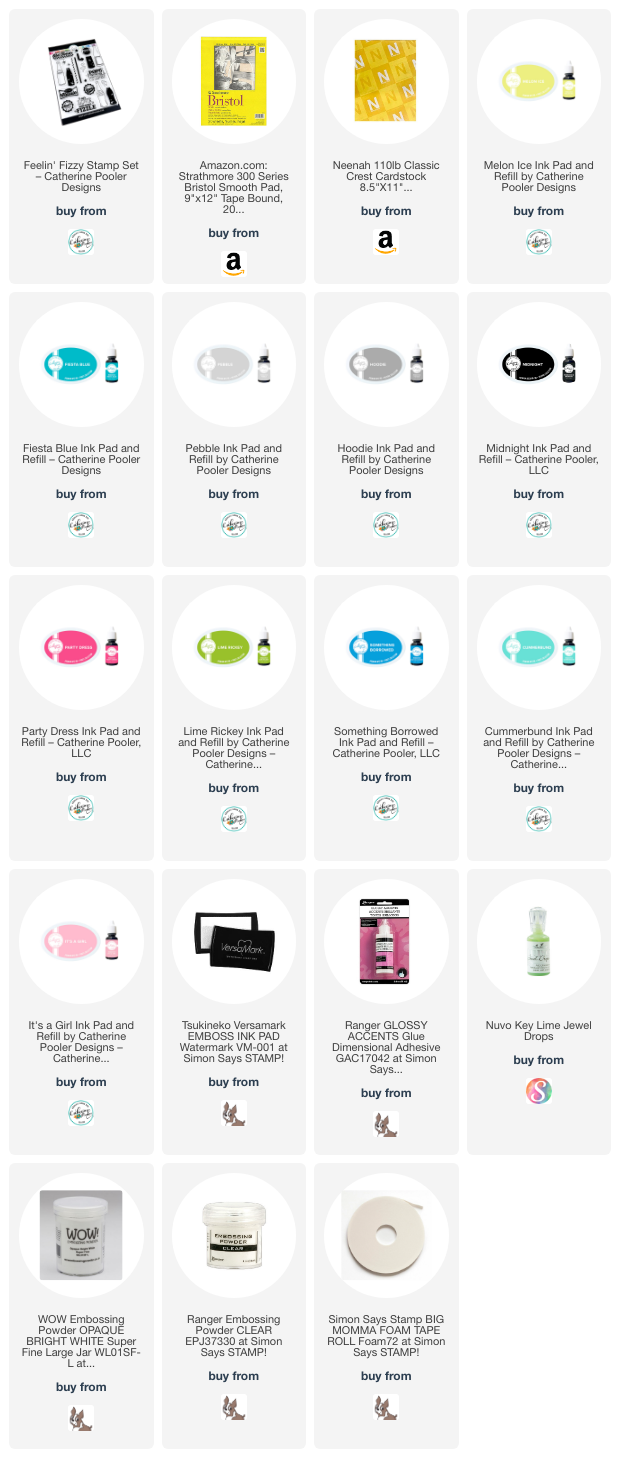
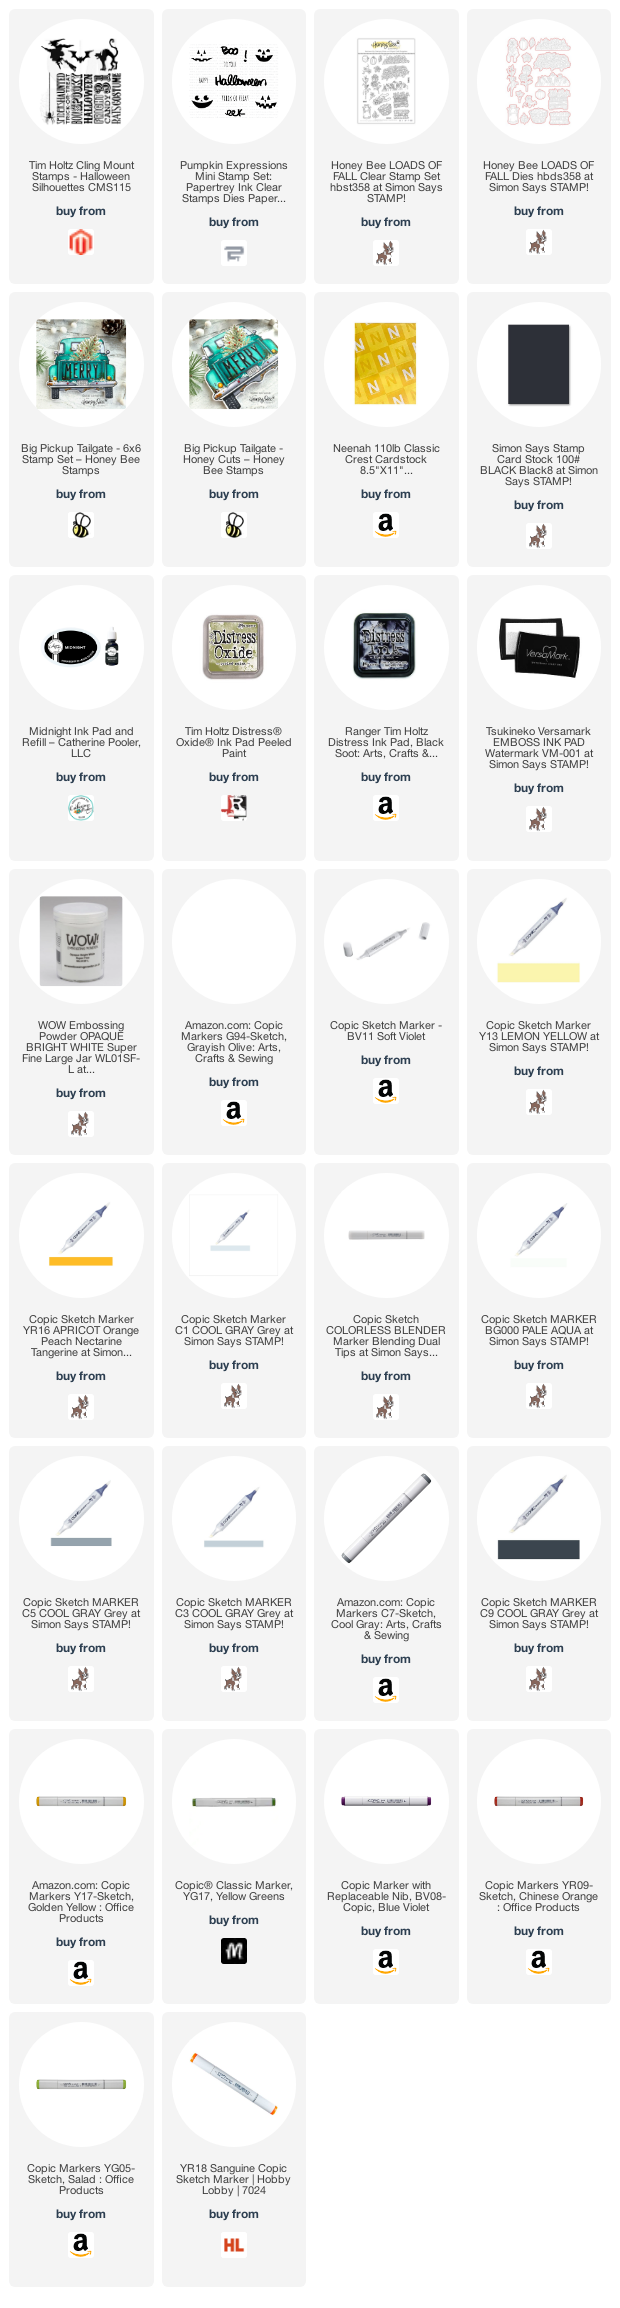
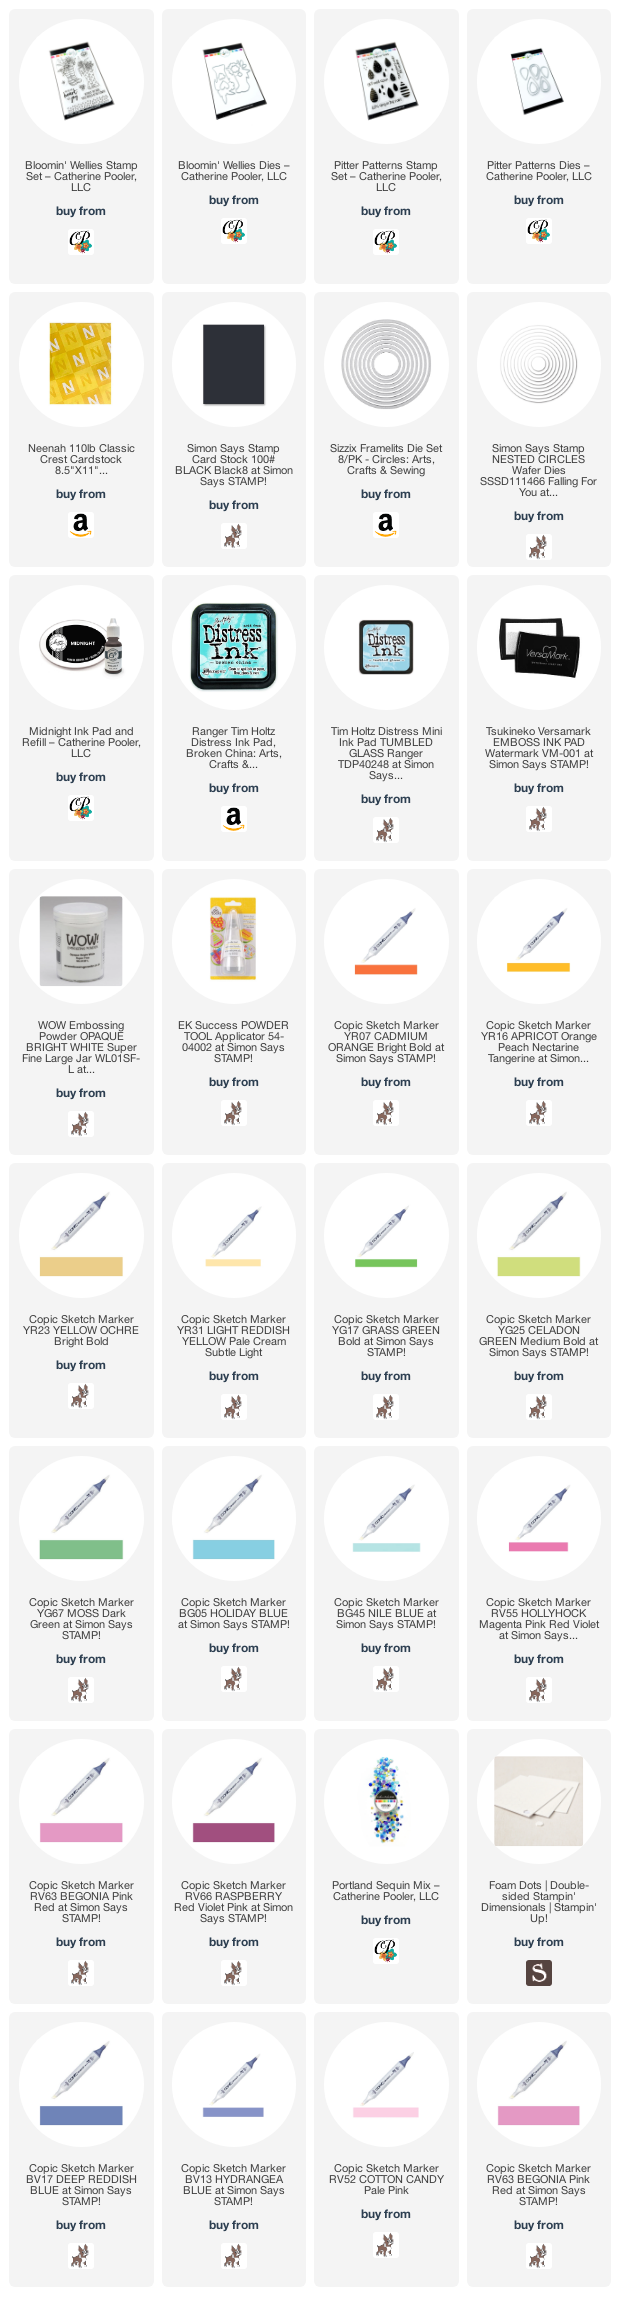
Supplies
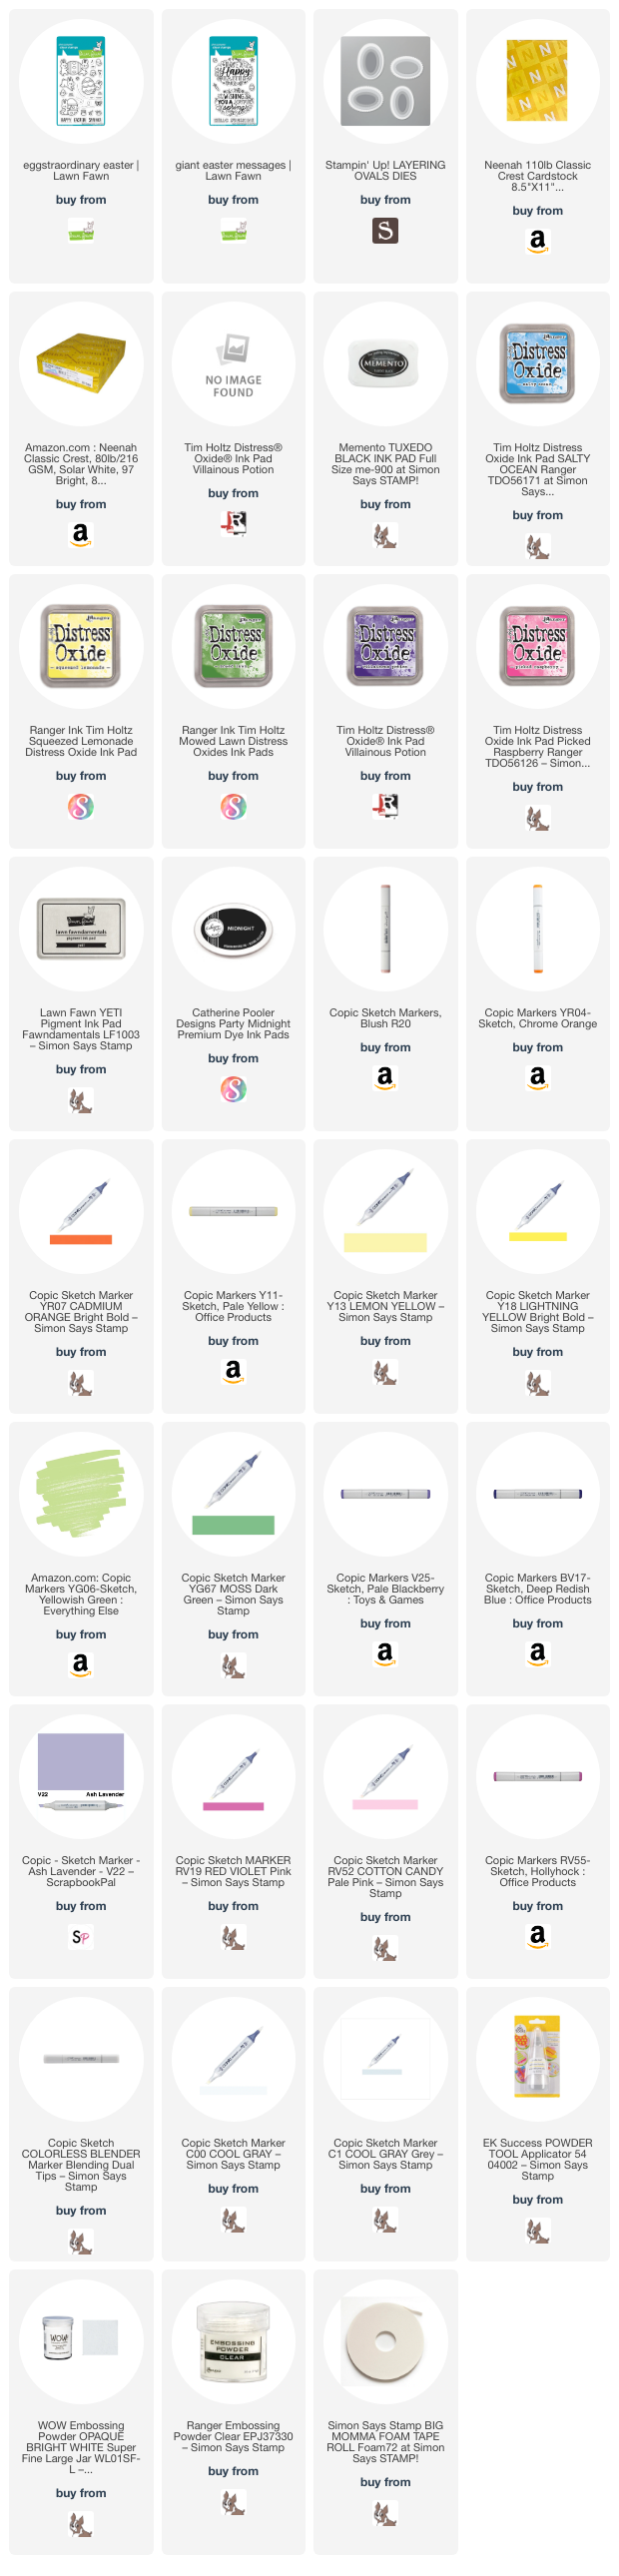 https://linkdeli.com/widget.js?id=f5e8378456858c916708
Thanks for reading this post. I hope I’ve inspired you to give this cute and bright Spring card a try for yourself. Leave comments or questions below or feel free to email.