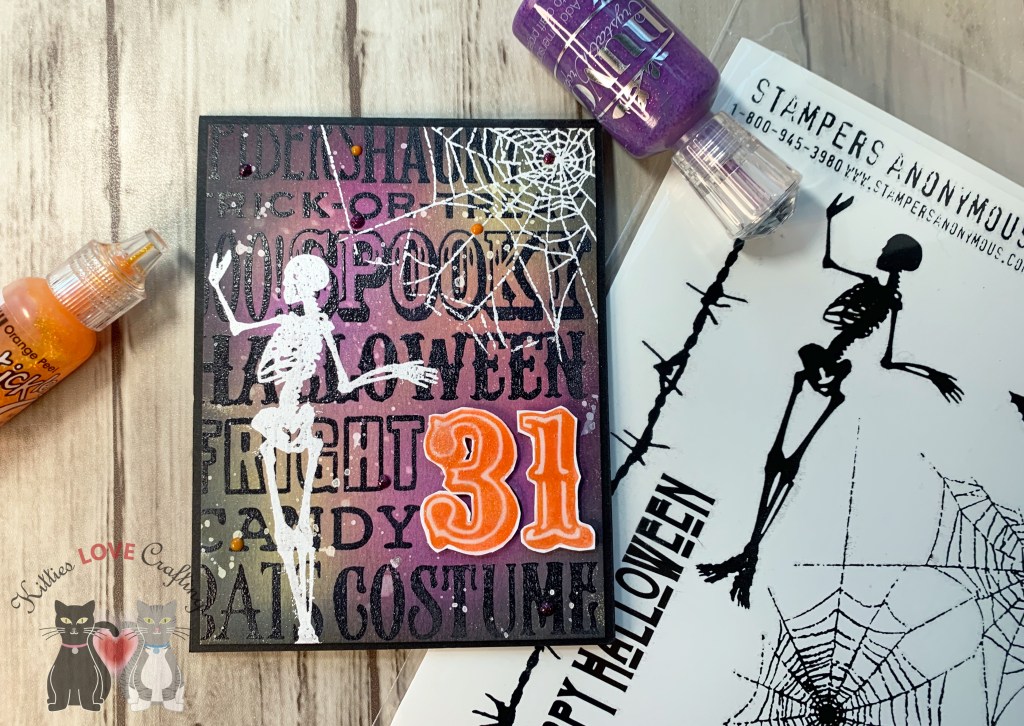
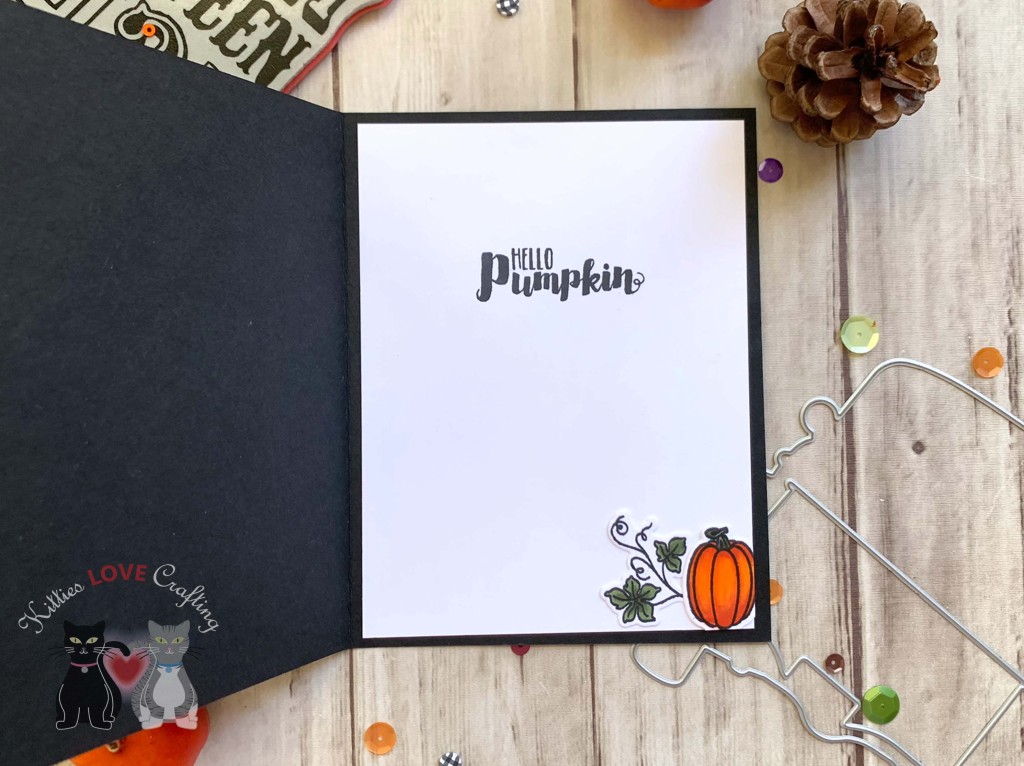
Hi friends. Using the emboss resist technique to create a background is super easy and creates a very high contrast, impactful visual. Let me show you how easy this was to create.
I used YR16, YR18, & YR09, N2, N6 & N8 for the pumpkins; G94 & G99 for the leaves; BV11, BV08, V25 & V28 for the truck bed; Y13 & Y17 for the truck head lights; C1, C3, C5, C7, & C9 for the metal on the truck; YG05, YG17 & YG67 for the license plate; and BG000 & 0 for the truck windows.
Thanks for reading this post! I hope you enjoyed and I’ve inspired you to make this cute Halloween card yourself! If you want to share you creations with me tag me on instagram @kittieslovecrafting. Leave comments or questions below or feel free to email me.
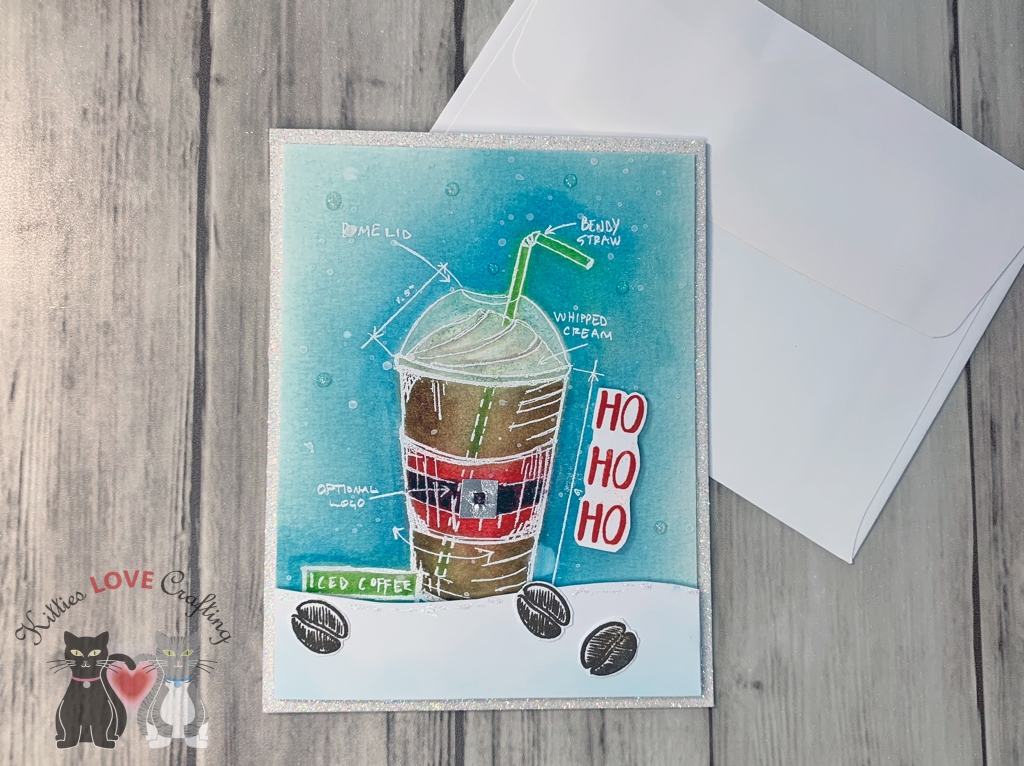
Hello friends. Today I’m focusing on using distress markers, ink and watercolors to create different looks using one stamp. I bought this Tim Holtz Wood Mount Iced Coffee Sketch Stamp several months ago and was saving it for the holidays because I don’t know about you but I’m all about specialty coffees during the holidays. These are available in my shop for purchase If you’re interested.
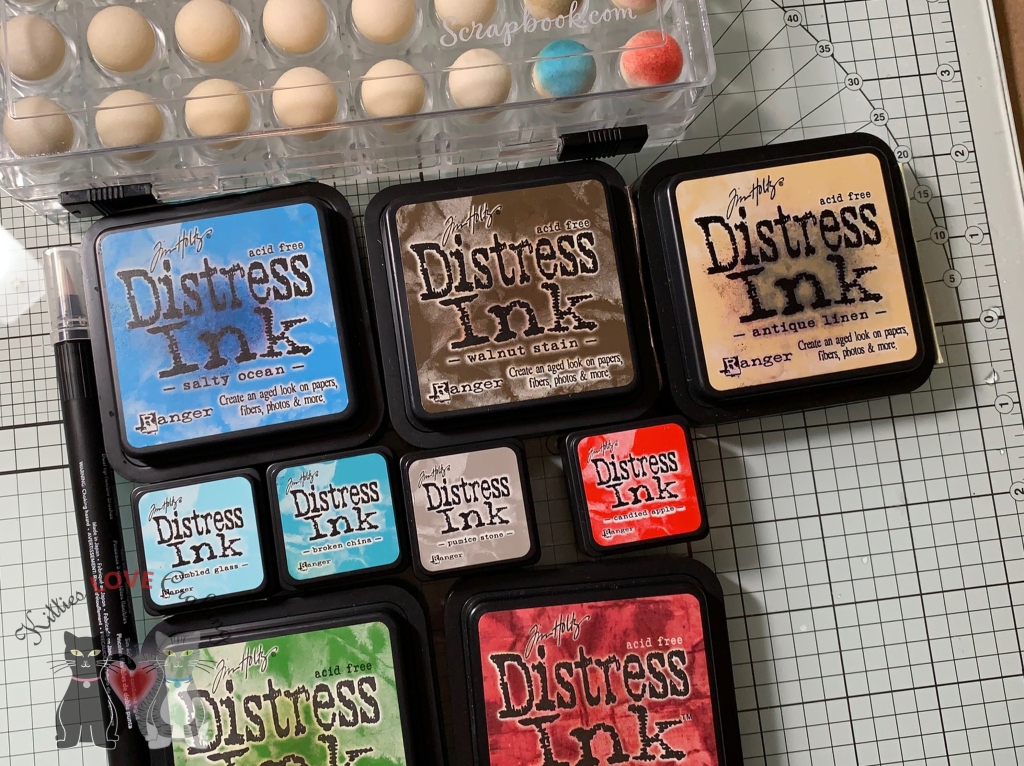
For the first card, I stamped the coffee cup image onto a piece of Montval Acid Free Coldpress Watercolor Paper, measuring 3-3/4 x 5” with Ranger Archival Jet Black Ink and colored the image with Distress Markers. I love distress markers and don’t use them enough! I used Pumice Stone and Picket Fence for the whipped cream, Shabby Shutters and Peeled Paint for the straw, Antique Linen and Ground Espresso for the coffee cup, Candied Apple and Fired Brick for the sleeve and Tumbled Glass for the background.
On the inside of the card, I added a strip of the same red and white striped pattern paper, measuring 1 x 5-1/4” and stamped another greeting in Peeled Paint Distress Oxide Ink from the same stampset.
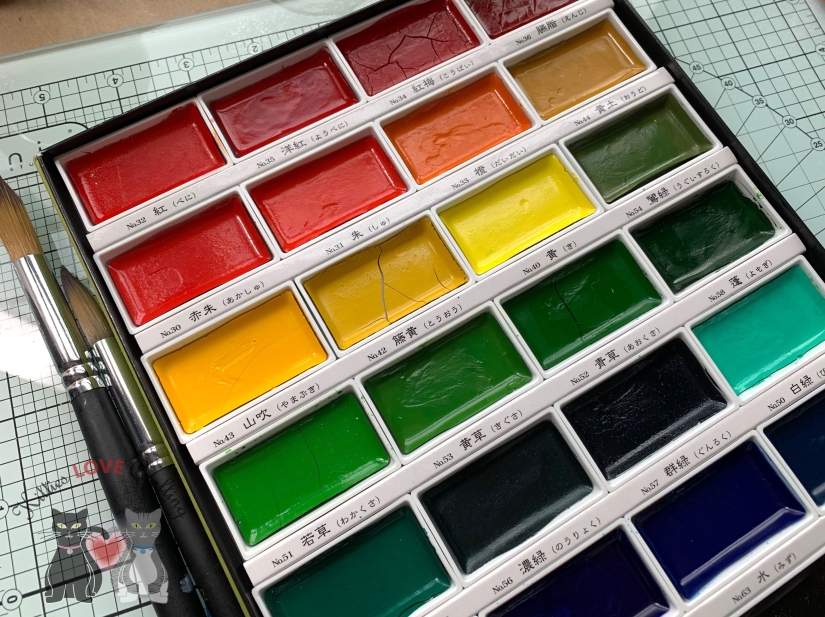
For the second card, I stamped the coffee cup image onto a piece of Montval Acid Free Coldpress Watercolor Paper, measuring 3-3/4 x 5” with Ranger Archival Jet Black Ink and colored the image with my Kuretake Gansai Tanbi 36 Watercolor Set. I taped the image panel down to my glass mat with some Blue Painters Tape and I used 20, 10, 64 and 95 for the whipped cream, 63 and 10 for the lid, 30 and 36 for the straw, 43, 47 and 10 for the coffee cup, 51 and 54 for the sleeve, and 50, 64, and 10 for the background. I added splashes with some of the gold watercolor from the set.
Thanks for reading this post and I hope I’ve inspired you to give these cards a try on your own. Leave comments or questions below or feel free to email.
Thanks for reading this post and I hope I’ve inspired you to make this fun spooky Halloween card. Leave comments or questions below or feel free to email me.
Hello friends. I would like to talk to you all about pattern paper and cardstock today. Most of us have a ton of it, some of us use it and some of us hoard it (Guilty as charged. LOL) Sometimes we have pattern papers that have images on them but no coordinating stamps (either you didn’t purchase them or the manufacturer didn’t create a coordinating stampset). These two paper packs from Brutus Monroe were part of their June release. Very fruity and summery but there is no coordinating stamps. I have several fruity stamp sets that will work with this paper but I know that many other people may not.
So I decided to challenge myself to make cards with just the paper and some sentiments from my stash. Since it’s still summer I decided to use fruity paper. Fruit is a delicious summer treat!
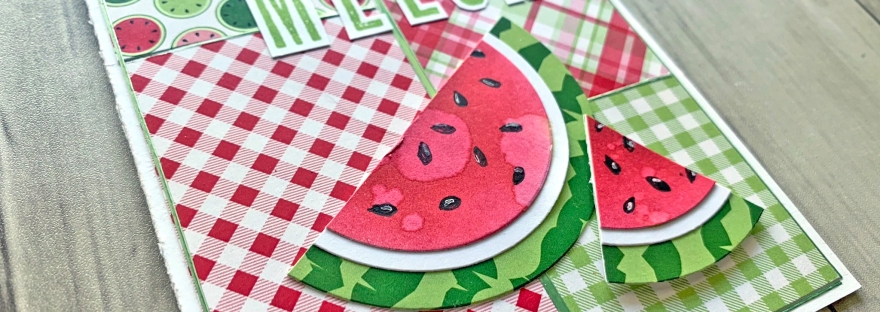
Ok, time to work on the background. I chose 4 pattern papers from the pack, cut one to 1/2 x 2-1/4″, one to 2 x 3-1/4″, one to 2 x 3-7/16″ and the last one to 2 x 2″. I adhered them on the white card base as per the below sketch. If you want a gap between your rectangles cut them down to 1/16th smaller on each side. I added a strip of the thicker width Pin Stripe Peel-Off Stickers – Apple Green by Love From Lizi vertically in the center, then the narrowest width strips to the outer edges and in between the panels horizontally.
I laid out my sentiments and watermelon pieces onto my card to figure out placement. Once I was happy with it, I adhered all the pieces down, popping up one watermelon slice with Stampin’ Dimensionals by Stampin’ Up! . To finish this card, i added some Tonic Nuvo Drops in BOTTLE GREEN.
I had so much fun playing with these papers from Brutus Monroe that I decided to make another card.
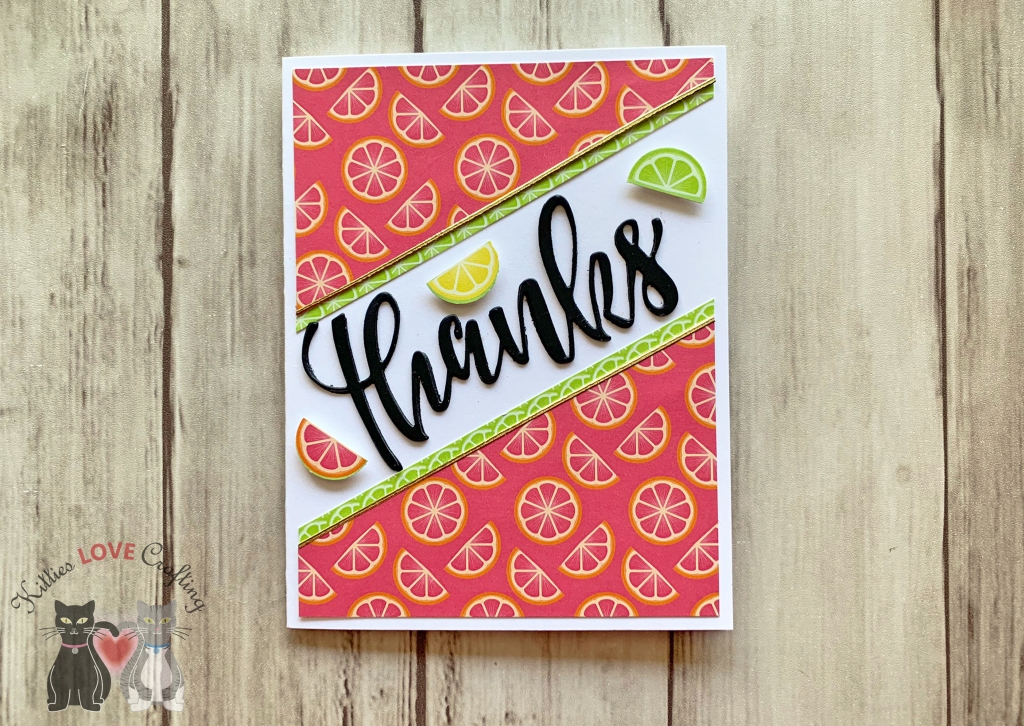
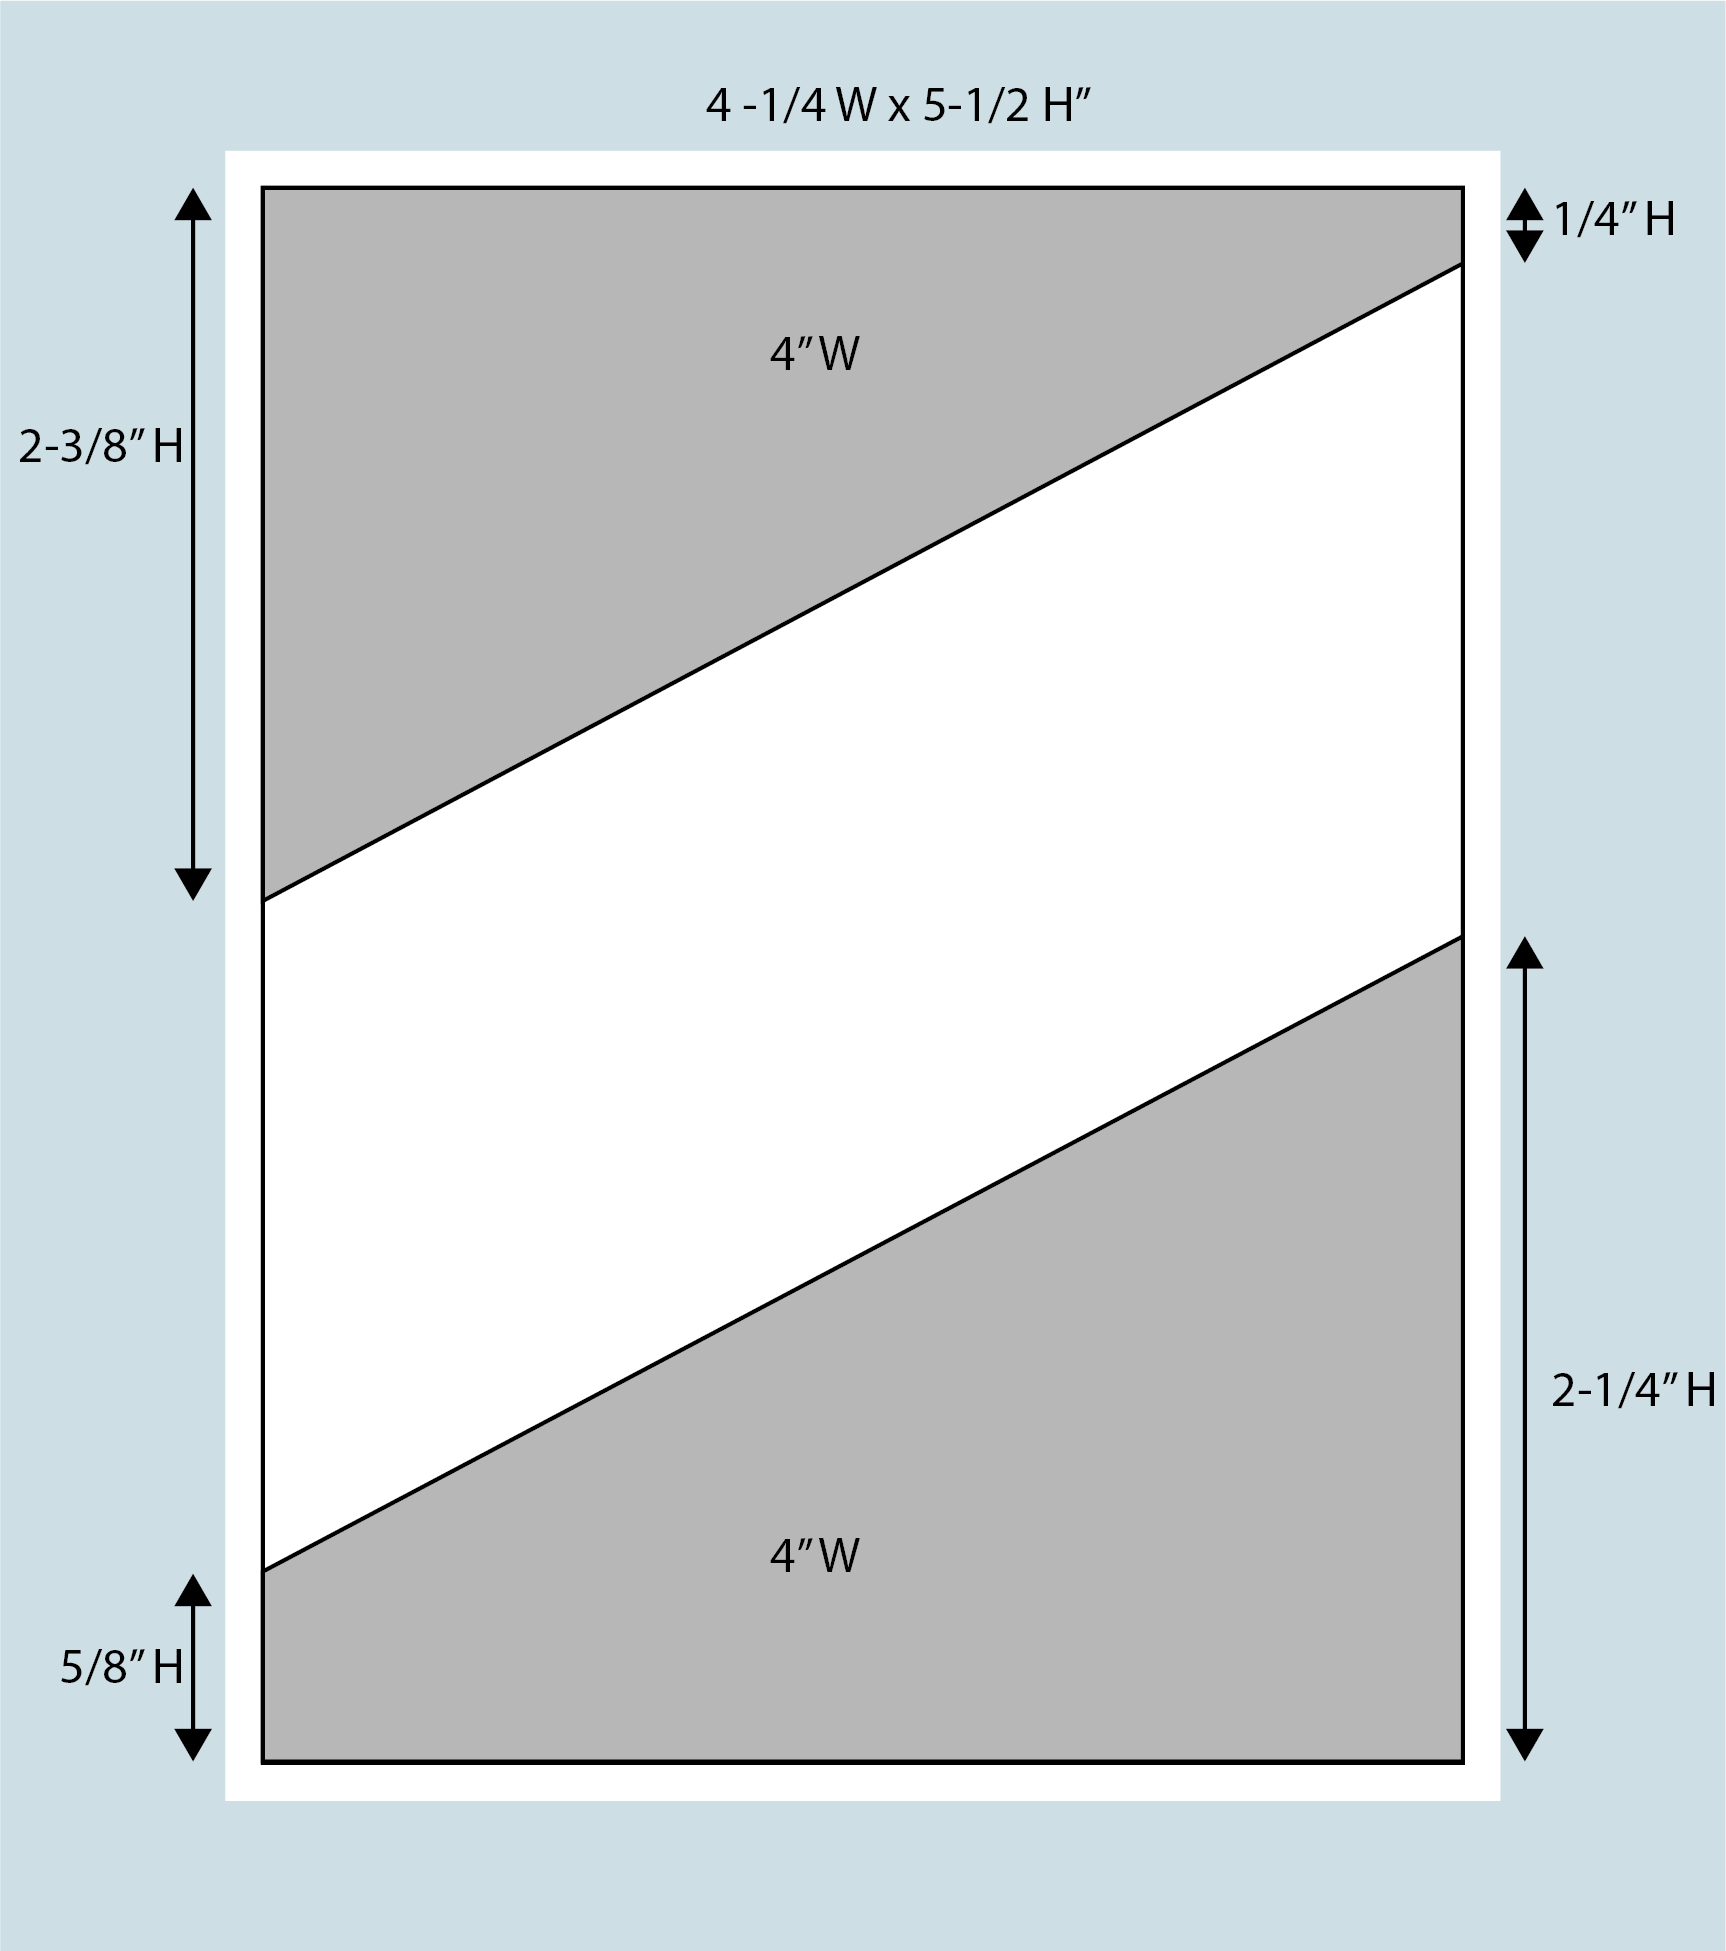
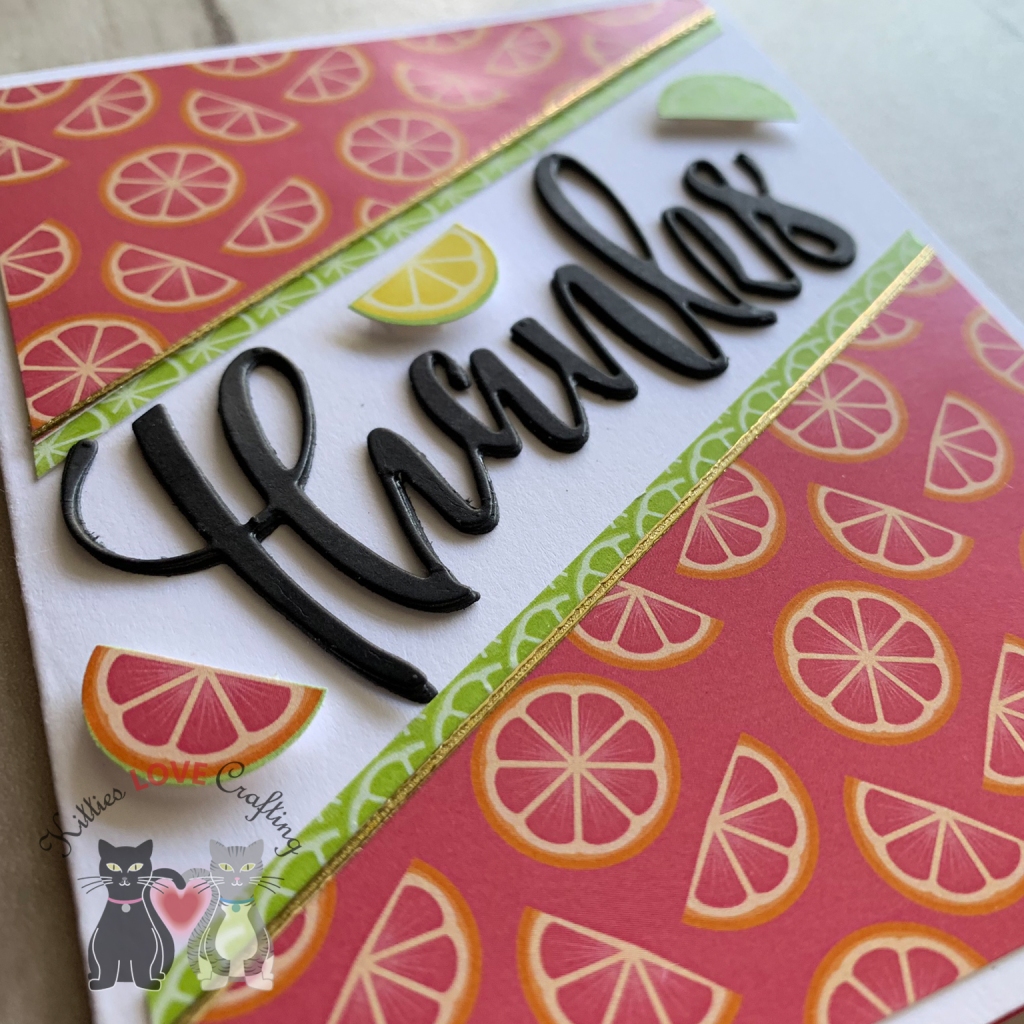
The second card came together quickly. I started with a white card base measuring 5-1/2 x 8-1/2″, scoring it at 4 1/2″. This was made from Neenah 110lb Classic Crest Cardstock 8.5″X11″. Next, I cut some of the pattern paper down to 4 x 5-1/4″ and cut that down diagonally as per the below sketch. I did the same thing to a second pattern paper (green one) and adhered that behind the top layer, offsetting it a bit to create a border. I added a strip of the thinner width Love From Lizi Pin Stripe Peel-Off Stickers in Gold Glitter between the two pattern papers and adhered them to my card base, leaving a 1/8 border around the edge.
Thanks Card Sketch
For the sentiment, I kept thing simple. I used the Large Thanks Die from Honey Bee Stamps and diecut the word 3 times from Simon Says Stamp Card Stock 100# BLACK Cardstock. I layered those 3 together and adhered them, creating a nice thick 3D sentiment. I adhered those to the card in the center of the white space. I felt like something was missing though. I took another pattern paper that had small lemons, limes and oranges (maybe grapefruit? not sure) and using a 1/2 punch I cut 3 of them out and adhered them on my page. That completed the front of this card! Like I said, this one was a quick one.
But just because I hate an empty card inside, I adhered some of the same pattern paper I used on the front diagonally to the inside bottom right corner. And now its complete!
Hello friends. Another Monday is upon us and July is almost over. I don’t know when the whole Christmas in July phenomenon started but I look forward to it every year now. The Hallmark Channel shows Christmas movies all month long, which I just love; those cheesy Christmas movies are the best! There are crafty sales and giveaways and crafters share cute Holiday cards and crafts. What could be better? It’s also a great time to get a jump start on your holiday cards. Before we know it will be December and time to send out cards!
I taped the red cardstock to my work surface using some Post-it Tape and then taped in place the stencil where I wanted it. Since this stencil is narrower than the cardstock panel, if you want to cover the whole background you will have to do these steps twice. I did not have to do this however since I will be covering the left side. I used a palette knife to spread the deco foil transfer gel over the stencil, making sure to spread it evenly and thinly. You don’t want a thick uneven layer or the foil will not stick correctly. I set that aside to dry (it took a couple of hours) and took cut a piece of Stampin’ Up! Old Olive Cardstock to 1 1/8 x 5 1/4″ and ran it through my diecut machine using the Darice Diagonal Stripe Embossing Folder.
Time to add the snowflake. I adhered that 3D white snowflake roughly in the center of the card, added some Tonic PALE GOLD Nuvo Crystal Drops to the center of the snowflake, the top and bottom of the card panel. And the card is finished! Oh wait! we need a sentiment!
Thanks for stopping by and I hope I’ve inspired you to start making your Christmas/Holiday cards. Leave comments or questions below or feel free to email me.
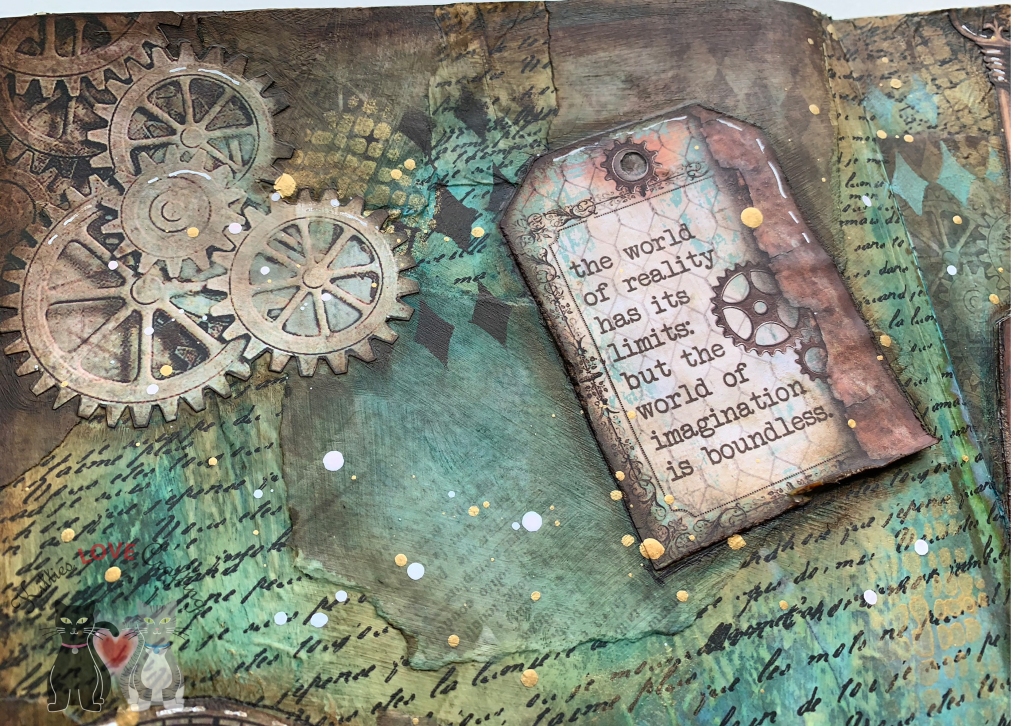
Hello friends. Today’s post is a little different. Coming to you with a with an art journal layout. I haven’t done one of these in quite a while but it’s time to start it up again. An art journal is just a fun place to play with your products and experiment. Sometimes it comes out great and sometimes not so much but it’s about having fun. If you haven’t tried art journaling yet I highly recommend it. You don’t need a ton of supplies to do this either. I like to keep some printed tissue papers and some Acrylic paints on hand. I use stamps and pattern papers from my stash. God knows I have plenty of those!!! LOL I recently purchased the Stamperia paper after seeing Umut Radios use them in her videos. They are beautiful papers. Check out her videos for more inspiration. She inspired me to get started; she makes beautiful layouts using printed napkins!
Ok so let take you through my process. First I gathered some supplies.
I added Canvas Tissuestock Printed French Script, 12-Inch by 12-Inch, Ivory, 10-Pack to the pages. I used Matte gel medium to adhere. I added some to the back and then some over top once down on the page. This seals it and allows you to add other mediums on top without saturating the paper. Next I tore up some of the pattern paper from the Stamperia Scrapbooking Paper – Clockwise collection and randomly adhered them onto the pages. No need for perfection here because I want it to look organic. I sealed everything with Matte gel medium. And now I wait…and wait…and wait for it to dry. A couple of hours later….
Step 1 – Adding Paper
Time to add ink some. I spritzed the pages with water and again very randomly sprayed distress sprays in Tumbled Glass and Walnut Stain. I spread it around with a brush and used my heat tool to dry it some but I still had to wait for it to dry a few hours before continuing with other colors. Once it dried, I added some Broken China Distress Stain, Ground Espresso Distress Stain, and Tarnished Brass Distress Stain and kept layering color until I was happy with the results.
Step 2 – Adding Ink
While that dried, I cut out and colored all my images. i distressed the tag edges and added distress ink at the edges. I added Walnut Stain Distress Stain and Ground Espresso Distress Stain around the edges of all the cut outs, except the books. Set those aside to dry and got my Stencils out. I used some brown and aqua acrylic paint with the Catherine Pooler Harleen Creative Screenings to some texture. The pattern is similar to the one on the paper I added in the background. Then I used the Tim Holtz Layering Stencil BURLAP with gold acrylic paint and added some small areas of gold.
Thanks for stopping by and I hope I’ve inspired you to make some adorable critter cards of your own. Leave comments or questions below or feel free to email me.


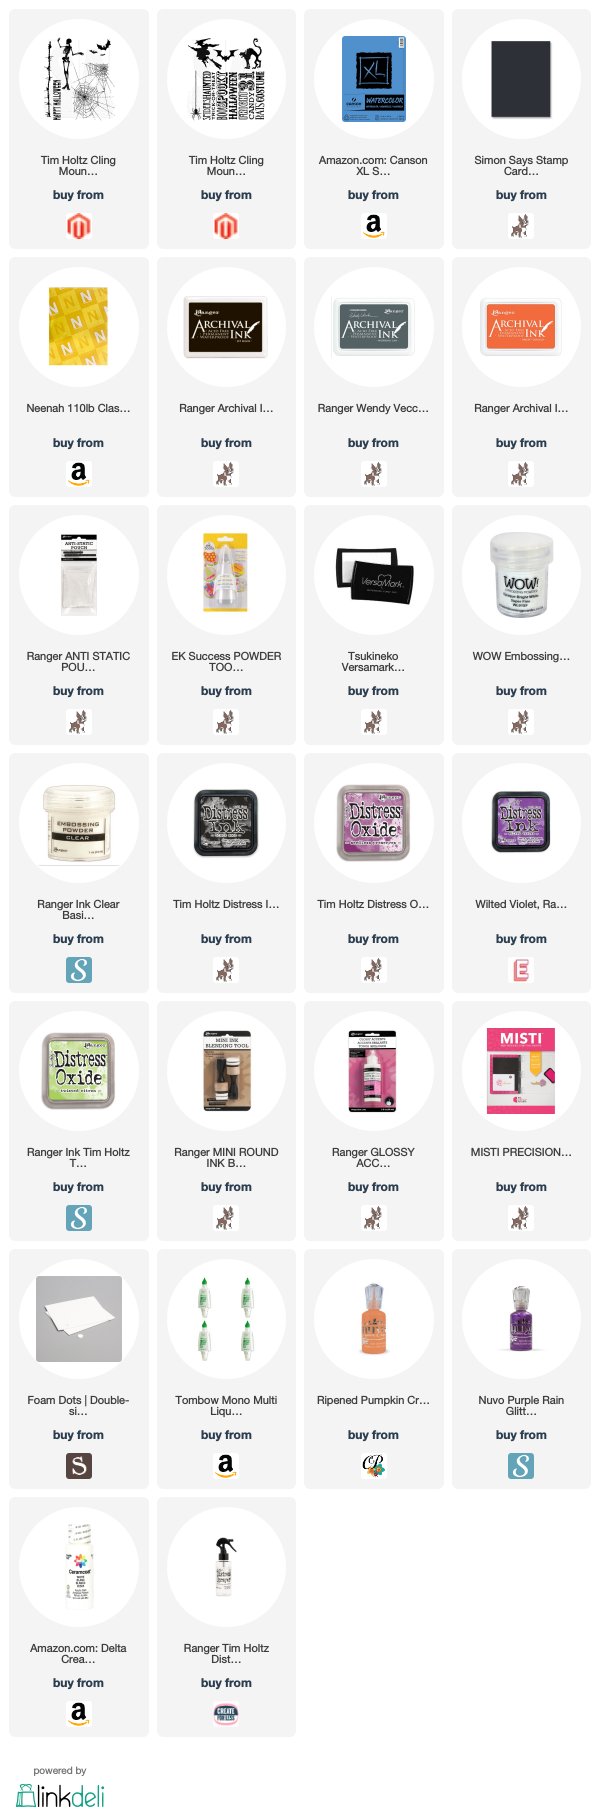
 https://linkdeli.com/widget.js?id=f5e8378456858c916708