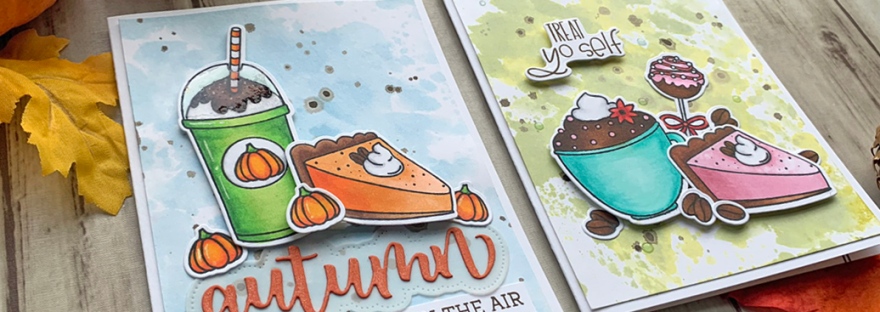
Hello friends. Do you need some last minute Fall or Thanksgiving cards or perhaps a Birthday card?? The Honey Bee Stamps Treat Yo Self 6×6 Stamp Set is great for such cards! I created very simple watercolor backgrounds using one color of distress ink. These cards also use minimal supplies. And while I used my Copics and added shadowing and highlights to the images, you can color them flat and make it simpler. They would still look great!
For my first card, I started by cutting a piece of Neenah 110lb Classic Crest Cardstock 8.5 X 11″ to 5-1/2 x 8-1/2″ and scored at 4-1/4 to create the card base. I cut a piece of Strathmore 300 Series Bristol Smooth Paper to 4 x 5-1/4″. I used Ranger Tim Holtz Broken China Distress Ink to watercolor the background and added splatters using Tim Holtz GROUND ESPRESSO Distress Paint and set it aside to dry.

I stamped the images from the Treat Yo Self 6×6 Stamp Set with Memento Tuxedo Black Ink onto a piece of Neenah 110lb Classic Crest Cardstock 8.5 X 11″, colored them with Copic Markers and die cut them with the coordinating Honey Cuts Treat Yo Self Dies. I used Y18 + YR04 + YR09 and YG03 + YG05 + G07 for the pumpkins; E25 + E29 + E49 (chocolate syrup), BG10 + 0 (lid), YG03 + YG05 + G07 (cup), N2 + 0 and YR04 + YR09 (straw) on the cup; and YR00 + YR14 + Y04 + Y09 (filling), N1 + 0 (whipped cream), E33 + E25 + E29 (crust and coffee beans/nuts) for the pie.

I adhered the watercolored panel to the card base using wet glue and the images using wet glue and Stampin’ Dimensionals. I die cut the ‘Autumn’ word and the largest shadow using the Honey Bee Autumn Buzzword Dies. I used Stampin’ Up! Tangerine Tango 8-1/2 x 11″ Cardstock (retired) for the word and Simon Says Stamp Vellum for the shadow. I stamped a sentiment from the Honey Bee Autumn Buzzword Stamp Set onto a piece of Neenah 110lb Classic Crest Cardstock 8.5 X 11″ with Ground Espresso Distress Oxide Ink and cut it down to 3/8 x 1-3/4″. I adhered all the sentiment pieces to the card using wet glue. To finish off the card I added highlights using a Uni-Ball Signo Broad Point White Gel Pen, shimmer to the ‘Autumn’ buzzword with Spectrum Noir Clear Overlay Sparkle Pen, and added Ranger Glossy Accents to the lid.
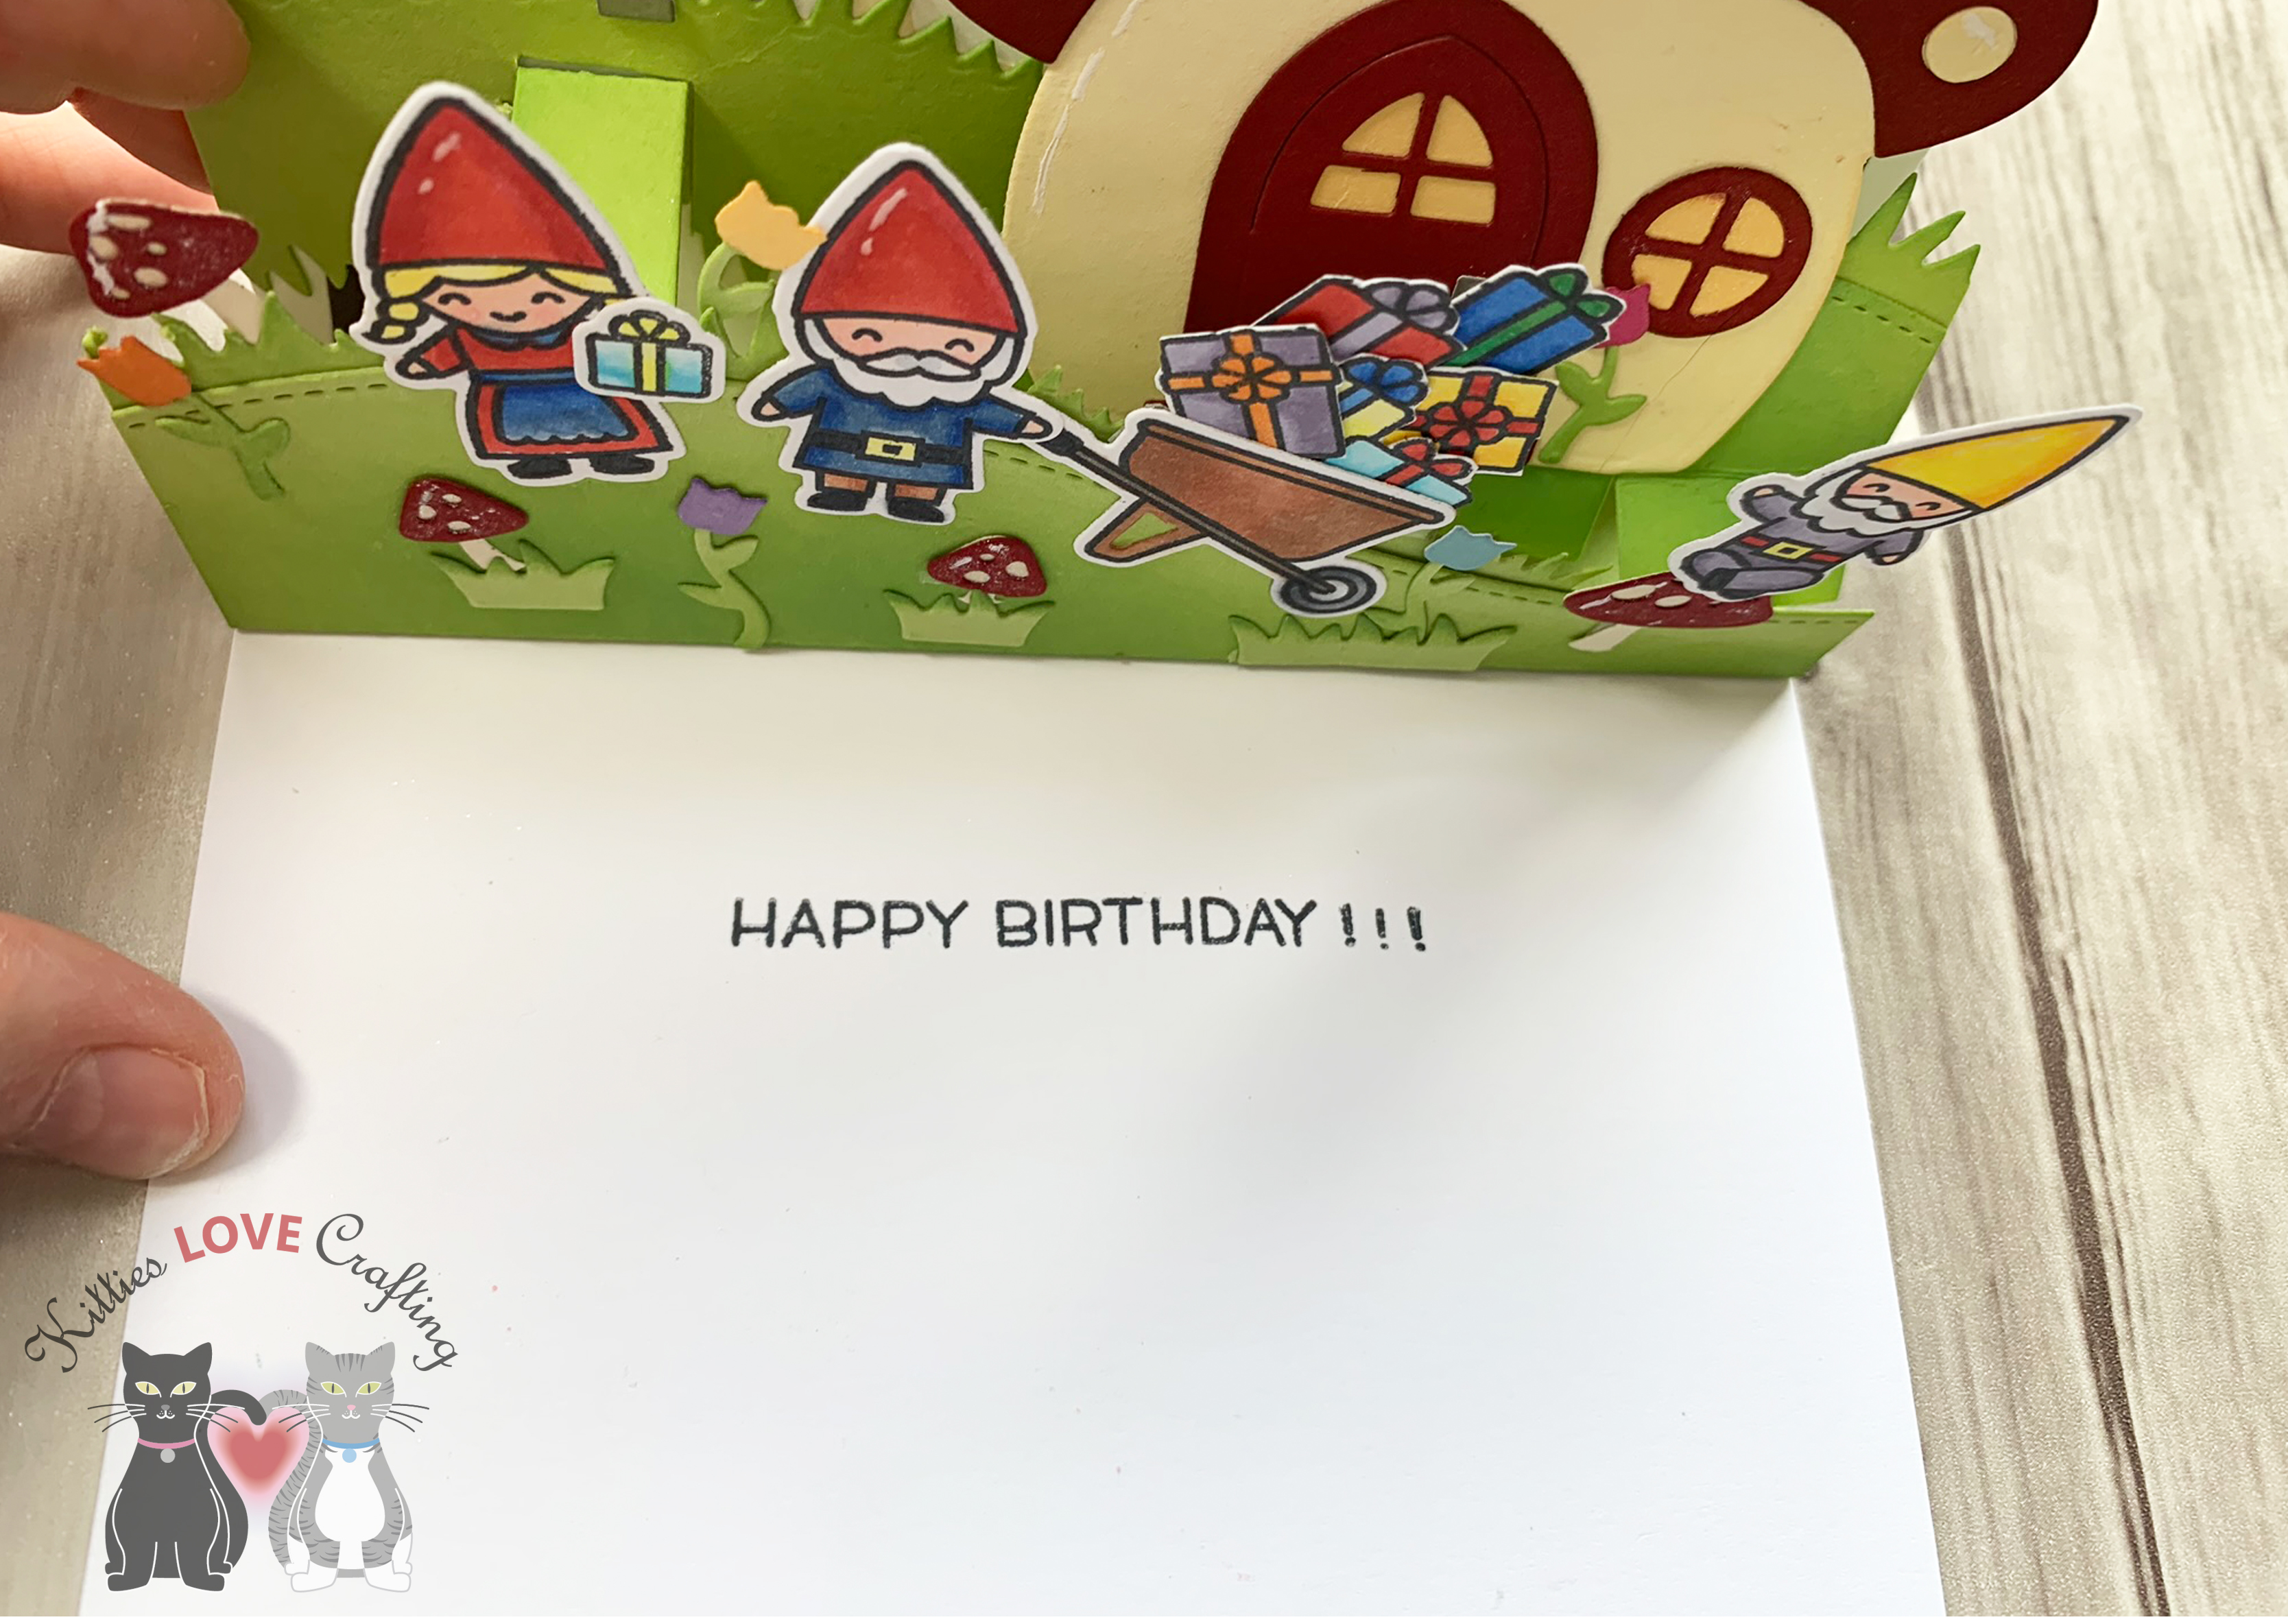
The inside of the card was left blank.
Dimensions
- Card Base = 5-1/2 x 8-1/2″ and scored at 4-1/4 Neenah 110lb Classic Crest Cardstock 8.5 X 11″
- Top Panel = 4 x 5-1/4″ Strathmore 300 Series Bristol Smooth Paper
For my second card, I started by cutting a piece of Neenah 110lb Classic Crest Cardstock 8.5 X 11″ to 5-1/2 x 8-1/2″ and scored at 4-1/4 to create the card base. I cut a piece of Strathmore 300 Series Bristol Smooth Paper to 4 x 5-1/4″. I used Ranger Tim Holtz Peeled Paint Distress Ink and Tim Holtz Crushed Olive Distress Ink to watercolor the background and added splatters using Tim Holtz GROUND ESPRESSO Distress Paint and set it aside to dry.
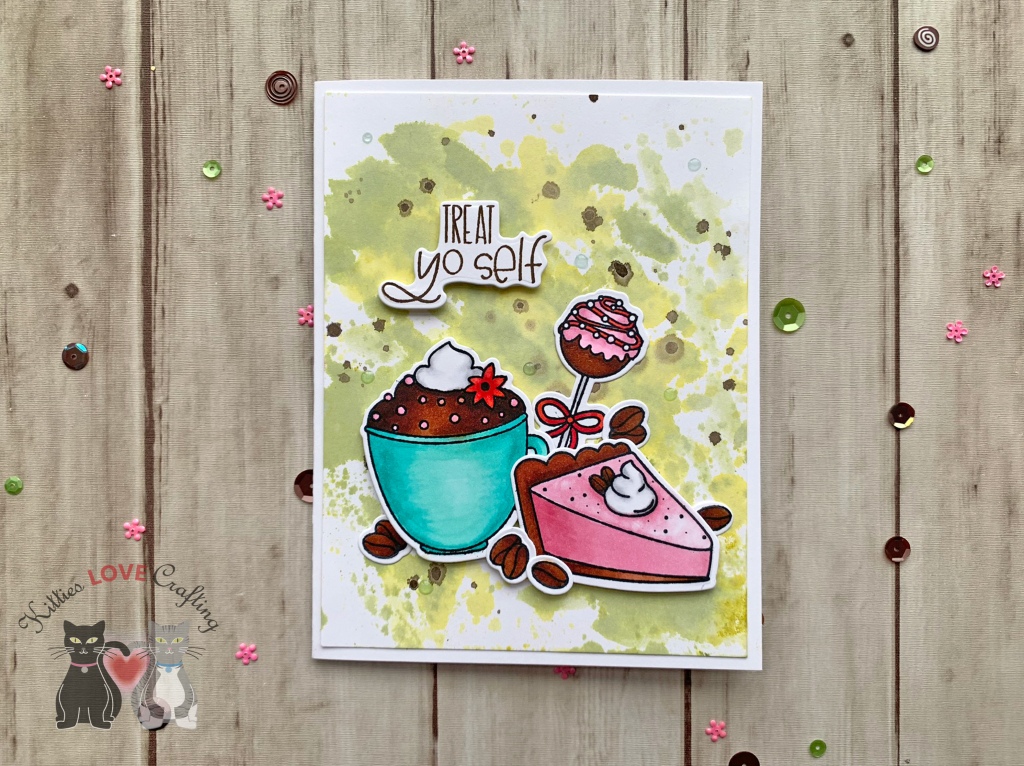
I stamped the images from the Treat Yo Self 6×6 Stamp Set with Memento Tuxedo Black Ink onto a piece of Neenah 110lb Classic Crest Cardstock 8.5 X 11″, colored them with Copic Markers and die cut them with the coordinating Honey Cuts Treat Yo Self Dies. I used BG11 + BG15 (mug), N2 + 0 (whipped cream), E37 + E29 + E49 (chocolate frosting), and RV10 + R83 (flower); E15 + E37 + E29 (crust and beans/nuts), N2 + 0 (whipped cream), R81 + R83 + R85 (filling) for the pie slice; E37 + E29 + E49 for the beans; and R83 + RV10 (frosting), E37 + E29 (cake), R17 + R27 + R29 (ribbon) and N2 + 0 (popsicle stick) for the cake pop.
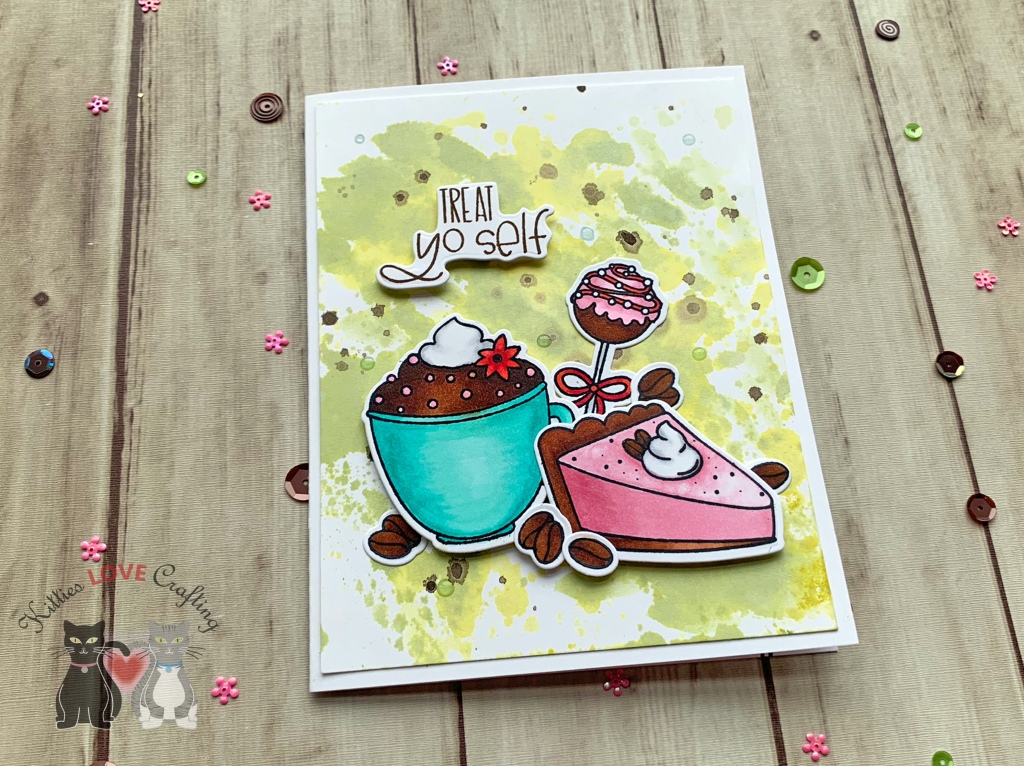
I adhered the watercolored panel to the card base using wet glue and the images using wet glue and Stampin’ Dimensionals. I stamped a sentiment from the Treat Yo Self 6×6 Stamp Set onto a piece of Neenah 110lb Classic Crest Cardstock 8.5 X 11″ with Ground Espresso Distress Oxide Ink and die cut it with the coordinating Honey Cuts Treat Yo Self Dies. I adhered the the sentiment to the card using Stampin’ Dimensionals. To finish off the card I added Nuvo Sea Breeze Jewel Drops.

On the inside of the card, I stamped a sentiment from Lawn Fawn Village Shops and the cake pop from Treat Yo Self 6×6 Stamp Set with Ground Espresso Distress Oxide Ink. And that completes this card.
Dimensions
- Card Base = 5-1/2 x 8-1/2″ and scored at 4-1/4 Neenah 110lb Classic Crest Cardstock 8.5 X 11″
- Top Panel = 4 x 5-1/4″ Strathmore 300 Series Bristol Smooth Paper
Supplies
 https://linkdeli.com/widget.js?id=f5e8378456858c916708
Thanks for reading this post. I hope you enjoyed and I’ve inspired you to give these watercolored cards a try for yourself. Leave comments or questions below or feel free to email me.