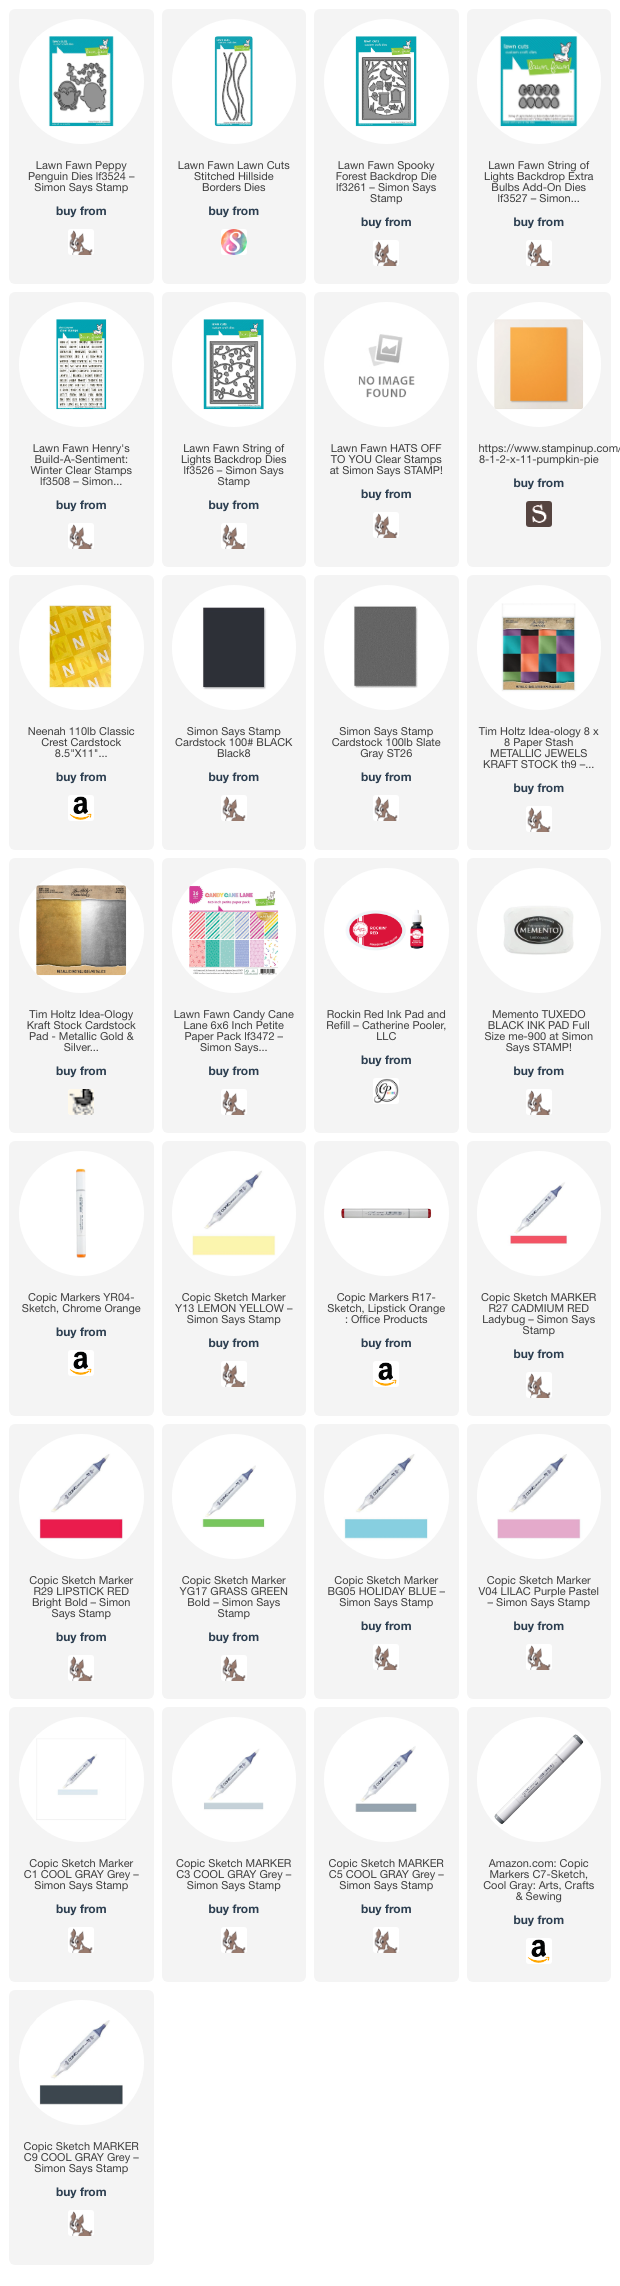
Hello friends. This cute scene card was created using some older Lawn Fawn dies with their new holiday collection. I used the Lawn Fawn Spooky Forest Backdrop die which came out for Halloween as the forest on this card. I combined it with the new Peppy Penguin and String of Lights Backdrop dies to create this cute scene.
Thanks for reading this post. I hope I’ve inspired you to give this cute penguin scene card a try for yourself. Leave comments or questions below or feel free to email.
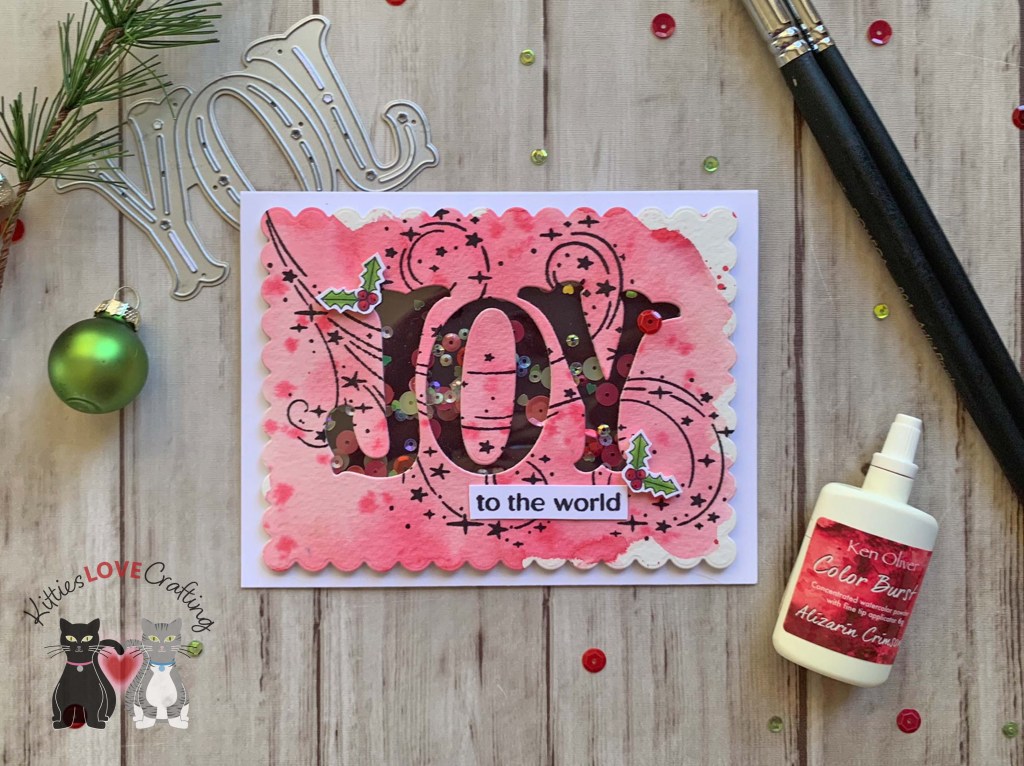
Thanks for reading this post. I hope I’ve inspired you to make this fun shaker using your own word dies! Leave comments or questions below or feel free to email.
Hello friends. Today I am bringing you a card featuring Simply Made Crafts Happy Haunting collection products. This one is a quick and easy card to make.
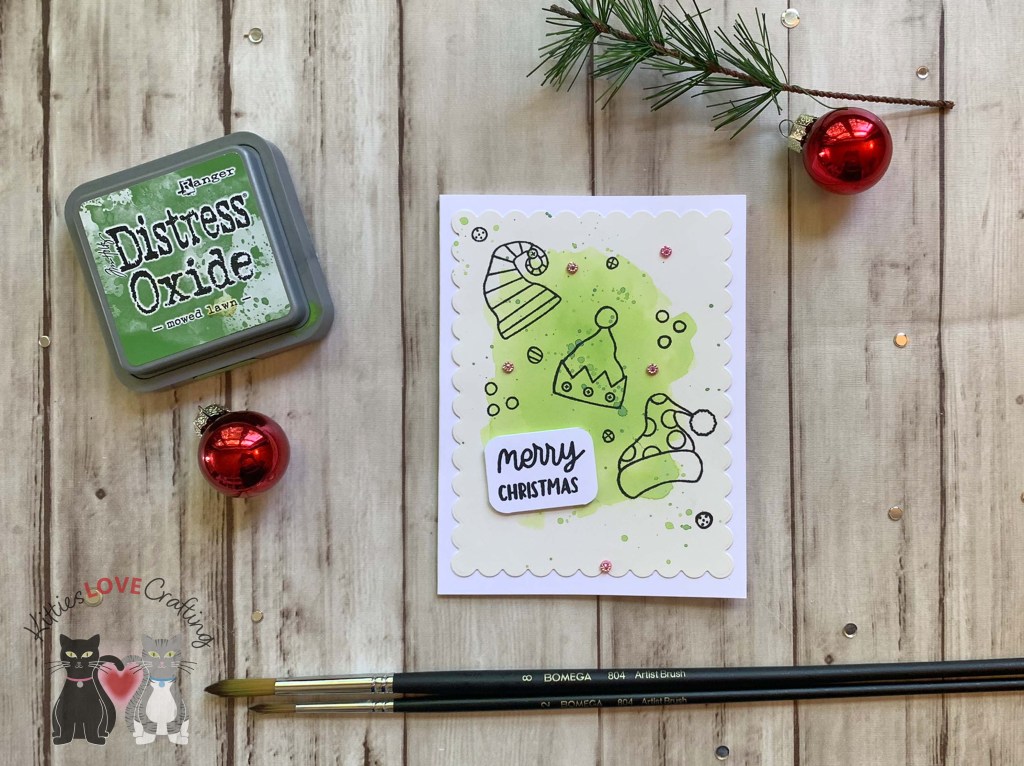
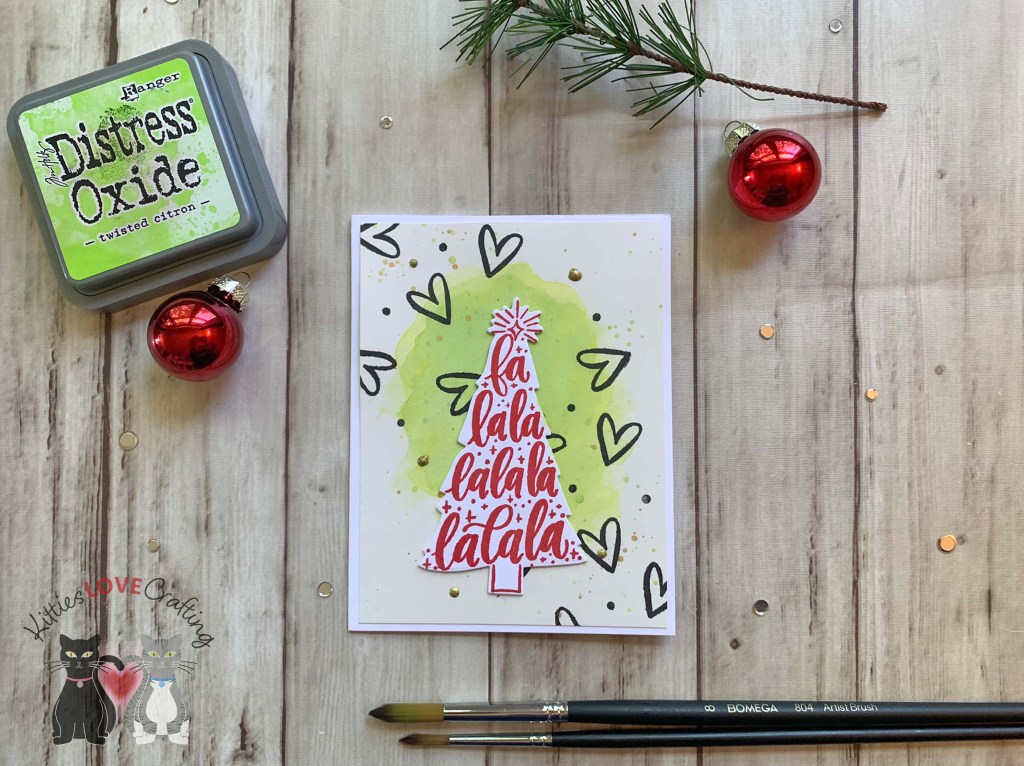
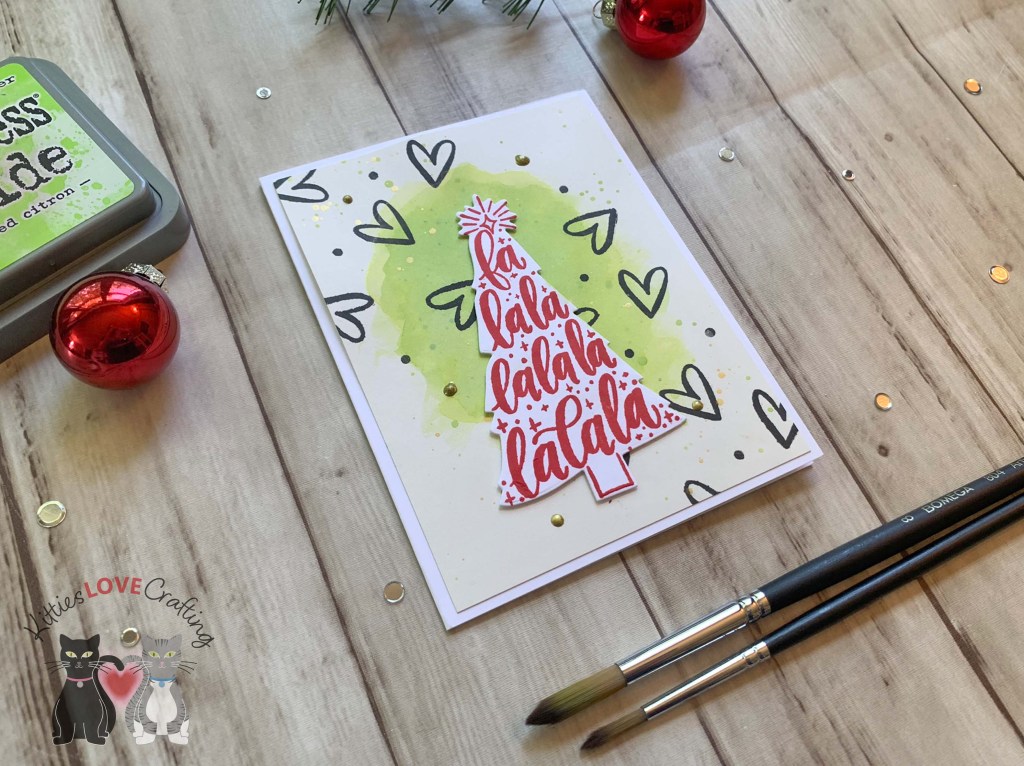
Hello friends. It’s time to create some Christmas cards! It’s never too early to start. I decided to try making some very easy watercolored cards using older products I already have. These cards can easily be mass-produced which was my objective. I used all watercolor backgrounds but stepped up a few with embossing folders. It takes very little effort but produces great results!!!
I stamped the sentiment from the same stamp set with the silver embossing powder as well. I finished the card by adding some flat silver sequins from my stash.
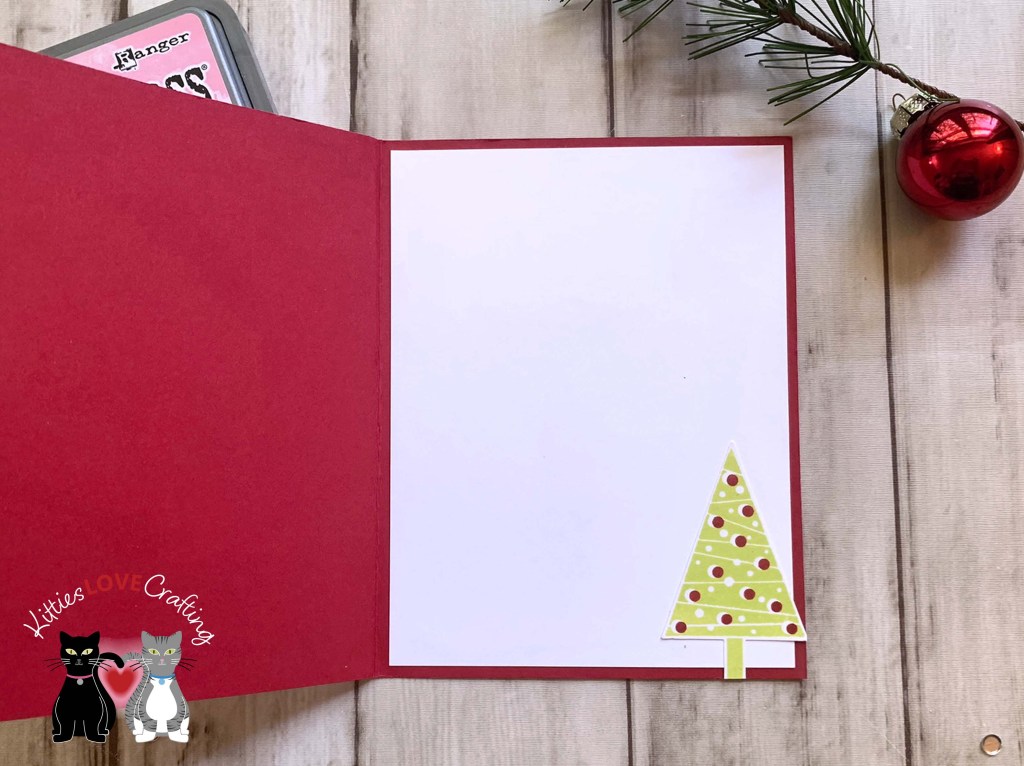
For the fourth card, I cut a piece of Stampin’ Up! Real Red 8-1/2″ X 11″ Cardstock to 5-1/2 x 8-1/2″ and scored at 4-1/4″ to create a card base. I ran the watercolored panel through my die cut machine using the Darice Wired Fence Embossing Folder (unavailable).
For the last card, I cut a piece of Neenah 100lb Classic Crest Cardstock 8.5 X 11″ to 4-1/2 x 11″ and scored at 5-1/2″ to create a card base. I ran the watercolored panel through my die cut machine using the Embossalicious Christmas Merriment Embossing Folder (unavailable).
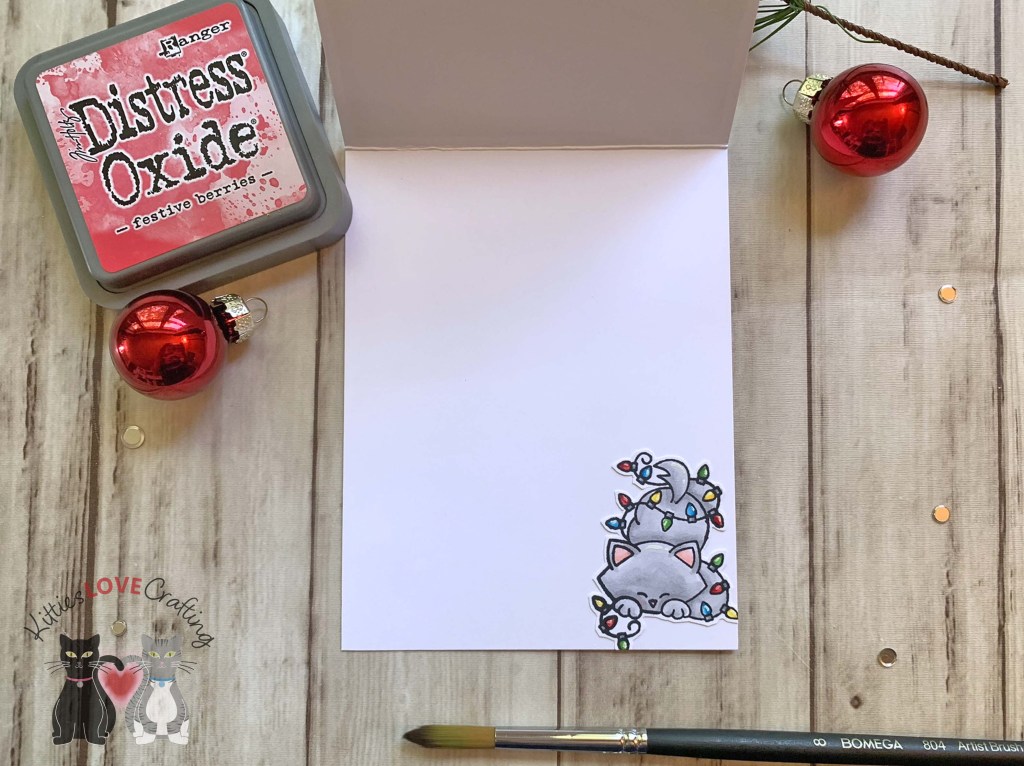
I stamped the kitty from Newton’s Nook Curoius Christmas (retired) onto Neenah 100lb Classic Crest Cardstock 8.5 X 11″ with Memento Tuxedo Black Ink. I used Copic Markers to color the images. I used R20, N0, N2, YG06 & YG17 for the cat; C1 & 0, R14, R27 and R29 for the hat; C1, B0000 and 0 for the milk and cup; E34 and E37 for the cookie; and C3, C5, YG06, YG17, R14, R29, B16, B12, Y02 and Y18. I fussycut the image and popped it up with some Stampin’ Dimensionals.
Thanks for reading this post. I hope I’ve inspired you to give this easy watercolor holiday cards a try for yourself. Leave comments or questions below or feel free to email.
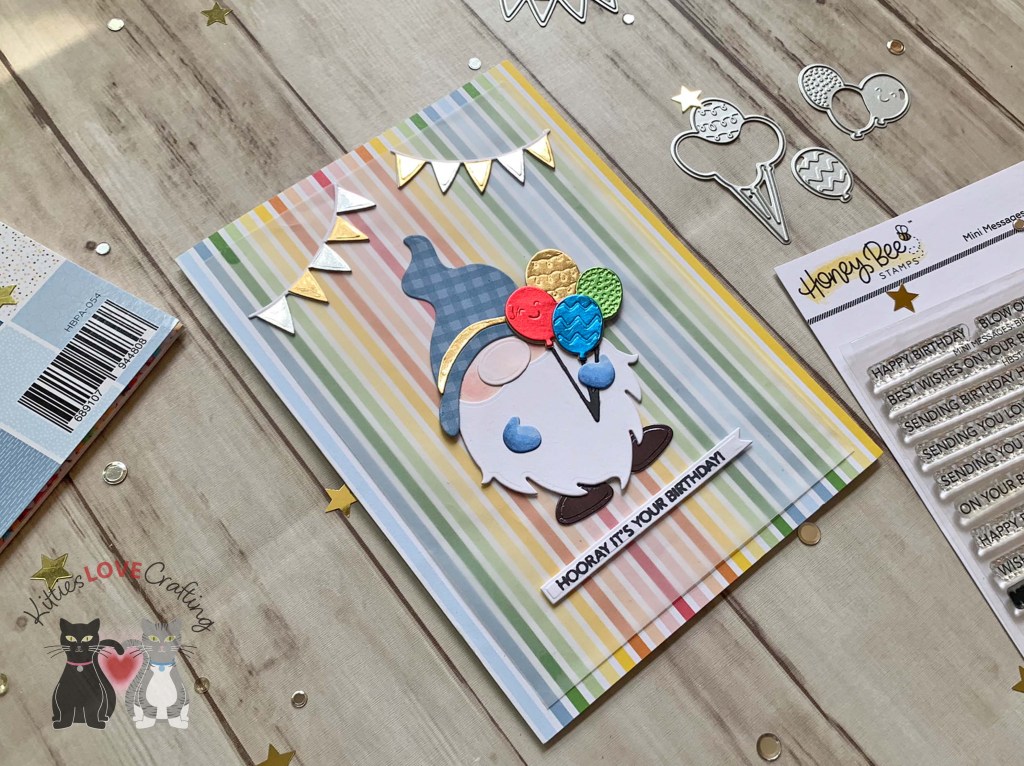
Hello friends. To round off my birthday card series, I decided to make another card with the Springtime Gnome die set from Trinity Stamps! I combined it with the Honey Bee Stamps Birthday Tag Die set.
Thanks for reading this post. I hope I’ve inspired you to give this cute gnome birthday card a try for yourself. Leave comments or questions below or feel free to email.
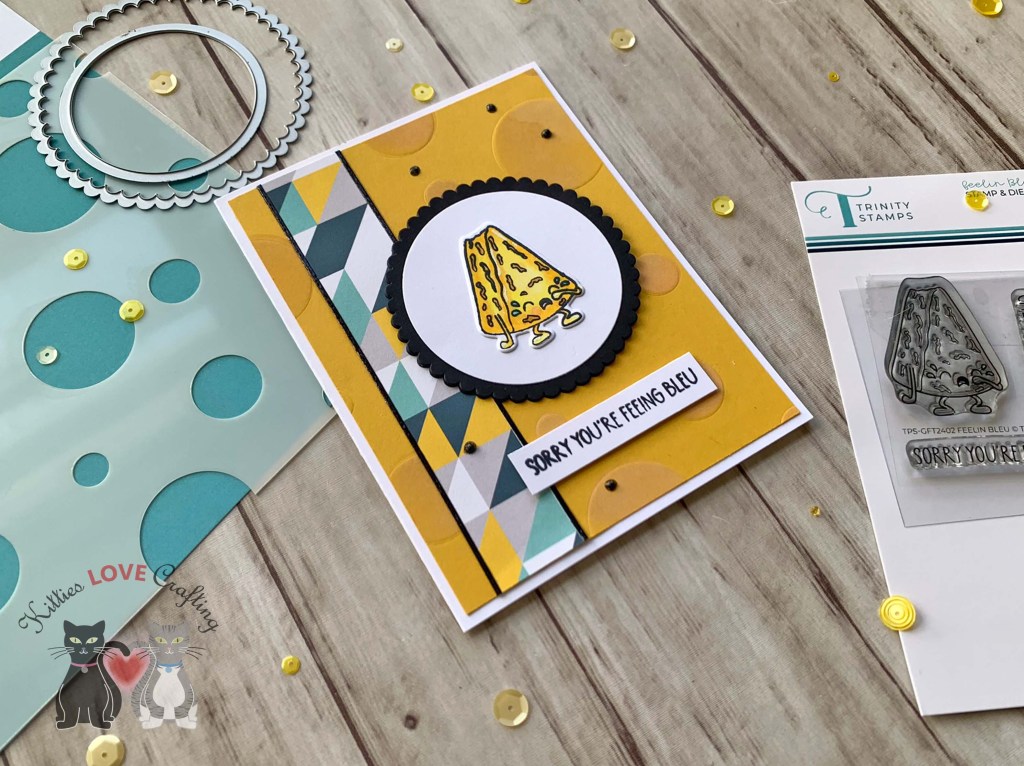
Hello friends. This mini stamp and die set, Feelin Bleu, from Trinity Stamps is just too cute! Had to make a card with it. This turned out to be a really quick card to make. Love that!
For this card, I cut a piece of Neenah 100lb Classic Crest Cardstock 8.5 X 11″ to 5-1/2 x 8-1/2″ and scored at 4-1/4″ to create a card base, and another piece of Stampin’ Up! Crushed Curry 80lb 8-1/2 x 11 Cardstock (retired) to 4 x 5-1/4″. I embossLove Fed this panel using the Cheesy Background 6×6 Stencil. To accomplish this, I used the same sandwich in my Sizzix Big Shot as I do for embossing folders which includes adding an impression plate and silicone plate (check your die cutting machine for the proper sandwich).
I stamped the sentiment from the stampset onto Neenah 100lb Classic Crest Cardstock 8.5 X 11″ with Memento Tuxedo Ink and cut the strip to 1/2 x 2-1/4″. I finished off the card by adding som Nuvo Midnight Sky Glitter Drops (not sure if this is still available).
On the inside of the card, I added a strip of pattern paper from Honey Bee Stamps The Bees Knees 6 x 6 Paper Pad (unavailable) to 1 x 5-1/2″ and stamped a sentiment from the same stampset with Memento Tuxedo Ink.
Background Panel = 4 x 5-1/4″ Stampin’ Up! Crushed Curry 80lb 8-1/2 x 11 Cardstock (retired); 1 x 5-1/4″ Honey Bee Stamps The Bees Knees 6 x 6 Paper Pad (unavailable)
Inside Strip = 1 x 5-1/2″ Honey Bee Stamps The Bees Knees 6 x 6 Paper Pad (unavailable)
Thanks for reading this post. I hope I’ve inspired you to give this cute get well card a try for yourself. Leave comments or questions below or feel free to email.
Hello friends. This cute egg shaped card features the Trinity Stamps Springtime Gnome Die Set. This little gnome is very easy to put together and the can be used for many occasions. Let’s put this card together…
For this card, I die cut a piece of Neenah 100lb Classic Crest Cardstock 8.5 X 11″, folded in half using the Sizzix Framelits Die Set 10PK – Egg (discontinued) to create the card base. to accomplish this I simply left one side of the die off the edge of the folded card base before die cutting. This card base measures 3-3/4 x 5-1/4″ I also cut a smaller egg shape for the front panel.
I die cut the gnome’s hat, hands and bunny ear insides from Echo Park 12 x 12 I Love Easter Cardstock Pack (discontinued I believe) using the Trinity Stamps Springtime Gnome Die Set. The bunny ears, nose, face and beard were die cut from Neenah 100lb Classic Crest Cardstock 8.5 X 11″ and colored with Copic Markers. I used E000 for the nose, E000, E00, R20 & 0 for the face; and C0 & 0 for the ears. His shoes, hat band and all the eggs were die cut from Doodlebug 6 x 6 Dot Grid Daisy Stripe Pack (discontinued I think).
Thanks for reading this post. I hope I’ve inspired you to give this cute gnome Easter card a try for yourself. Leave comments or questions below or feel free to email.
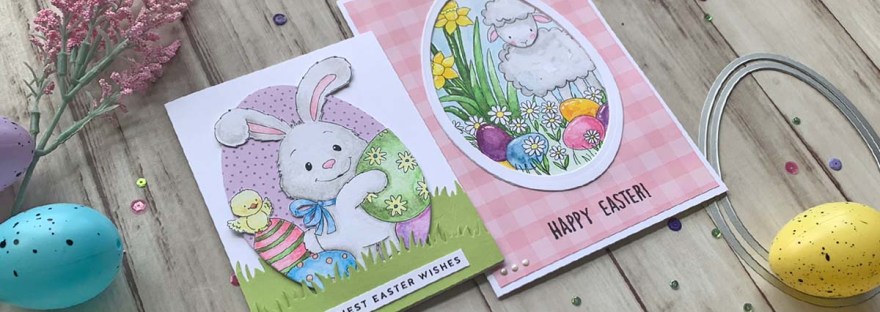
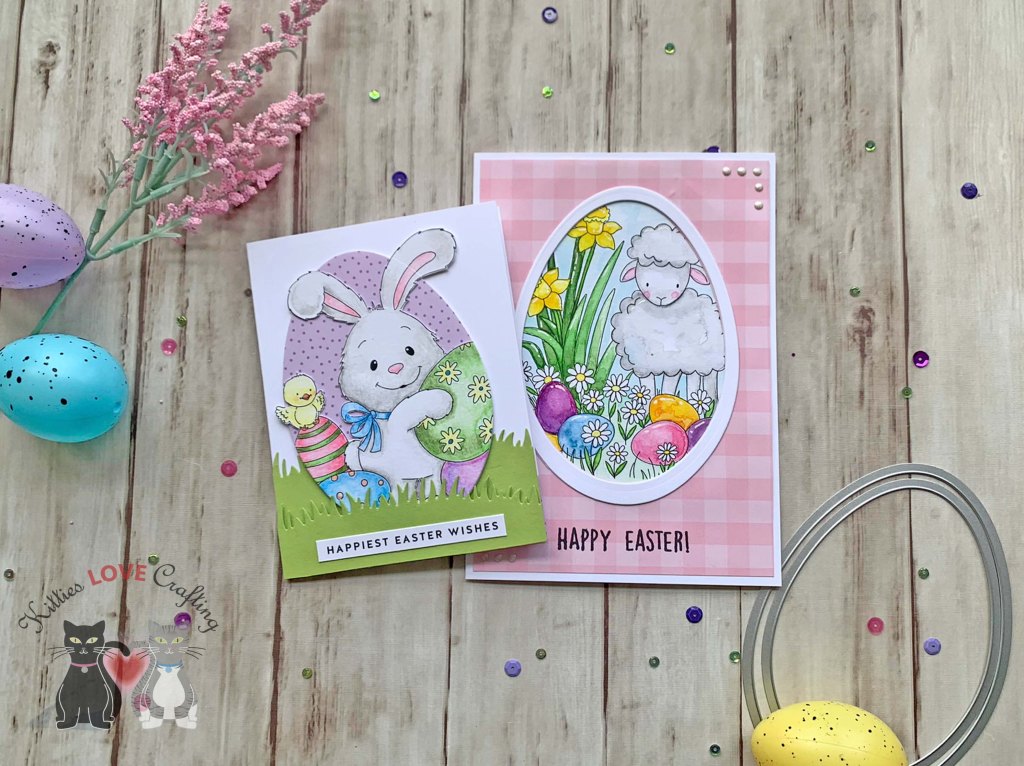
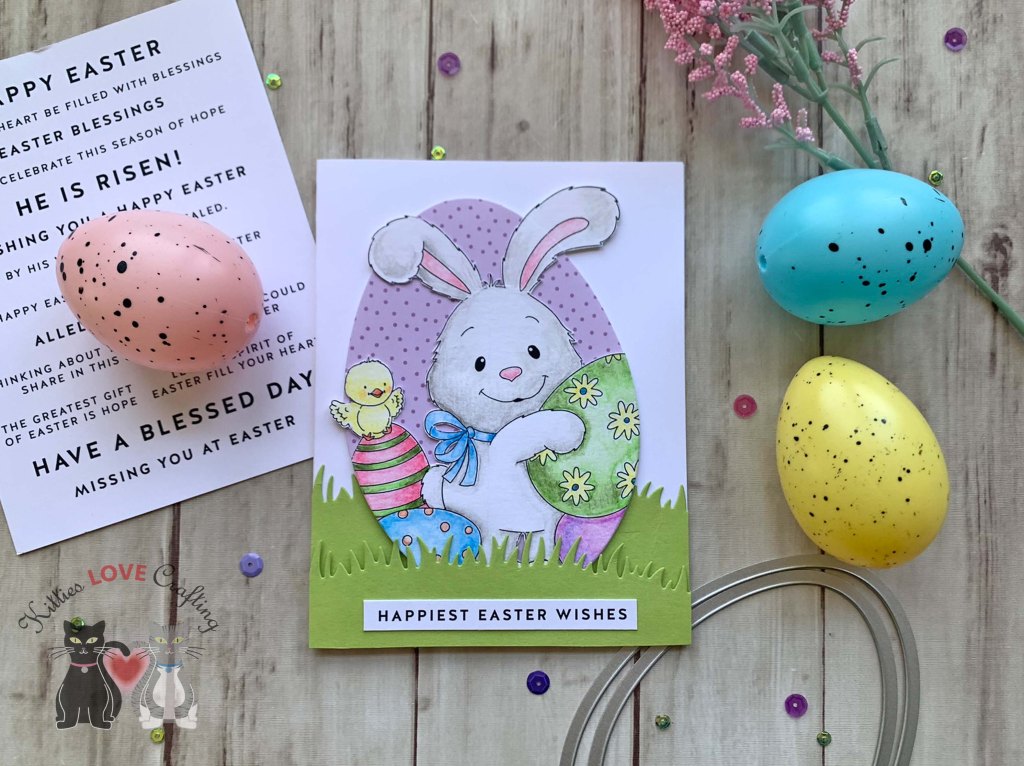
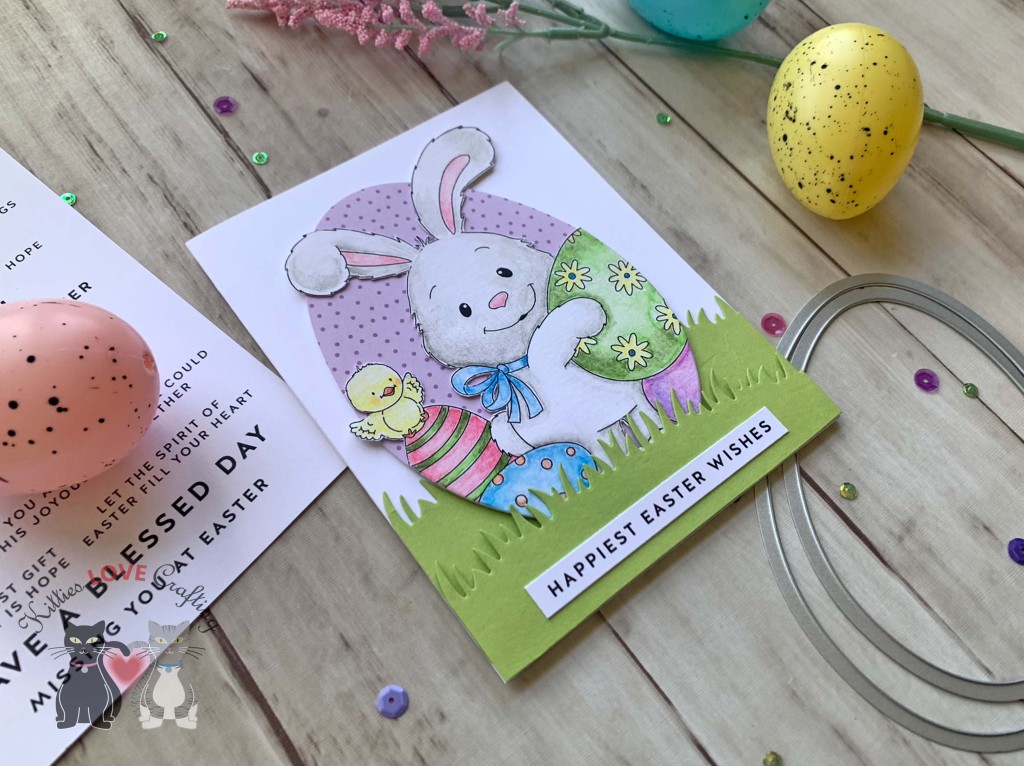
Hello friends. I made these two cute Easter cards using the Simon Says Stamp Suzy’s Watercolor Prints. The prints I used are from an older set but I will link to the newer one that was released this year. I created cute scene cards by using them in a non traditional way.I love to just sit and watercolor these prints! It’s very relaxing and fun to me. If watercolor isn’t your thing you can probably use color pencils to color the images.
I used my Kuretake GANSAI TAMBI Watercolor Paint Set (I love this set!) to color the images. Then cut all the background white areas out and used one of the Egg framelits from Sizzix Framelits Die Set 10PK – Egg (discontinued) to cut out the watercolor print, making sure to not cut his ears. I die cut a piece of Lawn Fawn Stripes ‘n Sprinkles 6×6 Paper with the same framelit for the background.
For the second card, I cut a piece of Neenah 100lb Classic Crest Cardstock 8.5 X 11″ to 5-1/2 x 8-1/2″ and scored at 4-1/4″ to create a card base and a piece of Echo Park I Love Easter 12 x 12 Pattern Paper (discontinued) to 4 x 5-1/4″. I die cut a window from the panel using the Egg framelits from Sizzix Framelits Die Set 10PK – Egg (discontinued). I also used 2 of them to cut out a frame from Neenah 100lb Classic Crest Cardstock 8.5 X 11″.
On the inside of the card, I cut two strips of the pattern paper from Echo Park I Love Easter 12 x 12 Pattern Paper (discontinued), measuring 1 x 4-1/4″ and 1-1/4 x 4-1/4″.
Thanks for reading this post. I hope I’ve inspired you to give these cute Easter cards a try for yourself. Leave comments or questions below or feel free to email.
For this card, I cut a piece of Neenah 100lb Classic Crest Cardstock 8.5 X 11″ to 5-1/2 x 8-1/2″ and scored at 4-1/4″ to create a card base, and another piece to 4-1/4 x 5-1/2″. I embossed this panel with the Darice Embossing Essentials Folder 1218-66 Basket Weave (discontinued). I colored the panel with Tim Holtz Seedless Preserves and Villainous Potion Distress Oxide Inks.
Thanks for reading this post. I hope I’ve inspired you to give this easy Easter window scene card a try for yourself. Leave comments or questions below or feel free to email.
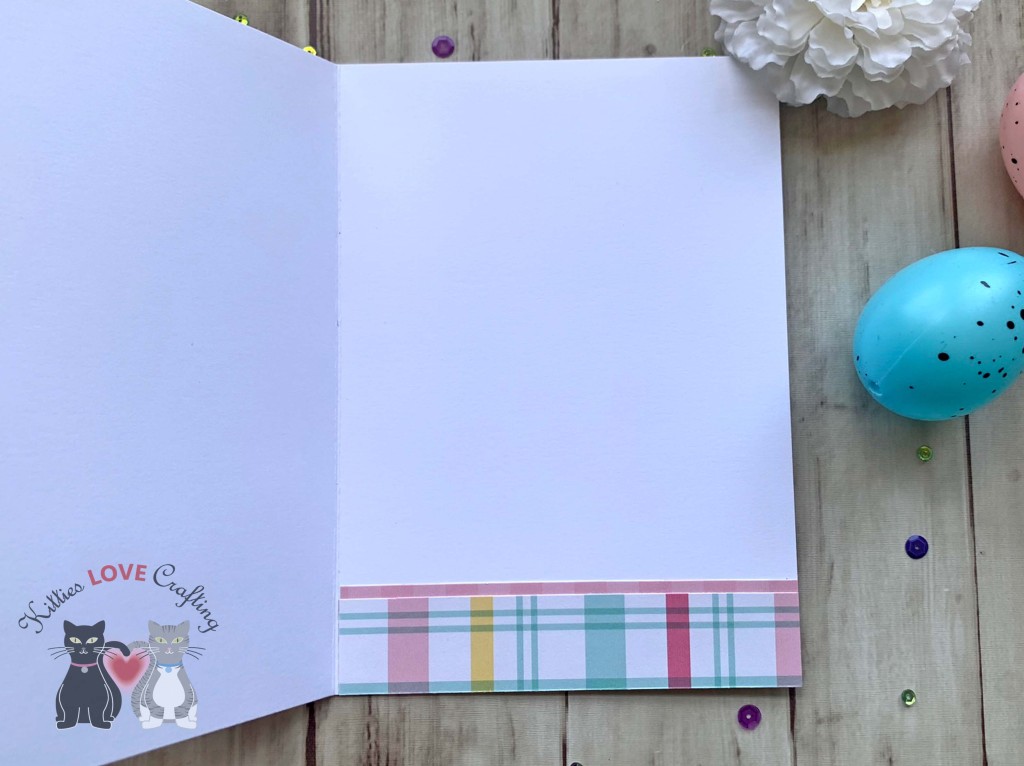
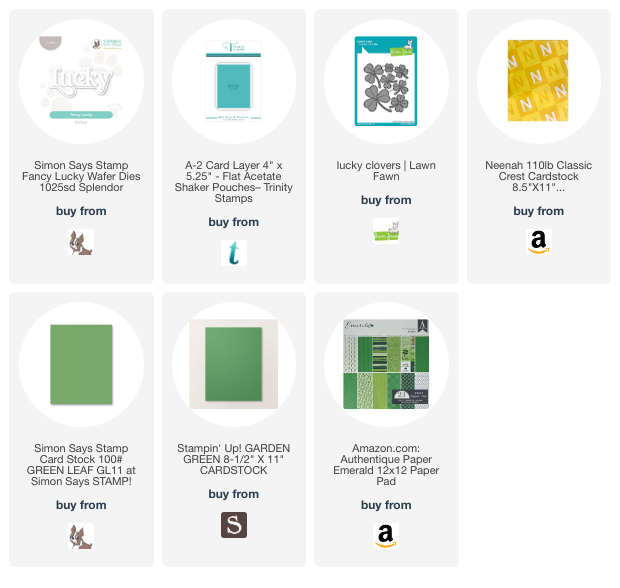
Hello friends. Want to make a fun card for St. Patrick’s Day but short on time?!? This flat shaker card was super quick to make! I used the Flat Acetate Shaker Pouches from Trinity Stamps which made it so much easier.
I used a Trinity Stamps A-2 Card Flat Acetate Shaker Pouches with double-sided tape to adhere to the back panel. I adhered 3 sides then filled it with different shaker bits. Then closed the fourth side and adhered it to the card base.
Thanks for reading this post. I hope I’ve inspired you to give this cute flat shaker card a try for yourself. Leave comments or questions below or feel free to email.


 https://linkdeli.com/widget.js?id=f5e8378456858c916708