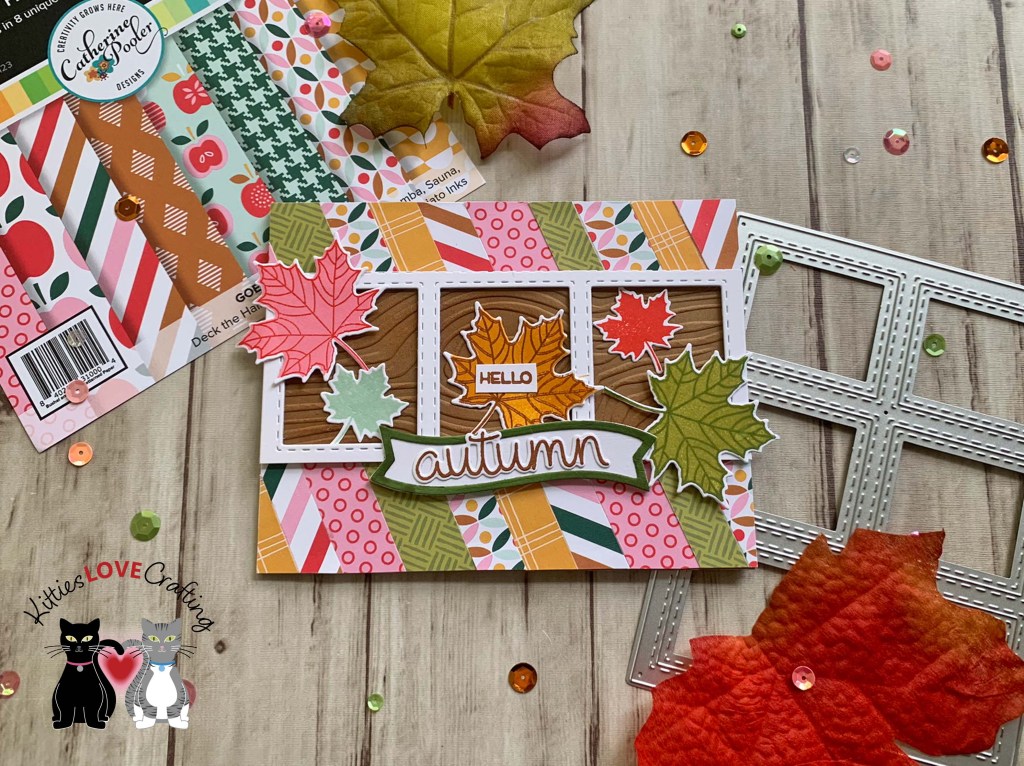
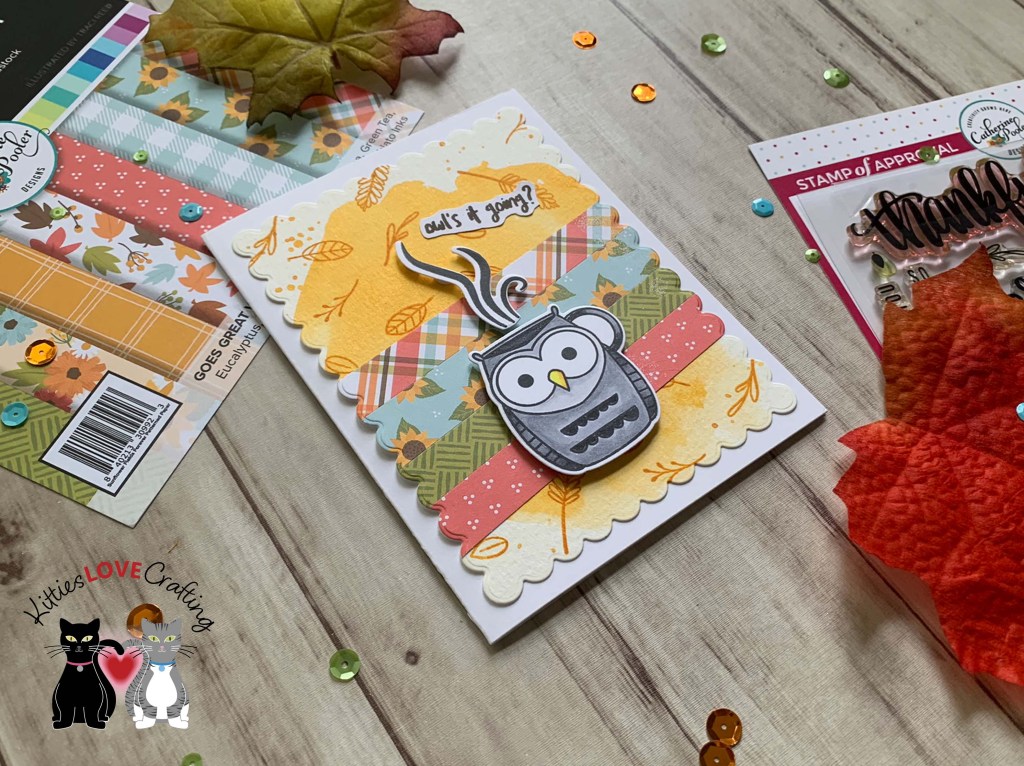
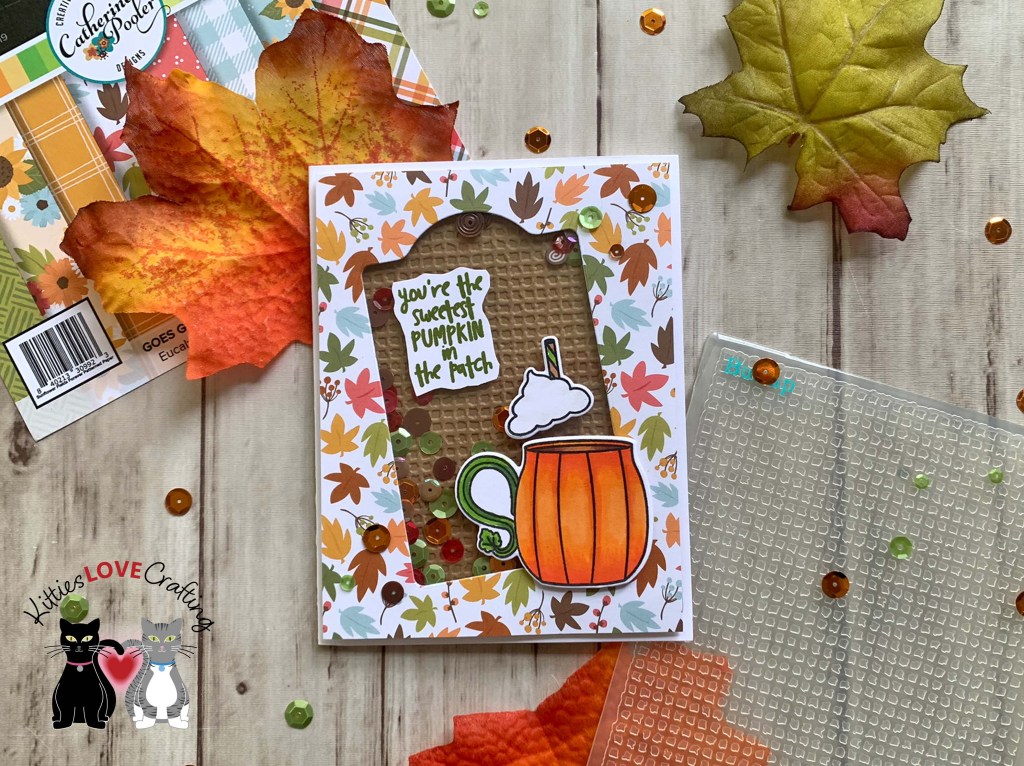
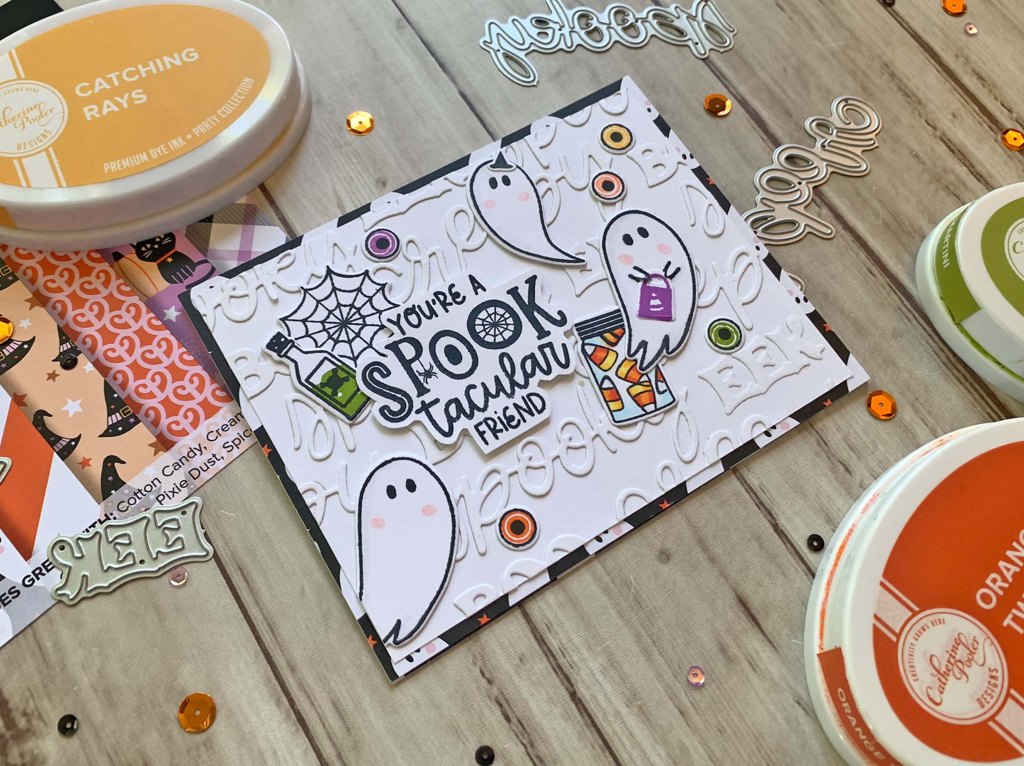
Hello friends. Here’s another Fall card featuring Catherine Pooler Designs Count to Six Cover Plate and the cute owl mug from the Halloween Mug Shots Stampset.

For this card, I cut a piece of Neenah 100lb Classic Crest Cardstock 8.5 X 11″ to 5-1/2 x 8-1/2″ and scored at 4-1/4″ as well as a piece of Strathmore 300 Series Bristol Paper Smooth to 4-1/4 x 5-1/2″ for the background.
For the back panel I used Color Burst Powder (Brights) to add watercolor. Then die cut the Catherine Pooler Designs Count to Six Cover Plate (included in the Boo Box) from Catherine Pooler Designs Sunflower Fields Forever 6 x 6 Patterned Paper.
I stamped several leaves from the Lawn Fawn Scripty Autumn Sentiments onto Neenah 100lb Classic Crest Cardstock 8.5 X 11″ with Catherine Pooler Designs Midnight Ink. I used inks to color them. I used CP Green Tea, Polished, Orange Peel, and Sauna inks.
I stamped the owl mug from the Catherine Pooler Designs Halloween Mug Shots (included in the Boo Box) with Catherine Pooler Designs Midnight Ink onto watercolor paper. I used CP Spiced, S’mores and Orange Twist inks with a blender pen for the mug and Pebble, Orange Twist and Polished for the foam.

For the sentiment I stamped part of it from Lawn Fawn Scripty Autumn Sentiments onto Neenah 100lb Classic Crest Cardstock 8.5 X 11″ with Catherine Pooler Designs Midnight Ink and fussy cut it, the second part with CP Green Tea ink which I die cut with the coordinating word die and the last part I stamped with black ink onto a banner die cut from the Law Fawn Fancy Wavy Banners (retired). I also used the Green Tea ink to color the banner outline.
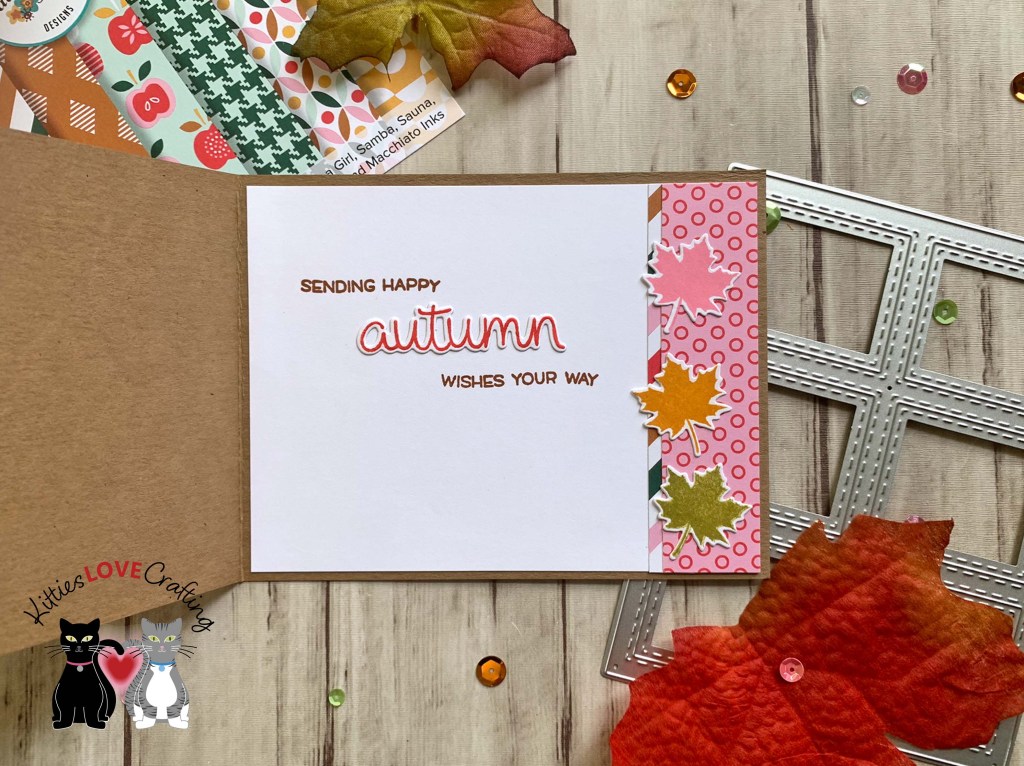
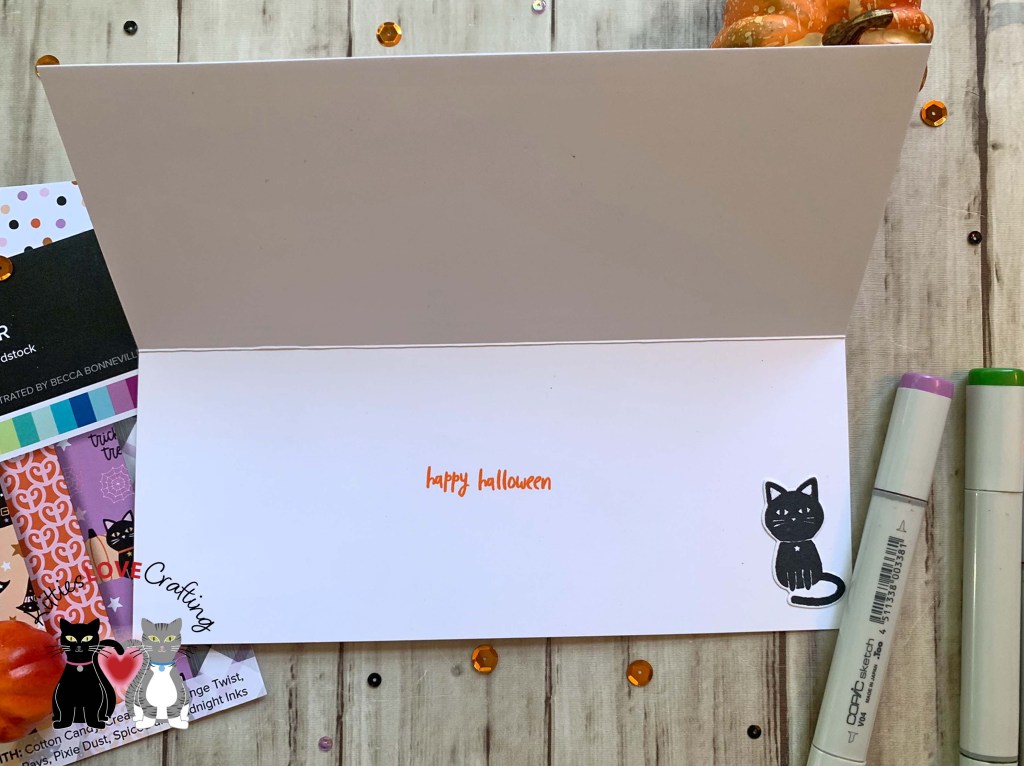
On the inside of the card, I cut a piece of Catherine Pooler Designs Sunflower Fields Forever 6 x 6 Patterned Paper to 1 x 4-1/4″ and stamped a sentiment from the Honey Bee Stamps Autumn Stampset (retired) with CP Spiced and Green Tea Inks and some more leaves.

Dimensions
- Card Base = 5-1/2 x 8-1/2″ and scored at 4-1/4″ Neenah 100lb Classic Crest Cardstock 8.5 X 11″
- Background Panel = 4-1/4 x 5-1/2″ Strathmore 300 Series Bristol Paper Smooth
- Inside Panel = 1 x 4-1/4″ Catherine Pooler Designs Sunflower Fields Forever 6 x 6 Patterned Paper
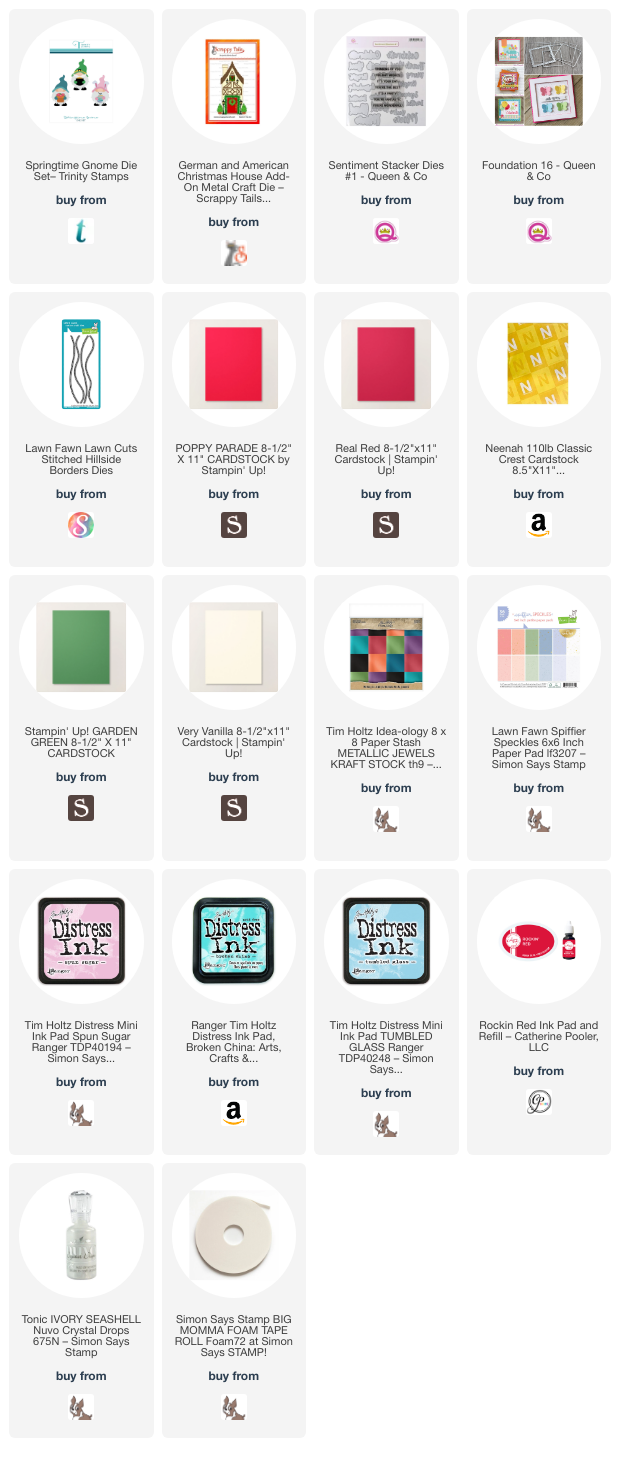
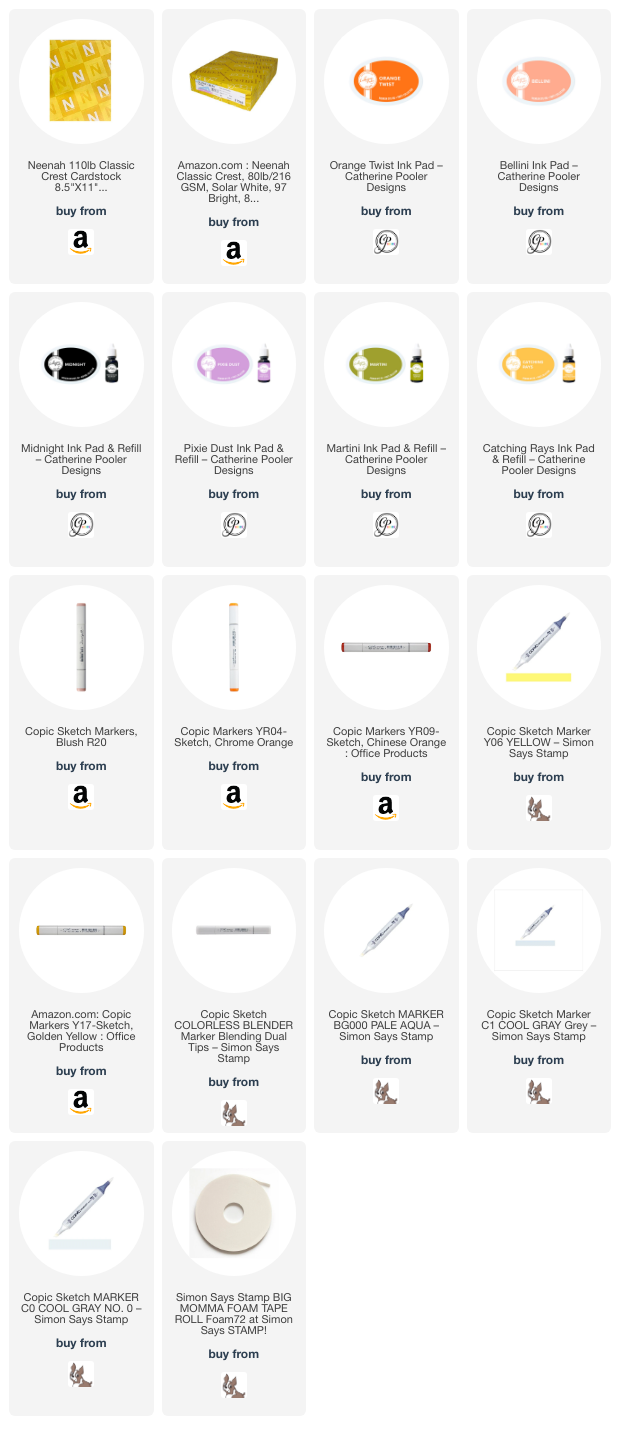
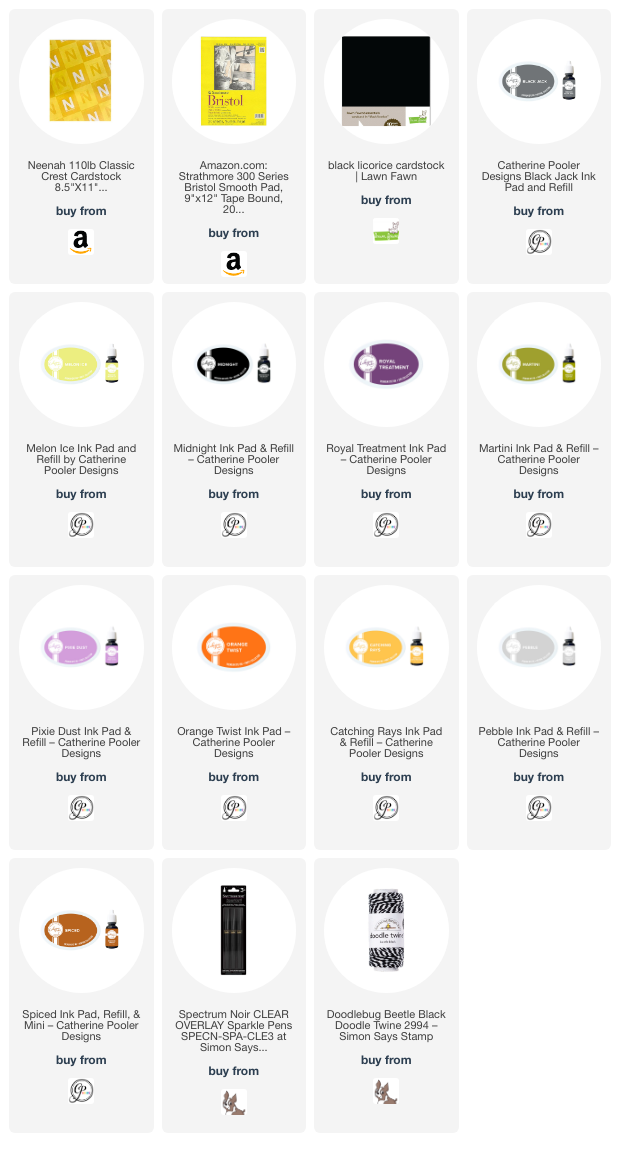
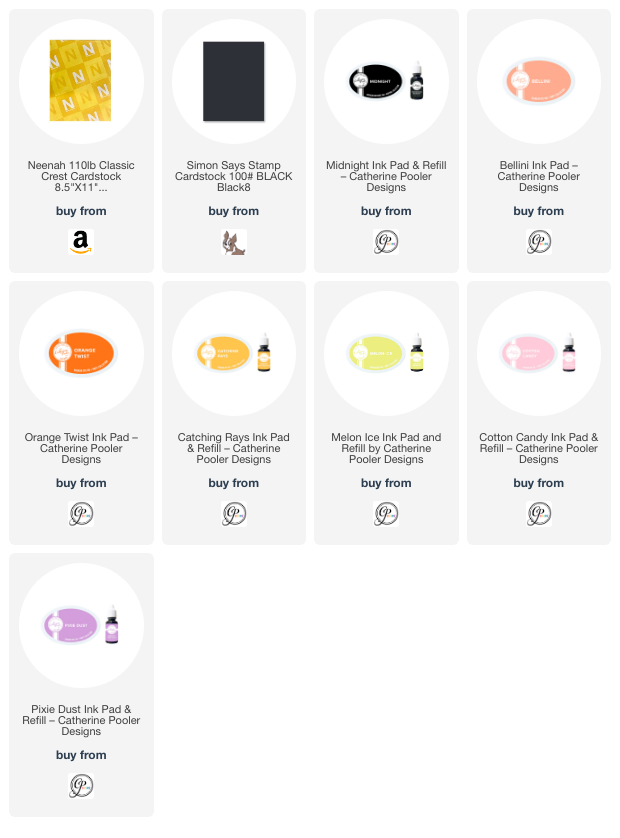
Supplies
 https://linkdeli.com/widget.js?id=f5e8378456858c916708
Thanks for reading this post. I hope I’ve inspired you to make this cute owl card! Leave comments or questions below or feel free to email.