Hello friends. Here’s another Autumn inspired card featuring the cute pumpkin mug from Catherine Pooler Designs Halloween Mug Shots (incl. in the Boo Box). This time I created a shaker card using the Haunted Tags & Charms Dies (also incl. in the Boo Box).
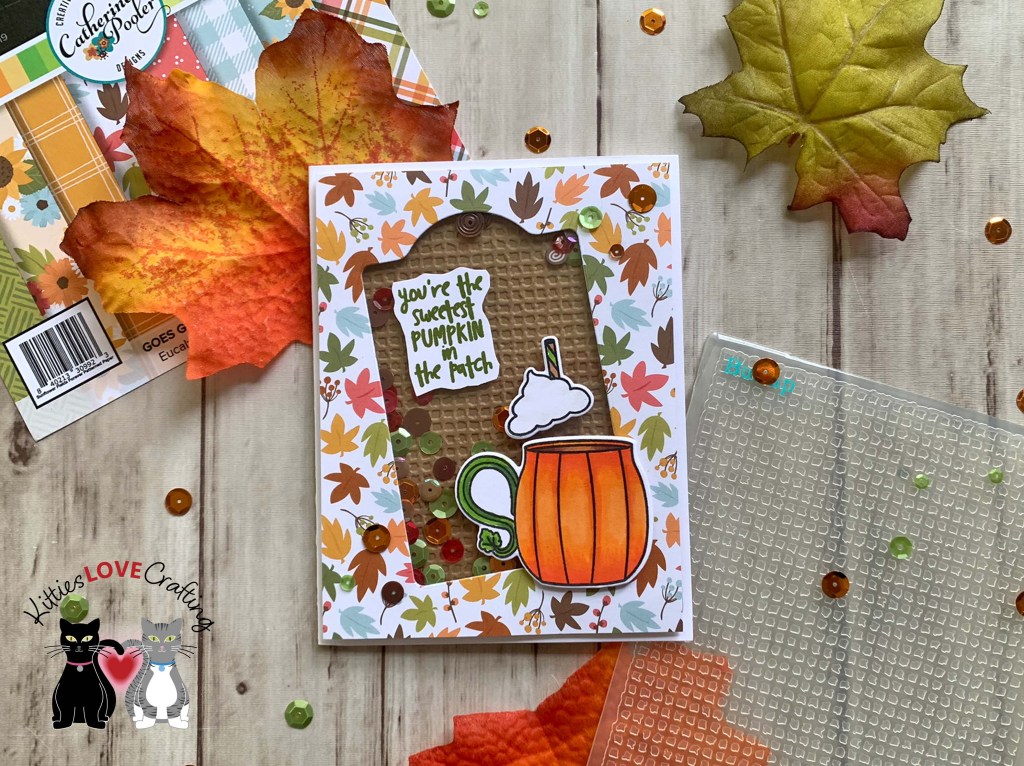
For this card, I cut a piece of Neenah 100lb Classic Crest Cardstock 8.5 X 11″ to 5-1/2 x 8-1/2″ and scored at 4-1/4″ to create an A2 card base, and a piece of pattern paper from the CP Sunflower Fields Forever 6 x 6 Patterned Paper to 4 x 5-1/4″.
I die cut the shaker window from the pattern paper panel using the tag in the Haunted Tags & Charms Dies (incl. in the Boo Box). I added a piece of acetate with double-sided tape and added foam tape to the back. For the backer panel I cut a piece of Lawn Fawn Paper Bag 100 lb Cardstock to 4 x 5-1/4″ and used the Taylored Expressions Burlap Embossing Folder to add texture. For the shaker bits, I used some orange, red, brown and green sequins from my stash.

I stamped the pumpkin mug and foam images from the Catherine Pooler Designs Halloween Mug Shots (incl. in the Boo Box) onto some Neenah 100lb Classic Crest Cardstock 8.5 X 11″ with Memento Tuxedo Black Ink. I used Copic markers to color the images. I used YR04, YR09, YR14, , E23, E29, YG25, & YG67 for the mug; and W0 & 0, YG25, and E23 for the foam and straw.
I stamped the sentiment from Catherine Pooler Designs Boo Day Stampset (included in the Boo Box) onto Neenah 100lb Classic Crest Cardstock 8.5 X 11″ with CP Eucalyptus Ink, fussycut it and adhered it to the card.
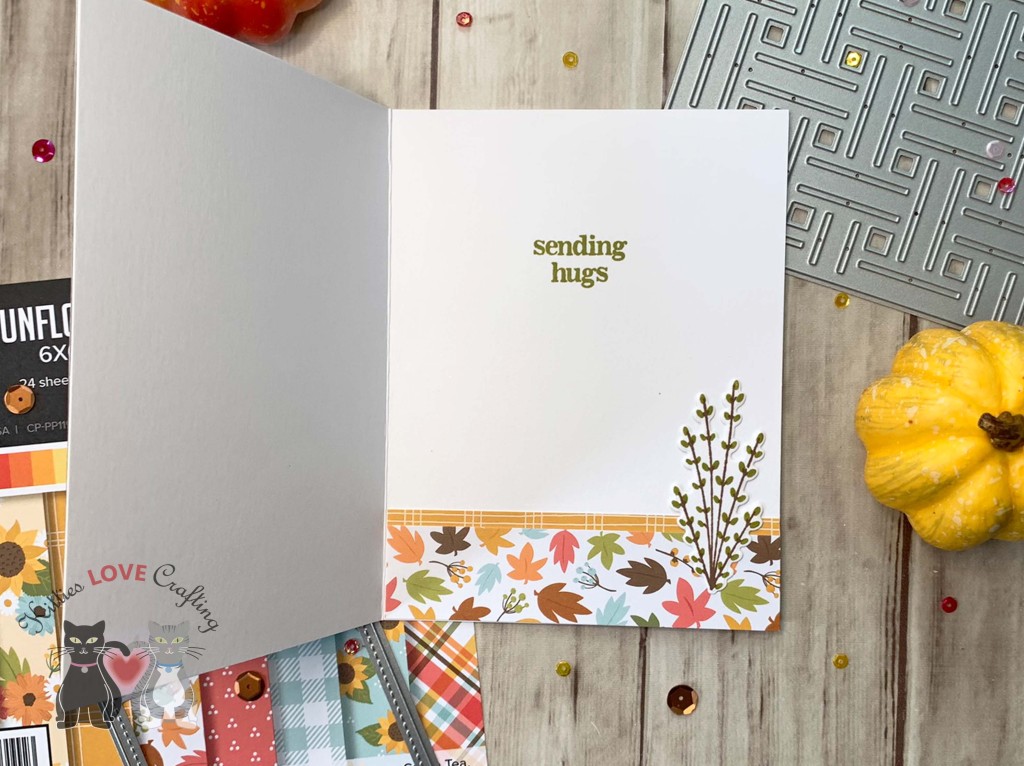
On the inside of the card, I cut a piece of CP Sunflower Fields Forever 6 x 6 Patterned Paper to 1 x 4-1/4″ and stamped a sentiment from the stampset included in the Queen and Company Happy Harvest Fall Kit with CP Orange Peel Ink.

Dimensions
- Card Base = 5-1/2 x 8-1/2″ and scored at 4-1/4″ Neenah 100lb Classic Crest Cardstock 8.5 X 11″
- Background Panel = 4 x 5-1/4″ CP Sunflower Fields Forever 6 x 6 Patterned Paper
- Inside Strip = 1 x 4-1/4″ CP Sunflower Fields Forever 6 x 6 Patterned Paper
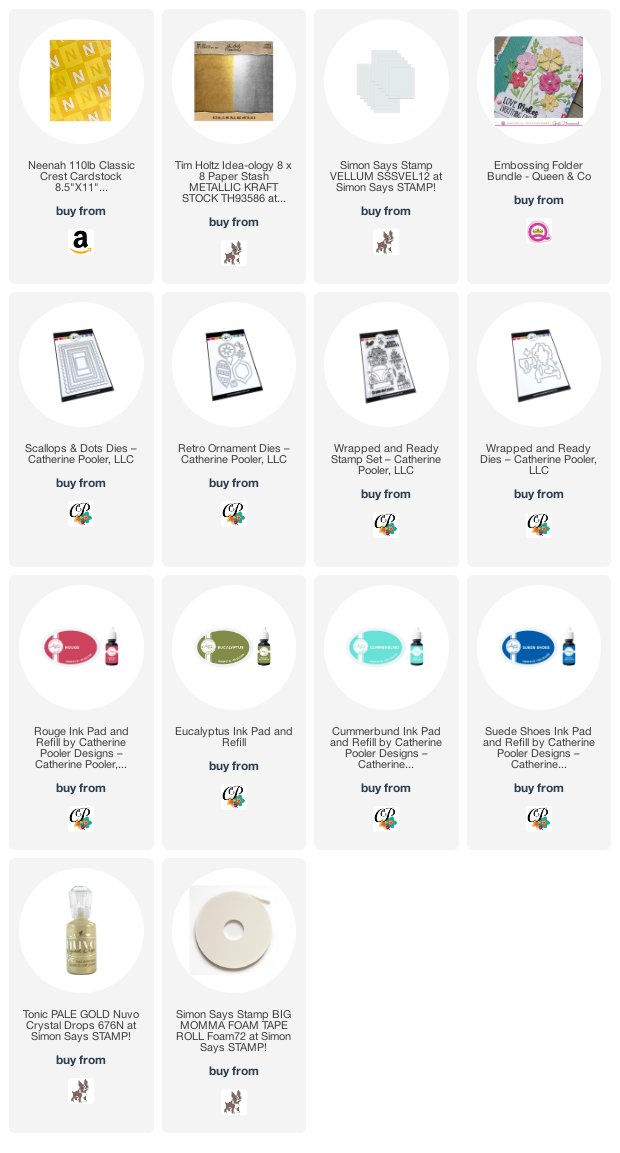
Supplies
 https://linkdeli.com/widget.js?id=f5e8378456858c916708
Thanks for reading this post. I hope I’ve inspired you to create your own fall shaker card using this cute stampset! Leave comments or questions below or feel free to email.