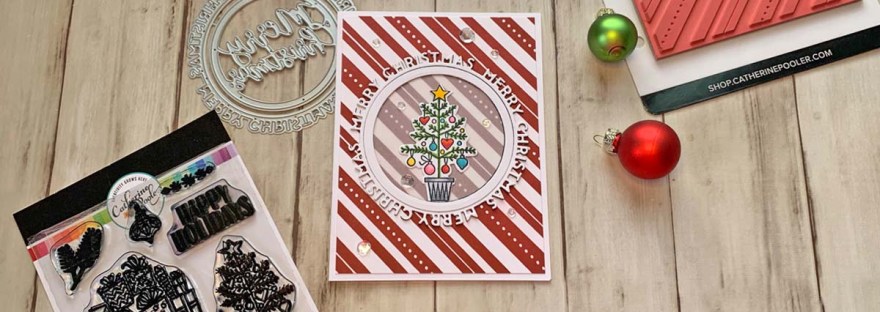
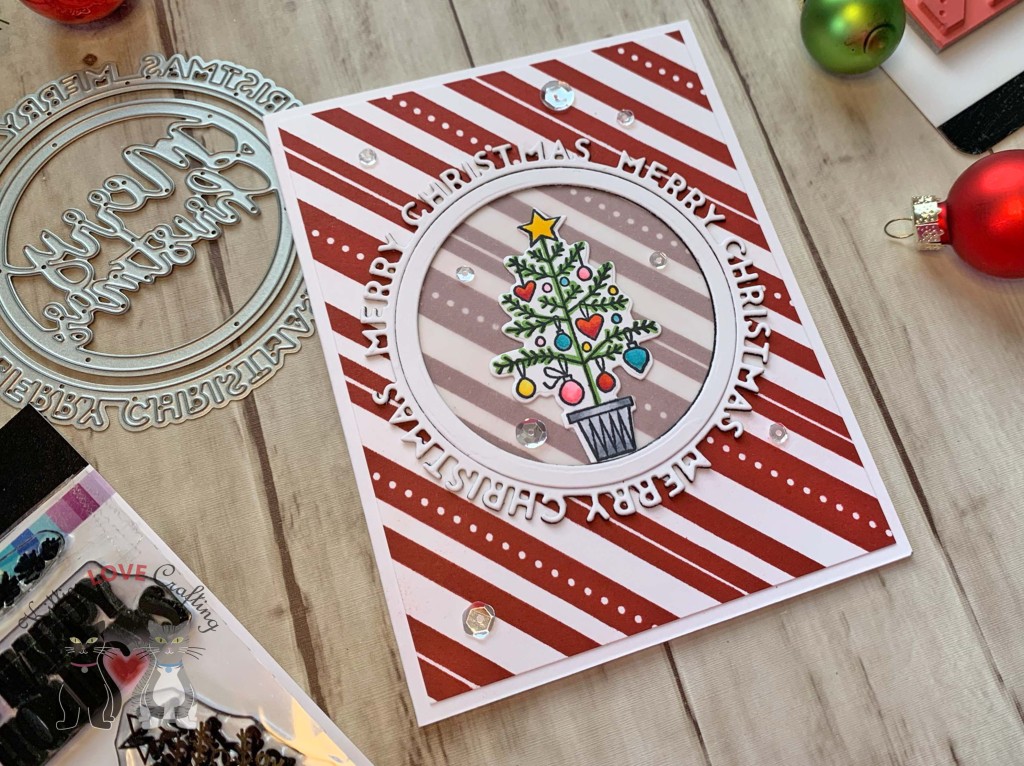
Hello friends. This little car from Catherine Pooler Wrapped and Ready Stampset is so cute! I also love how large it is so it covers a good portion of an A2 card or a mini slimline card as well. In a previous post I created a mini slimline card using this stampset.

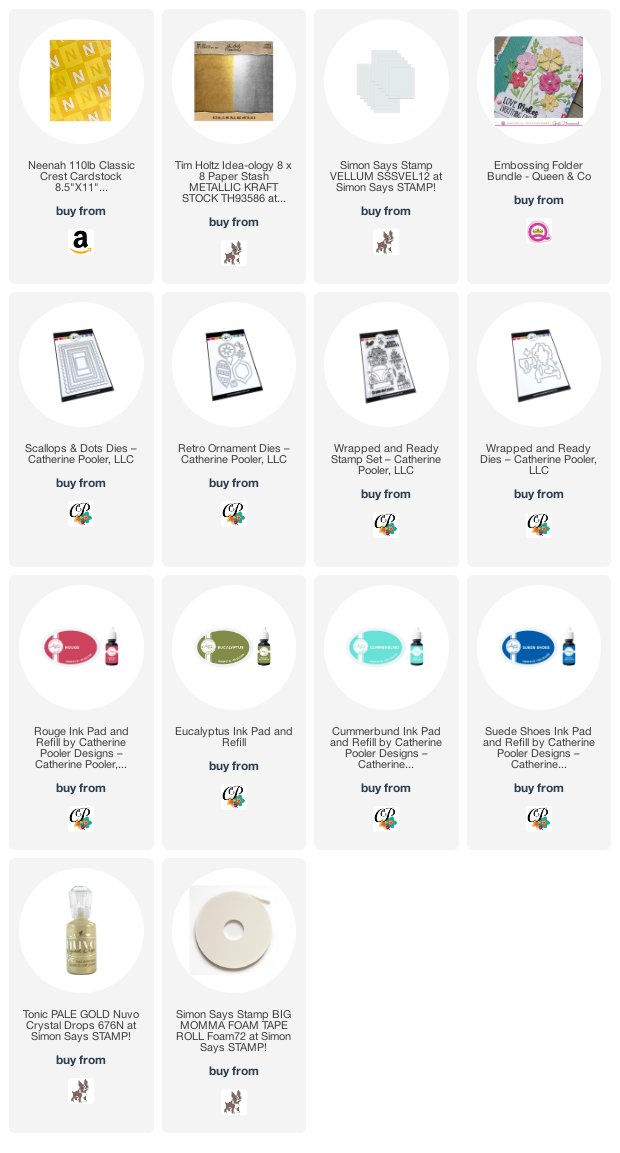
For this card, I cut a piece of Neenah 110lb Classic Crest Cardstock 8.5 X 11″ to 5-1/2 x 8-1/2″ and scored at 4-1/4″ to create the card base and piece of to 4-1/4 x 5-1/2” for the top panel, which I colored using Tumbled Glass and Broken China Distress Inks then diecut using Catherine Pooler’s Scallops & Dots Dies and embossed the panel with one of Queen and Company’s Embossing Folder Bundle folders.

I stamped the car image and several ornaments from the Catherine Pooler Wrapped and Ready Stampset onto Neenah 110lb Classic Crest Cardstock 8.5 X 11″ with Memento Tuxedo Black Ink, and the sentiment with Catherine Pooler Rockin Red Ink.
I colored the car with Copic Markers. I used R05, R17 & R46; Y02 and Y18; and C1, C3, C5, C7 & C9 for the car. R05, R17 & R46; Y02 and Y18; C1, C3, C5, C7; YG01, YG25, YG17; BV11 & BV08; YR14 & YR16; B00 & B02; and R81 & R85 for the gifts; and R05, R17 & R46; YG01, YG25, YG17; and C1, C3, C5 for the ornaments. I used a White Uni-Ball Gel Pen to add highlights to the car.
I adhered the sentiment and some of the ornaments using 3M Foam Tape. I finished it off by adding Ranger Glossy Accents Glue to the windshield.
I left the inside of the card empty.
Dimensions
- Card Base = 5-1/2 x 8-1/2″ and scored at 4-1/4″ Neenah 110lb Classic Crest Cardstock 8.5 X 11″
- Top Panel = 4-1/4 x 5-1/2” Neenah 110lb Classic Crest Cardstock 8.5 X 11″
 https://linkdeli.com/widget.js?id=f5e8378456858c916708
Thanks for reading this post. I hope you enjoyed and I’ve inspired you to give these cards a try for yourself. Leave comments or questions below or feel free to email.