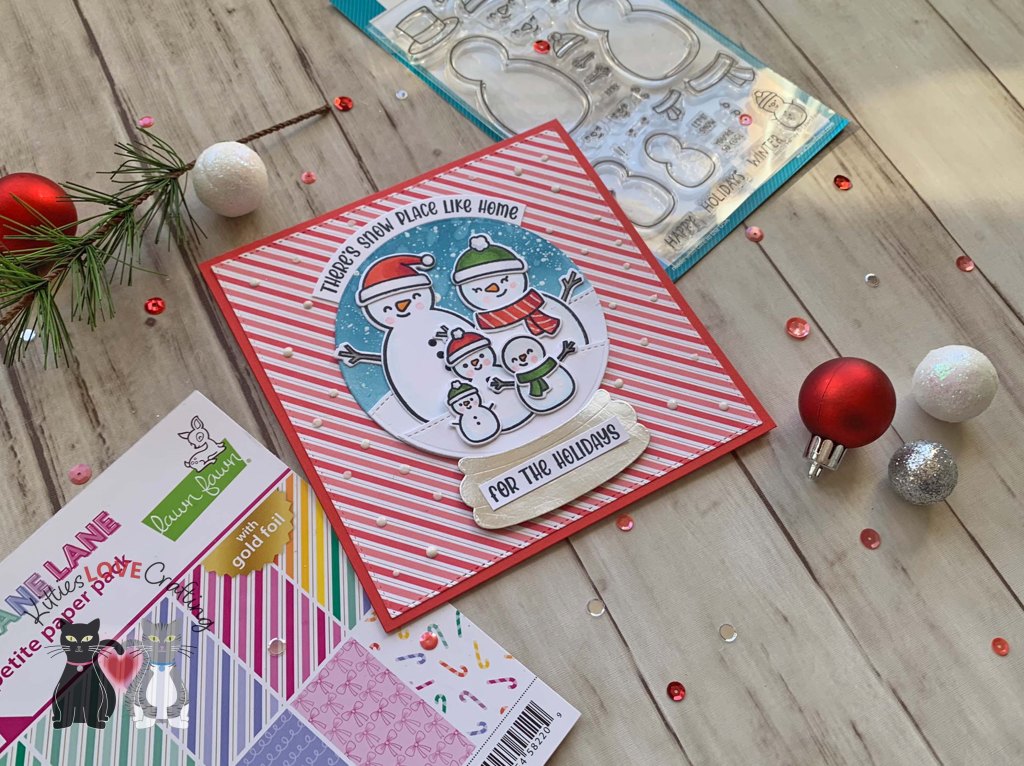
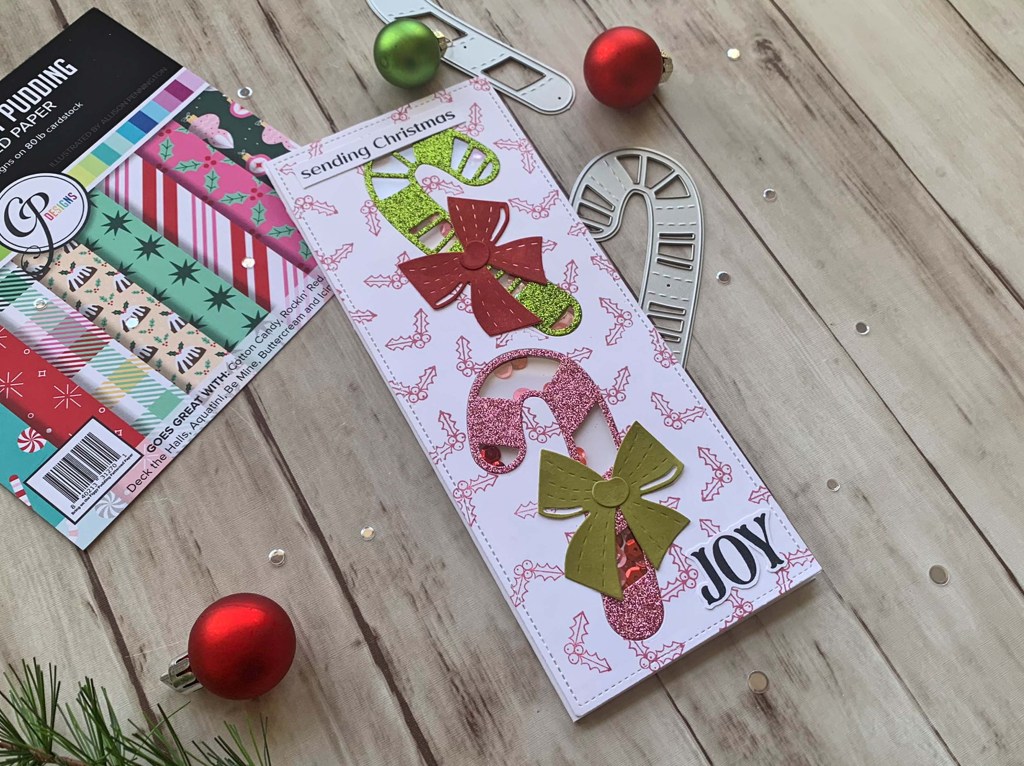
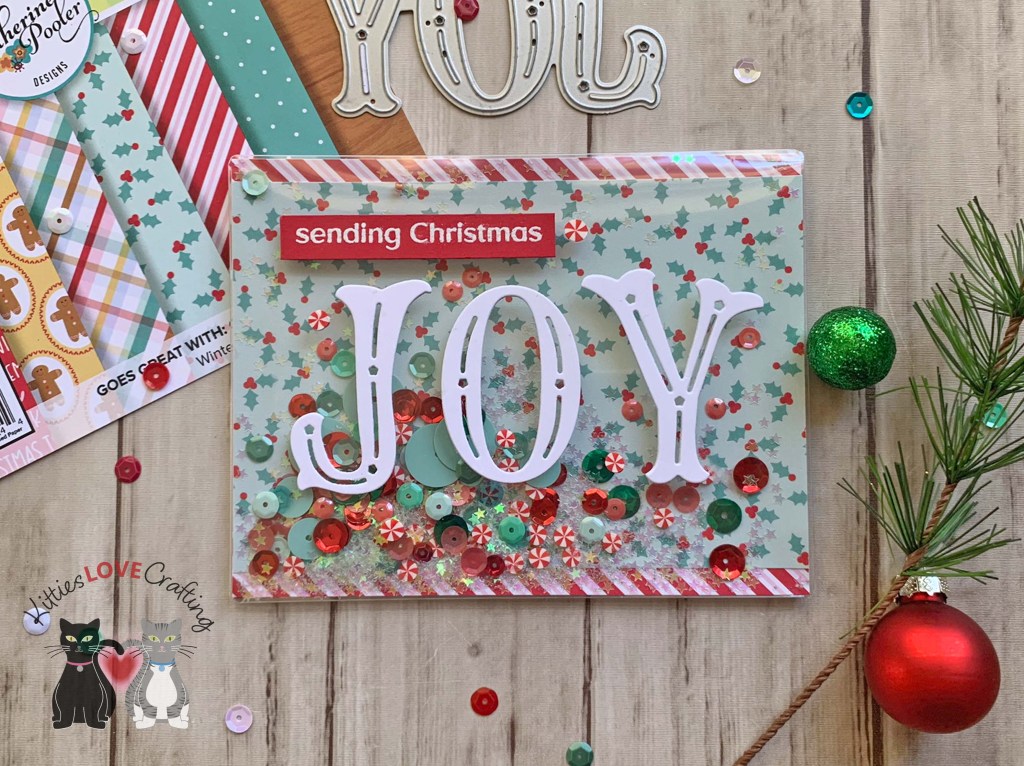
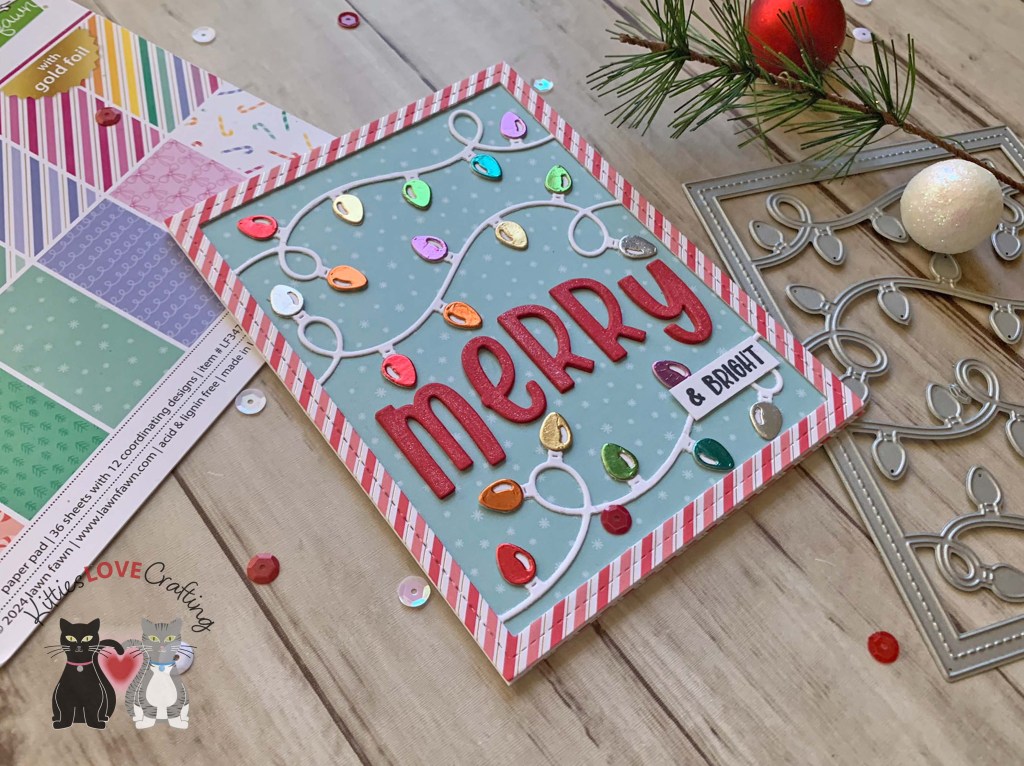
Hello friends. Need a quick holiday card that packs a punch?!? Today I’m showing how to make this mini slimline card that uses minimal supplies. See how easy this was to create!

For this card, I cut a piece of Neenah 100lb Classic Crest Cardstock 8.5 X 11″ to 7 x 6 and scored at 3-1/2″ to create a mini slimline card base, as well as a piece which I cut to 3-1/2 x 6″. Then embossed it using the Craftwell Delicate Dots Embossing Folder. I also cut a strip of patterned paper from Catherine Pooler Under the Tree Slimline Patterned Paper (discontinued) to 1 x 6″.

I die cut the candy canes and bow from Tim Holtz idea-ology 8 x 8 Paper Stash Metallic Jewels Kraft using the Catherine Pooler Designs Candy Cane Christmas Dies.
I stamped the sentiment from Holiday Joy Sentiments Stamp Set onto Neenah 100lb Classic Crest Cardstock 8.5 X 11″ with Catherine Pooler Designs Rockin’ Red Ink.
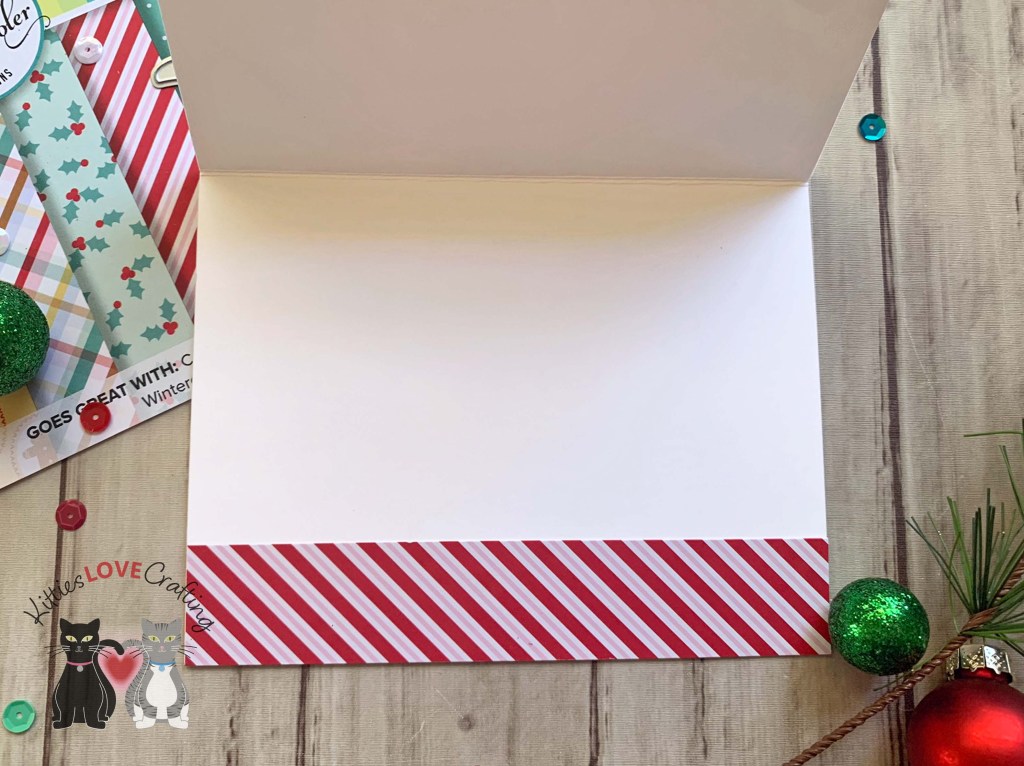
On the inside, I added a strip of the same patterned paper measuring 1 x 3-1/2″. I stamped a sentiment from Lawn Fawn Henry’s Build-A-Sentiment – Winter with Catherine Pooler Designs Rockin’ Red Ink.

Dimensions
- Card Base = 7 x 6 and scored at 3-1/2″ Neenah 100lb Classic Crest Cardstock 8.5 X 11″
- Background Panel = 3-1/2 x 8-1/2″ Neenah 100lb Classic Crest Cardstock 8.5 X 11″; 1 x 6″ Catherine Pooler Under the Tree Slimline Patterned Paper (discontinued) to
- Inside Card = 1 x 3-1/2″ Catherine Pooler Under the Tree Slimline Patterned Paper (discontinued)
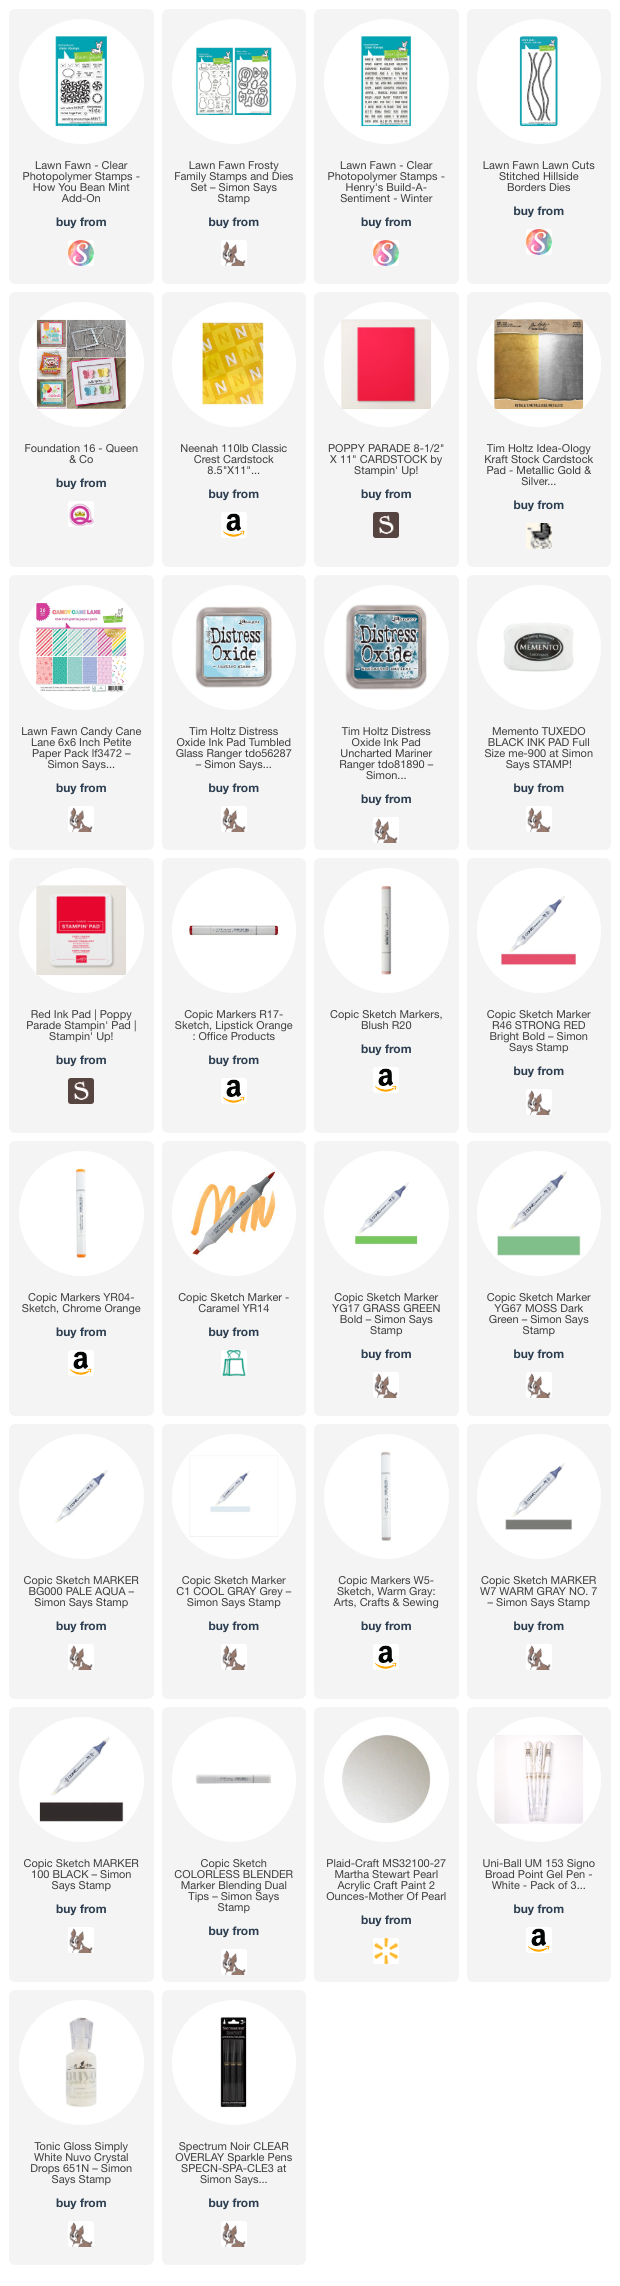
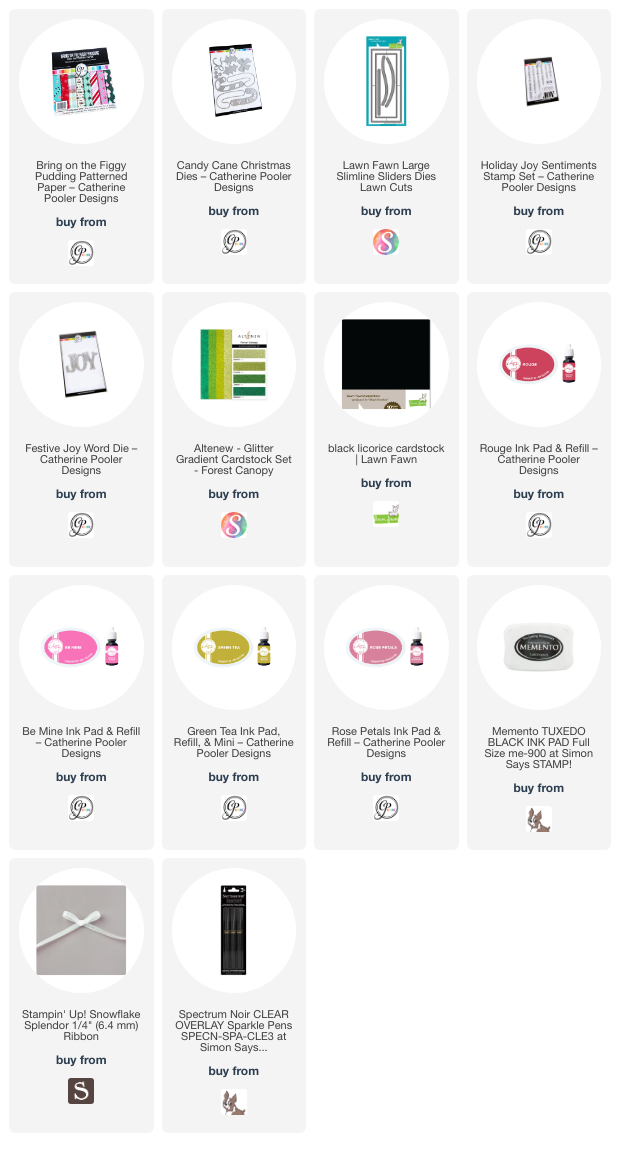
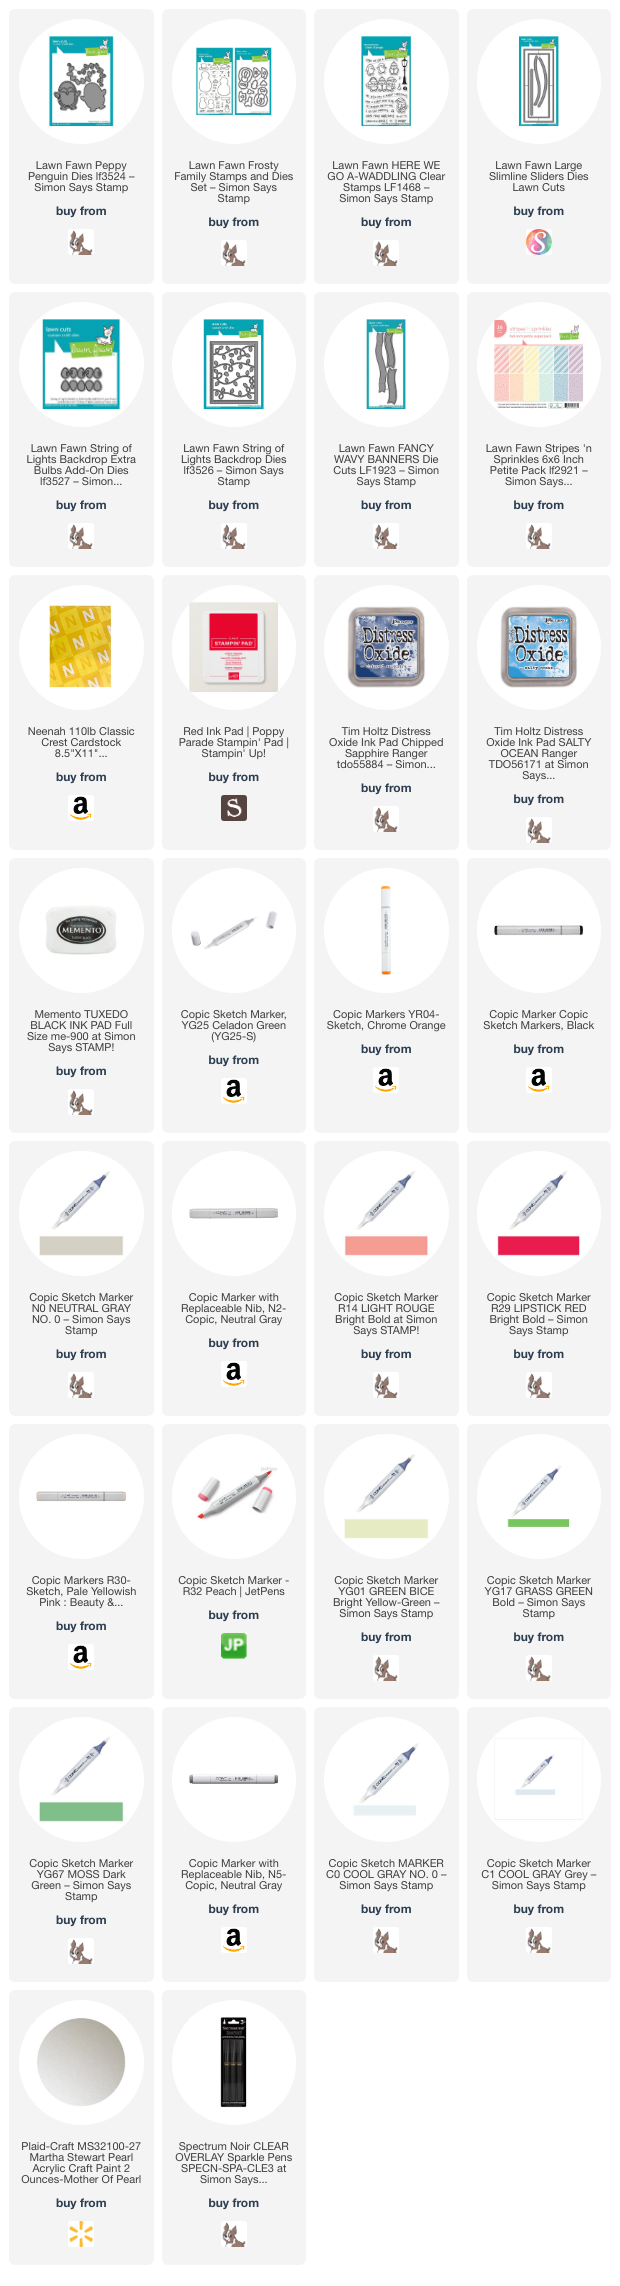
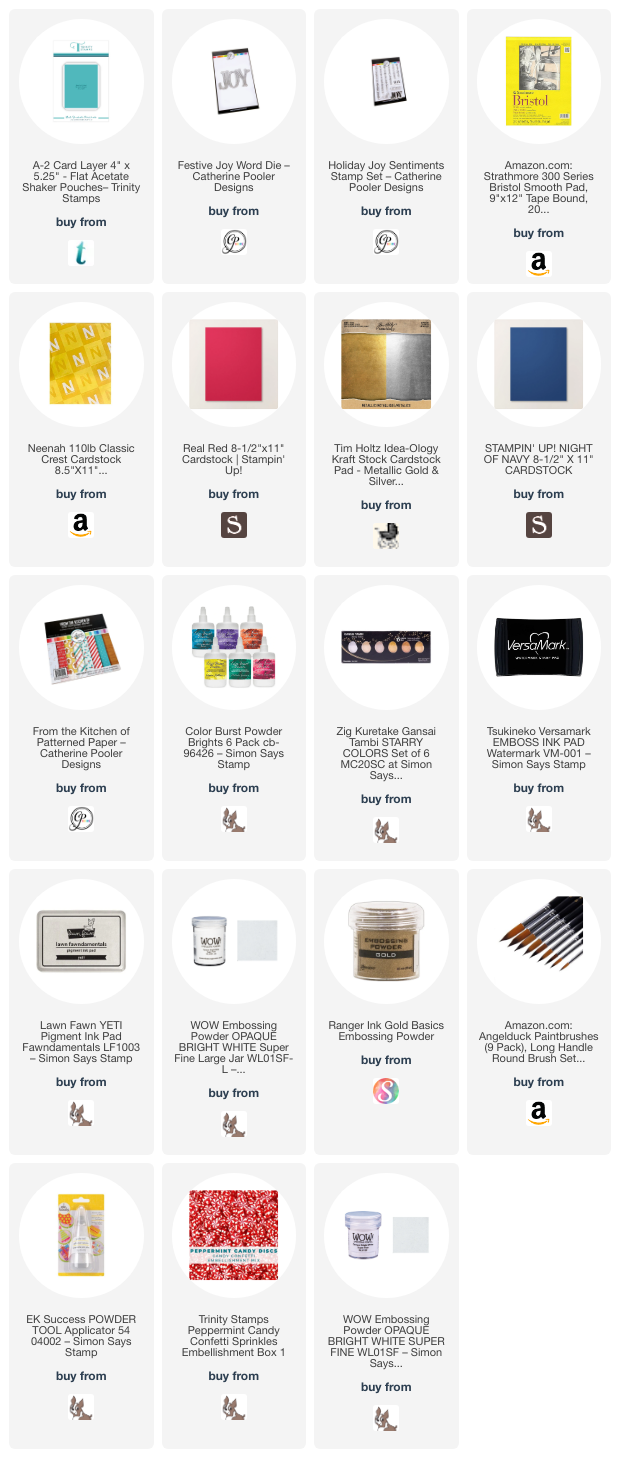
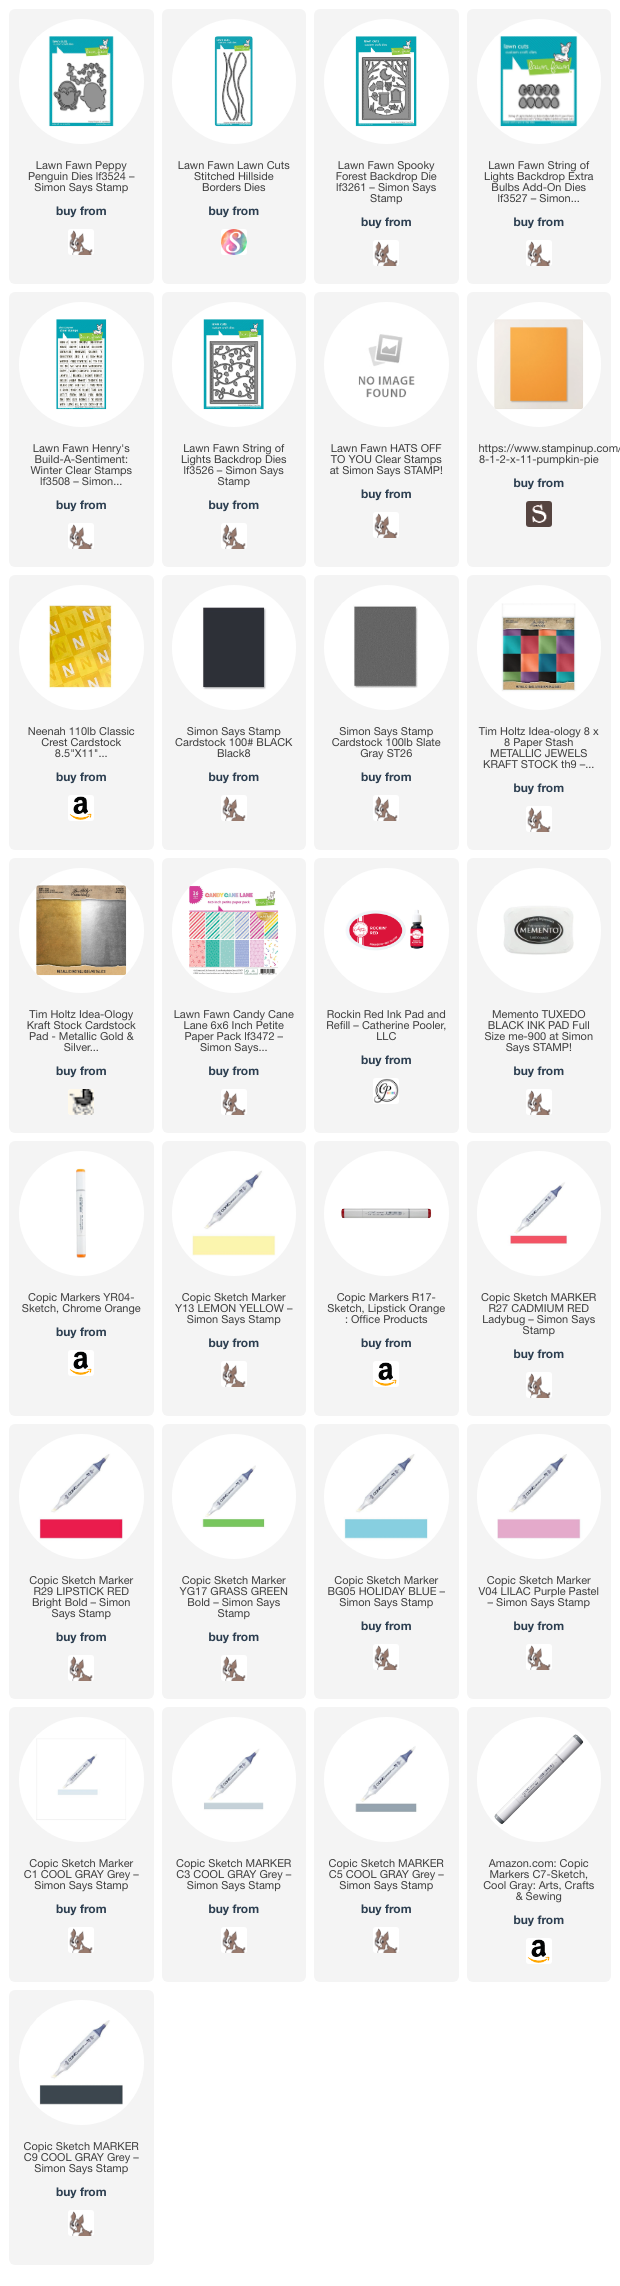
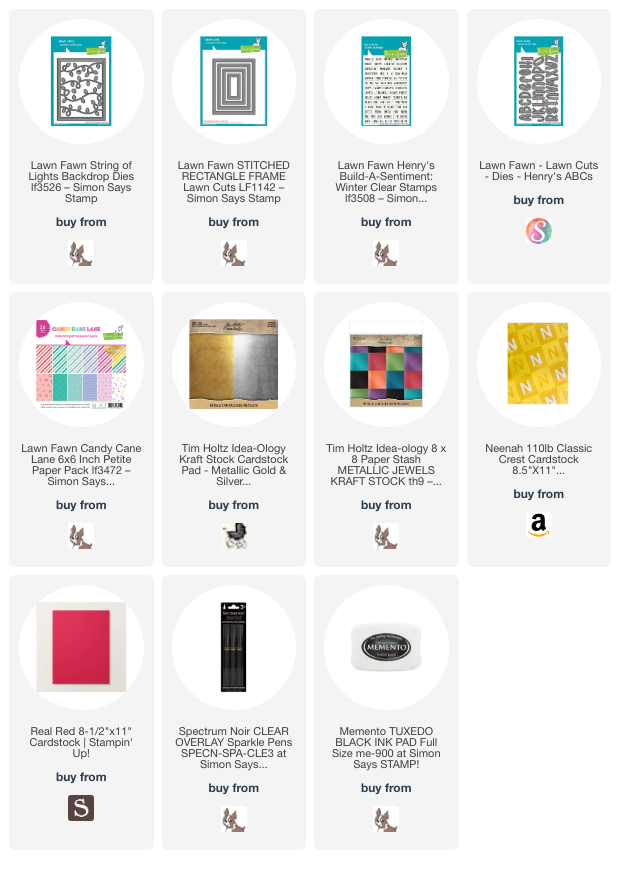
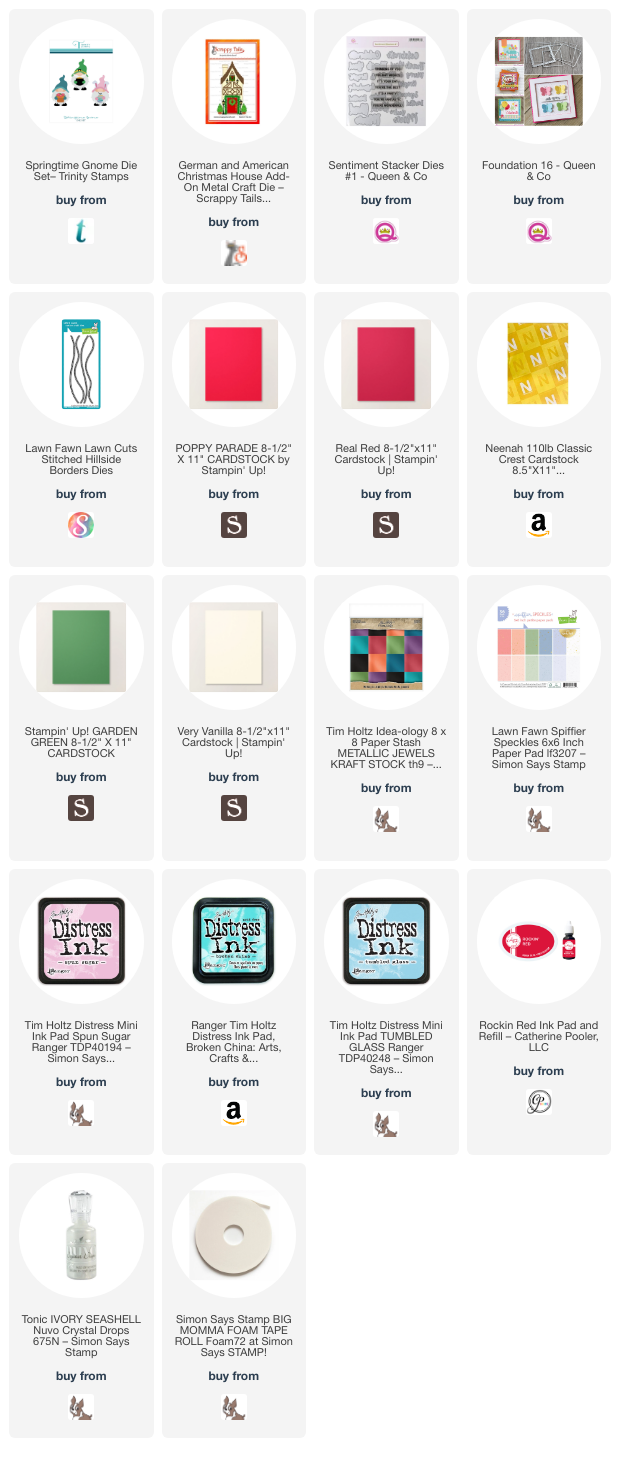
Supplies
 https://linkdeli.com/widget.js?id=f5e8378456858c916708
Thanks for reading this post. I hope I’ve inspired you to make this easy mini slimline holiday card! Leave comments or questions below or feel free to email.