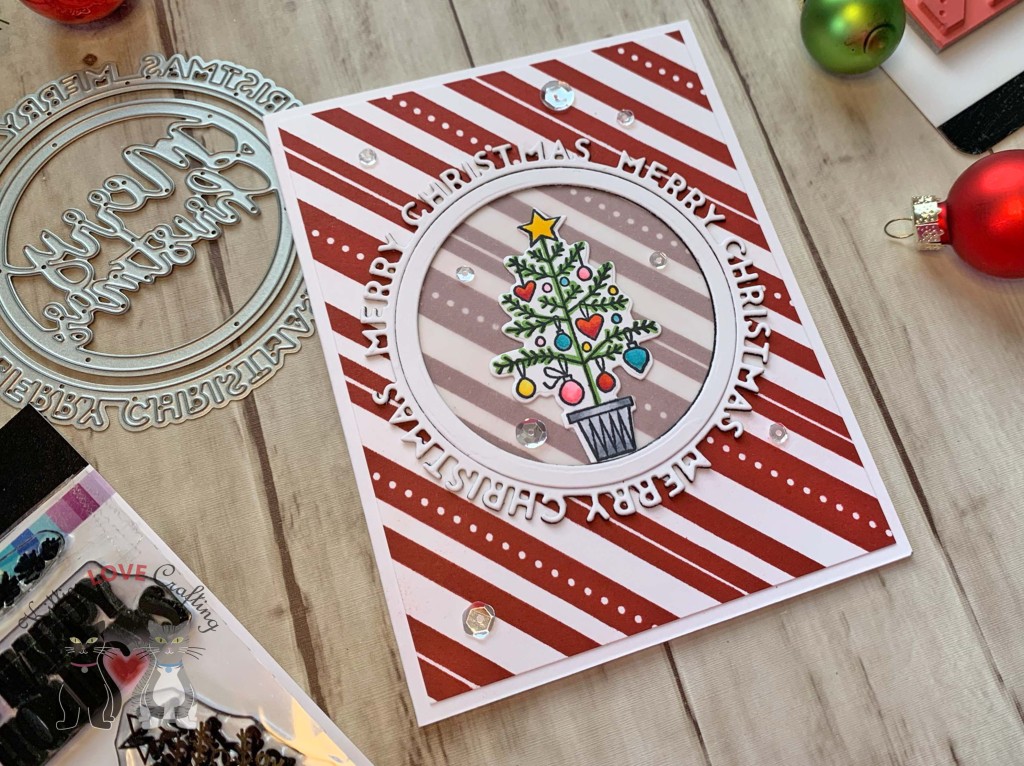
I die cut the sentiment from both Neenah 110lb Classic Crest Cardstock 8.5 X 11″ and Stampin’ Up! Basic Black 8-1/2″ X 11″ Cardstock with the Catherine Pooler Round of Merry Dies. I left the dies connected so I got the extra circle frame piece which I also used on this card. I stacked the white and black sentiments before adhering to the card. I also added a piece of Vellum behind the sentiment piece. you can use a punch or die to cut this out or do what I did which is trace the outside edge of the inner circle and cut slightly inside that line. It doesn’t have to be perfect since no one will see this.
I stamped the little tree from the Wrapped and Ready Stamp Set with Memento Tuxedo Black Ink and colored it with Copic Markers. I used Y13 + Y18 for the star and some ornaments; RV10 + RV14, BG53 + BG57, R05 + R46 for ornaments; YG17 for the tree; and C1 + C5 for the pot. Then die cut the image with the Wrapped and Ready Dies. I finished it off by adding some clear sequins from my stash.
Thanks for reading this post. I hope you enjoyed and I’ve inspired you to give these cards a try for yourself. Leave comments or questions below or feel free to email.
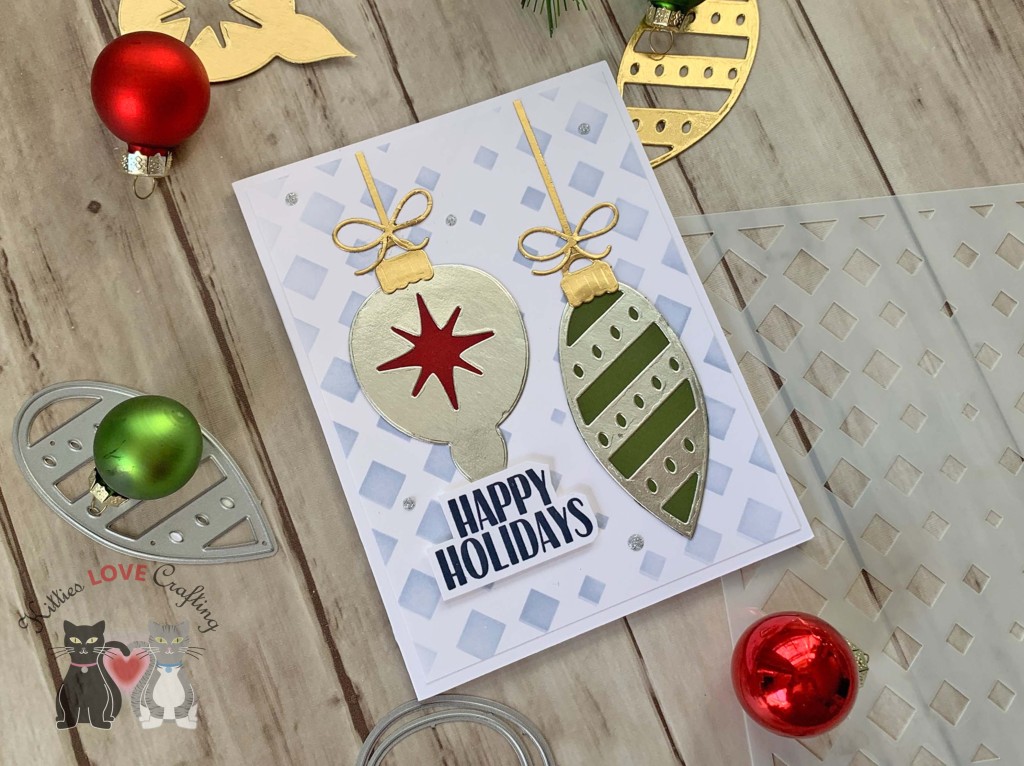
Hello friends. I’m loving this Retro Ornament Dieset from Catherine Pooler! The images are large enough to cover an A2 size card and really great on a slimline card. I went for a more traditional color but then decided to try a little less traditional color scheme.
For these cards, I cut a piece of Neenah 110lb Classic Crest Cardstock 8.5 X 11″ to 7 x 8-1/2″ and scored at 3-1/2″ to create the card bases and piece of to 3-1/4 x 8-1/4” for the top panel. For the first card,I used the Catherine Pooler’s Rouge and Eucalyptus Inks to color white cardstock using direct-to-paper technique. Then diecut three rectangles using Catherine Pooler’s Scallops & Dots Dies. I adhered them offset.
On the inside of the card, I stamped a sentiment from the Stampin’ Up! ‘Joy to the World’ Paper Pumpkin stampset (Paper Pumpkin is a subscription box so this stampset is not available for purchase) with Eucalyptus Ink and adhered the gold star shape that I had cut out of one of the ornaments.
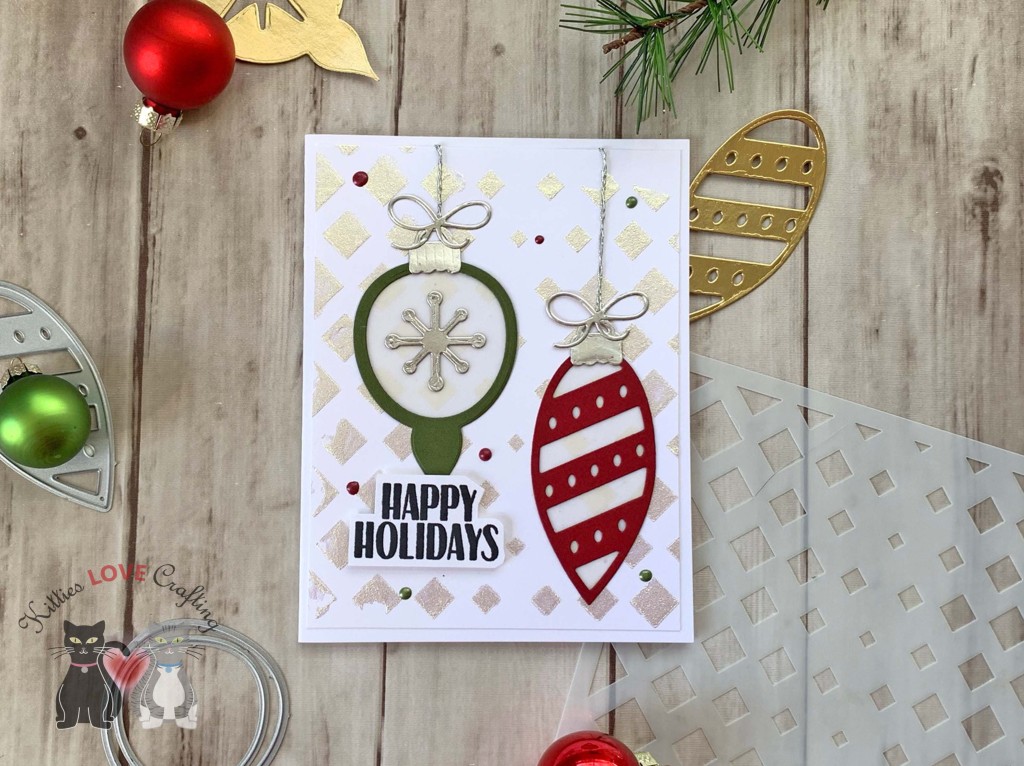
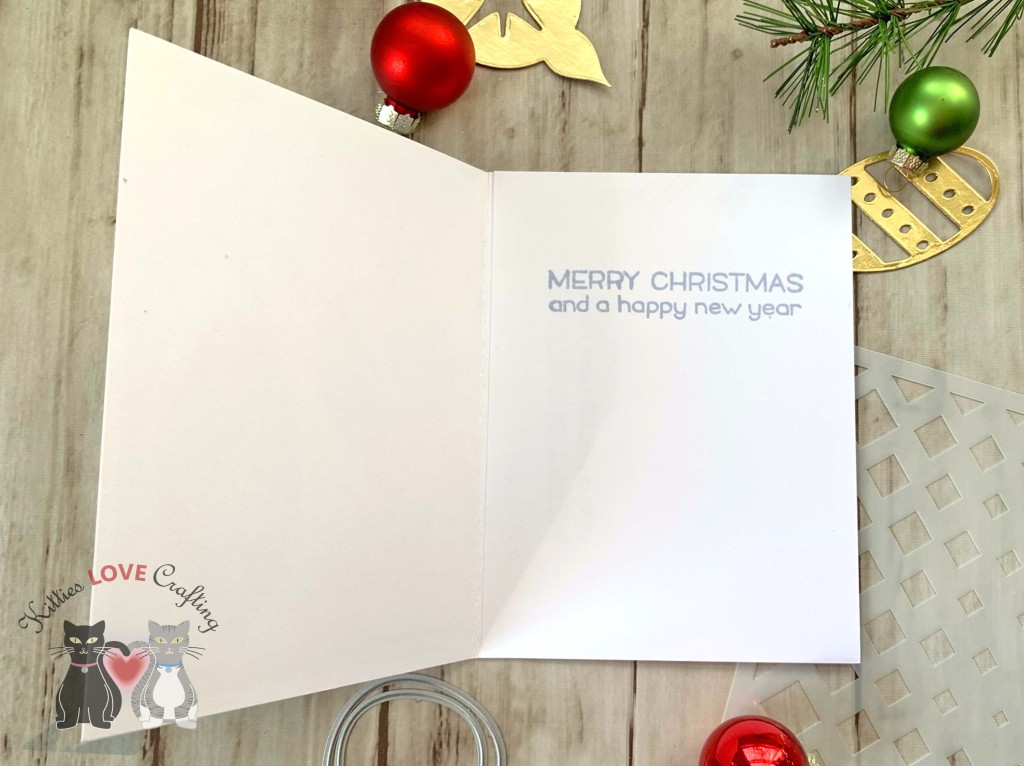
On the inside of the card, I stamped a sentiment from the Stampin’ Up! ‘Joy to the World’ Paper Pumpkin stampset (Paper Pumpkin is a subscription box so this stampset is not available for purchase) with Suede Shoes ink and adhered the silver star shape that I had cut out of one of the ornaments.
Thanks for reading this post. I hope you enjoyed and I’ve inspired you to give these cards a try for yourself. Leave comments or questions below or feel free to email.
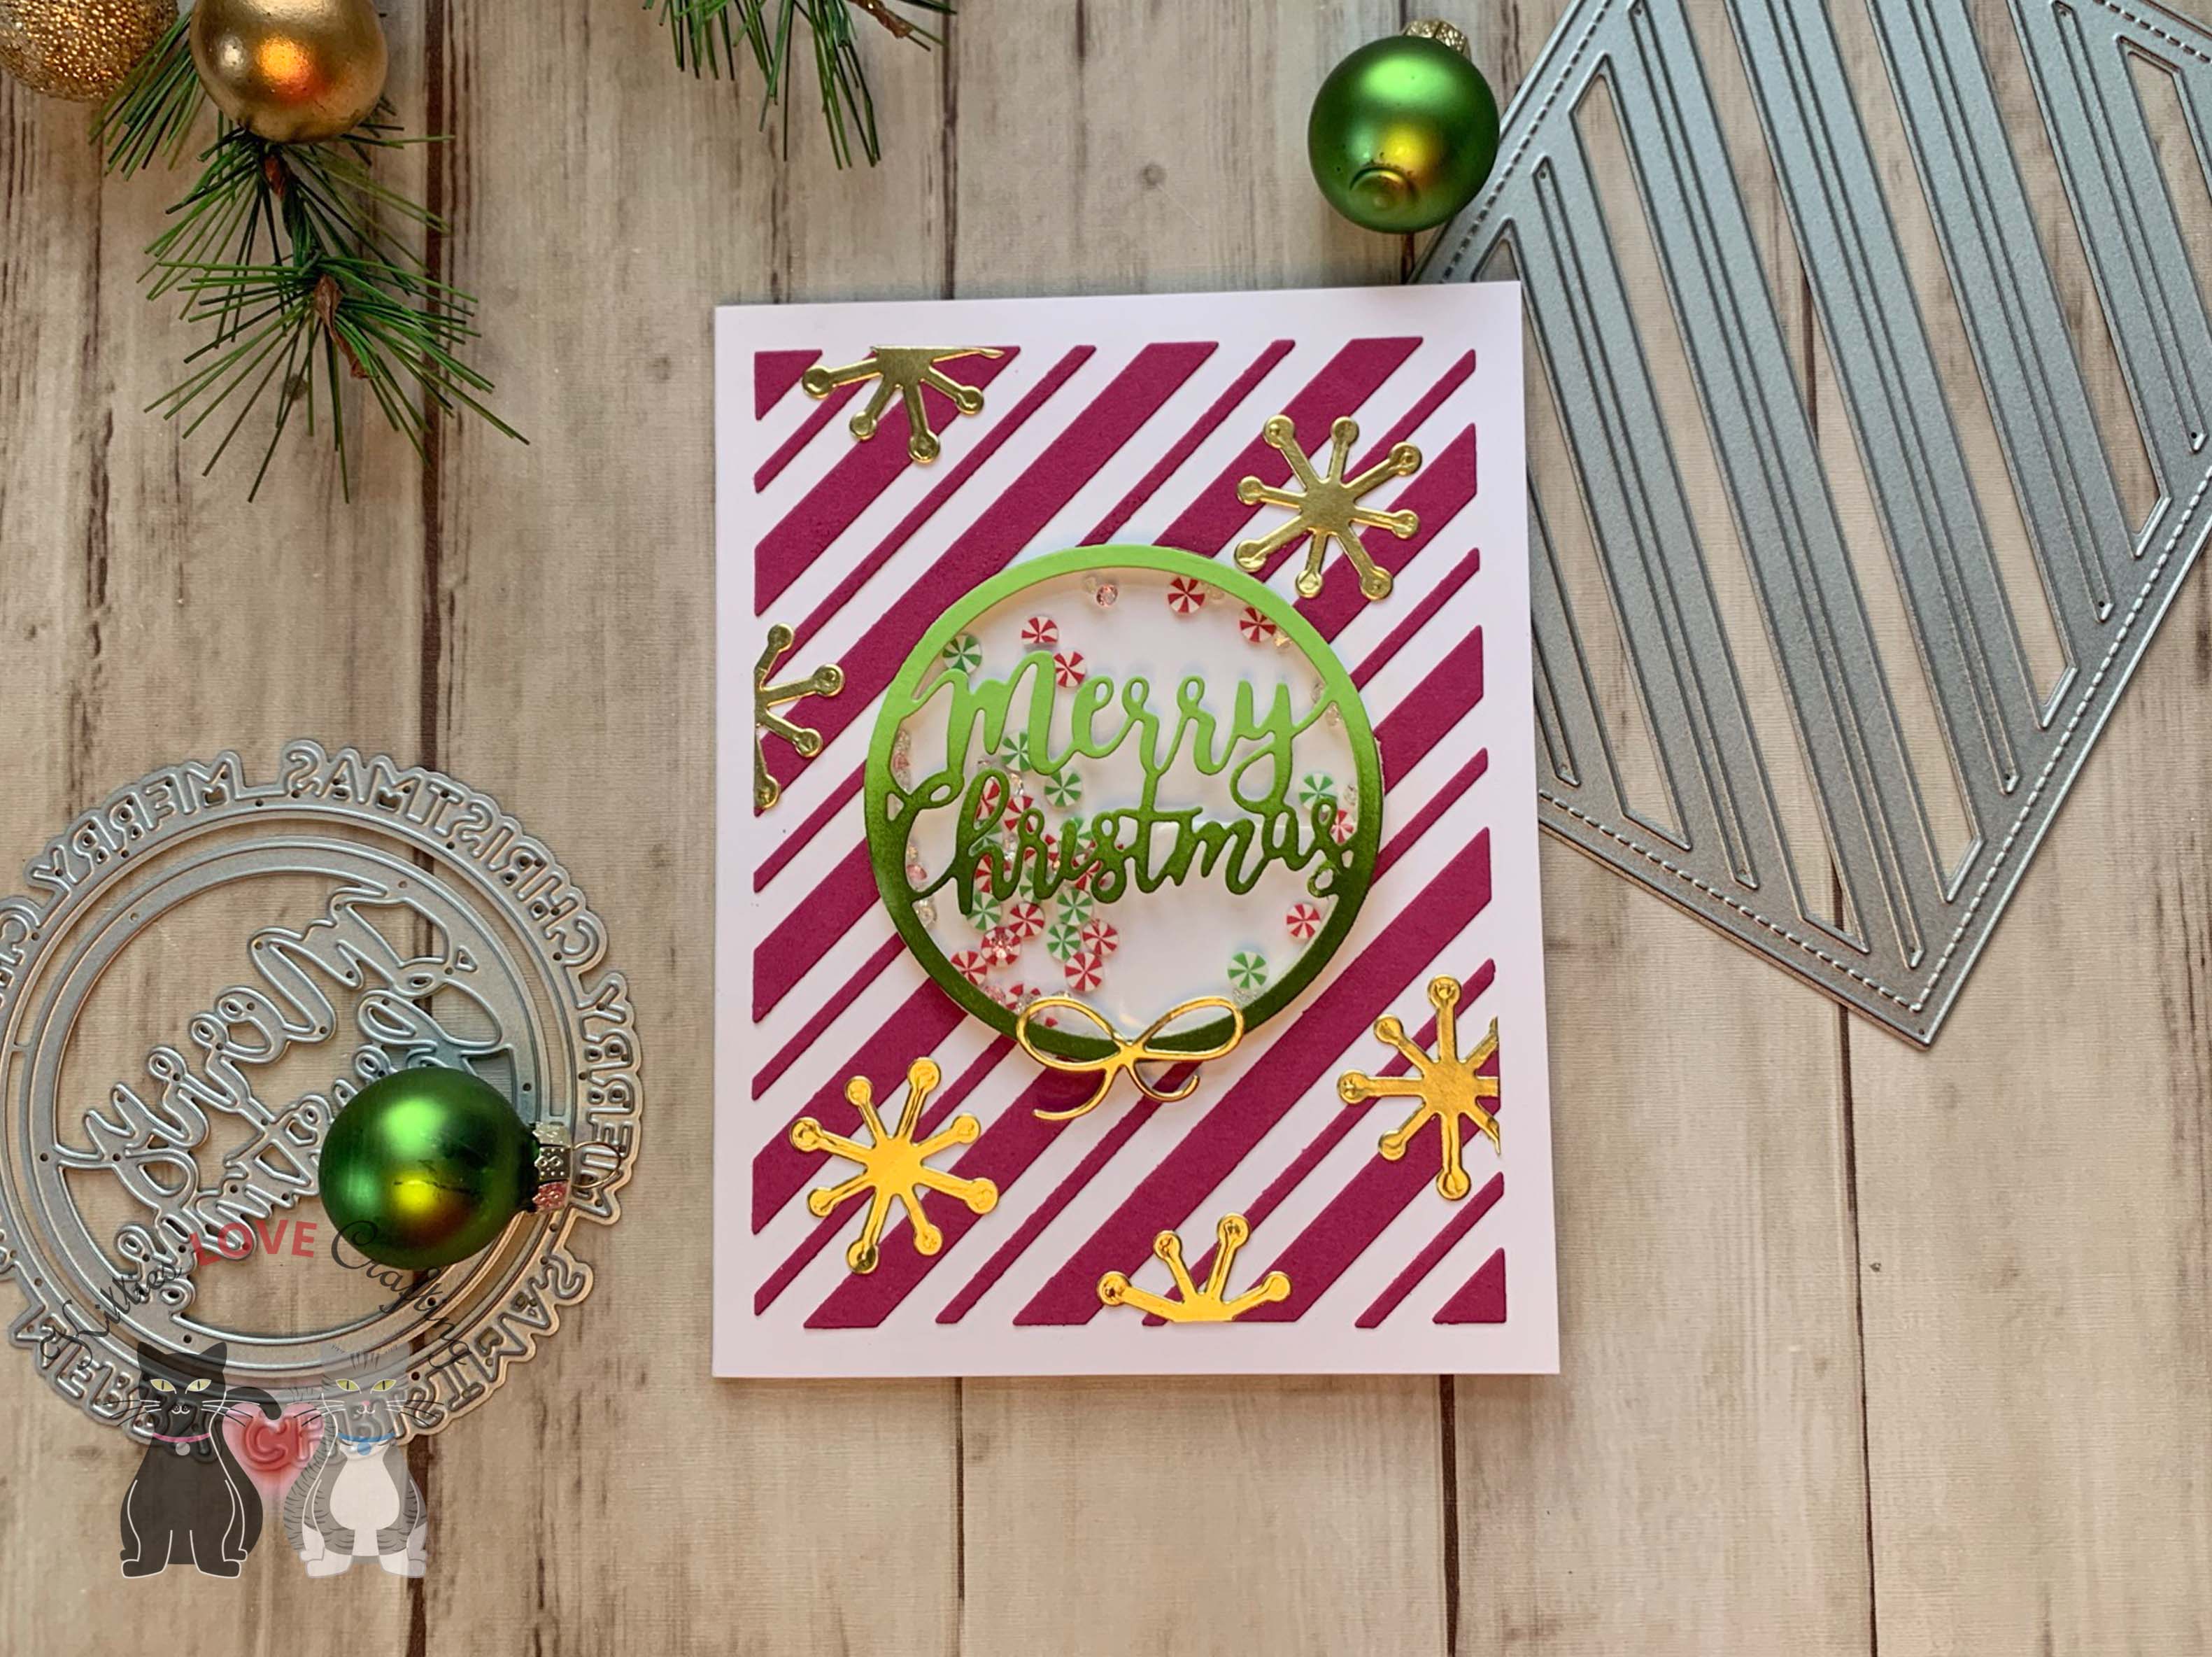
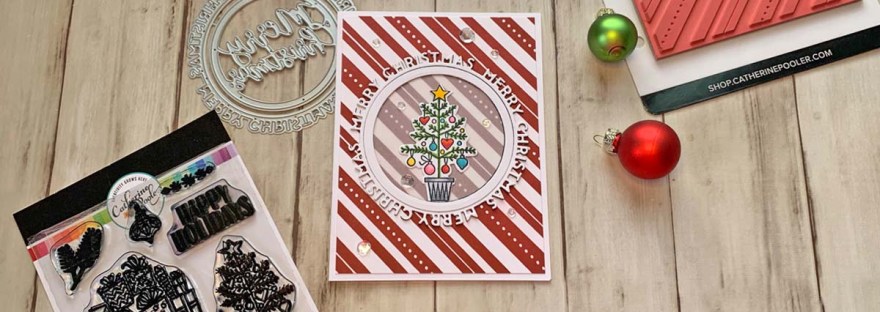
Hello friends. Love making holiday cards but hate stamping?!? Here are two quick and easy holiday cards that require no stamping — only dies. I used the same background die from Lawn Fawn to create both, utilizing the negative and positive pieces that were cut. This is a great way to make multiple cards without waste.
I worked on the backgrounds simultaneously because it’s easier. First, I cut two pieces of Neenah 110lb Classic Crest Cardstock 8.5 X 11″ to 5-1/2 x 8-1/2″ and scored at 4-1/4″ to create card bases. Then I die cut Stampin’ Up! Berry Burst 8-1/2″ x 11″ Cardstock (retired) with the Lawn Fawn PEPPERMINT STRIPES BACKDROP Die Cut. I adhered the negative pieces to one card base first by using the positive one as a guide to place the pieces. Then adhered the positive background piece to the other card base.
I die cut a piece of Acetate with a 2-1/2″ circle punch and adhered it to the back of the sentiment and added a very thin piece of 3M Foam Tape around the edges. I used Queen and Company Clear and Pink Diamond toppings (these are currently out of stock but I think will be back once Q and Co moves) and Candy Toppings to fill the shaker. I added another 2.5 inch circle behind the shaker from white cardstock.
On the inside of the card, I stamped a sentiment from the Stampin’ Up! ‘Joy to the World’ Paper Pumpkin stampset (Paper Pumpkin is a subscription box so this stampset is not available for purchase) and Eucalyptus Ink.
Thanks for reading this post. I hope you enjoyed and I’ve inspired you to give these cards a try for yourself. Leave comments or questions below or feel free to email.
Thanks for reading this post. I hope you enjoyed and I’ve inspired you to give these cards a try for yourself. Leave comments or questions below or feel free to email.
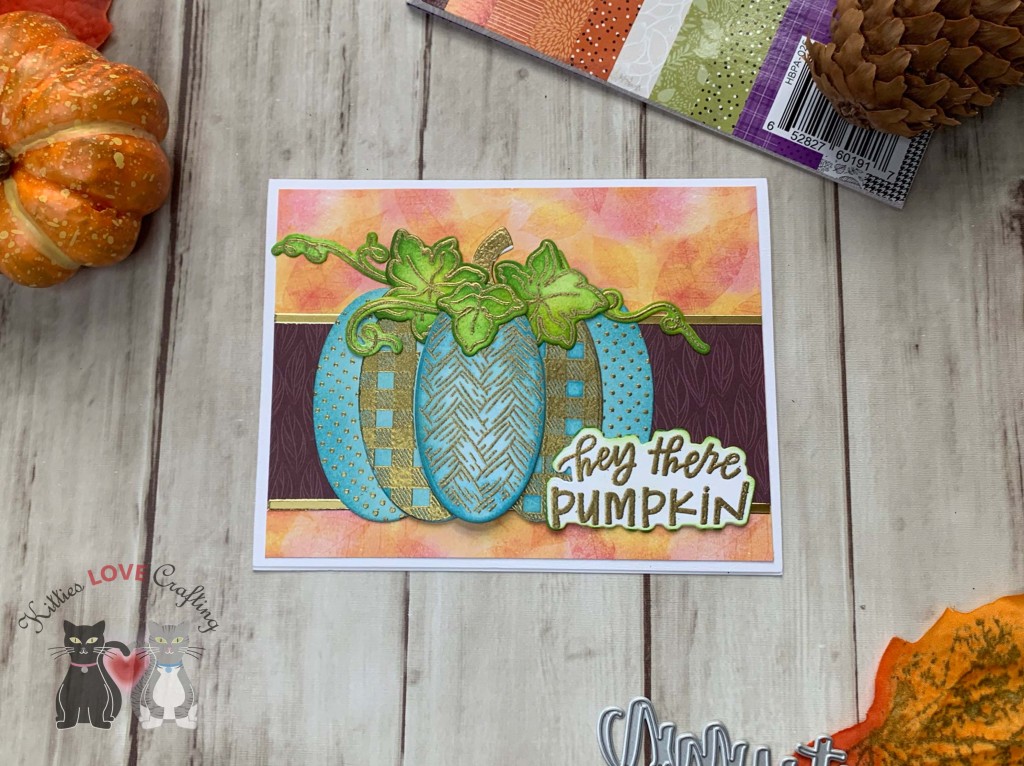
I cut a piece of Catherine Pooler Sand Dunes 8-1/2 x 11″ Cardstock (retired) to 10 x 7″ and scored at 5″ to make the card base. I also cut a piece of Honey Bee Stamps Halloween Harvest 6×6 Paper Pad to 4-3/4 x 6″. Since this paper pad is only 6 x 6 I had to get creative and fill in the sides with more paper. So I cut two pieces of patter paper to 1/2 x 4-3/4″ and adhered it behind the larger piece.
I colored the images with Copic Markers. I used B00, B02, and B06 for the truck; N1, N2 & N4 for the metal portions such as the mirror; N5 and N8 for the tires; BG000 & 0 for the windows; R05 & R27 for the lights; R05 & R27 for the doggy bandana, E29, E23, & E37 for the dog; YR14 & YR21 for the license plate; YG61, G94, YG99, & E15 for the jug; YR16, YR04 & Y18, Y13 & Y16, YG61, G94, & YG99, YG91 & E15 for the pumpkins; R05 & R27, E55, E57 & E29 for the apple bucket.
Thanks for reading this post. I hope you enjoyed and I’ve inspired you to give this cute fall card a try for yourself. Leave comments or questions below or feel free to email me.
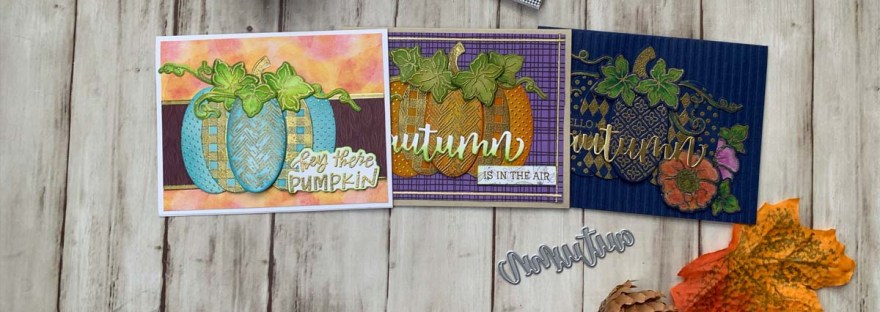
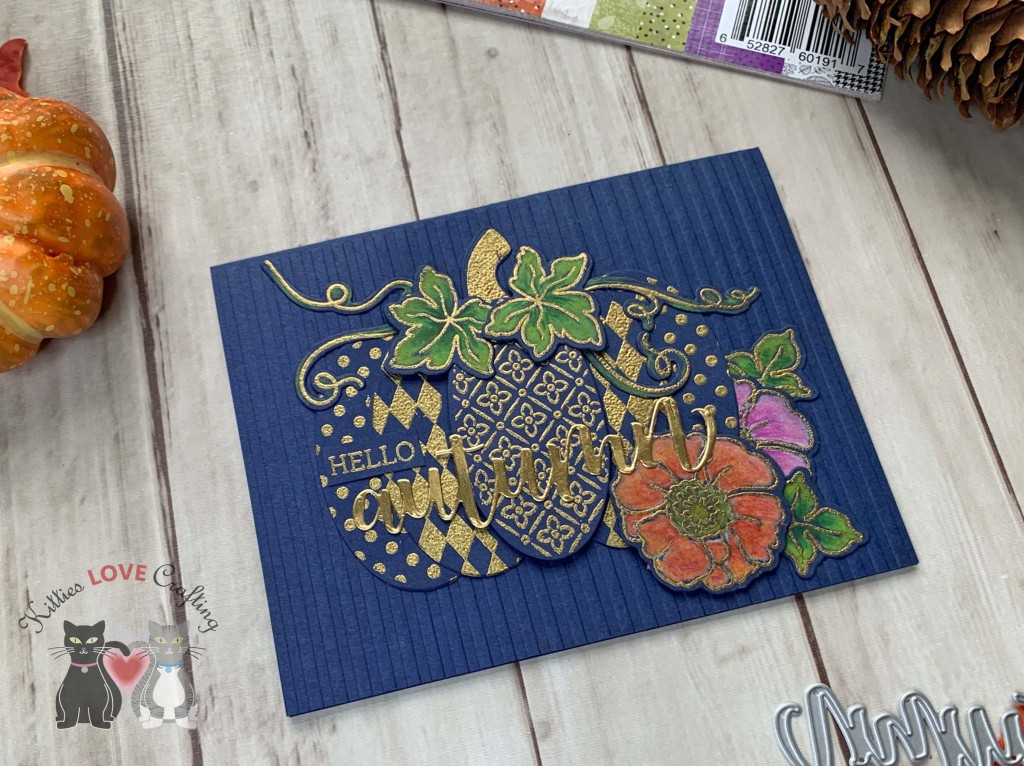
I love this new Patchwork Pumpkin Stampset from Honey Bee Stamps! You can create all kinds of cute pumpkins. You can also add flowers and the coordinating dies makes it easy to cut everything out. I made three cards using different color papers and coloring methods but with the same embossing powder. I wanted to see how to create different cards by just making subtle changes. Using pattern papers and embossing folders is also an easy way to add interest.
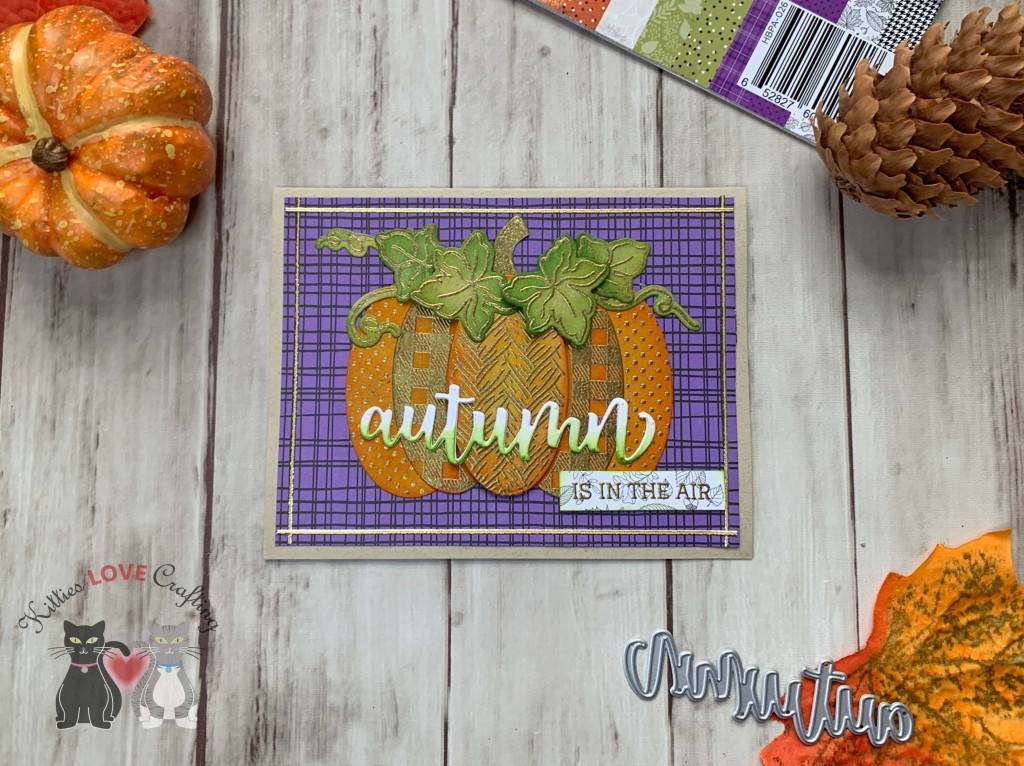
For the second card, I started by cutting a piece of Catherine Pooler Sand Dunes 8-1/2 x 11″ Cardstock (discontinued-any kraft cardstock will work) to 5-1/2 x 8-1/2″ and scored at 4-1/4″ to make the card base and cut a piece of the purple paper from the Honey Bee Stamps Halloween Harvest 6×6 Paper Pad to 4 x 5-1/4″.
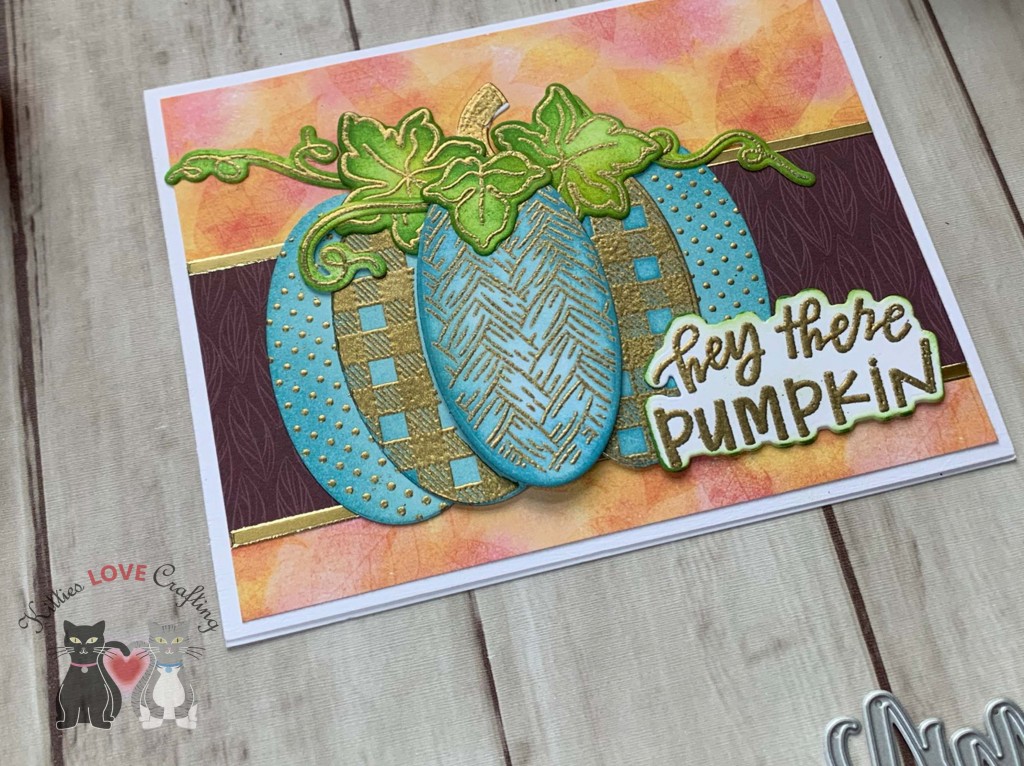
I used Versamark Ink to stamp several of the pattern pumpkins, leaves, curly vines and the stem from the Honey Bee Stamps Patchwork Pumpkin Stampset onto some Catherine Pooler Sand Dunes 8-1/2 x 11″ Cardstock (retired) and heat embossed with Gold Embossing Powder. Then diecut all the pieces with the oval die included in the coordinating dieset. I used Tim Holtz Mustard Seed and Carved Pumpkin Distress Inks to color the pumpkin and Crushed Olive and Mowed Lawn to color the leaves and vines. I used 3M Foam Tape to pop up the center piece of the pumpkin and some of the leaves.
Thanks for reading this post. I hope you enjoyed and I’ve inspired you to give these cute Fall cards a try for yourself. Leave comments or questions below or feel free to email me.


 https://linkdeli.com/widget.js?id=f5e8378456858c916708