Hello friends. It’s time to make some holiday cards. I’m getting a bit of a late start this year but better late than never! Starting things off with some super easy cards using Catherine Pooler’s Gradient Diamond Stencil and Retro Ornament Dies.

For this first card, I created a tone-on-tone background with a little shimmer. I cut a piece of Neenah 110lb Classic Crest Cardstock 8.5 X 11″ to 5-1/2 x 8-1/2″ and scored at 4-1/4″ to create a card base and piece of Neenah 80lb Classic Crest Cardstock 8.5 X 11″ to 4 x 5-1/4” for the top panel. I used the Catherine Pooler Gradient Diamond Stencil and Cosmic Shimmer Opal Glaze Polish to create the background.
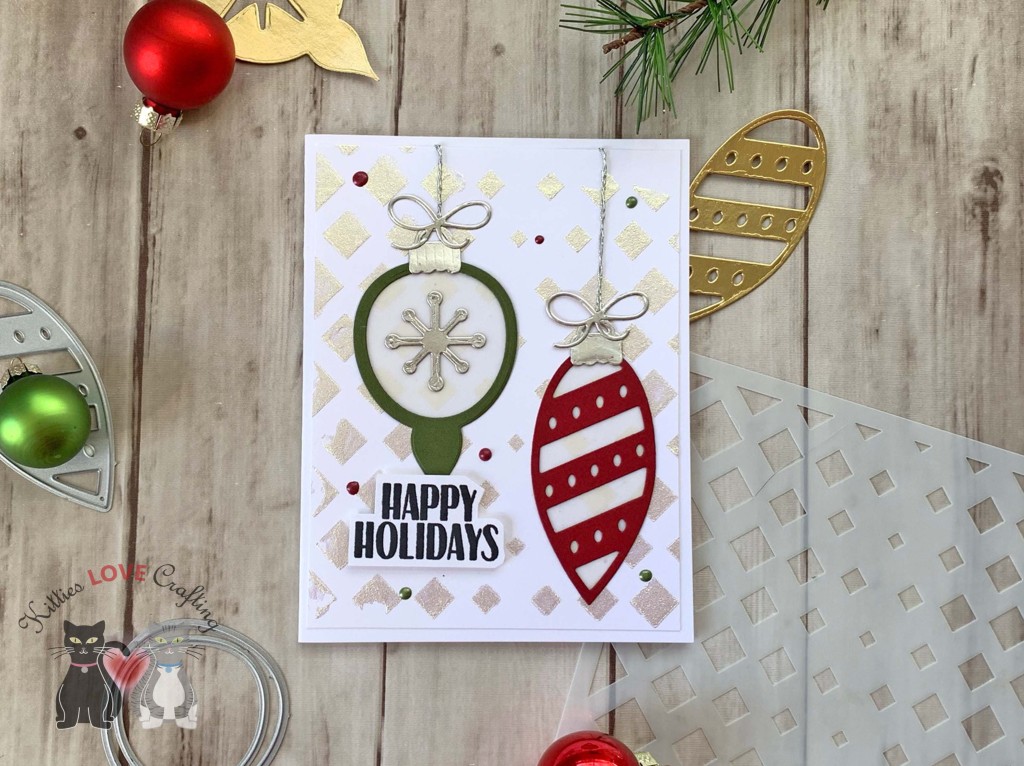
I die cut the ornaments from Stampin’ Up! Cherry Cobbler 8 1/2 x 11″ Cardstock, Stampin’ Up! Mossy Meadow 8 1/2 x 11″ Cardstock and Tim Holtz Idea-ology 8 x 8 Paper Stash Metallic Kraft Stock with the Retro Ornament Dies. I backed them with Vellum. I used some silver embroidery thread from my stash for the ornament strings and stamped a sentiment from the Catherine Pooler Wrapped and Ready Stamp Set onto piece of Neenah 110lb Classic Crest Cardstock 8.5 X 11″ with Juniper Mist Ink, trimmed around the sentiment and adhered it with 3M Foam Tape. I finished it off by adding some Red Autumn and Bottle Green Nuvo Crystal Drops.

On the inside of the card, I stamped a sentiment from Lawn Fawn’s Merry Messages Stamp Set with Stampin’ Up! Cherry Cobbler Ink.

Dimensions
- Card Base = 5-1/2 x 8-1/2″ and scored at 4-1/4″ Neenah 110lb Classic Crest Cardstock 8.5 X 11″
- Top Panel = 4 x 5-1/4” Neenah 80lb Classic Crest Cardstock 8.5 X 11″
For this second card, I used a traditional stenciling method with just ink. I cut a piece of Neenah 110lb Classic Crest Cardstock 8.5 X 11″ to 5-1/2 x 8-1/2″ and scored at 4-1/4″ to create a card base and piece of Neenah 80lb Classic Crest Cardstock 8.5 X 11″ to 4 x 5-1/4” for the top panel. I used the Catherine Pooler Gradient Diamond Stencil with Tranquil Ink to create the background.

I die cut the ornaments from silver cardstock from the Tim Holtz Idea-ology 8 x 8 Paper Stash Metallic Kraft Stock with the Retro Ornament Dies and backed them with Stampin’ Up! Cherry Cobbler 8 1/2 x 11″ Cardstock and Stampin’ Up! Mossy Meadow 8 1/2 x 11″ Cardstock. I used gold cardstock from Tim Holtz Idea-ology 8 x 8 Paper Stash Metallic Kraft Stock for the topper, bow and string.
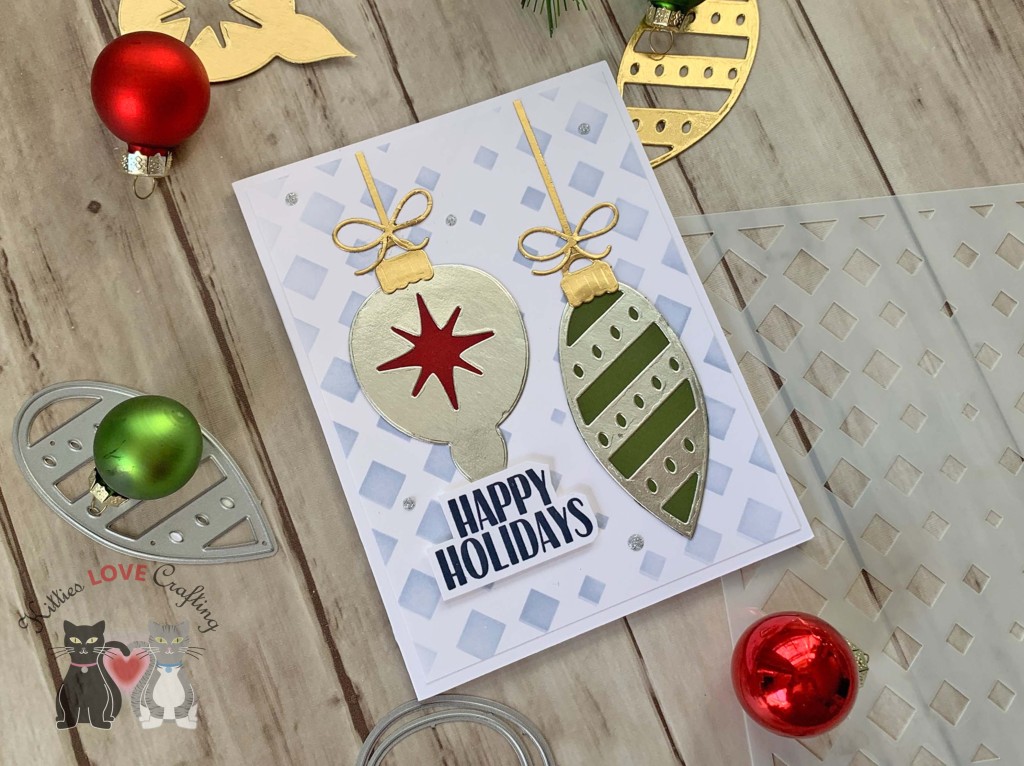
Then stamped a sentiment from the Catherine Pooler Wrapped and Ready Stamp Set onto piece of Neenah 110lb Classic Crest Cardstock 8.5 X 11″ with Memento Tuxedo Ink, trimmed around the sentiment and adhered it with 3M Foam Tape. I finished it off by adding some MOONDUST Nuvo Glitter Drops.
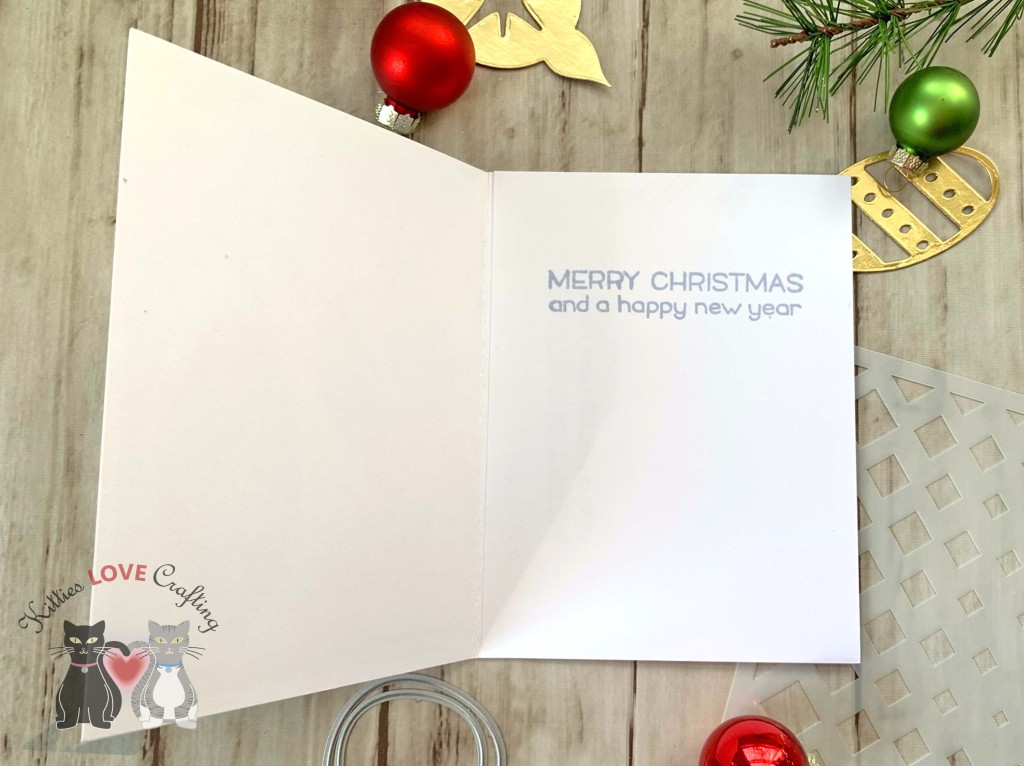
On the inside of the card, I stamped a sentiment from Lawn Fawn’s Merry Messages Stamp Set with Tranquil Ink
Dimensions
- Card Base = 5-1/2 x 8-1/2″ and scored at 4-1/4″ Neenah 110lb Classic Crest Cardstock 8.5 X 11″
- Top Panel = 4 x 5-1/4” Neenah 80lb Classic Crest Cardstock 8.5 X 11″
For this third card, I used a kicked it up a notch with some metallic paste. I cut a piece of Neenah 110lb Classic Crest Cardstock 8.5 X 11″ to 5-1/2 x 8-1/2″ and scored at 4-1/4″ to create a card base and piece of Neenah 80lb Classic Crest Cardstock 8.5 X 11″ to 4 x 5-1/4” for the top panel. I used the Catherine Pooler Gradient Diamond Stencil with Dreamweaver Embossing Paste in Gold to create the background.

For the ornaments I used a direct-to-paper technique with Cranberry Fizz and Green Tea Inks on Neenah 110lb Classic Crest Cardstock 8.5 X 11″, then die cut with the Retro Ornament Dies and backed them with gold cardstock from Tim Holtz Idea-ology 8 x 8 Paper Stash Metallic Kraft Stock. I used the same gold cardstock for topper, bow and string again. I adhered them with 3M Foam Tape for some dimension.

I stamped a sentiment from the Catherine Pooler Wrapped and Ready Stamp Set onto piece of Neenah 110lb Classic Crest Cardstock 8.5 X 11″ with Memento Tuxedo Ink, trimmed around the sentiment before adhering it flat.
On the inside of the card, I stamped a sentiment from Lawn Fawn’s Merry Messages Stamp Set with Cranberry Fizz.

Dimensions
- Card Base = 5-1/2 x 8-1/2″ and scored at 4-1/4″ Neenah 110lb Classic Crest Cardstock 8.5 X 11″
- Top Panel = 4 x 5-1/4” Neenah 80lb Classic Crest Cardstock 8.5 X 11″
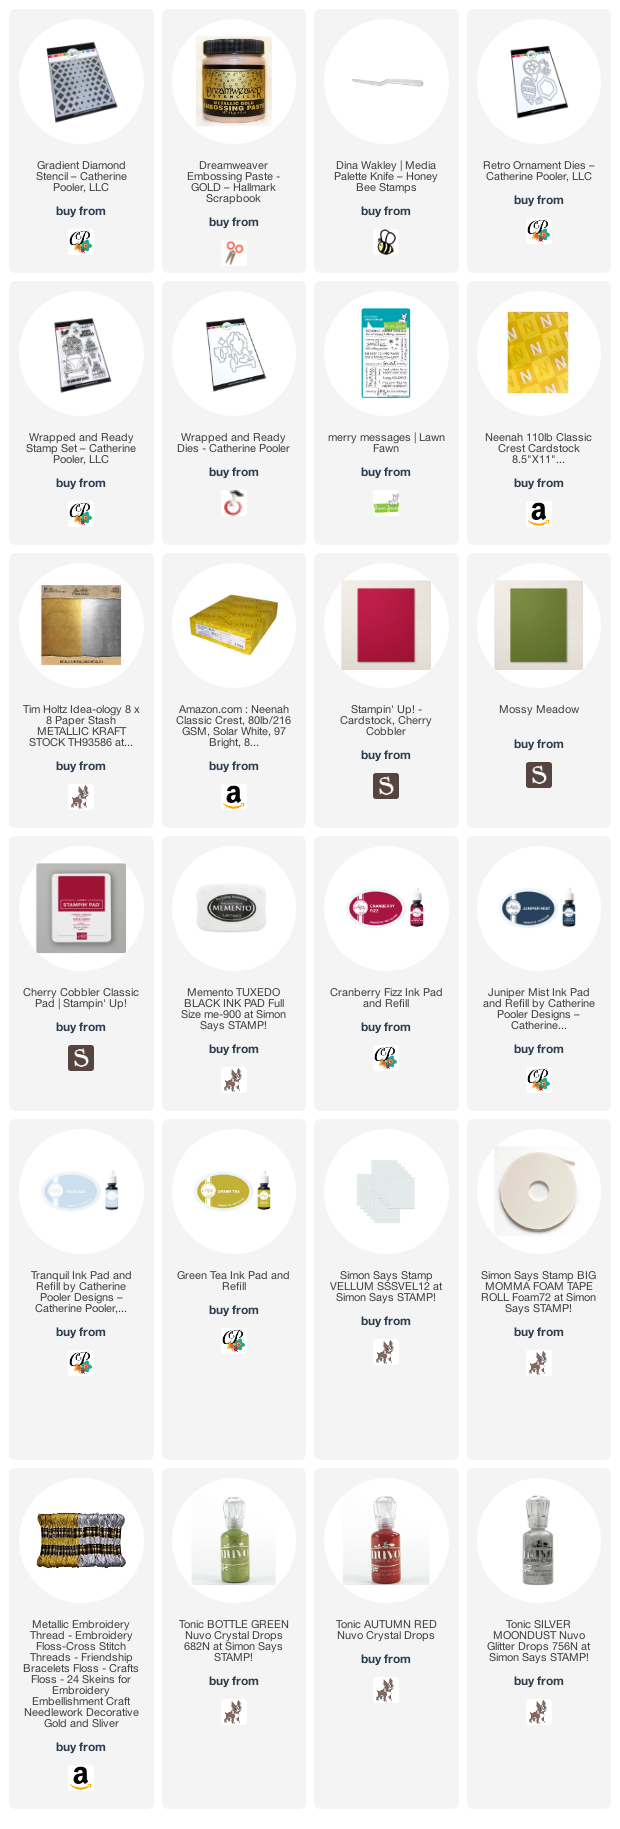
Supplies
 https://linkdeli.com/widget.js?id=f5e8378456858c916708
Thanks for reading this post. I hope you enjoyed and I’ve inspired you to give these cards a try for yourself. Leave comments or questions below or feel free to email.