Hi friends. While I am not one to make a clean and simple card very often (I like to complicate my life. LOL), I decided to make one using the Fireworks Stencil from Scrapbook.com. This card can easily be made for any occasion — just change the background stencil and sentiment!
I die cut a strip of Neenah 110lb Classic Crest Cardstock using the Queen and Company Foundations 17 dies. I used the rectangle that measures 1 x 6-1/4″. It has stitched edges which adds a nice element to the card. I adhered that to my card base and added some Love from Lizi Pin Stripe Peel-offs in Red Mirror and Blue Mirror along the edge of that strip.
I finished off the card by adding red, white, and blue sequins. I don’t think the mix I used is still available but I have linked to a simliar one. But if you have the three colors separately that will do just fine as well here.
On the inside of the card, I stamped “Happy 4th of July” from and old sentiment stamp I have. I will try to link it below if I find it.s
Thanks for reading this post! I hope you enjoyed and I’ve inspired you to make this cute card yourself! If you want to share you creations with me tag me on instagram @kittieslovecrafting. Leave comments or questions below or feel free to email me.
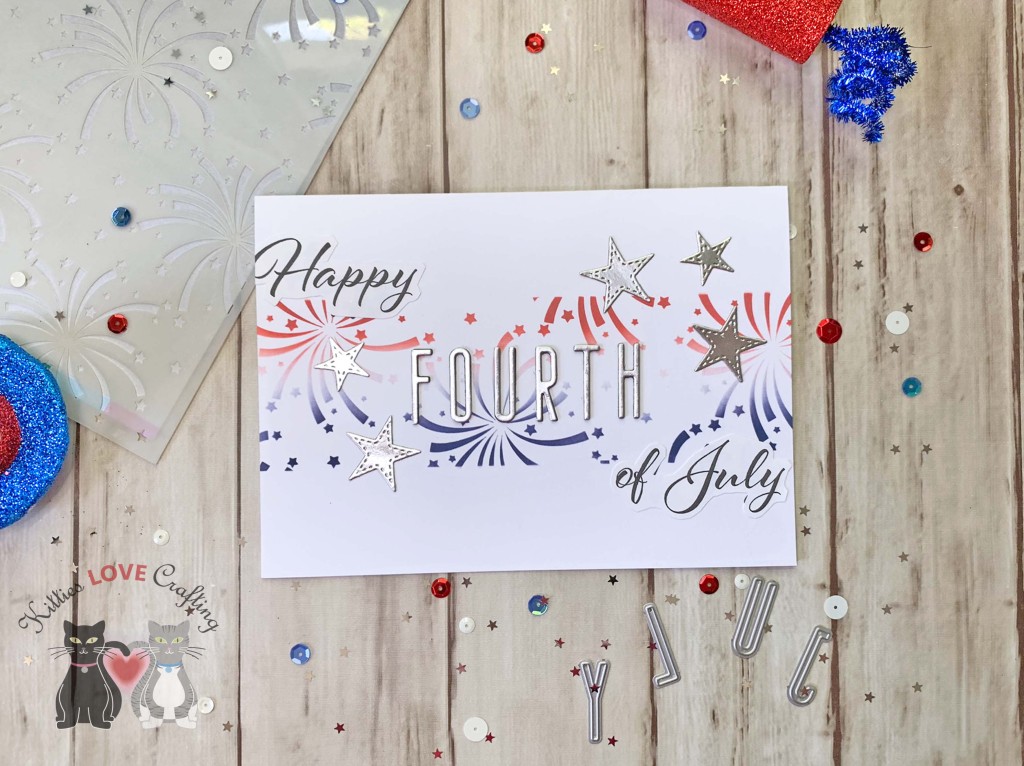
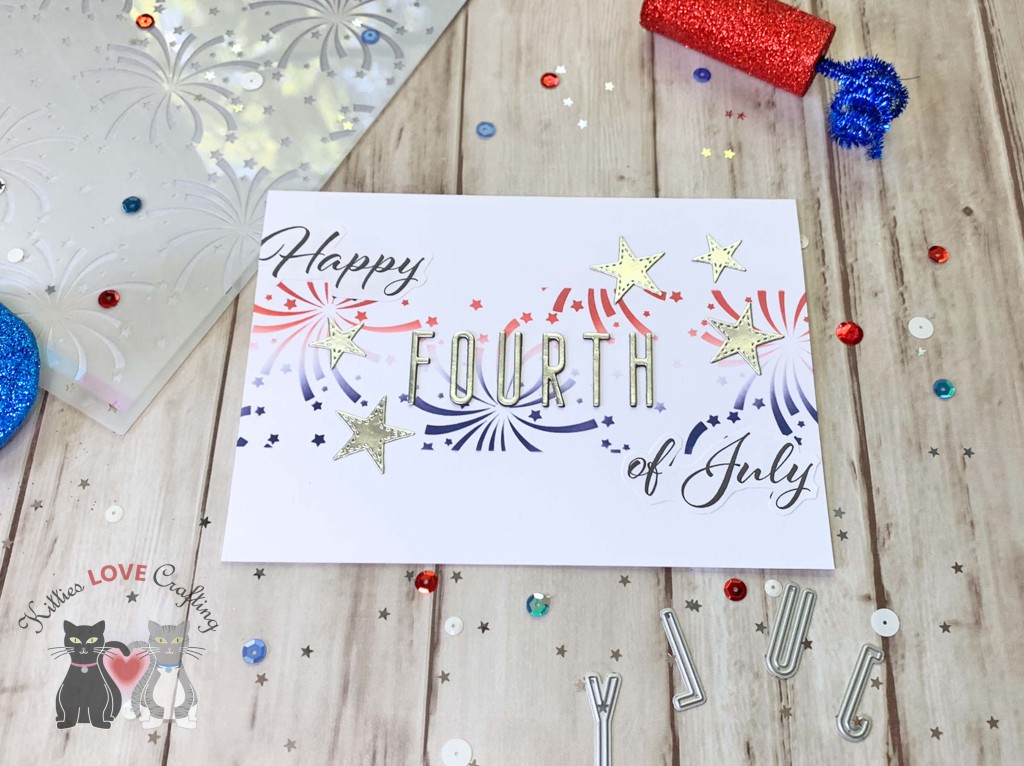
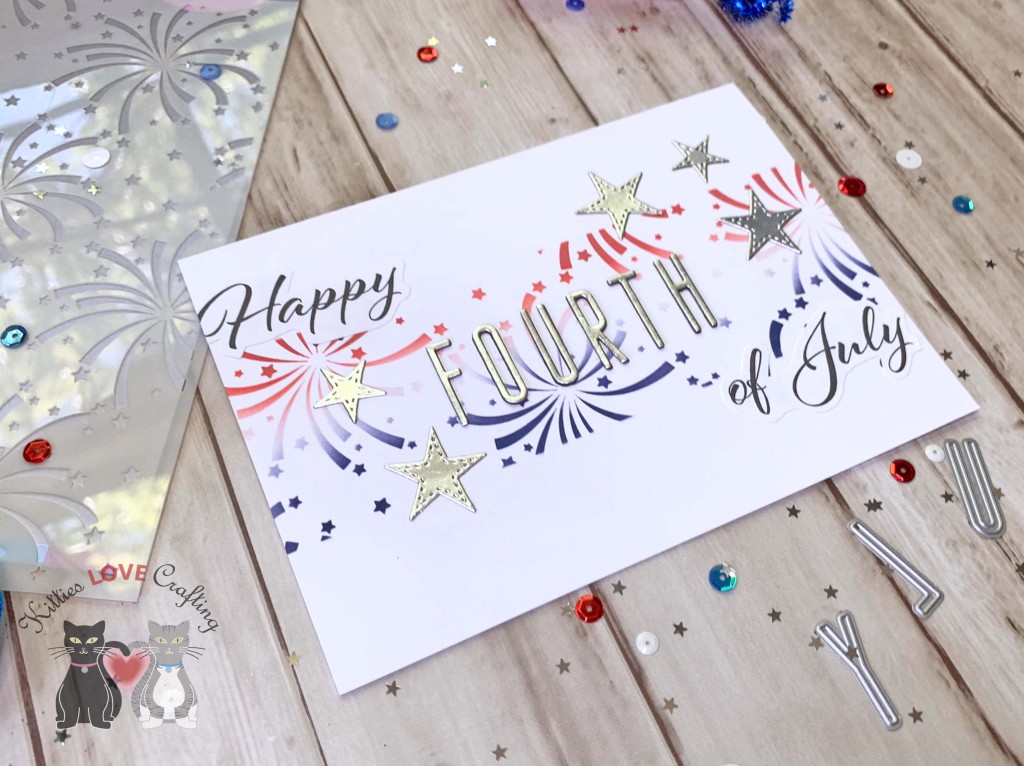
Hi friends. Independence Day is approaching and if you like making cards to send to friends and family like I do, here’s a simple one to get started. I saw a video from Gina K Designs on partial stenciling so I decided to give it a try.
For this card, I cut a piece of Neenah 110lb Classic Crest Cardstock to 7 x 10″ and scored at 5″ to create the card base. I taped off the area I wanted to stencil with Low Tack Tape and made sure to cover the rest of the areas so as not to add unwanted ink in those areas. I used Tim Holtz Candied Apple and Chipped Sapphire Distress Oxide Inks to create a gradient.
I didn’t have any suitable stamps for the “Happy” and “of July” part of the sentiment so I printed some out from my computer. YOu can use a program like Microsoft Powerpoint or Word or Adobe Illustrator or any other program that allows you to create text and print it.
Thanks for reading this post! I hope you enjoyed and I’ve inspired you to make this cute card yourself! If you want to share you creations with me tag me on instagram @kittieslovecrafting. Leave comments or questions below or feel free to email me.
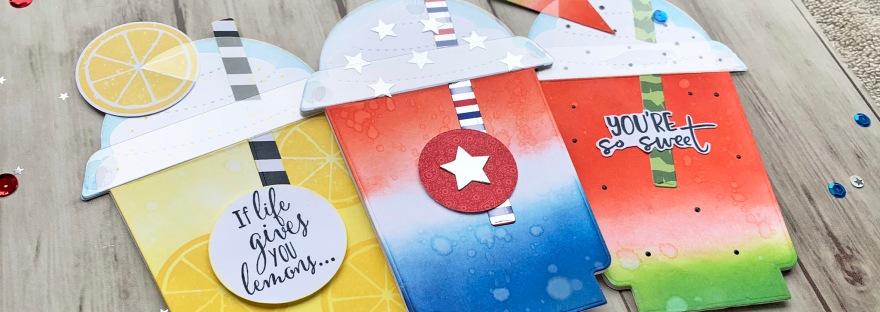
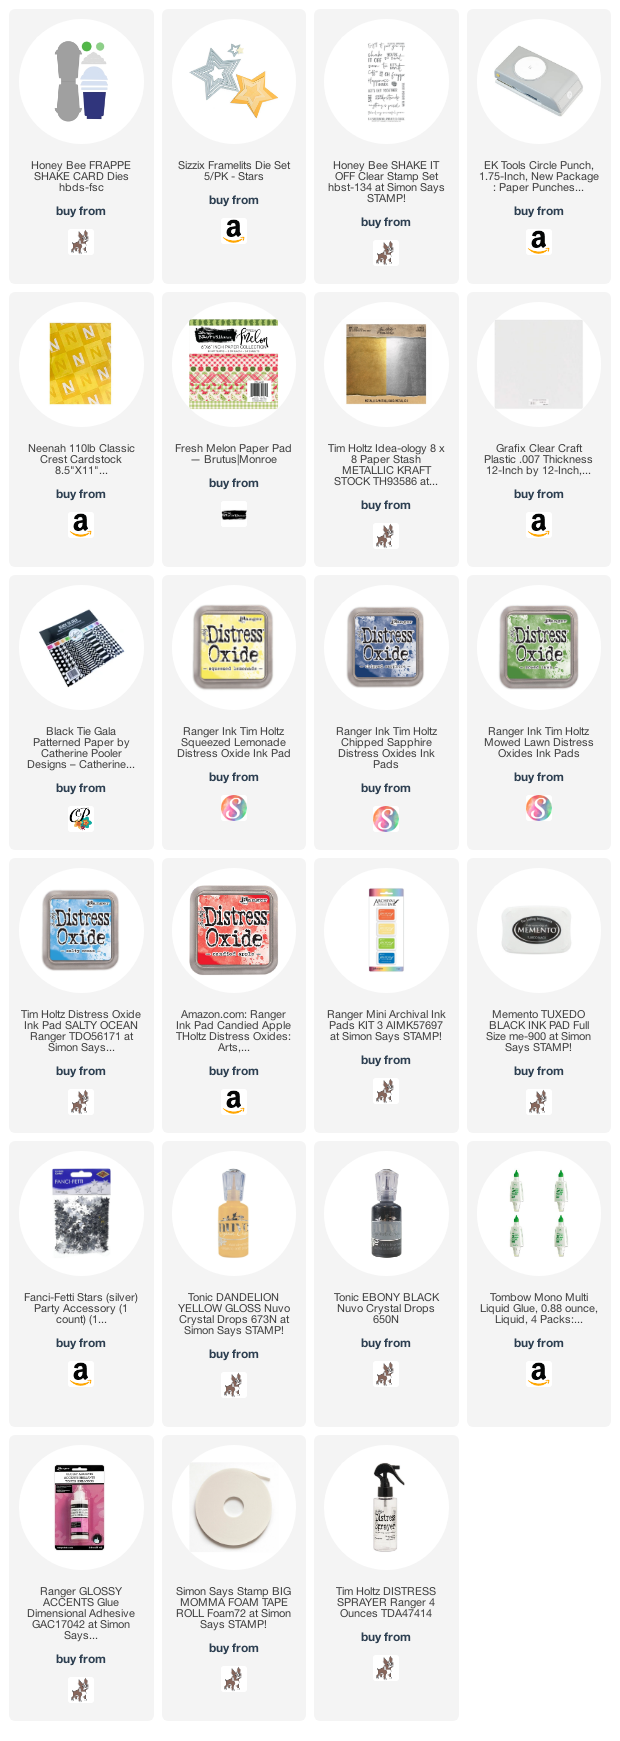
While it’s probably no surprise too many that I love coffee, I love coffee stamps and dies even more. This Honeybee Stamps Frappe Shake Card Dieset as well as their Honey Bee COFFEE CUP CARD Dies are my favorites! They have everything you need to make cute coffee cup and frappe cup shaped cards and shakers. And they fit in an A2 size envelope which is great!
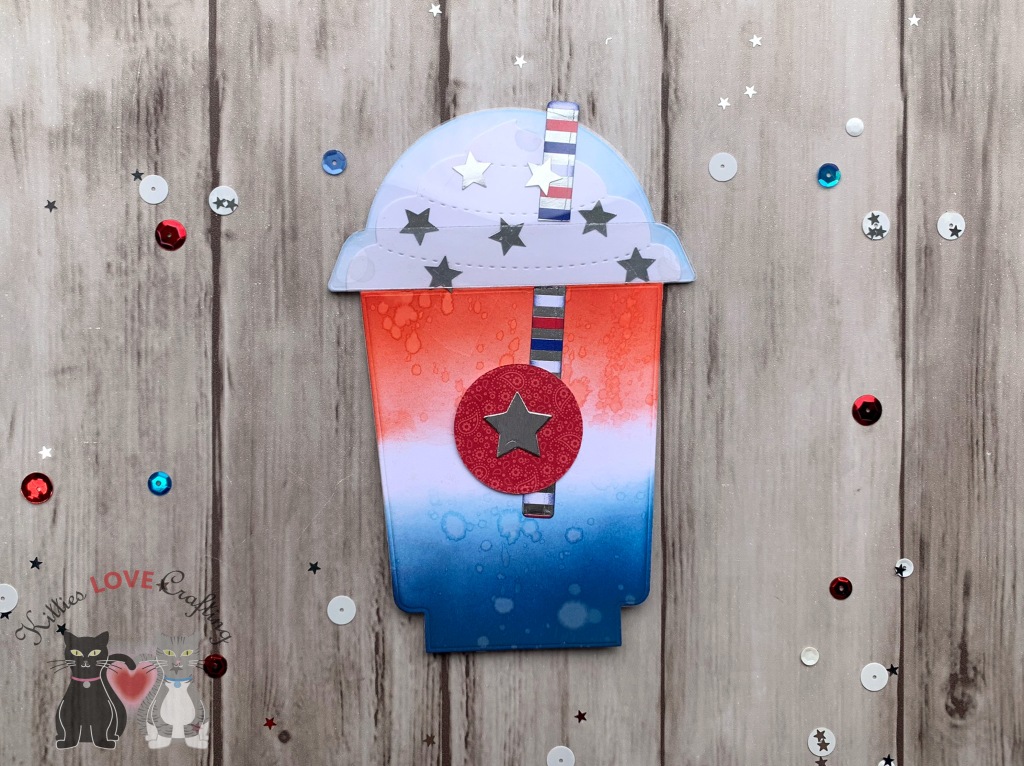
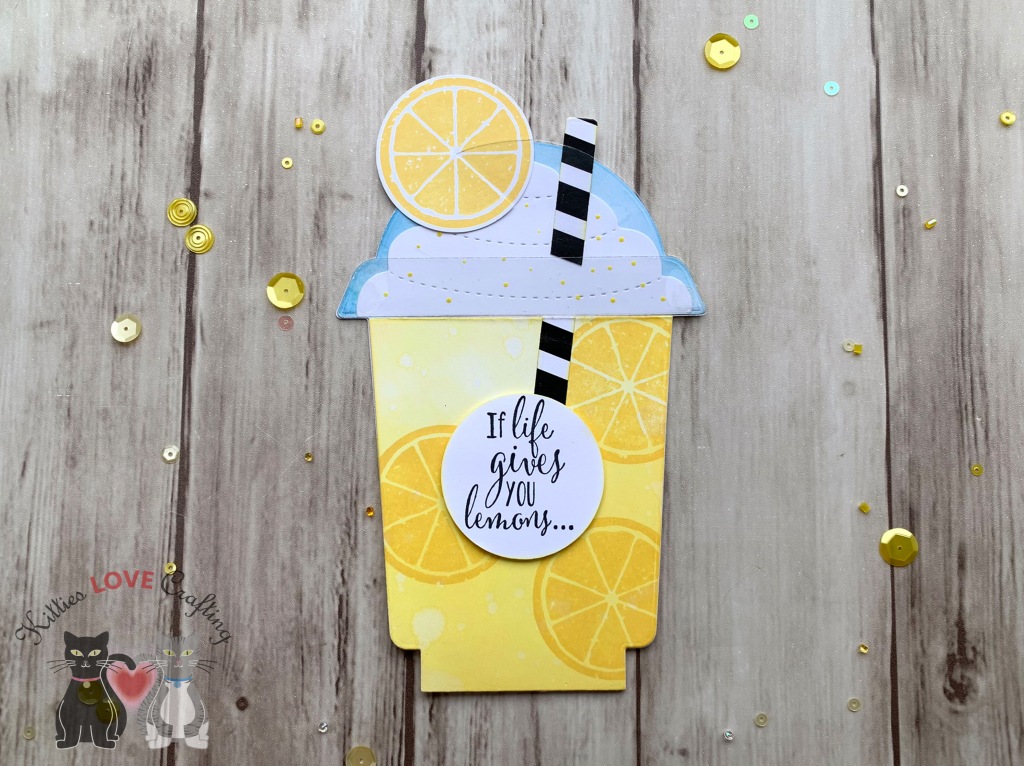
I thought it would be fun to reuse this dieset to make some non-coffee cards, instead make brightly colored summer beverages. I don’t know if you all remember the rocket bomb popsicles that were red, white and blue. I remember many summers as a kid eating those popsicles (they were refreshing and turned my tongue red or blue, depending on which end I ate first—what could be better??). LOL That was the inspiration for my first card.
I started by diecutting card bases using the large card, coffee cup, and the whipped cream dies in the set from Neenah 110lb Classic Crest Cardstock 8.5 X 11″ 3 times. I also diecut 3 sets of the lid and its rim from Acetate.
On the inside of the card, I stamped “Happy 4th of July” with a very old stampset I had (sorry don’t know where it came from) using Tim Holtz Chipped Sapphire Distress Oxide Ink and added 3 silver stars.
Card Inside
For the second card, I decided to make a delicious watermelon smoothie. Who doesn’t like a tasty frozen watermelon beverage on a hot summer day?!? I’m now craving a smoothie while writing this post. LOL.
Thanks for reading this post. I hope you enjoyed and I’ve inspired you to Shop Your Stash and see what fun ideas you come up with and maybe rediscover supplies you forgot you had! Leave comments or questions below or feel free to email me.


 https://linkdeli.com/widget.js?id=f5e8378456858c916708