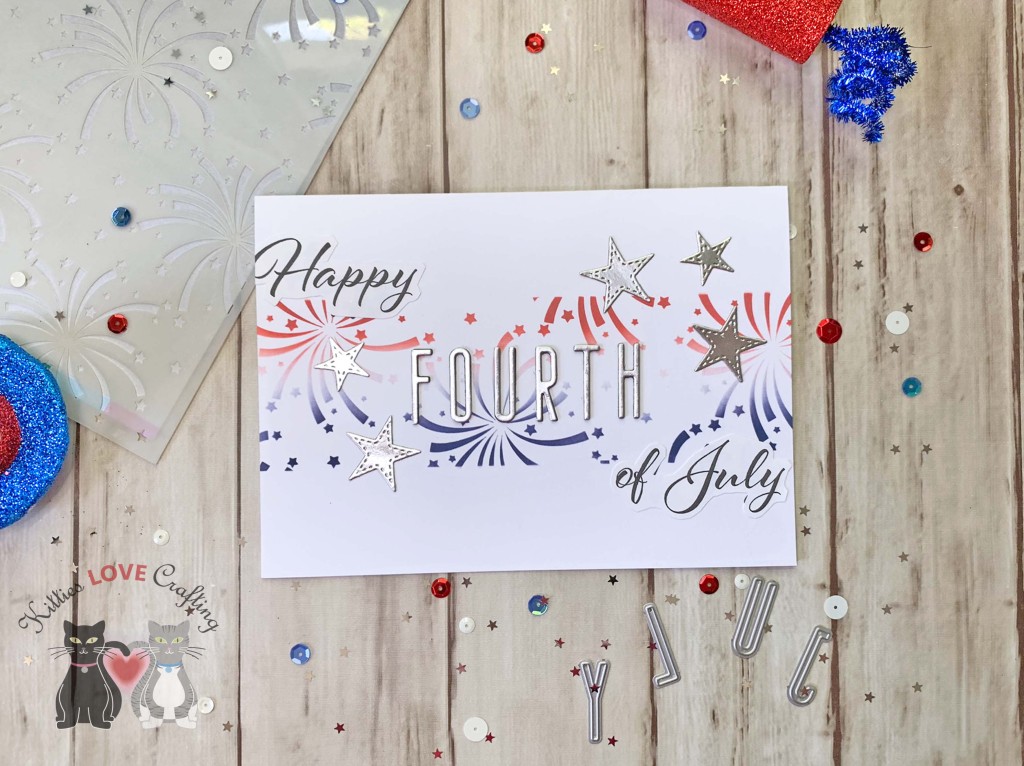
Hi friends. While I am not one to make a clean and simple card very often (I like to complicate my life. LOL), I decided to make one using the Fireworks Stencil from Scrapbook.com. This card can easily be made for any occasion — just change the background stencil and sentiment!

I cut a piece of Neenah 110lb Classic Crest Cardstock to 5-1/2 x 8-1/2″ and scored at 4-1/4″ to create the card base. I also die cut another piece using the largest dot die from Catherine Pooler Designs Scallops & Dots which measures 4-1/2″ x 3-1/4″. Then using the Scrapbook.com Fireworks 6×8 Stencil combined with Tim Holtz Chipped Sapphire and Candied Apple Distress Oxides Ink I stenciled the background.
I die cut a strip of Neenah 110lb Classic Crest Cardstock using the Queen and Company Foundations 17 dies. I used the rectangle that measures 1 x 6-1/4″. It has stitched edges which adds a nice element to the card. I adhered that to my card base and added some Love from Lizi Pin Stripe Peel-offs in Red Mirror and Blue Mirror along the edge of that strip.

I added some 3M Foam Tape behind the front panel and adhered it. I die cut the sentiment from Simon Says Stamp Red Glitter Cardstock as well as Stampin’ Up! Night of Navy 8-1/2 x 11″ Cardstock (for the shadow)
I finished off the card by adding red, white, and blue sequins. I don’t think the mix I used is still available but I have linked to a simliar one. But if you have the three colors separately that will do just fine as well here.

On the inside of the card, I stamped “Happy 4th of July” from and old sentiment stamp I have. I will try to link it below if I find it.s
Dimensions
- Card Base = 5-1/2 x 8-1/2″ and scored at 4-1/4″ Neenah 110lb Classic Crest Cardstock
- Top Panel = 4-1/2″ x 3-1/4″ Neenah 110lb Classic Crest Cardstock
- Strip = 1 x 6-1/4″ Neenah 110lb Classic Crest Cardstock
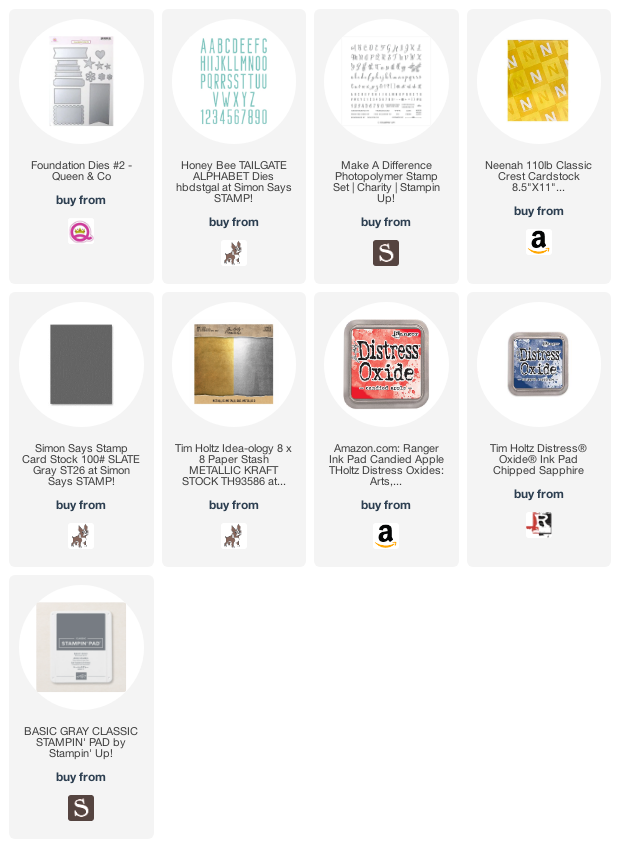
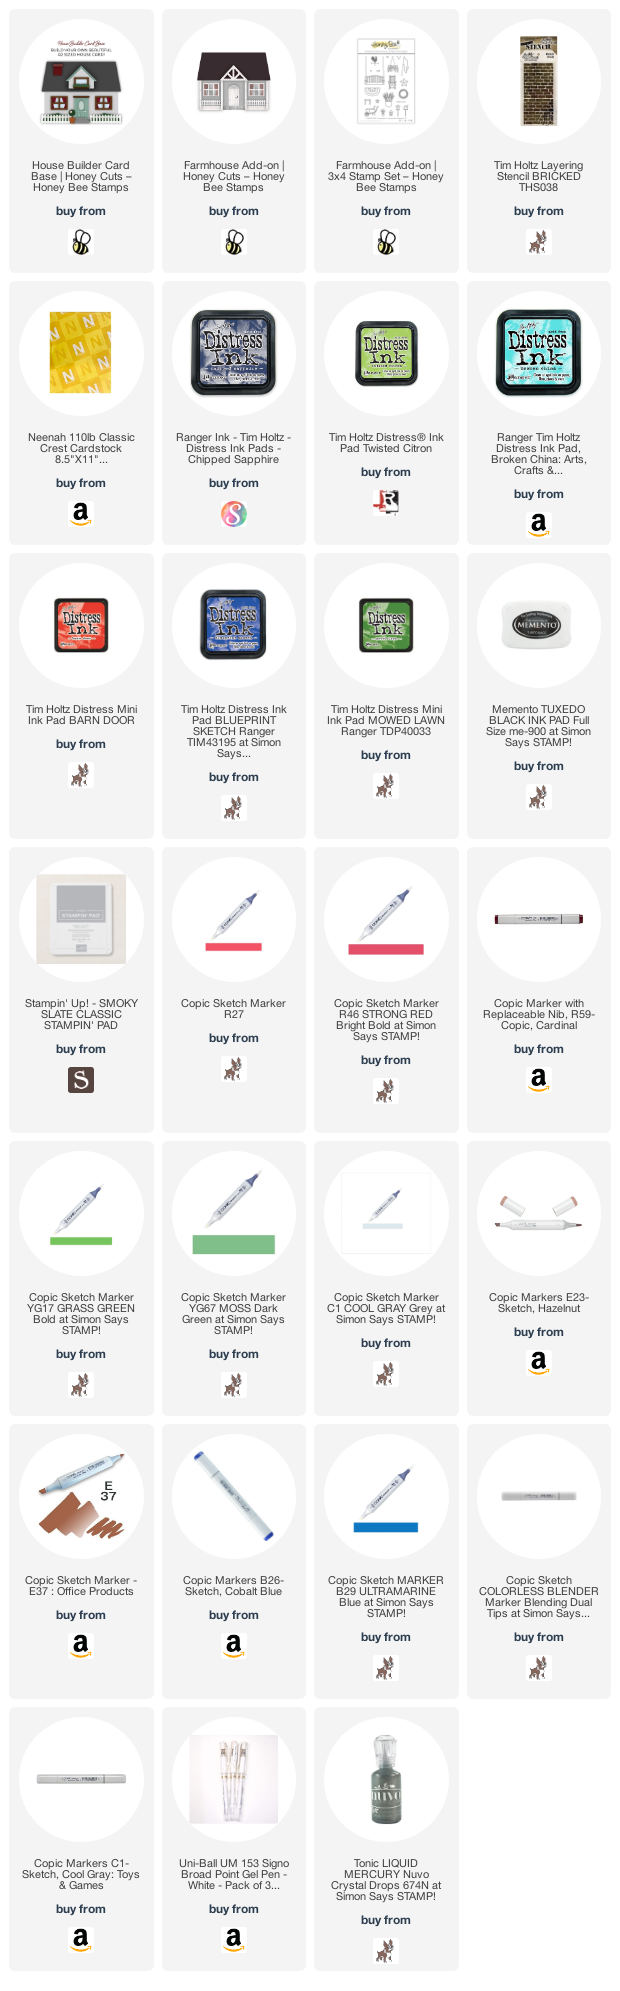
Supplies
 https://linkdeli.com/widget.js?id=f5e8378456858c916708
Thanks for reading this post! I hope you enjoyed and I’ve inspired you to make this cute card yourself! If you want to share you creations with me tag me on instagram @kittieslovecrafting. Leave comments or questions below or feel free to email me.