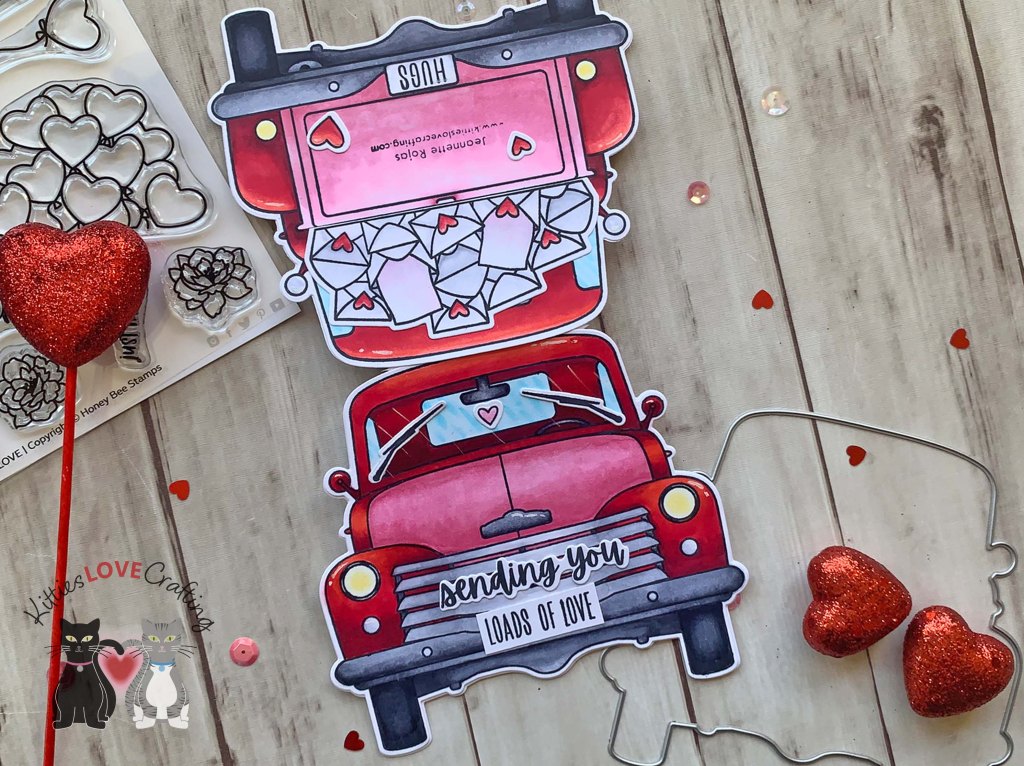
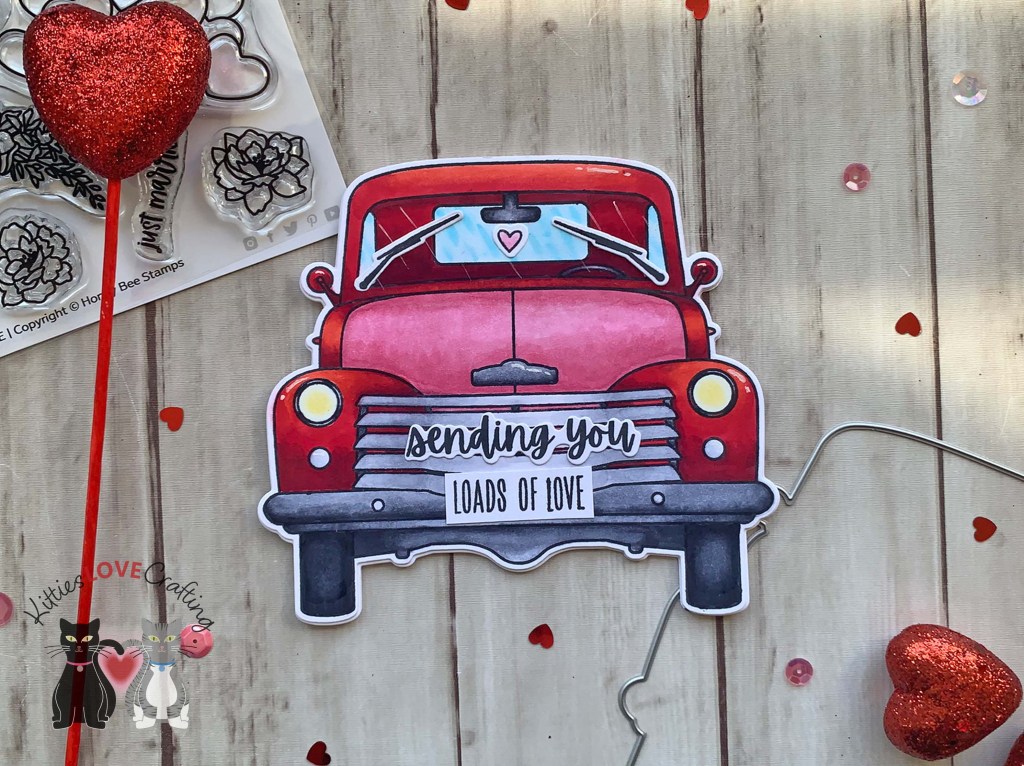
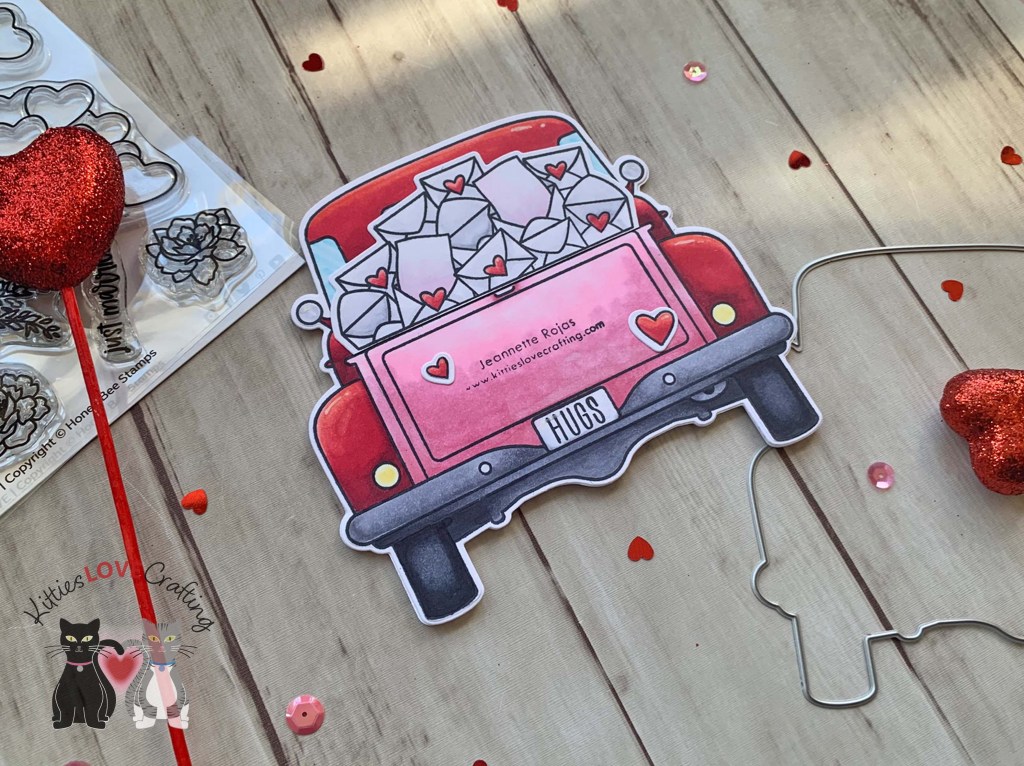
Hello friends. For this card, I decided to create a shaped card with the Honey Bee Stamps Big Pickup Cab, Big Pickup Tailgate, and Loads of Love 6×6 Stamp Sets. This card was a little time-consuming because of all the coloring but I think worth it in the end! I love how this turned out!!!
For this card, I cut a piece of Neenah 100lb Classic Crest Cardstock 8.5 X 11″ to 7 x 10 and scored at 5″ to create an A7 card base. I folded the card base and then die cut the shaped truck card by aligning the truck die up against the fold line but overhanging it a little. This will create the shape card. You can do this with any shape die.
Next, I stamped both the front and back of the truck and envelope images from the Big Pickup Cab, Big Pickup Tailgate, and Loads of Love 6×6 Stamp Sets onto Neenah 100lb Classic Crest Cardstock 8.5 X 11″ with Memento Tuxedo Black Ink. I colored them with Copic markers. I used R17, R29, R59 & R69 for the truck; R83, R85 & RV10 for the truck bed; C0, C1, C3, C5 & C7 for the bumper and mirrors; C7 & C9 for the tires; BG000, BG10 & 0 (blender) for the windows; Y0000 & Y15 for the lights; and C1, 0, & RV10 for the envelopes. I die cut everything with the coordinating dies for each stamp set.
Thanks for reading this post. I hope I’ve inspired you to give this cute pickup truck shaped Valentine’s Day card a try for yourself. Leave comments or questions below or feel free to email.
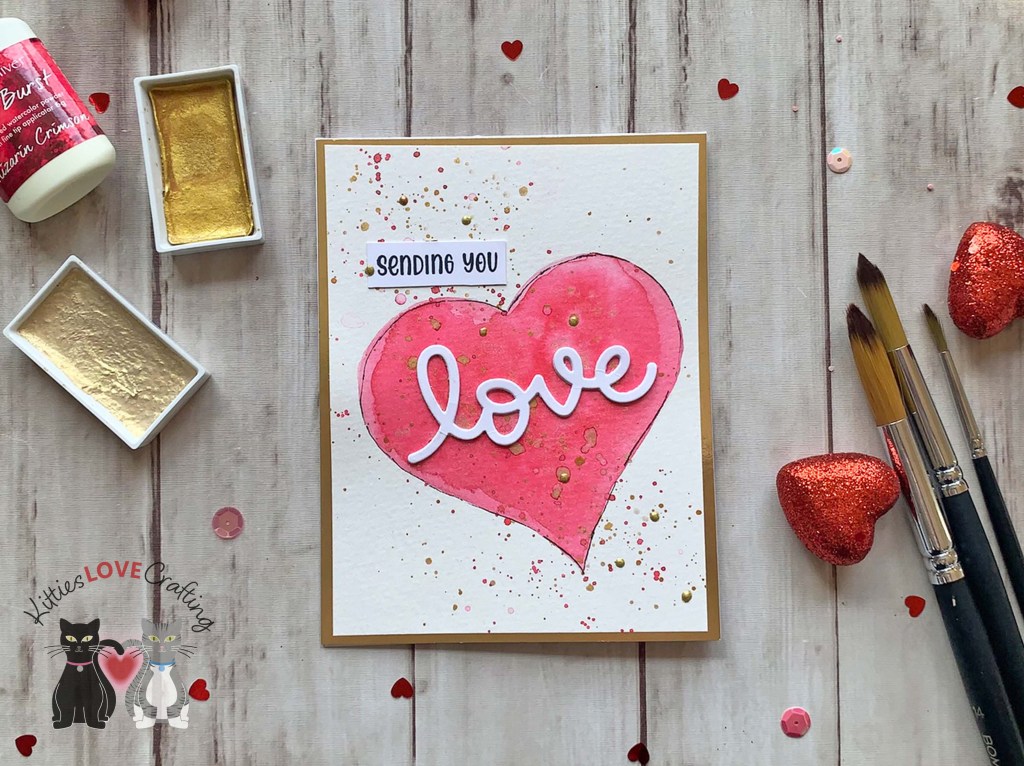
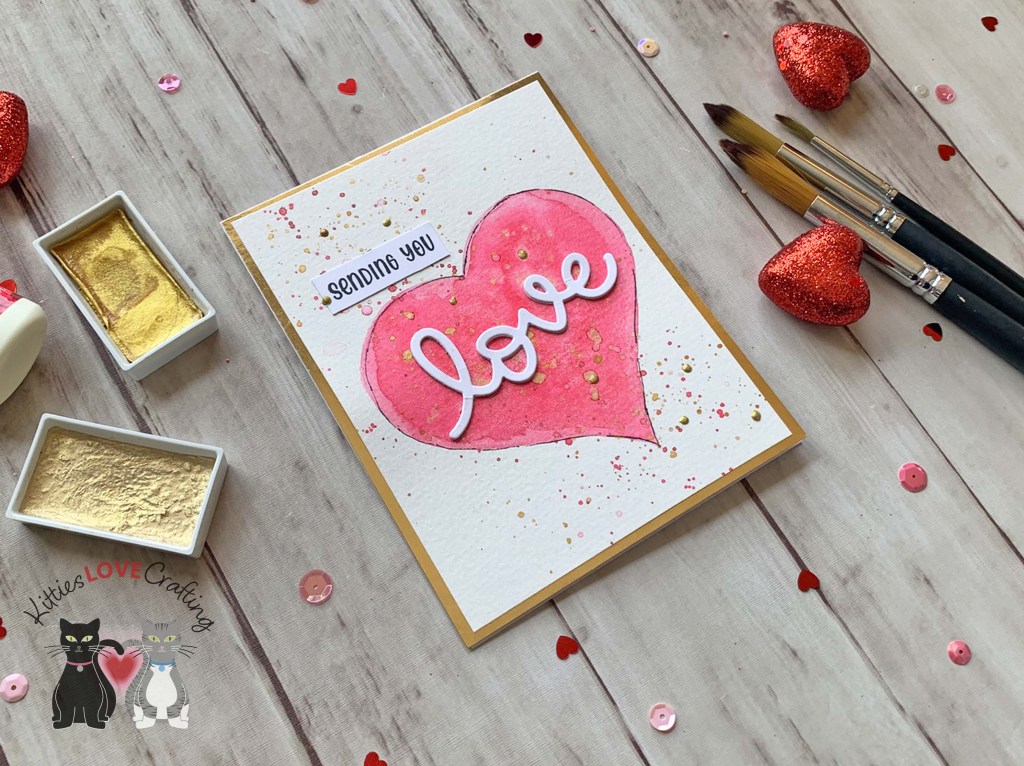
Hello friends. If you like watercolor cards but think you have to be an artist to create them, I’m here to tell you that you don’t. The great thing about watercoloring is that it doesn’t have to be perfect. Also using the correct paper helps; I used both watercolor cardstock as well as multimedia paper to test them both out and see what I prefer.
I used heart shaped wafer dies as stencils for all of these cards. The only thing hand-drawn on these cards are the stems on the flowers and the bow. Let me show you how easy this can be!
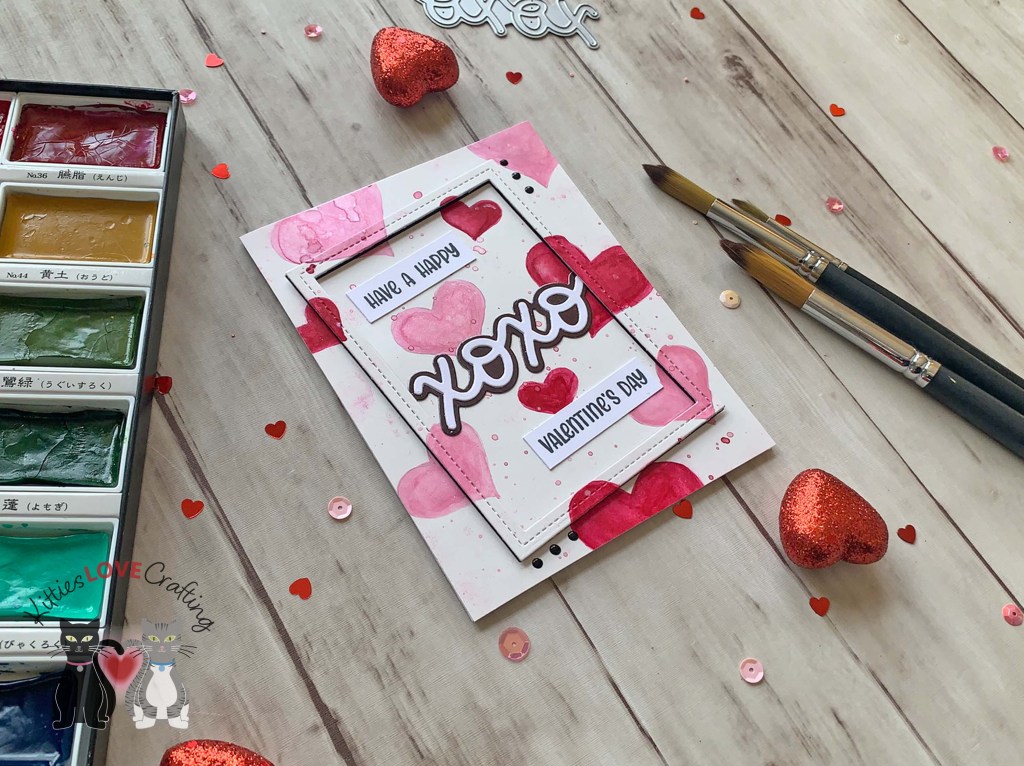
Next, I used a heart die to trace the six hearts onto my paper. Don’t go too dark when drawing. It’ll be easier to erase the remaining pencil lines after you’ve colored everything. I used my Ken Oliver Color Burst Brights Powder for this card. I added splatters with the same colors as well as some gold splatters using the Zig Kuretake Gansai Tambi STARRY COLORS.
Once the paint was dry (make sure to let it dry fully), I erased any left over pencil marks and sketched lines around the hearts. Feel free to skip this step or use the dies again to trace around with a pen or marker.
I used a large heart die to trace the heart onto my paper. I used my Kuretake Gansai Tambi Watercolor Paint Set for this card. I added splatters with the same colors as well as some gold splatters using the Zig Kuretake Gansai Tambi STARRY COLORS. Once dried, I erased any left over pencil marks and sketched lines around the hearts.
Thanks for reading this post. I hope I’ve inspired you to give these easy Valentine’s Day watercolor cards a try for yourself. Leave comments or questions below or feel free to email.
Hello friends. Here’s an easy way to create a textured pattern paper background when you don’t have any pattern paper. I used a heart die with various papers and an embossing folder to create this background. This card also requires no stamping and uses minimal supplies! Let’s see how easy this was to create.
For this card, I cut a piece of Neenah 100lb Classic Crest Cardstock 8.5 X 11″ to 5-1/2 x 8-1/2″ and scored at 4-1/4″ to create an A2 card base. Then die cut another piece to 4 x 5-1/4″. On this piece I added die cut hearts using various papers from my stash to form a pattern. Then I ran it through my die cut machine with a 6 x 6 polka dot embossing folder from Queen & Company (I think it might be retired). And that’s it. Background created!
Thanks for reading this post. I hope I’ve inspired you to give this sweet Valentine’s Day card a try for yourself. Leave comments or questions below or feel free to email.
Hello friends. Another cute card using the Lawn Fawn Doily Hearts Die. This time I combined it with the Trinity Stamps Tiny Teacup Die Set. The new release from Lawn Fawn has so many adorable products. I can’t help but keep making cards!!! 🙂
Thanks for reading this post. I hope I’ve inspired you to give this cute penguin scene card a try for yourself. Leave comments or questions below or feel free to email.
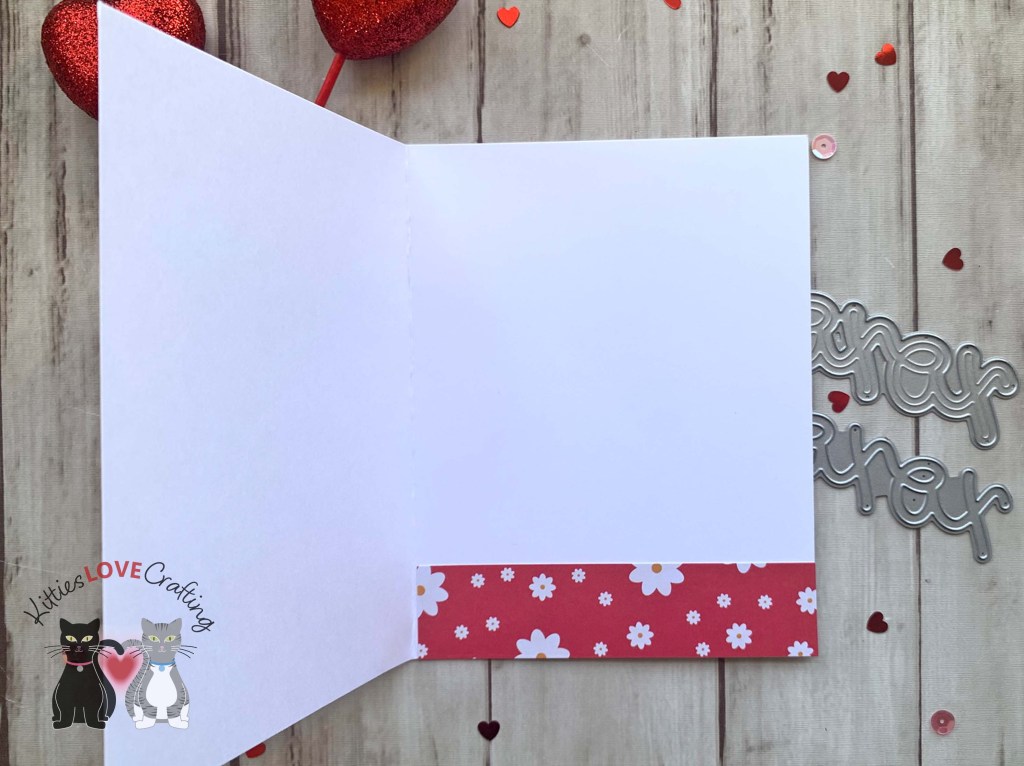
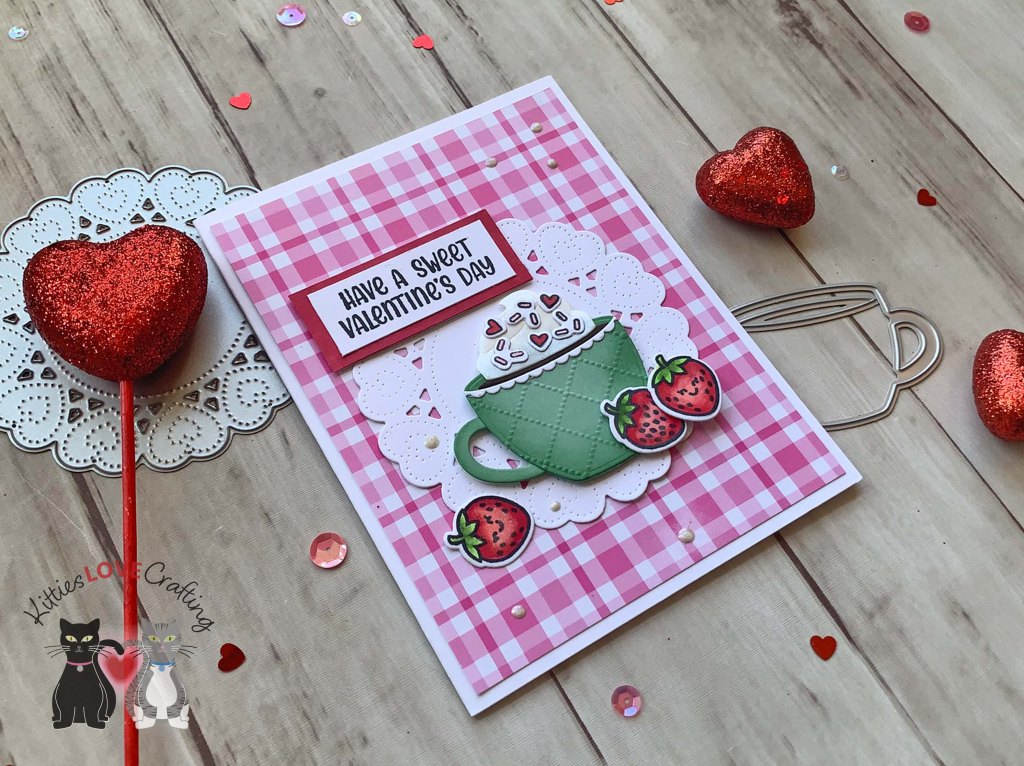
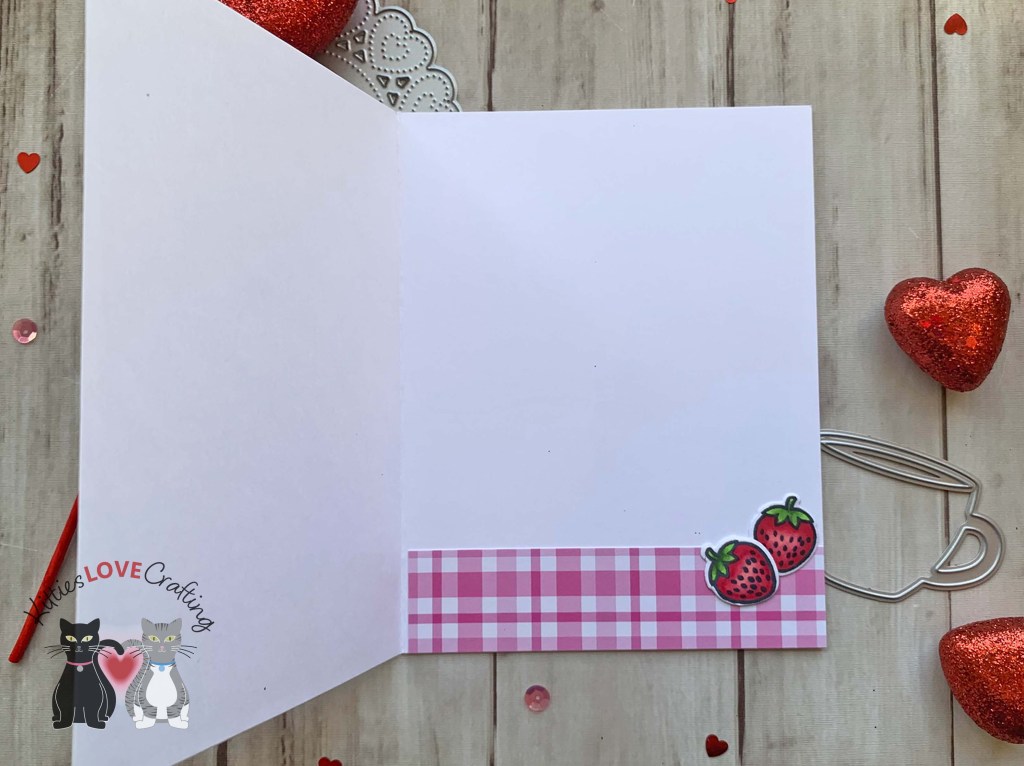
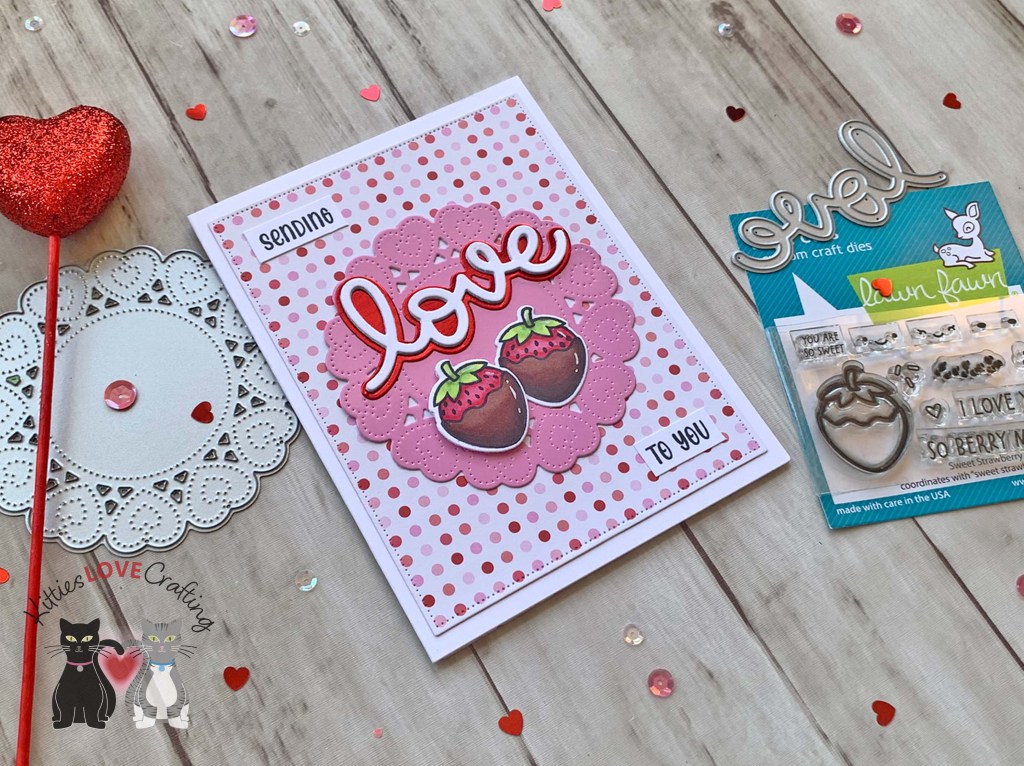
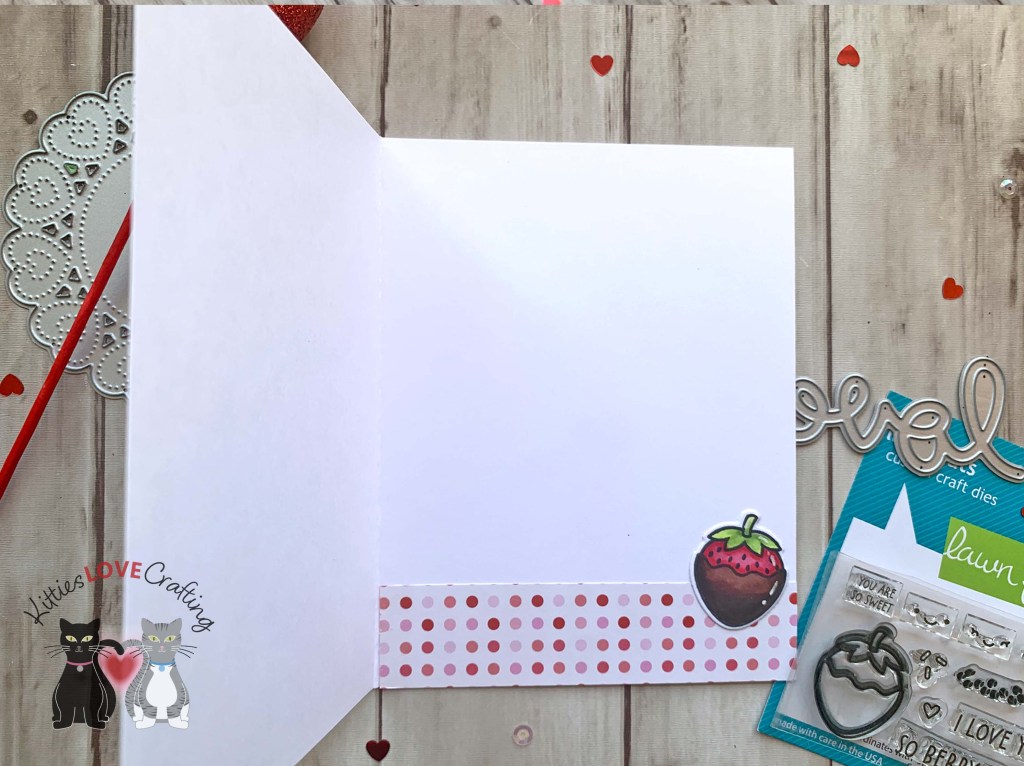
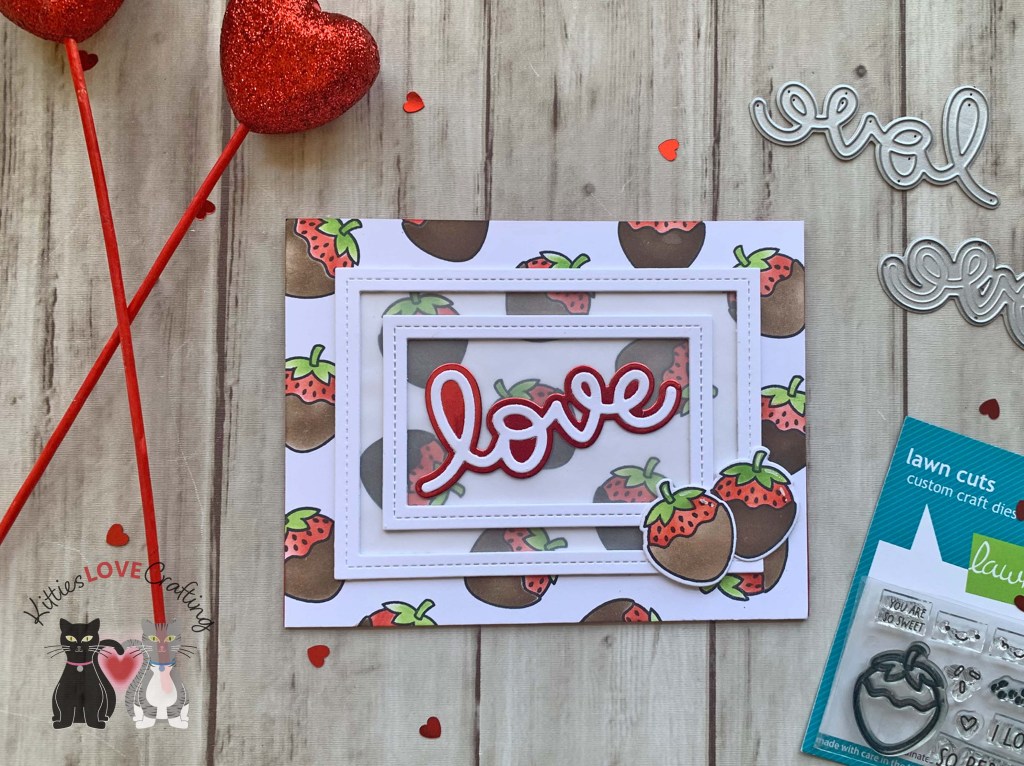
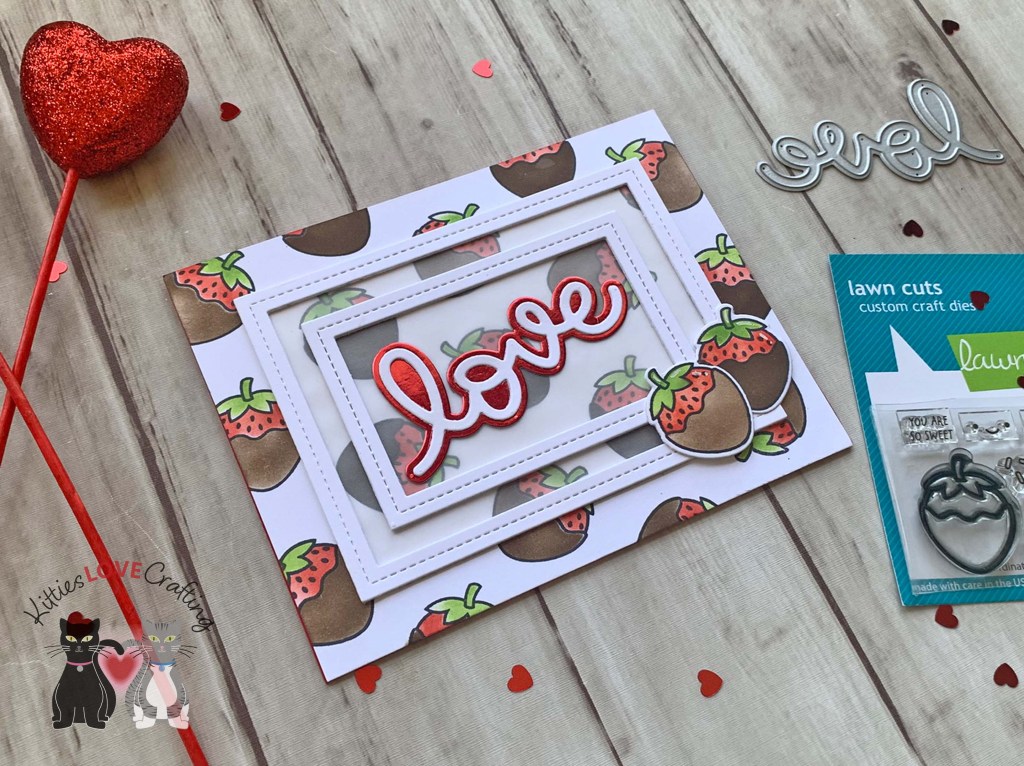
Hello friends. If you need a quick and simple card for this Valentine’s Day, check out this card! I combined the Lawn Fawn’s Sweet Strawberry and Scripty Love Dies to create this sweet card. Even with the coloring it didn’t take long to make.
Thanks for reading this post. I hope I’ve inspired you to give this sweet Valentine’s Day card a try for yourself. Leave comments or questions below or feel free to email.
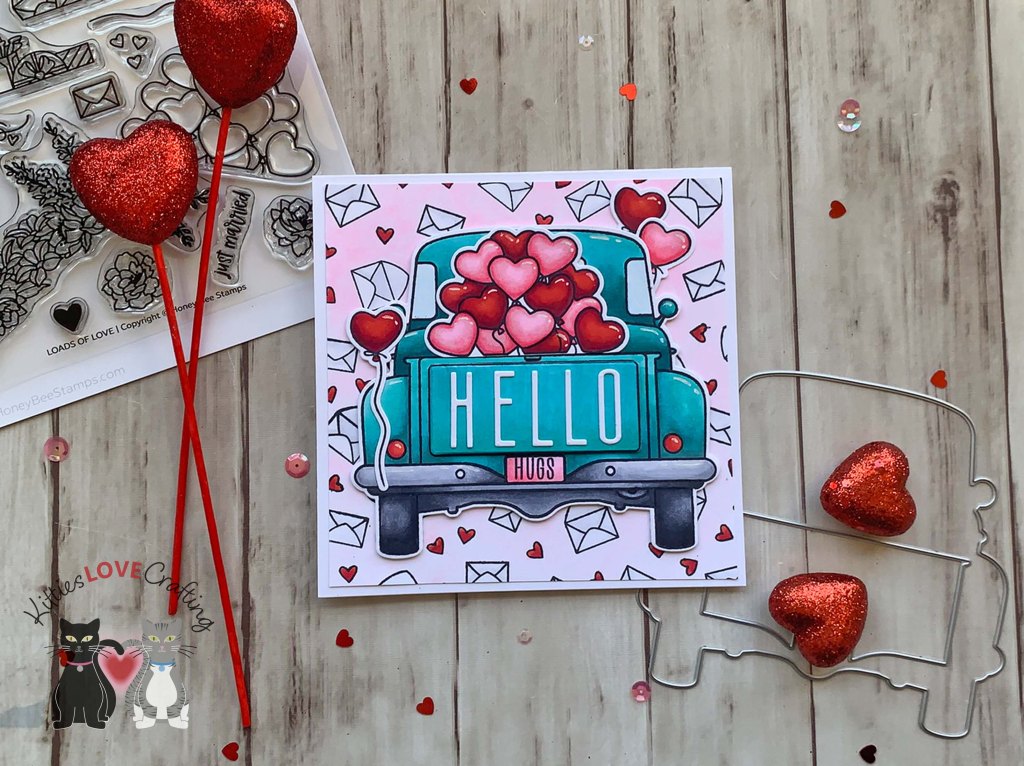
Hello friends. Here’s a cute Valentine’s Day Card that can be masculine or feminine, depending on you’re definition. This card features an oldy but goody from my Honey Bee Stamps, the Big Pickup Tailgate and the Loads of Love Add-on. I’ve had this add-on in my cart for a year now and I’m glad I finally bought it. So very cute and lots of options.
I stamped the little envelopes and hearts from the Loads of Love Add-on stampset onto the back panel with Memento Tuxedo Black Ink. Then colored the images with Copics. I used C0, C1, and 0 (blender) for the envelopes, R17 & R29 for hearts, and RV0000, RV000 & RV10 for the background.
Next, I stamped the truck image from the Honey Bee Stamps Big Pickup Tailgate stamp set and the heart stack and balloons from the HBS Loads of Love Add-on onto Neenah 100lb Classic Crest Cardstock 8.5 X 11″ with Memento Tuxedo Black Ink. I also colored them with Copic Markers. I used BG15, BG09, BG45, & BG18 for the truck; R17 & R29 for the back lights; C5, C7 & C9 for the tires; C1, C3, C5, & C7 for the bumper; B00 & 0 (blender) for the windows; and R17, R29, & R39, RV10, RV11 & RV14 for the hearts and the license plate. I stamped and colored a second truck bed which I die cut out with the coordinating dies and popped up with foam tape.
Thanks for reading this post. I hope I’ve inspired you to give this cute pickup truck Valentine’s Day card a try for yourself. Leave comments or questions below or feel free to email.
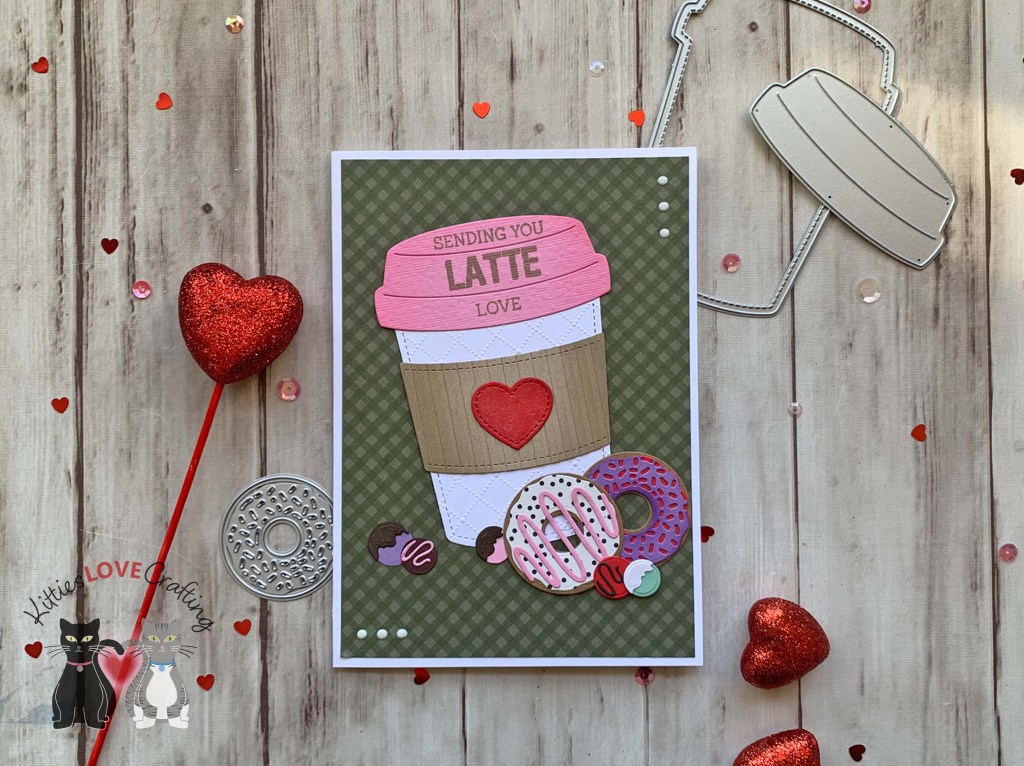
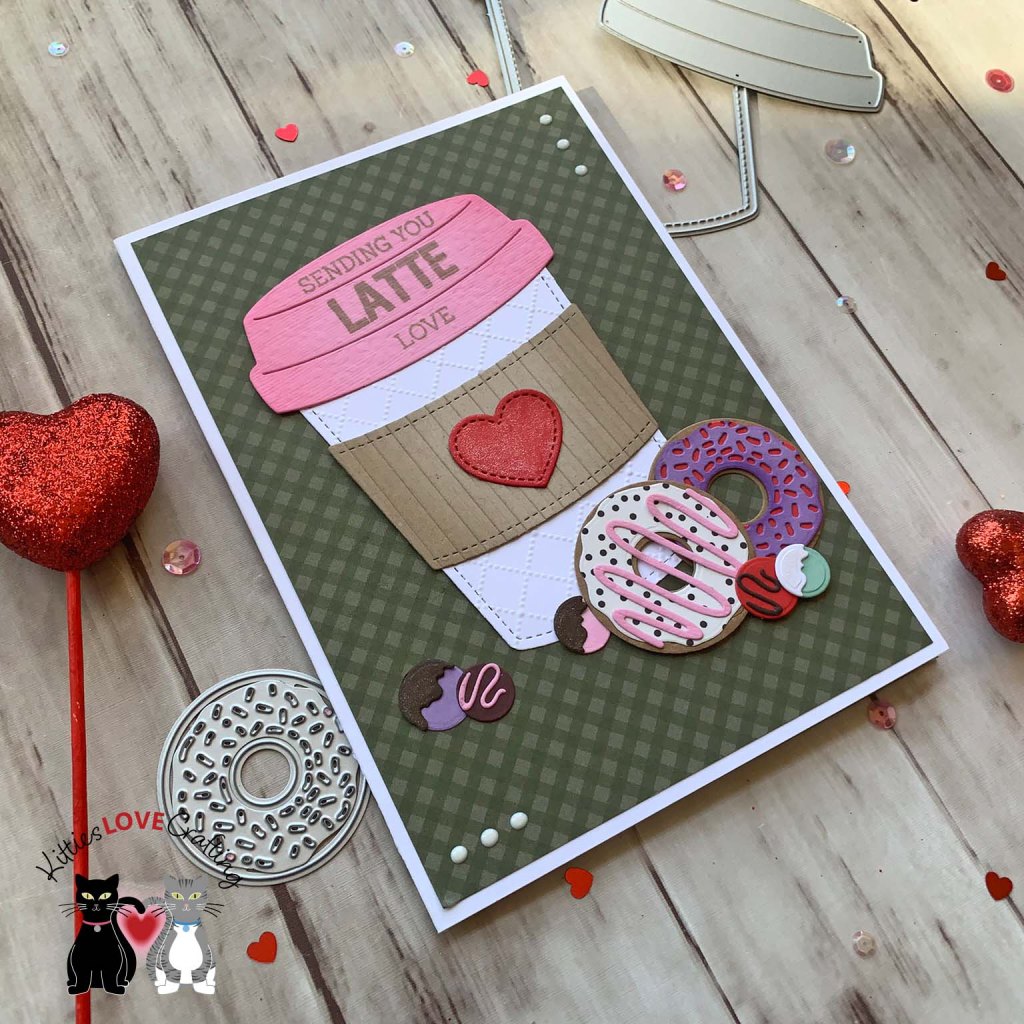
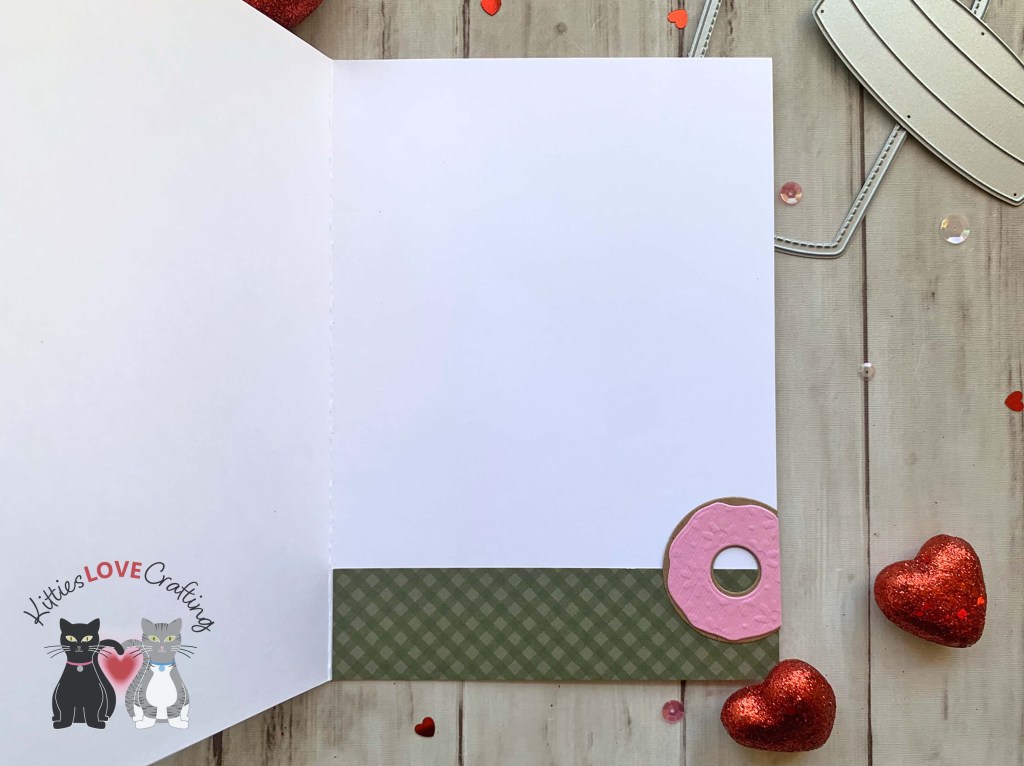
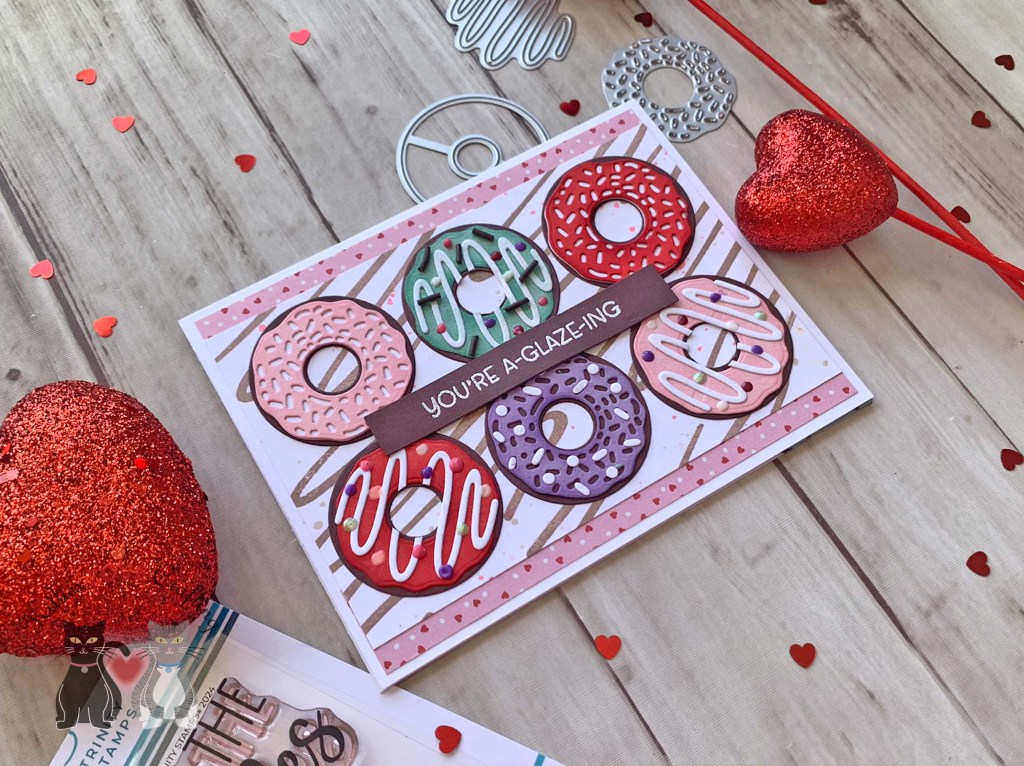
Hello friends. Here’s a cute coffee-themed Valentine’s Day card created using only dies and very minimal stamping. Great for the coffee lover in your life! Let me show you how I made this card.
I stamped the sentiment directly onto the coffee cup lid. I used Stampin’ Up! Crumb Cake Ink along with Honey Bee LATTE and Sugar Pea Designs Espresso Yourself (retired) Stamp Sets.
Thanks for reading this post. I hope I’ve inspired you to give this cute coffee-themed Valentine’s Day card a try for yourself. Leave comments or questions below or feel free to email.
Hello friends. I’m starting my Valentine’s Day card series with a cute but simple card using new Lawn Fawn Sweet Strawberry stamp and coordinating stencil. The stencil made building my background so much faster than coloring with markers. I love my Copic markers but sometimes it’s nice not to have to color.
Thanks for reading this post. I hope I’ve inspired you to give this cute strawberry background card a try for yourself. Leave comments or questions below or feel free to email.
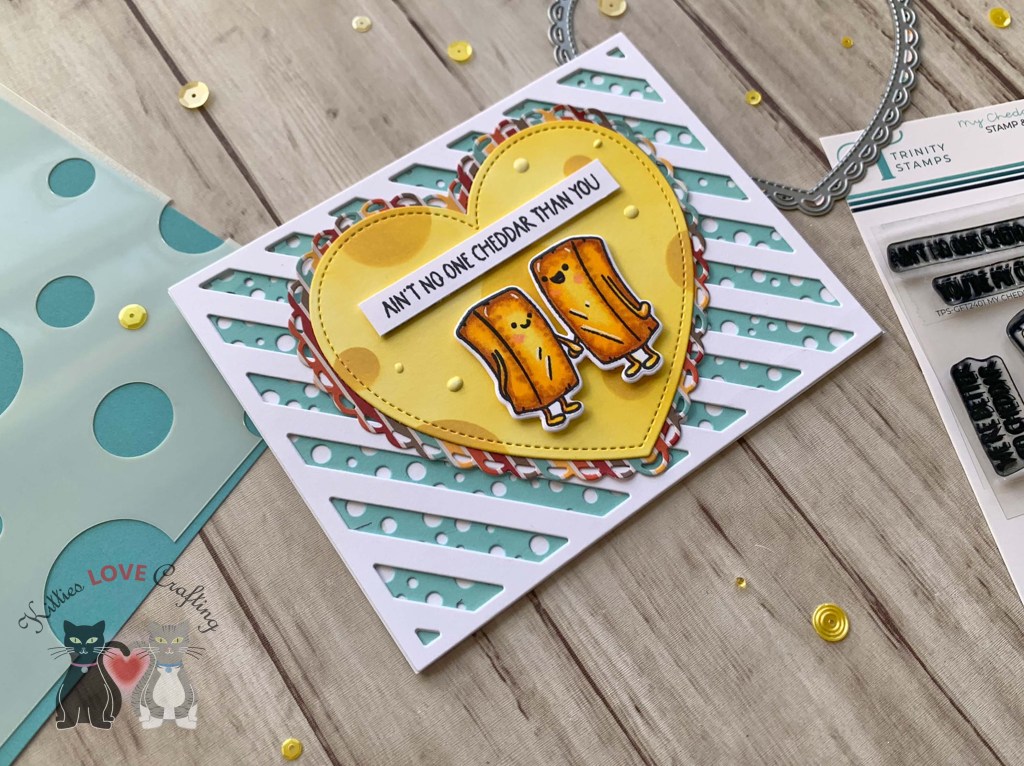
On the inside of the card, I cut a strip of pattern paper from Queen and Company Vintage Truck – Sweater Weather 6 x 6 Paper Pad (discontinued) to 1 x 5-1/2″ and added another cheddar couple.
Thanks for reading this post. I hope I’ve inspired you to give this cute cheddar card a try for yourself. Leave comments or questions below or feel free to email.
Thanks for reading this post. I hope I’ve inspired you to give this cute Valentine’s Day card a try for yourself. Leave comments or questions below or feel free to email.


 https://linkdeli.com/widget.js?id=f5e8378456858c916708