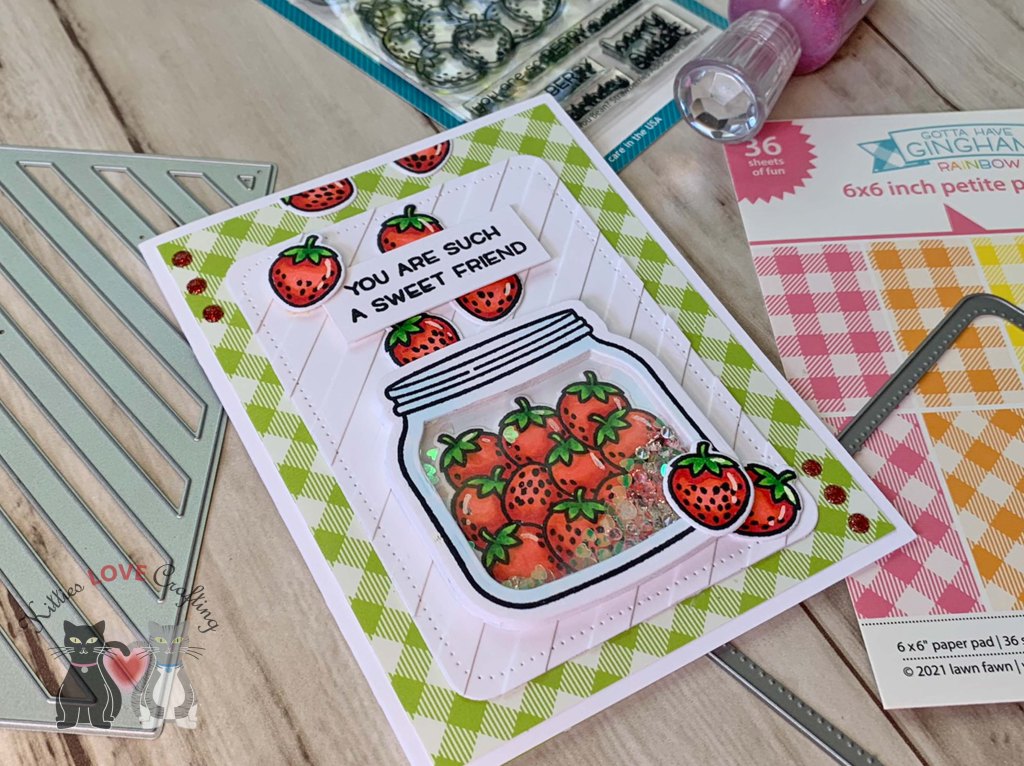
Hello friends. One last card for my Valentine’s Day card series. Sorry this one is a bit late.

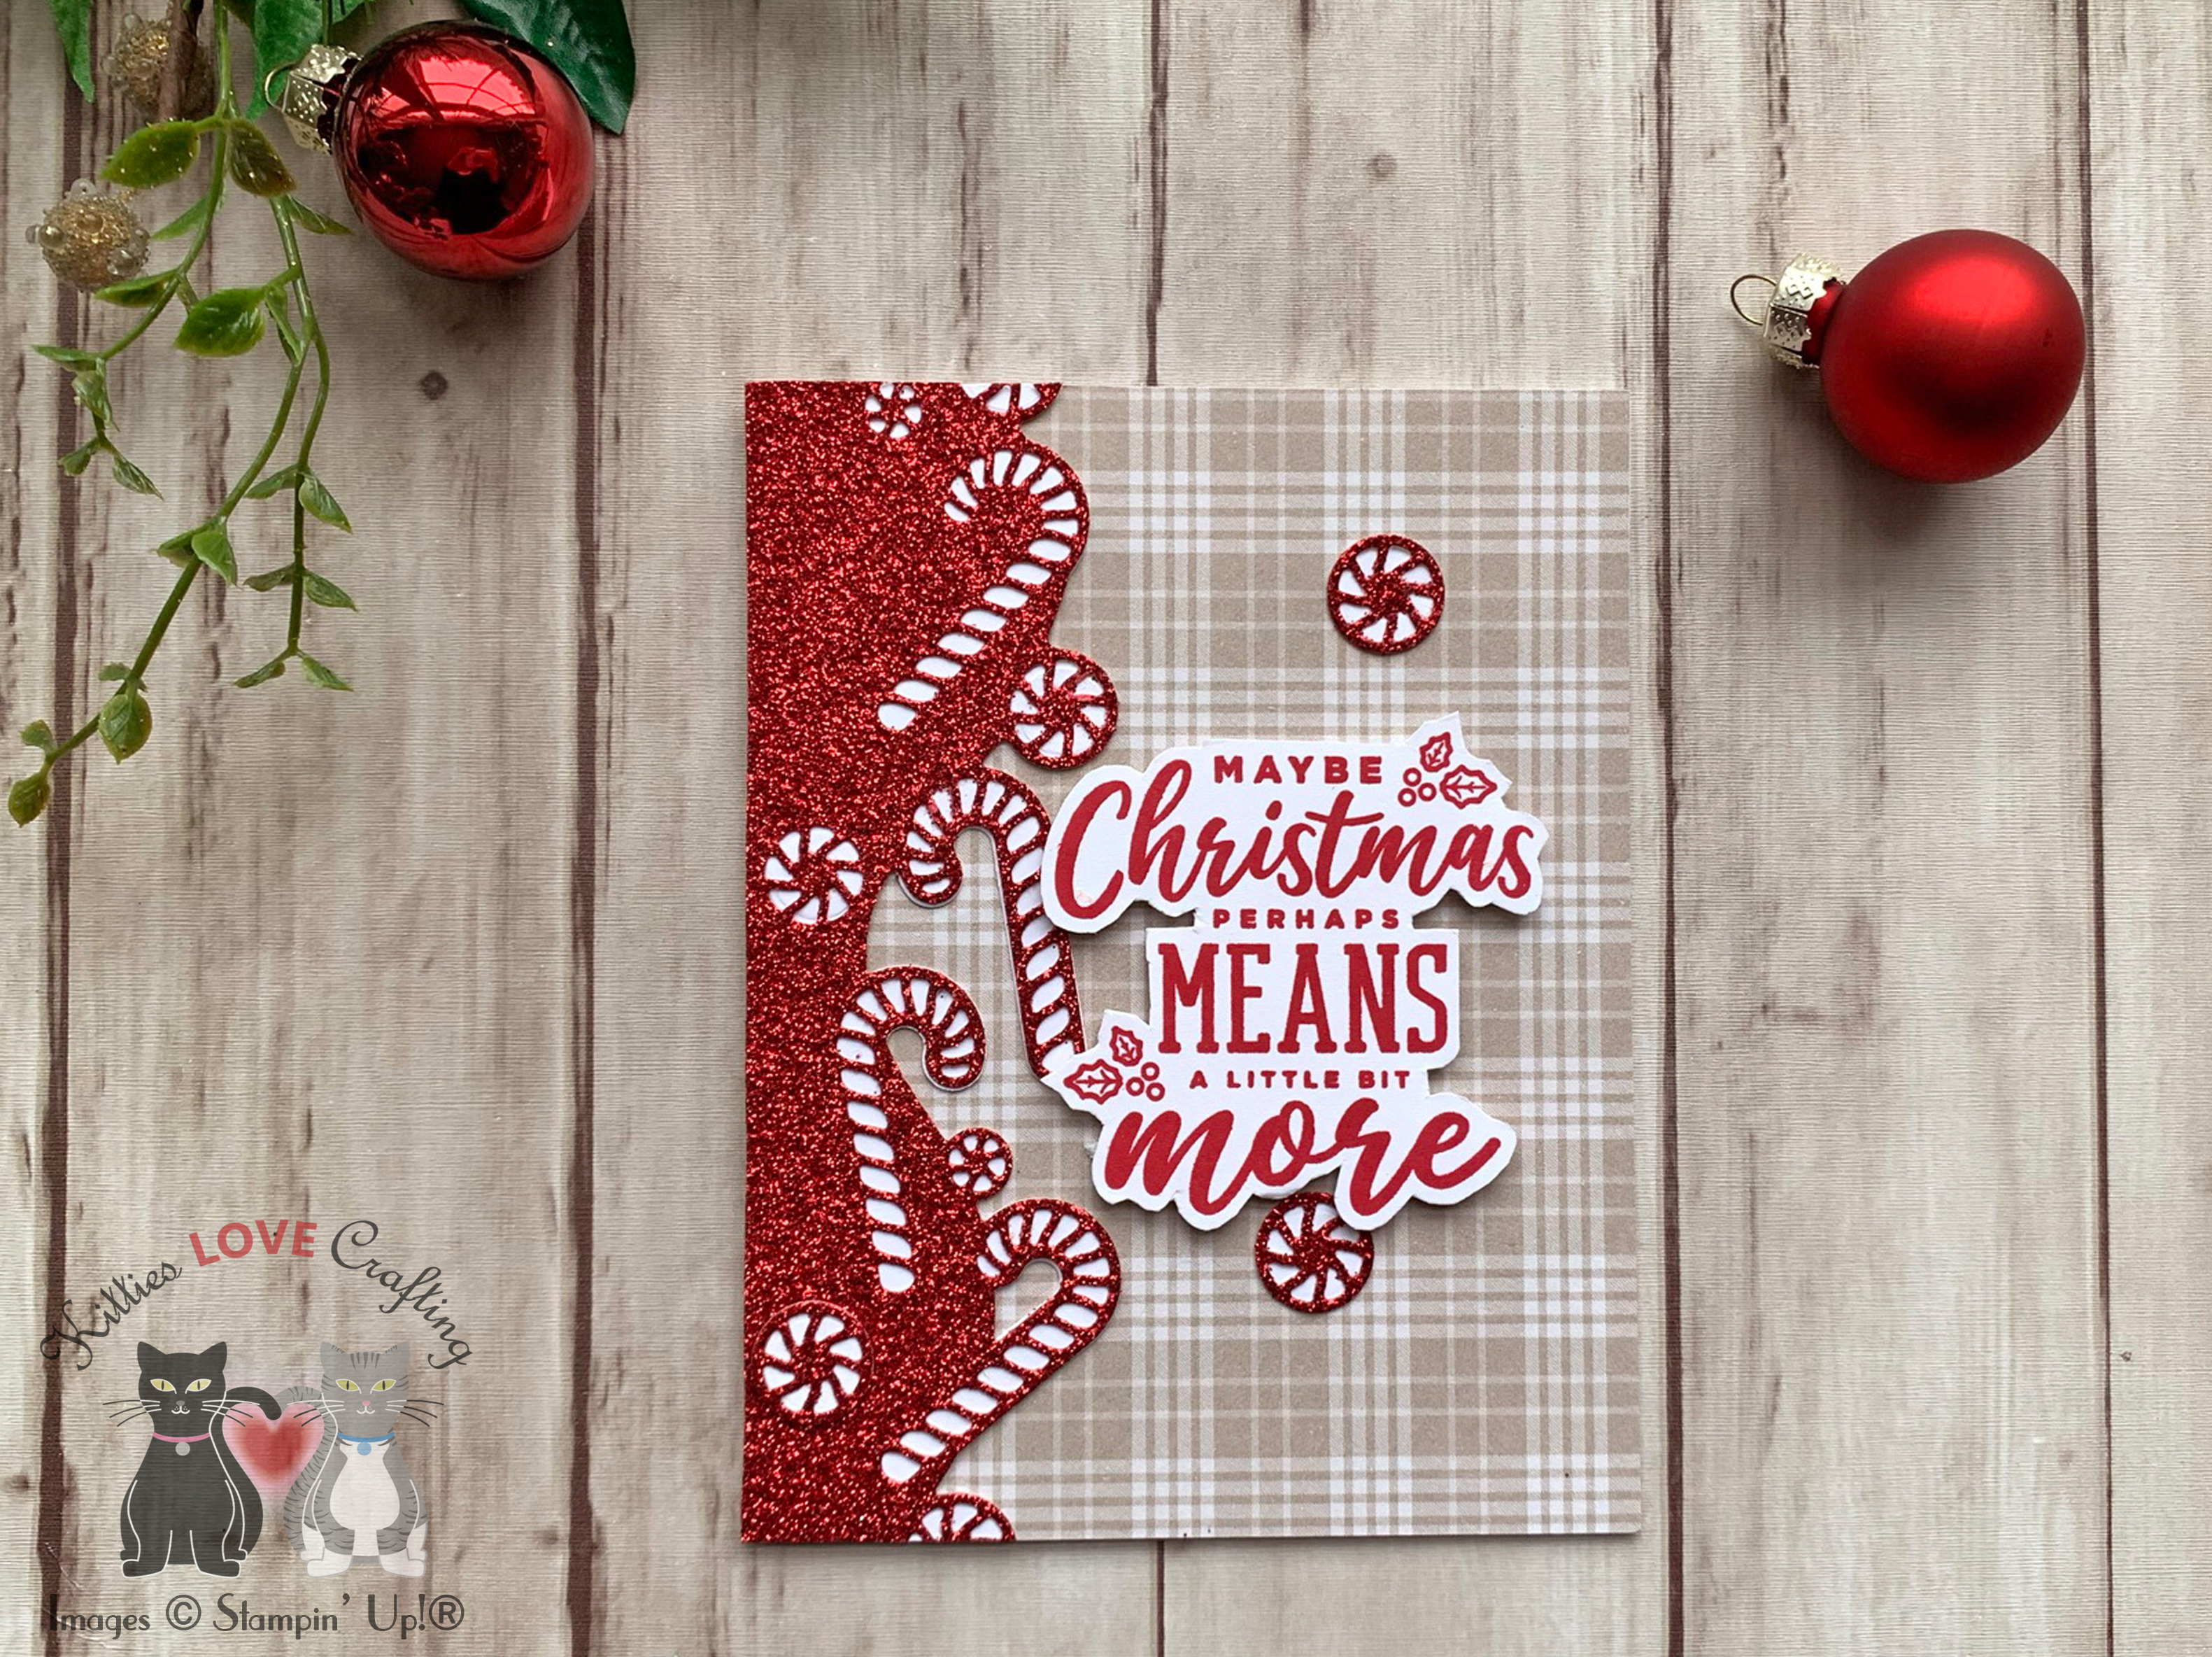
For this card, I cut a piece of Neenah 100lb Classic Crest Cardstock 8.5 X 11″ to 5-1/2 x 8-1/2″ and scored at 4-1/4″ to create a card base, another piece to 3-1/2 x 5-1/4. I stamped the background using the drizzle from the A-GLAZE-ing 4×8 Stamp Set with Catherine Pooler Designs Sand Castle Ink. I also splattered some more ink with CP Sand Castle, Stampin’ Up! Real Red, and CP Cotton Candy Inks. I added some pattern paper, measuring 4 x 5-1/4″ from my stash, behind the panel.
I die cut the donuts from Stampin’ Up! Chocolate Chip 8-1/2 x 11″ Cardstock (retired), Stampin’ Up! Mint Macaron 8-1/2 x 11″ Cardstock (retired), Stampin’ Up! Poppy Parade 8-1/2 x 11″ Cardstock, Simon Says Stamp Cotton Candy 8-1/2 x 11″ Cardstock and Neenah 100lb Classic Crest Cardstock 8.5 X 11″ using the Tiny Donut Dipper Die Set.
I used ink to add some dimension to the donut frostings. I used CP Cotton Candy, Stampin’ Up! Real Red, Stampin’ Up! Just Jade (retired), and Stampin’ Up! Highland Heather inks.
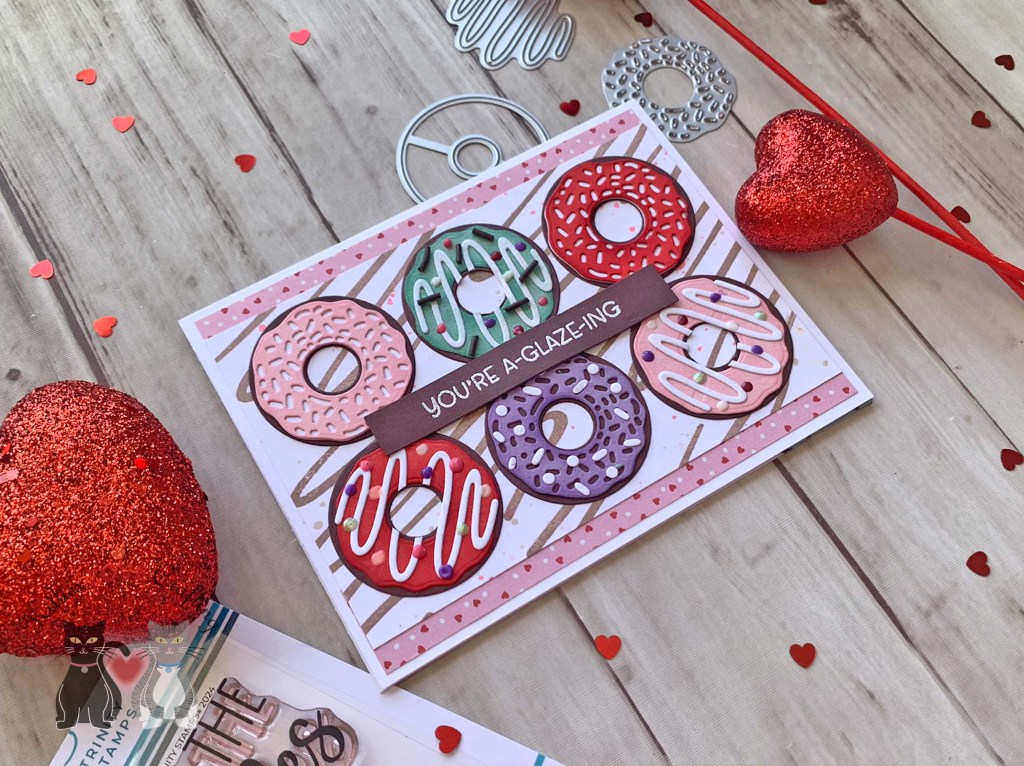
I stamped the sentiment from the A-GLAZE-ing 4×8 Stamp Set onto Stampin’ Up! Chocolate Chip 8-1/2 x 11″ Cardstock (retired) with Lawn Fawn YETI Pigment Ink and WOW Opaque Bright White Super Fine Embossing Powder. I popped it up by using 3M Foam Tape.
I finished off the card by adding my Spectrum Noir Clear Overlay Sparkle Pen to add glitter to the donuts, Sugared Surprise Sprinkles Embellishment Mix, Crushed Grapes Gloss Crystal Drops, Autumn Red Crystal Drops, Nuvo Dragon Scales Dream Drops, Nuvo Carnation Pink Crystal Drops, and Nuvo Gloss White Crystal Drops.
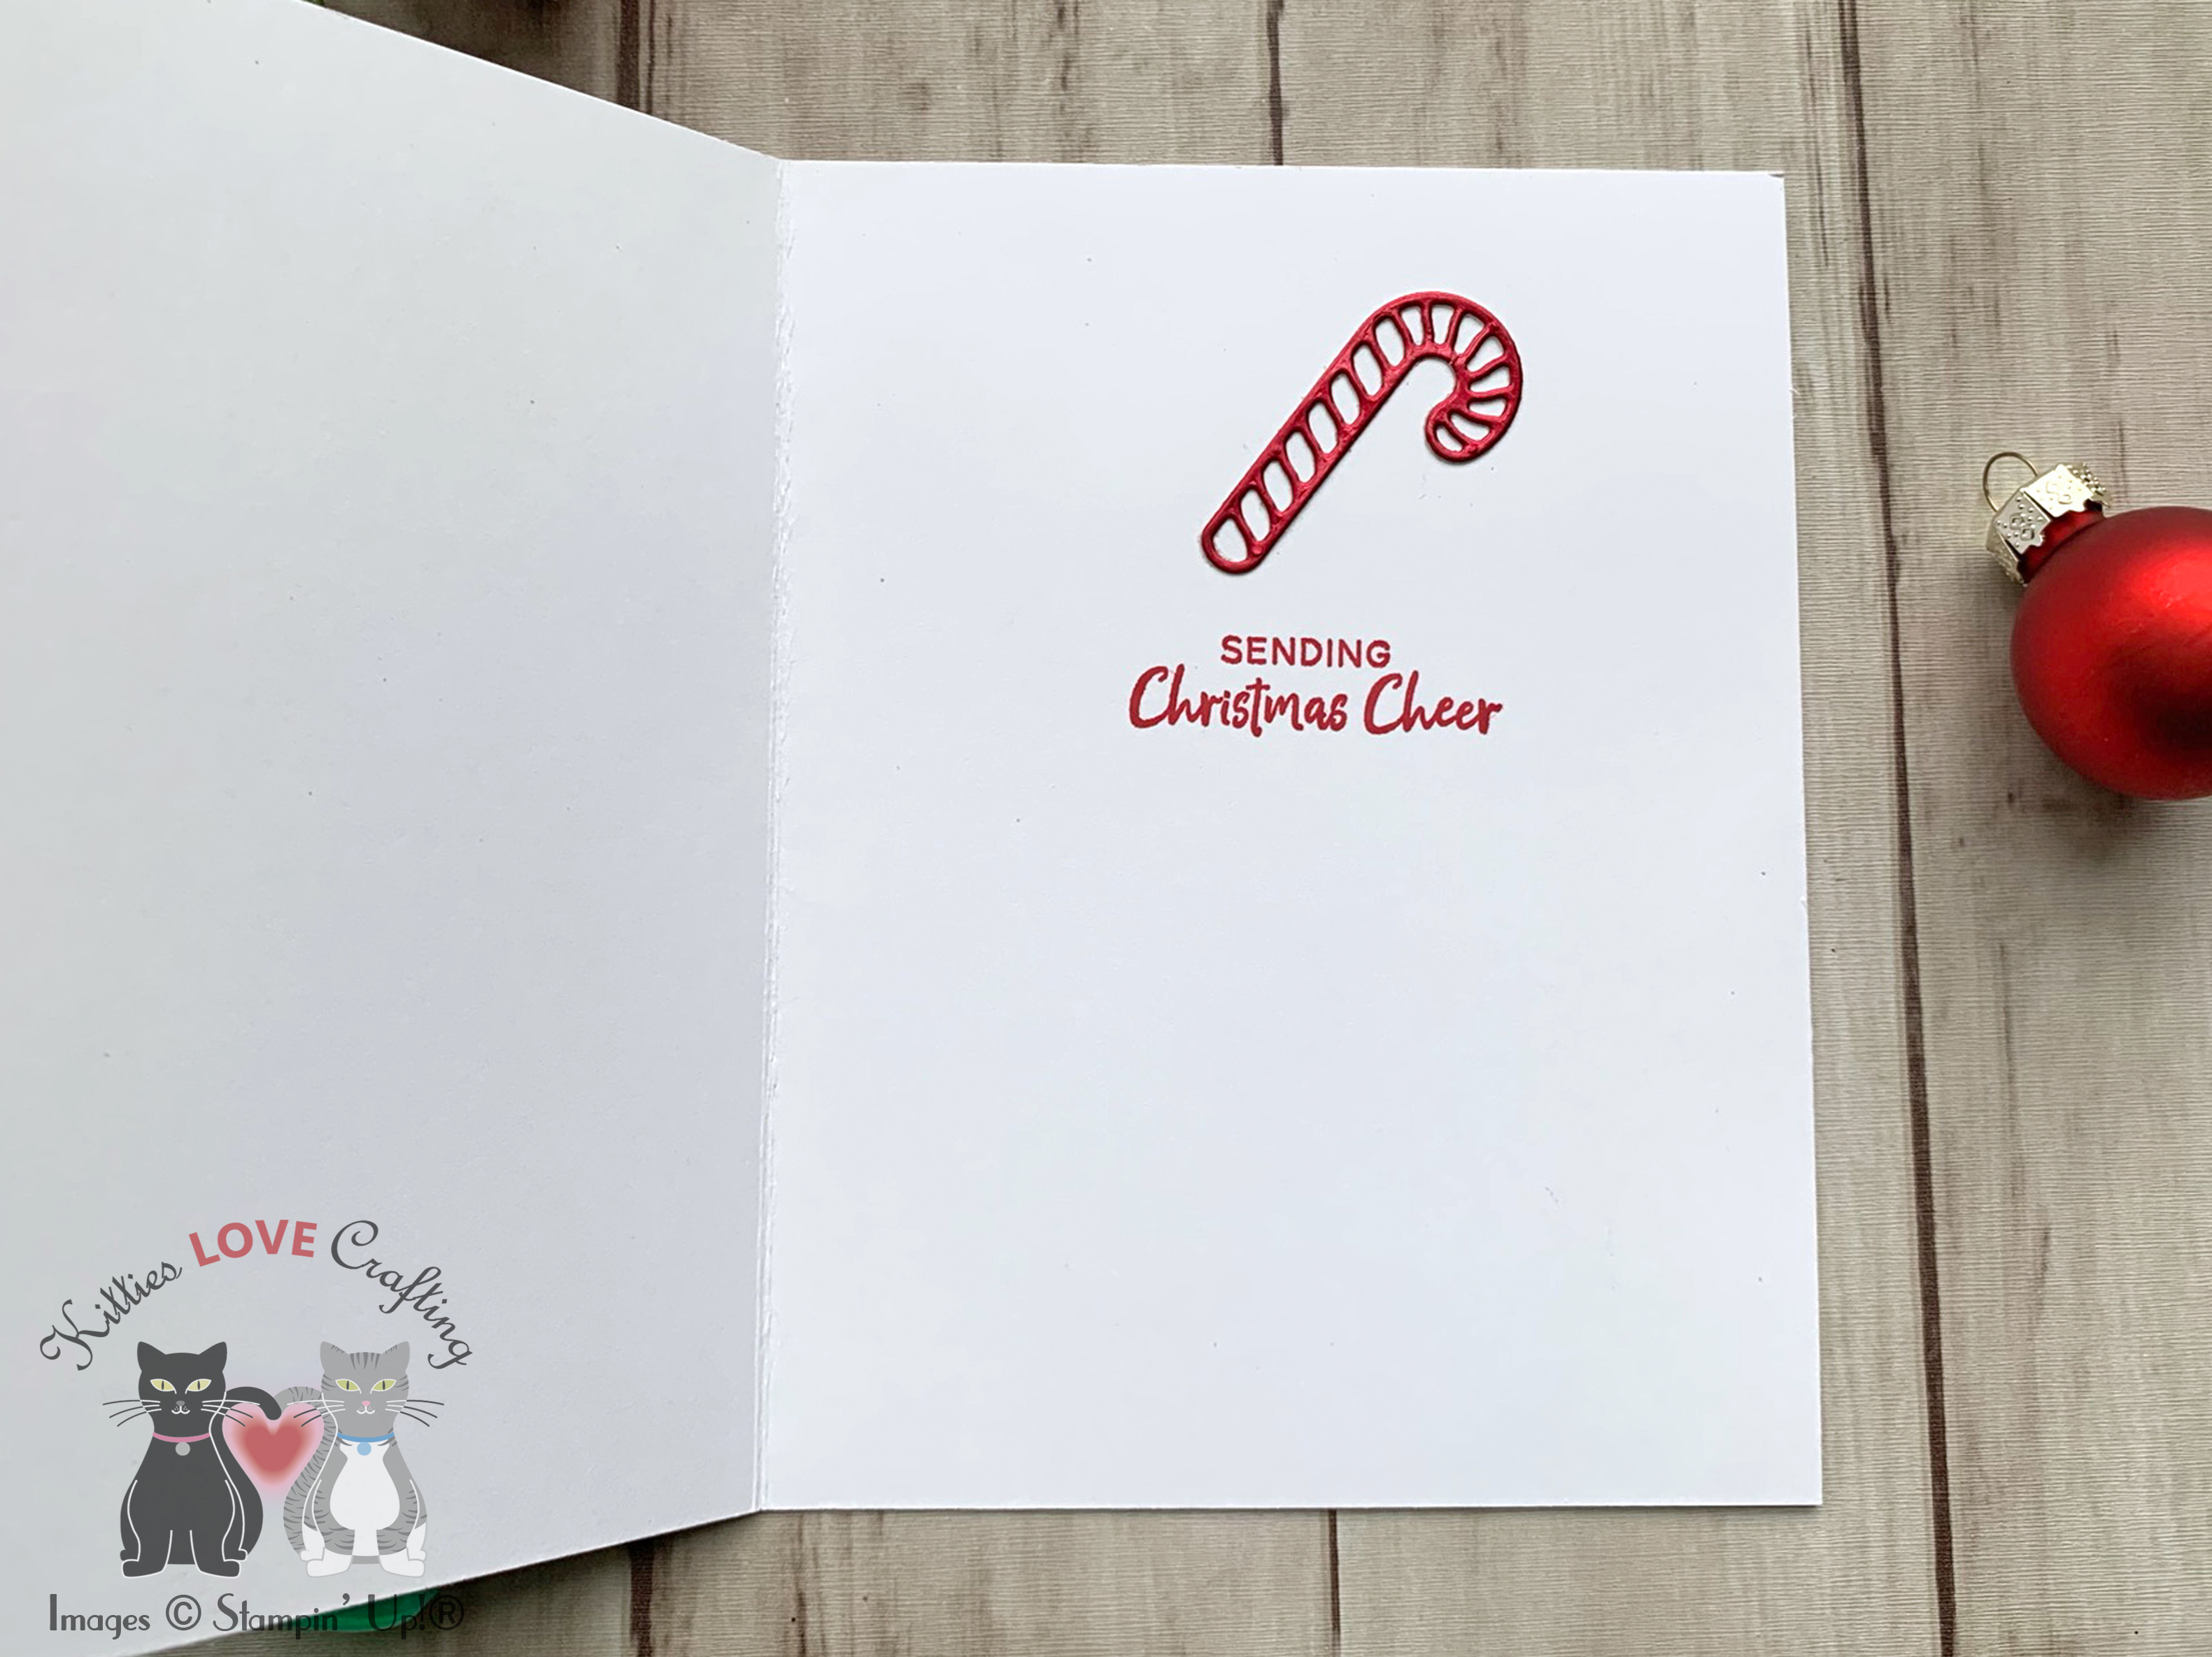
On the inside of the card, I stamped a sentiment from the Sprinkles on my Donut 3×3 Stamp Set with Stampin’ Up! Real Red Ink and die cut with the coordinating die. I also added a mini donut.

Dimensions
- Card Base = 5-1/2 x 8-1/2″ and scored at 4-1/4″ Neenah 100lb Classic Crest Cardstock 8.5 X 11″
- Background Panel = 3-1/2 x 5-1/4 Neenah 100lb Classic Crest Cardstock 8.5 X 11″
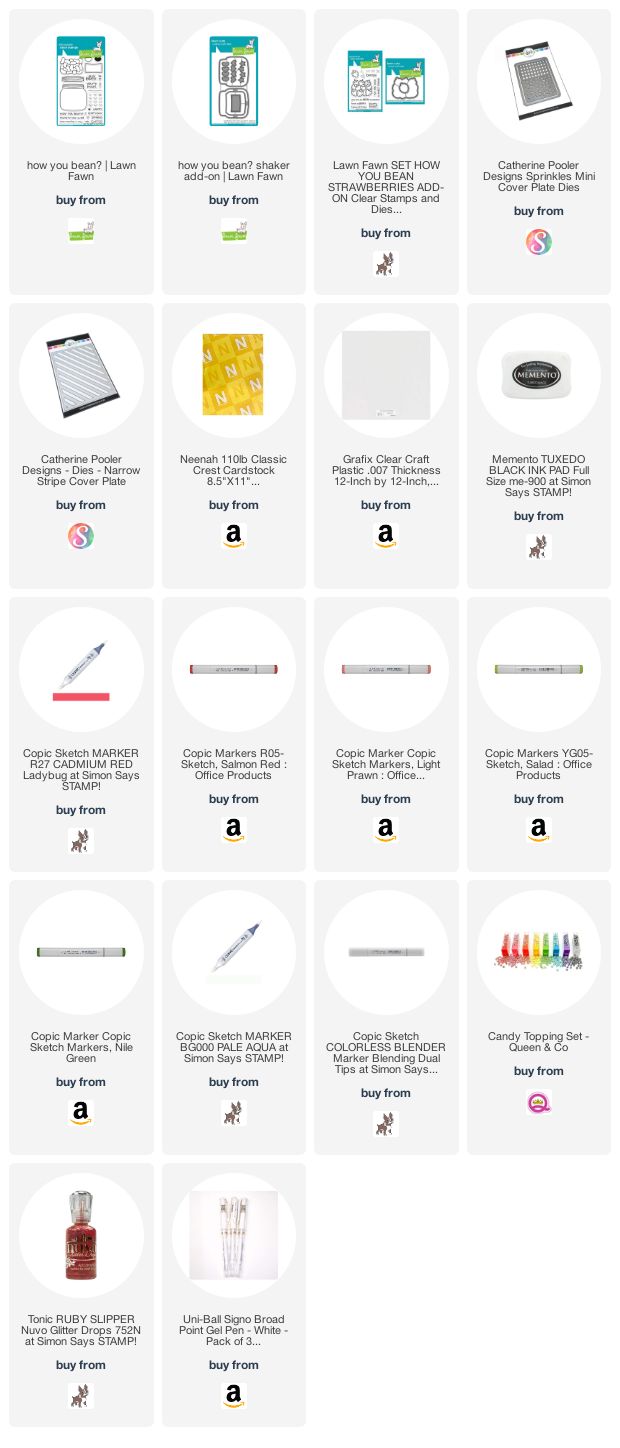
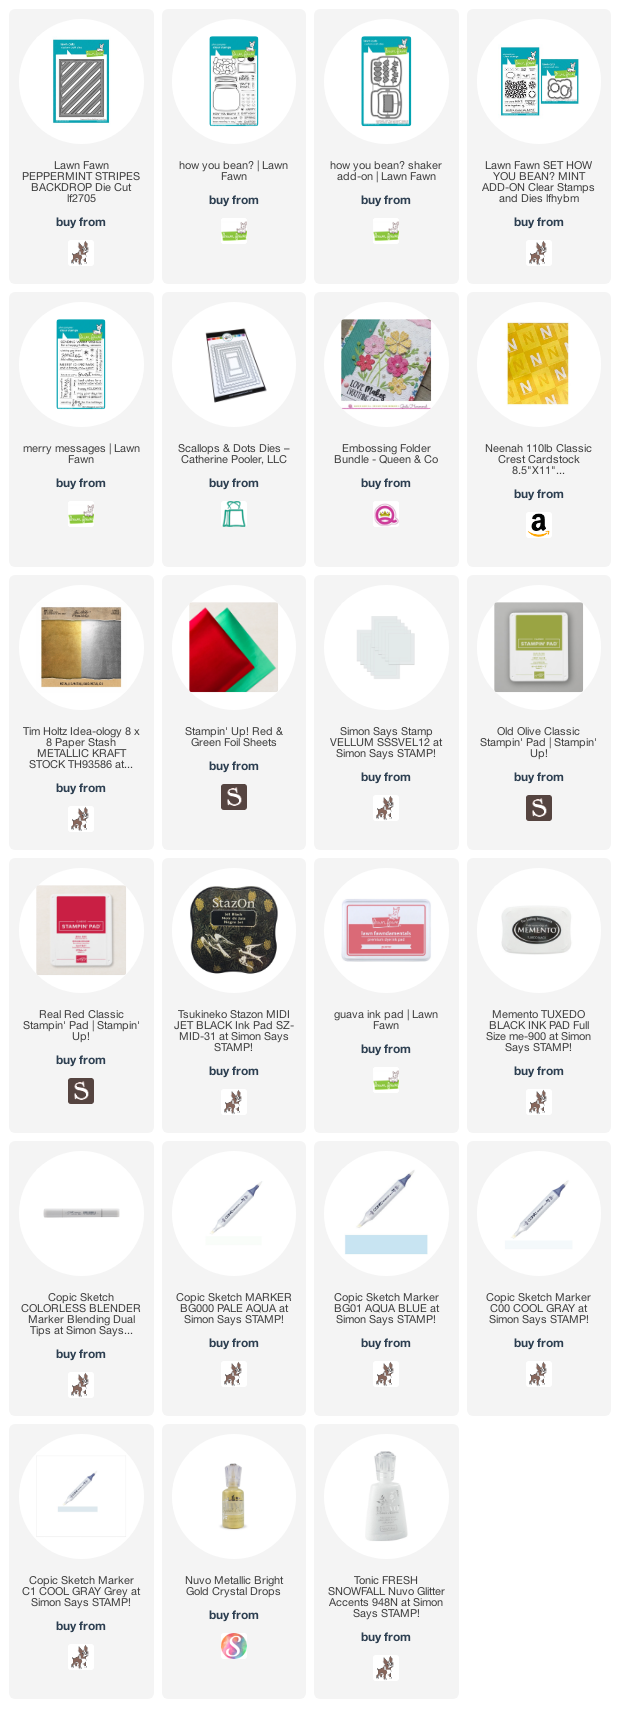
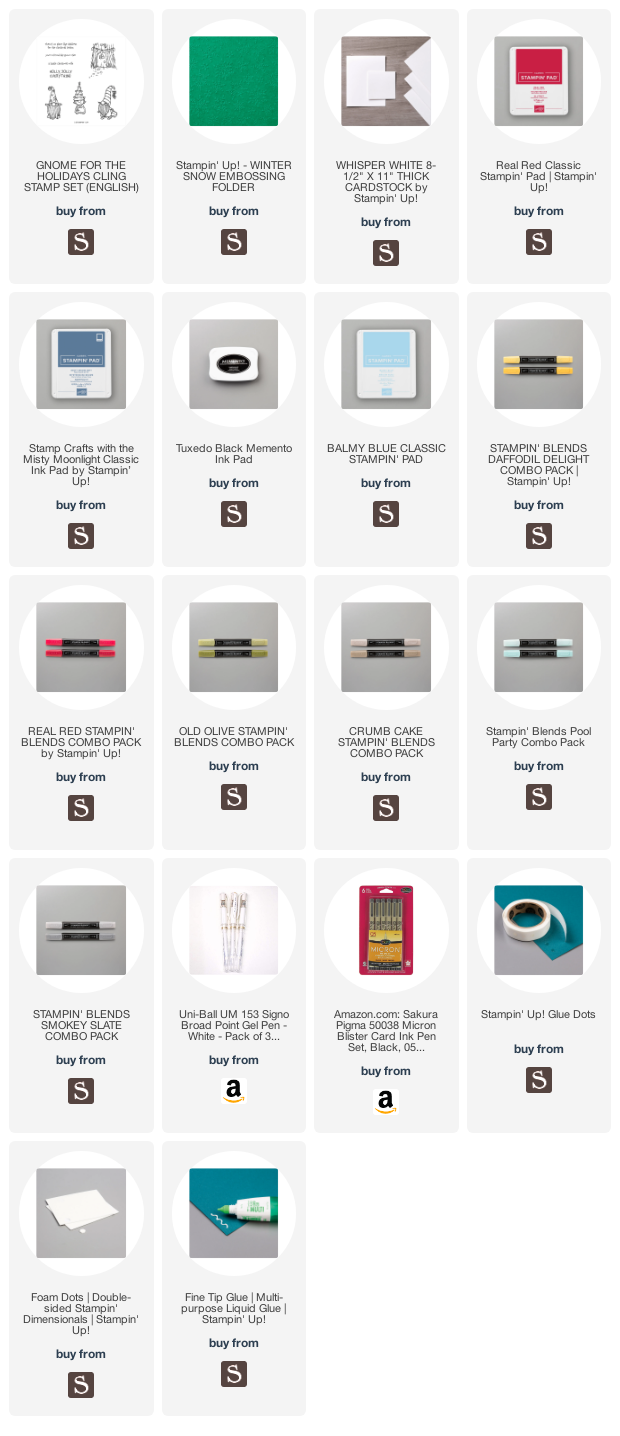
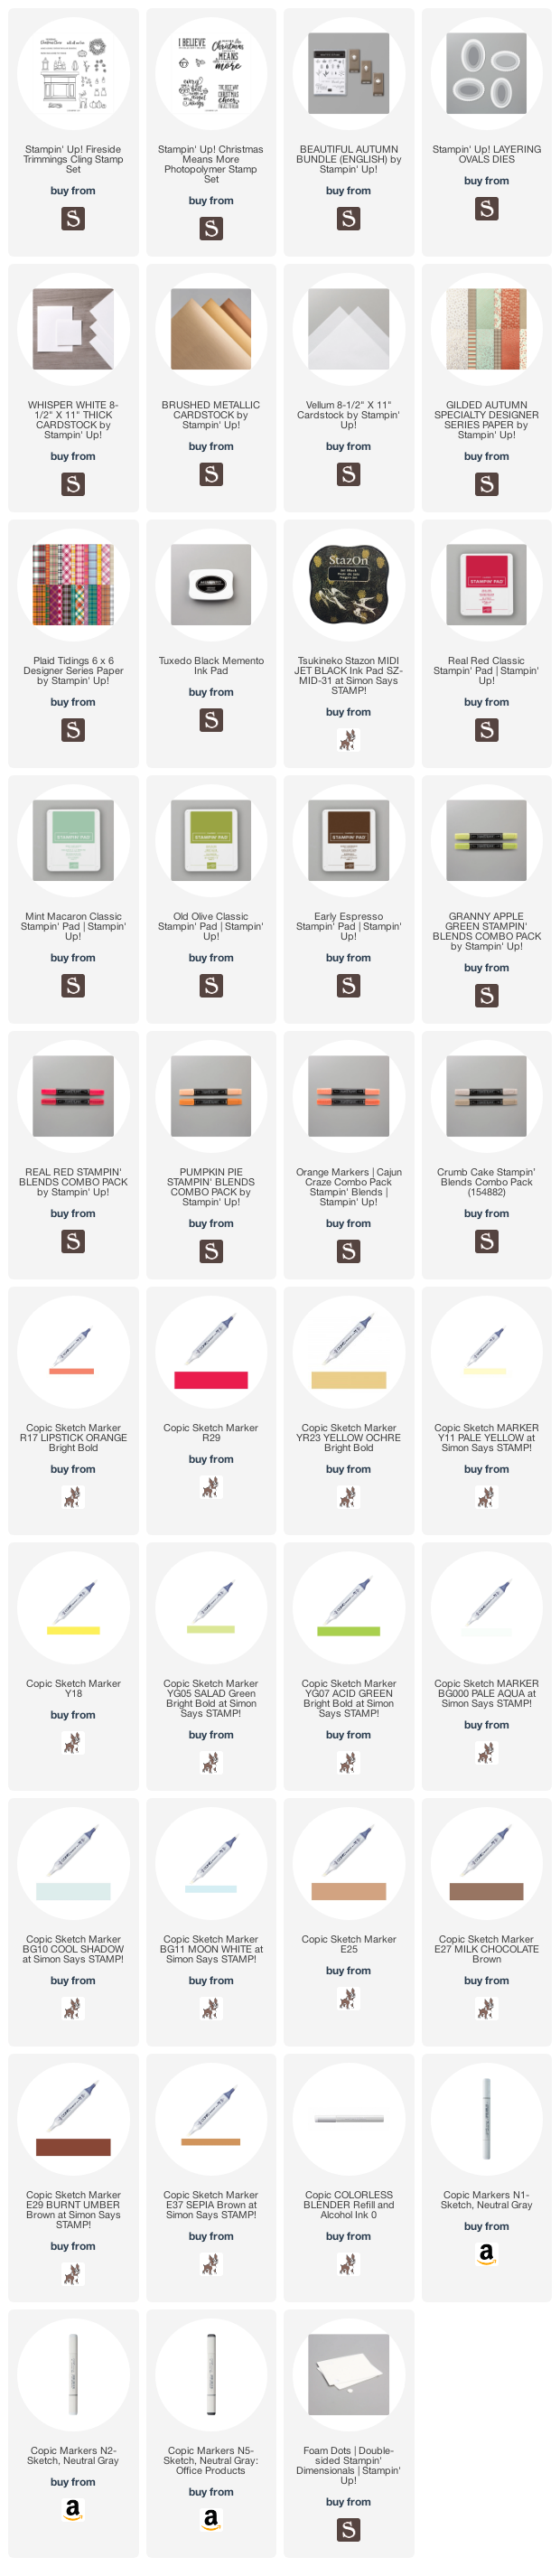
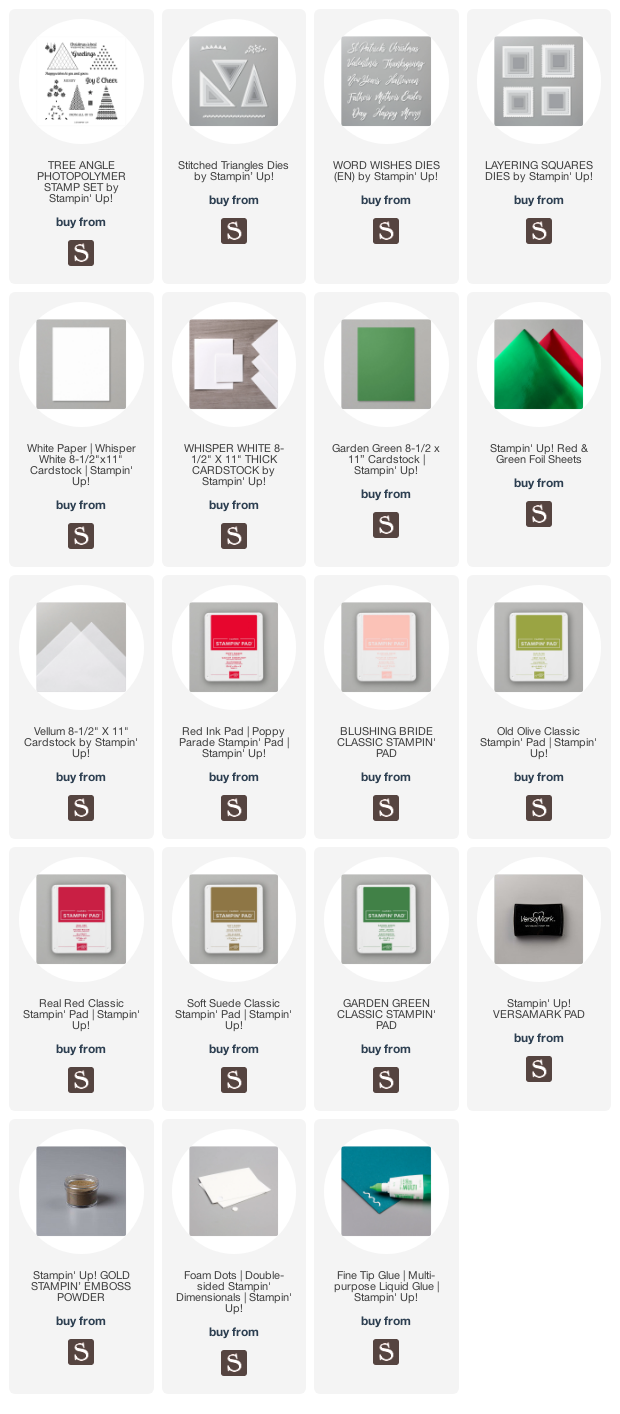
Supplies
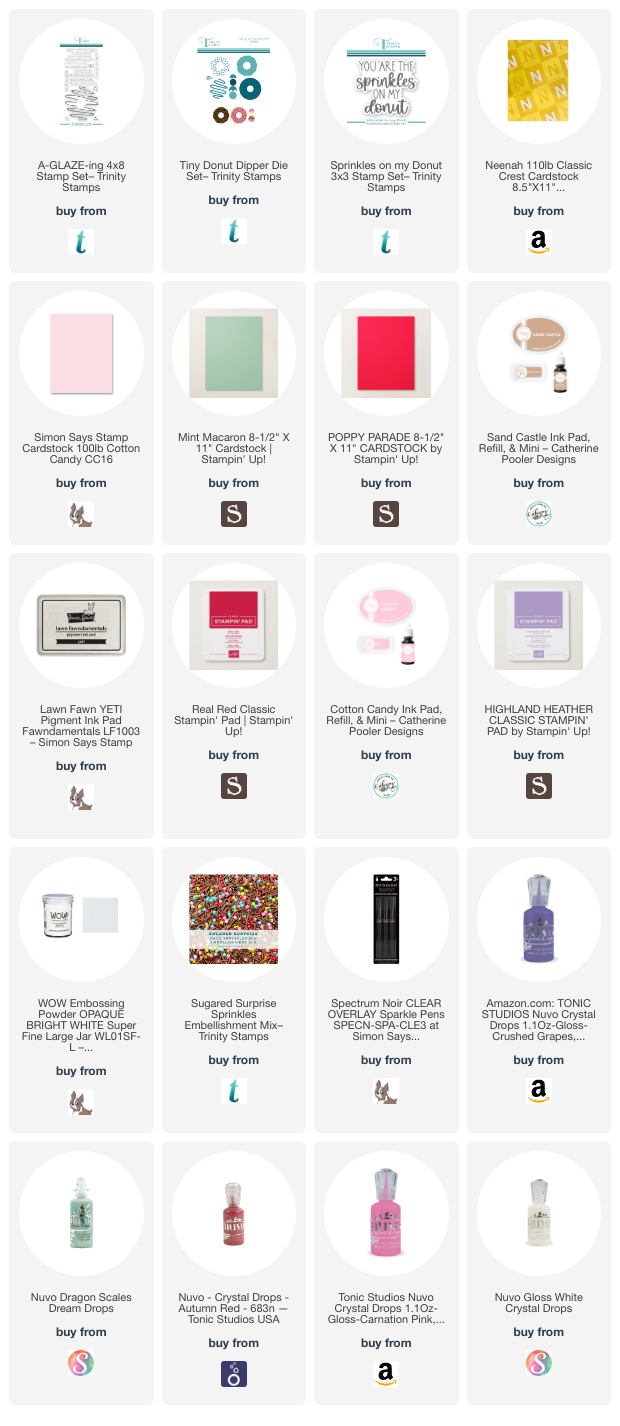 https://linkdeli.com/widget.js?id=f5e8378456858c916708
Thanks for reading this post. I hope I’ve inspired you to give this cute Valentine’s Day card a try for yourself. Leave comments or questions below or feel free to email.