Hello friends. Here’s a fun way to stretch your stamps to create a background — use those tiny images included in your stampsets! This card features the Catherine Pooler Designs Fright Night and Halloween Mug Shots Stampsets which came in the Boo Box released last month. I love how this card turned out!

For this card, I cut a piece of Lawn Fawn Black Licorice 8-1/2 x 11″ Cardstock to to 5-1/2 x 8-1/2″ and scored at 4-1/4″ to create an A2 card base, and a piece of Neenah 100lb Classic Crest Cardstock 8.5 X 11″ to 4 x 5-1/4″.
For the background, I stamped the most of the tiny images from the Catherine Pooler Designs Fright Night and Halloween Mug Shots Stampsets (both included in the Boo Box) using CP Midnight, Orange Twist, Catching Rays, Melon Ice, Martini, Black Jack, Royal Treatment and Pixie Dust inks.
I stamped the images from the Catherine Pooler Designs Halloween Mug Shots Stampset onto Strathmore 300 Series Smooth Bristol Paper with Catherine Pooler Midnight Ink and colored it with a blender pen and more inks. I used Melon Ice, Martini and Black Jack for the mug, Pixie Dust and Catching Rays for the inside of the mug and tiny circles and stars on the mug, and Pebble, Black Jack, Catching Rays and Spice inks for foam and broom.

I die cut two tags from the CP Haunted Tags & Charms die set (included in the Boo Box) from Catherine Pooler Designs Eerie-sistible 6 x 6 Paper (included in the Boo Box) and Lawn Fawn Black Licorice 8-1/2 x 11″ Cardstock and added some Doodlebug Beetle Black Doodle Twine. The bats, spider and the spiderweb are from the same tag die set. I cut the bats from both white and black cardstock and used Pixie Dust Ink to color them.
I stamped the sentiment from Catherine Pooler Designs Fright Night Stampset (included in the Boo Box) with CP Midnight Ink and fussycut it.
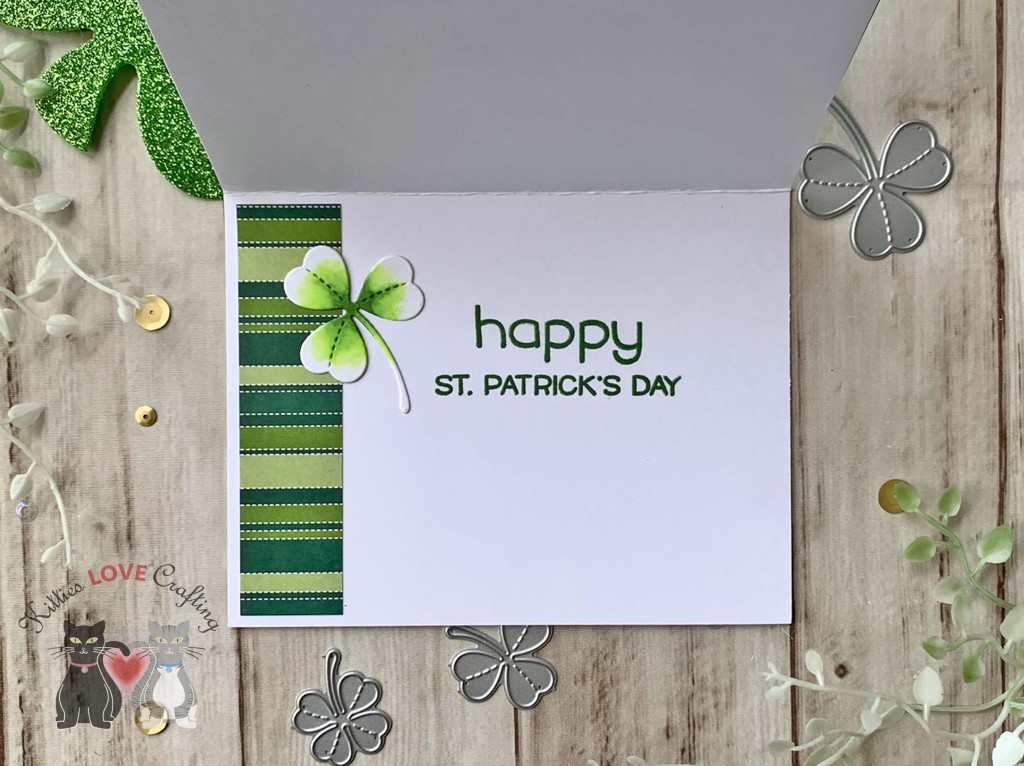
On the inside of the card, I cut a piece of Neenah 100lb Classic Crest Cardstock 8.5 X 11″ to 4 x 5-1/4″ as well as a piece of Catherine Pooler Designs Eerie-sistible 6 x 6 Paper (included in the Boo Box) cut to 1 x 5-1/4″. I stamped the sentiment from the Catherine Pooler Designs Boo Day Stampset (included in the Boo Box) with CP Midnight Ink and added a spiderweb die cut from white cardstock snd colored with Pixie Dust Ink.

Dimensions
- Card Base = 5-1/2 x 8-1/2″ and scored at 4-1/4″ Lawn Fawn Black Licorice 8-1/2 x 11″ Cardstock
- Background Panel = 4 x 5-1/4″ Neenah 100lb Classic Crest Cardstock 8.5 X 11″
- Inside Panel = 4 x 5-1/4″ Neenah 100lb Classic Crest Cardstock 8.5 X 11″; 1 x 5-1/4″ Catherine Pooler Designs Eerie-sistible 6 x 6 Paper (included in the Boo Box)
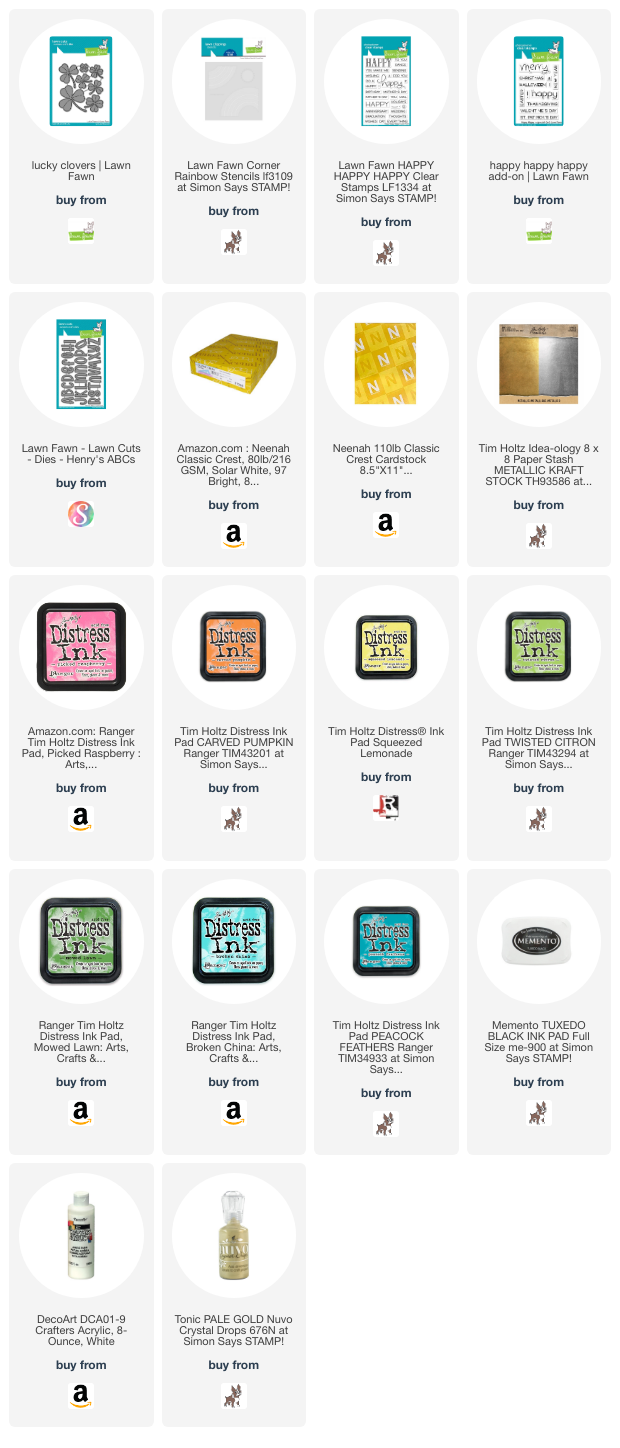
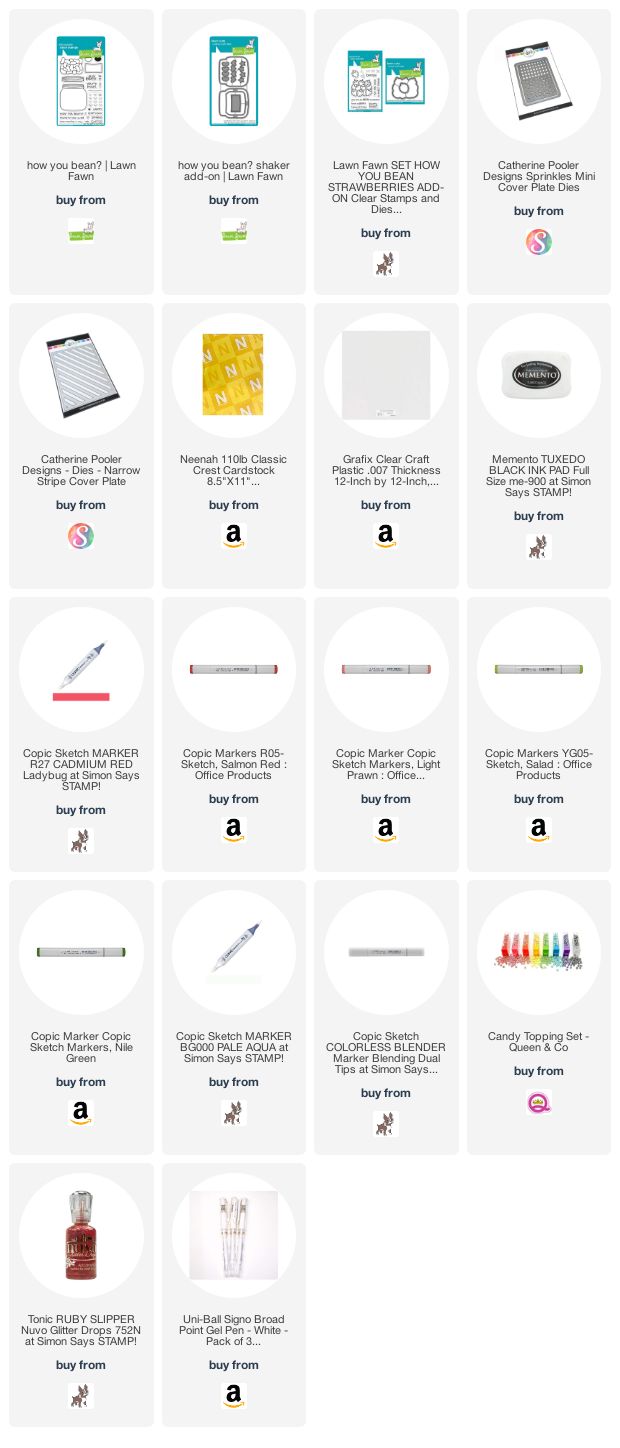
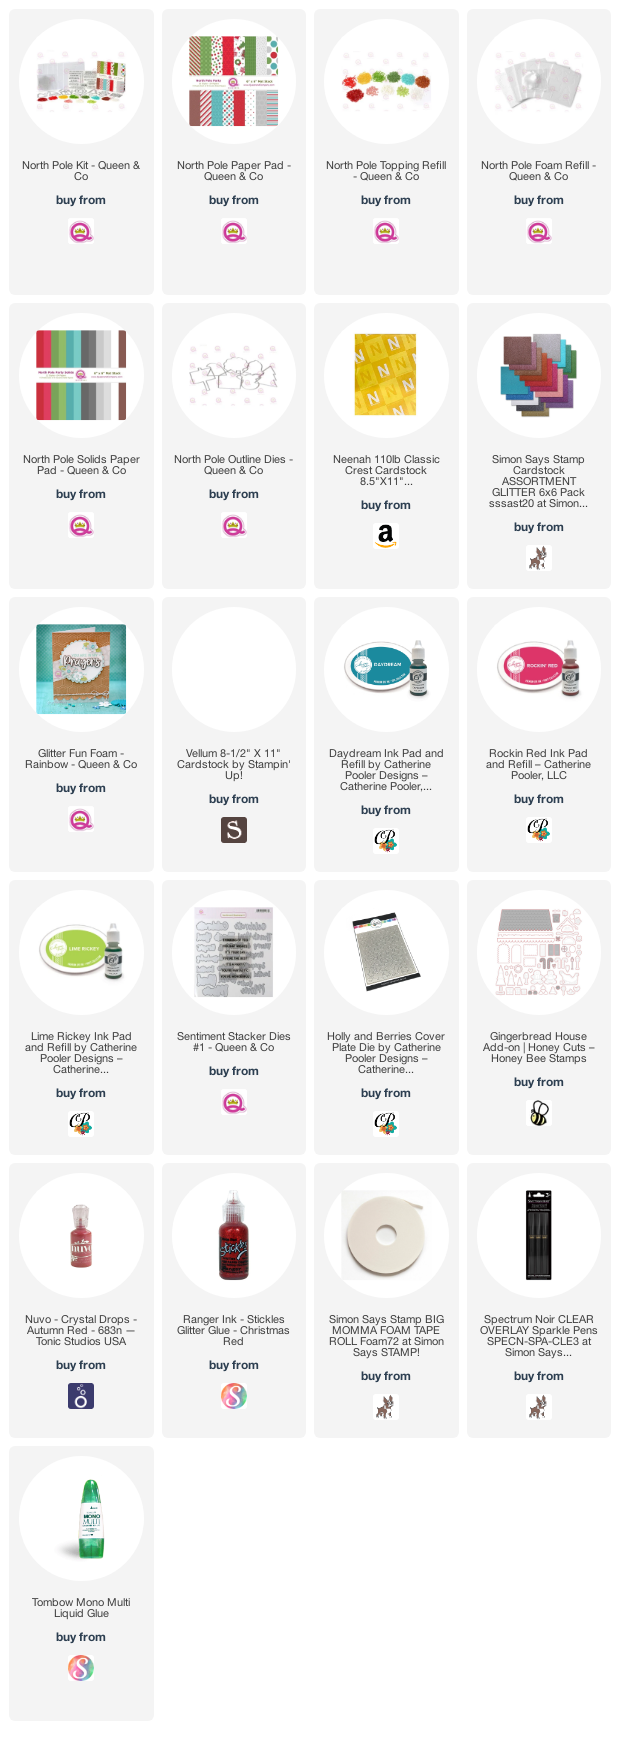
Supplies
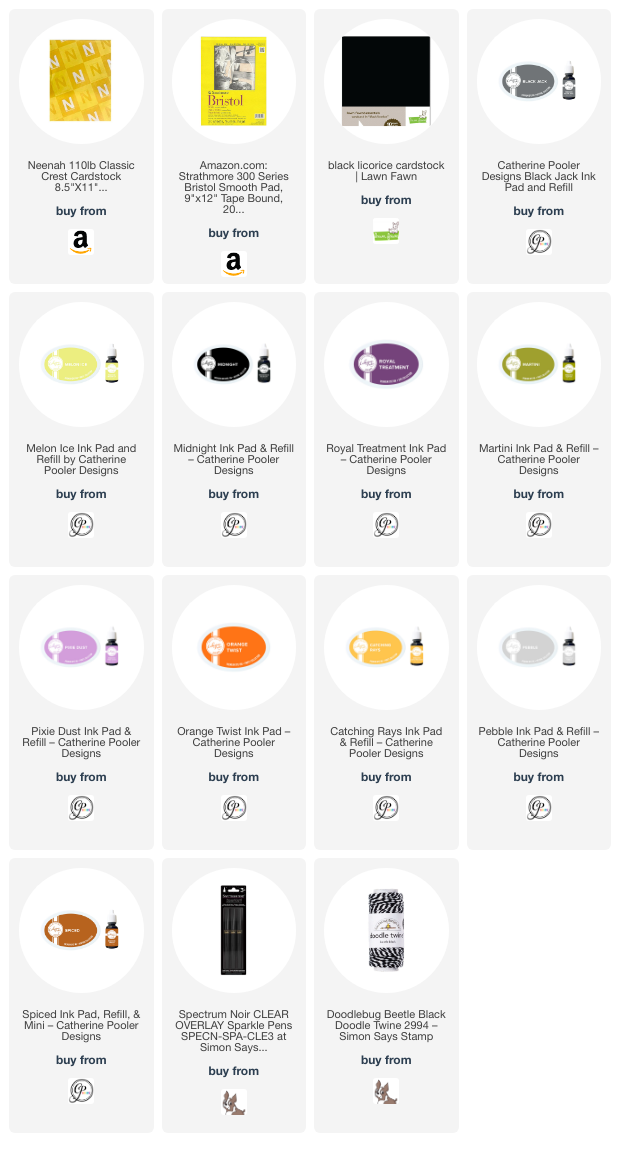 https://linkdeli.com/widget.js?id=f5e8378456858c916708
Thanks for reading this post. I hope I’ve inspired you to give this technique a try! Leave comments or questions below or feel free to email.