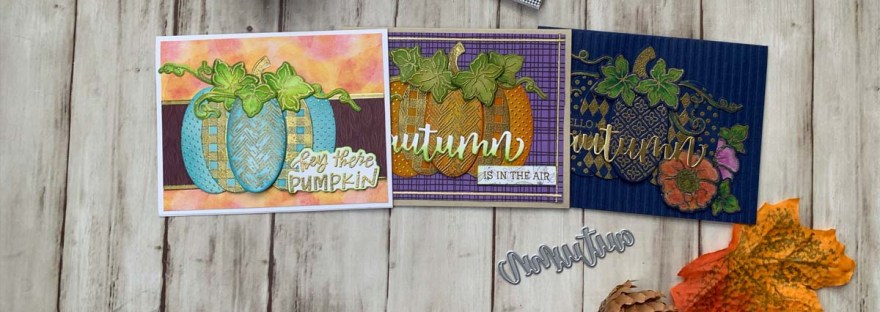
I love this new Patchwork Pumpkin Stampset from Honey Bee Stamps! You can create all kinds of cute pumpkins. You can also add flowers and the coordinating dies makes it easy to cut everything out. I made three cards using different color papers and coloring methods but with the same embossing powder. I wanted to see how to create different cards by just making subtle changes. Using pattern papers and embossing folders is also an easy way to add interest.

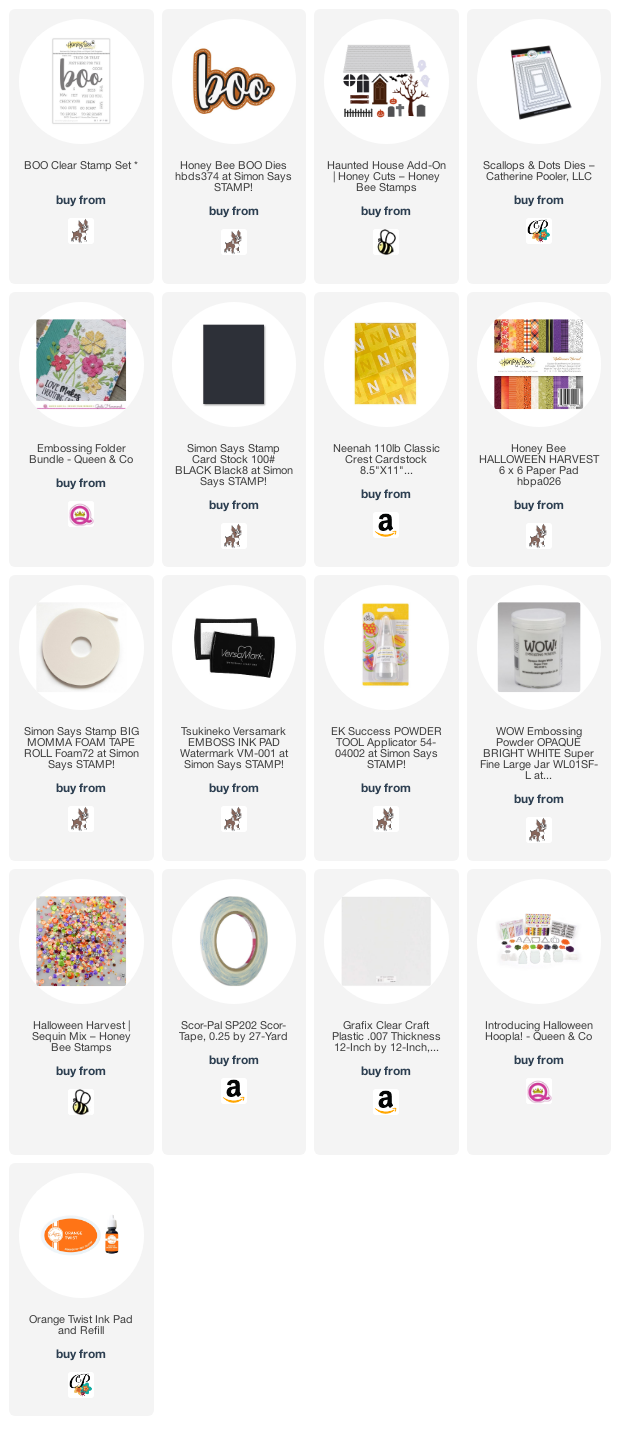
For the first card, I started by cutting a piece of Neenah 110lb Classic Crest Cardstock 8.5 X 11″ to 5-1/2 x 8-1/2″ and scored at 4-1/4″ to make the card base and cut a piece of the watercolor leaf paper from the Honey Bee Stamps Halloween Harvest 6×6 Paper Pad to 4 x 5-1/4″ and another of the purple leaf paper to 2 x 5-1/4″.

I used Versamark Ink to stamp several of the pattern pumpkins, leaves, curly vines and the stem from the Honey Bee Stamps Patchwork Pumpkin Stampset onto some Neenah 110lb Classic Crest Cardstock 8.5 X 11″ and heat embossed with Gold Embossing Powder. Then diecut all the pieces with the oval die included in the coordinating dieset. I used Tim Holtz Tumbled Glass and Broken China Distress Inks to color the pumpkin and Crushed Olive and Mowed Lawn to color the leaves and vines. I used 3M Foam Tape to pop up the center piece of the pumpkin and some of the leaves. Before adhering it to the card I added Love From Lizi Straight Peel-Off Stickers in Gold.
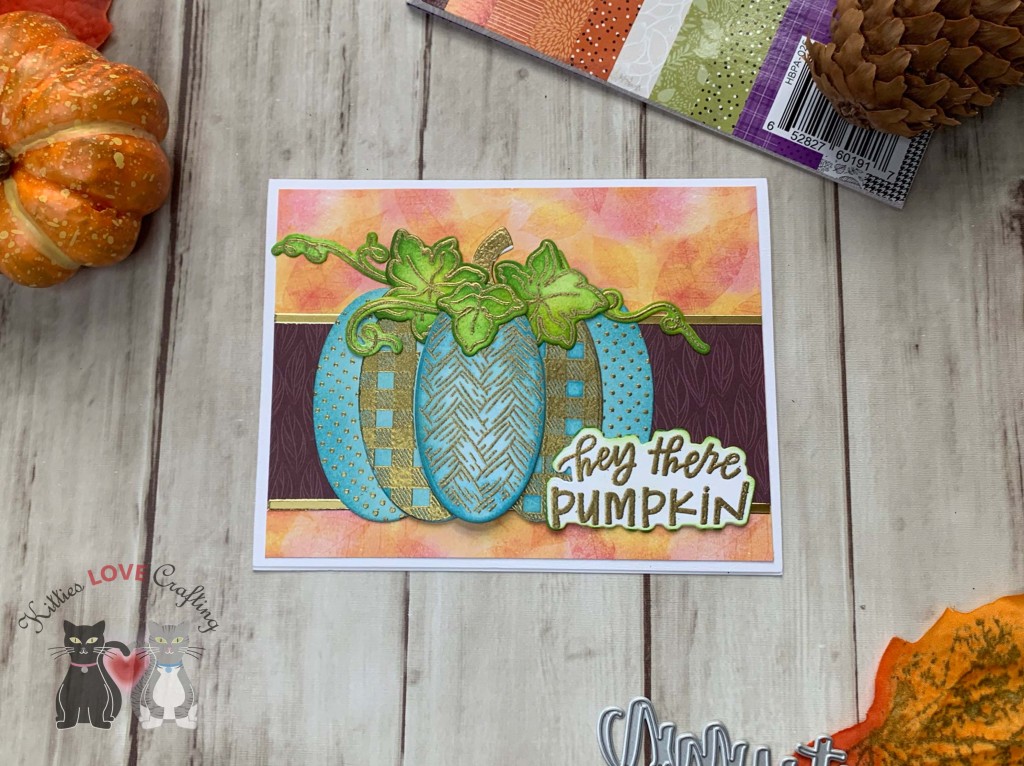
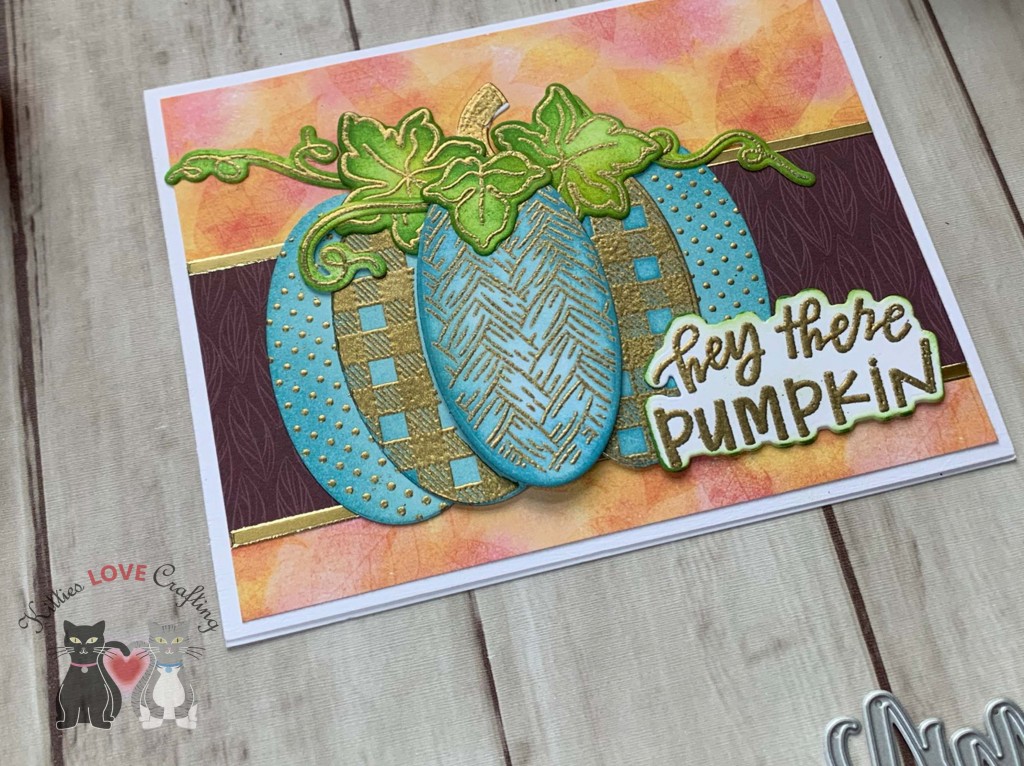
I stamped the sentiment from the Honey Bee Stamps Patchwork Pumpkin Stampset with Versamark Ink and heat embossed with Gold Embossing Powder onto a piece of Neenah 110lb Classic Crest Cardstock 8.5 X 11″ and diecut it with the coordinating dies. I added a little Mowed Lawn Distress Ink around the edges.

On the inside of the card, I cut a piece of the same watercolor leaf paper from the Honey Bee Stamps Halloween Harvest 6×6 Paper Pad to 1 x 5-1/4″ and stamped a sentiment from Honey Bee Stamps Autumn Stamp Set with Mowed Lawn Distress Ink.
Dimensions
- Card Base = 5-1/2 x 7-1/4″ and scored at 4-1/4″ Neenah 110lb Classic Crest Cardstock 8.5 X 11″
- Top Panel = 4 x 5-1/4″ and 2 x 5-1/4″ Honey Bee Stamps Halloween Harvest 6×6 Paper Pad
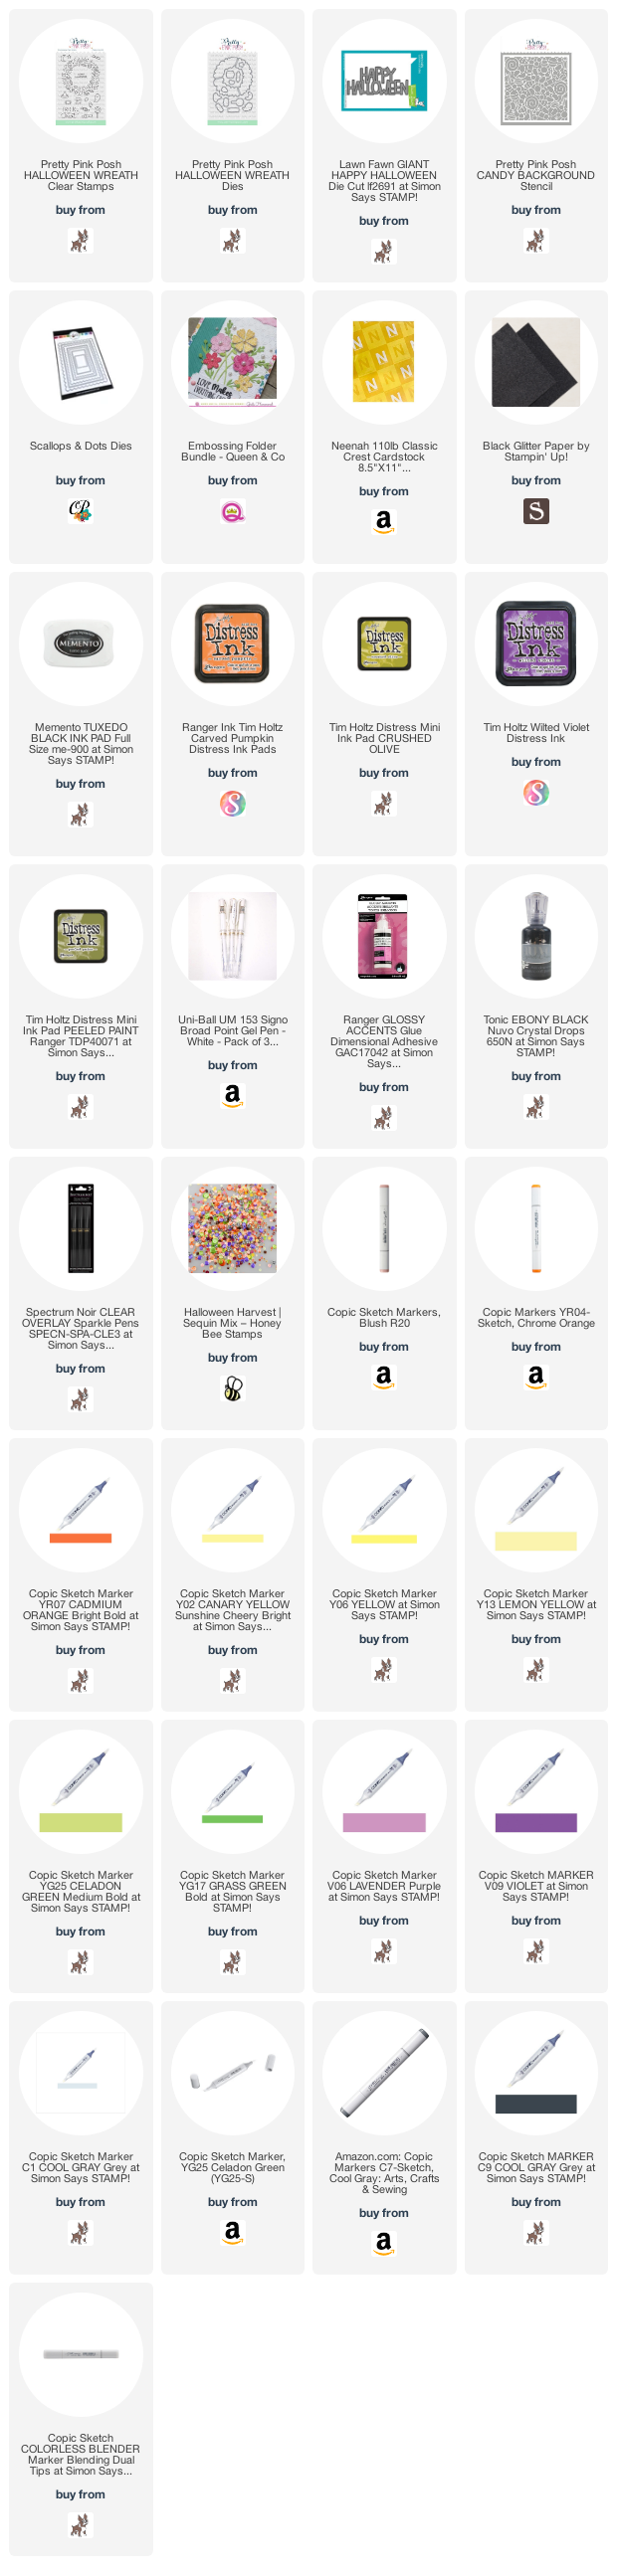
For the second card, I started by cutting a piece of Catherine Pooler Sand Dunes 8-1/2 x 11″ Cardstock (discontinued-any kraft cardstock will work) to 5-1/2 x 8-1/2″ and scored at 4-1/4″ to make the card base and cut a piece of the purple paper from the Honey Bee Stamps Halloween Harvest 6×6 Paper Pad to 4 x 5-1/4″.
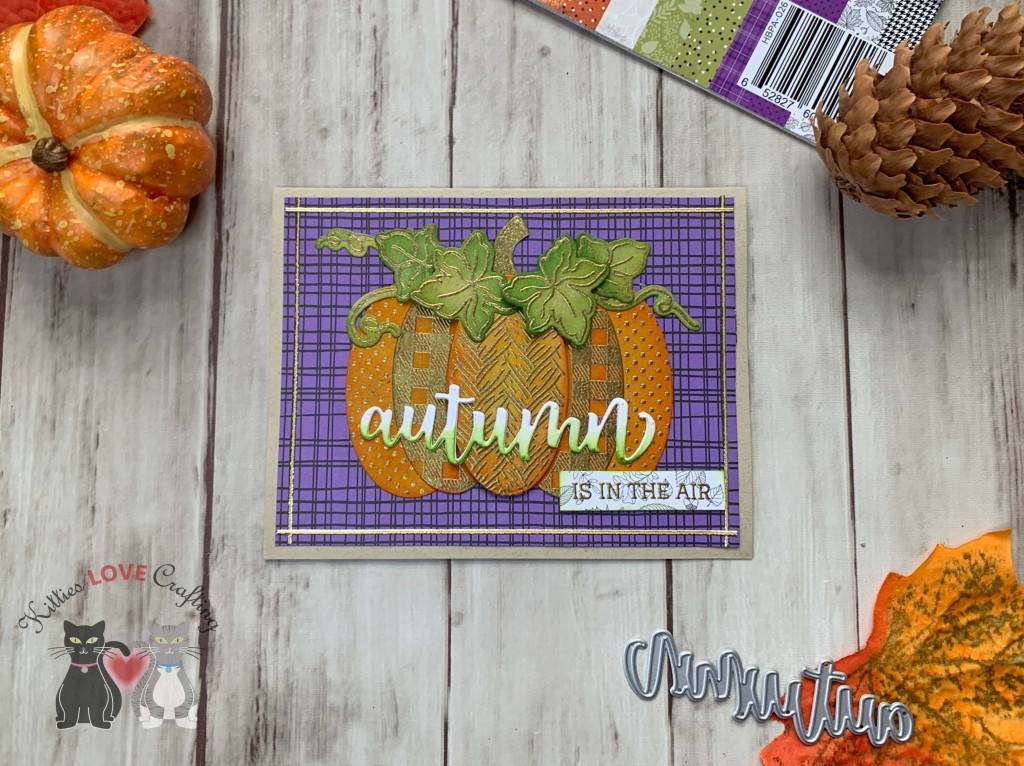
I used Versamark Ink to stamp several of the pattern pumpkins, leaves, curly vines and the stem from the Honey Bee Stamps Patchwork Pumpkin Stampset onto some Catherine Pooler Sand Dunes 8-1/2 x 11″ Cardstock (retired) and heat embossed with Gold Embossing Powder. Then diecut all the pieces with the oval die included in the coordinating dieset. I used Tim Holtz Mustard Seed and Carved Pumpkin Distress Inks to color the pumpkin and Crushed Olive and Mowed Lawn to color the leaves and vines. I used 3M Foam Tape to pop up the center piece of the pumpkin and some of the leaves.


I diecut the sentiment from the Honey Bee Stamps Autumn Honey Cuts and Neenah 110lb Classic Crest Cardstock 8.5 X 11″ 3x and adhered them together. I colored the bottom of the word with Mowed Lawn Distress Ink to create an ombre effect. I adhered it onto the pumpkin and stamped the rest of the sentiment from Honey Bee Stamps Autumn Stamp Set with Versamark Ink and heat embossed with Gold Embossing Powder onto a piece of the white leaf pattern paper from the Honey Bee Stamps Halloween Harvest 6×6 Paper Pad. I trimmed it down to 1/2 x 1-7/8″ before adhering to the card.

I finished it off by adding some Love From Lizi Pin Stripe Peel-Off Stickers in Gold Mirror Moondust.
On the inside of the card, I cut a piece of the same purple paper from Honey Bee Stamps Halloween Harvest 6×6 Paper Pad to 1 x 5-1/4″ and stamped a sentiment from Honey Bee Stamps Happy Fall Y’all Stamp Set with Carved Pumpkin Distress Ink.
Dimensions
- Card Base = 5-1/2 x 7-1/4″ and scored at 4-1/4″ Catherine Pooler Sand Dunes 8-1/2 x 11″ Cardstock (discontinued-any kraft cardstock will work)
- Top Panel = 4 x 5-1/4″ Honey Bee Stamps Halloween Harvest 6×6 Paper Pad
- Sentiment Strip = 1 x 5-1/4″ Honey Bee Stamps Halloween Harvest 6×6 Paper Pad
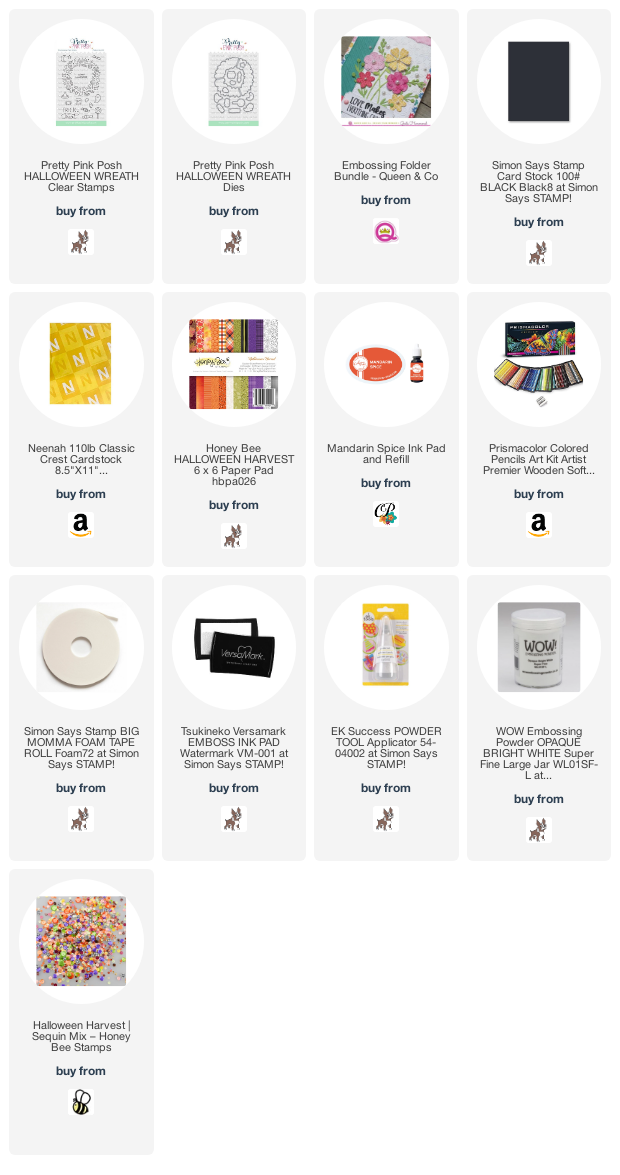
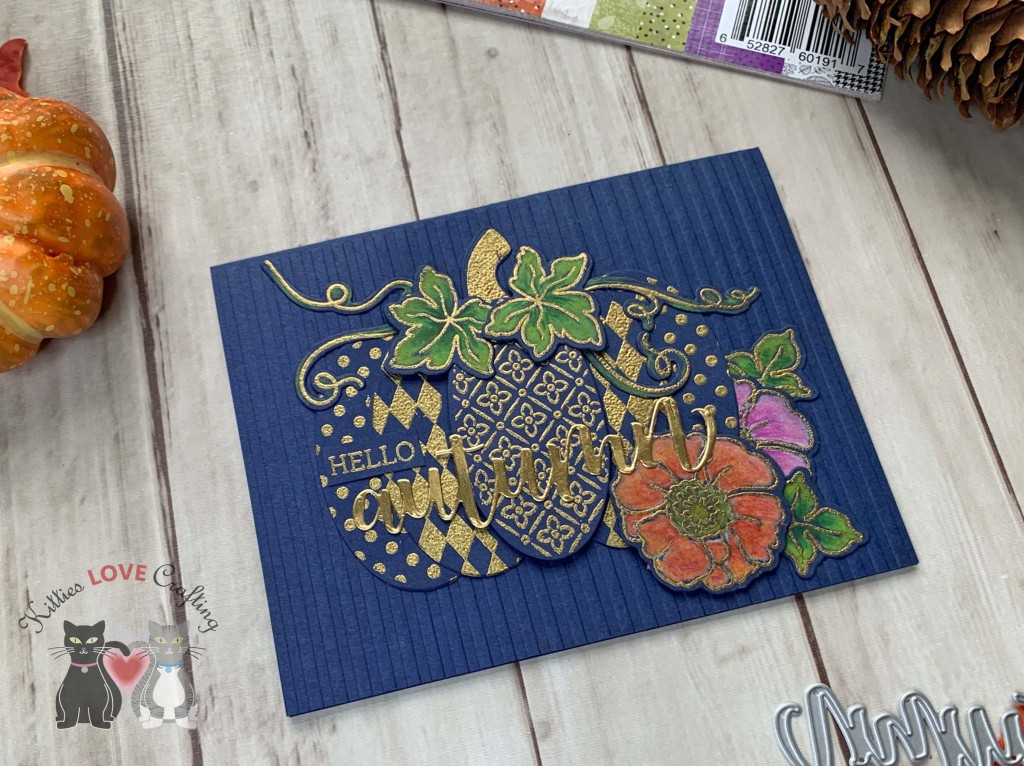
For the third card, I kept thing a little simpler. I started by cutting a piece of Stampin’ Up! Night of Navy 8-1/2″ X 11″ Cardstock to 5-1/2 x 8-1/2″ and scored at 4-1/4″ to make the card base. I embossed the front to the card with one of the embossing folders from the Queen & Co’s Embossing Folder Bundle.

This time, I used Versamark Ink to stamp several of the pattern pumpkins, leaves, curly vines, flowers and the stem from the Honey Bee Stamps Patchwork Pumpkin Stampset onto some Stampin’ Up! Night of Navy 8-1/2″ X 11″ Cardstock to 5-1/2 x 8-1/2″ and heat embossed with Gold Embossing Powder. Tip: Make sure to use a good amount of anti-static powder when using embossing powder on dark cardstock or it will stick where you don’t want. Then diecut all the pieces with the oval die included in the coordinating dieset. I colored the leaves, vine sand flowers with Prismacolor Pencils.
I diecut the sentiment from the Honey Bee Stamps Autumn Honey Cuts and Tim Holtz Idea-ology 8 x 8 Paper Stash Metallic Kraft Stock. I adhered it onto the pumpkin and stamped the rest of the sentiment from Honey Bee Stamps Autumn Stamp Set with Versamark Ink and heat embossed with Gold Embossing Powder onto a piece of Stampin’ Up! Night of Navy 8-1/2″ X 11″ Cardstock. I trimmed it down to 3/8 x 7/8″ before adhering to the card.

On the inside of the card, I cut a piece of Neenah 110lb Classic Crest Cardstock 8.5 X 11″ to 4 x 5-1/4″ and left it blank.
Dimensions
- Card Base = 5-1/2 x 7-1/4″ and scored at 4-1/4″ Stampin’ Up! Night of Navy 8-1/2″ X 11″ Cardstock
- Sentiment Strip = 1 x 5-1/4″ Stampin’ Up! Night of Navy 8-1/2″ X 11″ Cardstock
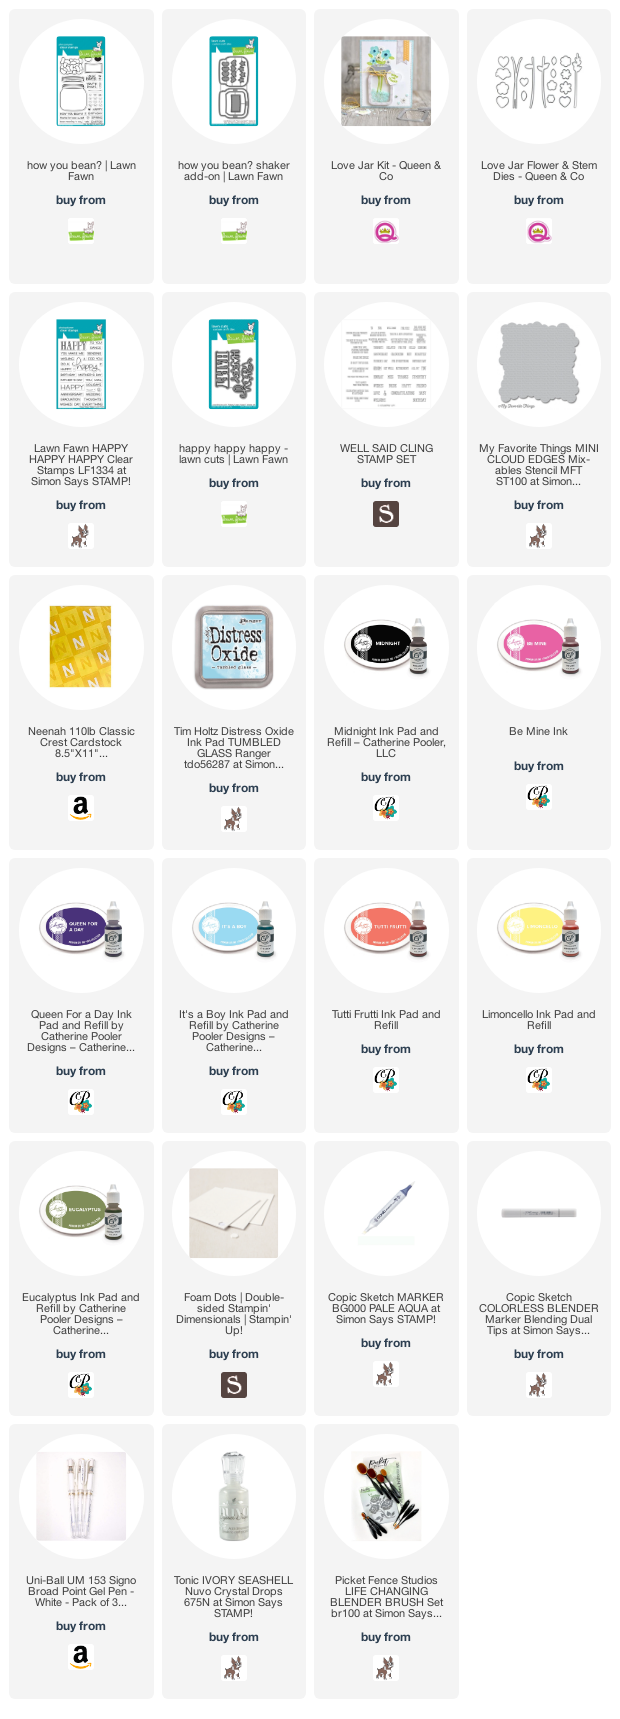
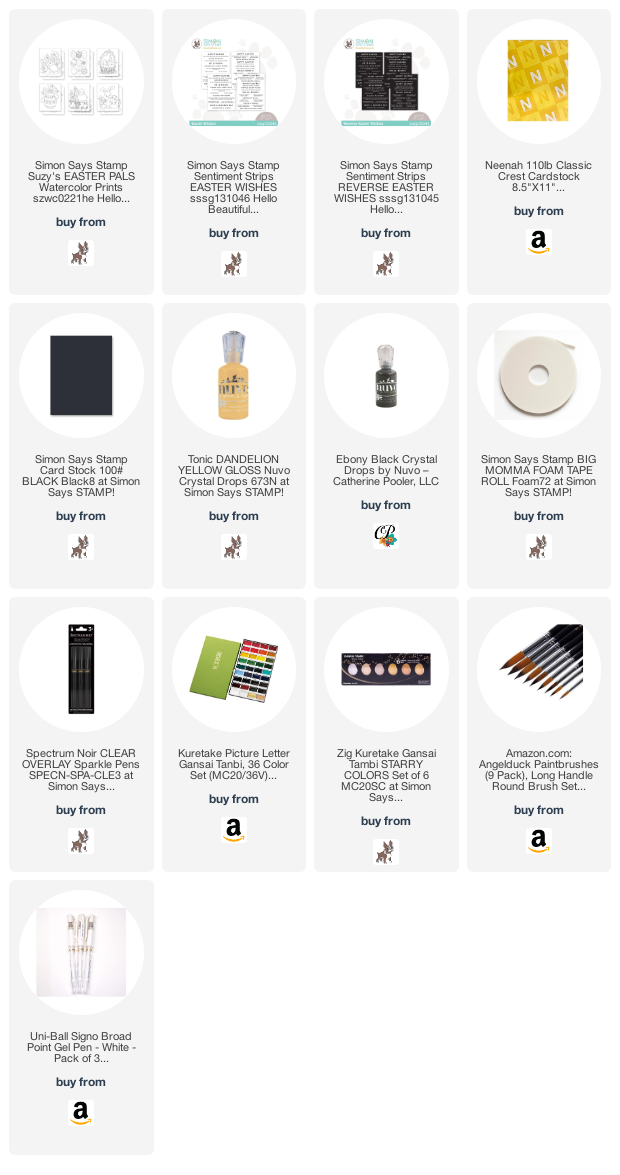
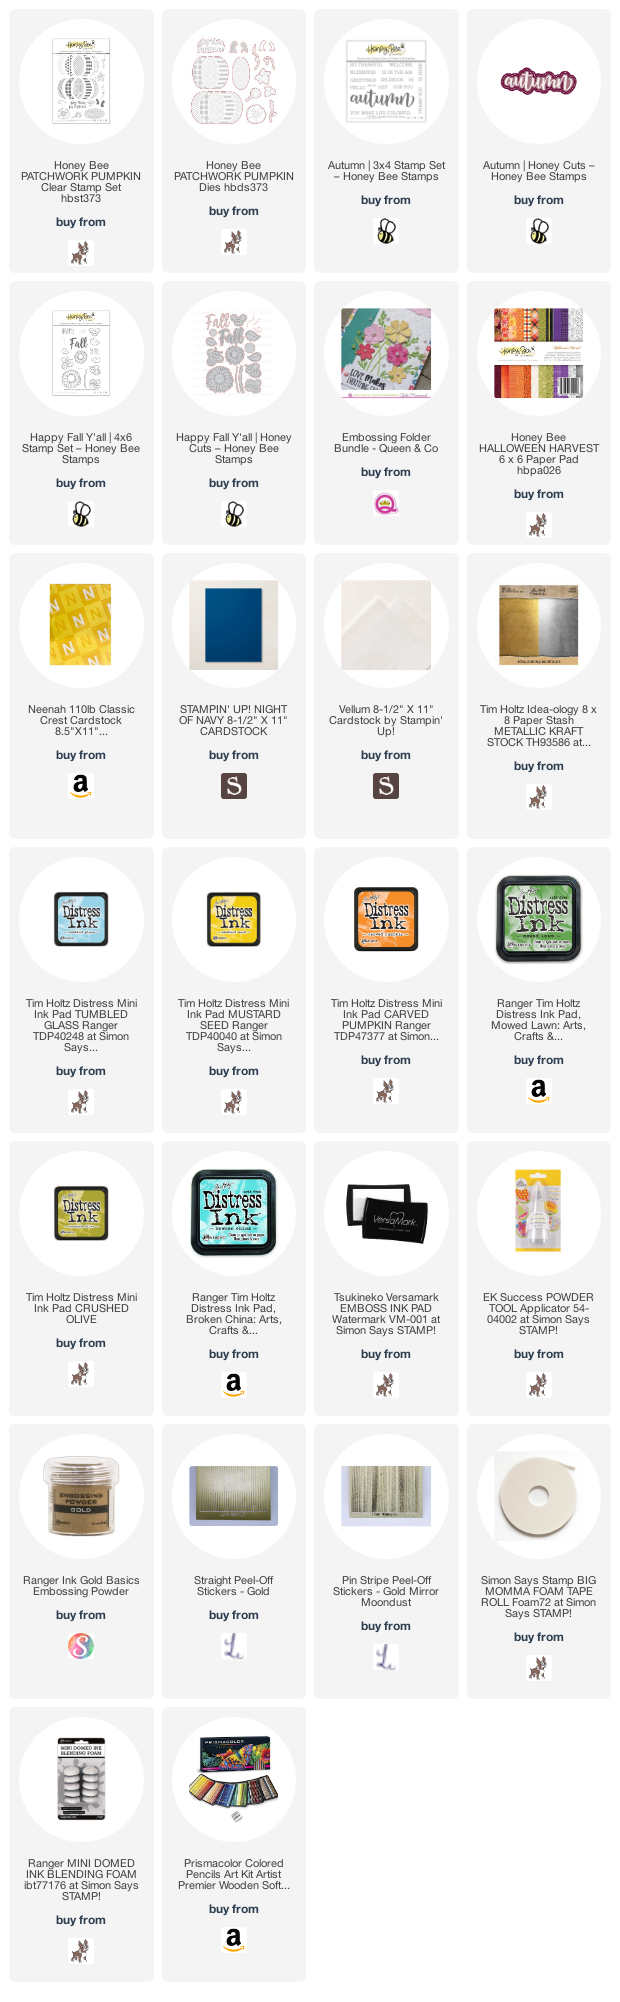
Supplies
 https://linkdeli.com/widget.js?id=f5e8378456858c916708
Thanks for reading this post. I hope you enjoyed and I’ve inspired you to give these cute Fall cards a try for yourself. Leave comments or questions below or feel free to email me.