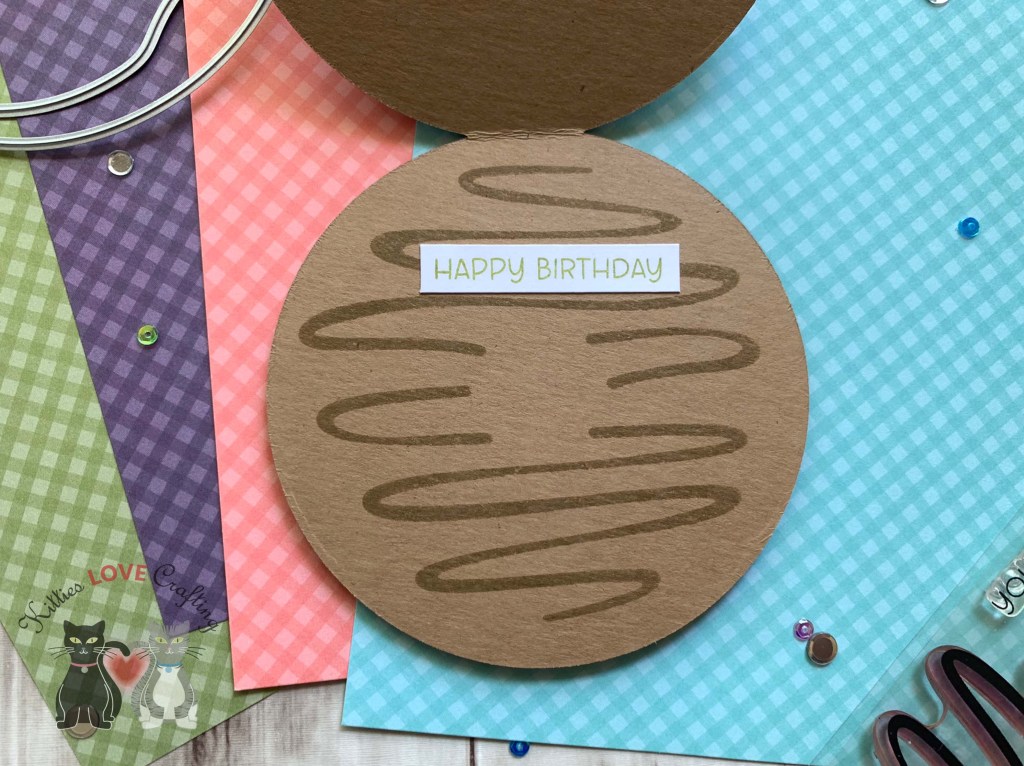
Hello friends. Here’s a fun way to use the same dies to get two different looks. My cards feature the Catherine Pooler Designs Candy Cane Christmas and Festive Joy Word Dies.
One card uses the Candy Cane Christmas dies as a background for a large dimensional sentiment and the other uses the same dies as the focal image which are shakers.

For the first card, I cut a piece of Neenah 100lb Classic Crest Cardstock 8.5 X 11″ to 7 x 8-1/2″ and scored at 3-1/2″ to create a slimline card base as well as a piece which I die cut with the Lawn Fawn Large Slimline with Sliders. This piece measures 3-1/2 x 8-1/2″.
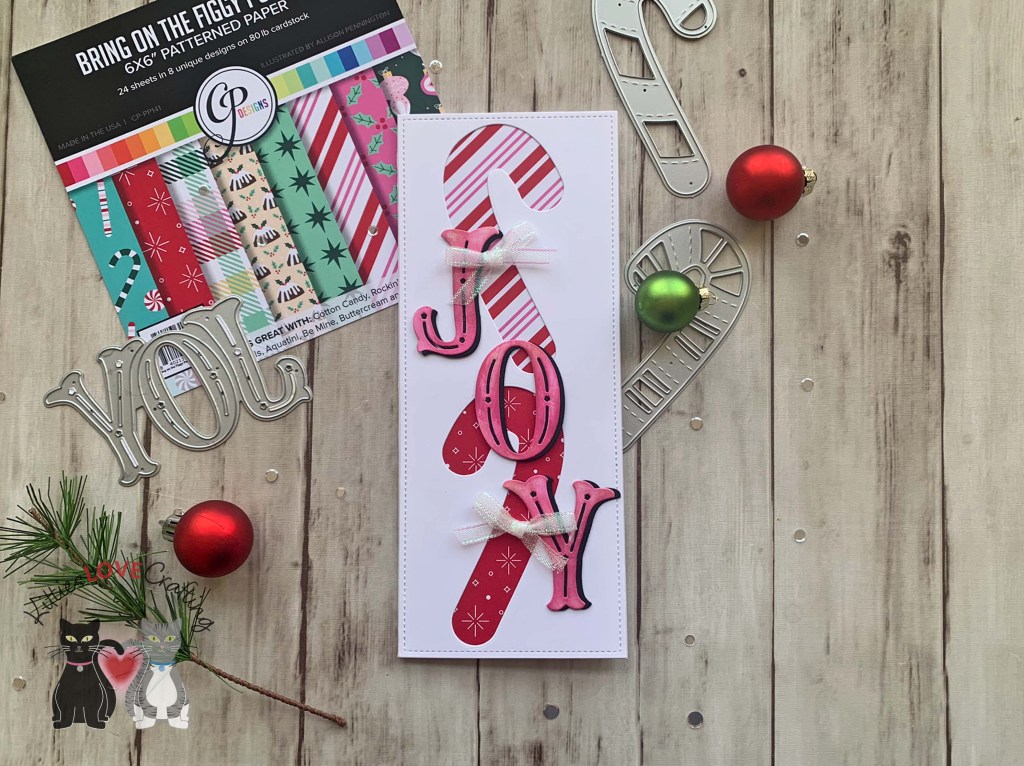
I die cut the candy canes from the back panel using the base candy cane dies from the Catherine Pooler Designs Candy Cane Christmas Dies. Then added pattern paper behind them from CP Bring on the Figgy Pudding Patterned Paper and Under the Tree Slimline Patterned Paper (discontinued).

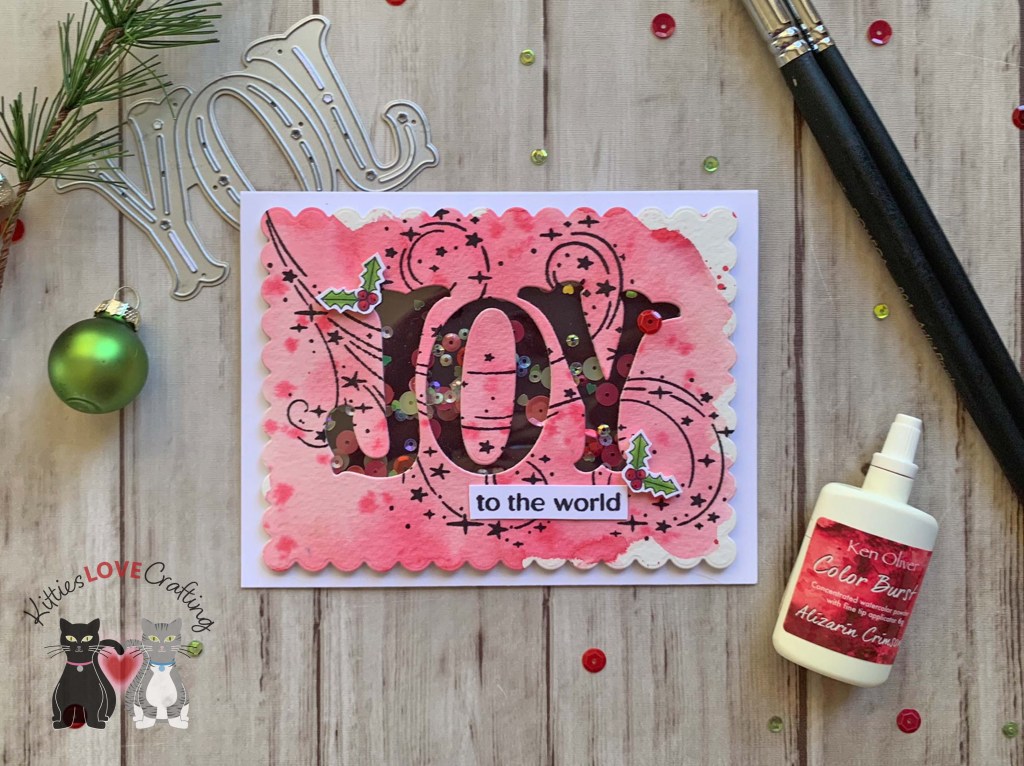
I die cut the JOY from both Neenah 100lb Classic Crest Cardstock 8.5 X 11″ and Lawn Fawn Black Licorice Cardstock. I colored the white letters using the CP Be Mine Ink and offset the black letters behind. I added some glitter with a Spectrum Noir Clear Overlay Sparkle Pen.
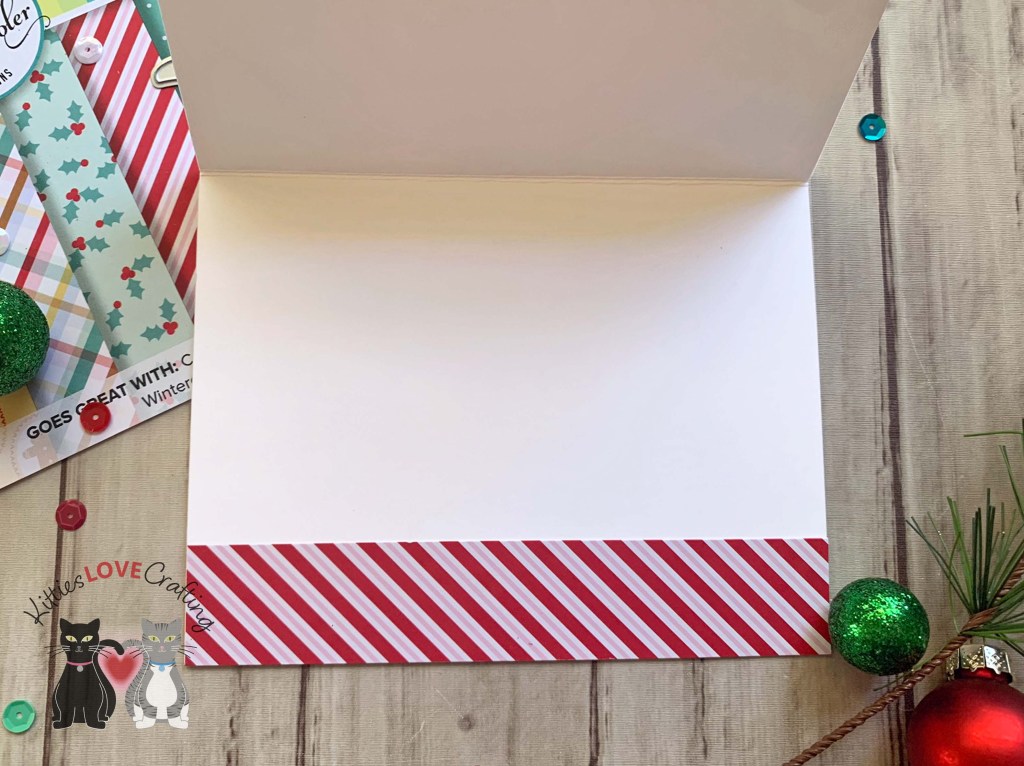
I finished it off by adding some Stampin’ Up! Snowflake Splendor 1/4″ (6.4 mm) Ribbon (retired). I left the inside of the card blank.
Dimensions
- Card Base = 7 x 8-1/2″ and scored at 3-1/2″ Neenah 100lb Classic Crest Cardstock 8.5 X 11″
- Background Panel = 3-1/2 x 8-1/2″ Neenah 100lb Classic Crest Cardstock 8.5 X 11″
For the second card, I cut a piece of Neenah 100lb Classic Crest Cardstock 8.5 X 11″ to 7 x 8-1/2″ and scored at 3-1/2″ to create a slimline card base as well as a piece which I die cut with the Lawn Fawn Large Slimline with Sliders. This piece measures 3-1/2 x 8-1/2″.

Again, I die cut the candy canes from the back panel using the base candy cane dies from the Catherine Pooler Designs Candy Cane Christmas Dies. I stamped the holly leaves from the Catherine Pooler Holiday Joy Sentiments Stamp Set with CP Rose Petals Ink. I added some acetate behind it to make a shaker.
I die cut the two candy canes from Stampin’ Up! Sweet Sugarplum 12 x 12 Glimmer Paper (retired) and Titanite from Altenew Forest Canopy Glitter Gradient Cardstock using CP Candy Cane Christmas Dies. The bows were die cut from Neenah 100lb Classic Crest Cardstock 8.5 X 11″ and colored them CP inks. I used Rouge and Green Tea inks. I inlayed the candy canes and adhered them to the acetate. This makes them look like they are floating and creates a fun shaker.
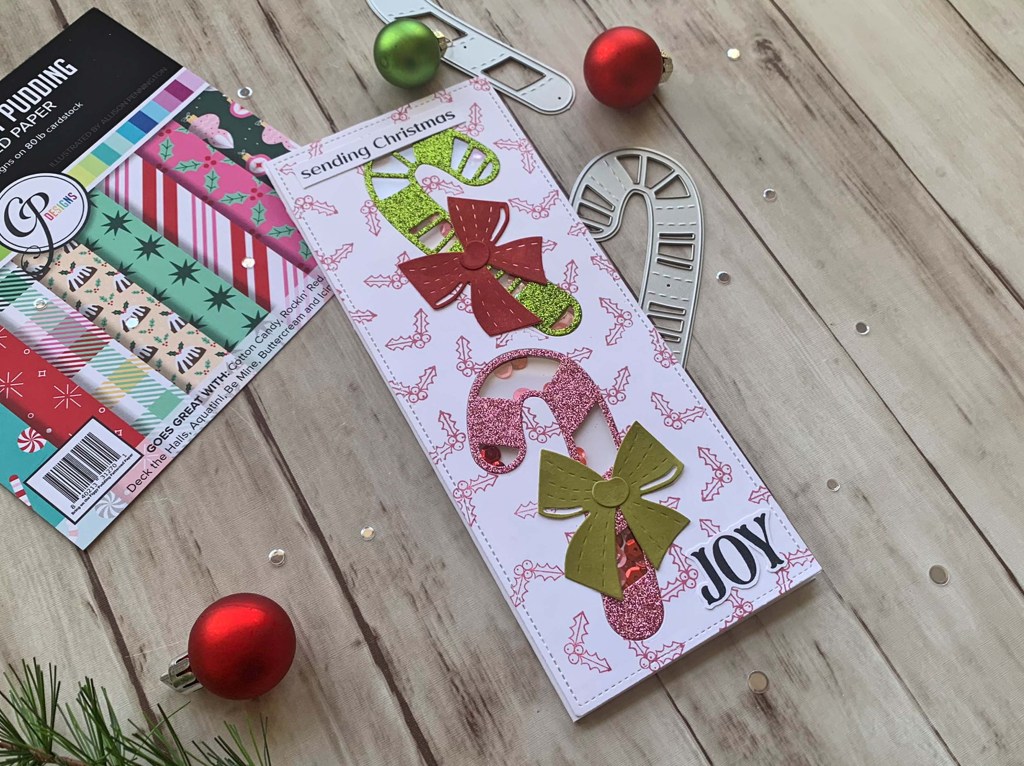
I stamped the sentiment from Catherine Pooler Holiday Joy Sentiments Stamp Set onto Neenah 100lb Classic Crest Cardstock 8.5 X 11″ with Tsukineko Memento Tuxedo Black Ink.
Dimensions
- Card Base = 7 x 8-1/2″ and scored at 3-1/2″ Neenah 100lb Classic Crest Cardstock 8.5 X 11″
- Background Panel = 3-1/2 x 8-1/2″ Neenah 100lb Classic Crest Cardstock 8.5 X 11″
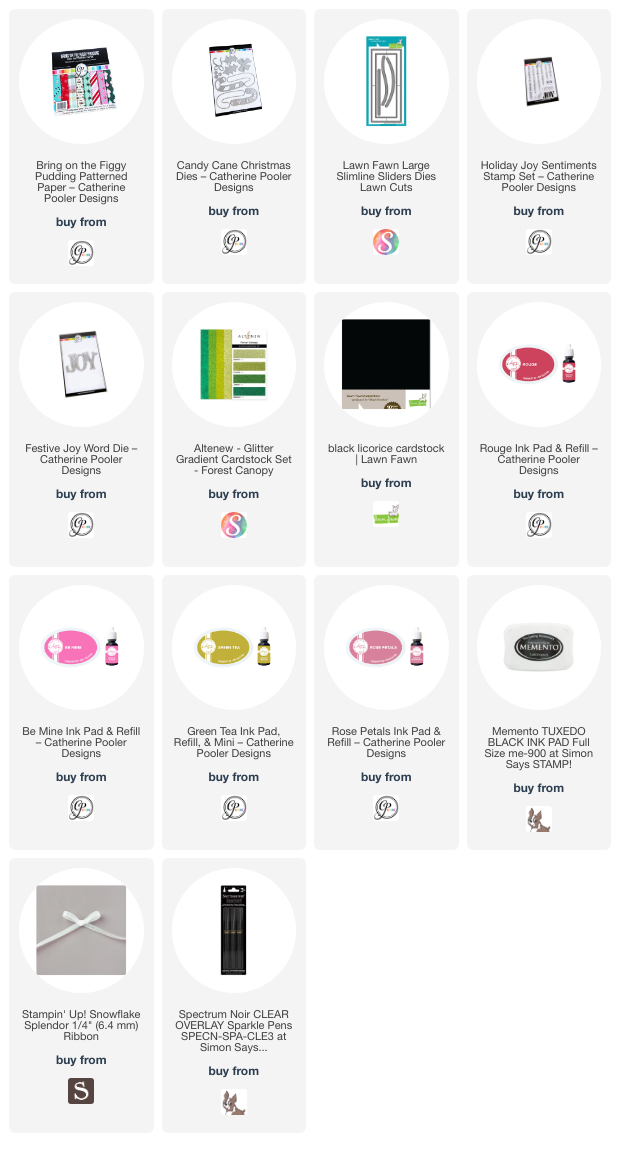
Supplies
 https://linkdeli.com/widget.js?id=f5e8378456858c916708
Thanks for reading this post. I hope I’ve inspired you to make these slimline holiday cards! Leave comments or questions below or feel free to email.