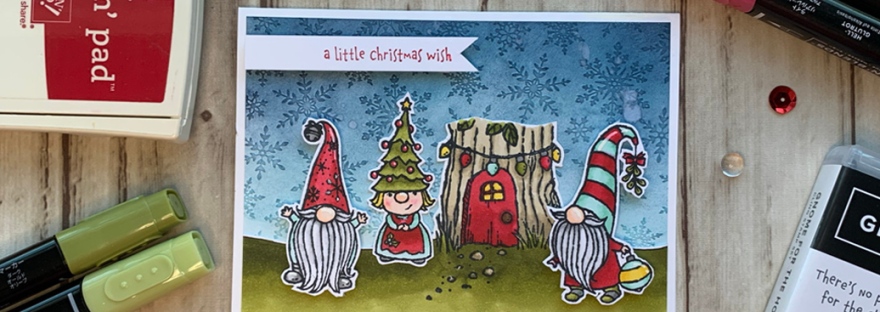
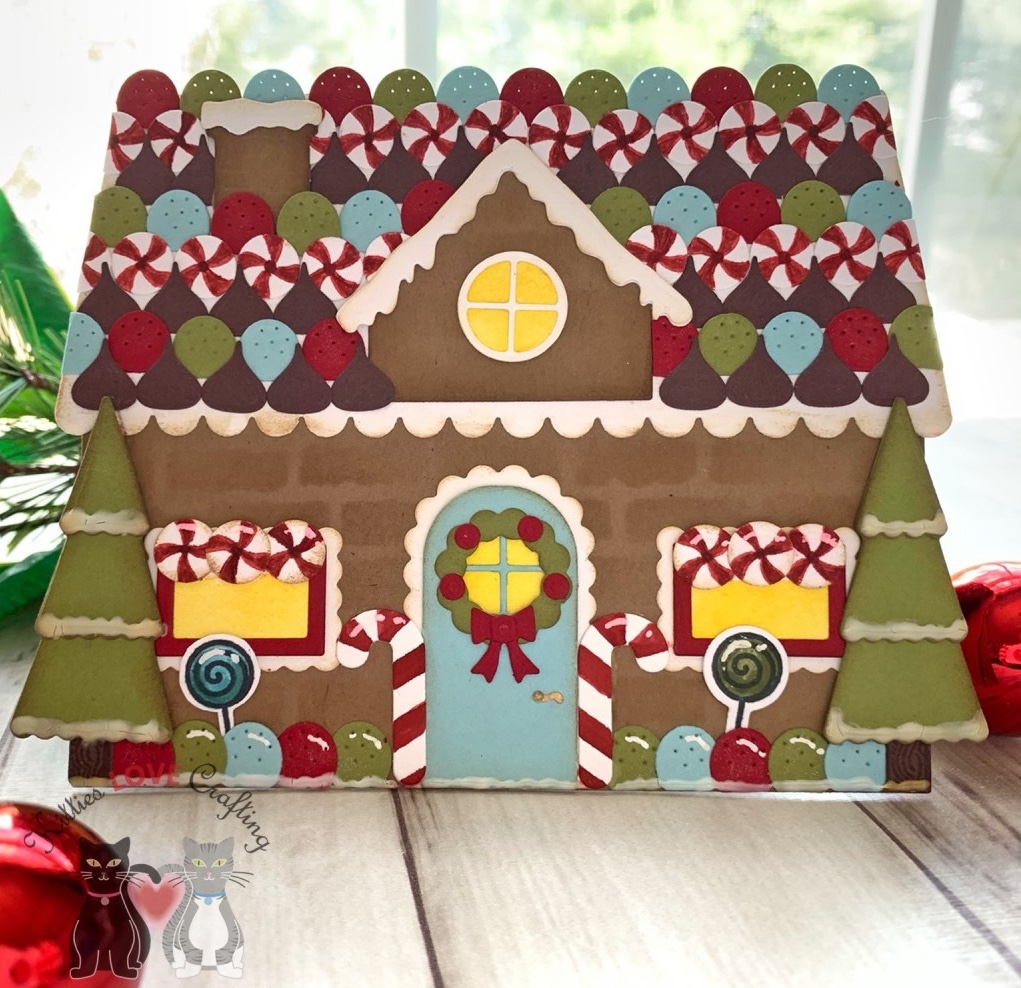
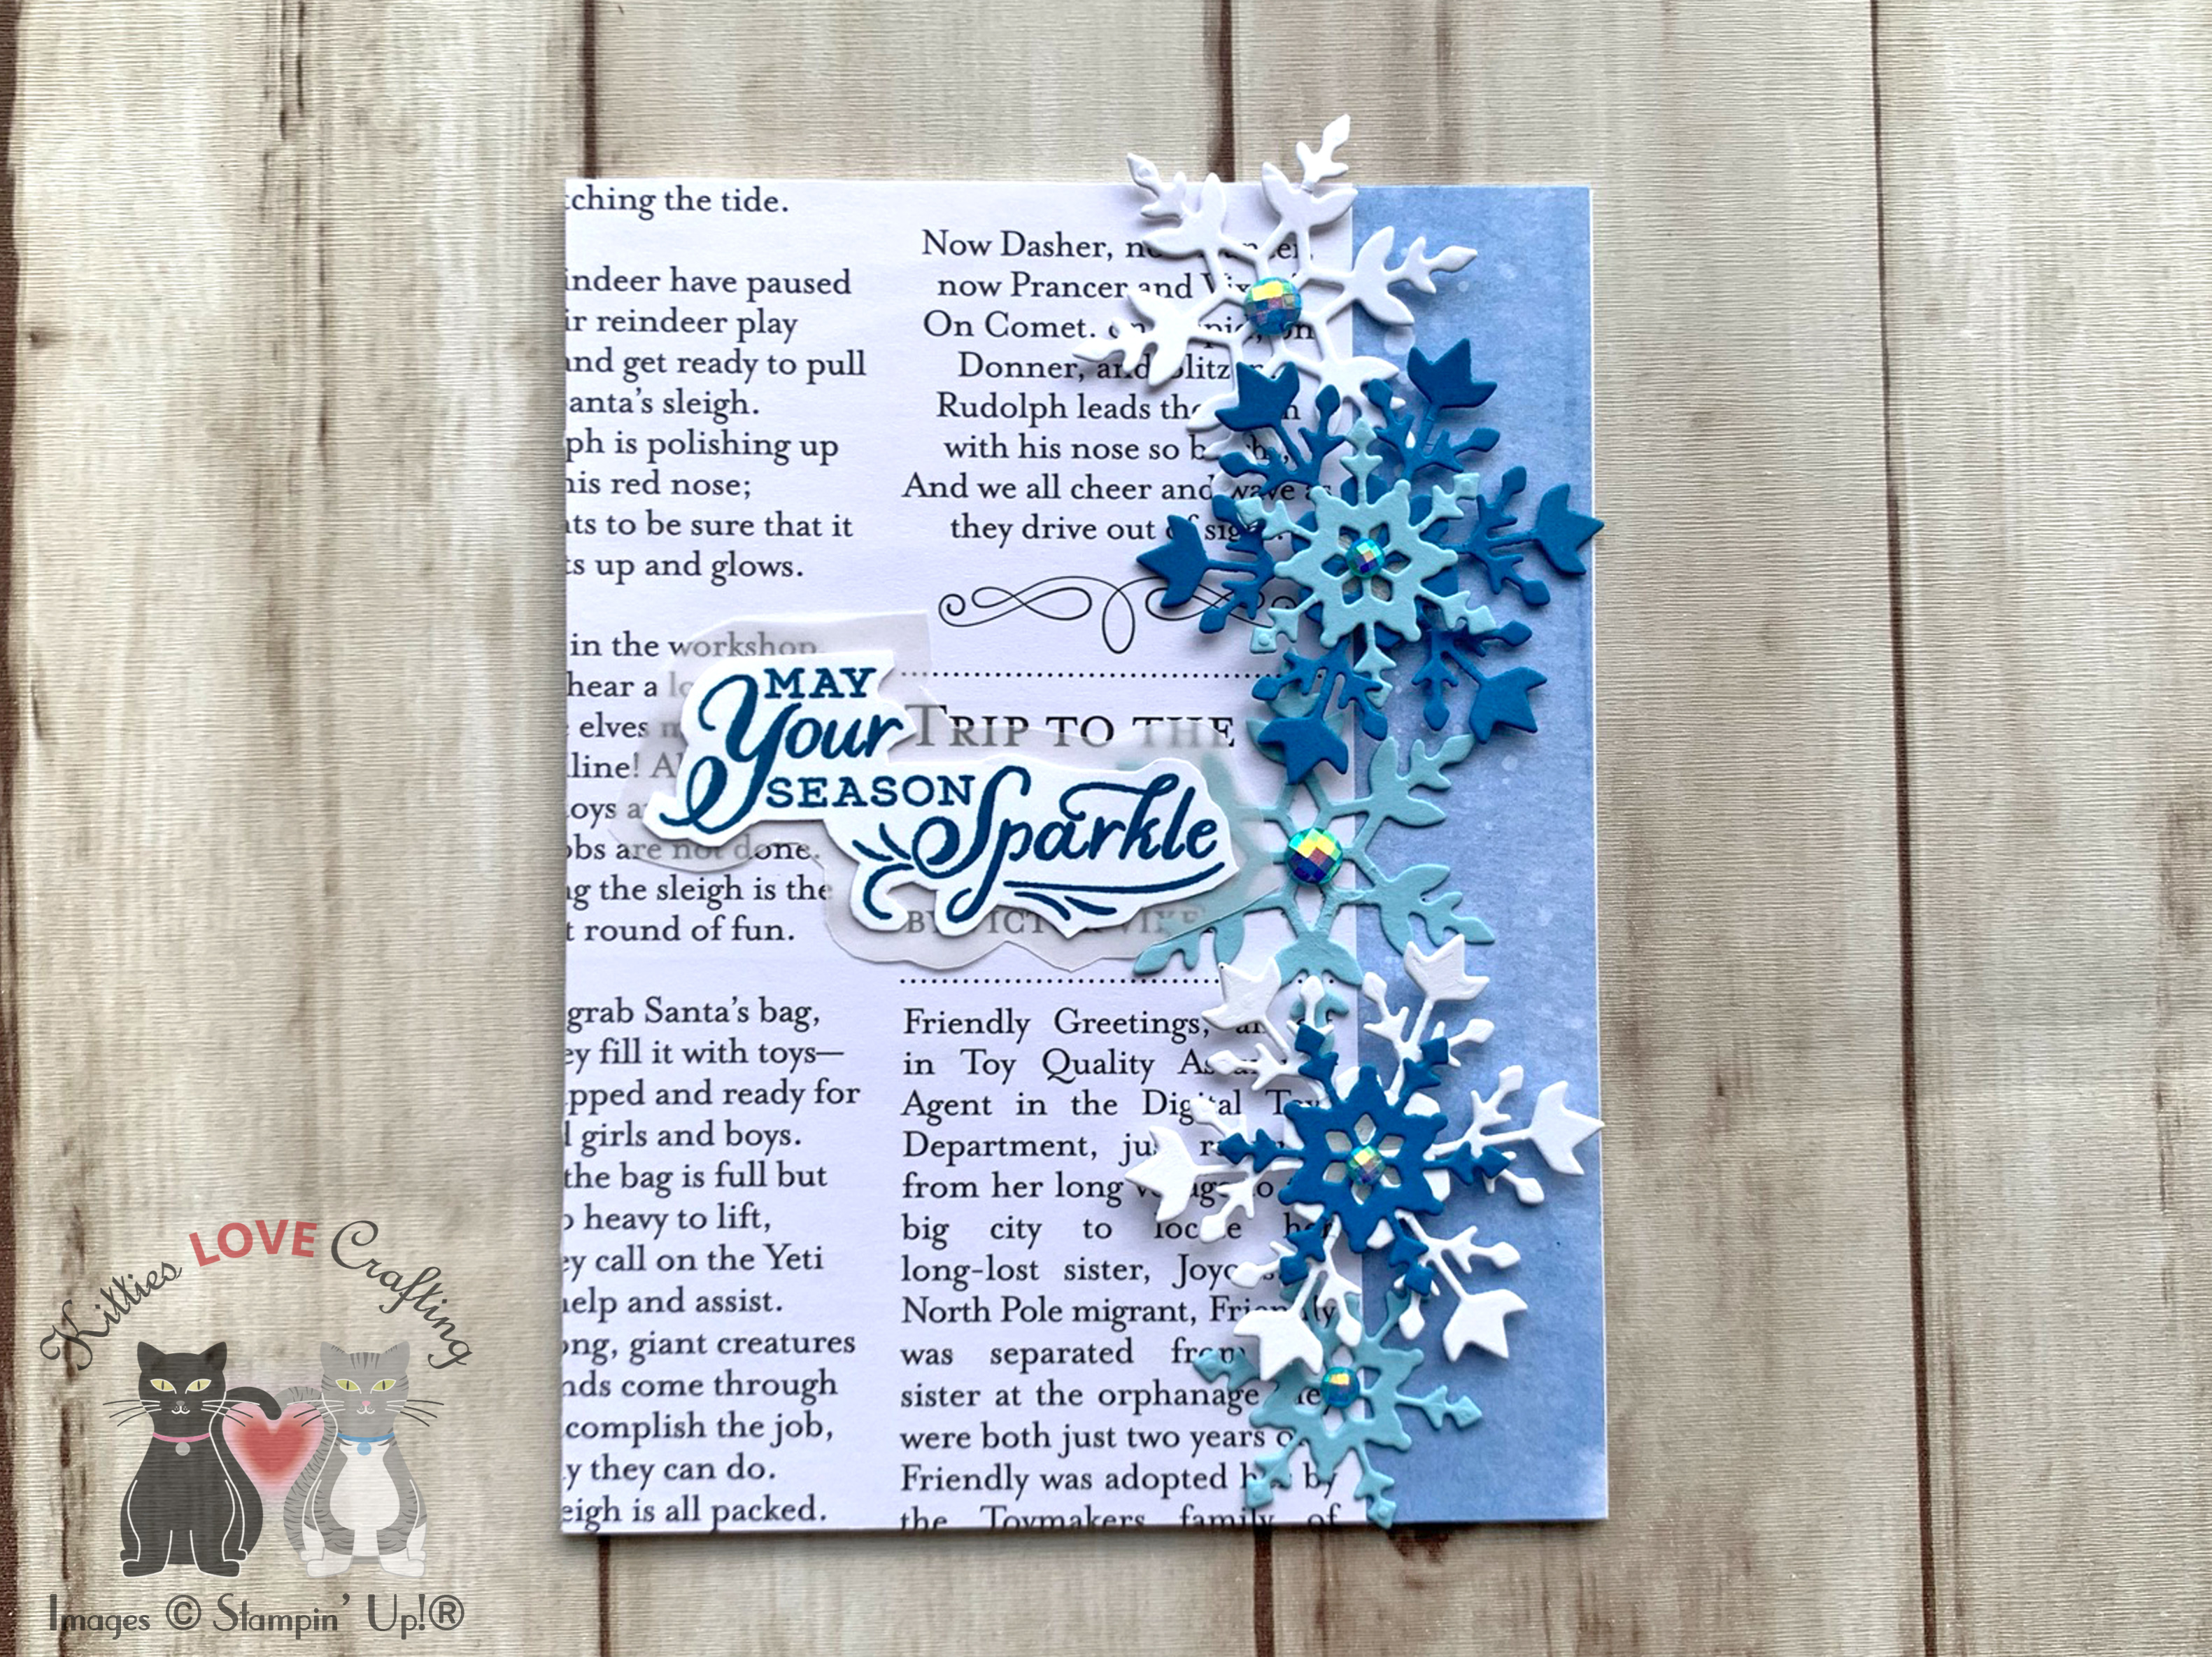
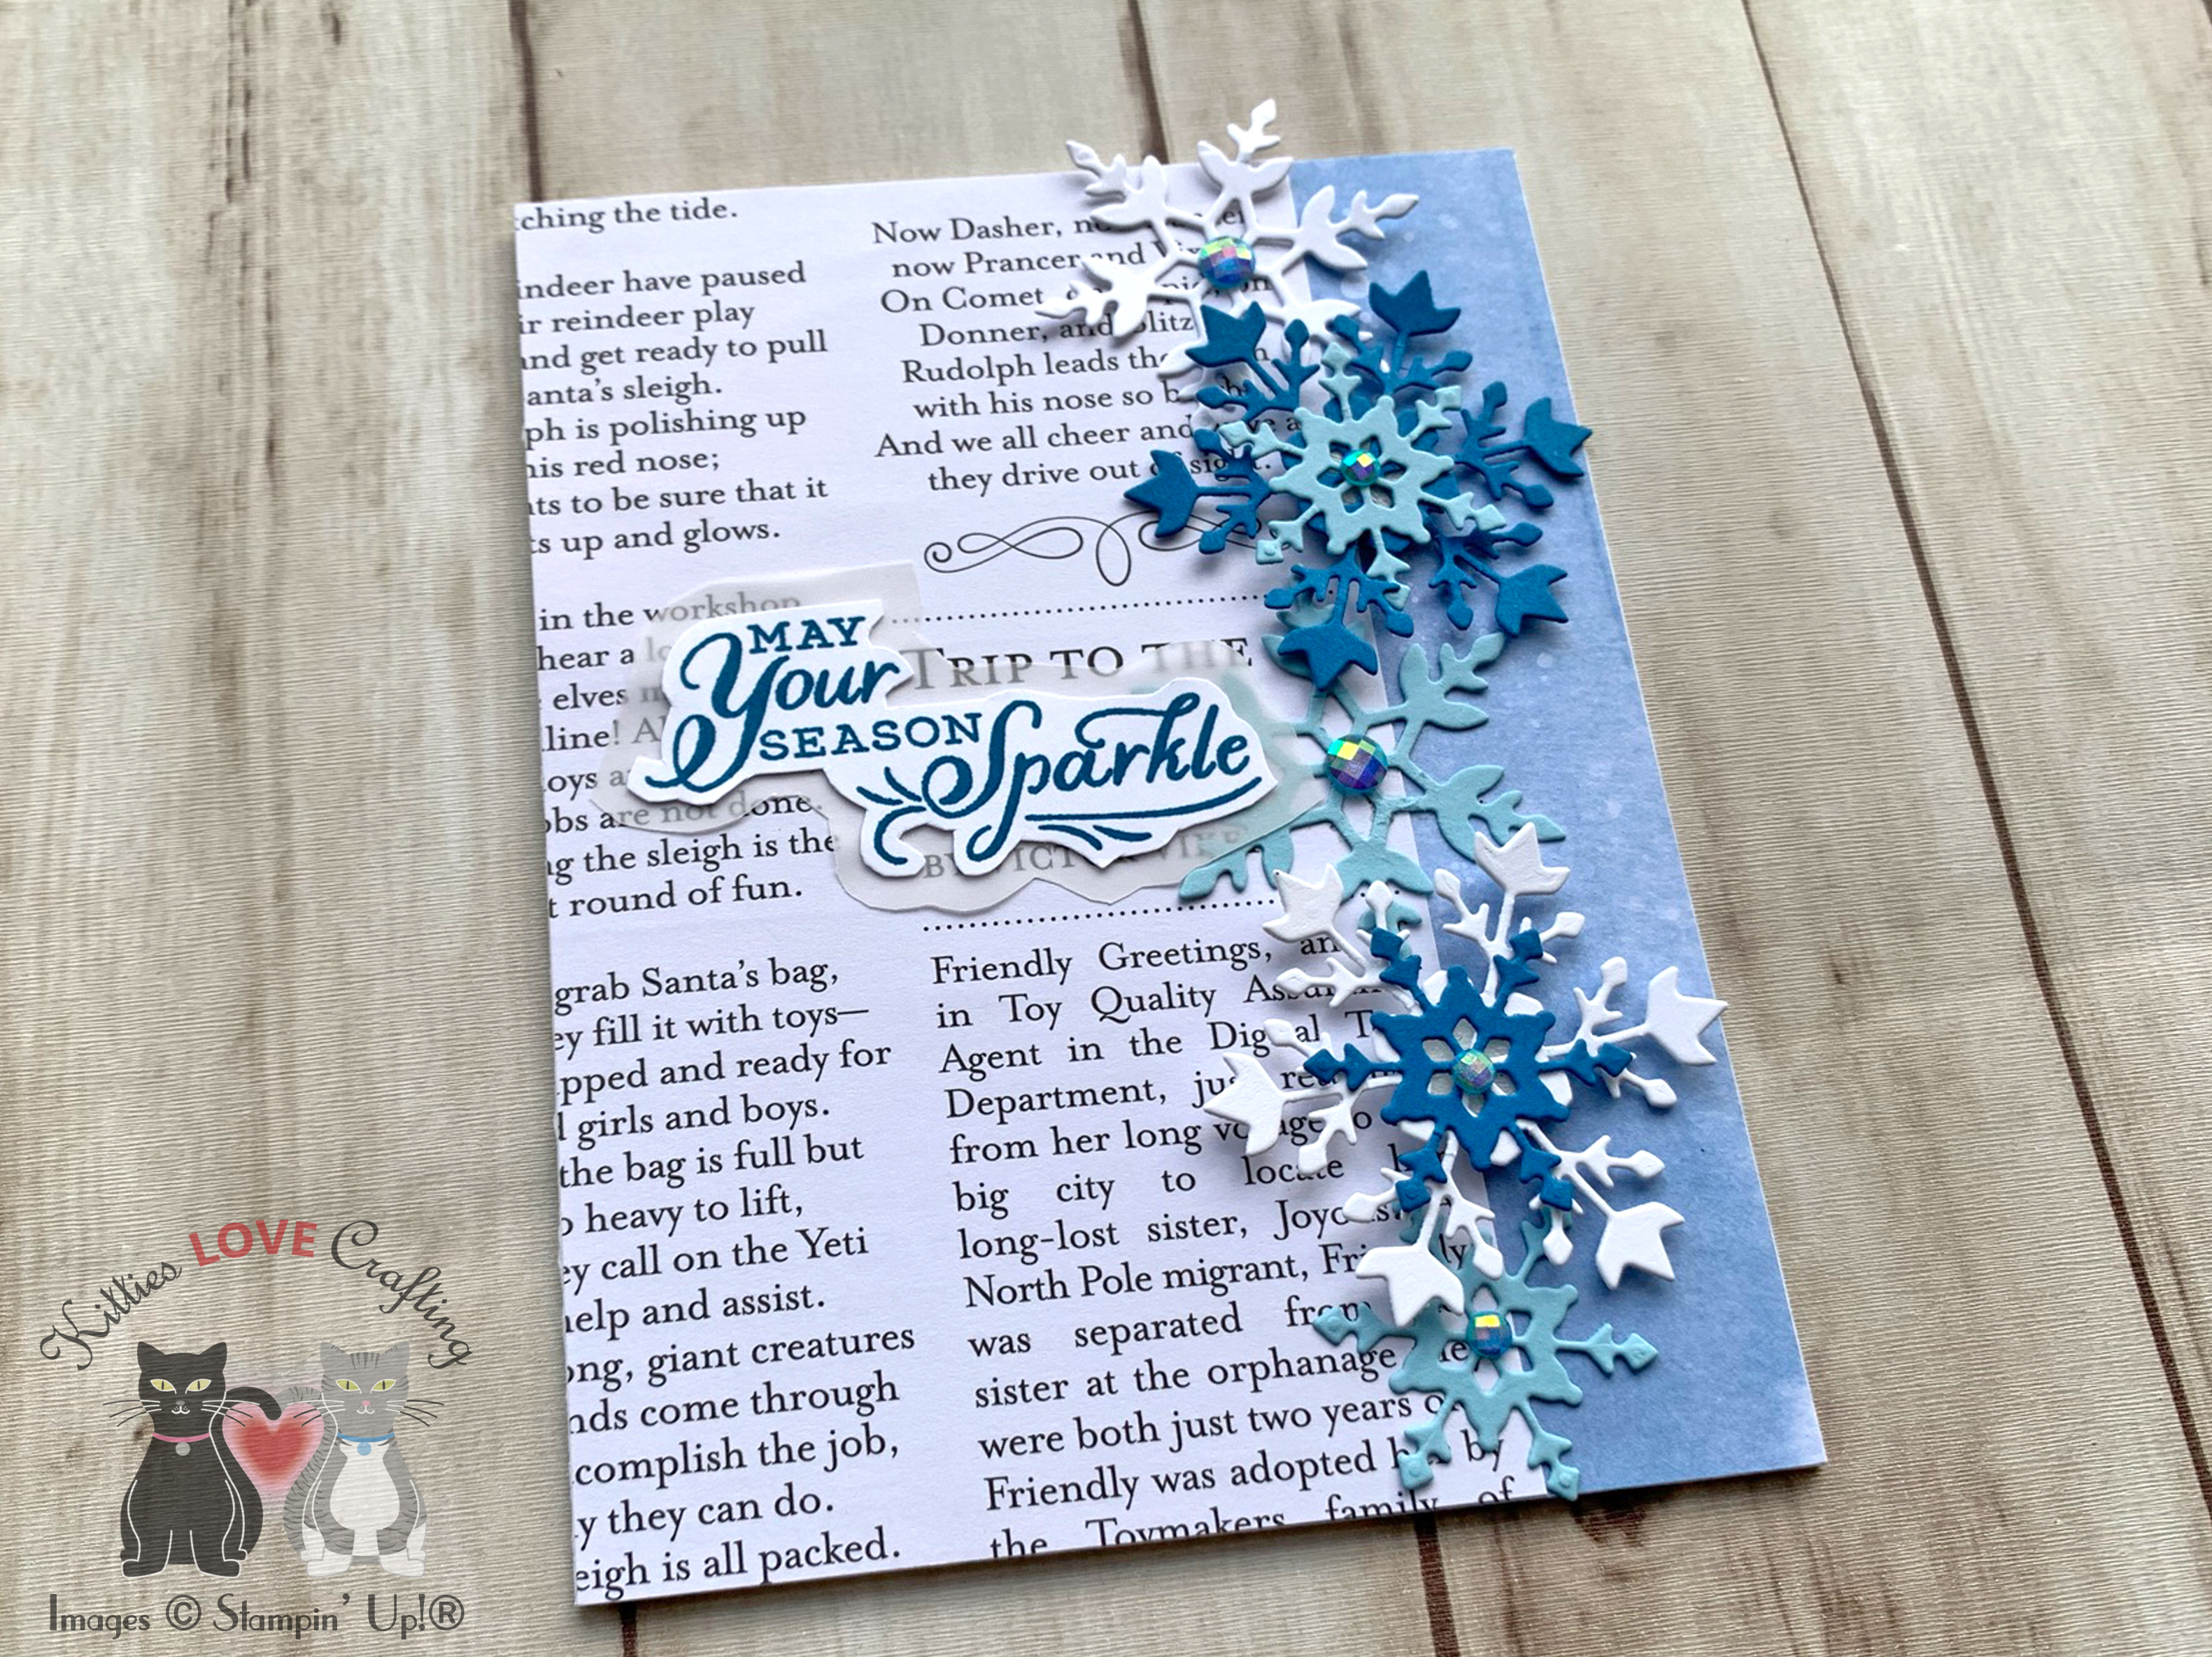
Here’s a quick way to create a focal point on your card — pattern paper and a geometric die. It’s quick and you can use minimal supplies.
For the first card, I started by cutting a piece of Whisper White 8-1/2″ X 11″ Thick Cardstock to 5-1/2 x 8-1/2″ and scored at 4-1/4″ to make a card base. Then diecut a piece of Snowflake Splendor Designer Series Paper with a 2-7/8 circle die from the Stampin’ Up! Circle Layering Dies. This will be the background for my image.

I stamped the ice skating bear from the Warm & Toasty Stampset onto a piece of Whisper White 8-1/2″ X 11″ Thick Cardstock with Memento Tuxedo Black Ink. I colored him using Copics since I don’t have enough colors in my Stampin Blends. I used R20 (cheeks); R81, R83, R85 & R56 (hat and scarf); and N1, BG000 & 0 (bear). I fussycut the image out and set it aside.
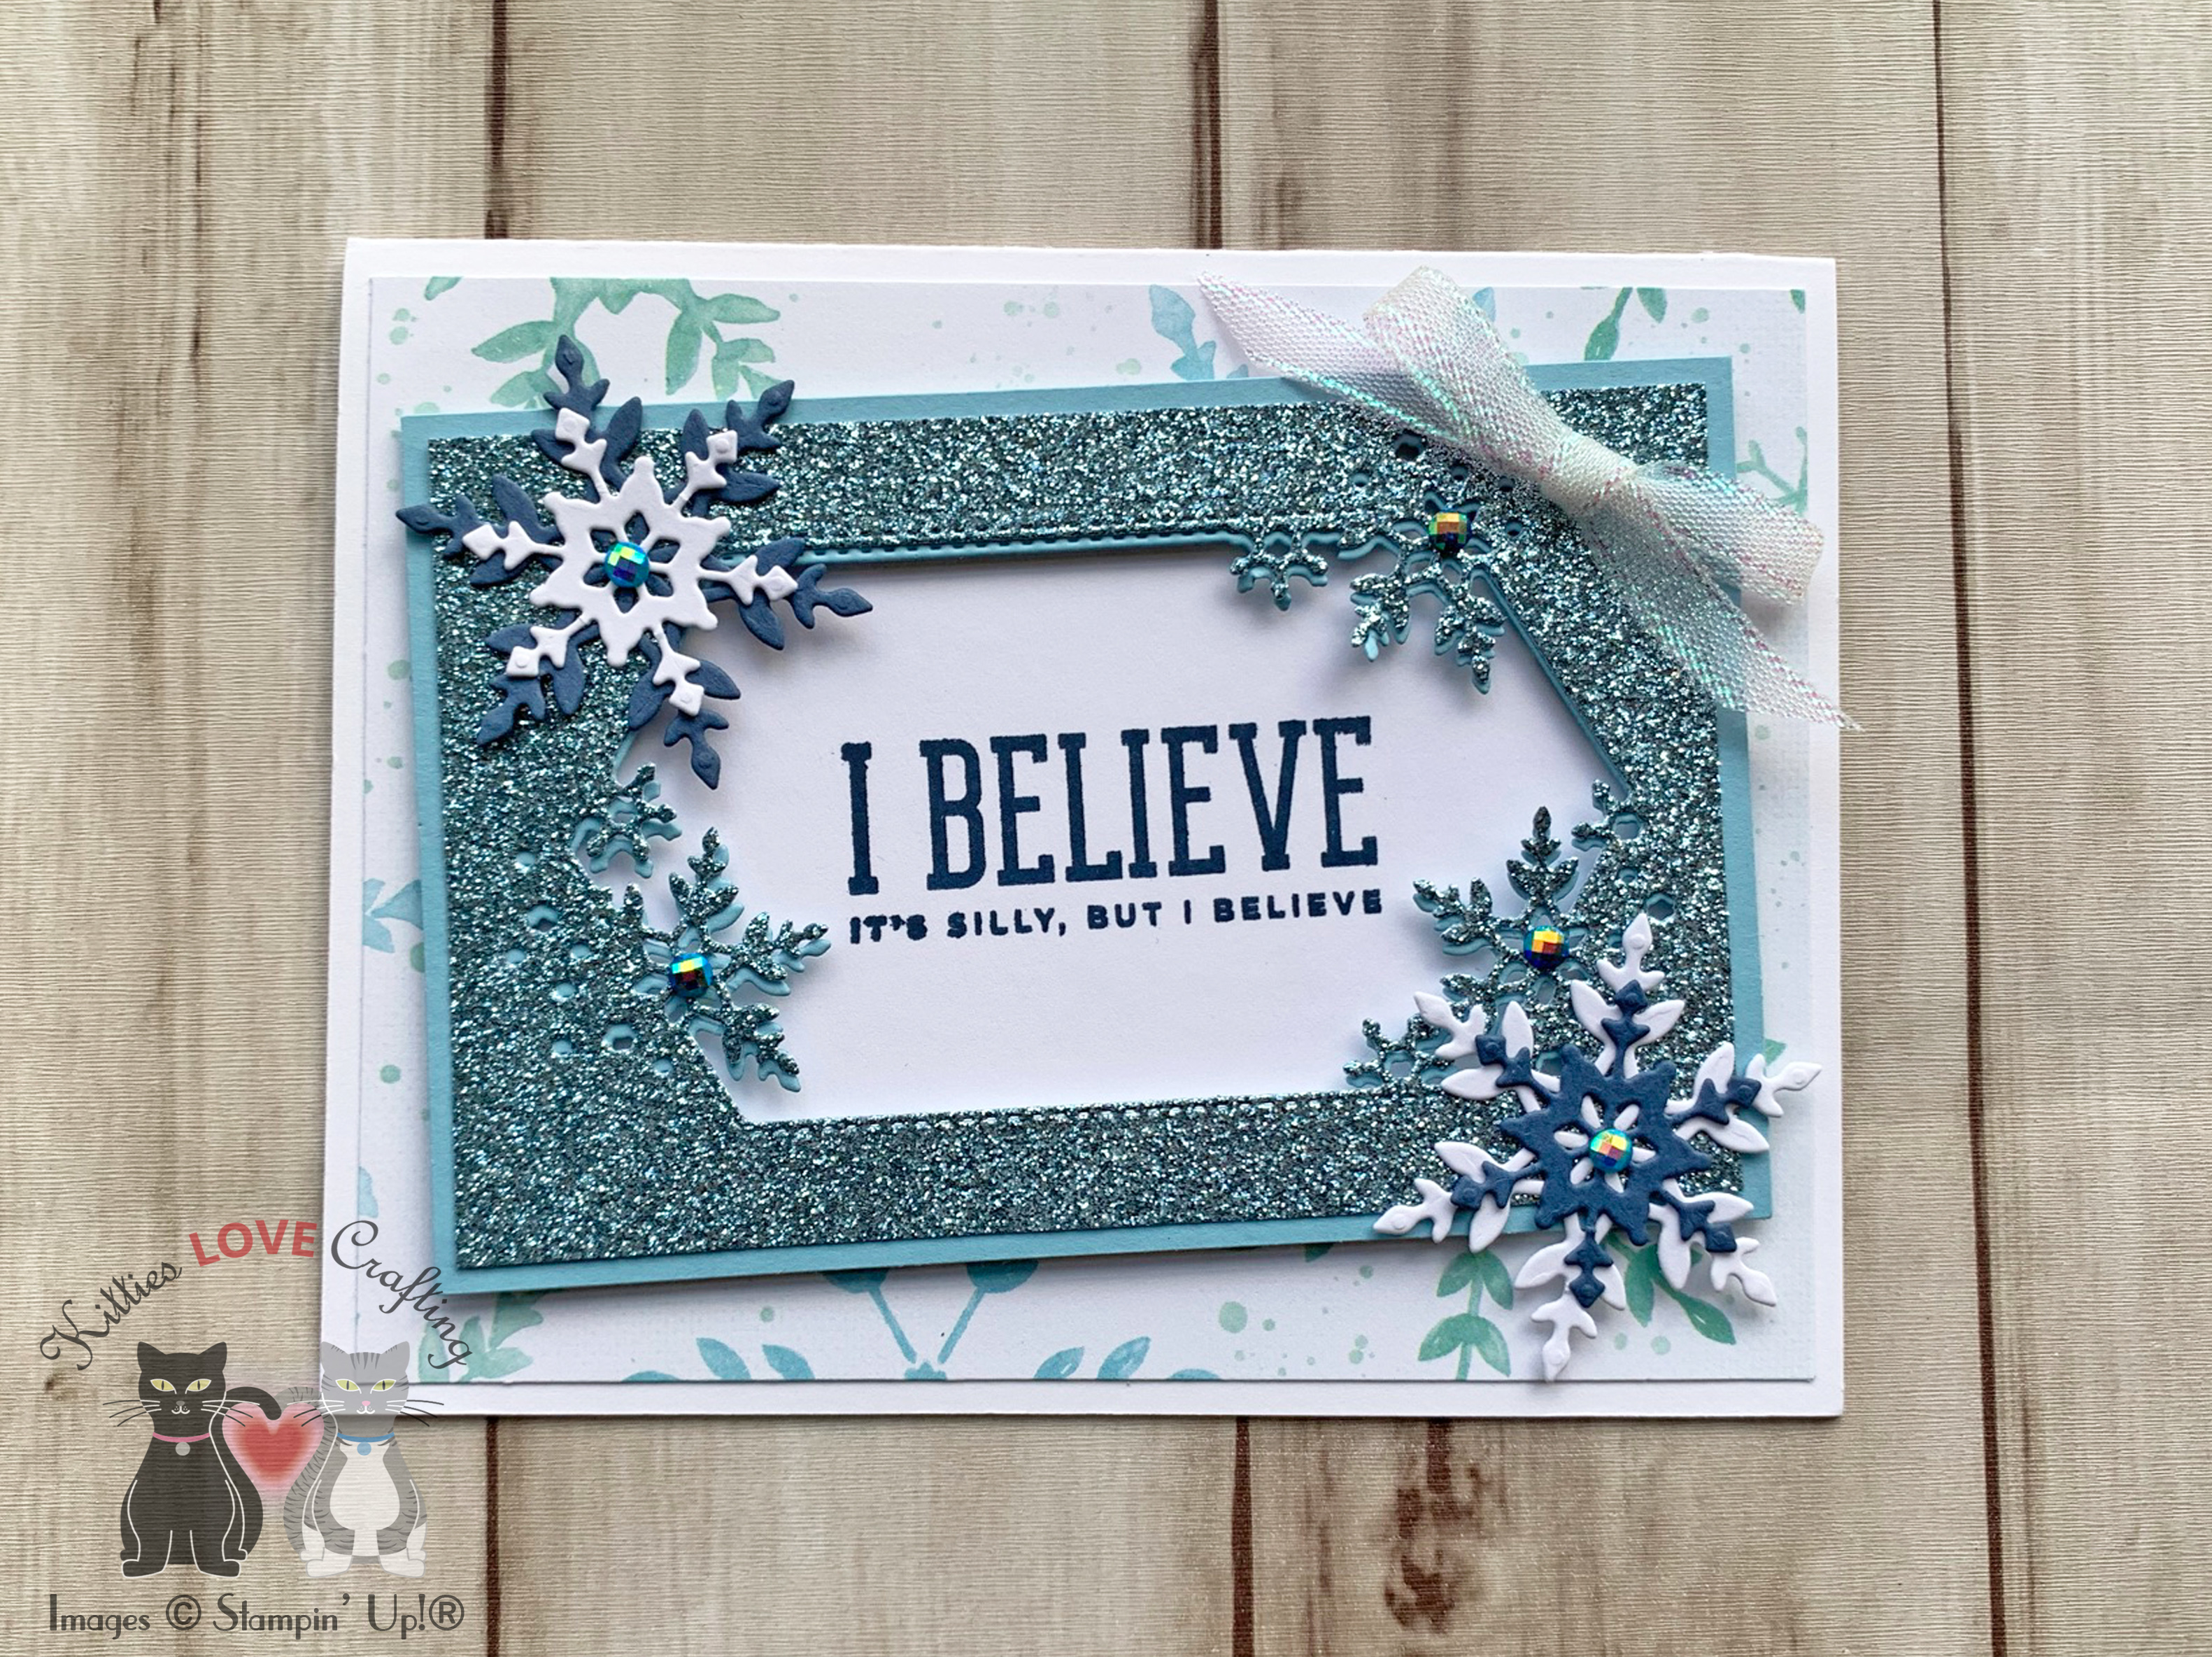
Next I stamped the sentiment from the Warm & Toasty Stampset onto a piece of Whisper White 8-1/2″ X 11″ Thick Cardstock with Stampin’ Up! Balmy Blue Ink and trimmed it down to 7/8 x 4-1/4”.
I adhered the pattern paper piece, image and sentiment strip to the card. I finished off the card by diecutting some snowflakes from the Stampin’ Up! So Many Snowflakes Die from Whisper White 8-1/2″ X 11″ Thick Cardstock, Balmy Blue Glimmer Paper, and Melon Mambo 8-1/2″ X 11″ Cardstock.


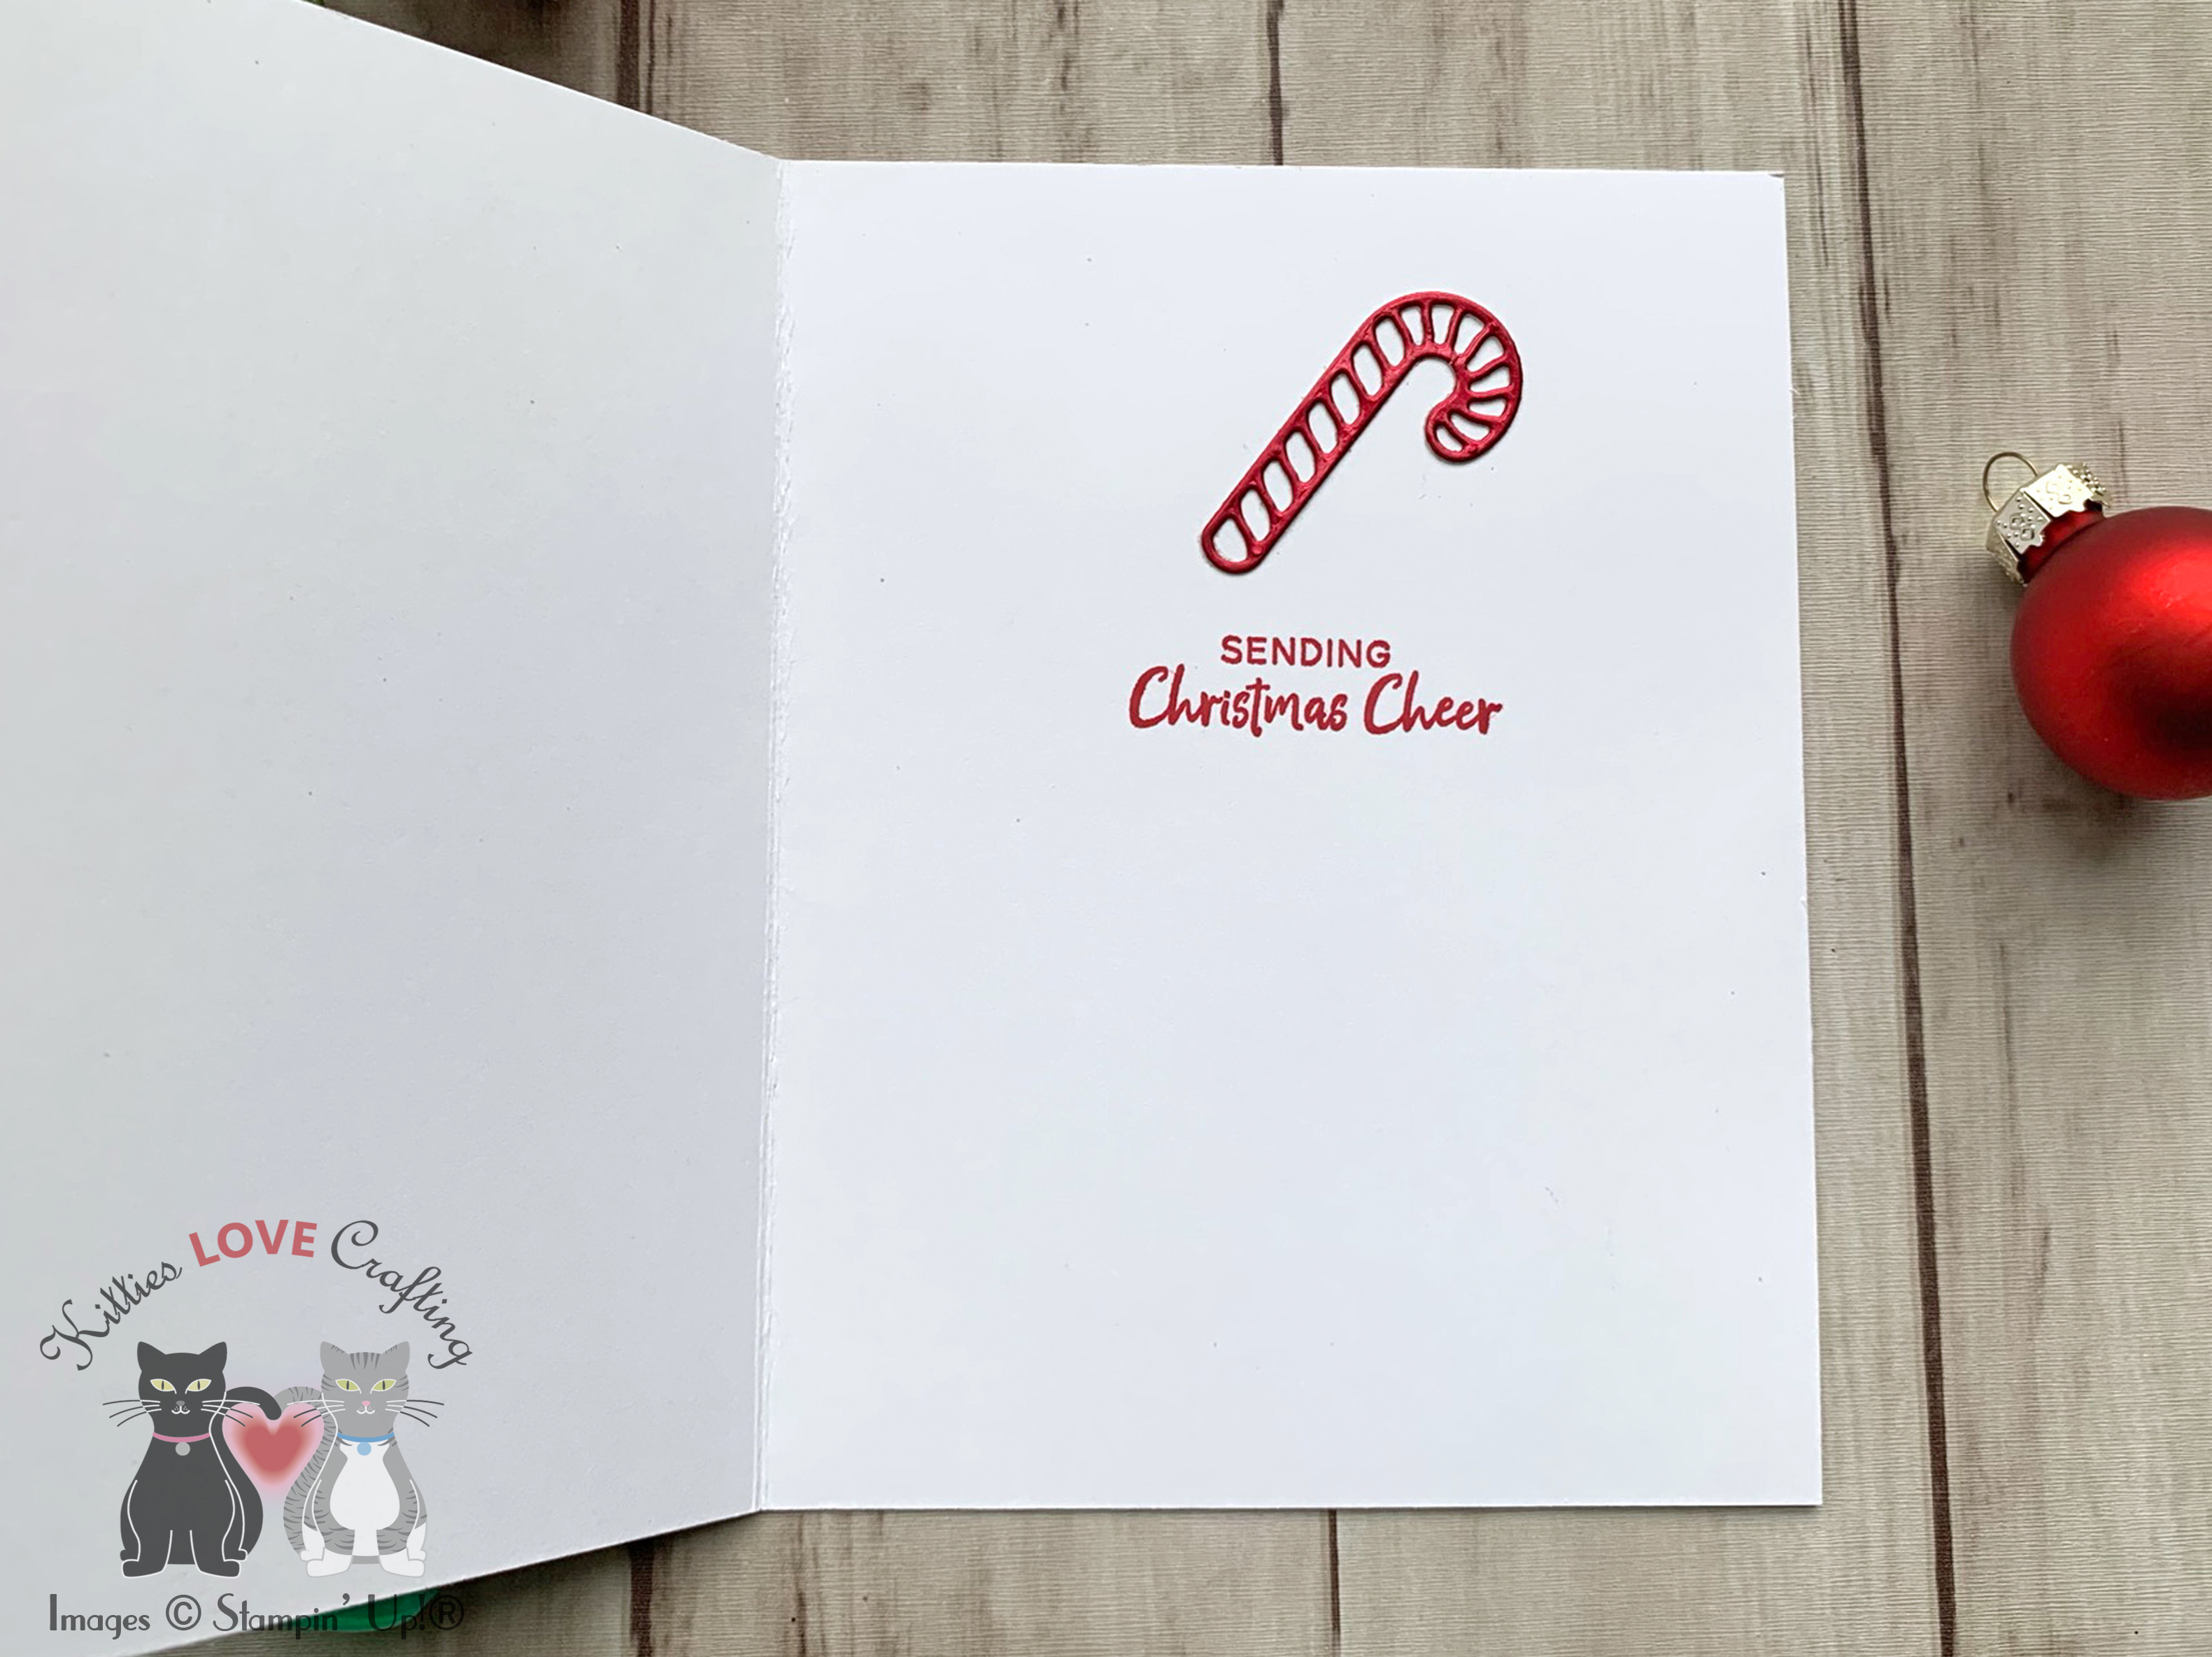
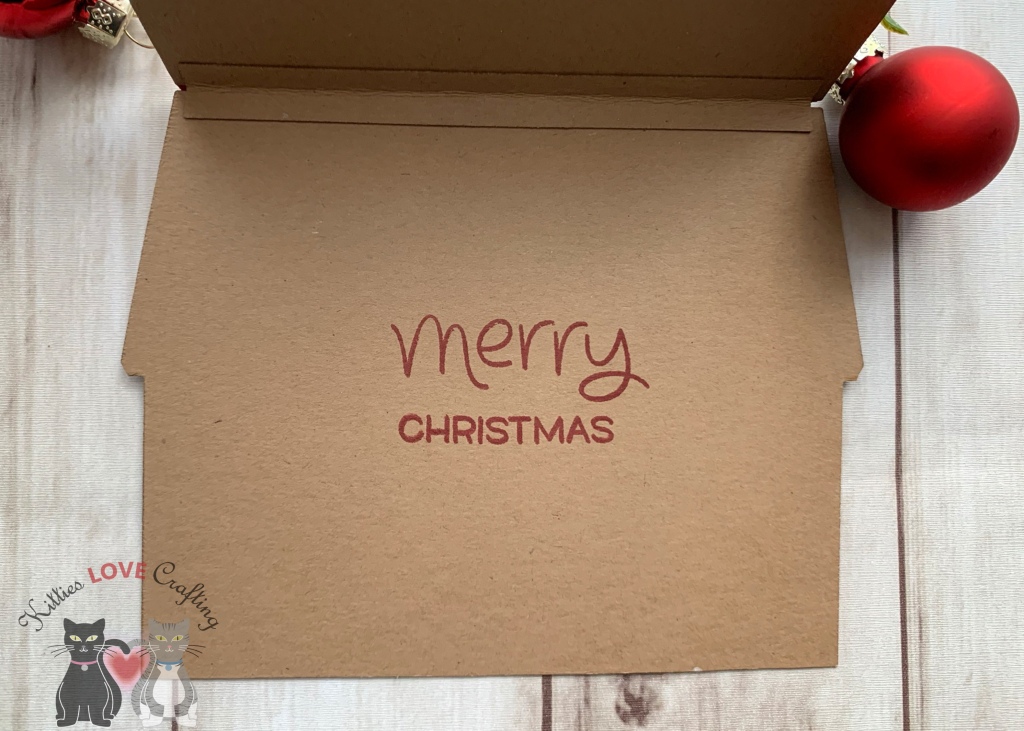
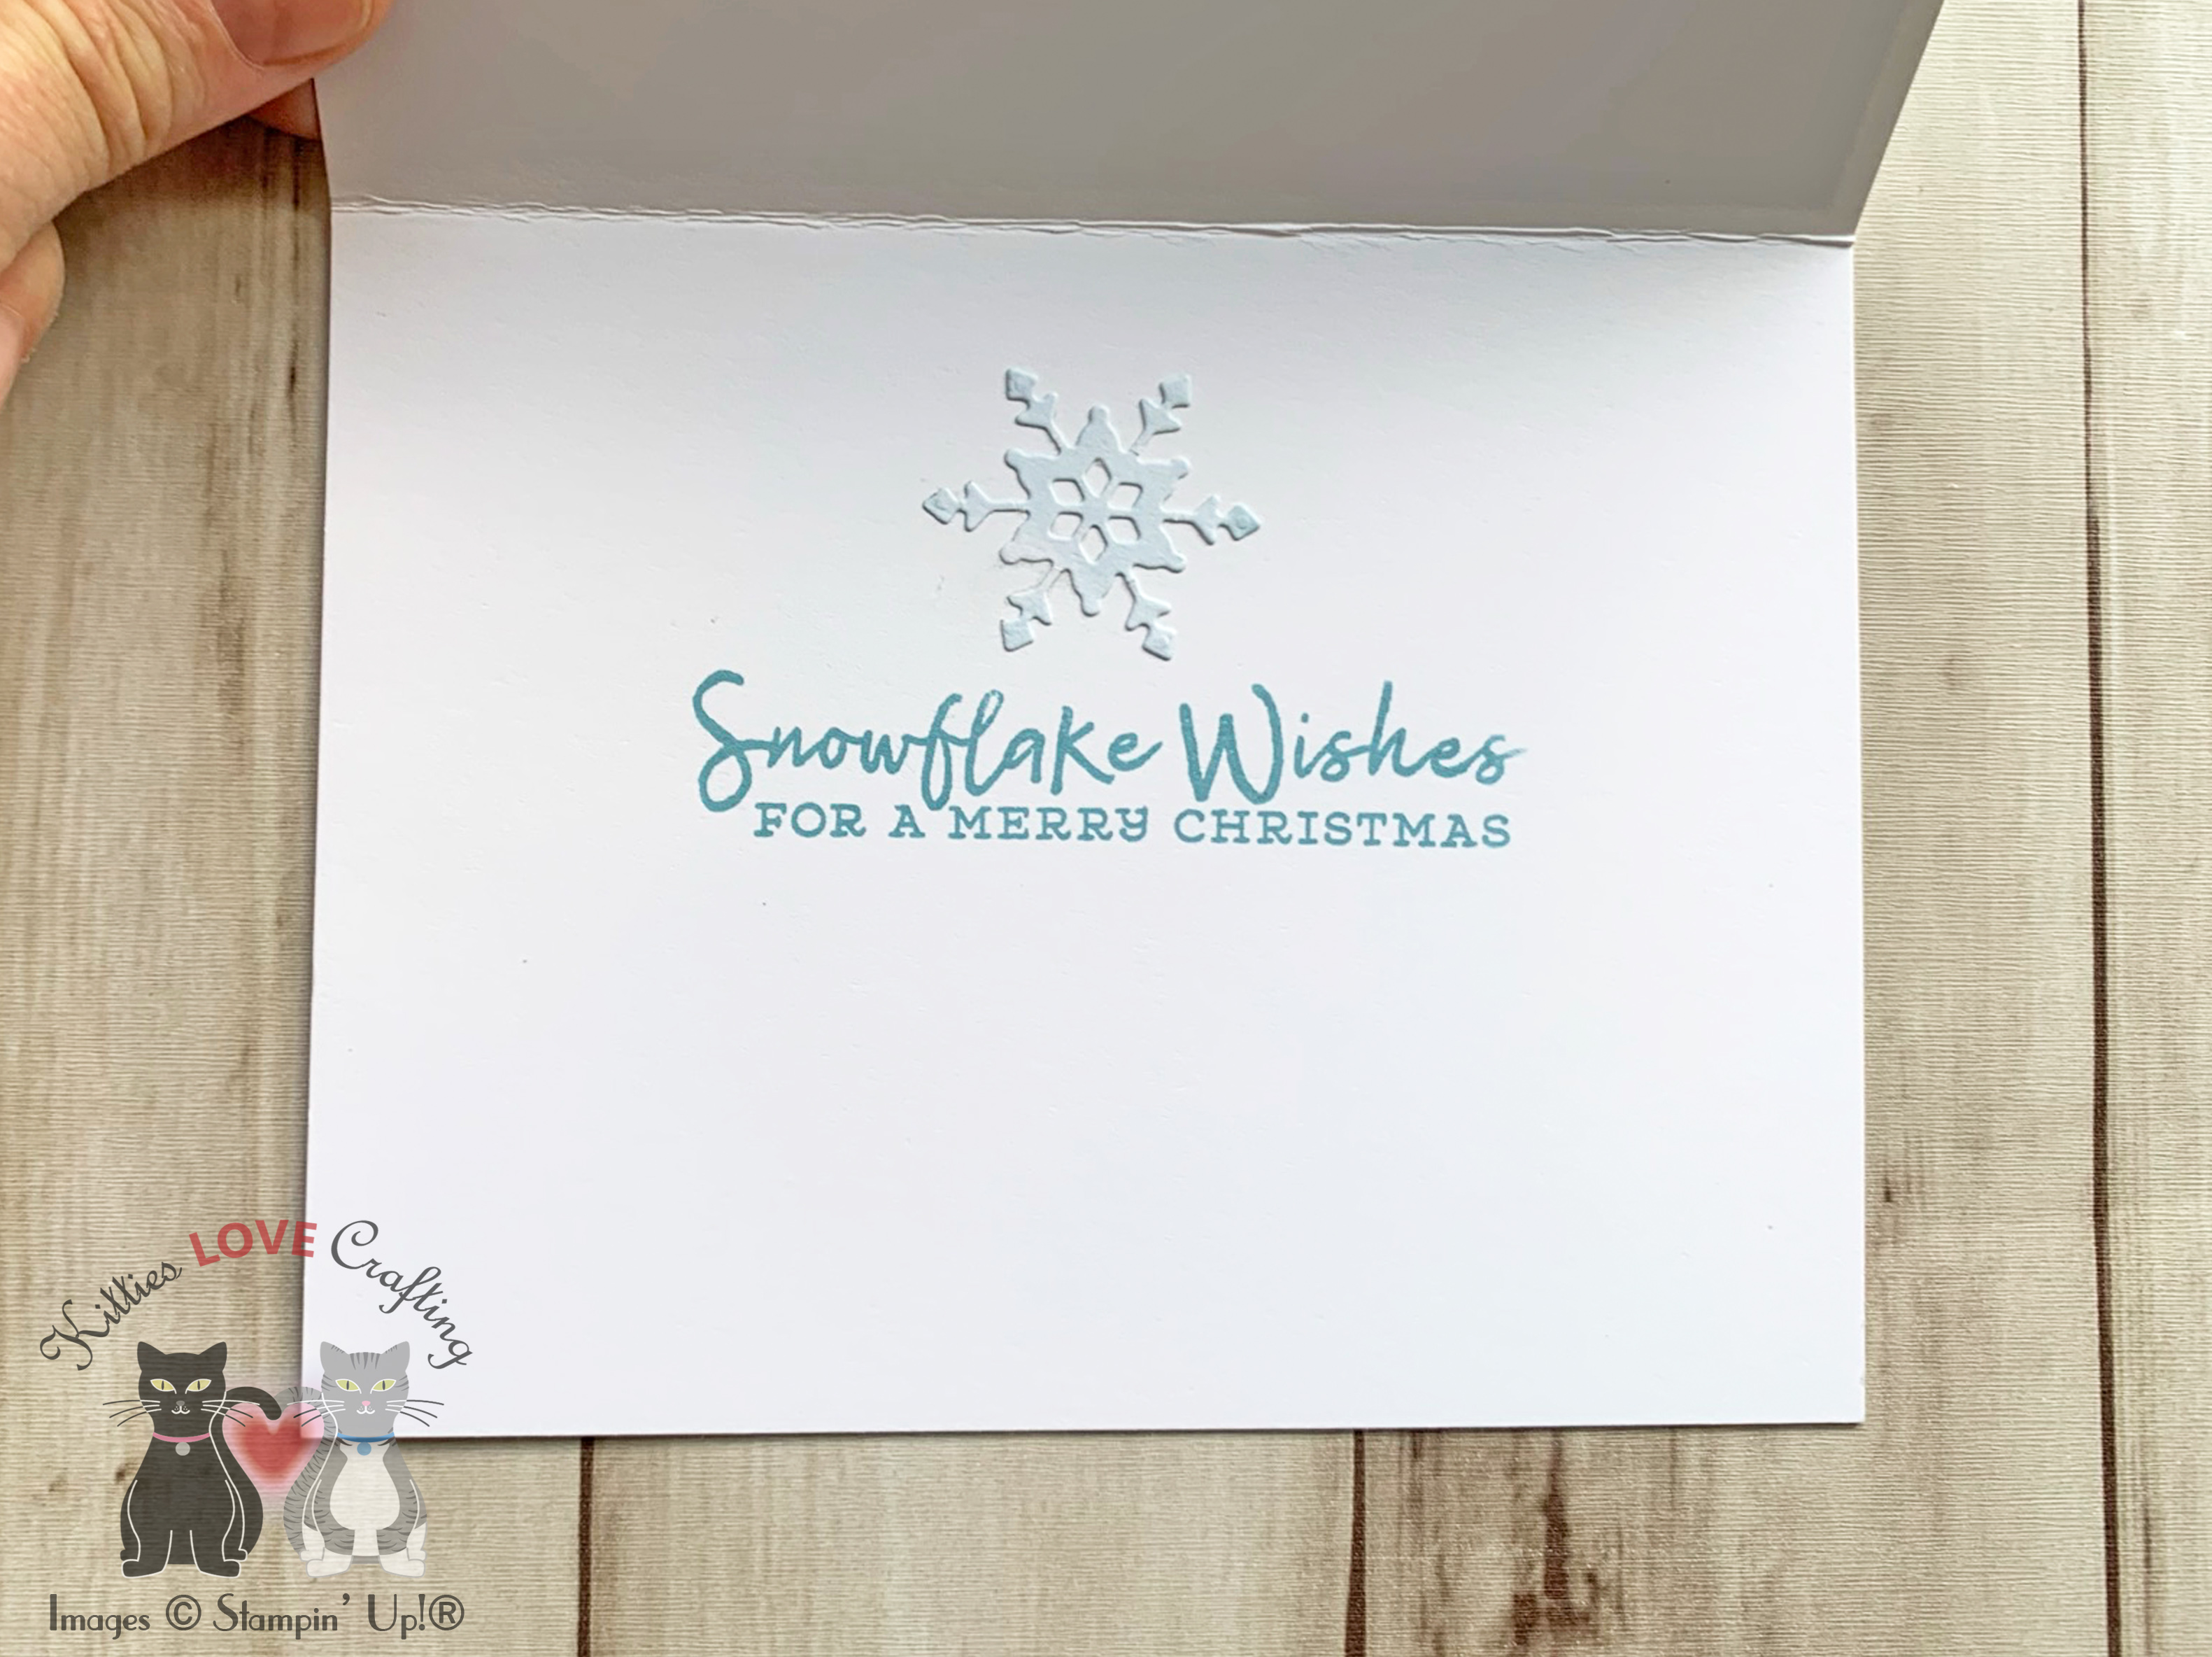
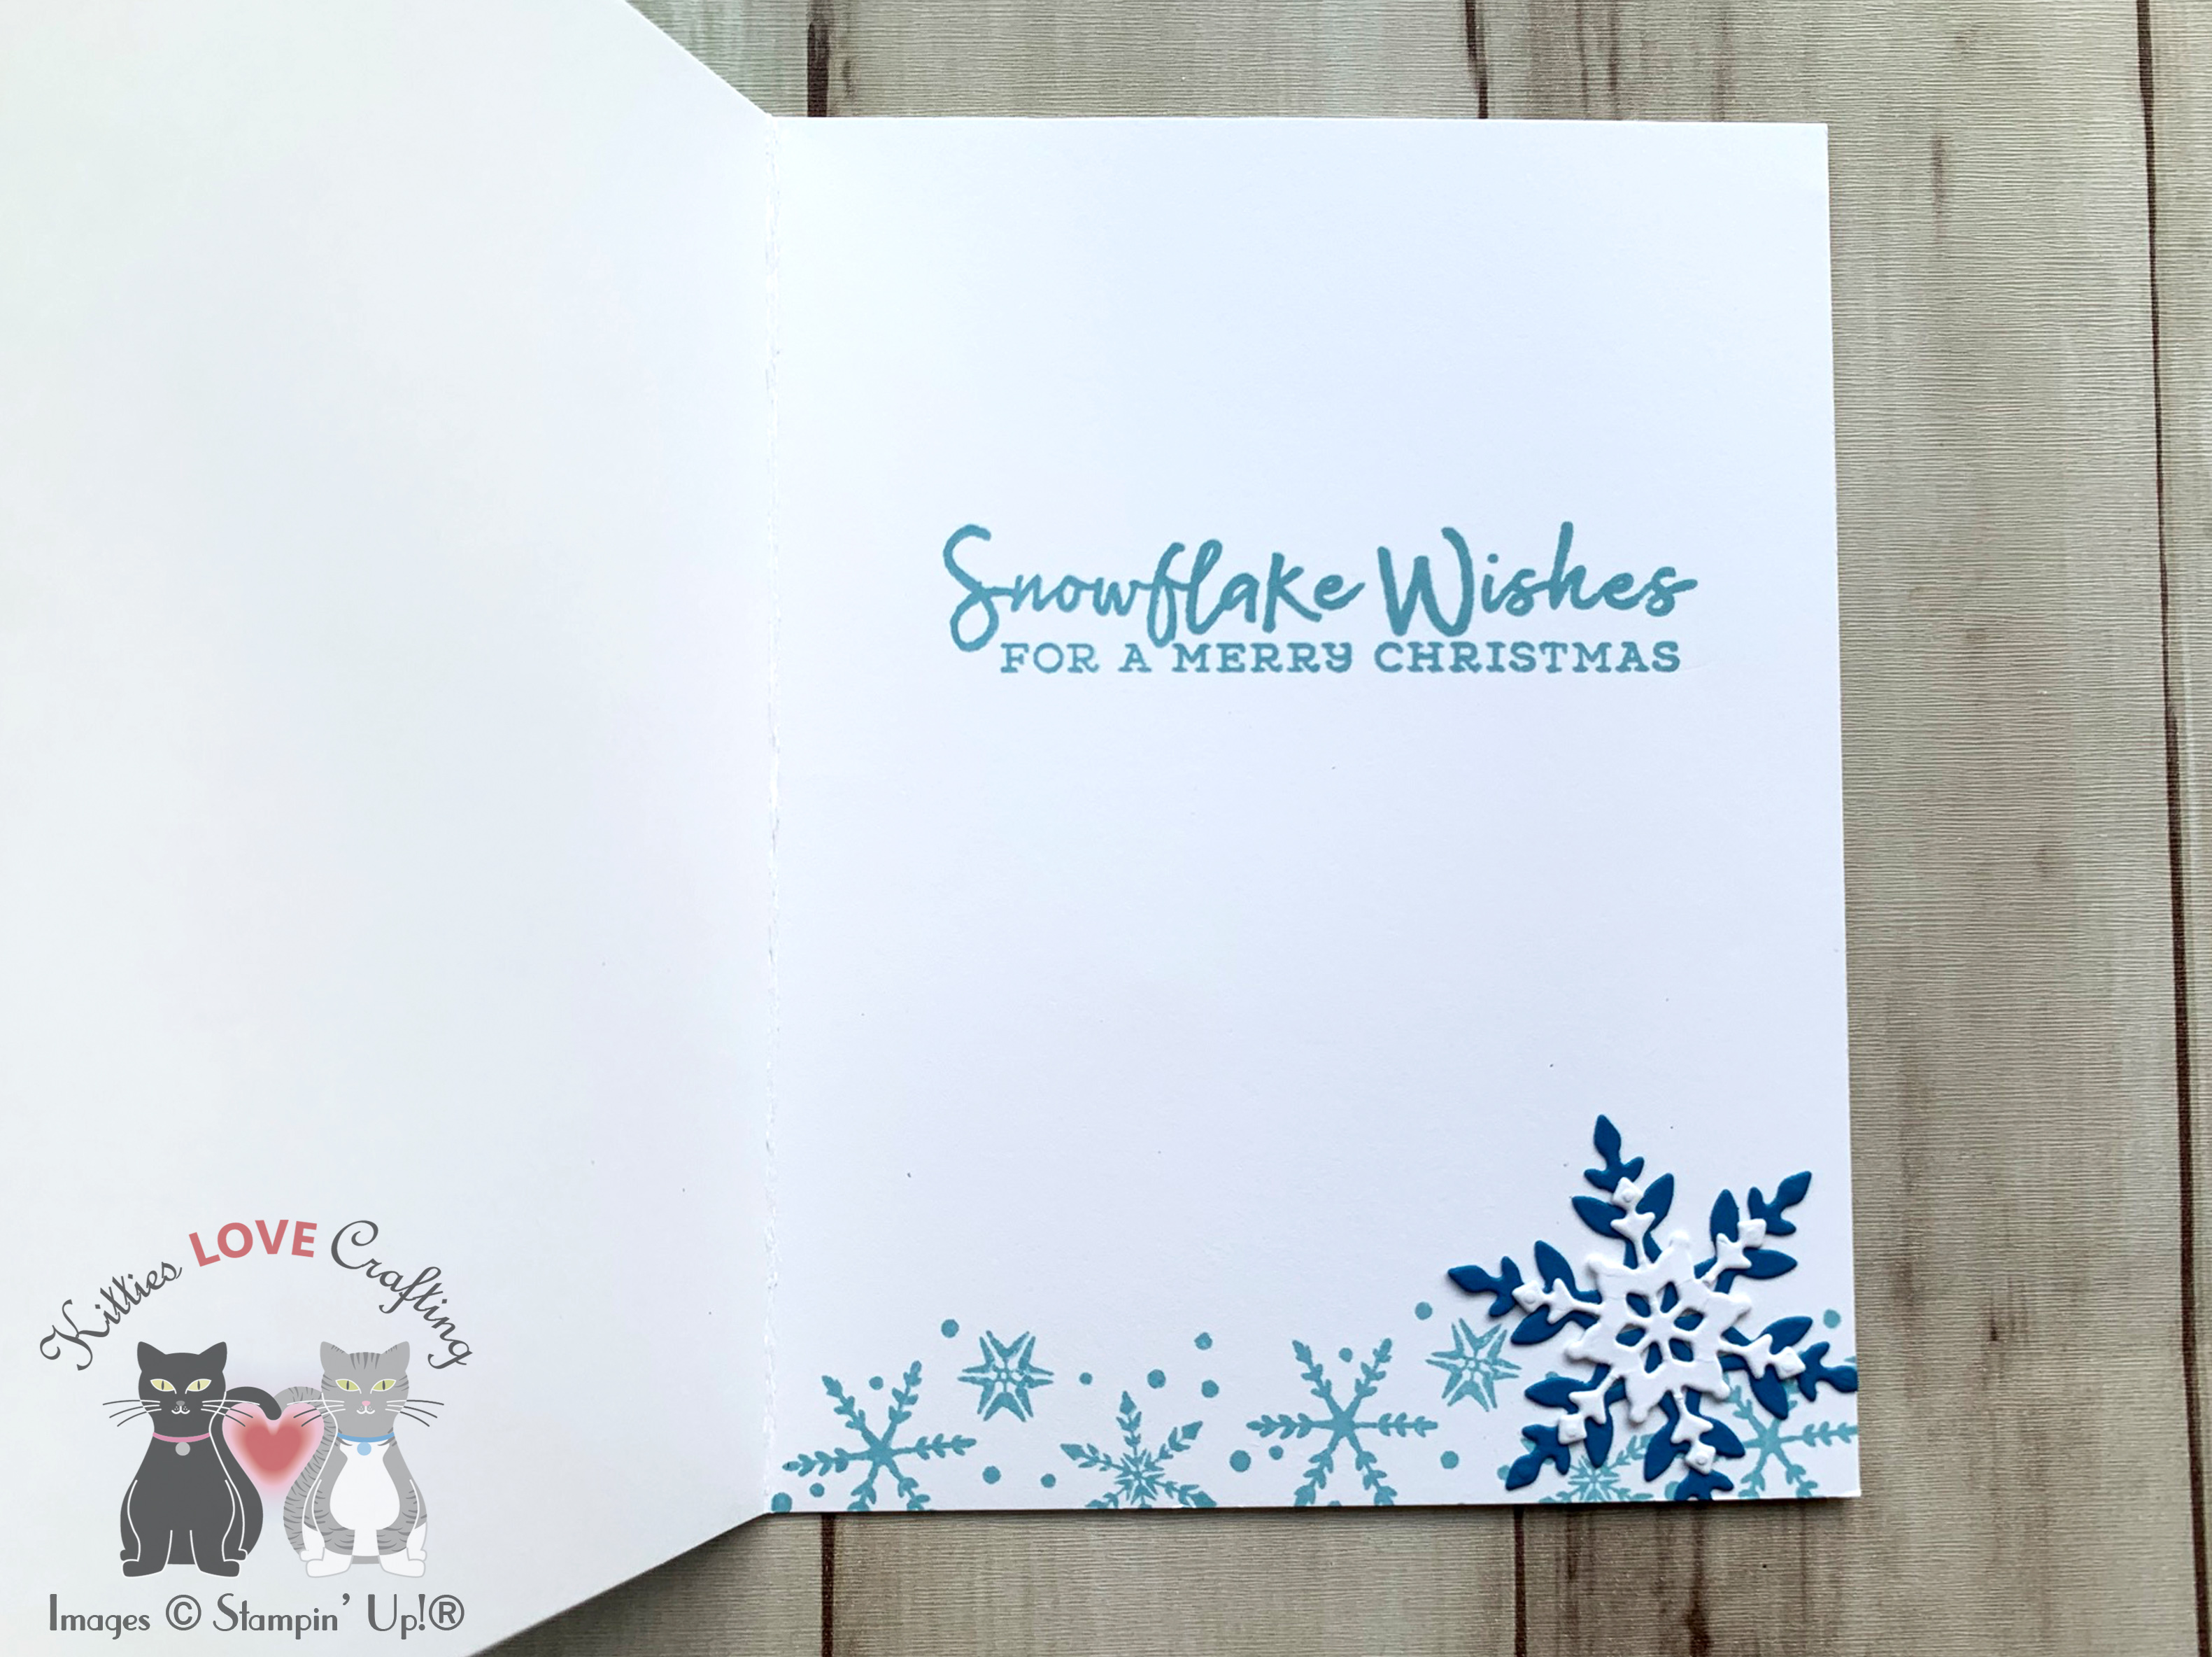
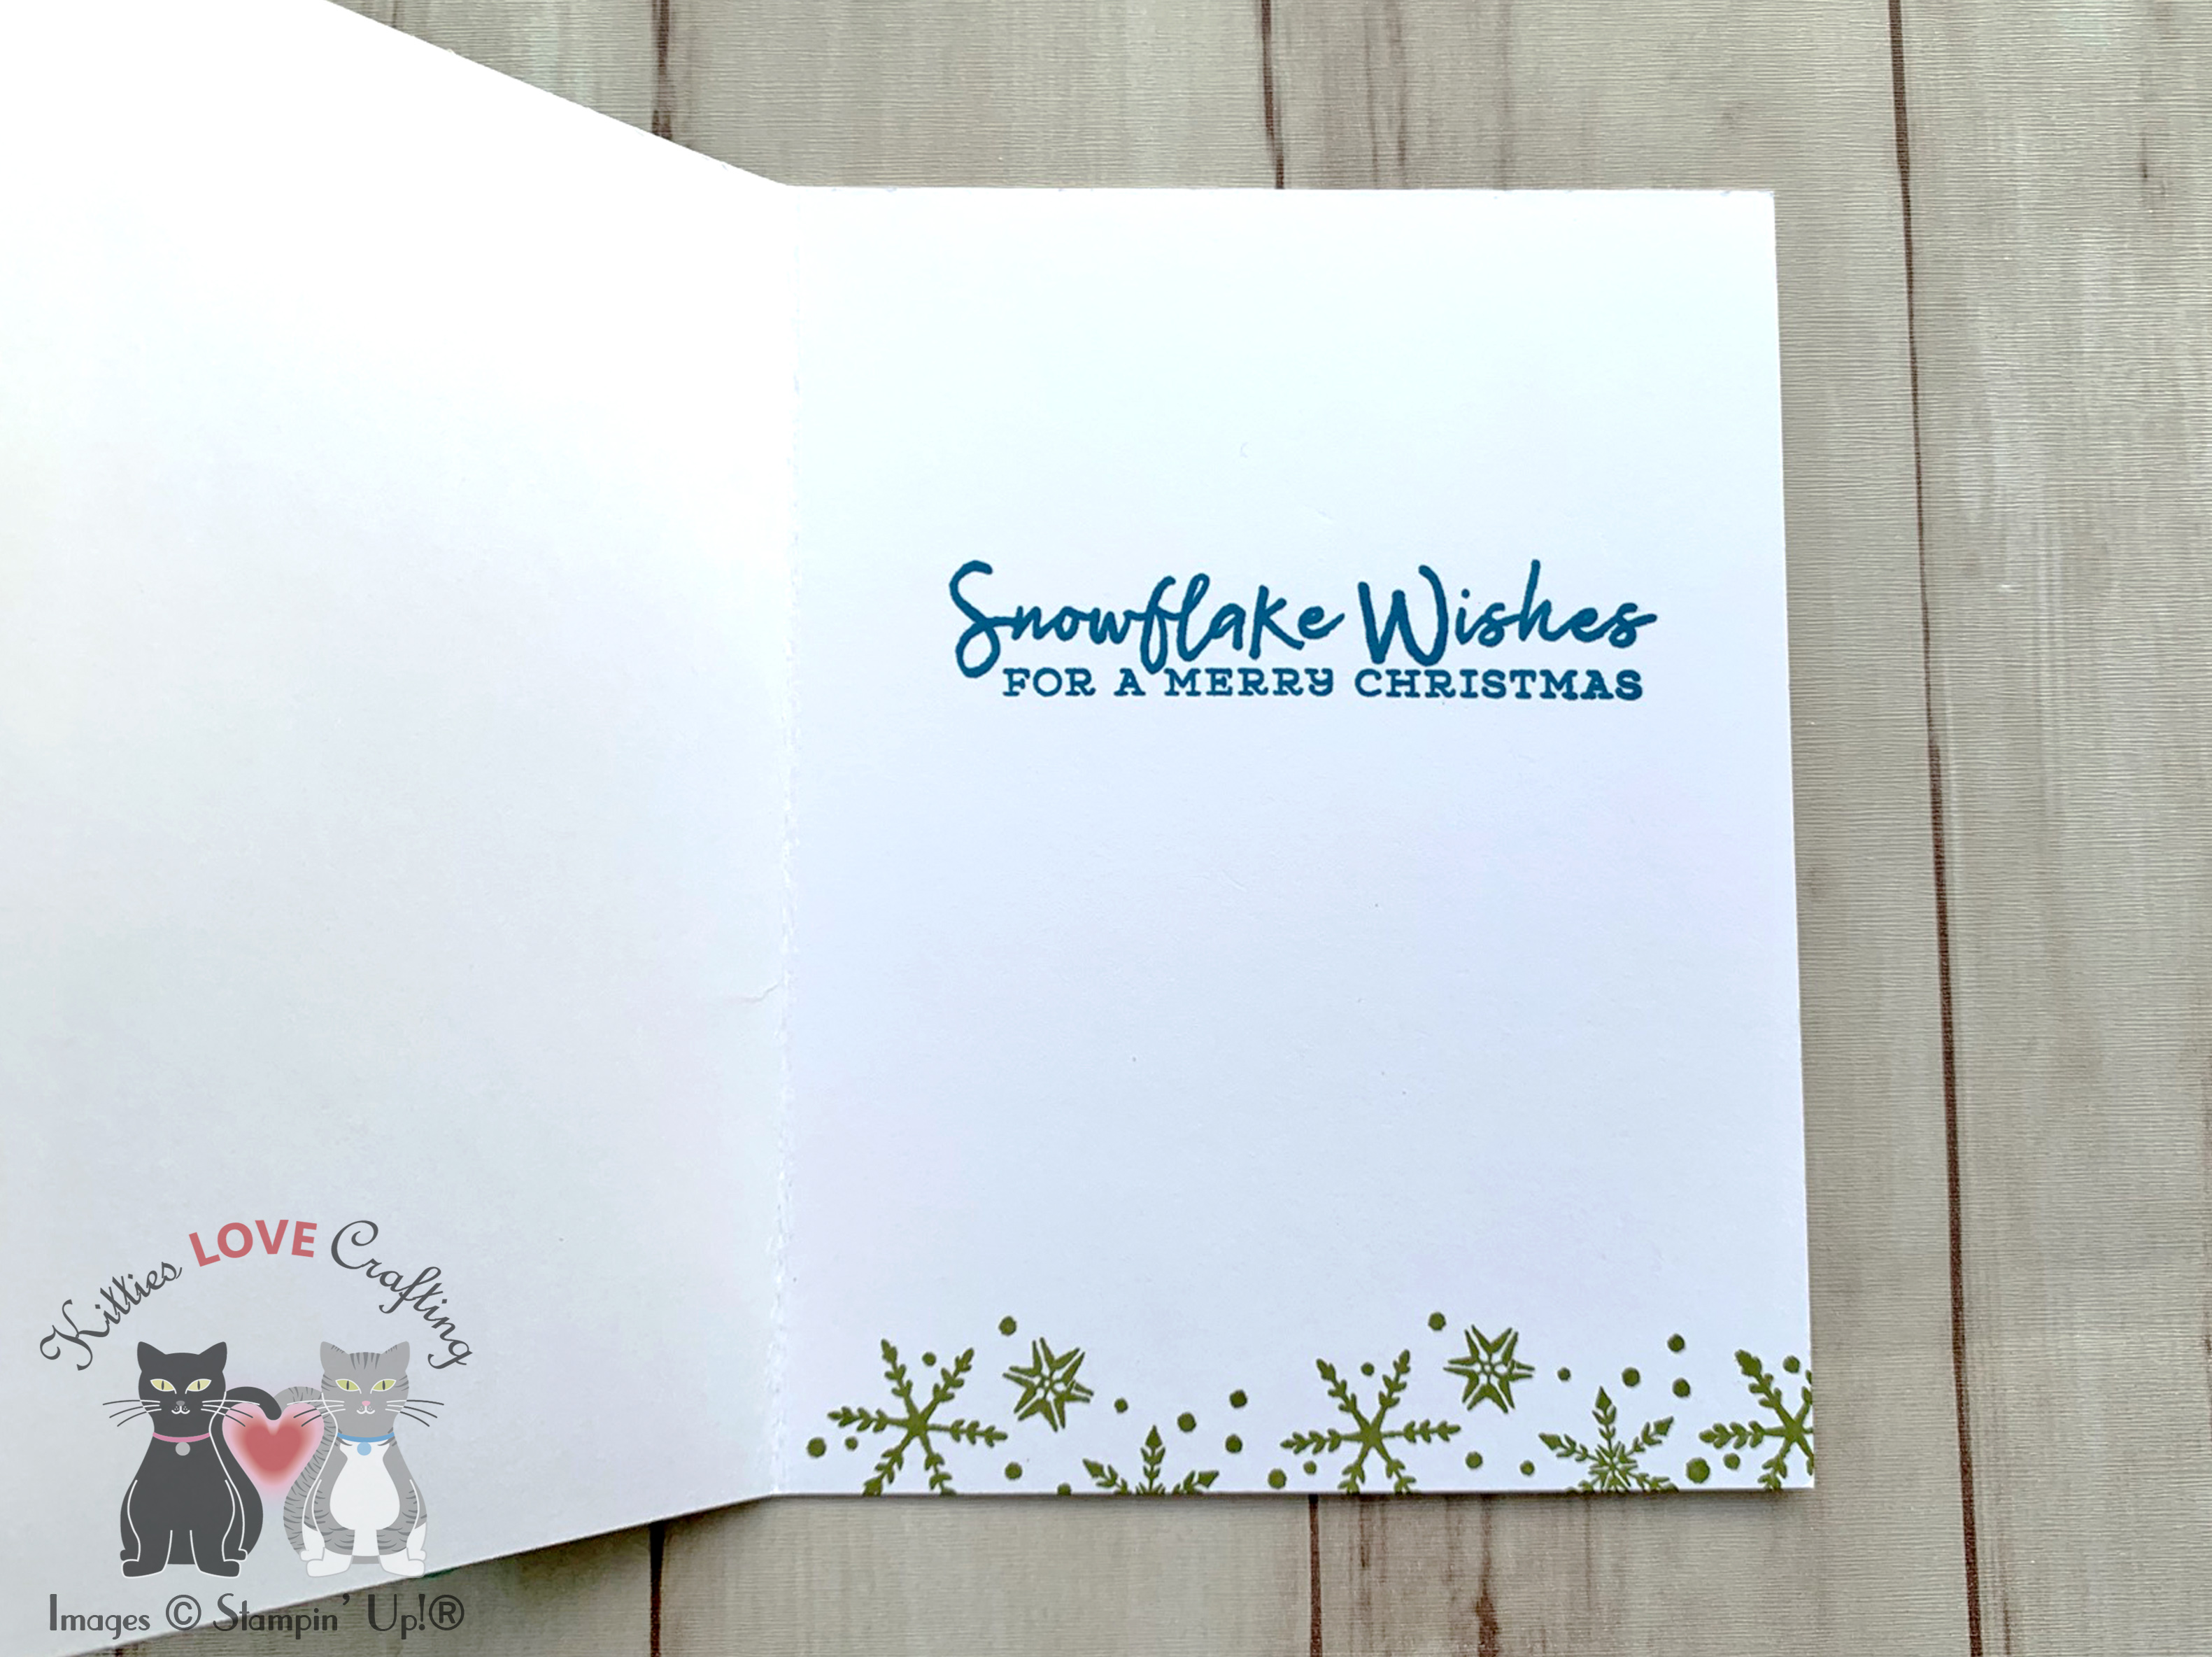
On the inside, I stamped a sentiment from Stampin’ Up! Fireside Trimmings Stamp Set with Stampin’ Up! Melon Mambo Ink. I stamped the small polar bear from the Warm & Toasty Stampset onto a piece of Whisper White 8-1/2″ X 11″ Thick Cardstock with Memento Tuxedo Black Ink. I colored him using Copics. I used R20 (cheeks), N1, BG000 & 0 (bear). I fussycut the image out, adhered it to the bottom to the card and added some diecut snowflakes from Balmy Blue 8-1/2″ X 11″ Cardstock.

Dimensions
- Card Base = 5-1/2 x 8-1/2″ and scored at 4-1/4″ Whisper White 8-1/2″ X 11″ Thick Cardstock
- Sentiment Strip = 7/8 x x 4-1/4″ Whisper White 8-1/2″ X 11″ Thick Cardstock
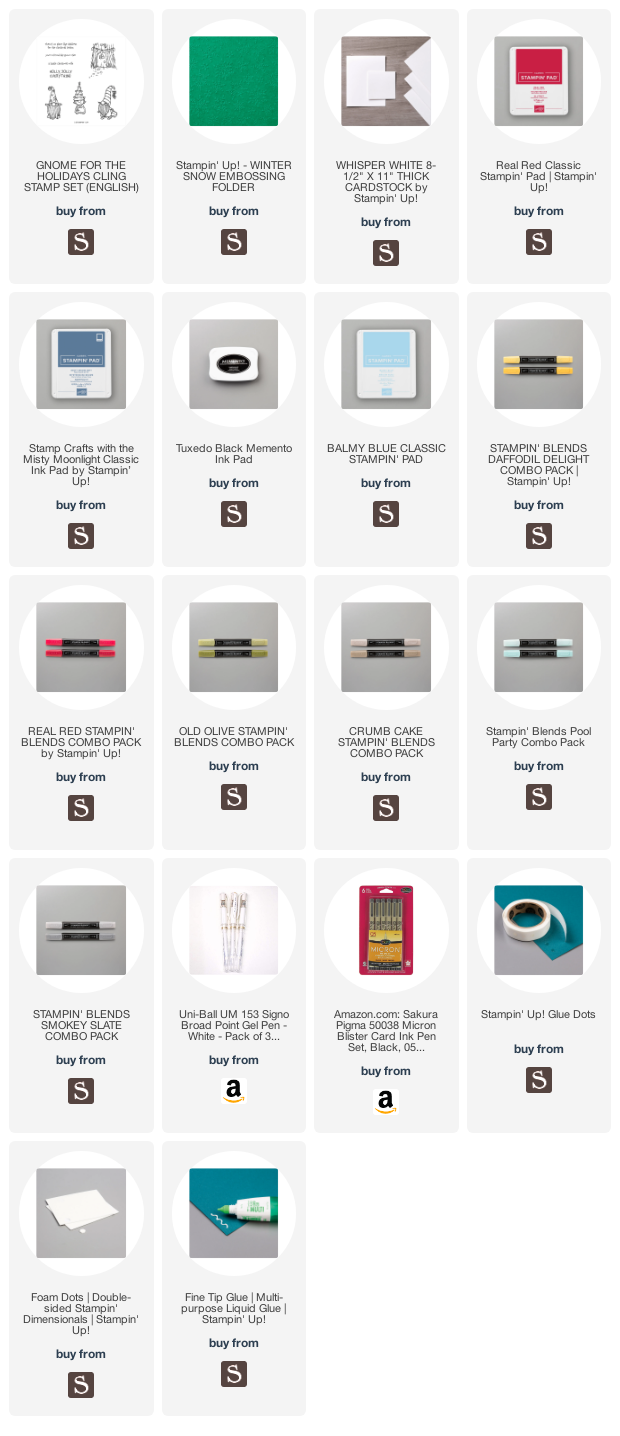
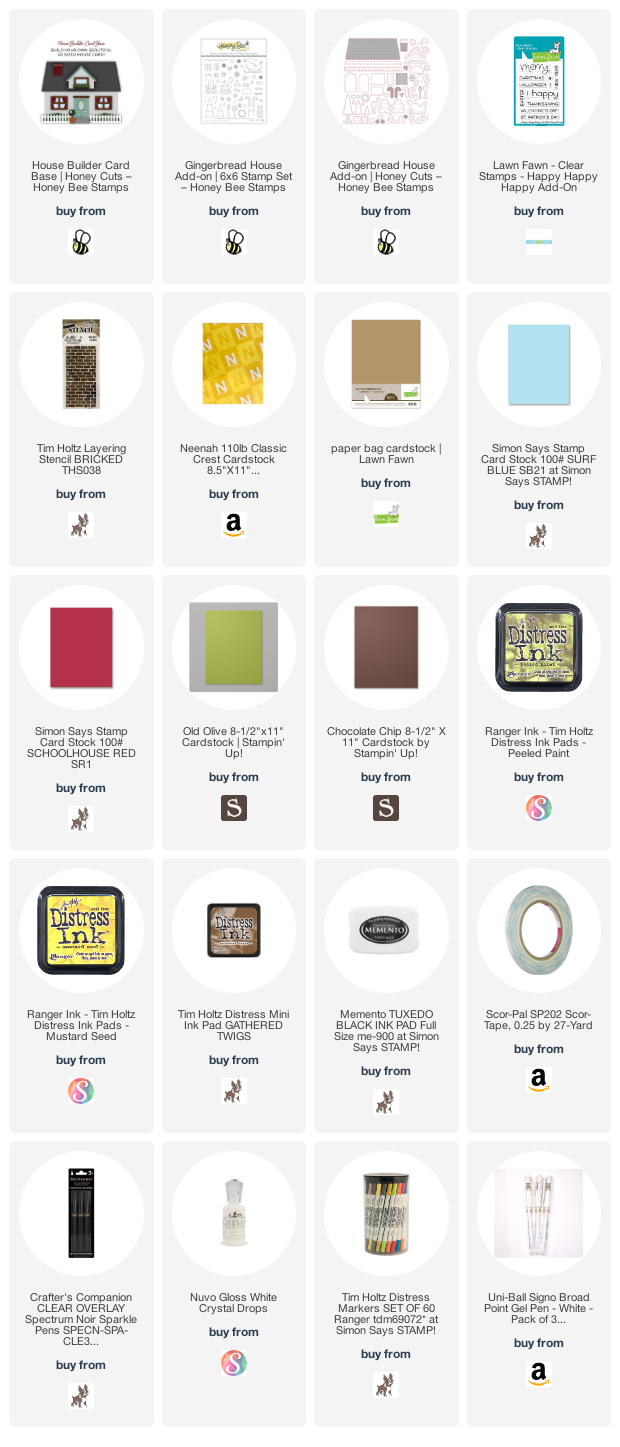
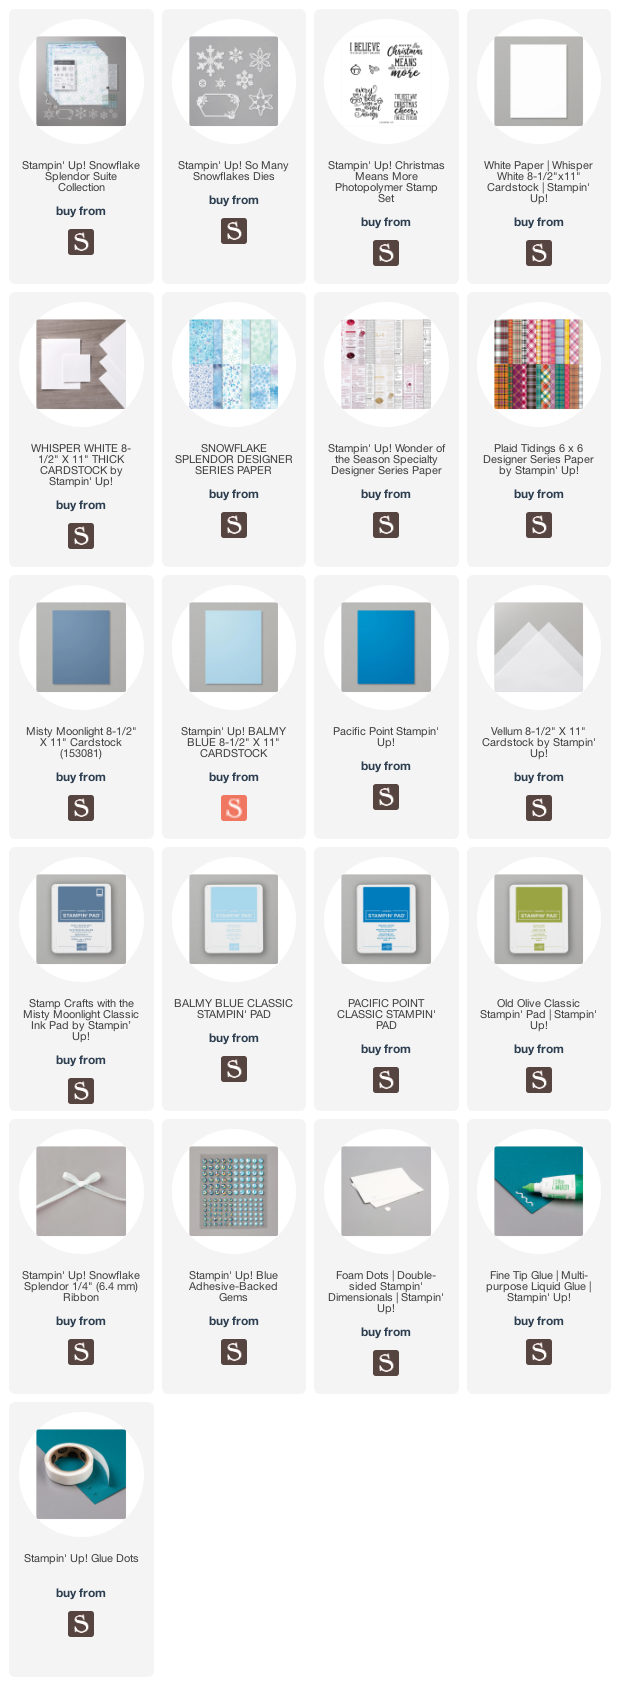
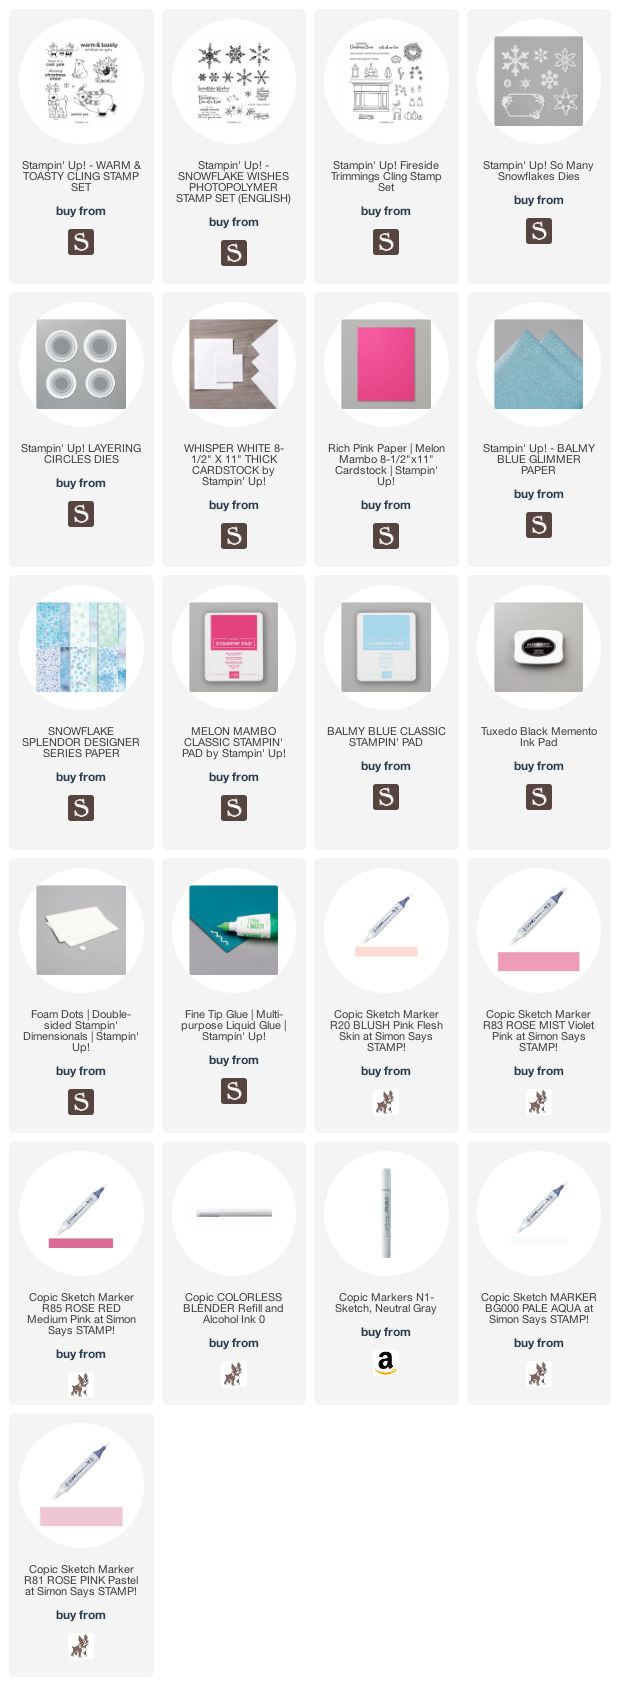
Supplies
 https://linkdeli.com/widget.js?id=f5e8378456858c916708
Thanks for reading this post. I hope you enjoyed and I’ve inspired you to try these easy holiday cards using this stampset for yourself! Leave comments or questions below or feel free to email me. If you want to share you creations with me tag me on instagram @kittieslovecrafting. If you would like a Stampin’ Up! catalog, please email me as well. All current catalogs can be found on the right side of this post and the Stampin’ Up! page. All news and fun stuff happening at Stampin’ Up! are listed there!