Stickers are a great way to create quick cards and who doesn’t like quick cards for the holidays, right?!? I had some leftover stickers from the Carta Bella Paper – Santa’s Workshop Collection, Christmas, 12 x 12 Cardstock Stickers featured in the Says Stamp December 2018 Card Kit, Holiday Cheer (sold out) so I decided to use them on a slimline card. The larger sticker like the Santa and reindeer one are great fro slimline cards!
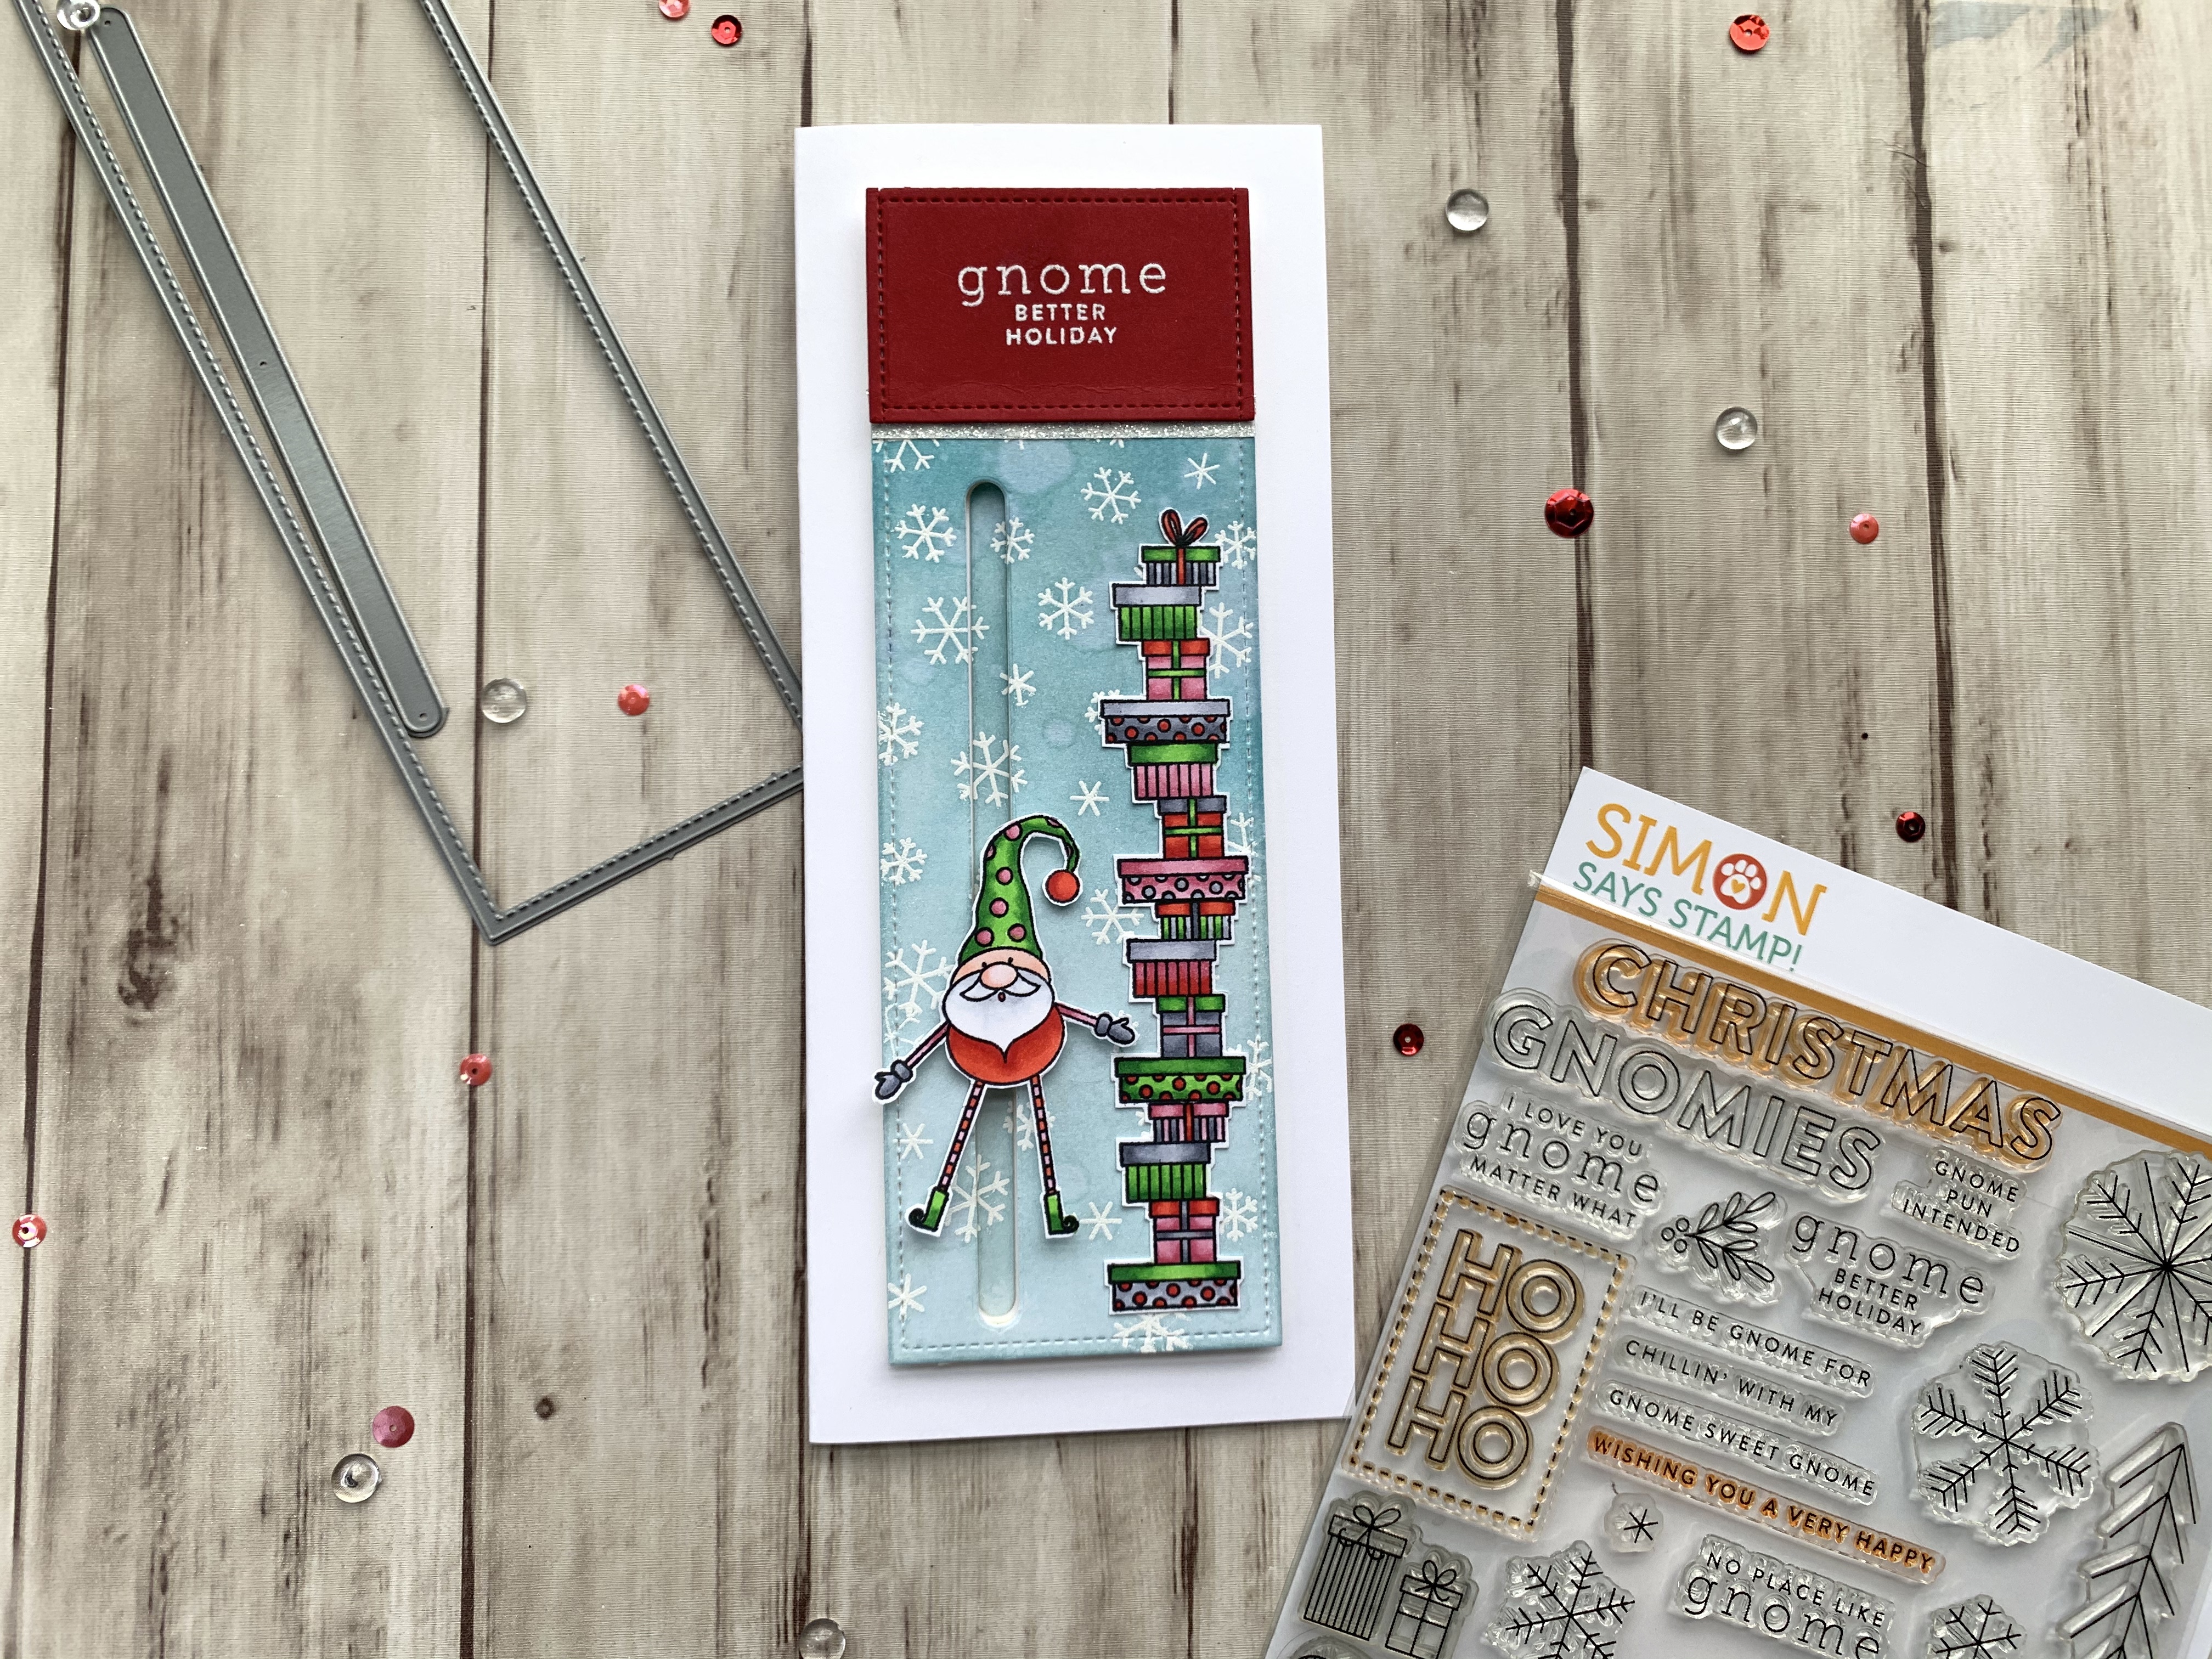
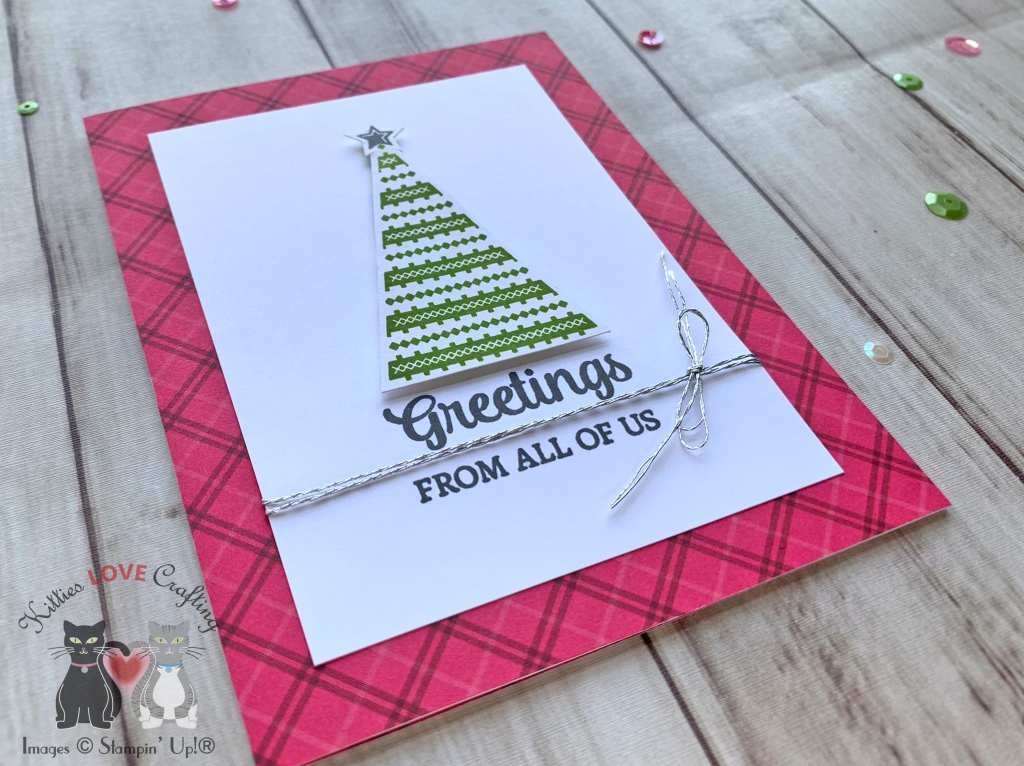
I started by cutting a piece of Says Stamp Green Leaf Card Stock 100# 8.5 x 11″ to 7 x 8-1/2″ and scored at 3-1/2″ to create a slimline card base and a piece of Neenah 110lb Classic Crest Cardstock 8.5 X 11″ to 3-1/4 x 8-1/4” for the top panel. I also cut another piece of Neenah 110lb Classic Crest Cardstock 8.5 X 11″ to 1-1/2 x 8-1/2” and used the Lawn Fawn Slimline Stitched Hillside Borders Die Cuts to diecut a snowy hillside.

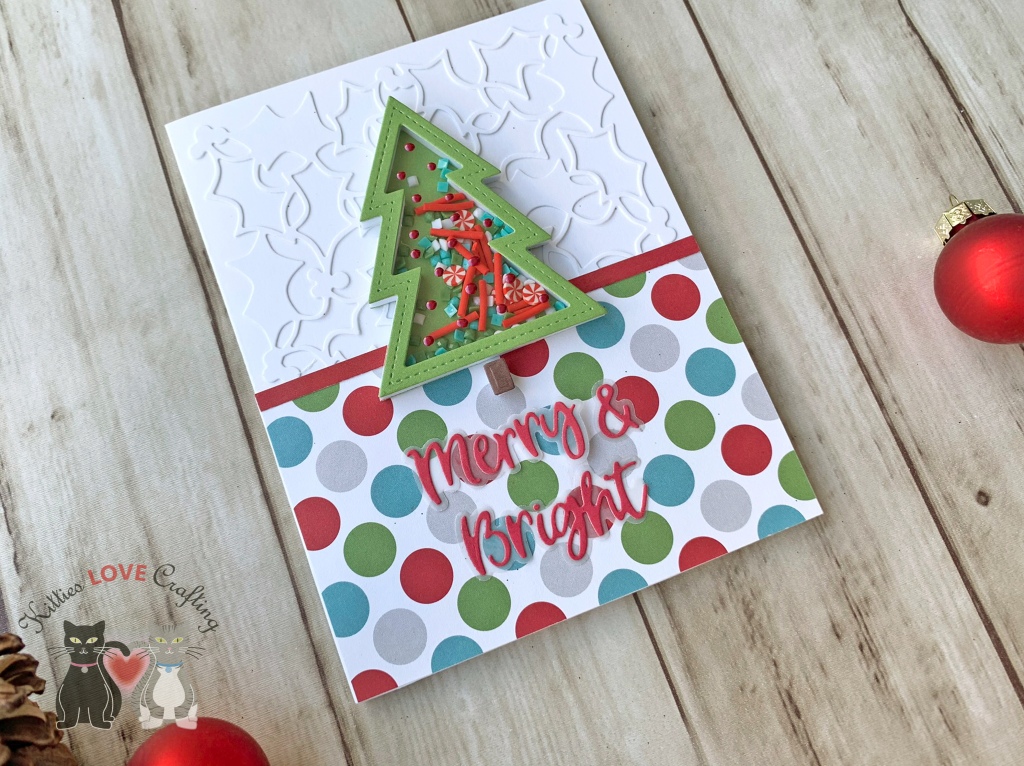
I used Versamark Ink to stamp the snowflake pattern from the Simon Says Stamp CHRISTMAS CHEER Stampset all over the background and heat embossed it with WOW OPAQUE BRIGHT WHITE Super Fine Embossing Powder. I used Tim Holtz Tumbled Glass Distress Ink and Tim Holtz Salty Ocean Oxide Ink to ink blend the background and adhered it to the card base. I adhered the snowy hillside to the card as well, leaving the top edge without glue. I adhered the Christmas tree from Carta Bella Paper – Santa’s Workshop Collection, Christmas, 12 x 12 Cardstock Stickers behind the hillside and the Santa on his sleigh on top of the hillside.

I stamped a sentiment from Simon Says Clear CHRISTMAS CHEER Stampset onto a piece of Neenah 110lb Classic Crest Cardstock 8.5 X 11″ with Stampin’ Up! Real Red Ink, cut it to 1-3/16 x 2-1/8 and adhered it to the card. I finished it off by adding Tonic White Blizzard Nuvo Glitter Drops.
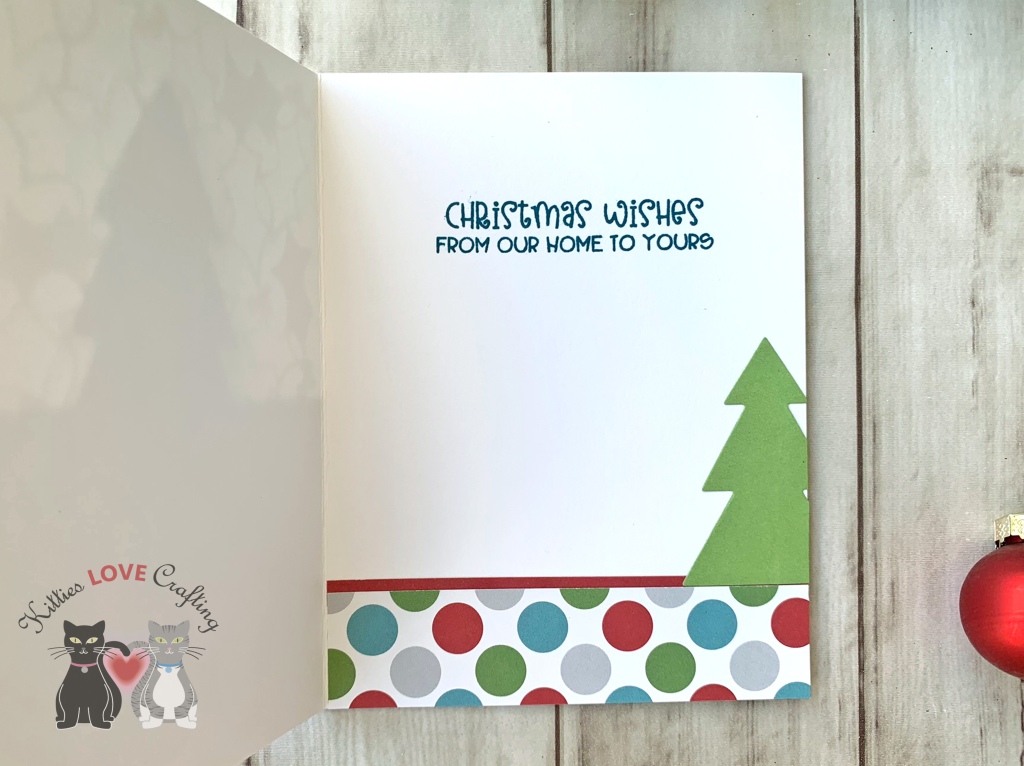
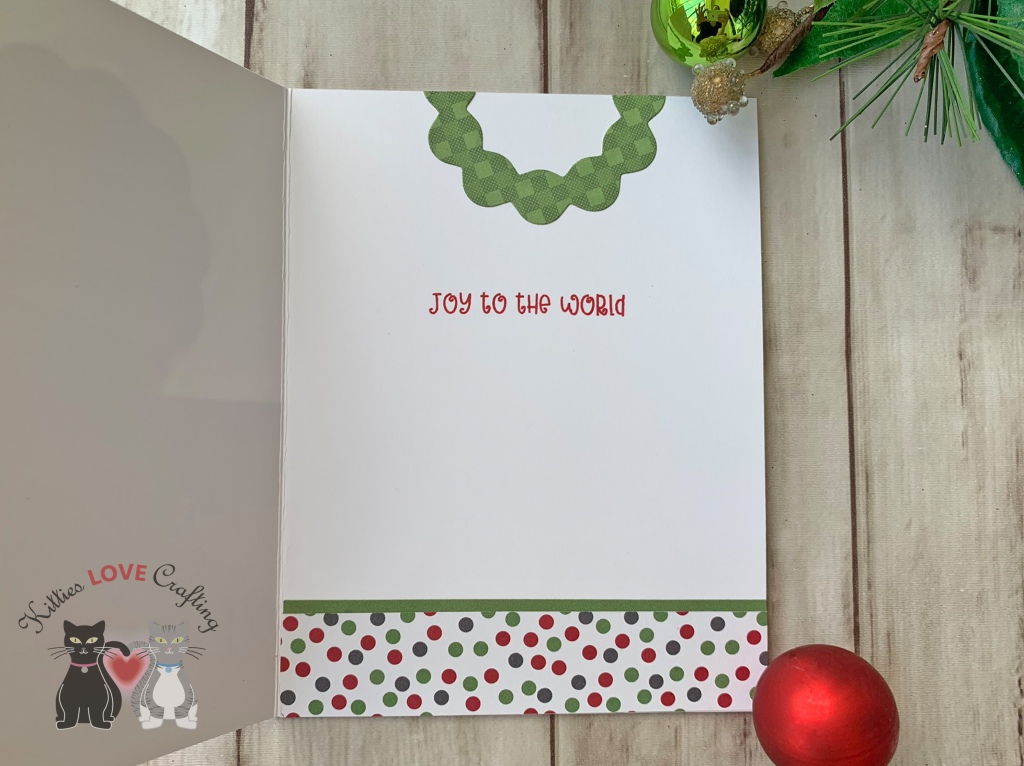
On the inside of the card, I stamped another greeting from the Simon Says Clear CHRISTMAS CHEER Stampset with Stampin’ Up! Real Red Ink and added a reindeer from the Carta Bella Paper – Santa’s Workshop Collection, Christmas, 12 x 12 Cardstock Stickers.

Dimensions
- Card Base = 7 x 8-1/2″ and scored at 3-1/2″ Simon Says Stamp Green Leaf Card Stock 100# 8.5 x 11″
- Top Panel = 3-1/4 x 8-1/4” Neenah 110lb Classic Crest Cardstock 8.5 X 11″
- Sentiment Strip = 1-3/16 x 2-1/8″ Neenah 110lb Classic Crest Cardstock 8.5 X 11″
- Inside panel = 3-1/4 x 8-1/4” Neenah 110lb Classic Crest Cardstock 8.5 X 11″
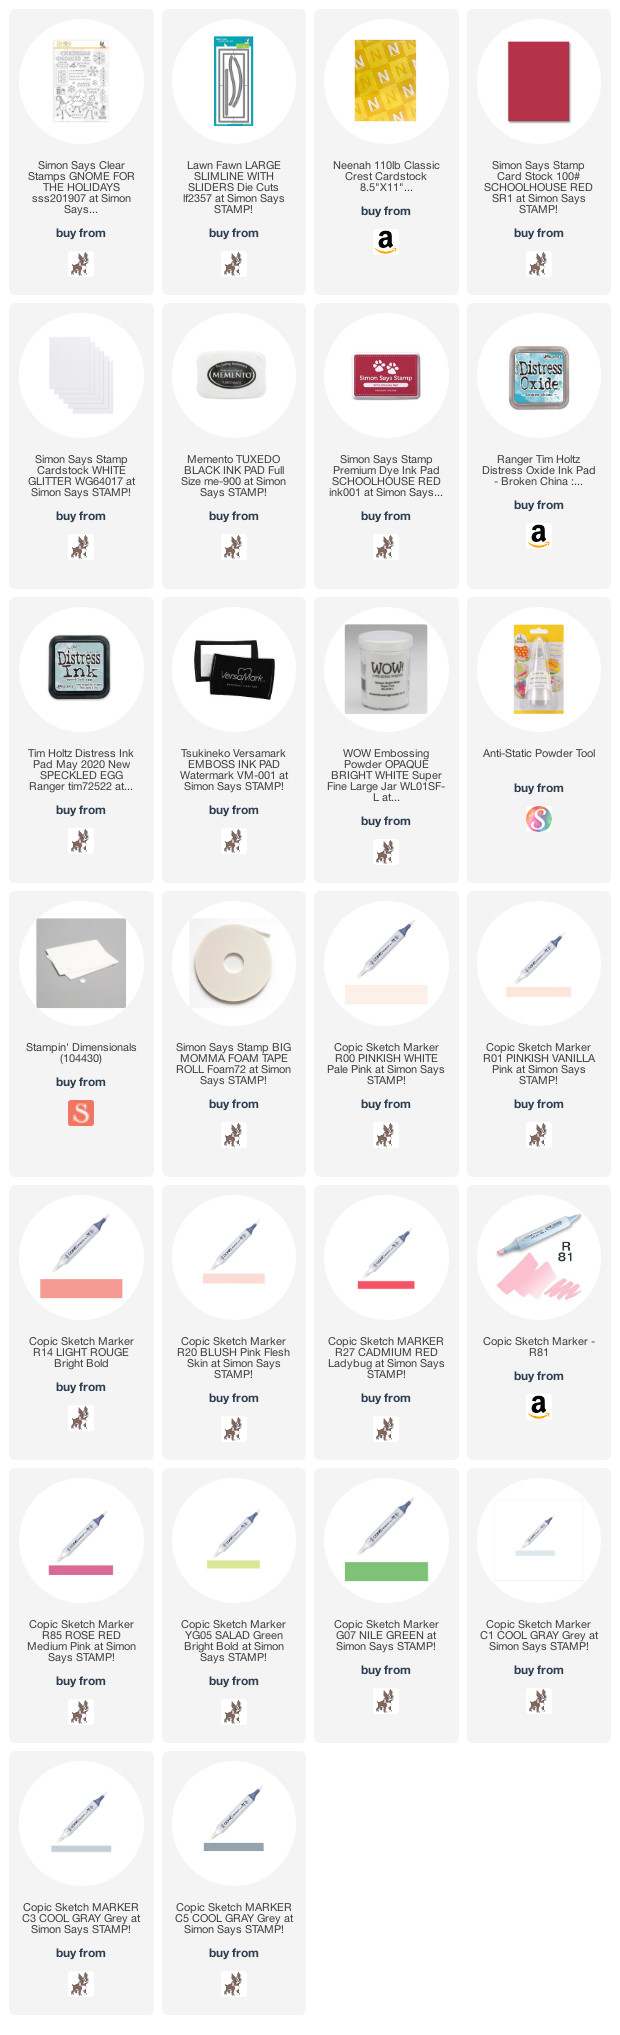
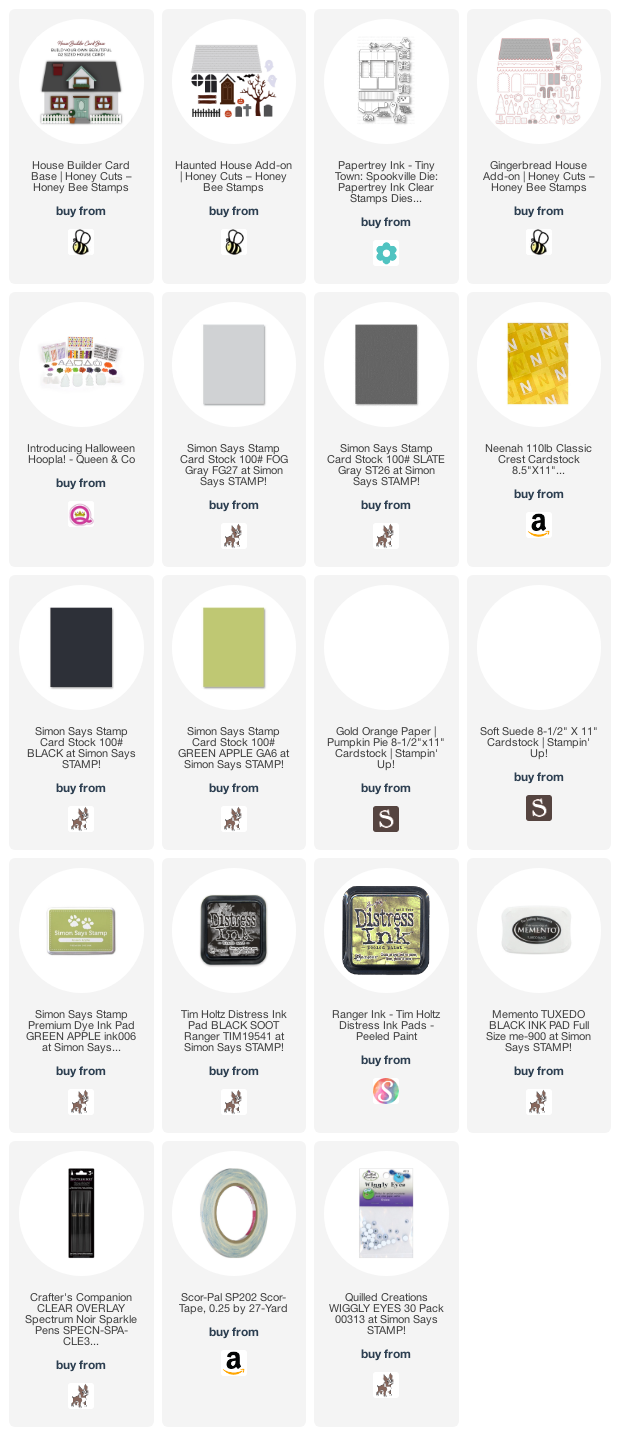
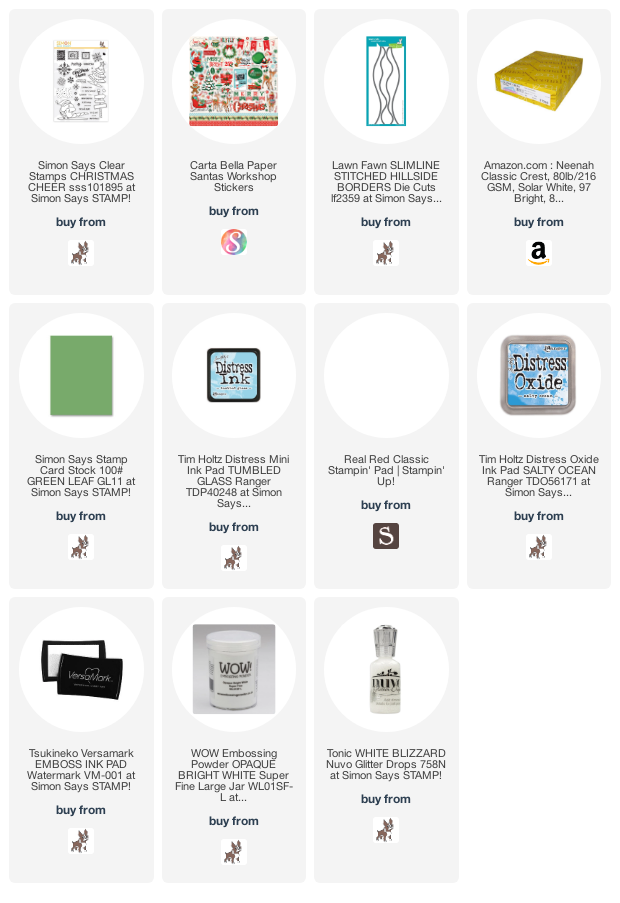
Supplies
 https://linkdeli.com/widget.js?id=f5e8378456858c916708
Thanks for reading this post. I hope you enjoyed and I’ve inspired you to give this card a try for yourself. Leave comments or questions below or feel free to email.