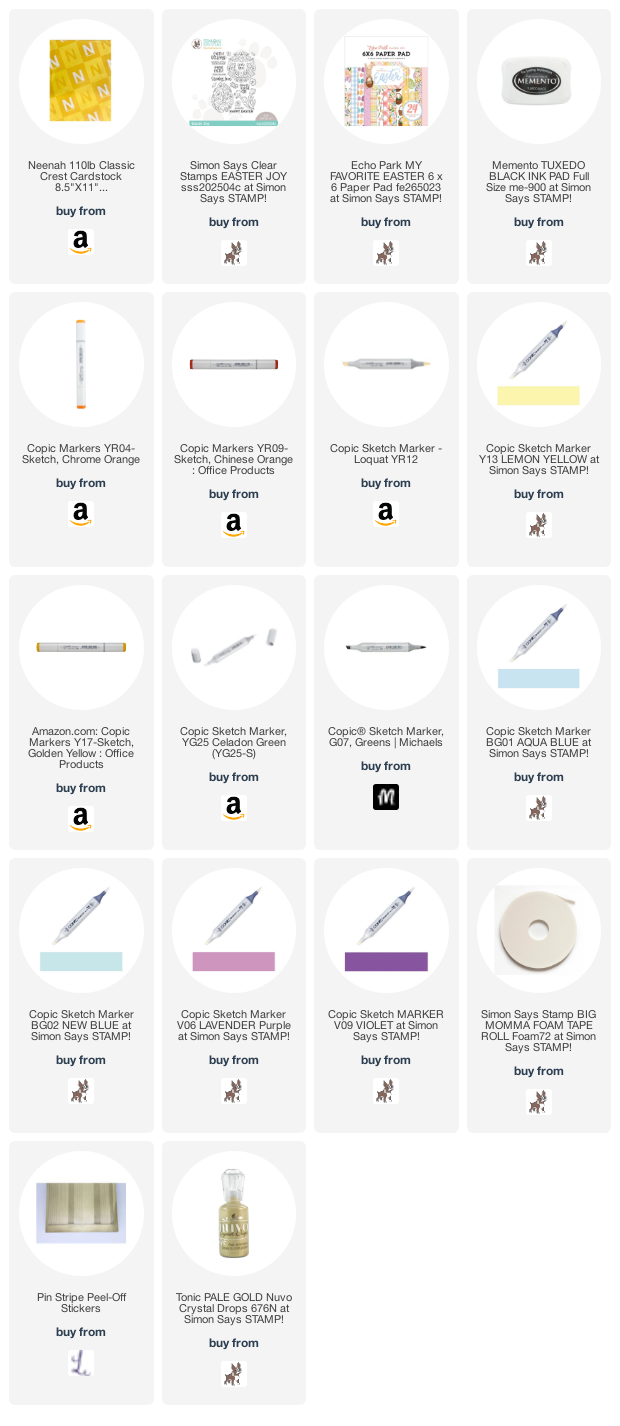
I stamped the wreath from Simon Says Clear Stamps Easter Joy stampset 2x onto Neenah 110lb Classic Crest Cardstock with Memento Tuxedo Black Ink. I colored the image with Copic Markers. I used YG25 and G07 for the leaves; V06 and V09 for the tulips; Y13, Y17 and RV66, BG01, BG02, and V09, RV52 and RV55, YR09, YR04 and YR12 for the other flowers. I diecut it using the coordinating dies. I fussycut the four flowers for the second wreath image and adhered them with 3M Foam Tape on to the original wreath. I also used 3M Foam Tape behind the wreath.
Thanks for reading this post and Happy Easter! I hope you enjoyed and I’ve inspired you to make some cards using this kit yourself! If you want to share you creations with me tag me on instagram @kittieslovecrafting. Leave comments or questions below or feel free to email me.
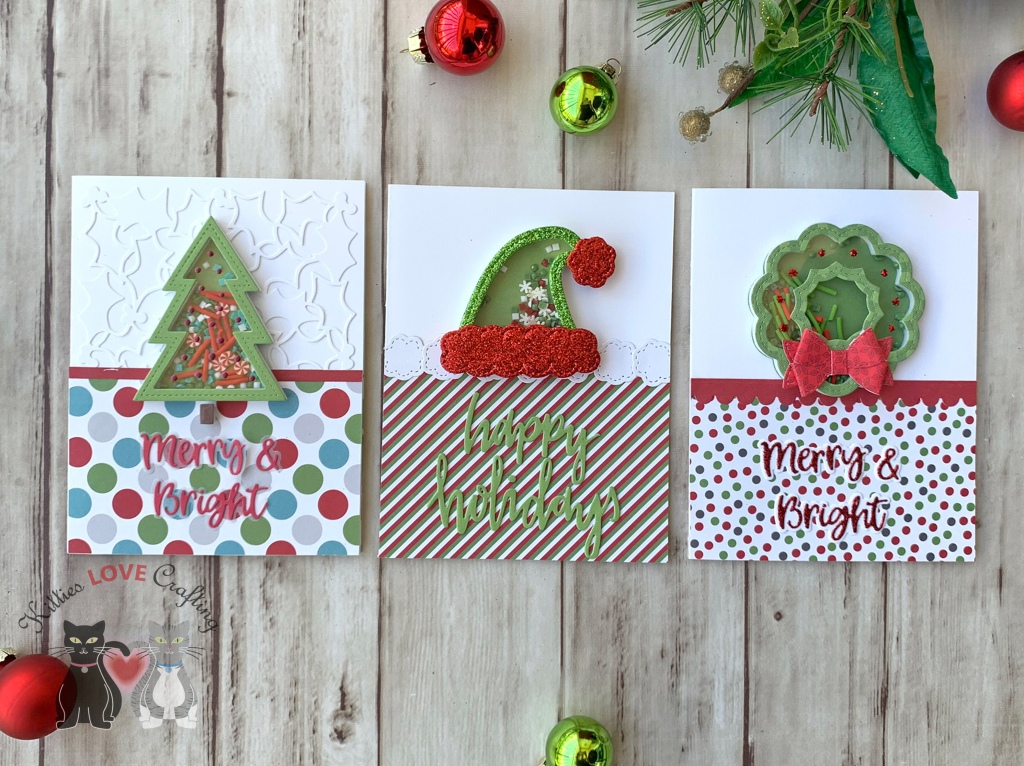
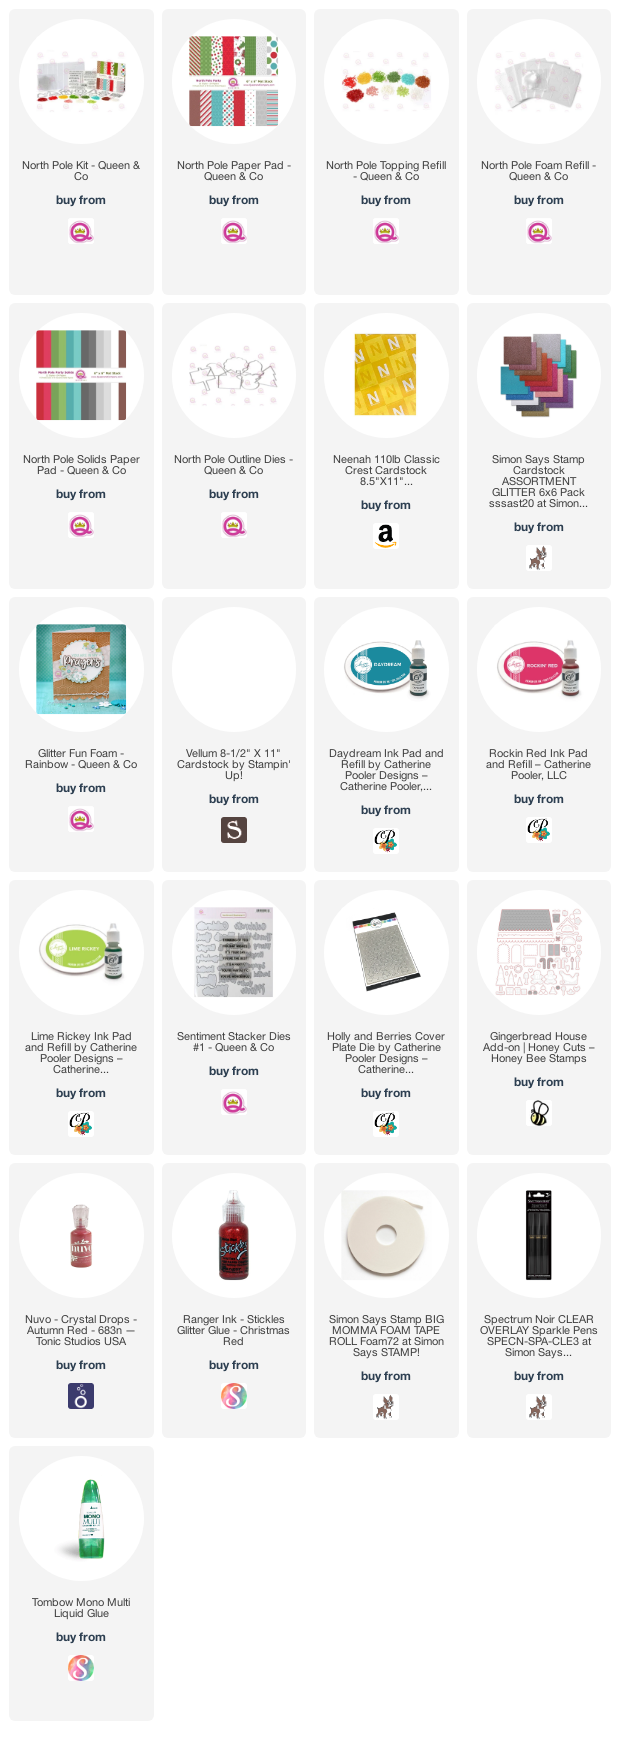
I love most of their shaker kits, but this one by far, the North Pole Kit, is my favorite Queen and Company Card Kit. It pairs great with their Glitter Foam (I used some for the hat card). The kit Includes: 25 steel dies, 6×6 paper pad, 4×6 stamp set, 11 custom toppings and 21 foam and acetate shakers. Tons of goodies to make tons of cards and they sell refills for the paper pad, shaker foam, acetate and toppings!
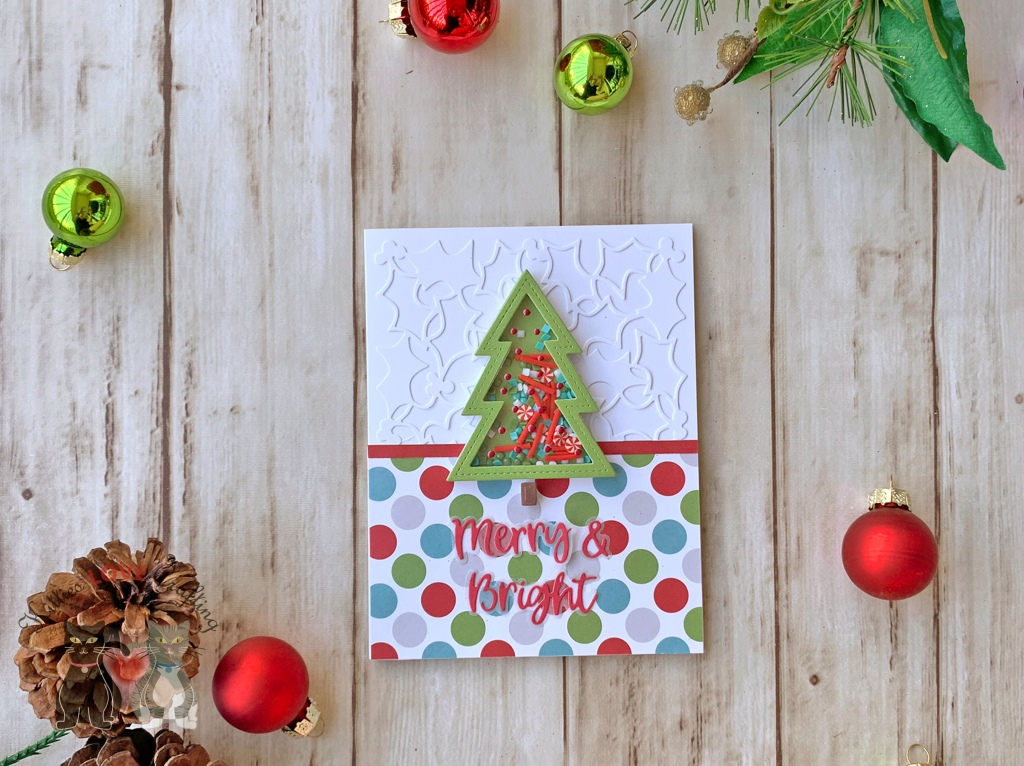
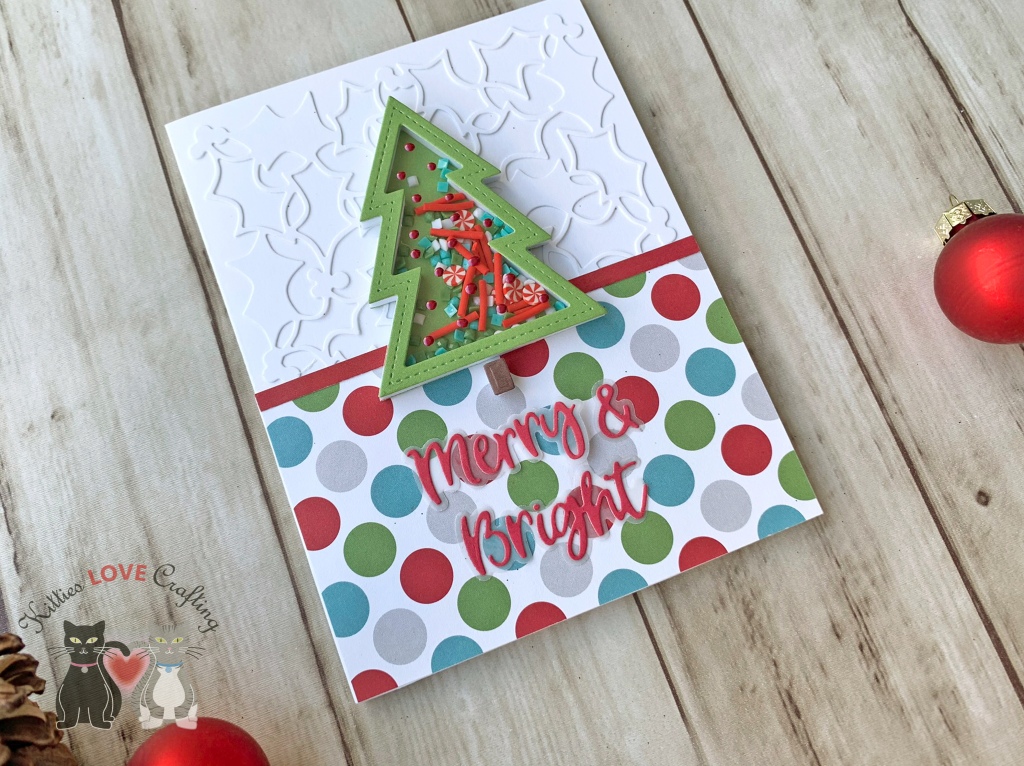
I started these cards by cutting some Neenah 110lb Classic Crest Cardstock 8.5 X 11″ to 5-1/2 x 8-1/2″ and scored at 4-1/4″. I cut three of those to create my card bases. For this first card, I diecut another piece of Neenah 110lb Classic Crest Cardstock 8.5 X 11″ with the Catherine Pooler Designs Holly and Berries Coverplate and adhered it to the card. (Tip: Save the outer border that is cut with this die to use later under the pattern paper. It will even out the papers so there’s no drooping.) I cut a piece of pattern paper from the North Pole Paper Pad (included in the kit) to 2-3/16 x 4-1/4″ and a red strip from the North Pole Solids Paper Pad to 2/16 x 4-1/4″ and adhered them to the card.
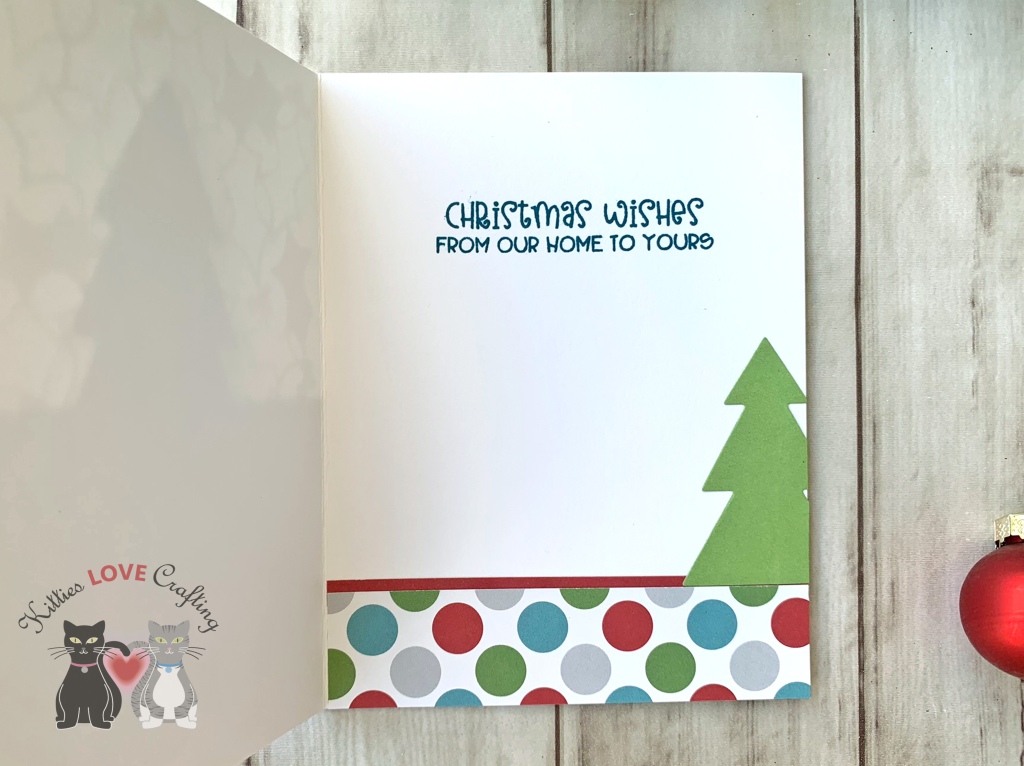
I assembled the tree shaker and added the toppings inside. I used the paper from the North Pole Solids Paper Pad for the tree and the trunk (saved the inside (solid) piece of the tree frame). I added some left over foam from the shakers to the tree trunk. I save all the extra foam from the shakers because they can be used on other cards.
On the inside of the card, I added a red piece of North Pole Solids Paper Pad, measuring 1-1/8 x 4-1/4″and a piece of North Pole Paper Pad, measuring 1″x 4-1/4″ and stamped a sentiment from the stampset included in the kit and Catherine Pooler Daydream Ink. I added the solid inside piece of the tree frame to the bottom of the card.
For the second card, I cut a piece of pattern paper from the North Pole Paper Pad (included in the kit) to 2-7/8 x 4-1/4″ and a red strip from the North Pole Solids Paper Pad to 2/16 x 4-1/4″ and adhered them to the card base. I also used the die for the santa hat’s pom pom and diecut 7 from some Neenah 110lb Classic Crest Cardstock 8.5 X 11″ to create a cute border. I thought they looked like puffy clouds and just adds some more whimsy to the card.
I assembled the hat shaker and added the toppings inside. I used red and green glitter foam from Queen and Company’s Glitter Fun Foam – Rainbow Pack to turn this santa hat into an elf hat. I saw Kristie Marcotte do this last year and thought it was adorable so I created my own. I added some left over foam from the shakers to the pom pom and edges of the hat trim once I adhered them together. this ensures that all of the hat is the same height.
I used the Catherine Pooler Happy Holidays Die and the North Pole Solids Paper Pad to diecut a sentiment and adhered to the card. I added the cute hat to the card, and finished it by adding some shimmer to the sentiment with Spectrum Noir Clear Overlay Sparkle Pens. Look how sparkly that hat is!
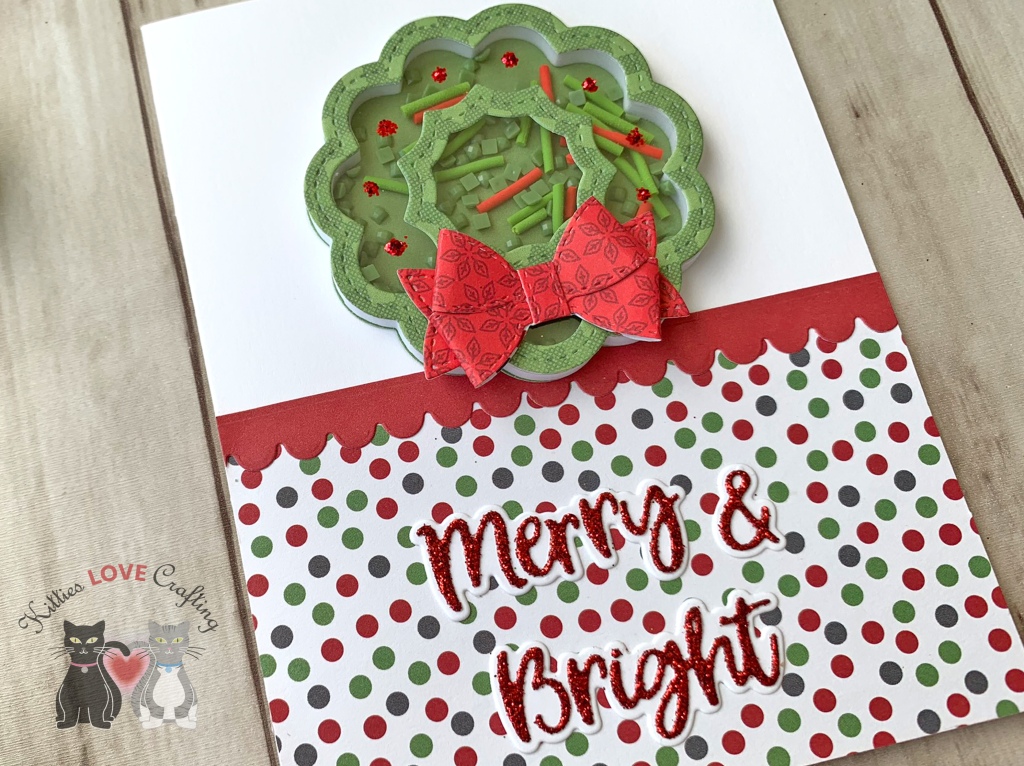
For the third card, I cut a piece of pattern paper from the North Pole Paper Pad (included in the kit) to 2-11/16 x 4-1/4″ and a red strip from the North Pole Solids Paper Pad using the scallop border die from the Honeybee Stamps Gingerbread House Add-on and adhered them to the card. This die is meant for the roof of the house but I though it made a great border!
I assembled the wreath shaker and added the toppings inside (saved the inside (solid) piece of the tree frame). I used green and red pattern paper from the North Pole Paper Pad for the wreath and bow.
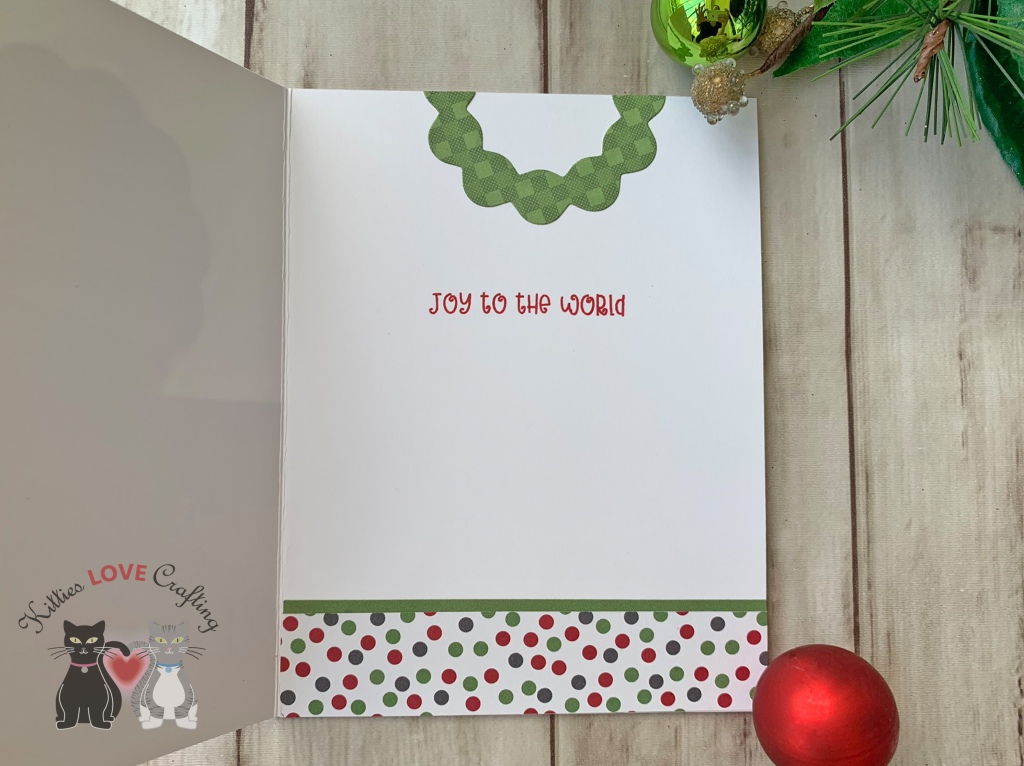
On the inside of the card, I added a green piece of North Pole Solids Paper Pad, measuring 1 x 4-1/4″and a piece of North Pole Paper Pad, measuring 7/8″x 4-1/4″ and stamped a sentiment from the stampset included in the kit and Catherine Pooler Rockin Red Ink. I added the solid inside piece of the wreath frame to the top of the card.
Thanks for reading this post. I hope you enjoyed and I’ve inspired you to try out these adorable House Builder dies and make some fun cards and gift boxes! Leave comments or questions below or feel free to email me.
Hi friends. Today I’m bringing you two cards featuring the Simon Says Stamp Dazzling Circle and Blooming Circle Dies. One card uses the dies in the way they were intended but the second card uses it in a different way — using the positive diecuts to create a background. This is an easy way to create a background.
Traditional Use of Die
For the first card I started by cutting a piece of Neenah 110lb Classic Crest Cardstock 8.5 X 11″ to 5-1/2 x 8-1/2″ and scored at 4-1/4″. Then I cut a piece of green gingham paper (from the Birthday paper pack included in the Crafty Parcel) to 4 x 5-1/4” and diecut the wreath in the top center of the panel using the Simon Says Stamp Dazzling Circle Die (no longer available as it was part of the Stamptember release). I added some 3M Foam Tape to the back of the panel and adhered a square piece of Stampin’ Up! Granny Apple Green 8-1/2″ X 11″ Cardstock on the card base behind the wreath. The easiest way to do this is to add the foam tape to the wreath panel and then attaching the green square piece behind that and then adhering it to the card base.
On the inside of the card, I cut a strip of Green Gingham paper (from the Birthday paper pack included in the Crafty Parcel) to 1 x 4-1/4″. I stamped a greeting from the Catherine Pooler Stamp of Approval Young at Heart Collection stampset(I don’t think this is available in her shop anymore) in Memento Tuxedo Black Ink and Catherine Pooler Party Dress Ink. I finished it off by adding some additional flowers.
Thanks for reading this post. I hope you enjoyed and I’ve inspired you to give your old stand-alone dies a second look and try some new techniques with them. Leave comments or questions below or feel free to email.
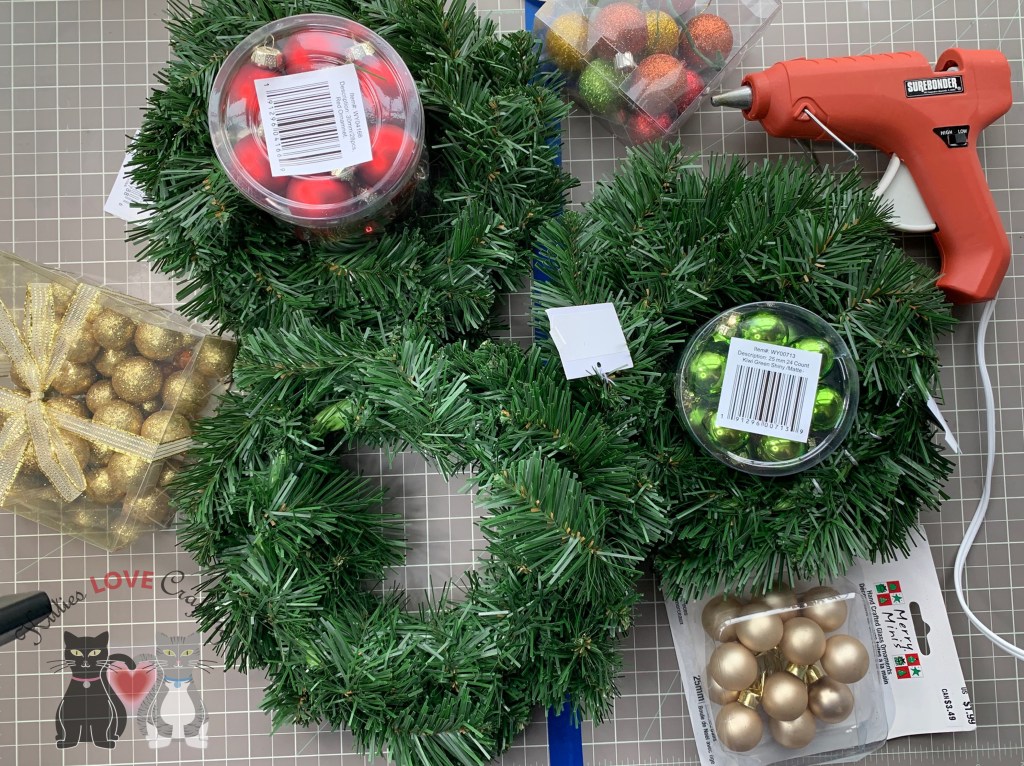
Hello friends. This weekend I made some very cute mini Christmas wreaths for some new decorations. I love to decorate with wreaths and I especially enjoy adding mini ones to doors Inside my home. They enhance your decor without being too in your face. They are also easy to store when you have limited space.
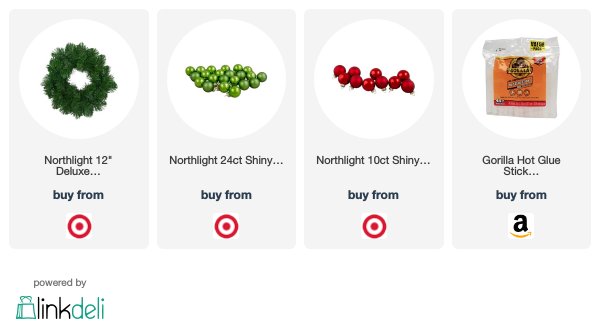
These were super easy to make and inexpensive. The supplies I used are mini wreaths, 25-30mm Ornaments, 5/8” Red Satin Ribbon, Hot Glue Gun and Gorilla Glue Hot Glue Sticks. These little wreaths would make great gifts as well or can be used around a candle for a festive centerpiece.
Supplies
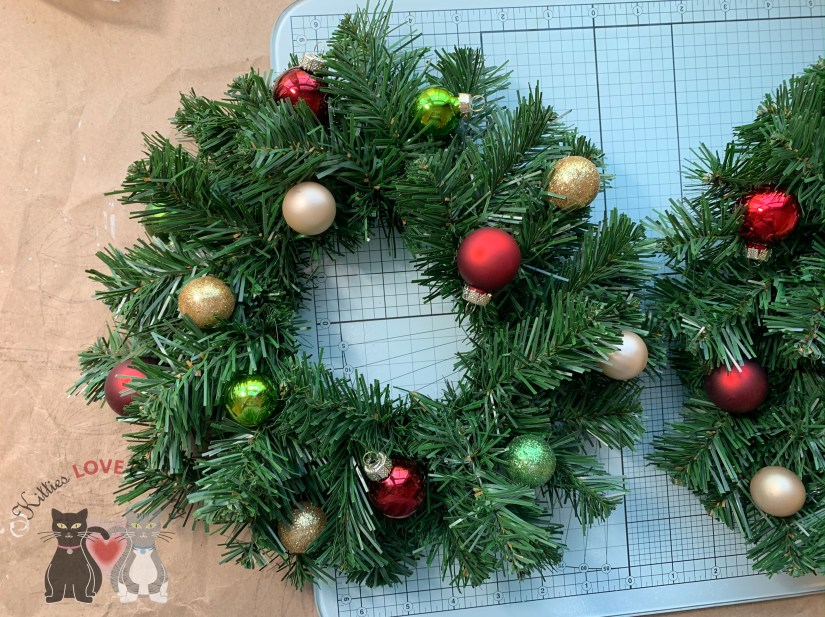
I bought three mini wreaths from Target and hot glued red, green, and gold ornaments to it, scattering them around the wreath. The pale gold, glitter gold, and red and green glitter ornaments are ones I used from my stash.
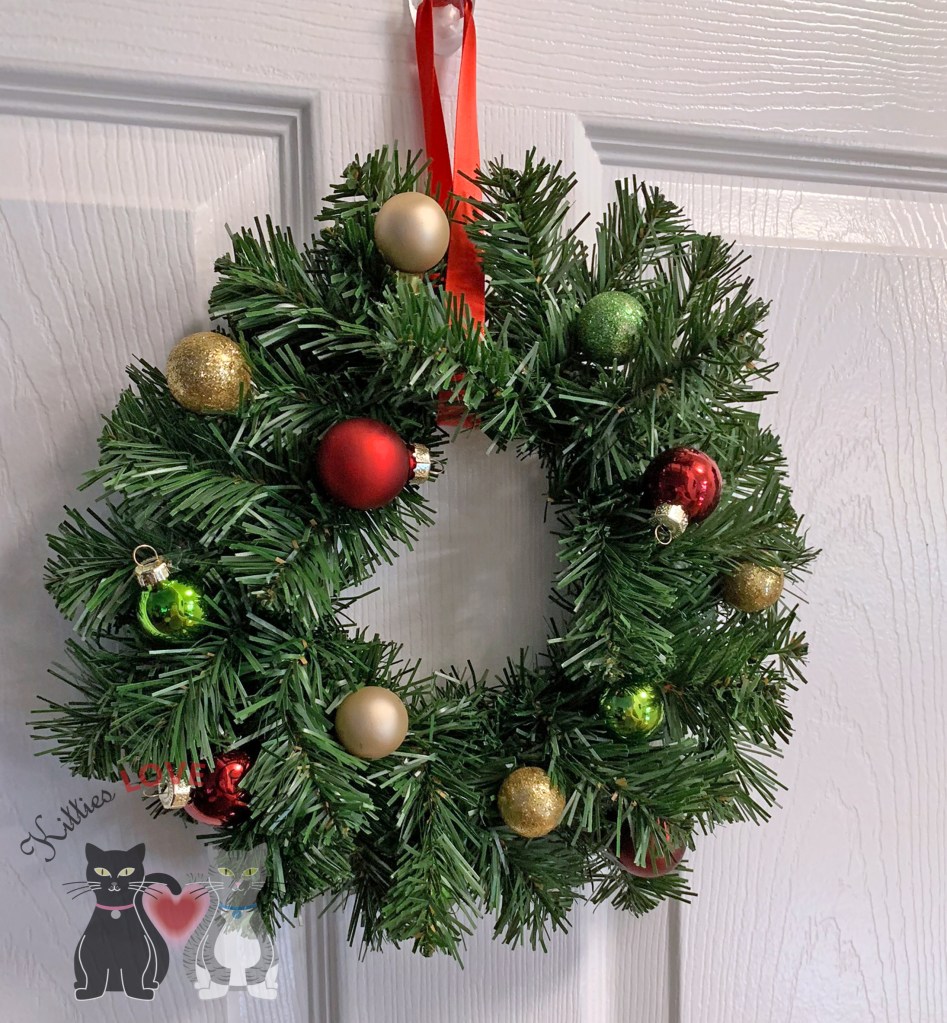
I added a 5/8” Red Satin Ribbon to each wreath to hang them. That’s all! I told you it was super easy. You can add more items, like ribbon or candies, etc to your if you like.
Thanks for reading this post and I hope I’ve inspired you to make some wreaths for your home or for a gift. Leave comments or questions below or feel free to email
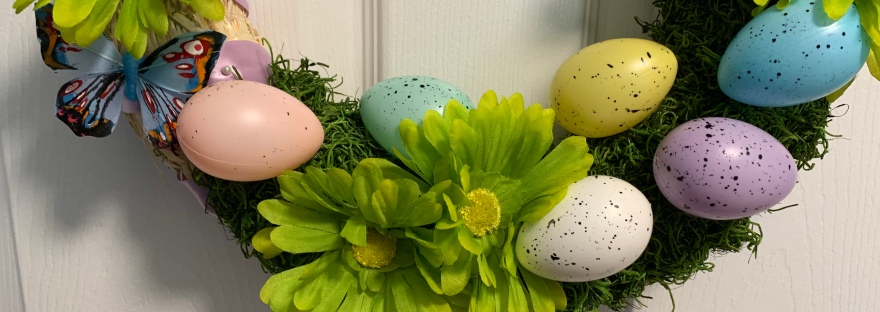
Easter is around the corner and I finally got around to making my Easter Wreath. Yay! I made this wreath using mostly Dollar Tree supplies. My store didn’t have much so I ordered from their online store and had it shipped to my house. They offer a ship-to-store option too.
A word of caution…if you order flowers online they can arrive crushed as mine did. I ordered 6 stems and only got 5 usable flower heads out of it and those were not that great as you will see in the photos. Keep that in mind.
Anyways, it was super easy and quick to make. I started off with a 10-inch straw wreath form. I got mine from Hobby Lobby, but they are readily available at other craft stores and online. Check Amazon, Michaels, Joann Fabrics, Walmart and Dollar Tree. My local store did not carry it but I’m guessing others might. I carefully removed the clear plastic wrap around it as it tends to shed. Nor,ally I would normally leave the plastic wrap on it but since I wanted this to look natural and .organic, I removed it.
After cleaning the straw debris from my desk, i wrapped some 5/8 inch wide lavender satin ribbon around the wreath, creating a stripe pattern. I get most of my ribbon from the Ribbon Retreat. This color is called purple haze. A tiny dab of hot glue on each of the ribbon ends secure it to the wreath.
I added the moss next. I used Green Spanish Moss I hot glued it onto the bottom half of the wreath. Once I had enough of the area covered, I wrapped Green Floral Wire, 22 Gauge around the moss to secure it further. Ok the hard part is done. Time to decorate.
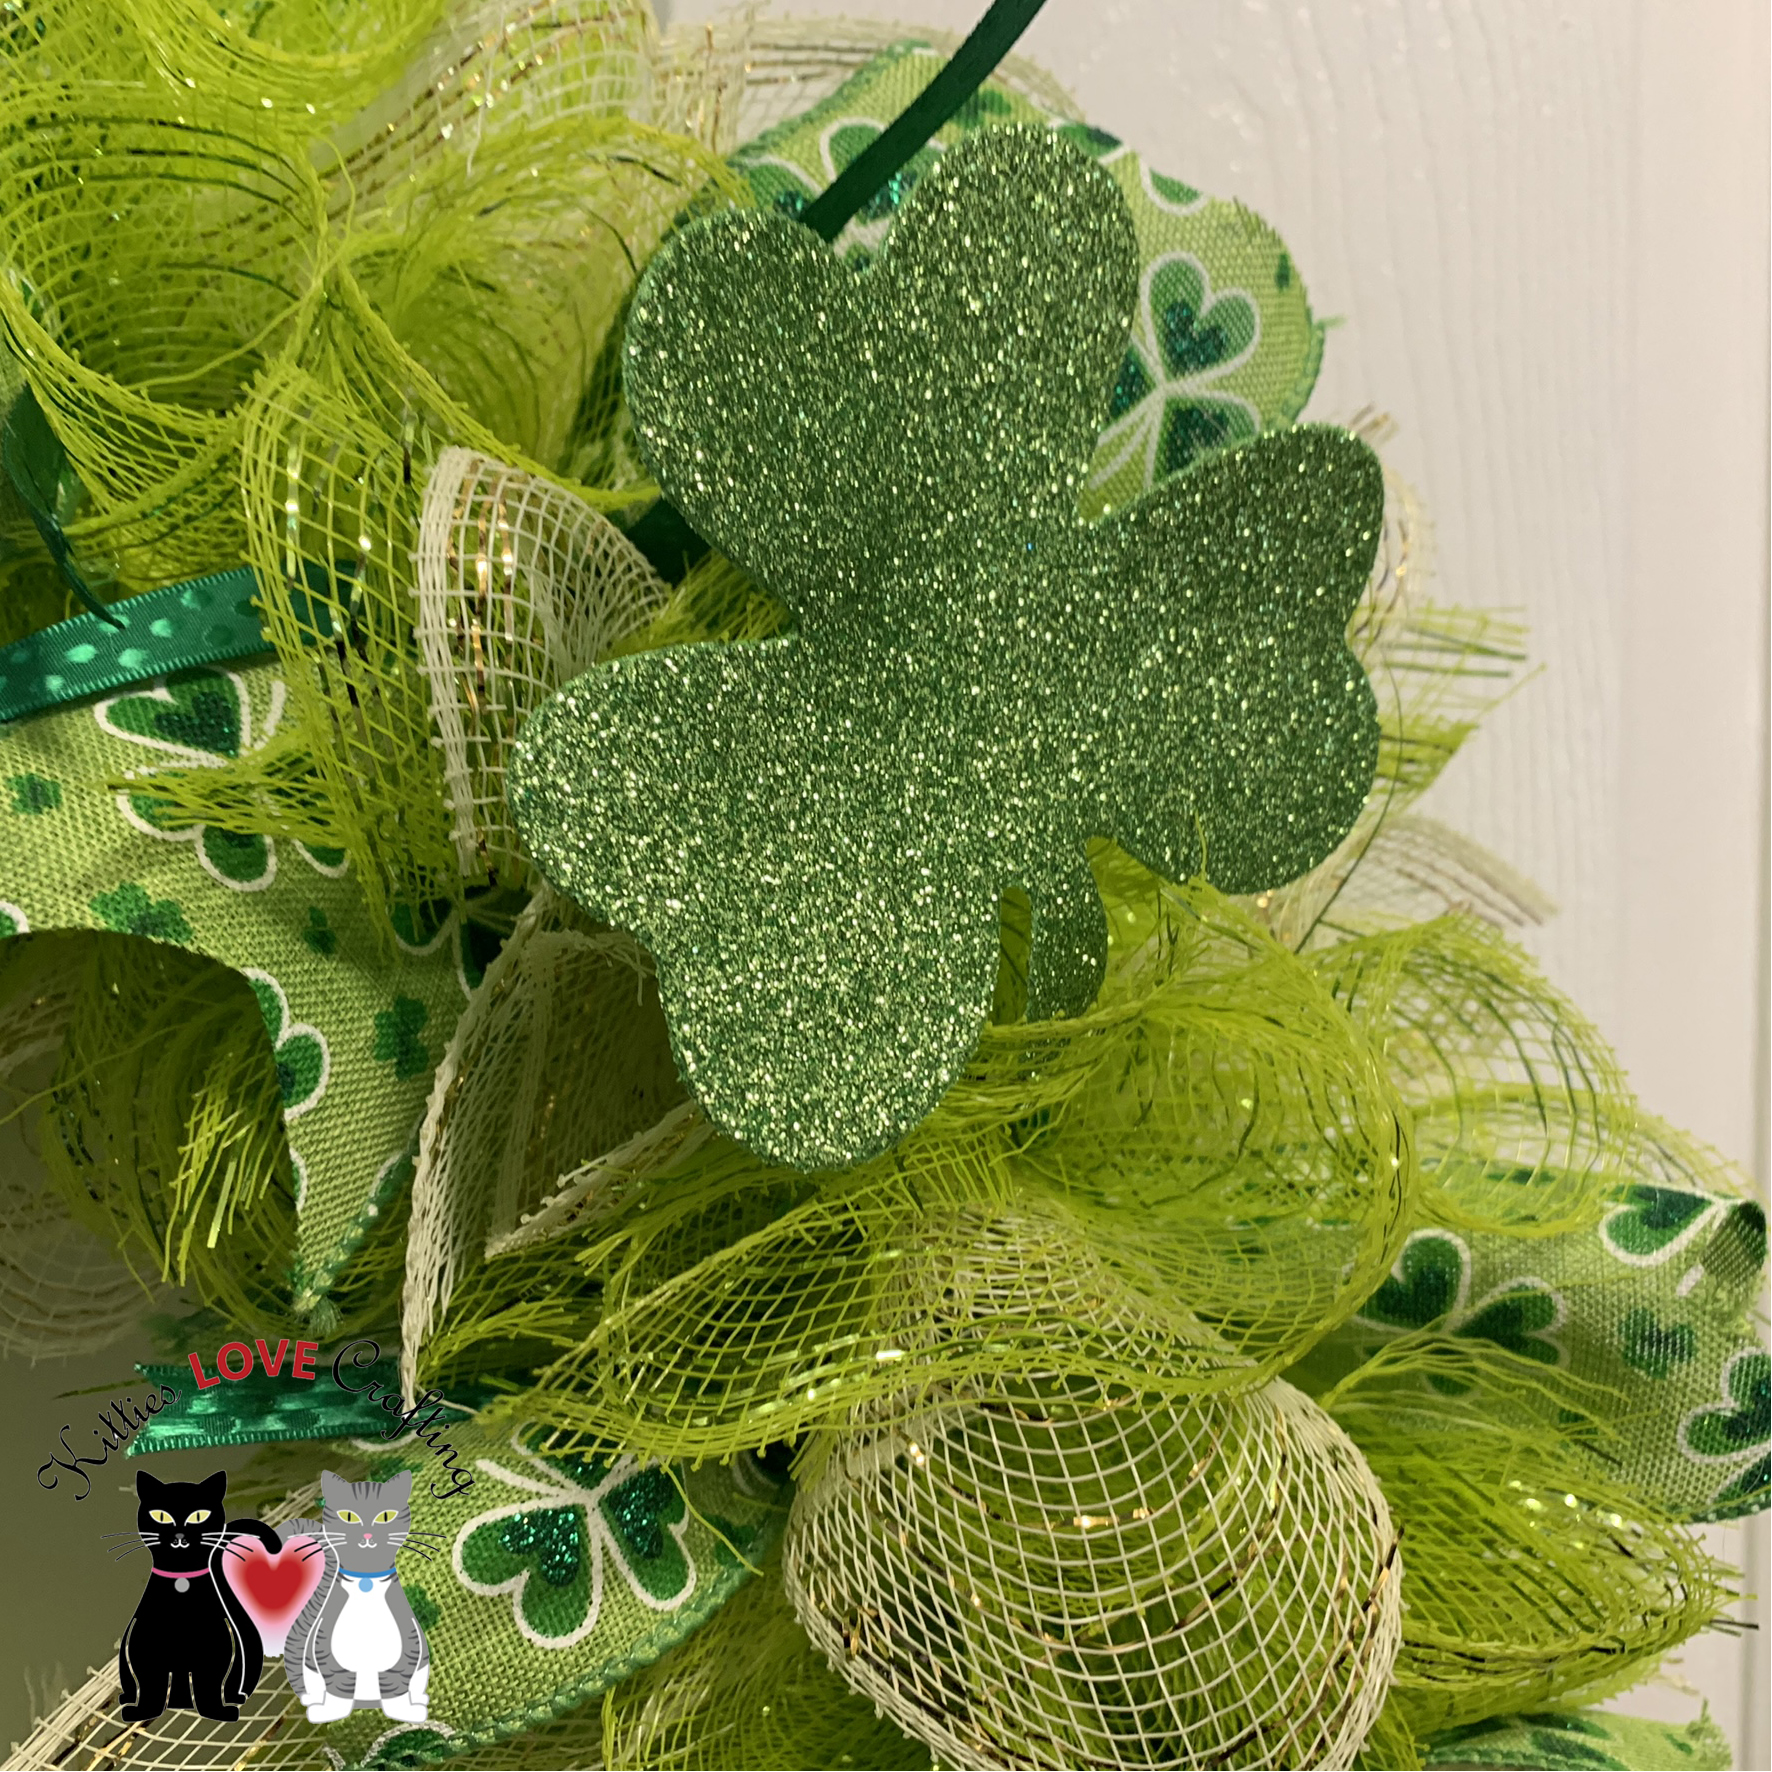
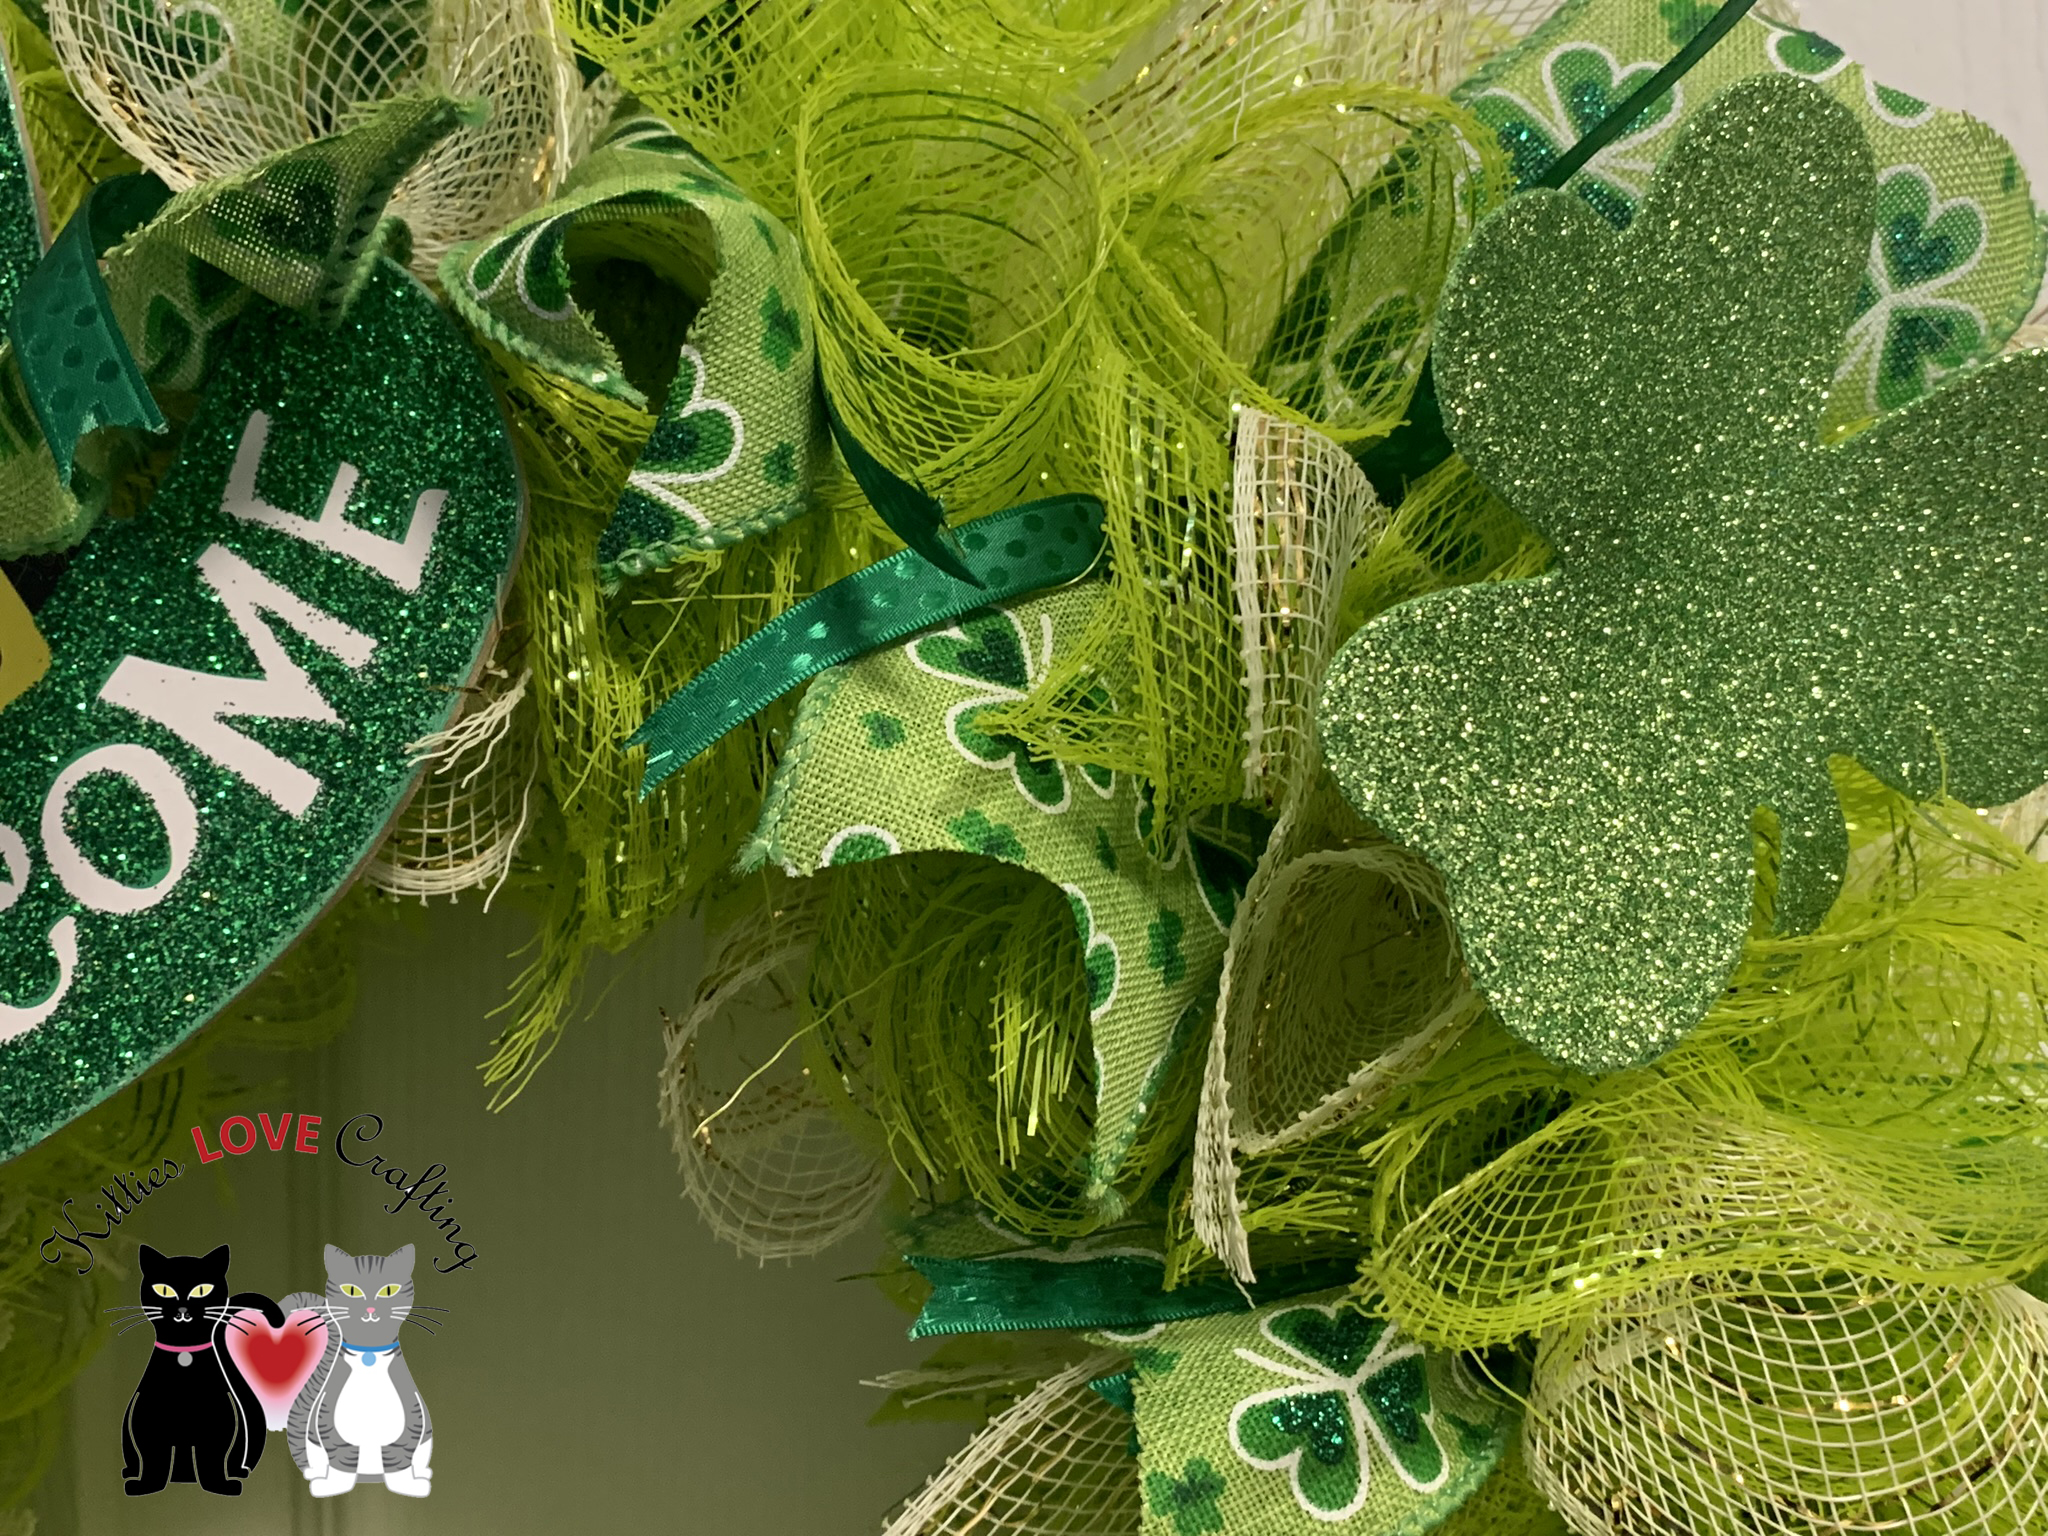
Happy Friday everyone. I don’t know about you but we are starting to get ready for spring in my house. And with Spring comes green…and lots of it. So let’s start it off by celebrating St. Patrick’s Day! My husband is Irish and so I like to put up decorations for the holiday. Since I don’t have one yet, I made a wreath for the front door. My neighbors must think I’m crazy about holidays or just plain crazy because I’ve had a different wreath and welcome mat for every holiday since we moved in last September. LOL
St. Patrick’s Day WreathSt. Patrick’s Day Wreath_Hat DetailSt. Patrick’s Day Wreath_closeupSt. Patrick’s Day Wreath_ closeup 2St. Patrick’s Day Wreath_closeup 3St. Patrick’s Day Wreath_closeup 4
Supplies:
Mesh – Dollar Tree 6-inch long deco mesh in lime green and white with gold metallic (3 rolls each color)
Embellishments – Glitter Leprechaun Hat (dollar tree), Glitter foam shamrocks (dollar tree or Michaels – you can find them in the St. Patrick’s Day section)
Thanks for stopping by to check out my post. Please feel free to leave questions or comments about any of the products listed above or feel free to email me if you prefer.
Hello everyone. I’ve always loved been making wreaths. I started making them when I lived in my small NY apartment and could not keep alot of decorations. A wreath has the ability to capture a holiday, a season, a theme or occasion in a small space. I had to put my passion on hold for awhile due to lack of space (apartment living, arrgh). Now that I have space to store and make them, it’s reignited my love of wreath-making. Look for more wreaths to come in the future!
I have never made one before so, of course, I turned to Youtube. Where else do you learn how to do everything in life, right? You can learn to change a tire, put on makeup and make a wreath all in one day. LOL. I came across this very funny Youtuber, This Southern Girl Can who makes them. She’s pretty much got it down to a science at this point. She uses dollar store supplies to make budget friendly wreaths. Check her out her Youtube channel.
Step 2. A) Cut mesh pieces that are approximately 6 inches in length. This will give you 6 x 6 squares. Alternatively, just roll each piece of mesh over itself so it makes one full loop. Cut ribbon 9 inches long (this is 1.5 times the length of the mesh pieces). B) Also cut your chenille stems (pipe cleaners) in half and then fold those pieces in half again.
Step 3. Take 3 pieces of mesh and 1 piece of ribbon. Roll mesh into coils (rolls). Hold each between your Index and 3rd fingers while you roll the other 2 pieces and pinch all together. Add ribbon with pattern side out away from your finger, then tie with a chenille stem piece. Twist once or twice to secure.
Step 4. A) Now add this bundle to your wreath form by feeding the chenille stem ends through the middle two wires on the wreath form. (see picture Step 4A). B) Continue adding bundles until you fill the whole form. I used 10 bundles per section. A section consists of the space between the 2 vertical wire pieces There are 6 sections so you will use 60 bundles when complete (you can see the sections in picture 4A).
Valentine’s Day Mesh Wreath_FinalValentine’s Day Mesh Wreath_Closeup
Supplies:
Mesh – Dollar Tree 6-inch long mesh in red and white(3 rolls each color)


 https://linkdeli.com/widget.js?id=f5e8378456858c916708


 Step 1
 Step 2A
 Step 2B
 Step 3
 Step 4A
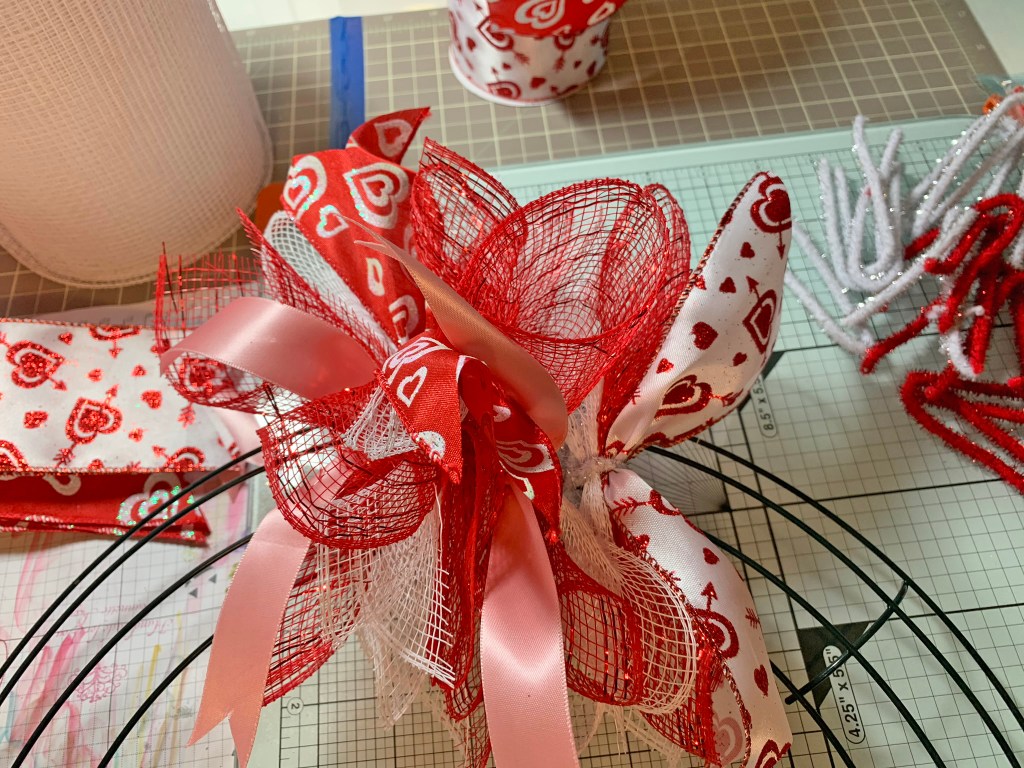 Step 4B

