Mother’s Day Cards featuring the Simon Says Stamp Easter Joy Stampset and Lawn Fawn Giant Sentiments
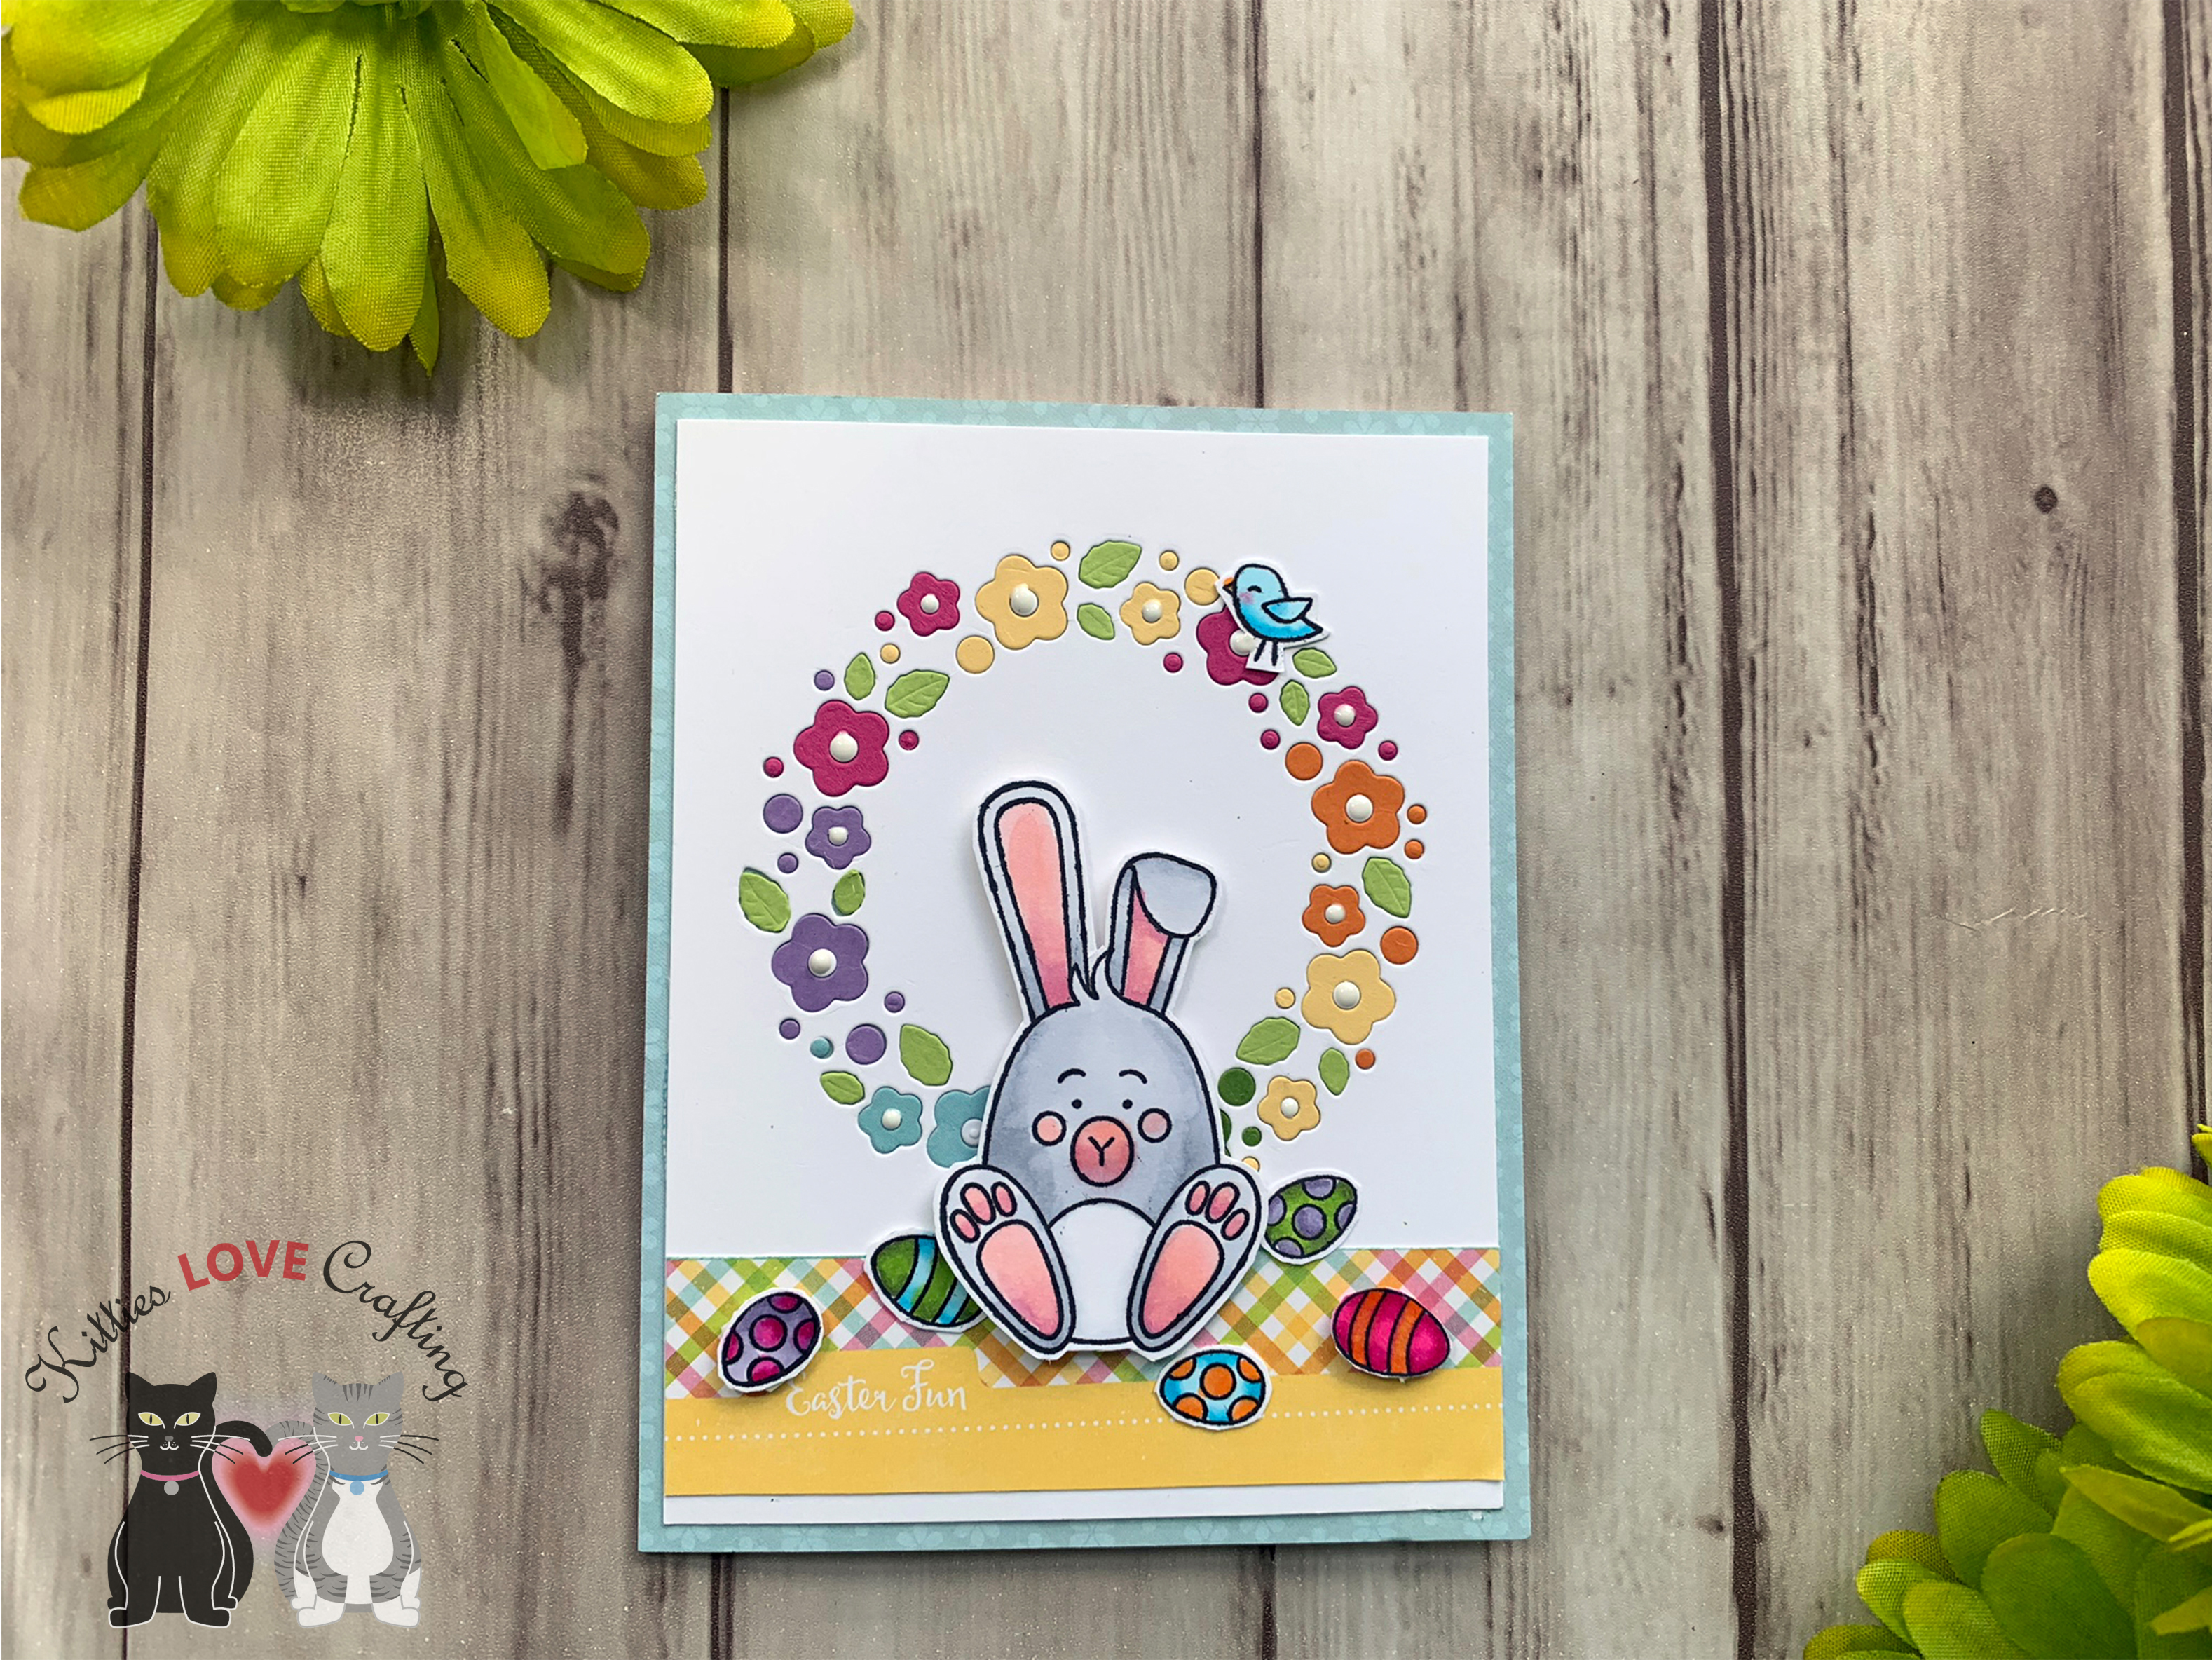
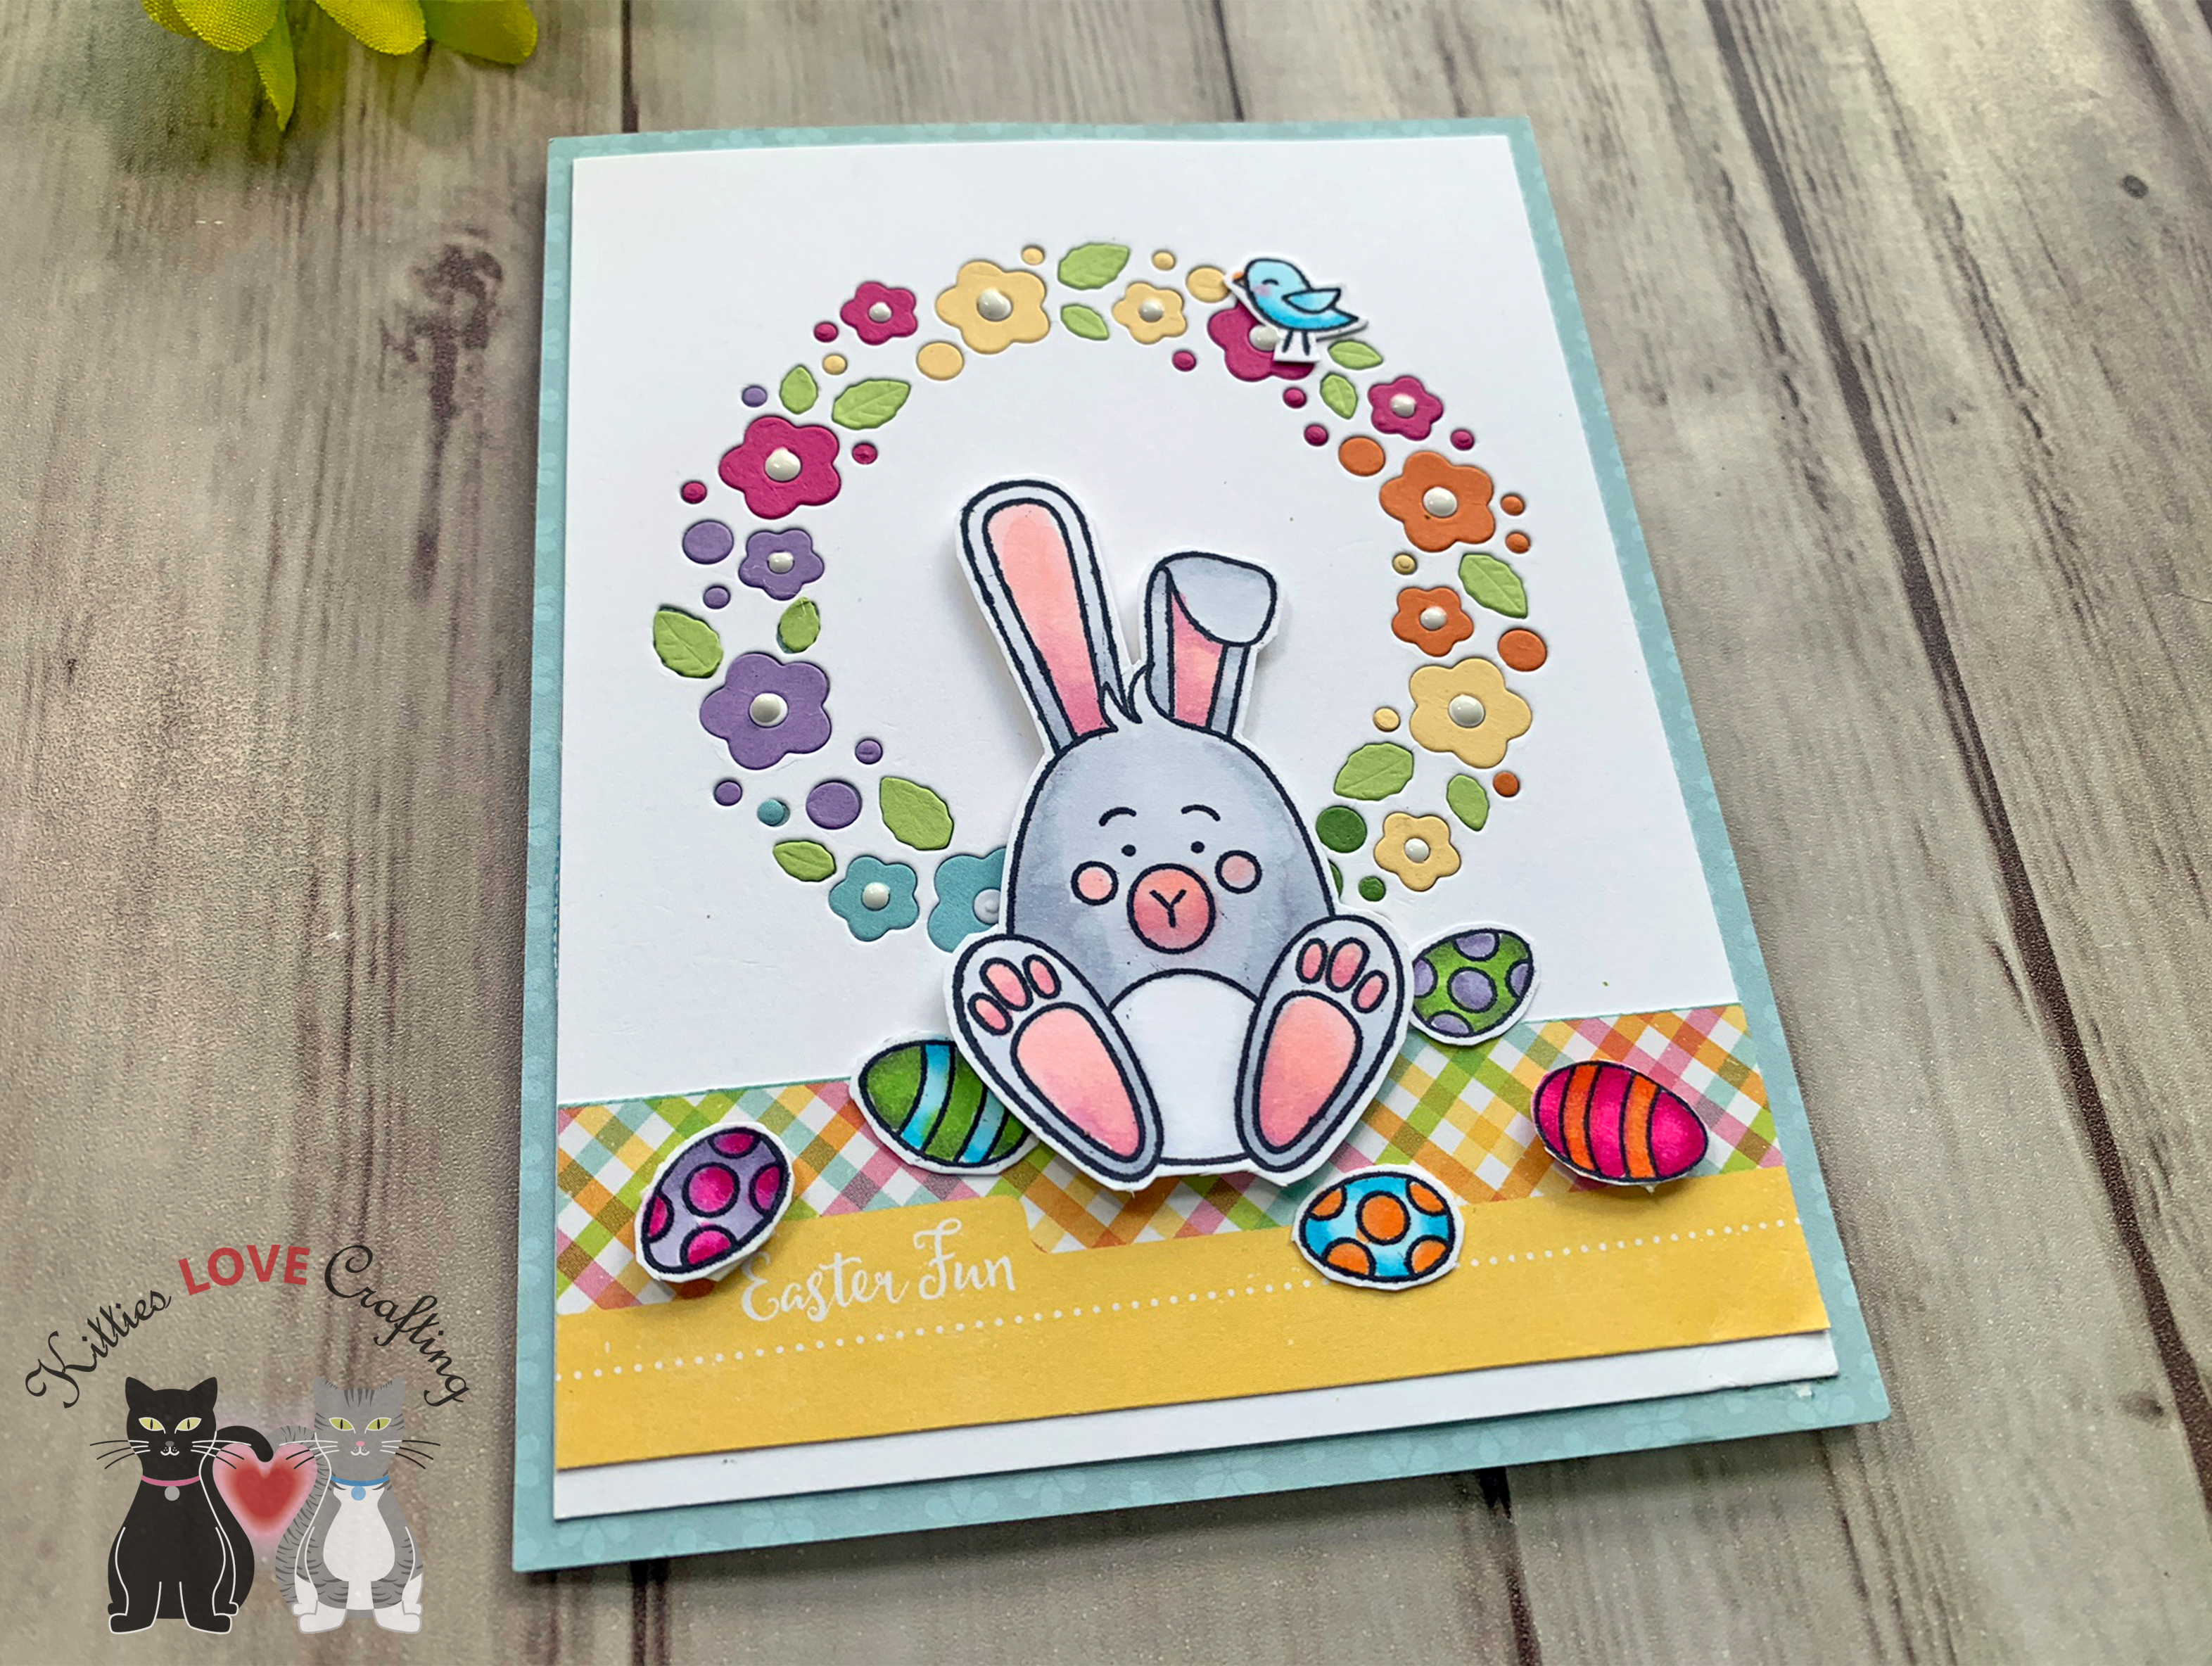
Hi friends. If you want to combine a large sentiment like the Lawn Fawn Giant Happy Mother’s Day Die and a stamped image like floral wreath from the Simon Says Stamp Easter Joy stampset but they don’t necessarily fit on the card together? Well, you can make a larger card right?!? Yes, but if you don’t want to do that you can also cut apart your stamped images. What? OMG No! If this sounds horrifying to you, you’re not alone. But I really like this wreath and obsessed with the Lawn Fawn Giant sentiment dies lately and wanted to combine them. The only solution is to cut the wreath apart. And I’m glad I did.

For the first card, I cut a piece of Neenah 110lb Classic Crest Cardstock to 5-1/2 x 8-1/2″ and scored at 4-1/4″ to create the card base. I cut another piece to 4 x 5-1/4″ and embossed it with the Darice Wire Fence Embossing Folder.

I stamped the wreath from Simon Says Stamp Easter Joy stampset onto Neenah 110lb Classic Crest Cardstock with Memento Tuxedo Black Ink. I colored the images with Copic Markers. I used YG17, YG25 and YG67 for the leaves and stems; R81, R83, & R85, Y17, Y18,BG11 & BG32, YR12, YR16, & YR09 for the flowers. I diecut it using the coordinating dies. Then cut the wreath in half and eventually further cut it apart.

I diecut the sentiment from the Lawn Fawn GOTTA HAVE GINGHAM RAINBOW 6 x 6 Collection Pack as well as two more times from Neenah 110lb Classic Crest Cardstock with the Lawn Fawn Giant Happy Mother’s Day Die. I stacked and adhered them together before adding to my card.
I stamped the wreath from Simon Says Stamp Easter Joy stampset onto Neenah 110lb Classic Crest Cardstock with Memento Tuxedo Black Ink. I colored the images with Copic Markers. I used YG17, YG25 and YG67 for the leaves and stems; R81, R83, & R85, Y17, Y18,BG11 & BG32, YR12, YR16, & YR09 for the flowers. I diecut it using the coordinating dies. Then cut the wreath in half and eventually further cut it apart.
I adhered the parts of the wreath around the sentiment using some Stampin Dimensionals to pop some of it up. I finished off the card by adding some Nuvo Drops in Ivory Shell.
On the inside of the card, I adhered a piece of the same pattern paper from the Lawn Fawn GOTTA HAVE GINGHAM RAINBOW 6 x 6 Collection Pack cut to 1 x 4-1/4″.

Dimensions
- Card Base = 5-1/2 x 8-1/2″ and scored at 4-1/4″ Neenah 110lb Classic Crest Cardstock
- Top Panel = 4 x 5-1/4″ Lawn Fawn GOTTA HAVE GINGHAM RAINBOW 6 x 6 Collection Pack
- Inside Panel = 1 x 4-1/4 Lawn Fawn GOTTA HAVE GINGHAM RAINBOW 6 x 6 Collection Pack

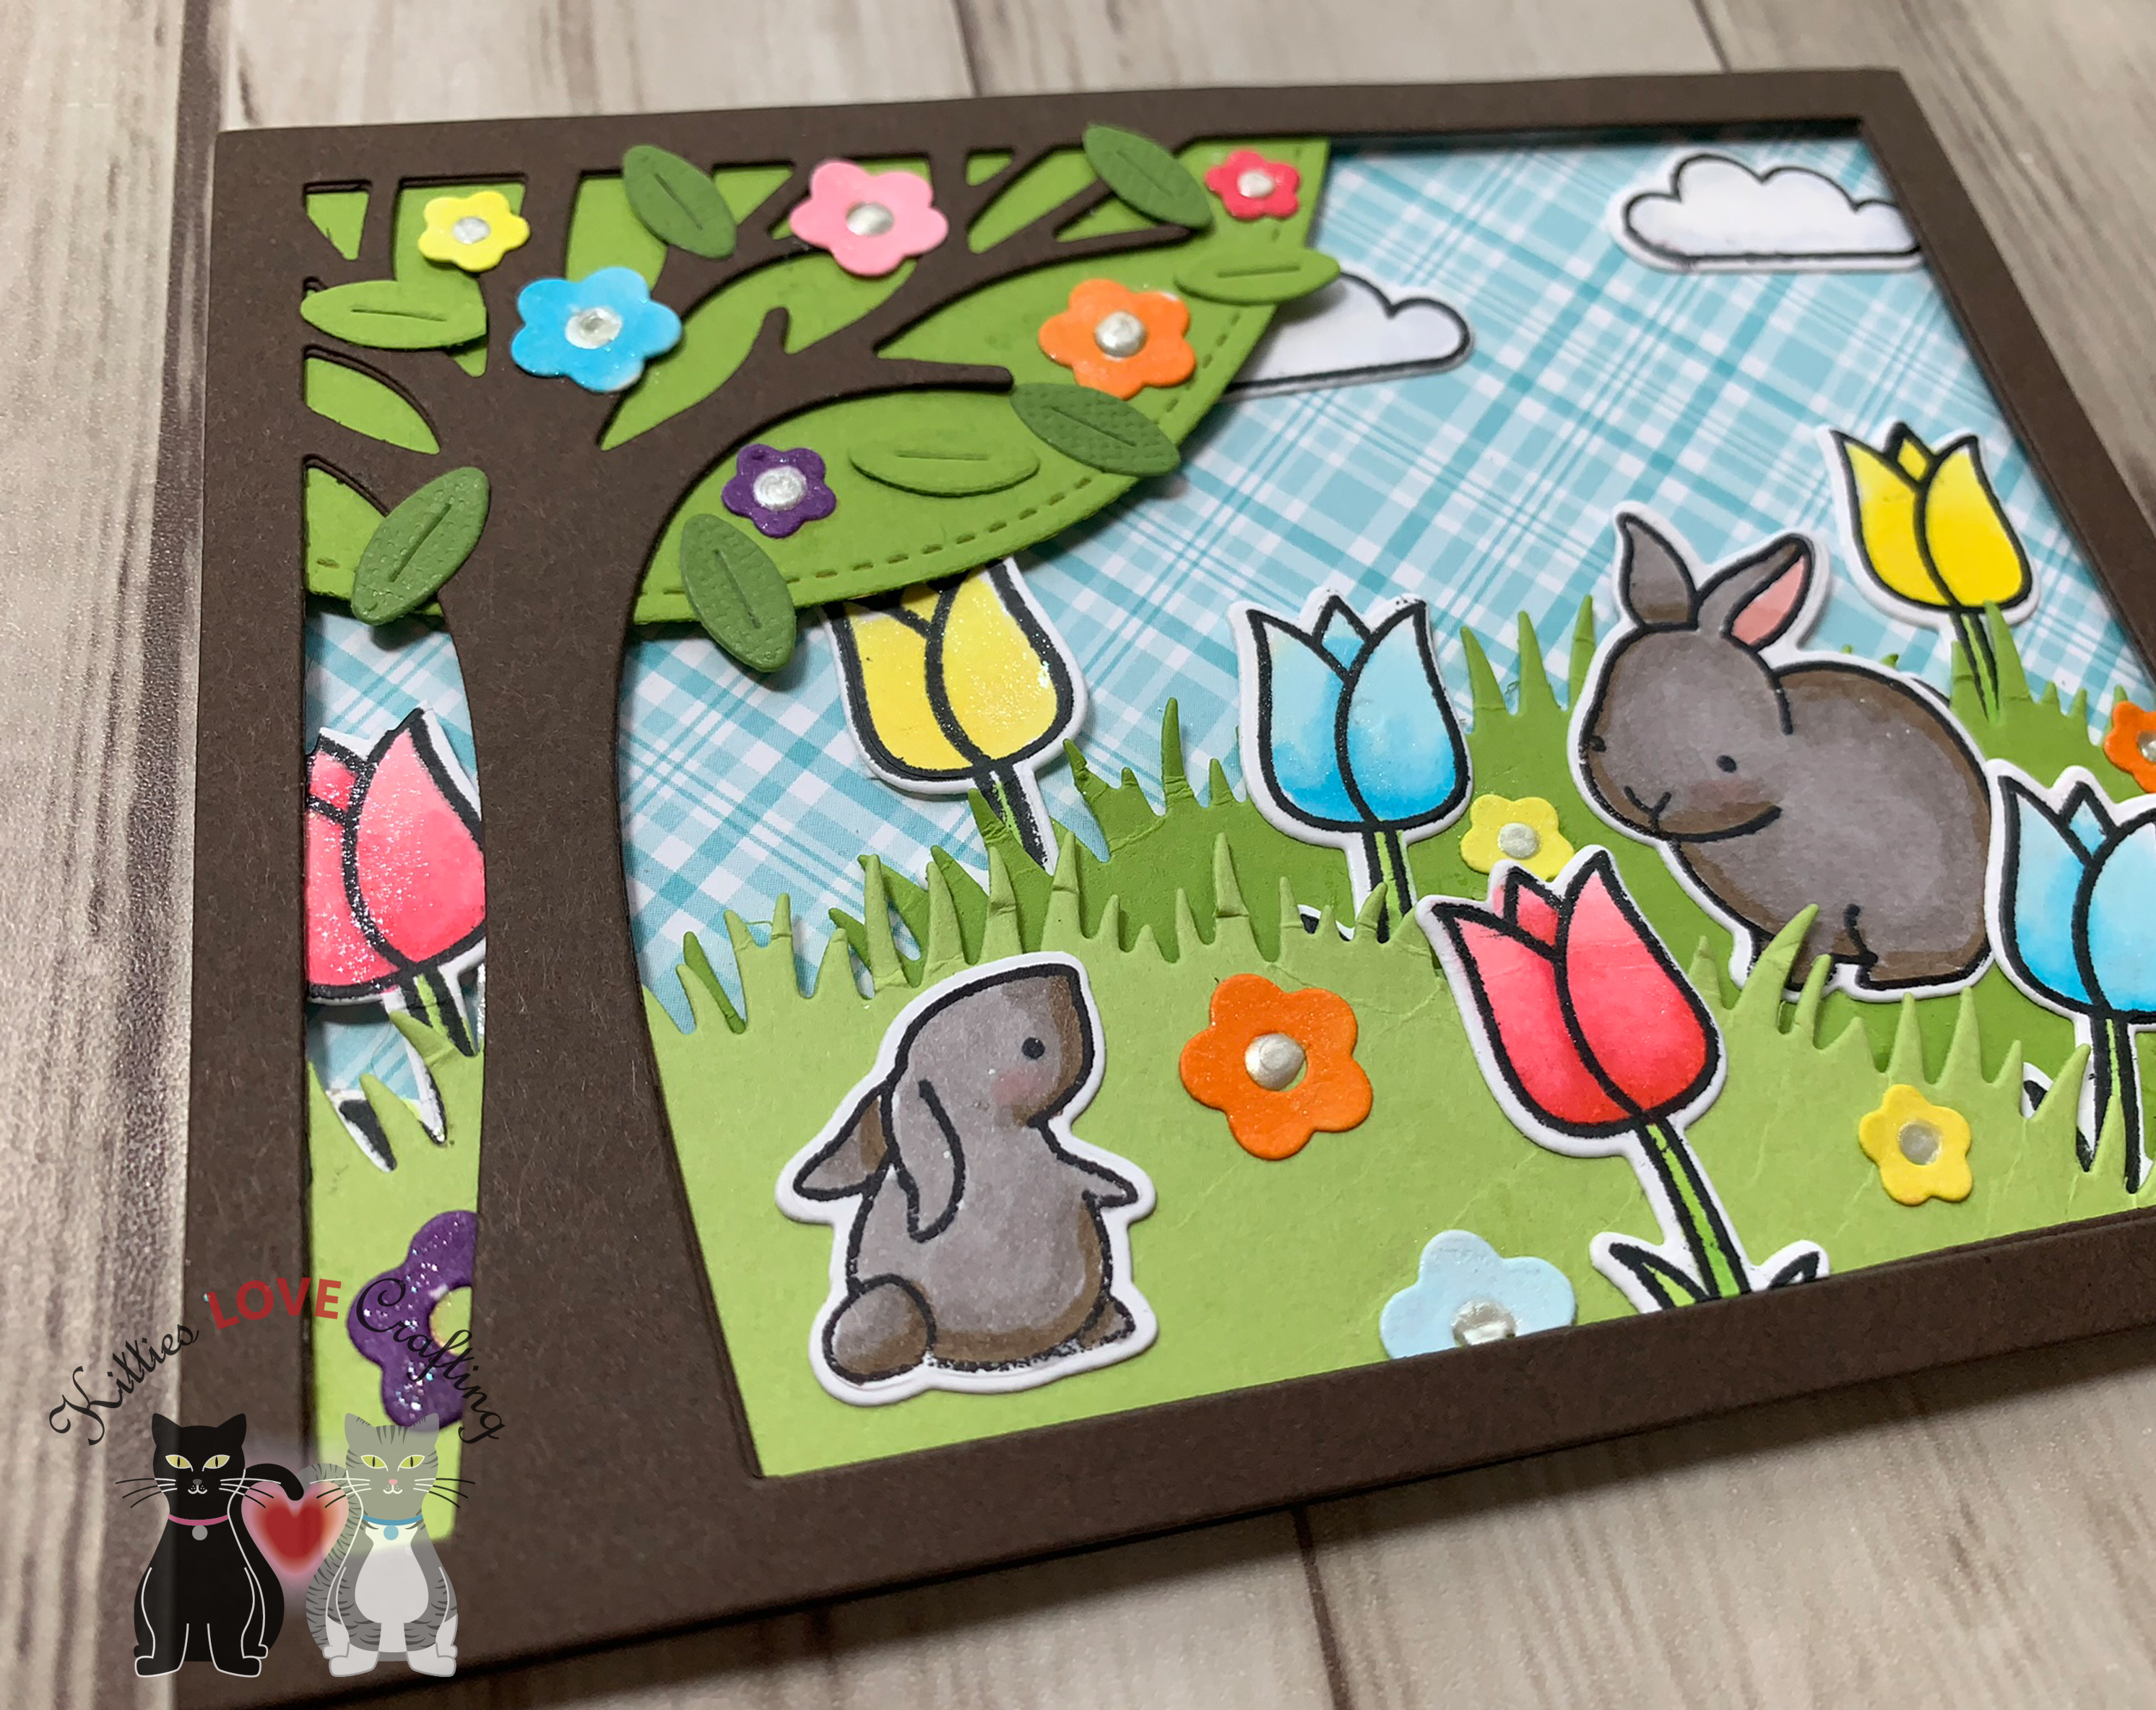
For the second card, I cut a piece of Neenah 110lb Classic Crest Cardstock to 5-1/2 x 8-1/2″ and scored at 4-1/4″ to create the card base. I also cut a piece of Lawn Fawn GOTTA HAVE GINGHAM RAINBOW 6 x 6 Collection Pack cut to 4 x 5-1/4″ for the top panel.
I diecut the sentiment 3x from Neenah 110lb Classic Crest Cardstock with the Lawn Fawn Giant Happy Mother’s Day Die. for the top one I used Catherine Pooler It’s A Girl Ink to create a gradient then adhered all 3 diecuts together, creating a very dimensional sentiment.
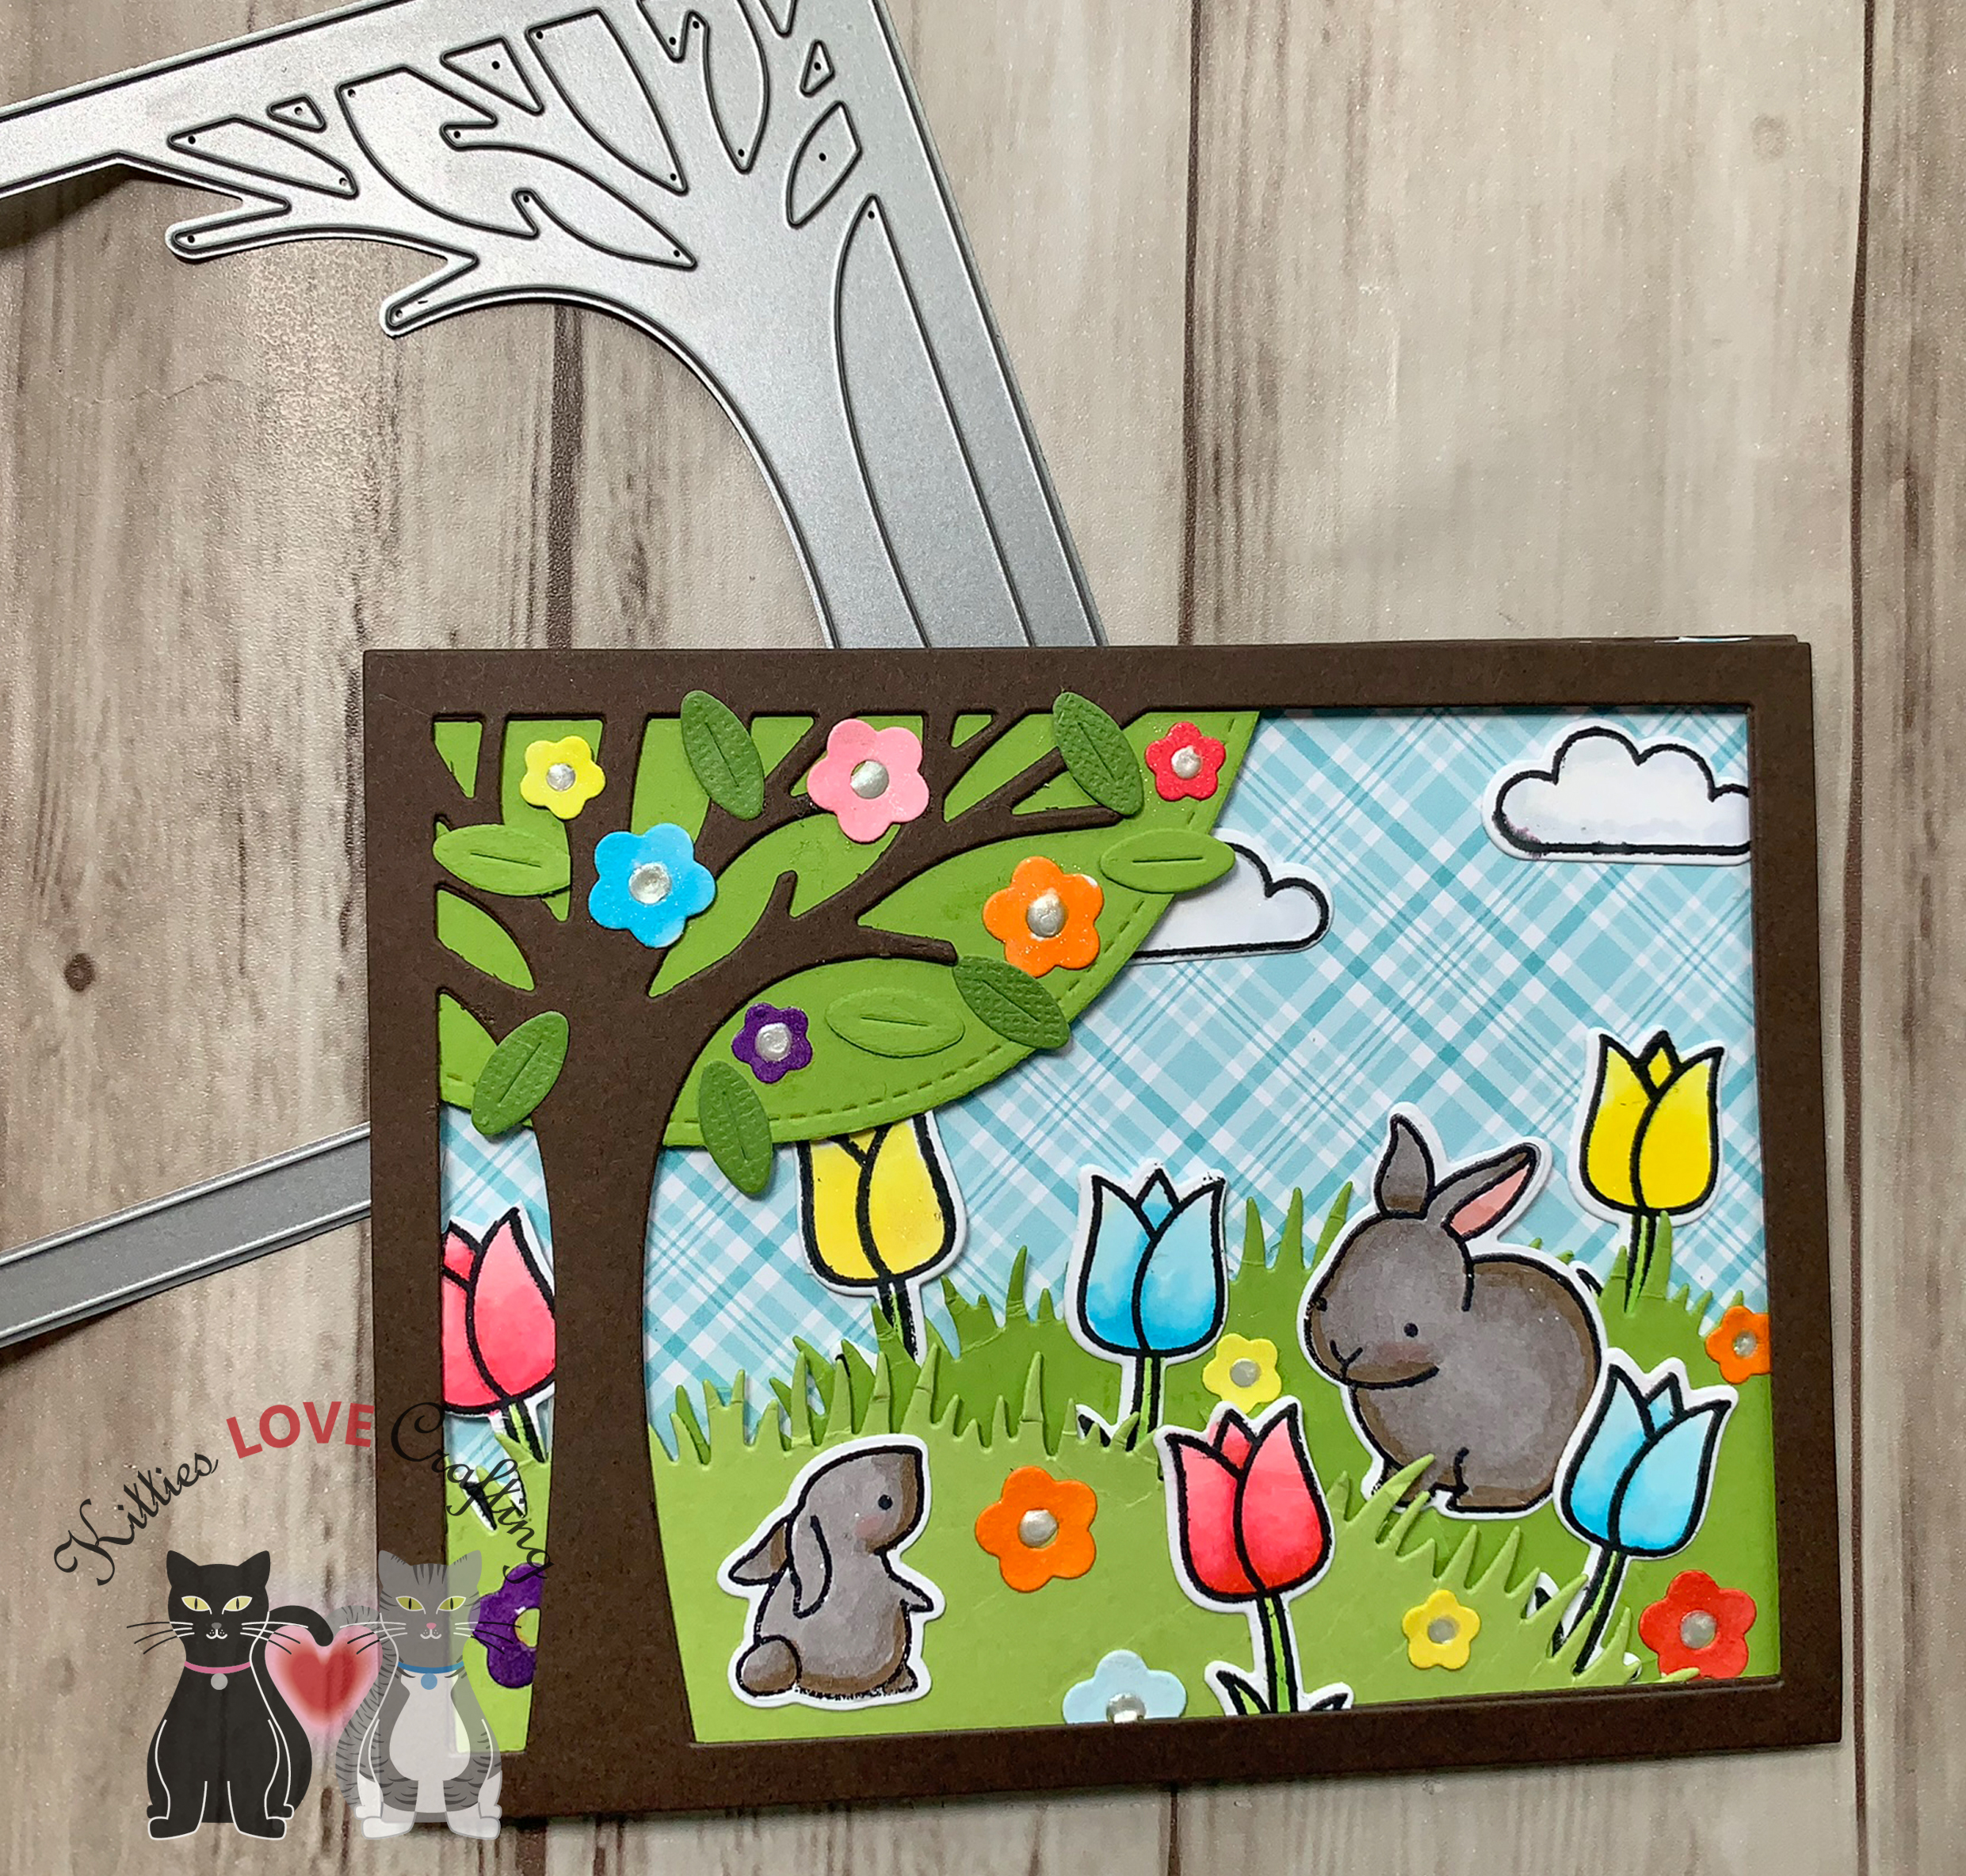
I stamped the individual flowers from Simon Says Stamp Easter Joy stampset onto Neenah 110lb Classic Crest Cardstock with Memento Tuxedo Black Ink. I colored the images with Copic Markers. I used YG17, YG25 and YG67 for the leaves and stems; RV21, RV14, & RV29 for the tulips; B0000, B01, B02 & Y13, Y06, Y13 & Y18 for the flowers. I diecut it using the coordinating dies. I popped up some of the flowers with some Stampin Dimensionals.

I finished off the card by splatters with White Acrylic Paint and some faux stitching with a White Gel Pen. I also added some shimmer to the sentiment diecut with a Spectrum Noir Sparkle Pen.
On the inside of the card, I adhered a piece of the same pattern paper from the Lawn Fawn GOTTA HAVE GINGHAM RAINBOW 6 x 6 Collection Pack cut to 1 x 4-1/4″ and some of the extra tulips I had stamped and colored.

Dimensions
- Card Base = 5-1/2 x 8-1/2″ and scored at 4-1/4″ Neenah 110lb Classic Crest Cardstock
- Top Panel = 4 x 5-1/4″ and 1-3/4 x 4″ Echo Park My Favorite Easter 6 x 6 Paper Pad
- Inside Panel = 1 x 4″ and 1-1/8 x 4″ Echo Park My Favorite Easter 6 x 6 Paper Pad
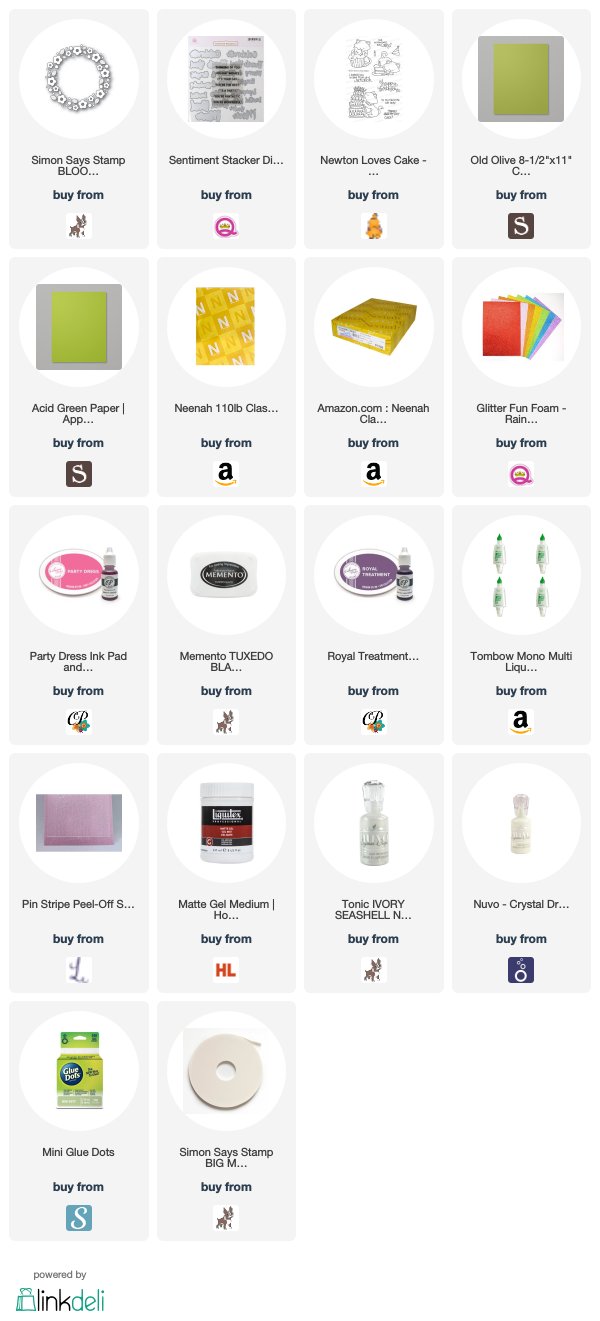
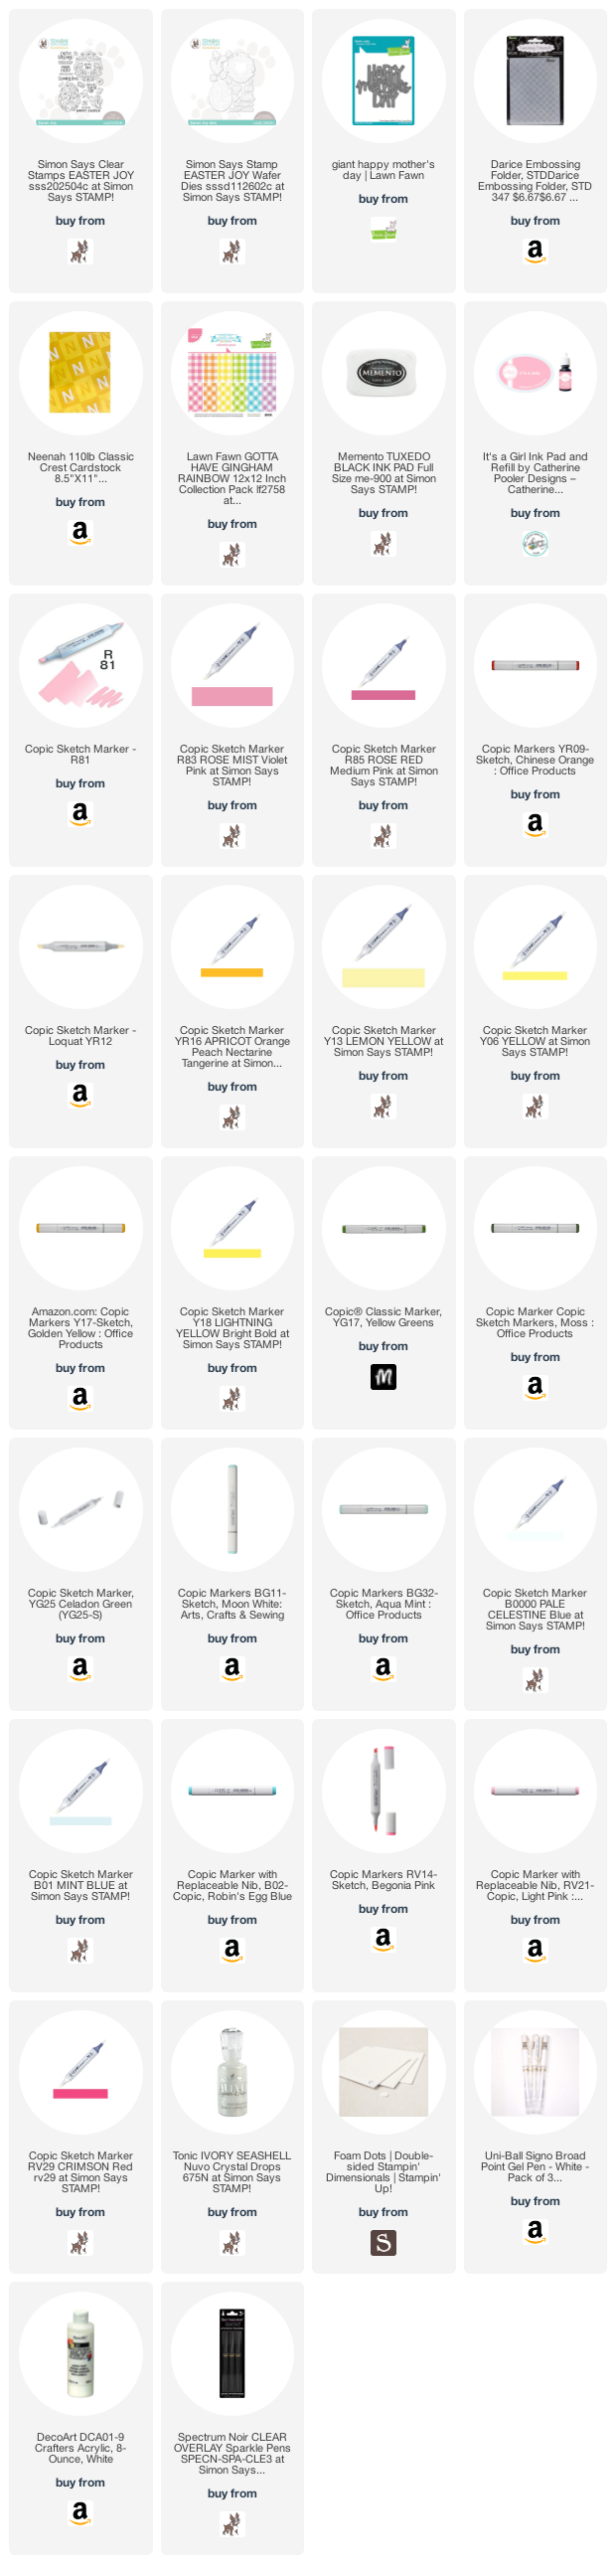
Supplies
 https://linkdeli.com/widget.js?id=f5e8378456858c916708
Thanks for reading this post and Happy Easter! I hope you enjoyed and I’ve inspired you to make some cards using this kit yourself! If you want to share you creations with me tag me on instagram @kittieslovecrafting. Leave comments or questions below or feel free to email me.