Hello friends. I had to use the free stampset, Furever Friends, I received from Lawn Fawn with the purchase of products from the new Spring release. The kitties and mice are so cute! They’re very simple images but so sweet.
I colored the floral elements with Copic Markers. I used BV11 & BV17, B32 & B26, RV04 & RV09 and YR14 & YR16 for the flowers; YG01 & YG25 & YG17 for the leaves.
Thanks for reading this post. I hope I’ve inspired you to give this cute card a try for yourself. Leave comments or questions below or feel free to email.
Hi friends. I don;t know about you but I love a cute pair of wellies! And this stampset from Catherine Pooler Designs, Bloomin’ Wellies, is adorable. For this card I tried creating a completely covered distress resist background but I didn’t like it in the end so I diecut it into a circle and I think this works so much better. So if you make a background and you don’t quite love it, use only a portion of it and that usually solves the problem.
Thanks for reading this post. I hope you enjoyed and I’ve inspired you to make this cute wellies Spring card yourself! If you want to share you creations with me tag me on instagram @kittieslovecrafting. Leave comments or questions below or feel free to email me.
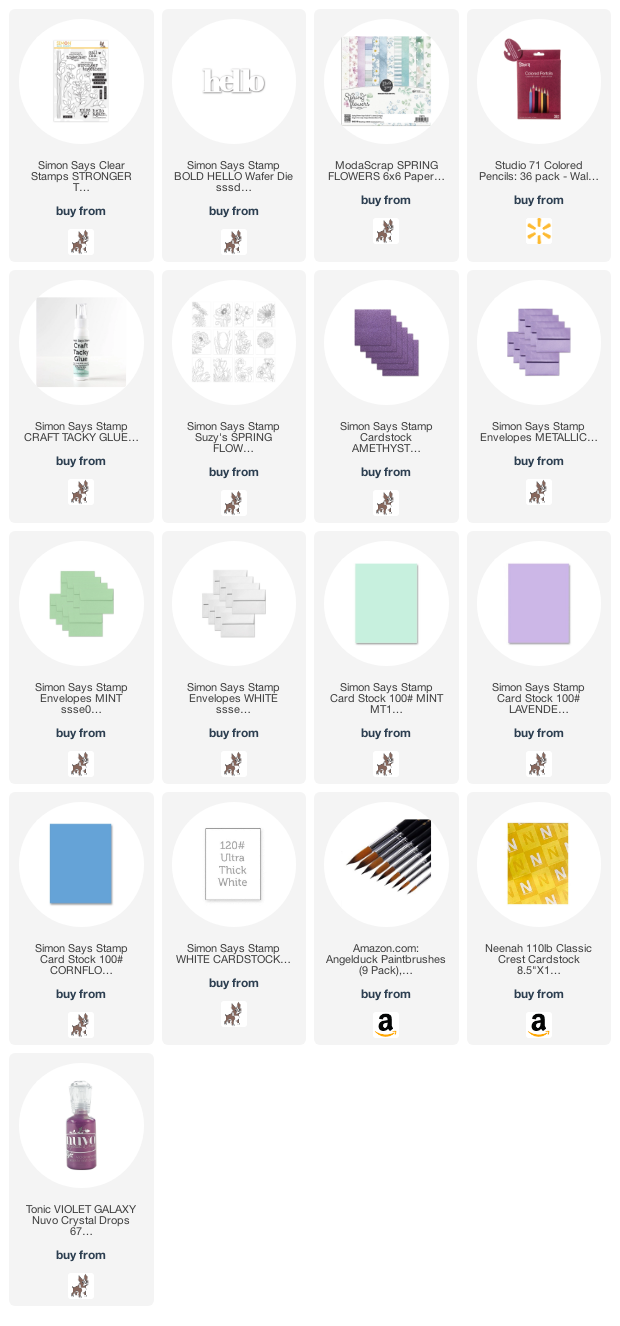
Happy Monday friends! Easter is fast approaching and even though we may not gather with all our families this year, we can still share happy sentiments with our loved ones by sending cards and gifts. We are going to have to get creative this year folks! Maybe instead of a community Easter Egg Hunt, try one in your back yard or inside your house. Decorate some cookies with your kids. For thedr two cards I used the very cute Hello Easter stampset from Simon Says Stamp. I like that the images are nice and big so they are easy to color and fill up more space on a card.
I stamped the ducky, large Easter egg, and the chickadee with 3 eggs from all the images I needed from Hello Easter stampset from Simon Says Stamp and the two eggs from SSS Some Bunny (not available anymore I believe) with Memento Tuxedo Black Ink onto Neenah 110lb Classic Crest Cardstock 8.5 X 11″. Once dried, I colored the images with COPIC markers. I used BG000 + 0 Blender for mini eggs and YG05 + YG07 for the grass; Y06 and Y18 for the both chicks; RV000 + RV11 for the chick’s bow; YR12 + YR16 for the chock beaks and feet; V06 + V09 for the umbrella top and BV08 + V09 for the umbrella underside, YR12 +YR07 + YR16 for the umbrella bow; Y06 + Y18 for the umbrella medallion; RV09 + RV14 + RV19 for the large egg, BG000 + BG01 + BG02 for the egg’s stripes and Y06 + Y18 for the egg’s bow; YR12 + YR16 and V06 + V09 for the small polka egg; and RV000 + RV11 and BG000 + BG01 for the small stripe egg. I fussycut the images out and adhered them to the card. I added 3M Foam Tape behind the images that hung over the edge of the grass.
Then I stamped the bunny, 2 tulip bundles and 1 daffodil from the Hello Easter stampset from Simon Says Stamp and the eggs from the SSS Some Bunny (not available anymore I believe) with Memento Tuxedo Black Ink onto Neenah 110lb Classic Crest Cardstock 8.5 X 11″. I colored the images with COPIC markers. I used N1 + N2 + N5 for the bunny, R20 + R32 for the bunny ears, cheeks and nose, R05 + R08 + R59 for the bunny’s bow; R20 + R32 and R32 + R37 for the tulips; and R08 + R59 and Y06 + Y18 for the daffodil. I fussycut all the images.
Thanks for reading this post. I hope you enjoyed and I’ve inspired you to give these cards a try for yourself. Have a great Easter! Leave comments or questions below or feel free to email.
Happy Sunday friends! Hope you are safe and having a good weekend. Today I am bringing you this card featuring the very cute gnomes from Simon Says Stamp Lil Gnome Wafer Dies. This die was included in the December 2019 card kit and but is great for Spring, Easter or any occassion cards! I paired them with some cute Lawn Fawn border dies to create a fun little Spring cards. This card is mostly ink blending and diecutting so if you don’t like stamping or coloring, this card is for you!
I assembled the two gnomes and moved on to assembling the card. I adhered the sky background to the card base and the added the back grassy border to the card with glue and the front grassy border with 3M Foam Tape. I added the gnomes to the card, adhering one with glue and one with Stampin’ Dimensionals.
On the inside of the card, I stamped another greeting from the Lawn Fawn Oh Gnome! stampset in Memento Tuxedo Black Ink and added some tulips that were left over from the front of the card. And that completes this card.
Thanks for reading this post. I hope you enjoyed and I’ve inspired you to give this card a try for yourself. Leave comments or questions below or feel free to email.
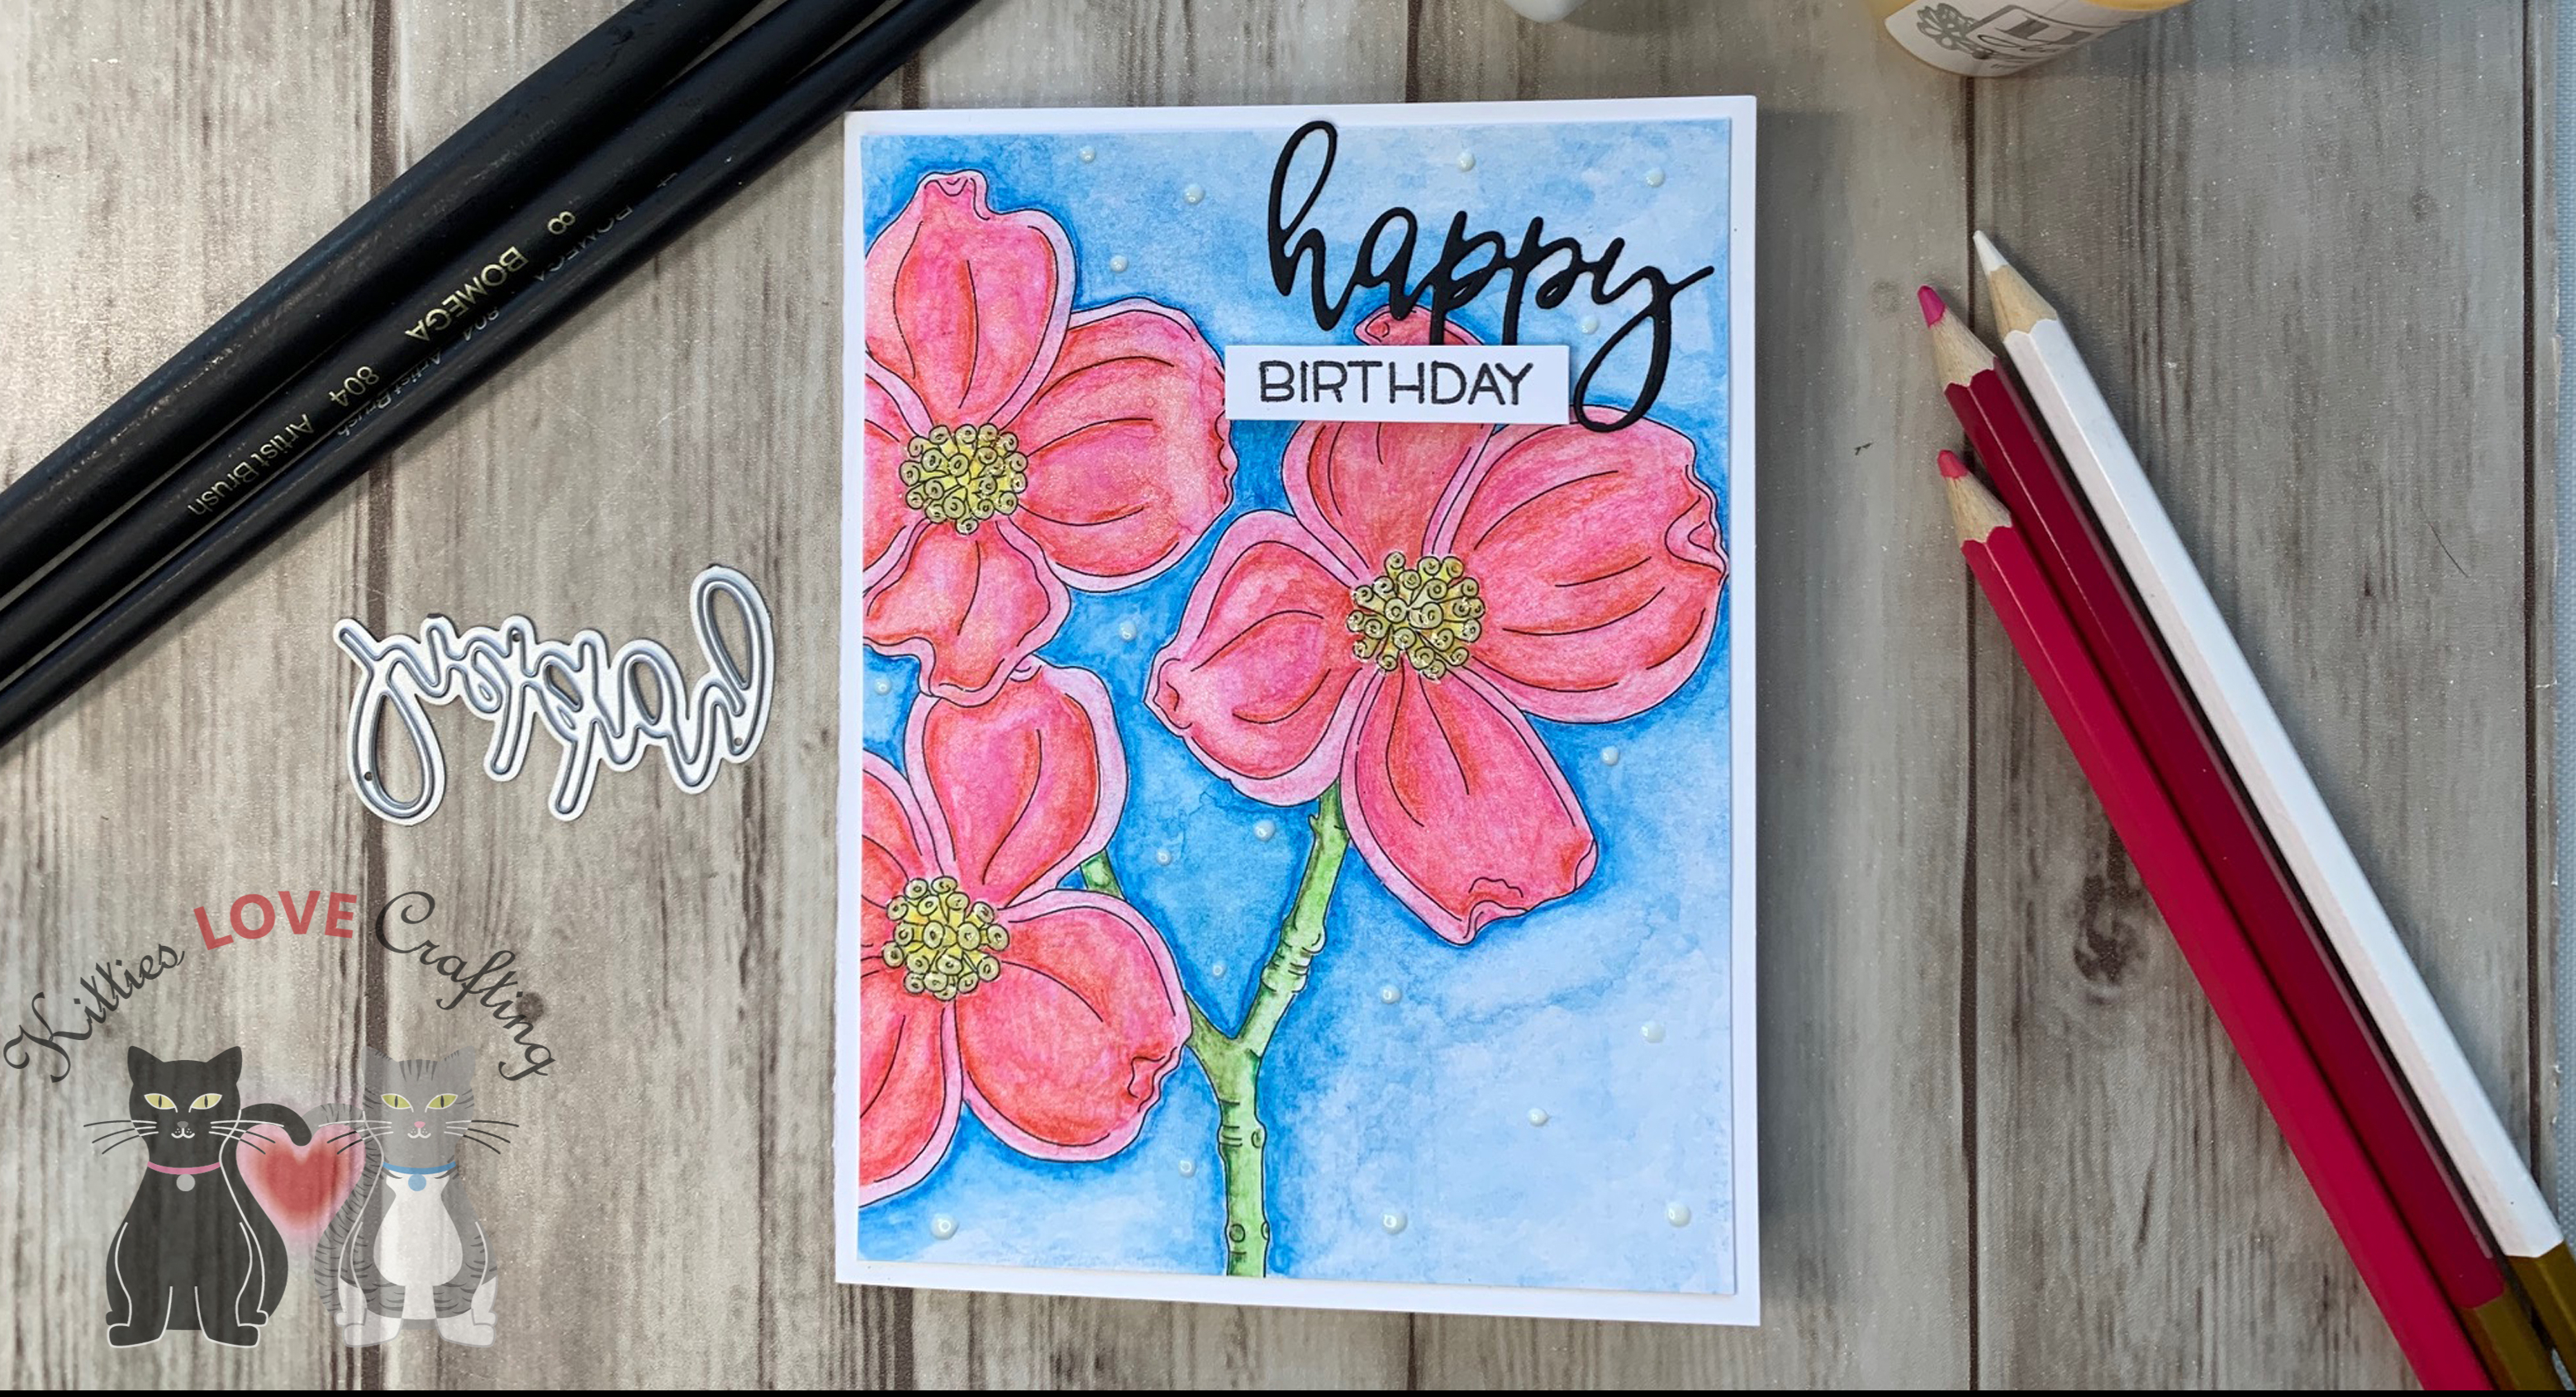
Happy Hump Day friends! Here’s another quick card using the Simon Says Stamp’s Stronger Together March Card Kit. I’ve been having fun watercoloring with the pencils included in the kit. The quality of the pencils is not bad. You have more control with pencils than you do with traditional watercolors so it’s definitely a great option for folks (like me) who are not great at watercoloring. My colors tend to run into each other. Anyone else have this issue??
Thanks for reading this post. I hope you enjoyed and I’ve inspired you to give this card a try for yourself. Leave comments or questions below or feel free to email.
Spring is officially here friends! And when I think of Spring, I think of beautiful flowers in bloom and soft pastel colors. And this Card Kit from Simon Says Stamp is perfect for spring cards, as well as Easter cards and even Mother’s Day cards! And can we talk about the purple glitter paper included in this kit?!? OMG, just gorgeous.
Thanks for reading this post. I hope you enjoyed and I’ve inspired you to give this card a try for yourself. Leave comments or questions below or feel free to email.
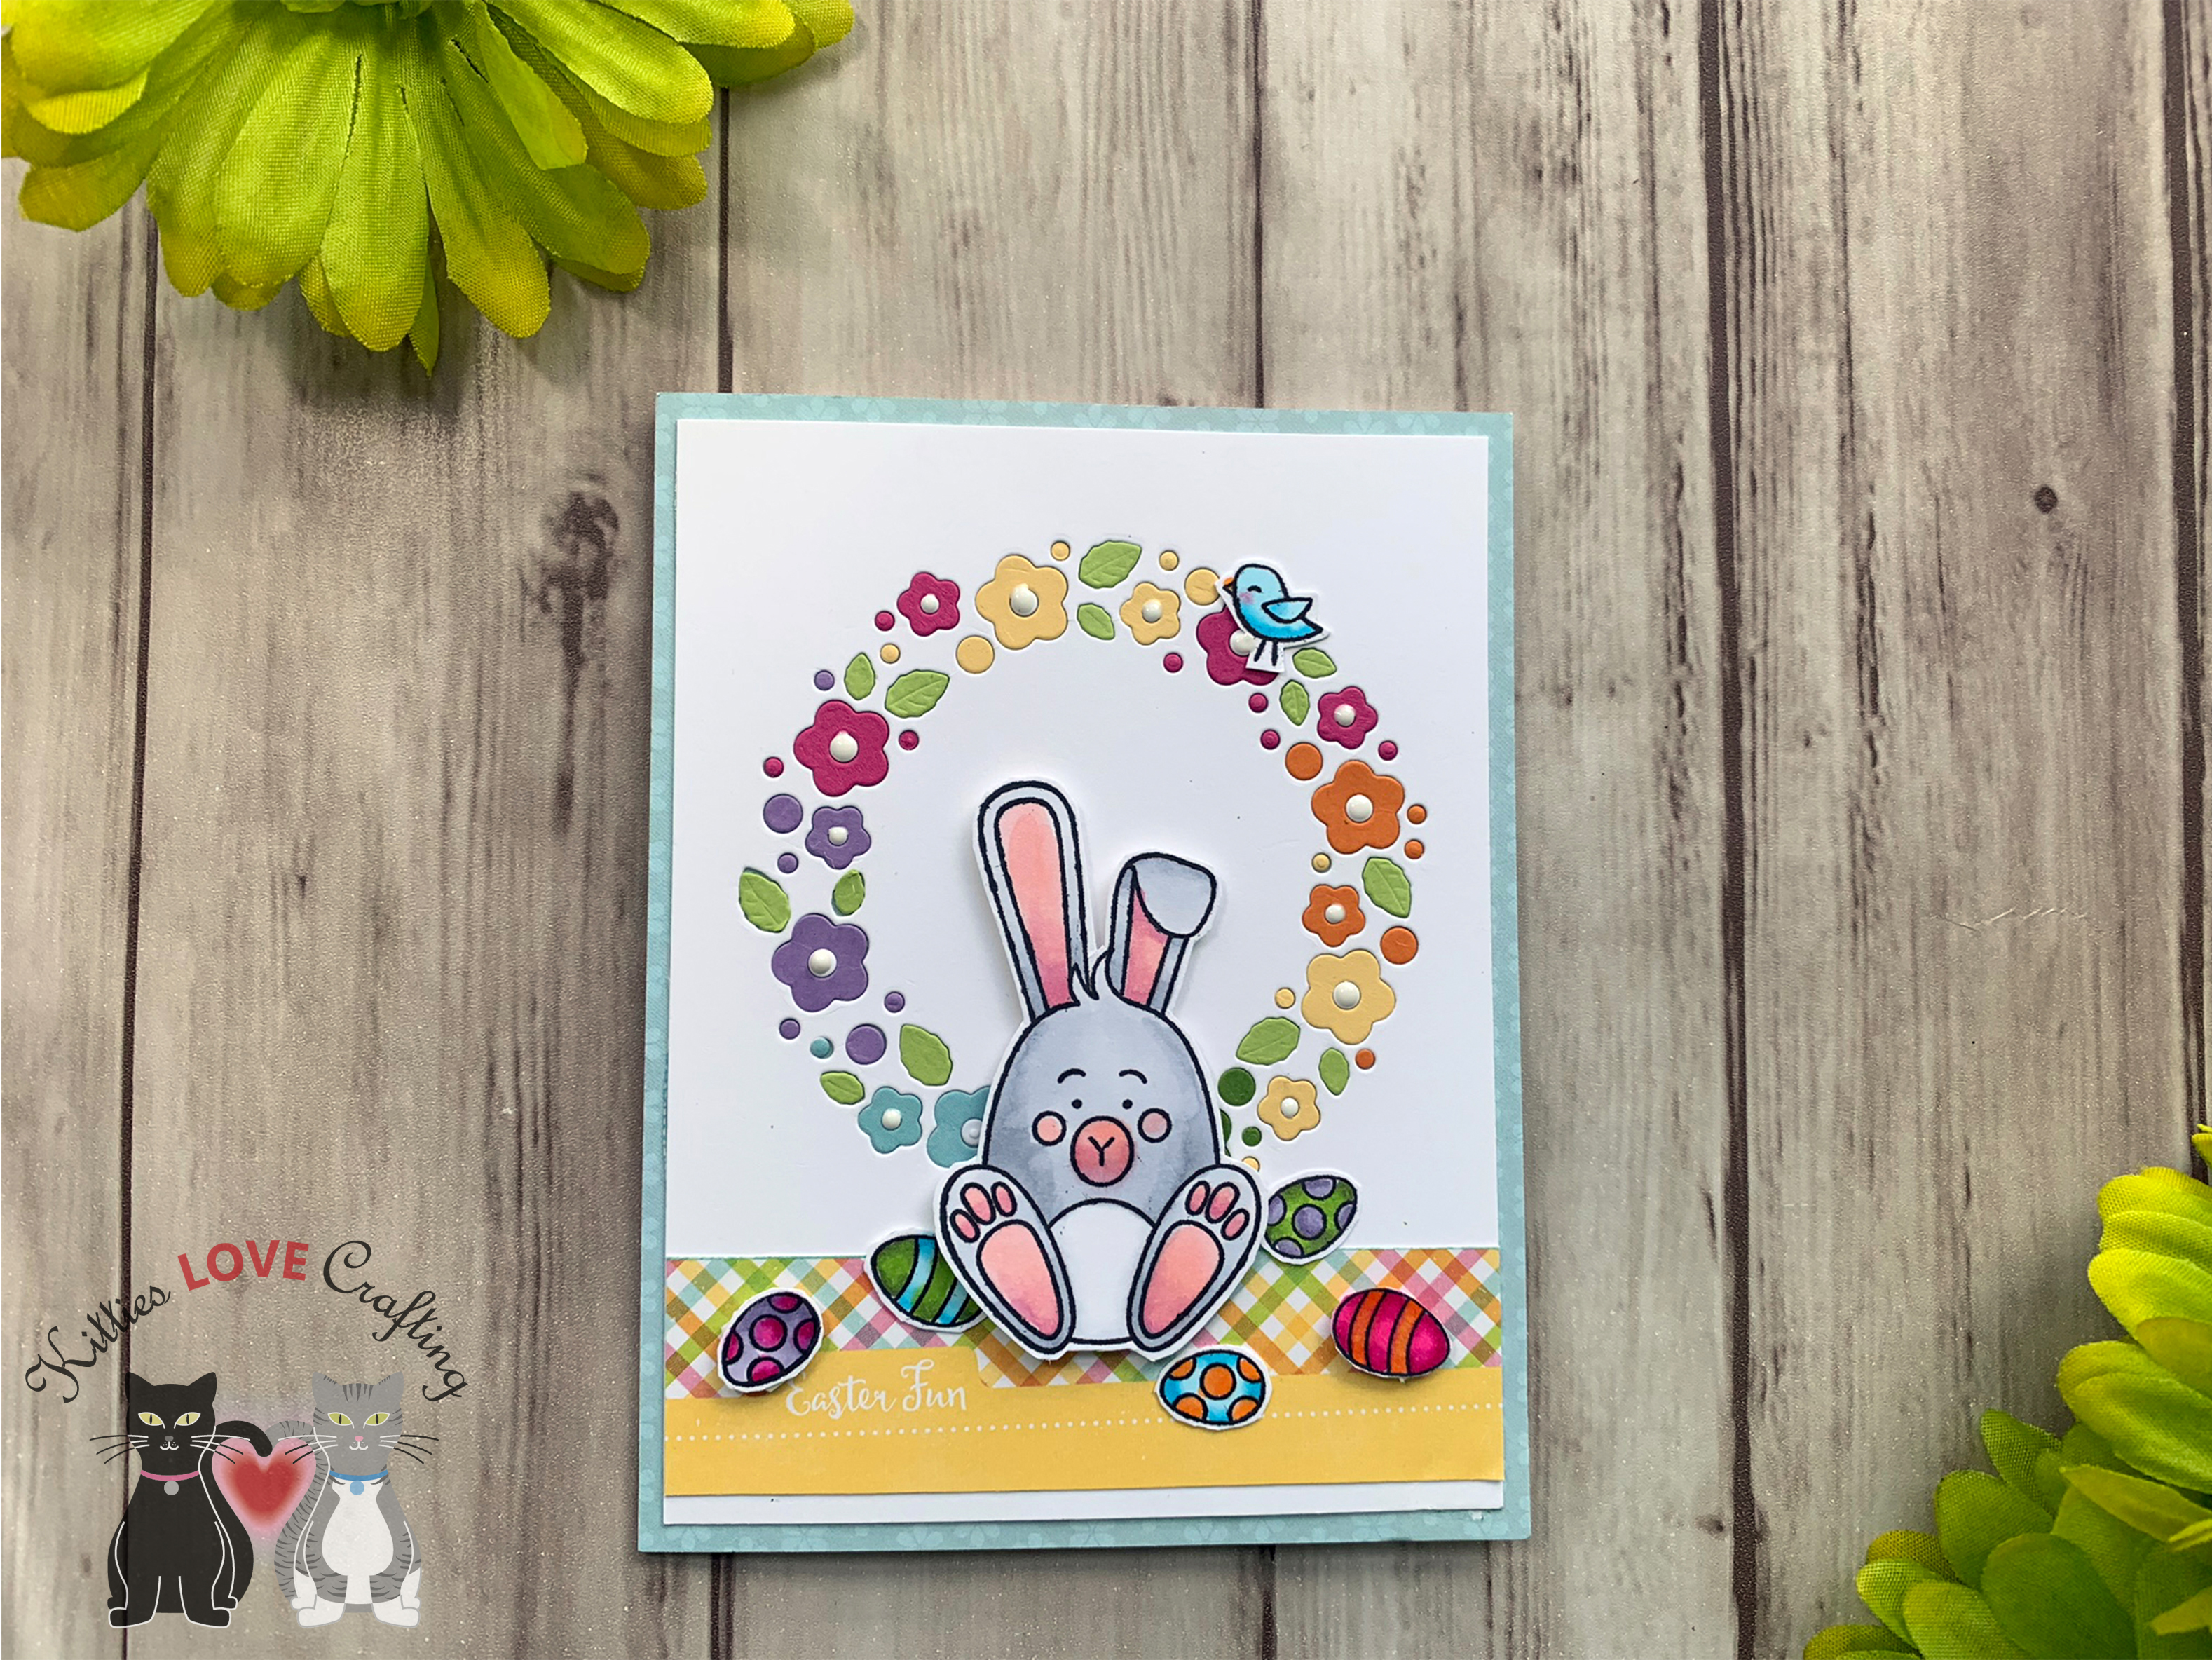
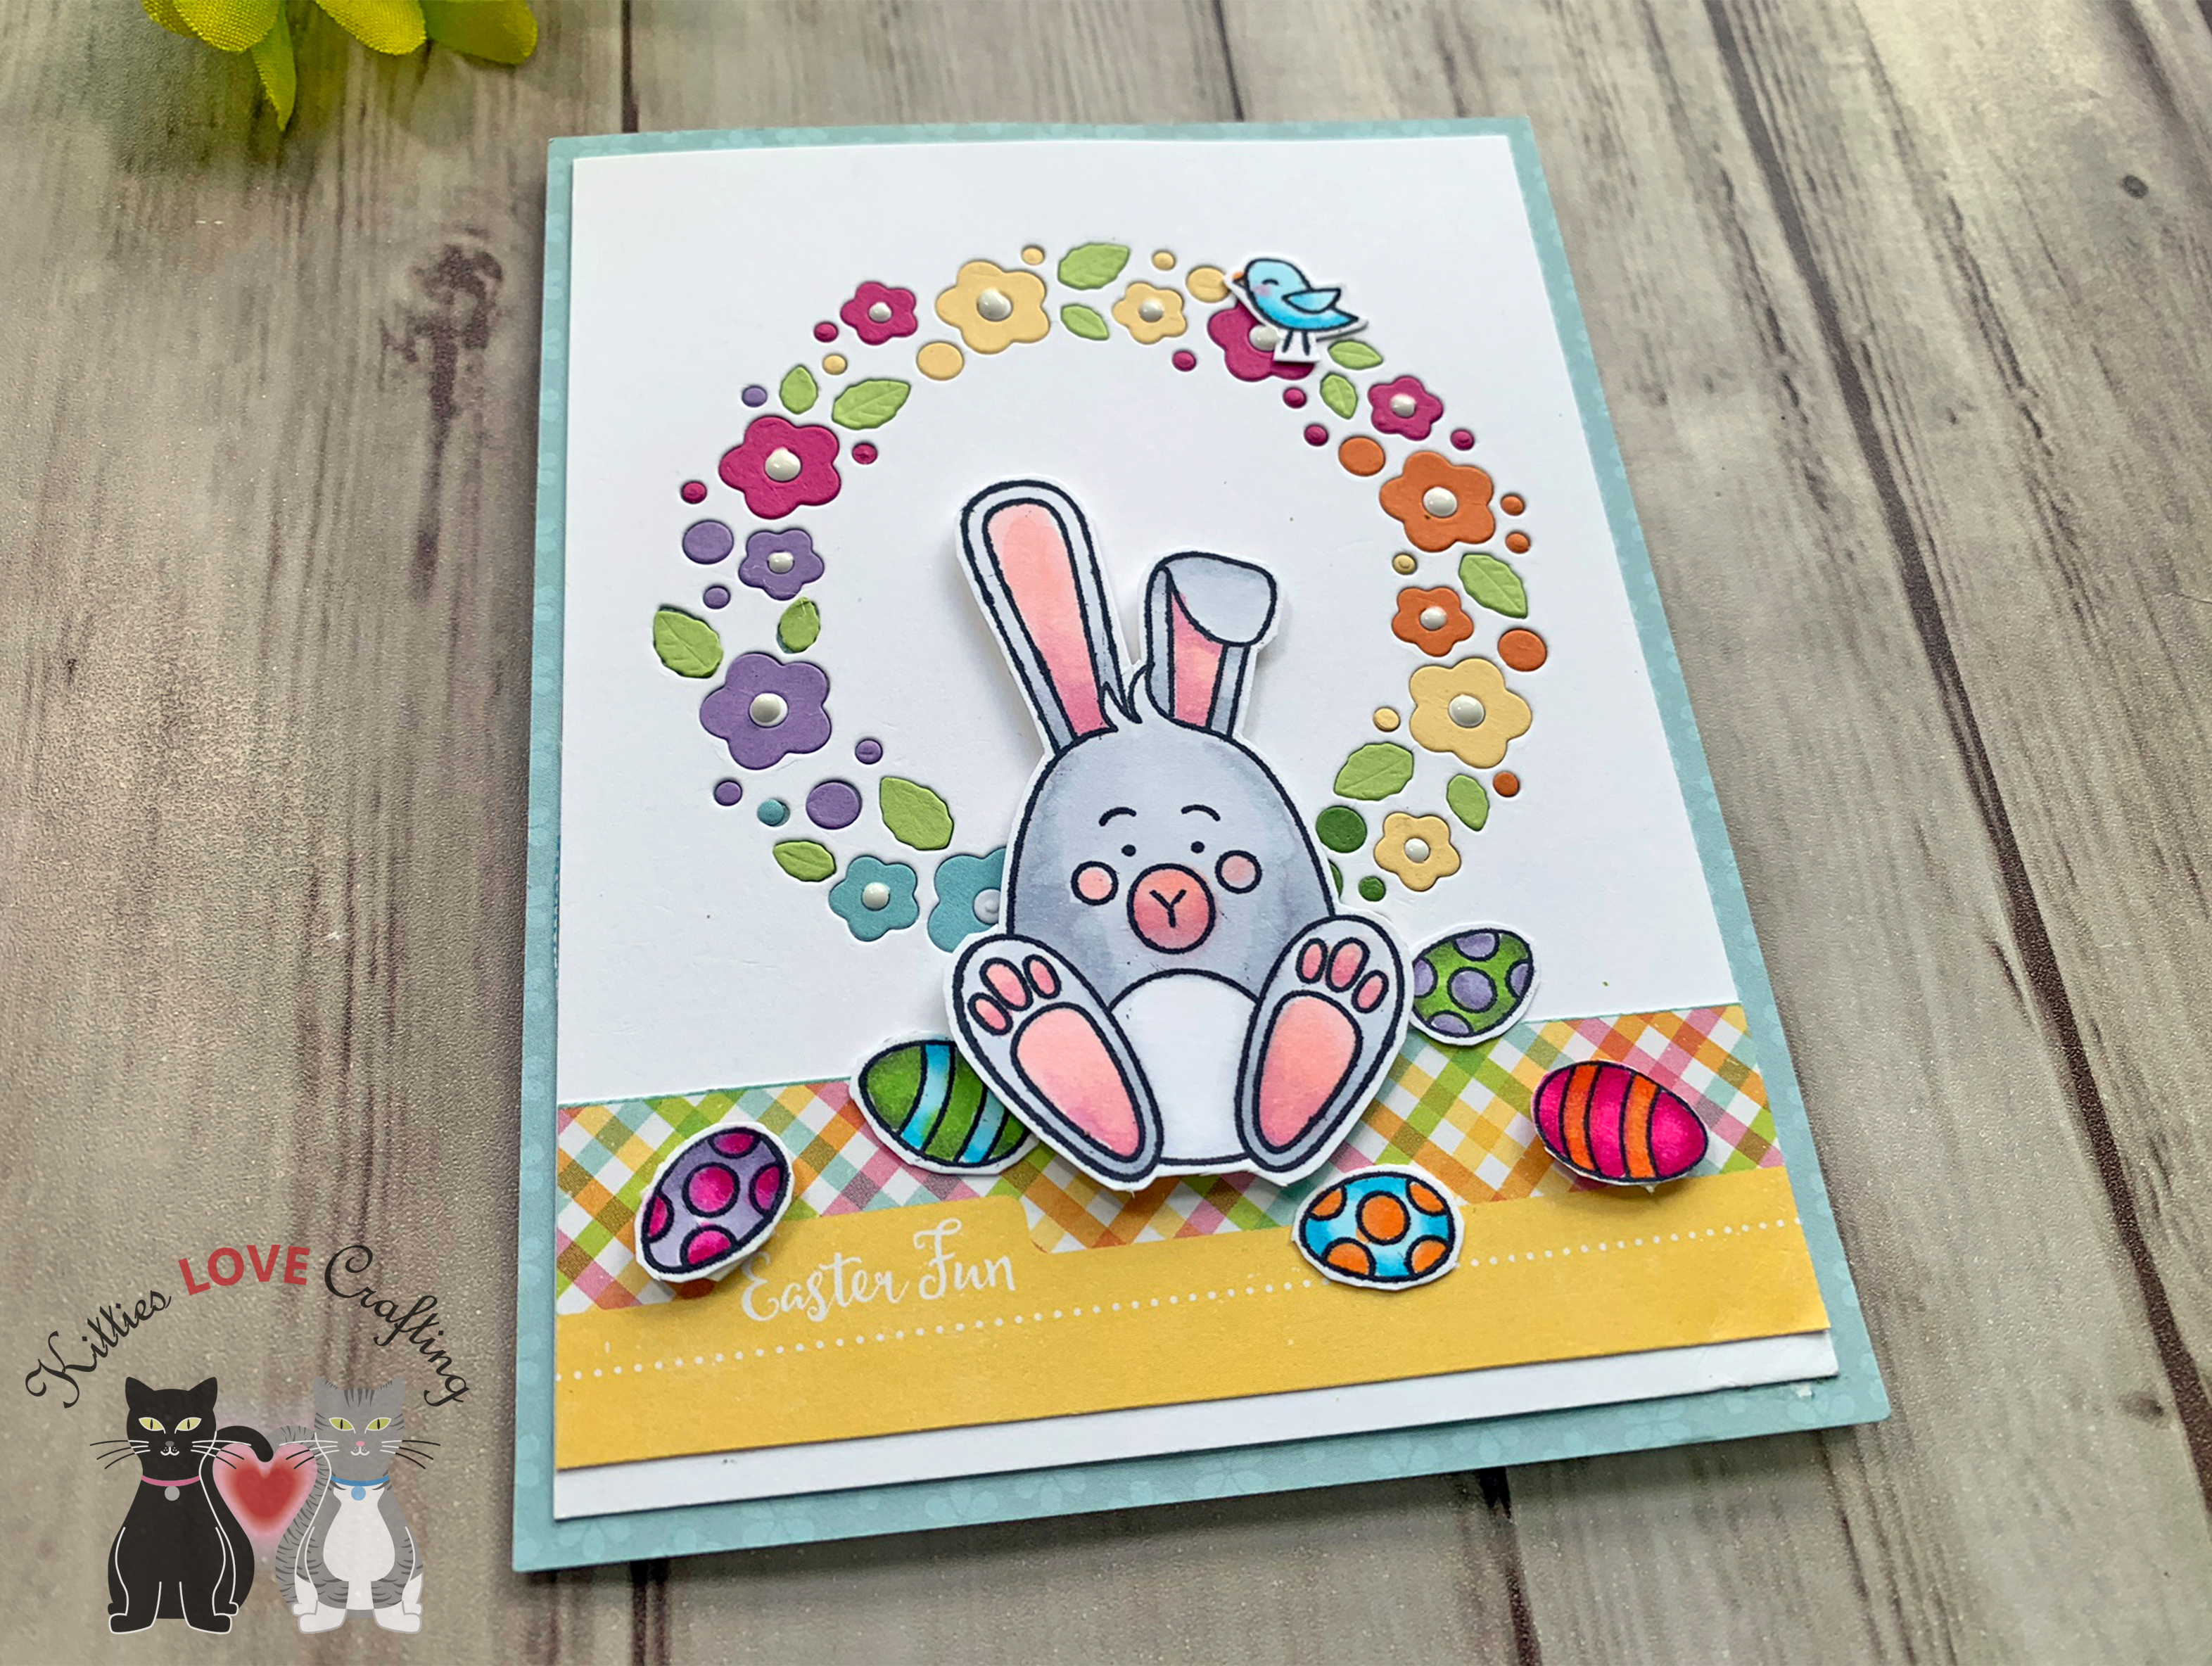
Hi friends. Today I’m bringing you two cards featuring the Simon Says Stamp Dazzling Circle and Blooming Circle Dies. One card uses the dies in the way they were intended but the second card uses it in a different way — using the positive diecuts to create a background. This is an easy way to create a background.
Traditional Use of Die
For the first card I started by cutting a piece of Neenah 110lb Classic Crest Cardstock 8.5 X 11″ to 5-1/2 x 8-1/2″ and scored at 4-1/4″. Then I cut a piece of green gingham paper (from the Birthday paper pack included in the Crafty Parcel) to 4 x 5-1/4” and diecut the wreath in the top center of the panel using the Simon Says Stamp Dazzling Circle Die (no longer available as it was part of the Stamptember release). I added some 3M Foam Tape to the back of the panel and adhered a square piece of Stampin’ Up! Granny Apple Green 8-1/2″ X 11″ Cardstock on the card base behind the wreath. The easiest way to do this is to add the foam tape to the wreath panel and then attaching the green square piece behind that and then adhering it to the card base.
On the inside of the card, I cut a strip of Green Gingham paper (from the Birthday paper pack included in the Crafty Parcel) to 1 x 4-1/4″. I stamped a greeting from the Catherine Pooler Stamp of Approval Young at Heart Collection stampset(I don’t think this is available in her shop anymore) in Memento Tuxedo Black Ink and Catherine Pooler Party Dress Ink. I finished it off by adding some additional flowers.
Thanks for reading this post. I hope you enjoyed and I’ve inspired you to give your old stand-alone dies a second look and try some new techniques with them. Leave comments or questions below or feel free to email.
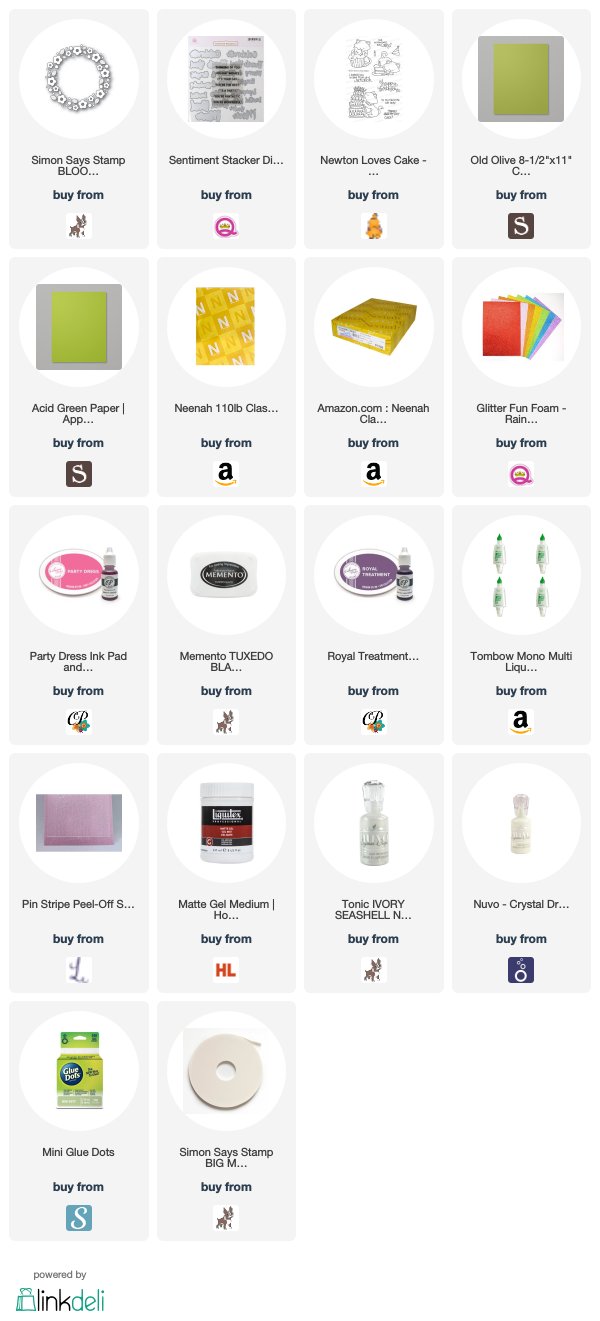
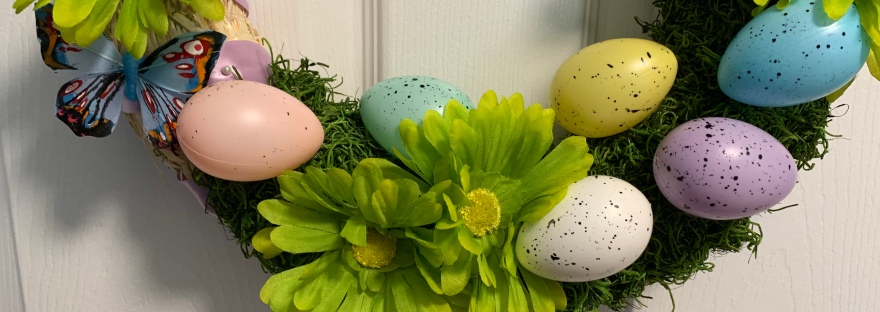
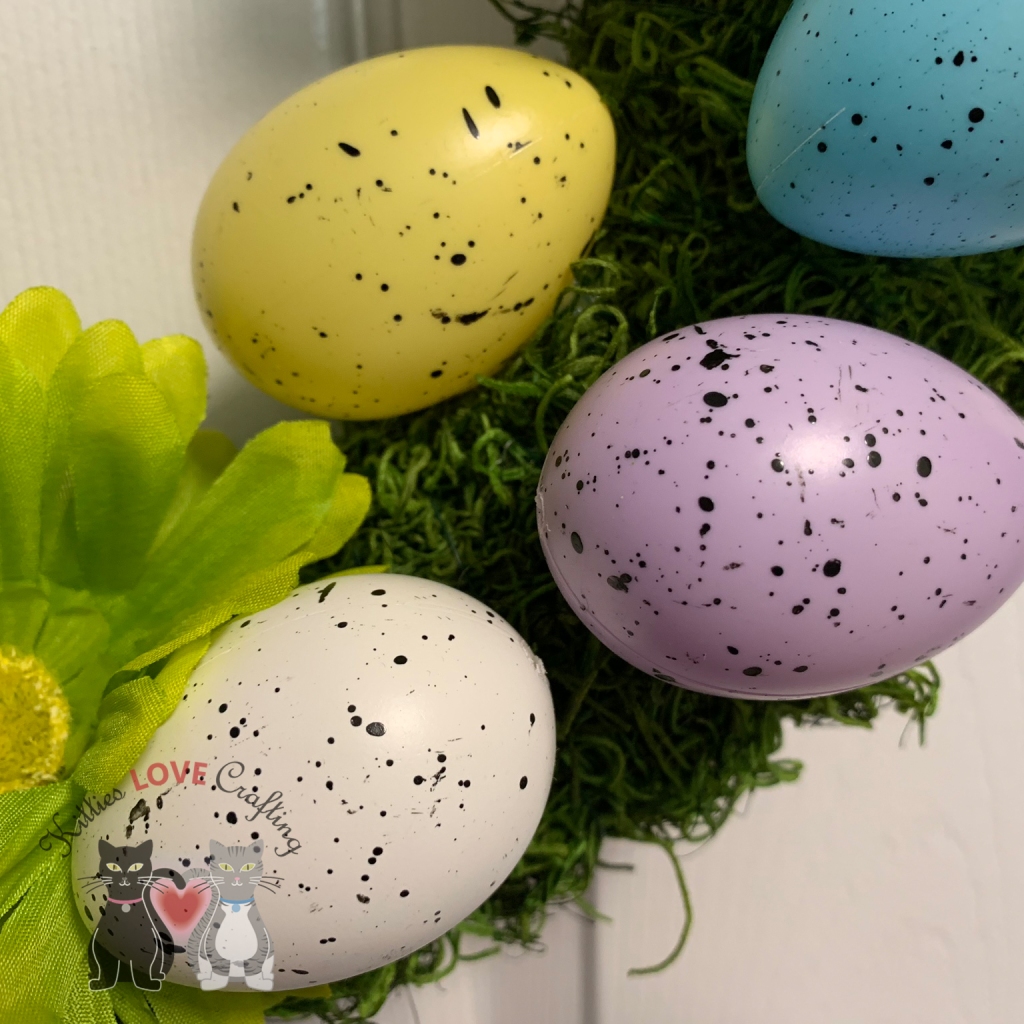
Easter is around the corner and I finally got around to making my Easter Wreath. Yay! I made this wreath using mostly Dollar Tree supplies. My store didn’t have much so I ordered from their online store and had it shipped to my house. They offer a ship-to-store option too.
A word of caution…if you order flowers online they can arrive crushed as mine did. I ordered 6 stems and only got 5 usable flower heads out of it and those were not that great as you will see in the photos. Keep that in mind.
Anyways, it was super easy and quick to make. I started off with a 10-inch straw wreath form. I got mine from Hobby Lobby, but they are readily available at other craft stores and online. Check Amazon, Michaels, Joann Fabrics, Walmart and Dollar Tree. My local store did not carry it but I’m guessing others might. I carefully removed the clear plastic wrap around it as it tends to shed. Nor,ally I would normally leave the plastic wrap on it but since I wanted this to look natural and .organic, I removed it.
After cleaning the straw debris from my desk, i wrapped some 5/8 inch wide lavender satin ribbon around the wreath, creating a stripe pattern. I get most of my ribbon from the Ribbon Retreat. This color is called purple haze. A tiny dab of hot glue on each of the ribbon ends secure it to the wreath.
I added the moss next. I used Green Spanish Moss I hot glued it onto the bottom half of the wreath. Once I had enough of the area covered, I wrapped Green Floral Wire, 22 Gauge around the moss to secure it further. Ok the hard part is done. Time to decorate.
Card 2 turned into a Mother’s Day Card. When I started working on these cards I had no idea what the theme would be so I didn’t pick sentiments. But after adding the daisy pattern paper (from Doodlebug 6 x 6 Double-sided Paper Pad-Easter Express (discontinued)), I decided to make into a Mother’s Day card. I used the Simon Says Stamp Blooming Wave Wafer, to create a border then inlaid the flowers after diecutting several pieces of scrap yellow and green cardstock. I used Lawn Fawn Happy Happy Happy Sentiments and the Lawn Cuts Happy Happy Happy to creqte this dimensional sentiment. Finished it off by adding Nuvo Crystal Drops in Ivory Seashell.
Hope you’ve enjoyed this process post and I hope I’ve inspired you to create some cards of your own. Thanks for stopping by and once again please leave questions in the comments or feel free to email me if you prefer.
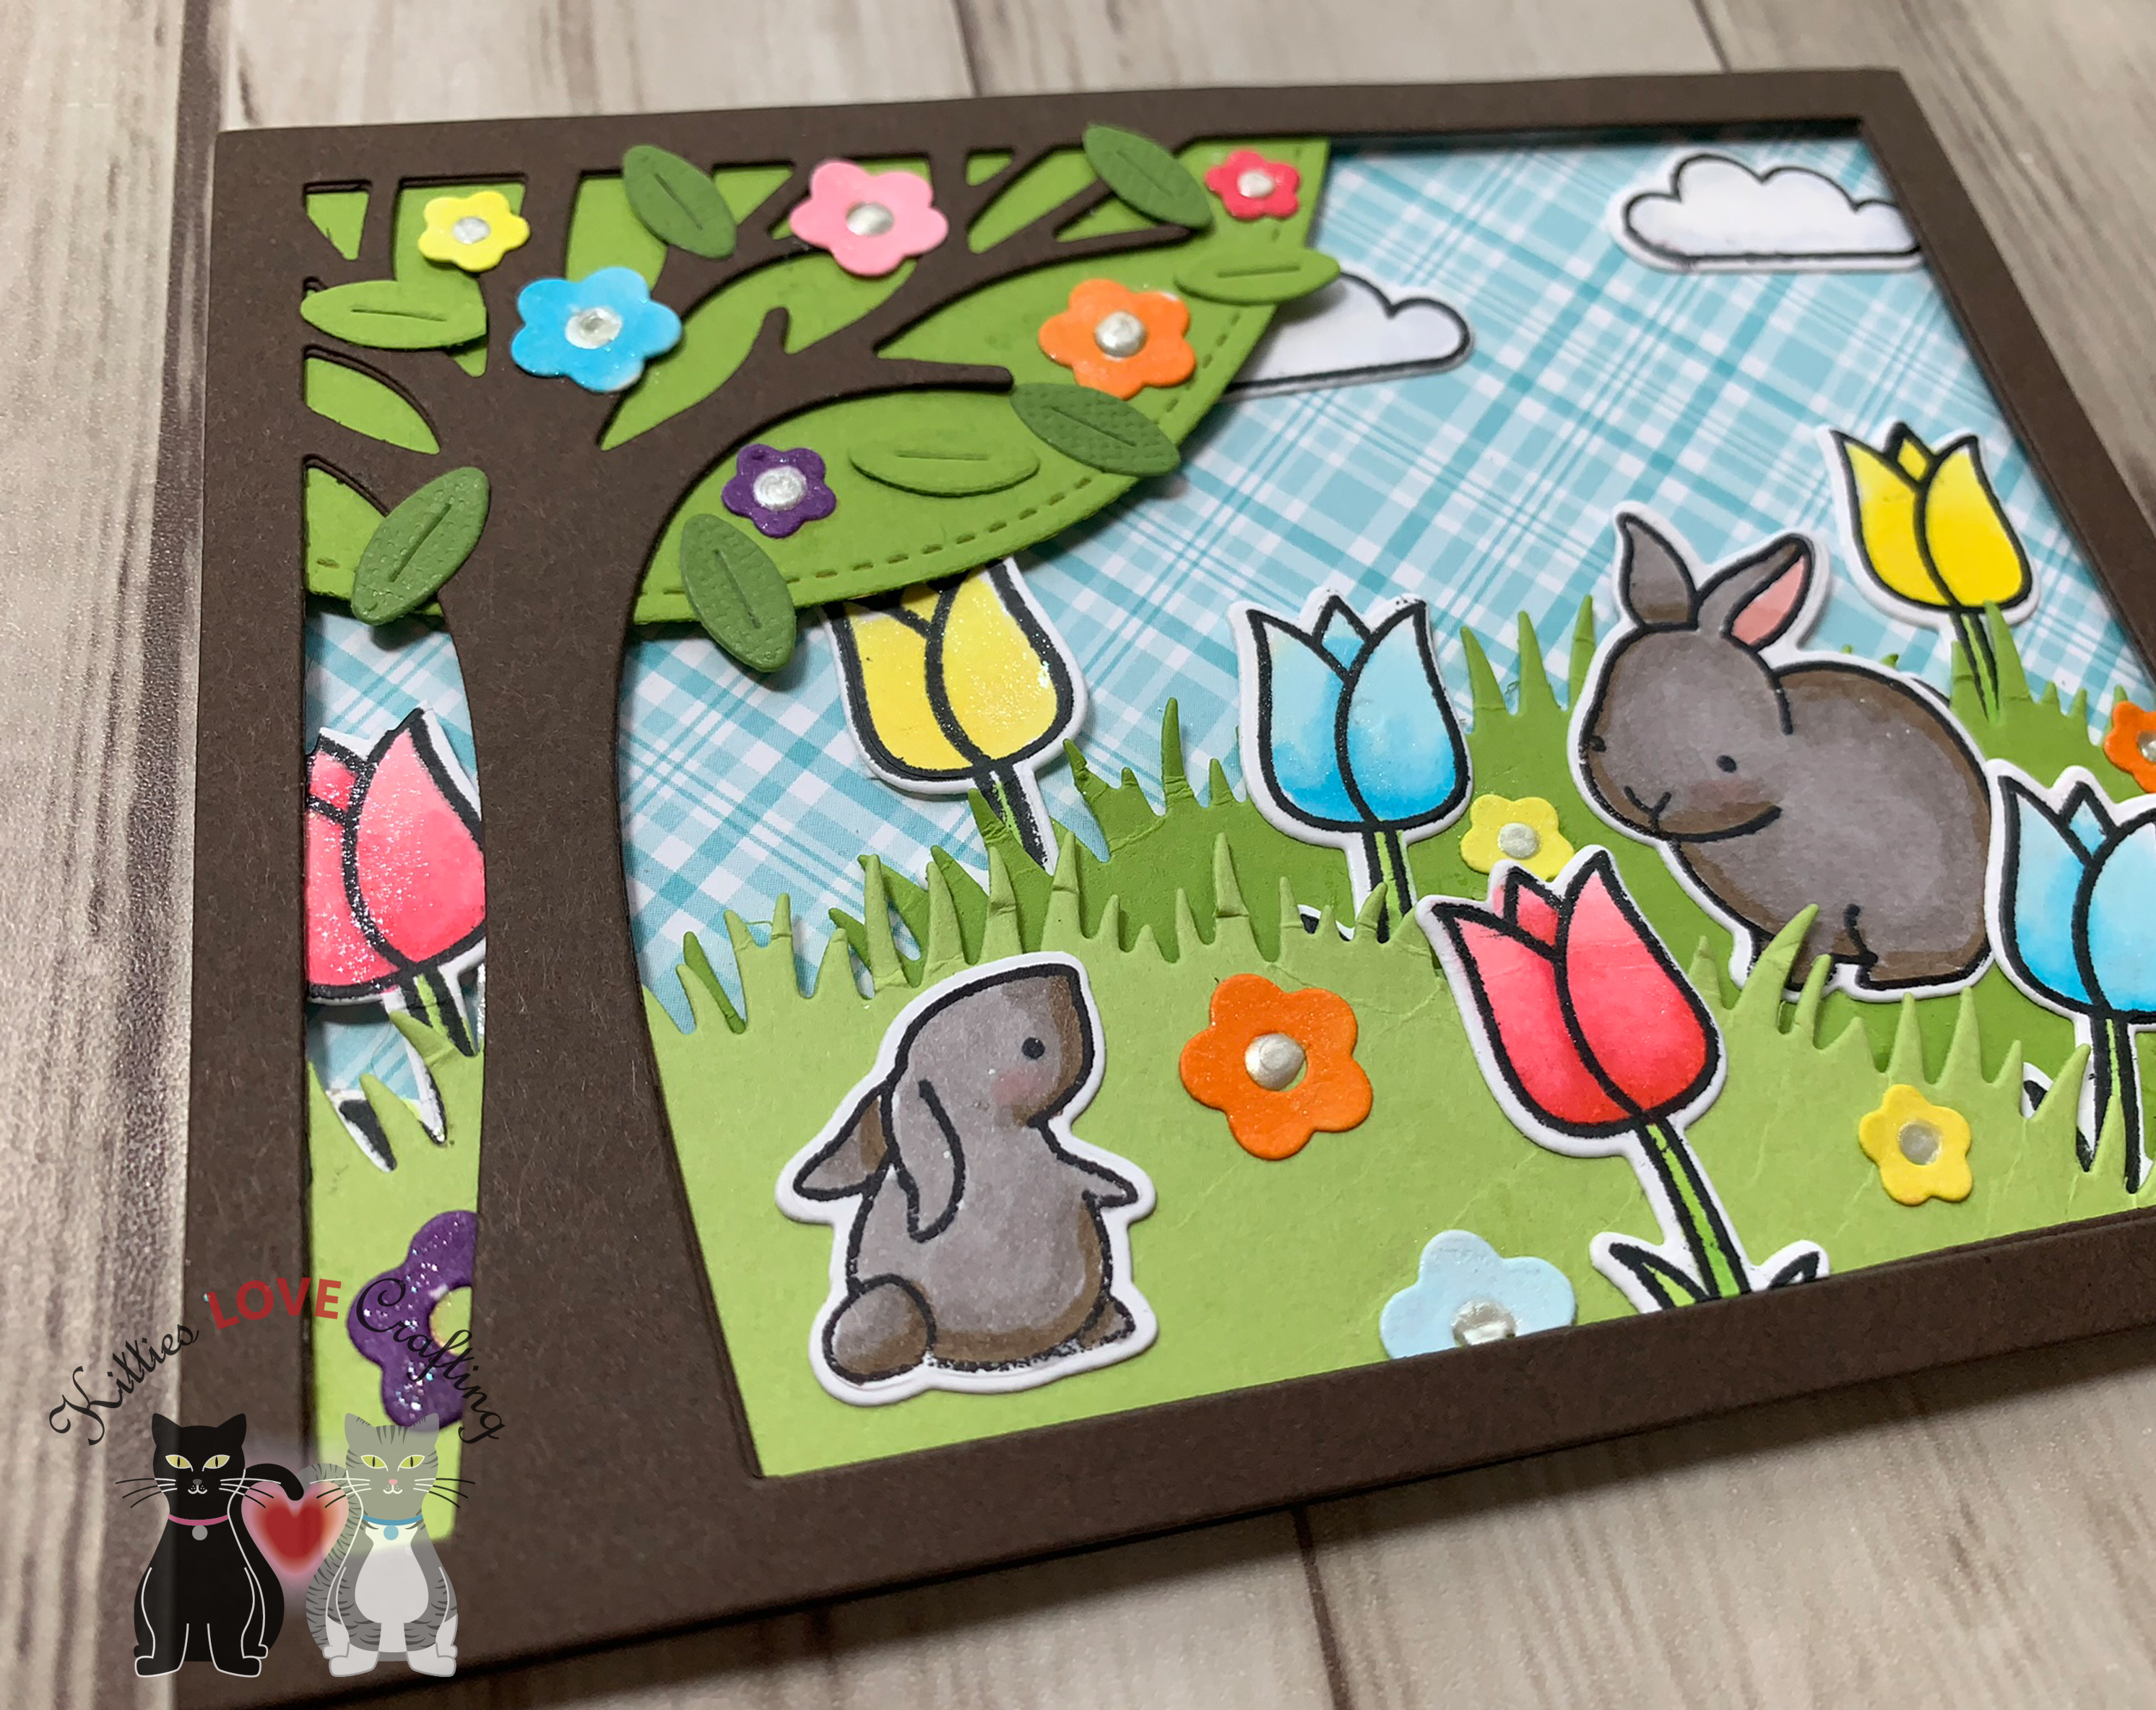
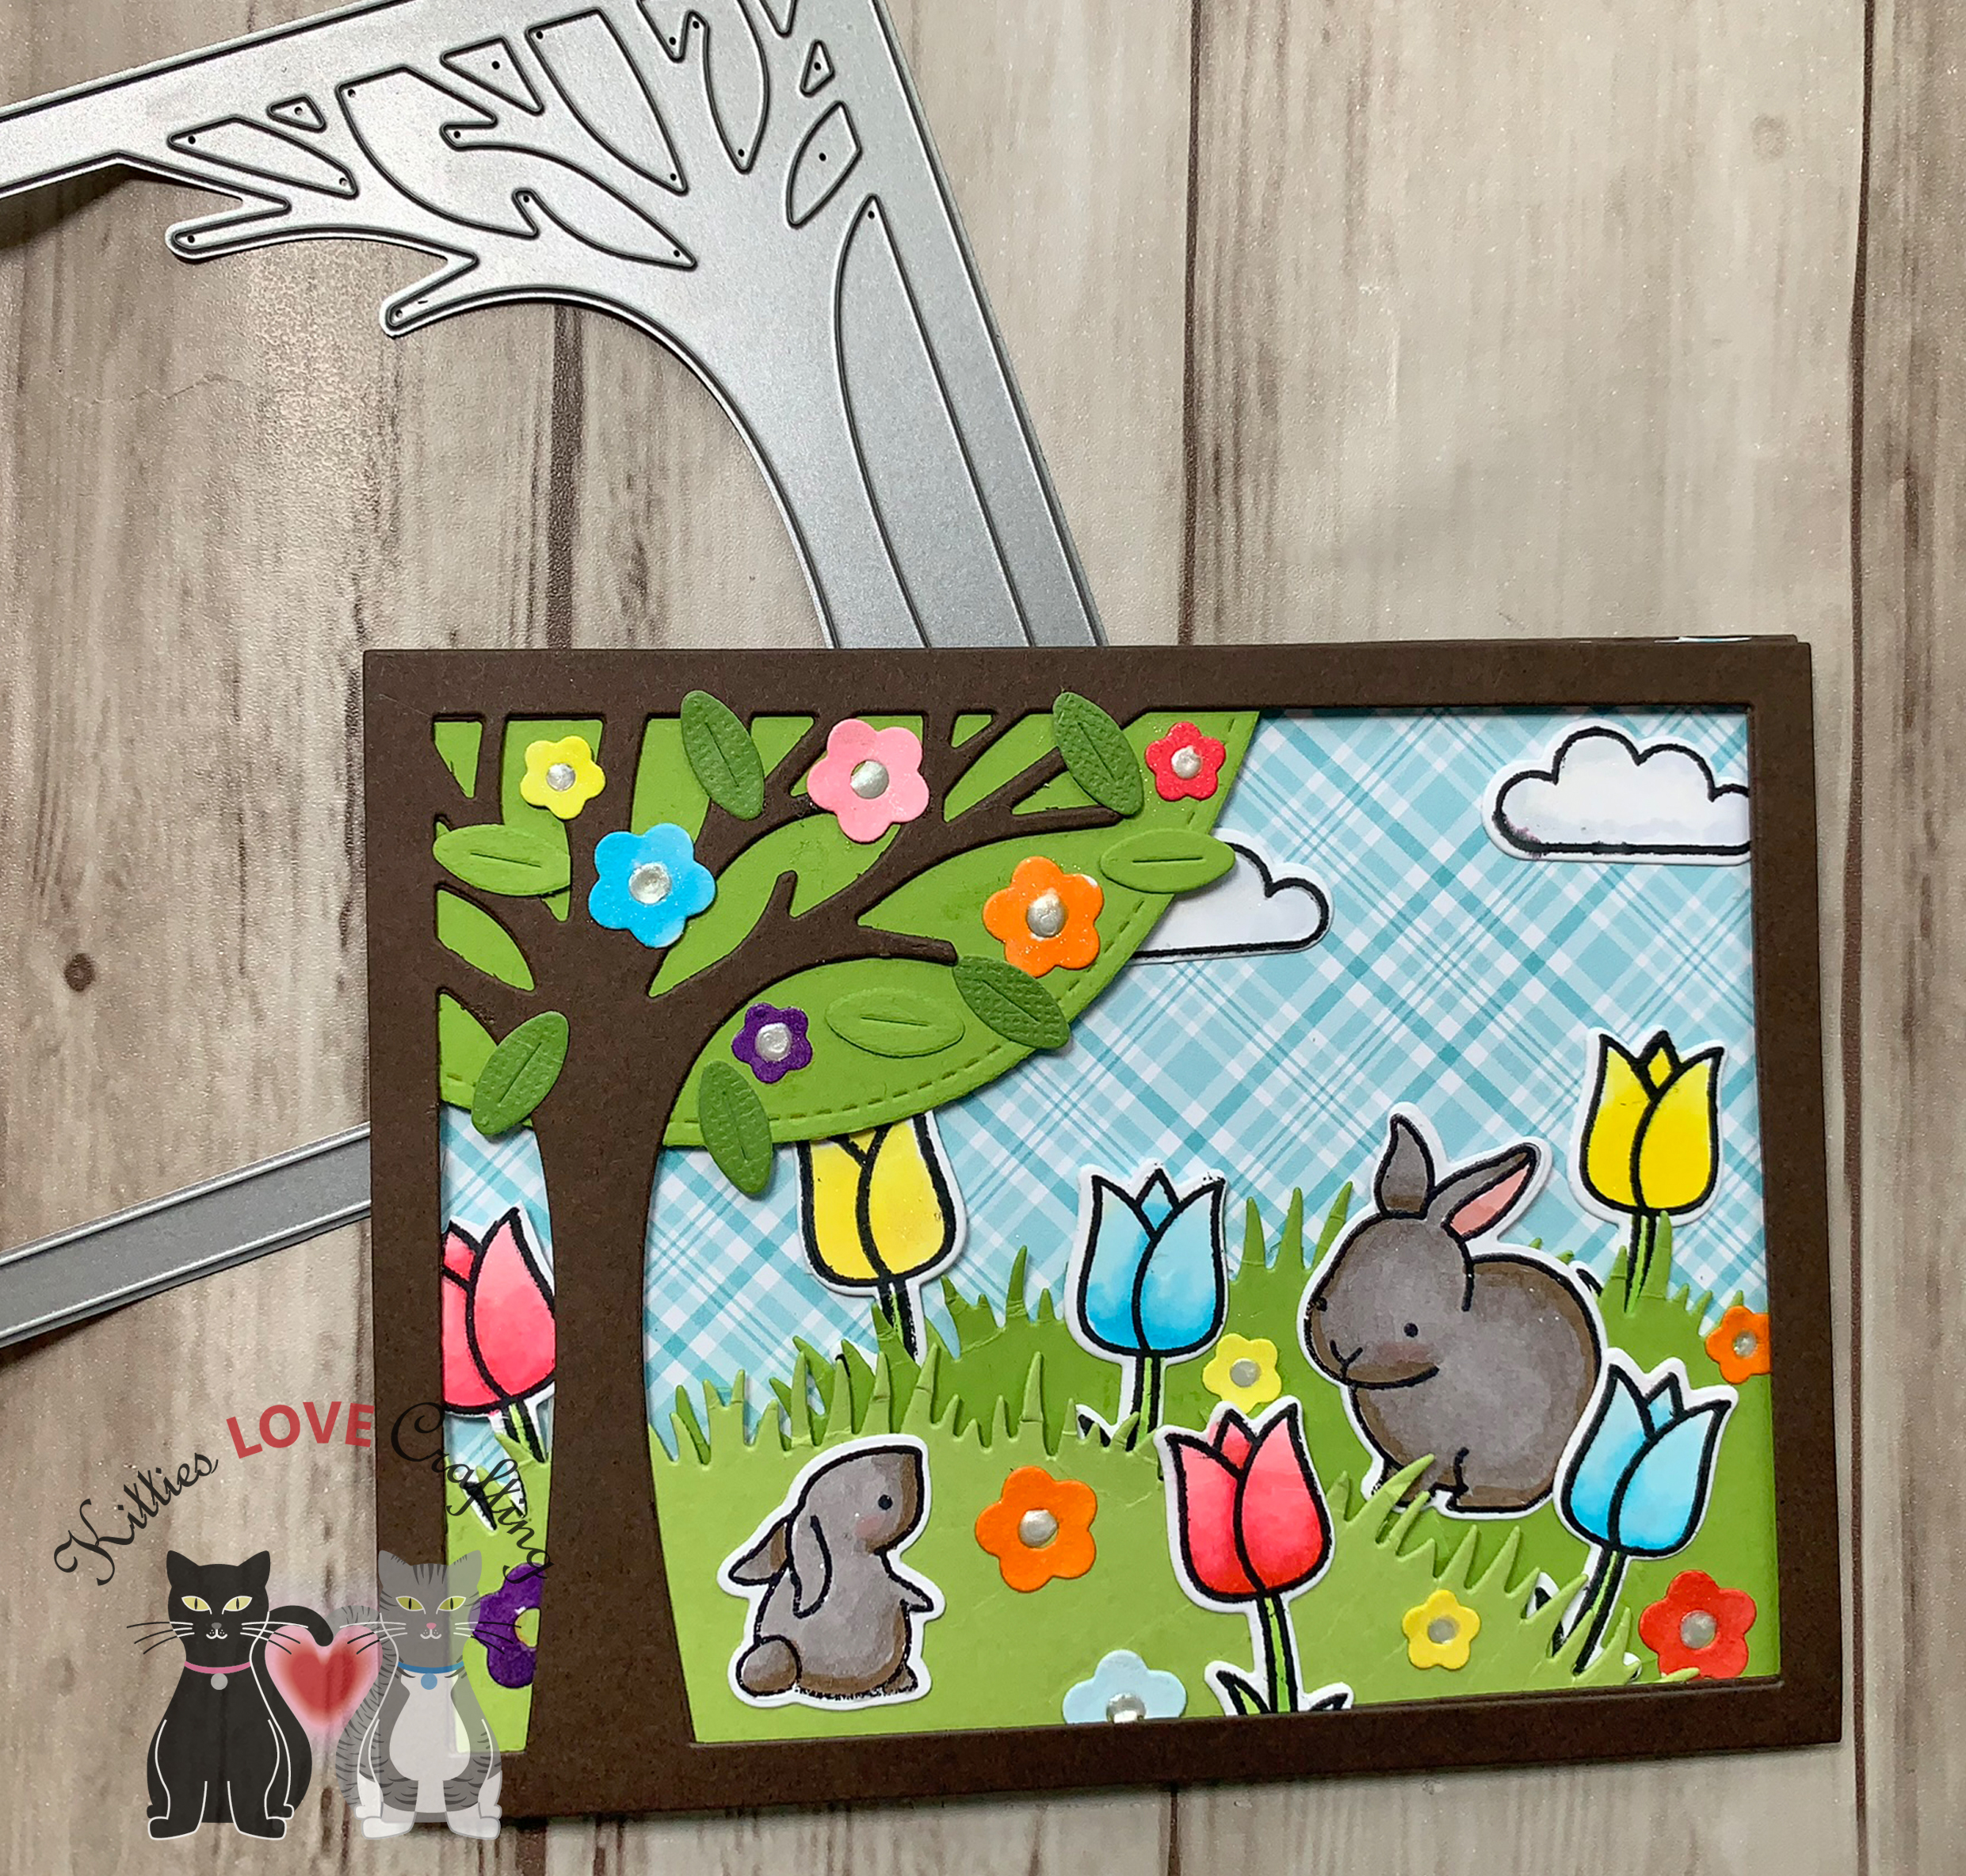
Happy Friday!!! It’s time to celebrate the arrival of Spring with this cute card featuring bunnies hopping through the tulips. Can also be used as an Easter card. This card is available for purchase in my Etsy shop.
Ok it may be winter still but I wanted to show how you all that you can use stamps meant for a specific event or holiday and use it for other type of cards. This allows us to stretch our stamps and dies.
Celebrate Spring
I used an older Lawn Fawn stampset, Hello Baby, which is meant for baby cards and used it for a Spring scene instead. Lawn Fawn stamps are great because you can combine different stampsets and they look like they belong together.
The inside of the card is decorated with matching pattern paper and diecut tiny flowers. Then stamped with “Happy Spring” using Lawn Fawn How You Bean?
Hope you’ve enjoyed this process post and I hope I’ve inspired you to create some cards of your own. Thanks for stopping by and once again please leave questions in the comments or feel free to email me if you prefer.


 https://linkdeli.com/widget.js?id=f5e8378456858c916708