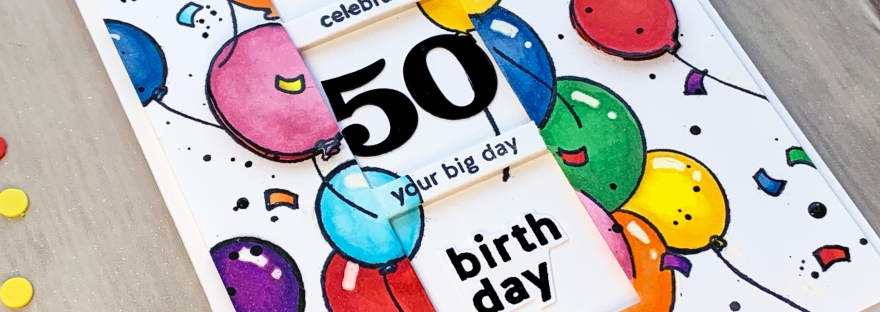
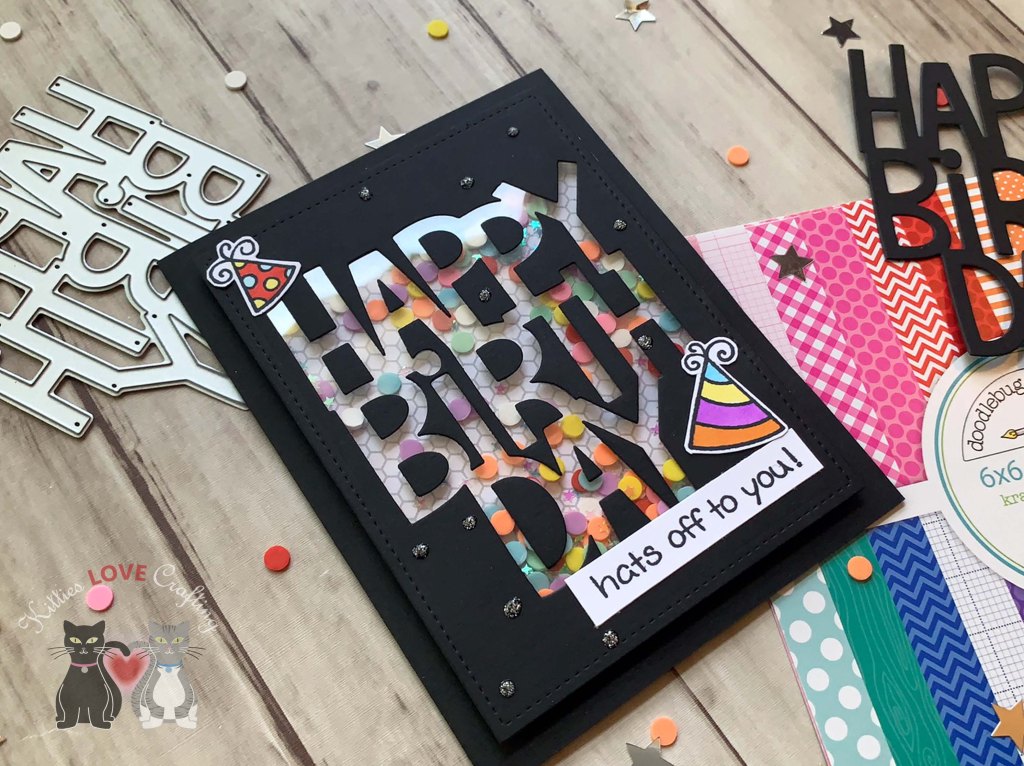
Hello friends. Here’s a another shaker card that can be used for anyone but this one features a large sentiment as the shaker element. These giant sentiment dies from Lawn Fawn are a great way to make quick cards that make an impact.
Thanks for reading this post. I hope I’ve inspired you to give this birthday shaker card a try for yourself. Leave comments or questions below or feel free to email.
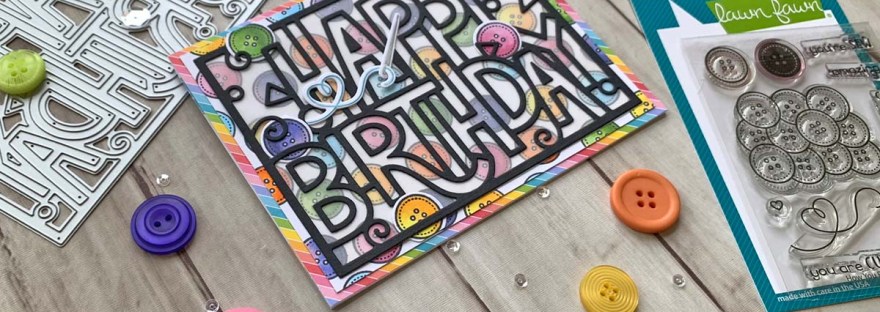
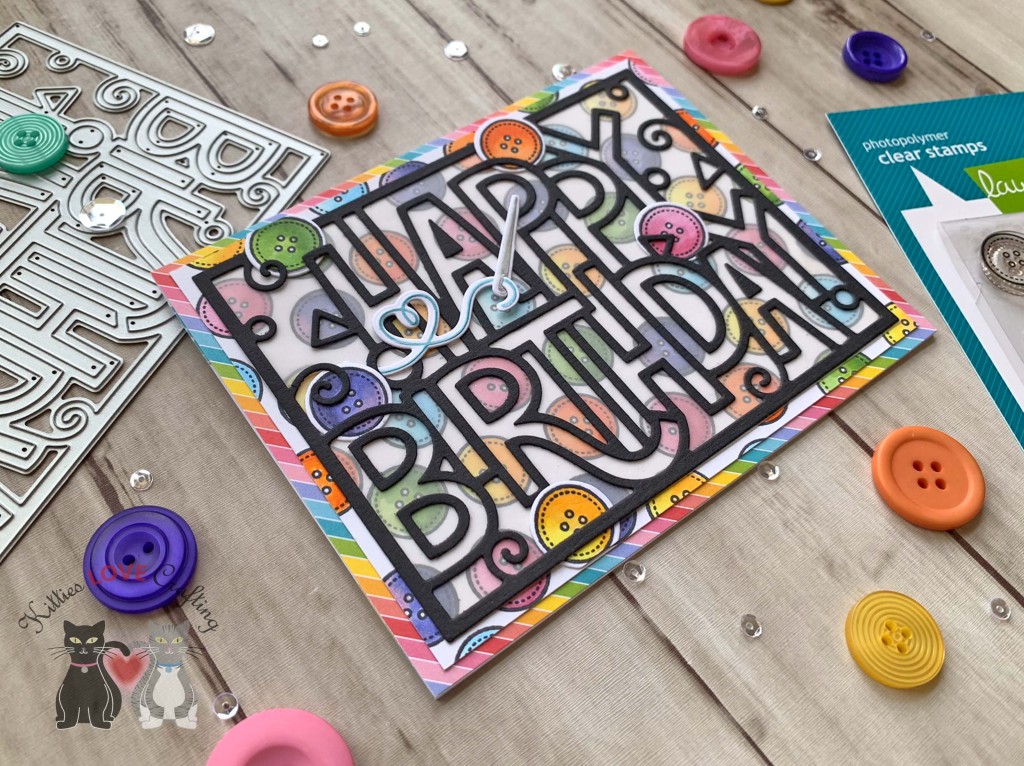
Hello friends. I just had to make another rainbow card using the Lawn Fawn Giant Outlined Happy Birthday dies. This time I’m using the Landscape die with a stamped background. I used the new Lawn Fawn How You Bean? Buttons Add-on to create the background. This card was super easy to create. And if you don’t like coloring images, this stampset has a solid button image you layer over the button outline.
Thanks for reading this post. I hope I’ve inspired you to give these fun birthday cards a try for yourself. Leave comments or questions below or feel free to email.
In today’s tutorial, I am making slimline cards. I’ve seen these popping up all over instagram and youtube and I figured I would make one too ( I mean… I have to right?!? 🙂 LOL). Since I do not have any slimline dies yet (I stress YET), I will prove you can make them with any supplies you have in your stash and no dies necessary. Even the envelope tutorial I found on YouTube makes it super simple to make a slimeline envelope.
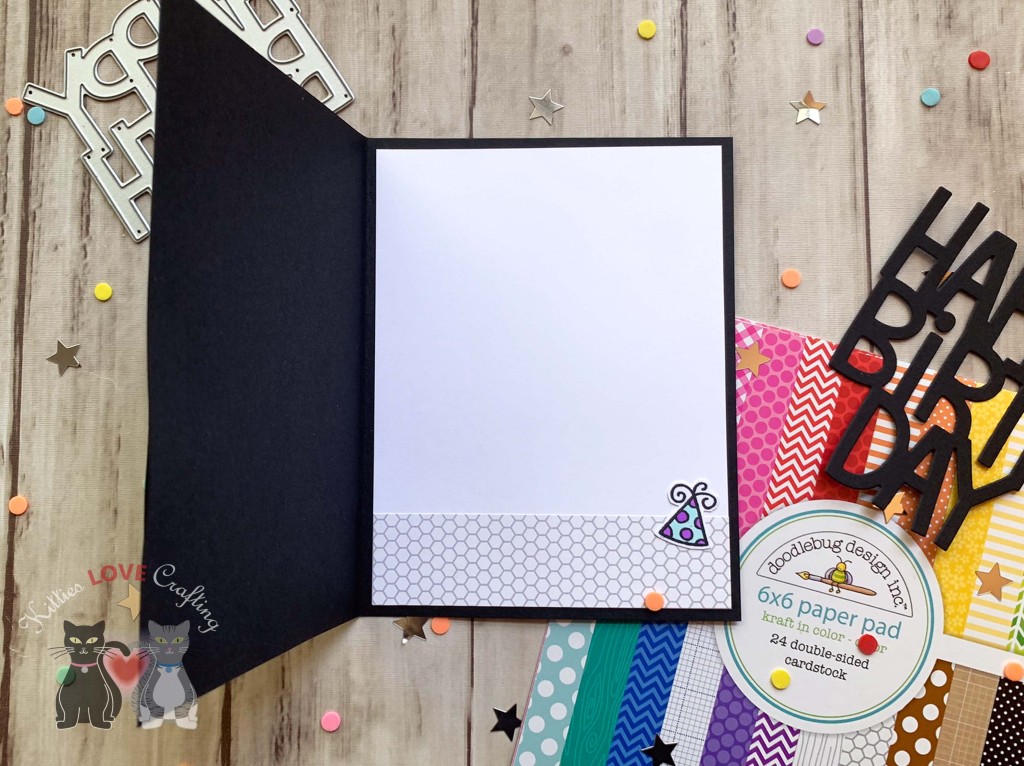
On the inside of the card, I adhered the leftover pieces of the balloons on the front of the card to the top portion and stamped ‘Happy Birthday! using the free gift stamp I received from Lawn Fawn for my birthday month and Memento Tuxedo Black Ink. Yes! you can get freebies for your birthday! 🙂 I couldn’t find this anywhere so I don’t think this particular tiny sentiment stamp can be purchased but there are a ton of other Lawn Fawn Happy Birthday stamps you can use.
Balloon Birthday Inside
I also made an envelope using Neenah 110lb Classic Crest Cardstock 8.5 X 11″. I found a great tutorial on Youtube from Jenny Card Designs. She also provides a facebook link with the template. I added some more of the vellum balloons to the edge of the envelope. Go check her out on Youtube!
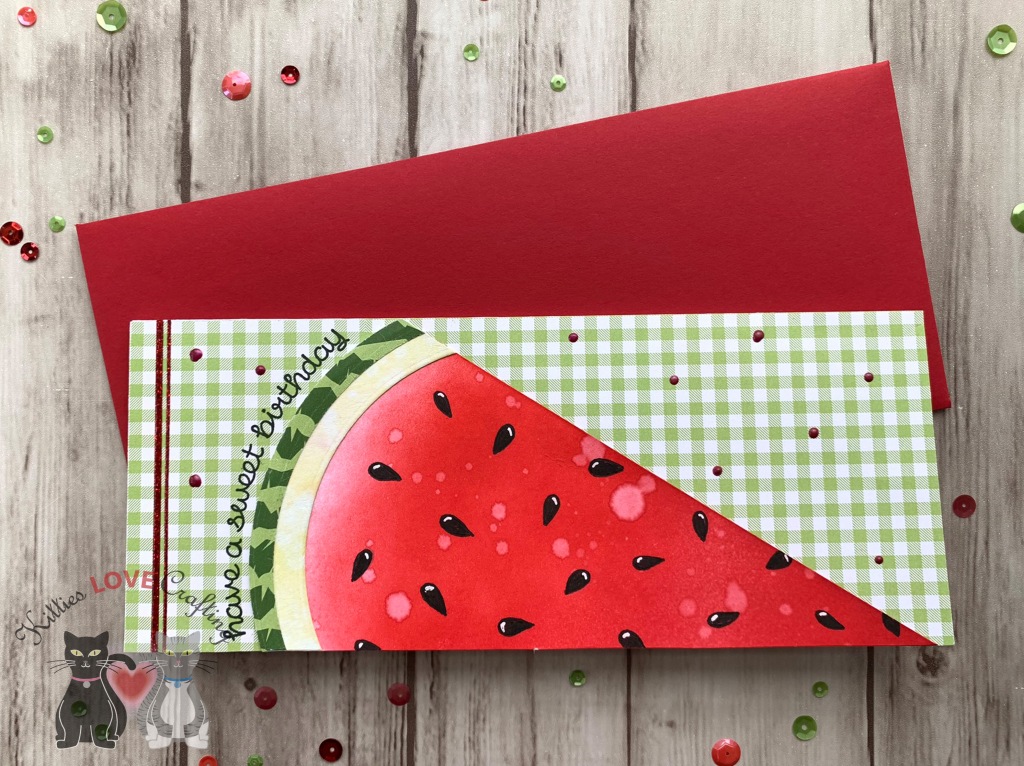
For the second card, I decided to make some summer fruity cards. I started by cutting a piece of Neenah 110lb Classic Crest Cardstock 8.5 X 11″ to 7 x 8-1/2″ and scored at 3-1/2″ to create the card base. Next, I cut two pieces of green gingham pattern paper from Brutus Monroe Fresh Melon 6 x 6 Paper Pad to 3-1/2 x 6 and adhered it to the card using Tombow Mono Multi Liquid Glue. I made sure to have the section where the two pieces meet to not be centered so it can be covered by the watermelon slice.
And since lemon cards are all the rage right now. I decided to break out my lemon stampset and builder punch from Stampin’ Up!. I began this card by I started by cutting a piece of Neenah 110lb Classic Crest Cardstock 8.5 X 11″ to 7 x 8-1/2″ and scored at 3-1/2″ to create the card base. Next, I cut a piece of pattern paper from Brutus Monroe Fresh Squeeze 6 x 6 Paper Pad to 1-1/2 x 8-1/2″and adhered it to the bottom of the card front.
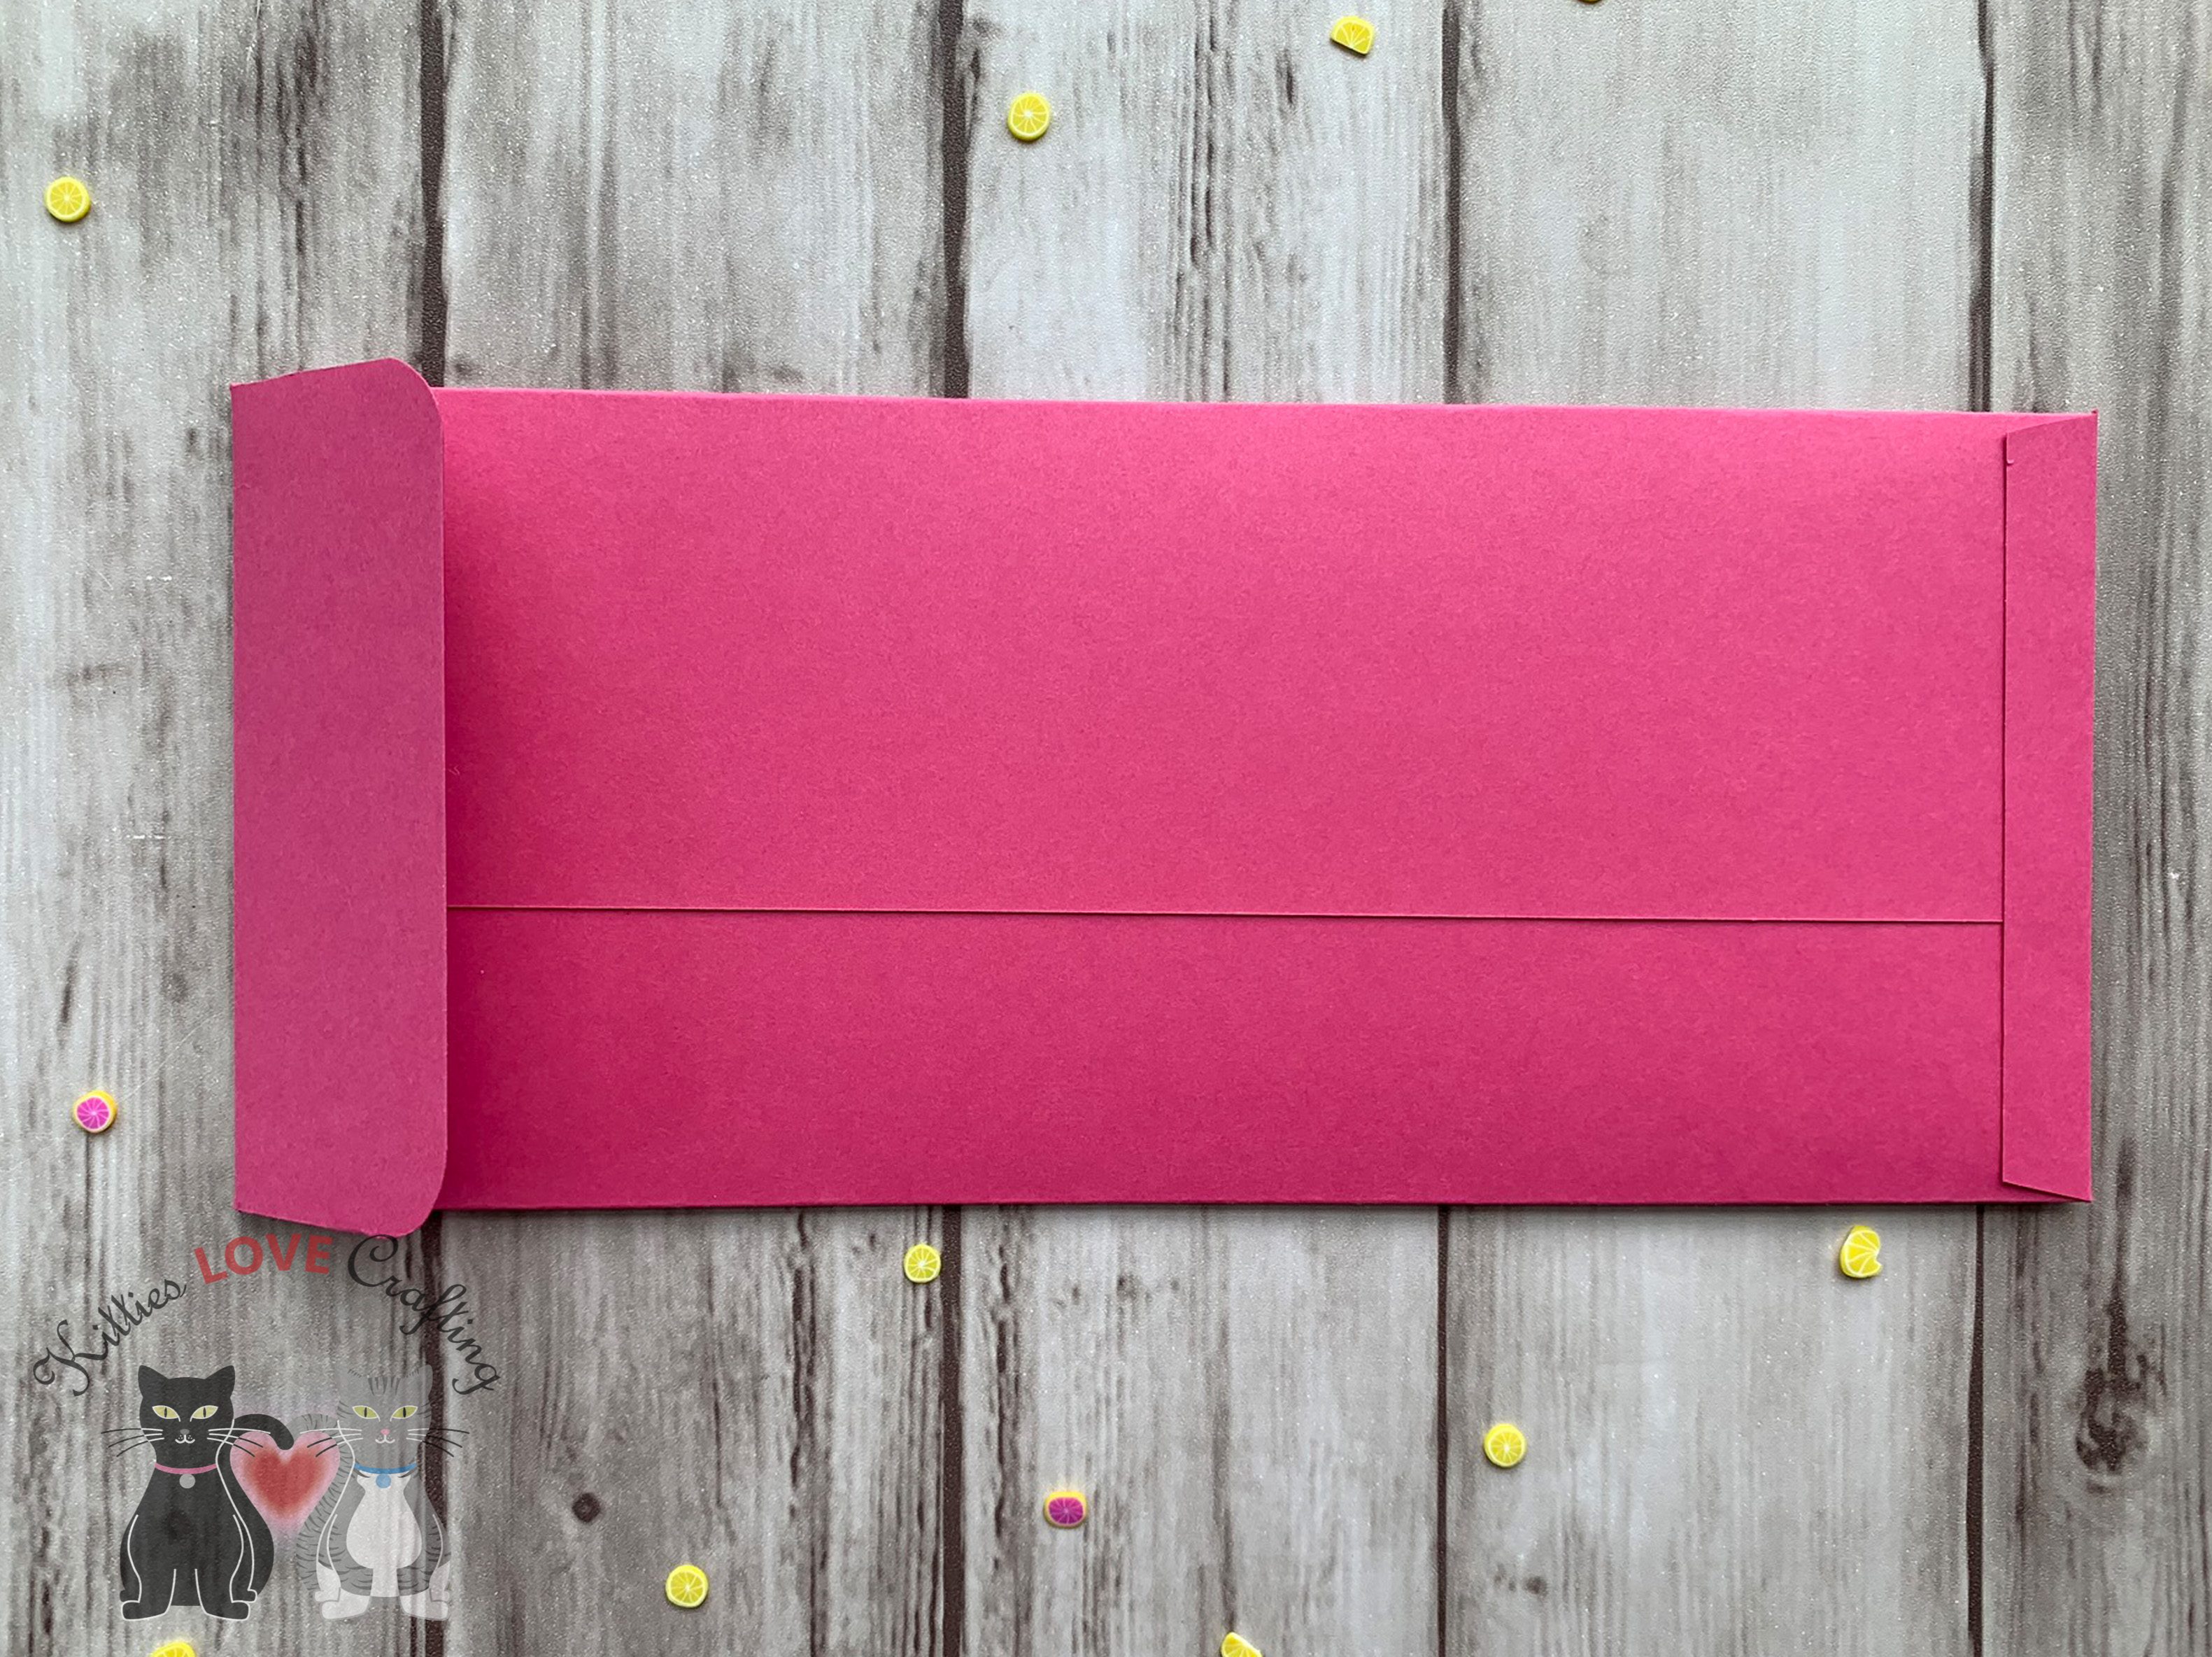
And again I made an envelope using some dark pink cardstock from my stash (not sure where it is from becasue it is soooo old). Tutorial on Youtube from Jenny Card Designs.
Thanks for reading this post. I hope you enjoyed and I’ve inspired you to Shop Your Stash and see what fun ideas you come up with and maybe rediscover supplies you forgot you had! Leave comments or questions below or feel free to email me.
Happy Sunday friends! Hope you are safe and having a good weekend. Today I am bringing you this card featuring the very cute gnomes from Simon Says Stamp Lil Gnome Wafer Dies. This die was included in the December 2019 card kit and but is great for Spring, Easter or any occassion cards! I paired them with some cute Lawn Fawn border dies to create a fun little Spring cards. This card is mostly ink blending and diecutting so if you don’t like stamping or coloring, this card is for you!
I assembled the two gnomes and moved on to assembling the card. I adhered the sky background to the card base and the added the back grassy border to the card with glue and the front grassy border with 3M Foam Tape. I added the gnomes to the card, adhering one with glue and one with Stampin’ Dimensionals.
On the inside of the card, I stamped another greeting from the Lawn Fawn Oh Gnome! stampset in Memento Tuxedo Black Ink and added some tulips that were left over from the front of the card. And that completes this card.
Thanks for reading this post. I hope you enjoyed and I’ve inspired you to give this card a try for yourself. Leave comments or questions below or feel free to email.
I stamped the balloon border from the Simon Says Stamp Exclusive 6×8 Inch Window Frames clear stamp set around the windows and also some extra balloons with the additional balloon and string stamp included in the stampset using Memento Tuxedo Black Ink. To stamp balloons that look like they are behind the balloons around the windows, I stamped the balloon border on to Masking Paper, fussycut it out, and placed it over the balloon border image before stamping additional balloons. I stamped some of the confetti pieces around the card to fill up the white space. I wanted this card to look like a party on paper!
I also stamped some balloons in the inside of the windows so it looks like balloons continue on the inside. To do this, I just lined up the stamp on the card panel using my Tim Holtz Tonic Craft Travel Stamp Platform, removed the top panel, and stamped in the card base. I also stamped additional balloons onto scraps of Neenah 110lb Classic Crest Cardstock 8.5 X 11″, which I will pop up later with foam squares.
Before I started coloring all the images, I stamped some of the tiny sentiments in between the windows using the same Memento Tuxedo Black Ink (COPIC-friendly ink). I used COPICS in R17 and R27, R81 and R85, YR12 and YR16, Y06 and Y18, G07 and G14, BG000 and BG01, B95 and B37, and V06 and V09. Not gonna lie, this took a long time to color but I usually just watch a movie or Youtube videos while doing it so it makes it more fun. Once colored I all the images, I adhered the panel to the card base with 3M Foam Tape and used Stampin’ Dimensionals to adhered some of the additional balloons.
Thanks for reading this post. I hope you enjoyed and I’ve inspired you to give this card a try for yourself. Leave comments or questions below or feel free to email.
Hi friends. Today I’m bringing you two cards featuring the Simon Says Stamp Dazzling Circle and Blooming Circle Dies. One card uses the dies in the way they were intended but the second card uses it in a different way — using the positive diecuts to create a background. This is an easy way to create a background.
Traditional Use of Die
For the first card I started by cutting a piece of Neenah 110lb Classic Crest Cardstock 8.5 X 11″ to 5-1/2 x 8-1/2″ and scored at 4-1/4″. Then I cut a piece of green gingham paper (from the Birthday paper pack included in the Crafty Parcel) to 4 x 5-1/4” and diecut the wreath in the top center of the panel using the Simon Says Stamp Dazzling Circle Die (no longer available as it was part of the Stamptember release). I added some 3M Foam Tape to the back of the panel and adhered a square piece of Stampin’ Up! Granny Apple Green 8-1/2″ X 11″ Cardstock on the card base behind the wreath. The easiest way to do this is to add the foam tape to the wreath panel and then attaching the green square piece behind that and then adhering it to the card base.
On the inside of the card, I cut a strip of Green Gingham paper (from the Birthday paper pack included in the Crafty Parcel) to 1 x 4-1/4″. I stamped a greeting from the Catherine Pooler Stamp of Approval Young at Heart Collection stampset(I don’t think this is available in her shop anymore) in Memento Tuxedo Black Ink and Catherine Pooler Party Dress Ink. I finished it off by adding some additional flowers.
Thanks for reading this post. I hope you enjoyed and I’ve inspired you to give your old stand-alone dies a second look and try some new techniques with them. Leave comments or questions below or feel free to email.


 https://linkdeli.com/widget.js?id=f5e8378456858c916708