
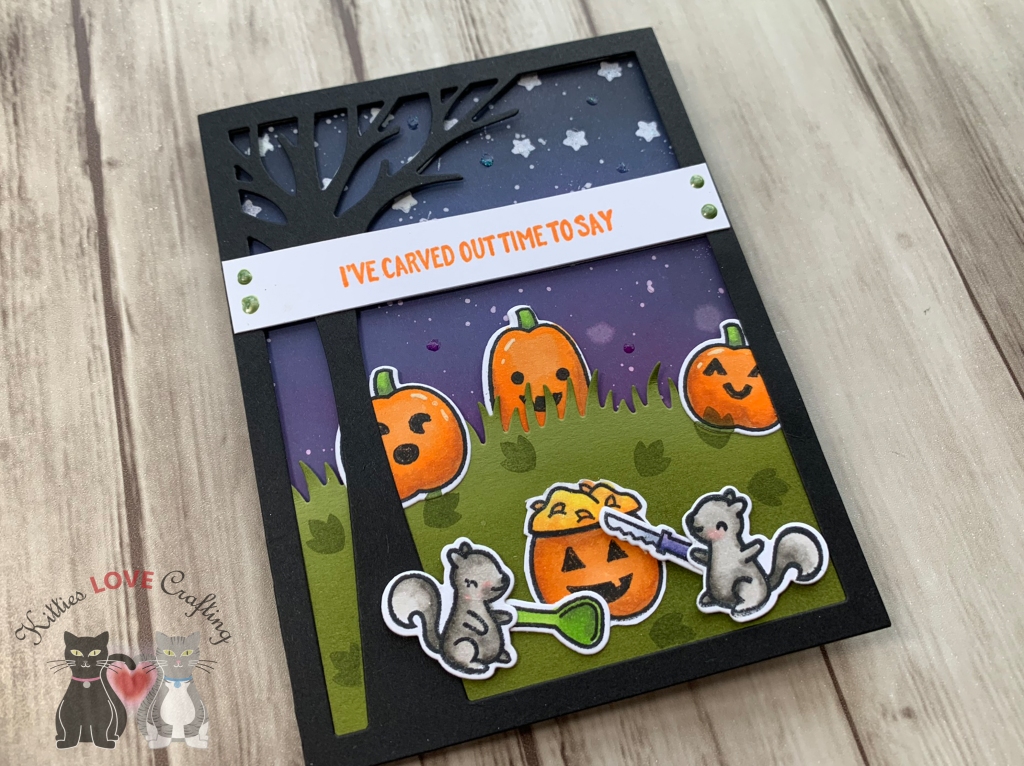
This card came together fairly quick with the use of a distress resist technique. I began by cutting a card base to 5-1/2 x 8-1/2″and scored at 4 1/4″ from Simon Says Stamp Black Cardstock. Then I cut a panel of Canson XL Coldpress Watercolor Paper to 4 x 5-1/4″.
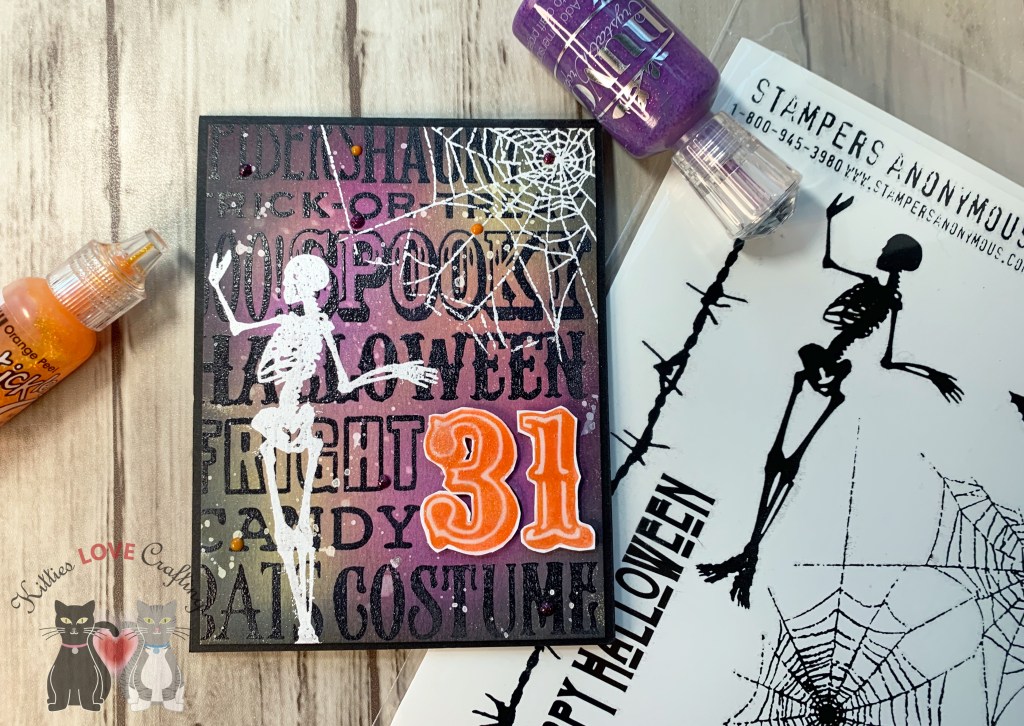
I stamped the Halloween word background from the Halloween Silhouettes Tim Holtz Cling Mount in Archival Jet Black Ink. I prepped the surface of the watercolor panel with the Ranger ANTI STATIC POUCH and heat embossed using the same background stamp, Versamark Ink and Clear Embossing Powder.
Next I took Distress Oxide Inks in Seedless Preserves, Wilted Violet, Twisted Citron, and Black Soot Distress Ink and applied it over the embossed background. I added some white acrylic paint splatters and set it aside to dry. Using Versamark Ink, I heat embossed the spiderweb from the Trick-or-Treat Tim Holtz Cling Mount and the skeleton from the Halloween Silhouettes Tim Holtz Cling Mount with WOW OPAQUE BRIGHT WHITE Embossing Powder SUPER FINE.

I adhered that completed panel to the card base using liquid glue. I stamped the “31” from the Halloween Silhouettes Tim Holtz Cling Mount in Ranger Archival Ink Pad BRIGHT TANGELO and added it in the same spot it appears on the background stamp. I popped it up with some Stampin’ Dimensionals. I added some glossy accents over the numbers and some Nuvo drops in Ripened Pumpkin and Purple Rain onto the card to complete it.
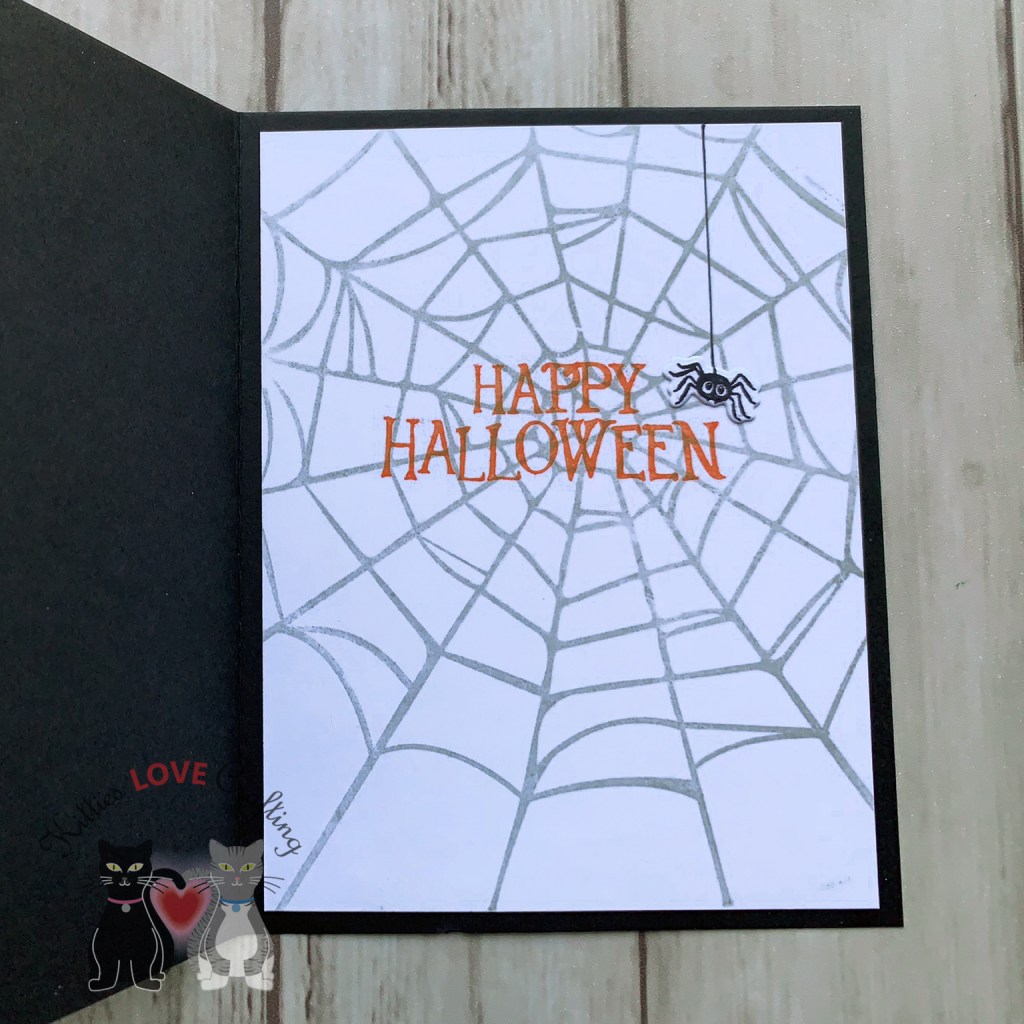
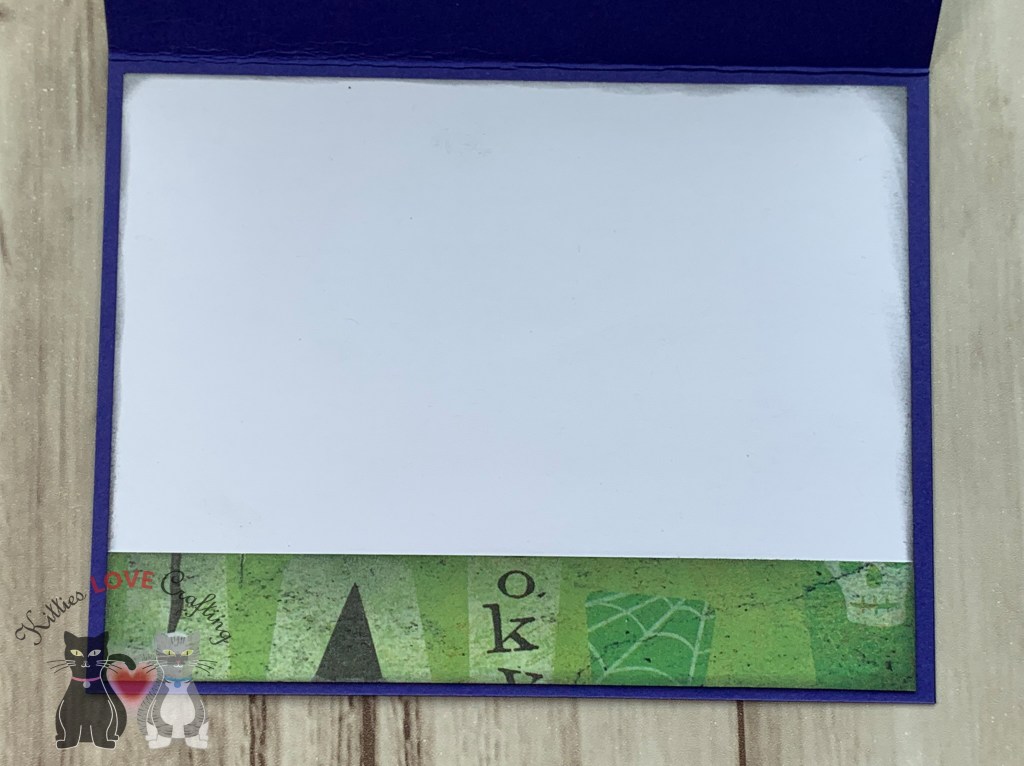
On the inside of the card I cut a piece of Neenah 110lb Classic Crest Cardstock 8.5″X11″ to 4 x 5-1/4″. I stamped the spiderweb from the Trick-or-Treat Tim Holtz Cling Mount stamp in Ranger Wendy Vecchi Watering Can Archival Ink and the sentiment from the Halloween Silhouettes Tim Holtz Cling Mount in Ranger Archival Ink Pad BRIGHT TANGELO. I paired this card with a black envelope and it is complete.

Dimensions
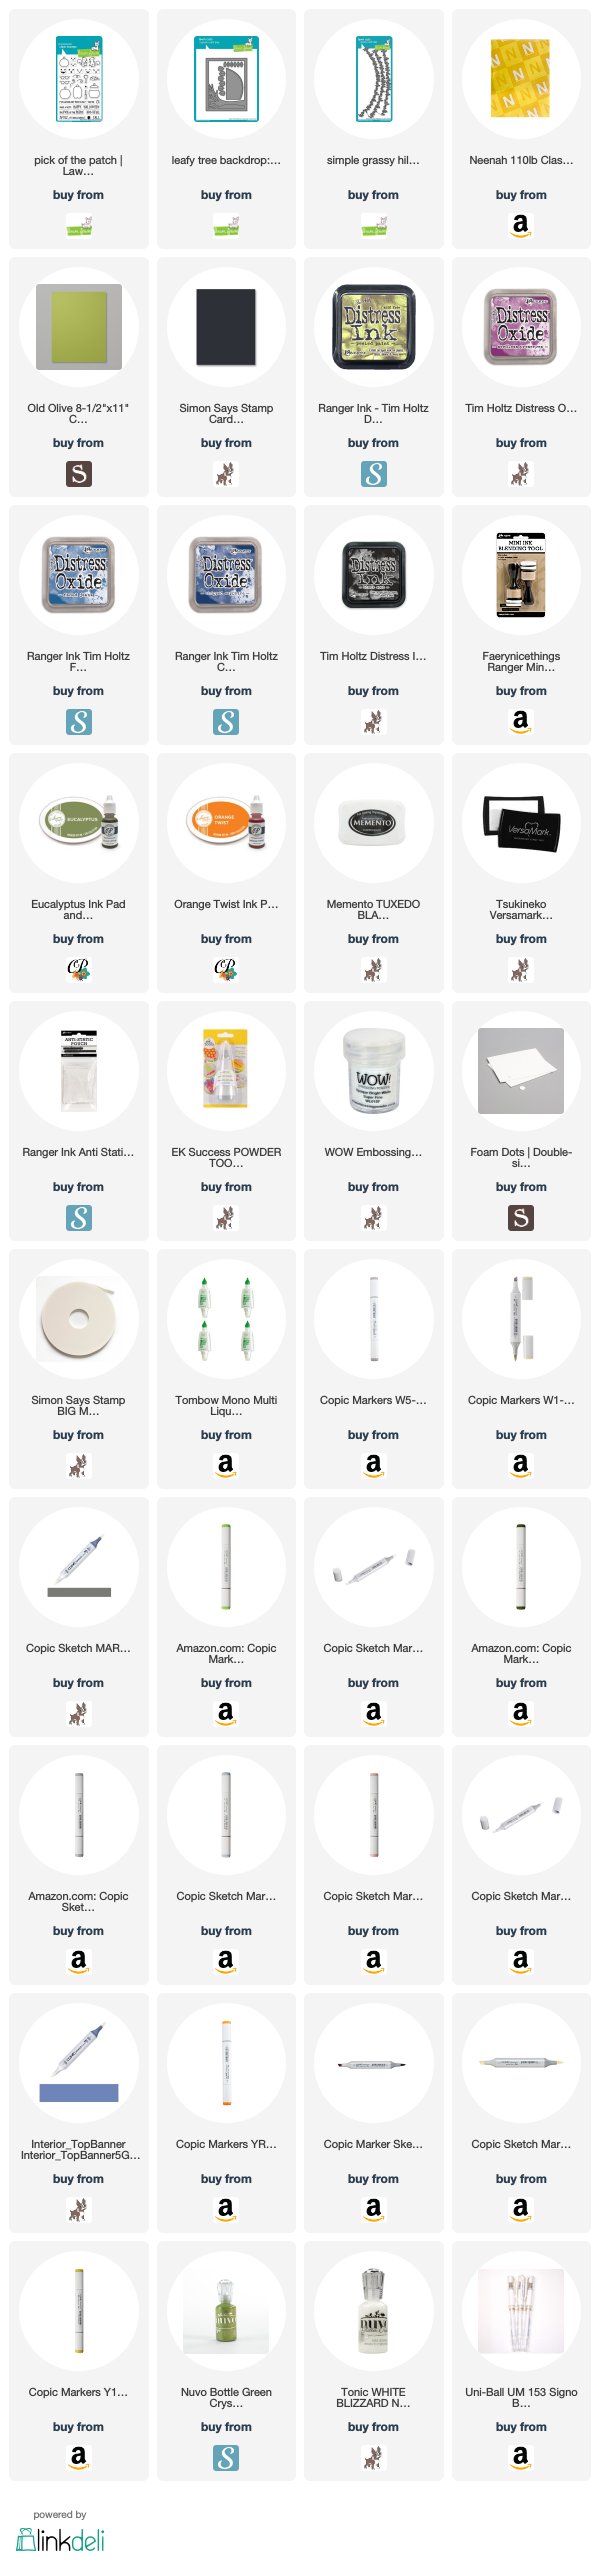
- Card Base = 5-1/2 x 8-1/2″and scored at 4 1/4″ Simon Says Stamp Black Cardstock
- Top Panel = 4 x 5-1/4″ Canson XL Coldpress Watercolor Paper
- Inside Panel = 4 x 5-1/4″ Neenah 110lb Classic Crest Cardstock 8.5″X11″
 https://linkdeli.com/widget.js?1559654439292
Thanks for reading this post and I hope I’ve inspired you to make this fun spooky Halloween card. Leave comments or questions below or feel free to email me.


