Thanks for reading this post. I hope I’ve inspired you to give this easy Thank You card a try for yourself. Leave comments or questions below or feel free to email.
Hello friends. There are still a few more weeks left of Fall and even though I’ve been knee deep in Christmas card making, I wanted to make some more Fall cards. I brought out some Honey Bee Stamps stamps and dies for this one. An easy way to make a dimensional background without having to emboss is to use diecuts.
Thanks for reading this post. I hope I’ve inspired you to give this cute Fall card a try for yourself. Leave comments or questions below or feel free to email.
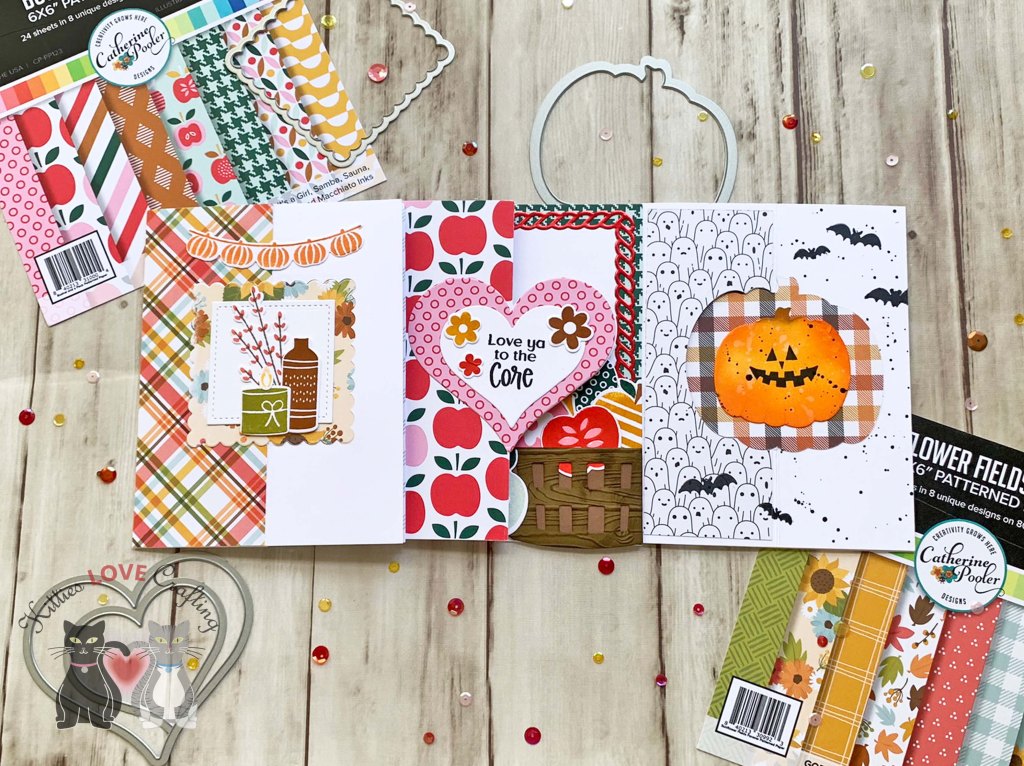
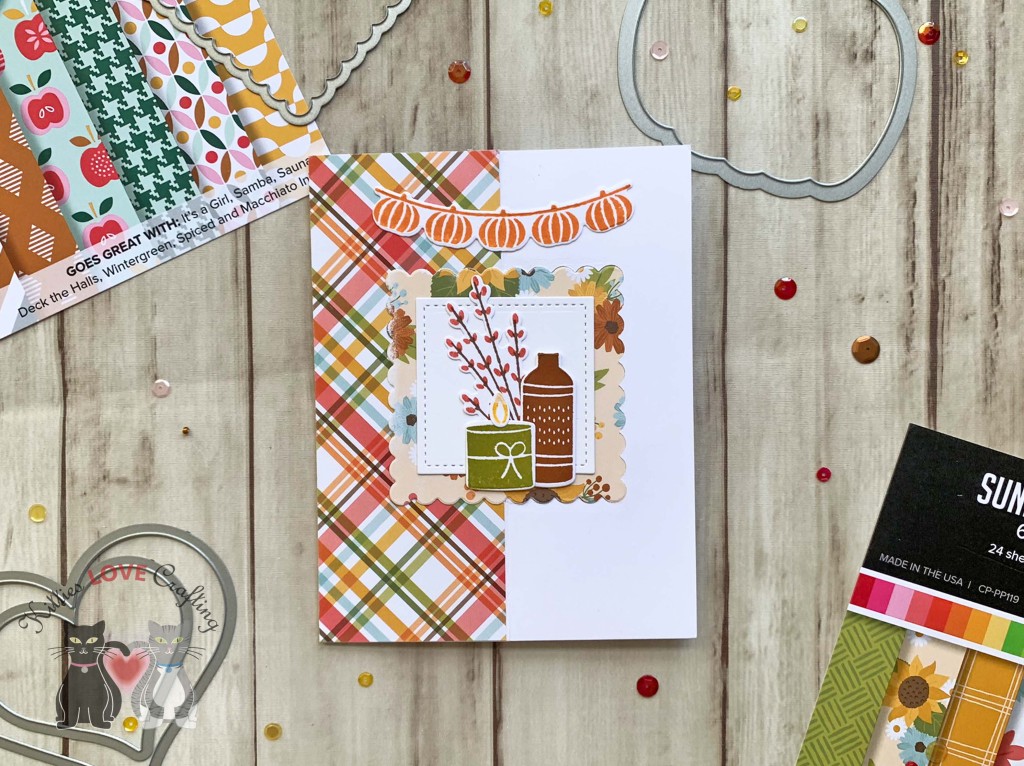
Hello friends. The next post in my Fall Card series features two cards using the same Frame die in two very different ways. And I also stepped up one of the cards by adding a fancy fold inside the card. The first one is a shaker but it turned out to be difficult to see the shaker bits inside because of the word die I used, so really this one ‘doesn’t ‘need to be a shaker; it could easily be a floating sentiment like the second card.
For this card, I cut a piece of Neenah 100lb Classic Crest Cardstock 8.5 X 11″ to 5-1/2 x 8-1/2″ and scored at 4-1/4″ to create a card base and another piece to 4-1/4 x 5-1/2″. I die cut the shadow from the Honey Bee Stamps Large Thanks Dies (retired) and backed it with Acetate to create a window. I used the Catherine Pooler Fall Frames to emboss the border on the top panel. Check your embossing machines for the proper sandwich to do this properly.
I finished off the card by adding some Nuvo Drops in Dark Walnut.
For the inside of the card I decided to step it up and add a fancy fold! I started by cutting a piece of Neenah 100lb Classic Crest Cardstock 8.5 X 11″ to 4-1/2 x 8-1/2″ and scored it at 2-1/8″, 4-1/4″, and 6-7/8″. Basically scoring it into quarters. Then I adhered I inside the card. I cut 4 pieces of pattern paper from Catherine Pooler Designs Sunflower Fields Forever Patterned Paper to 2-1/4″ (2) and 2-1/8″ (2). I shaved off about 1/16″ from all the panels so it didn’t interfere with the folds.
Thanks for reading this post. I hope I’ve inspired you to give this cute Fall card a try for yourself. Leave comments or questions below or feel free to email.
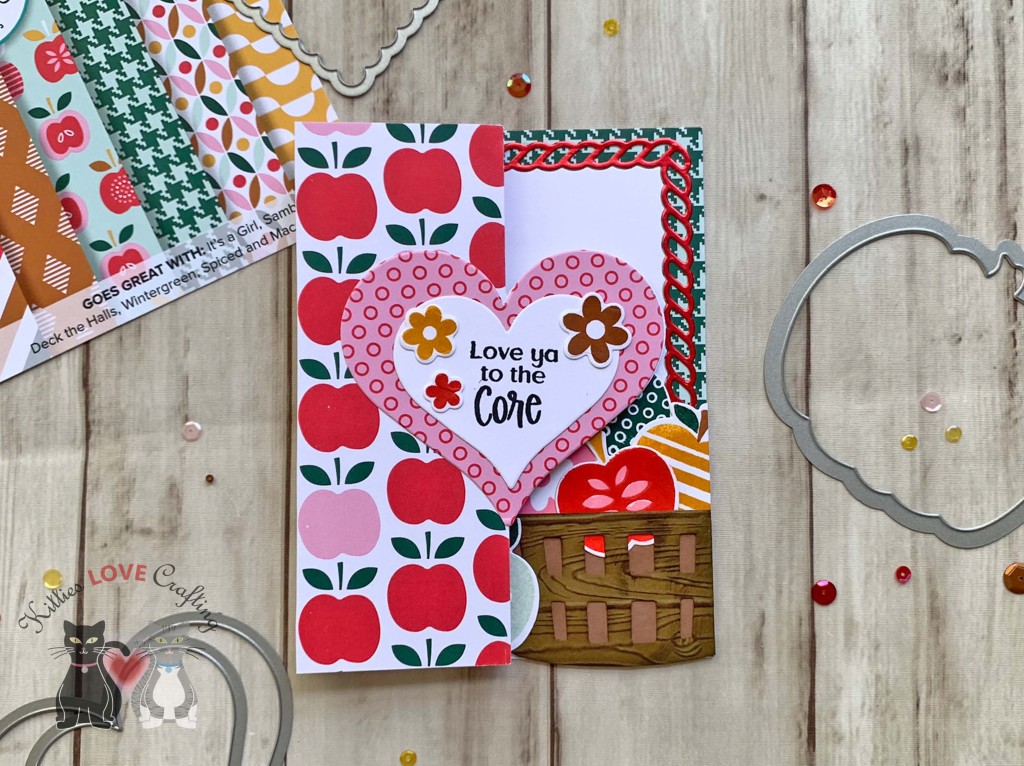
Hello friends. This post is all about adding fancy folds to your cards. I used different shaped dies and papers as well as a variety of stamps to create different themes. These were inspired by Catherine Pooler’s video on fancy folds over on Stampnation. Check it out here>>.
For the first card, I cut a piece of Neenah 100lb Classic Crest Cardstock 8.5 X 11″ to 5-1/2 x 8-1/2″ and scored at 4-1/4″ to create a card base and then I scored the front of the card at 2-1/8″. At this point you need to decide what shape you wll be die cutting out and which side you will be folding your panel. You will see that on my second and third cards the folds are in the opposite direction.
I chose a scallop square die from the Sizzix Framelits Squares Scallop Die Set. The way to achieve the flip window is to only die cut one half of the panel. To do this you just need to align your cutting plates along the score line covering only the side you will cut out.
For the second card, I cut a piece of Neenah 100lb Classic Crest Cardstock 8.5 X 11″ to 5-1/2 x 8-1/2″ and scored at 4-1/4″ to create a card base and then I scored the front of the card at 2-1/8″.
For this card, I chose a heart die from the Stampin’ Up! Sweet and SassyDie Set (retired). Same step as before for cutting the flip window.
For the third card, I cut a piece of Neenah 100lb Classic Crest Cardstock 8.5 X 11″ to 5-1/2 x 8-1/2″ and scored at 4-1/4″ to create a card base and then I scored the front of the card at 2-1/8″.
For this card, I chose a pumpkin die from the Sizzix Pumpkin Framelits (no longer available). Follow the same steps as in the previous two cards for cutting the flip window.
Next, I cut 3 pieces of pattern paper from the Honey Bee Stamps Halloween Harvest 6 x 6 Patterned Paper (discontinued) to 2 x 5-1/4″ and one to 4 x 5-1/4. I also die cut 2 pumpkins (of the same size) from the same paper. Then die cut a smaller pumpkin from Neenah 100lb Classic Crest Cardstock 8.5 X 11″ using the same dies. I inked it with Tim Holtz Spiced Marmalade,Carved Pumpkin, and Peeled Paint Distress Inks. I stamped a Jack-O-Lantern face from the Papertrey Ink Pumpkin Expressions Mini Stamp Set with Midnight Ink. I also added splatters to it and the right side of the card front with Black Acrylic Paint and stamped bats from the Lawn Fawn Happy Haunting stampset.
Thanks for reading this post. I hope I’ve inspired you to give these fun fancy fold cards a try for yourself. Leave comments or questions below or feel free to email.
Hello friends. I could not pass up the opportunity to make a coffee themed card using the Lawn Fawn Build-A-Drink Dies. Iced coffee is one of my favorite summer beverages so I had to make this card! I love how it turned out too!
On the aqua pattern paper background I added coffee rings using Stampin’ Up!’s Early Espresso and Pool Party Inks. I used the lids of small bottle like a small squeeze bottle and other aorund my craft room.
Thanks for reading this post. I hope I’ve inspired you to give this cute coffee summer card a try for yourself. Leave comments or questions below or feel free to email.
Hello friends. In part 1 of this post I showed how I created six backgrounds using distress inks, markers, and crayons. It’s time to make some cards with these. I kept them pretty simple to show that you don’t need to always make complicated cards (even though I tend to).
For the first set of backgrounds, I started the cutting a piece of Stampin’ Up! Crumb Cake 8-1/2″ X 11″ Cardstock and a piece of Simon Says Stamp 100# Black Cardstock to 5-1/2 x 8-1/2″ and scored at 4-1/4″ to create the two card bases. I cut the watercolor paper panel down to 4 x 5-1/4″ and left the Strathmore Bristol Smooth Paper one 4-1/4 x 5-1/2″.
Watercolor Paper Panel
For this card I decided to make a shaker card. I diecut a stitched rectangle from the center with the Catherine Pooler Scallops & Dots Dies. Then added a piece of acetate and 3M Foam Tape behind it, added some pink, black and white sequins from my stash (I tried to pick flat ones) and adhered the panel to the card. I diecut the sentiment from Neenah 110lb Classic Crest Cardstock 8.5 X 11″ and the shadow from Simon Says Stamp 100# Black Cardstock using the Honey Bee Stamps Thanks Die (this is an older die and I don’t think it’s been retired). I finished it off by adding some additional black sequins.
For the third set of backgrounds, I started the cutting two pieces of Stampin’ Up! Early Espresso 8-1/2″ X 11″ Cardstocktock 5-1/2 x 8-1/2″ and scored at 4-1/4″ to create the two card bases. I cut both panels down to 4 x 5-1/4″.
Watercolor Paper Panel
I diecut a scalloped circle (measuring 2-1/2″) from the center with the Stampin’ Up! Layering Circles Dies. (Just a note about these layering circles as well as the other layering dies from SU!. I never thought I would get so much use out of them but I actually have so they kinda paid for themselves by now, And that’s crafty win in my book!).
Thanks for reading this post. I hope you enjoyed and I’ve inspired you to give these easy cards a try for yourself. Leave comments or questions below or feel free to email.
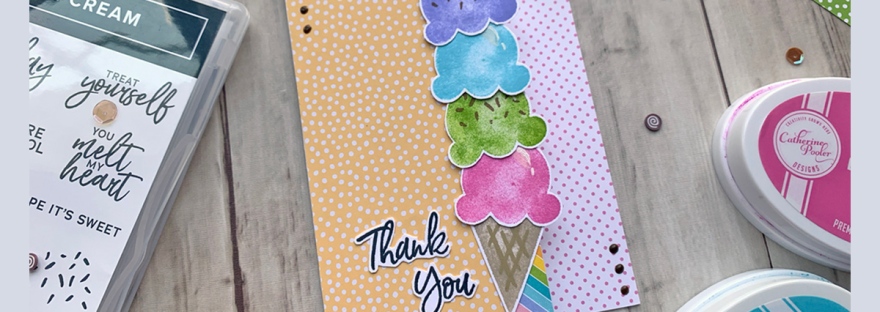
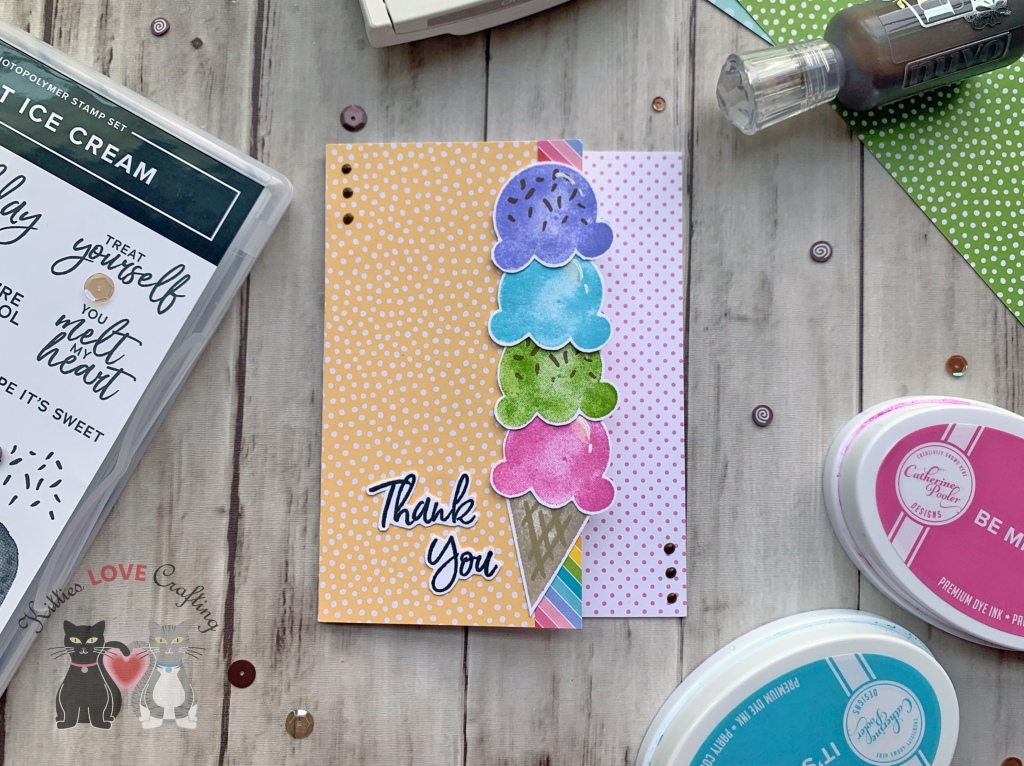
Hi everyone! I was playing with the Stampin’ Up!’s Sweet Ice Cream Stampset and tried to think of a card I can make using minimal supplies and taking advantage of all the paper in my stash! Here’s what I came up with.
I used Neenah 110lb Classic Crest Cardstock 8.5 X 11″ cut to 5-1/2 x 8-1/2″ and scored at 4-1/4″ to make the card base and cut off 1-1/2″ from the front right side of the card base. I also cut a piece of Stampin’ Up! 6 x 6 Subtles (retired) polka dot paper in So Saffron to 3 x 5-1/2″ and a piece of Lawn Fawn Really Rainbow 6 x 6 Petite Paper Pack to 1/2 x 5-1/2″ which I adhered to the front of the card and a piece of pink polka dot paper from the Doodlebug Designs 12 x 12 Milk and Cookies Petite Print Assortment (not sure if it’s available anymore) for the inside, which I cut to 1-3/8 x 5-1/2″.
Thanks for reading this post. I hope you enjoyed and I’ve inspired you to try this cute summer fun fold card using this stampset and paper from your stash! Leave comments or questions below or feel free to email me. If you want to share you creations with me tag me on instagram @kittieslovecrafting.
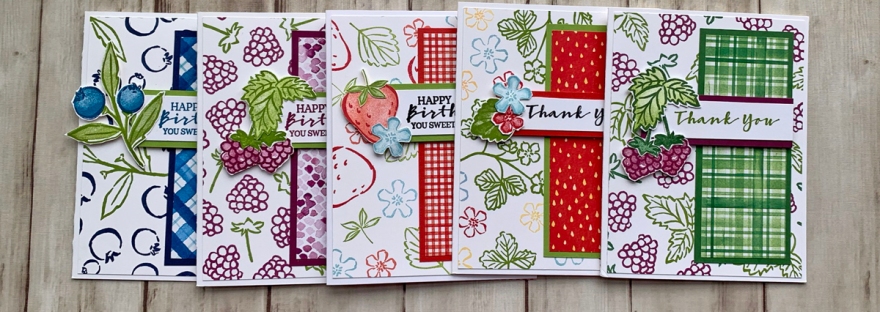
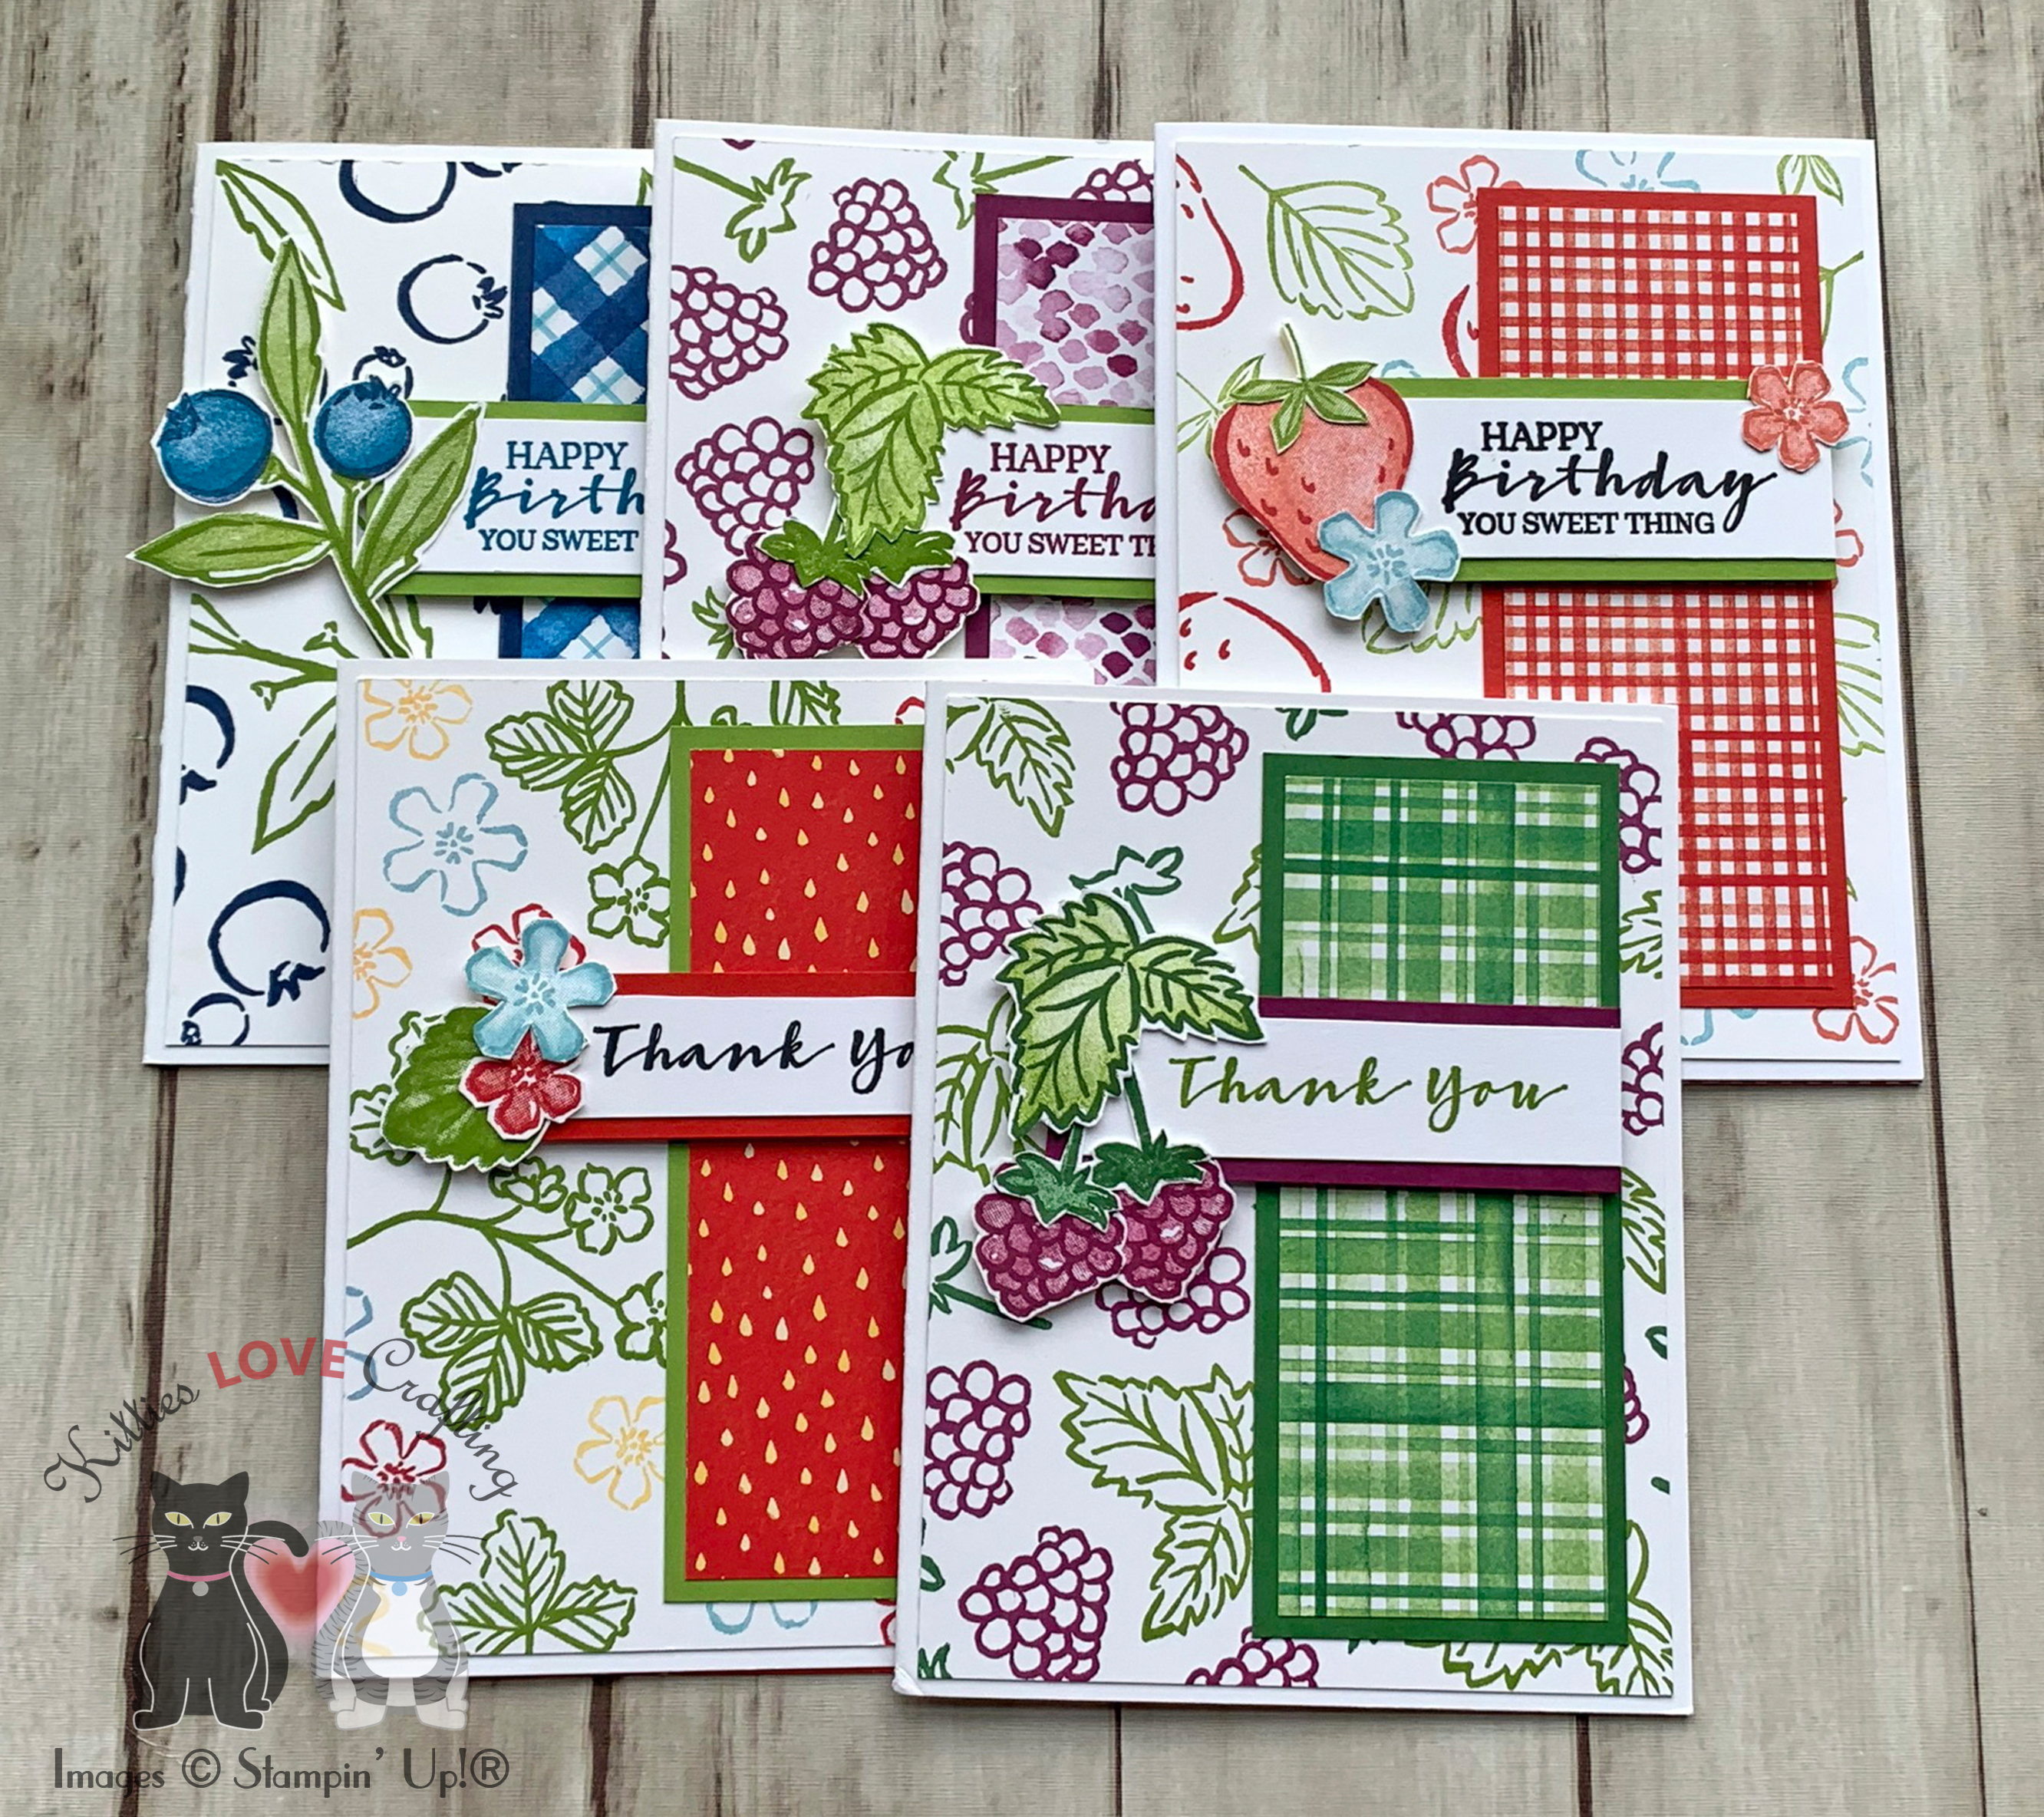
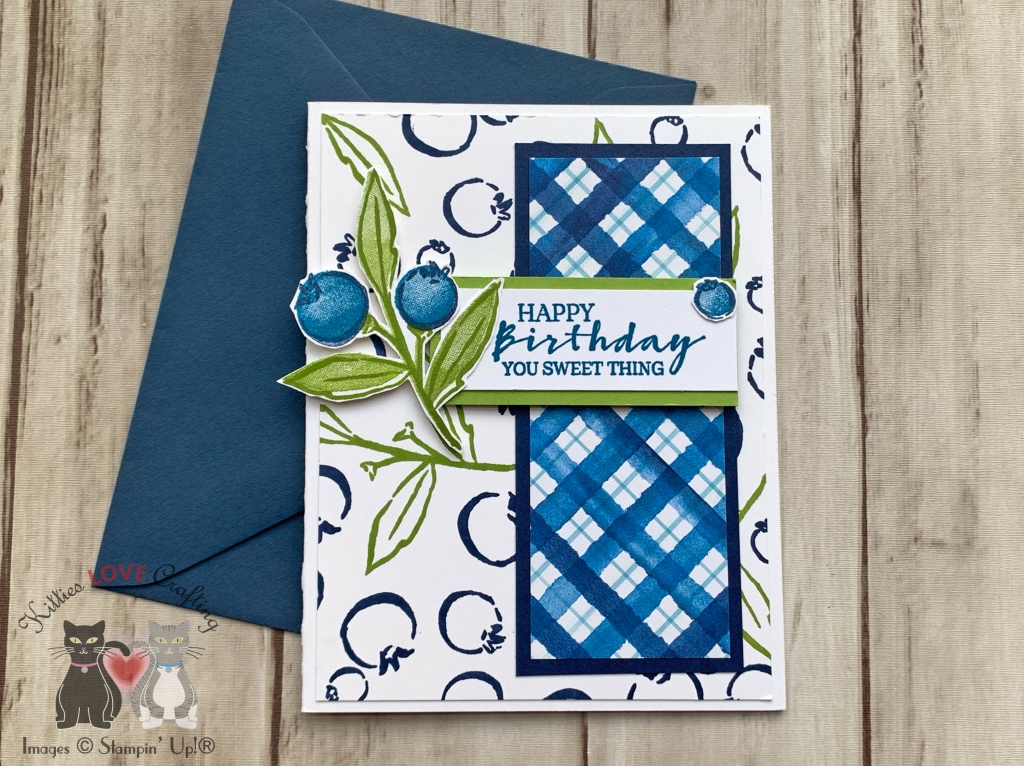
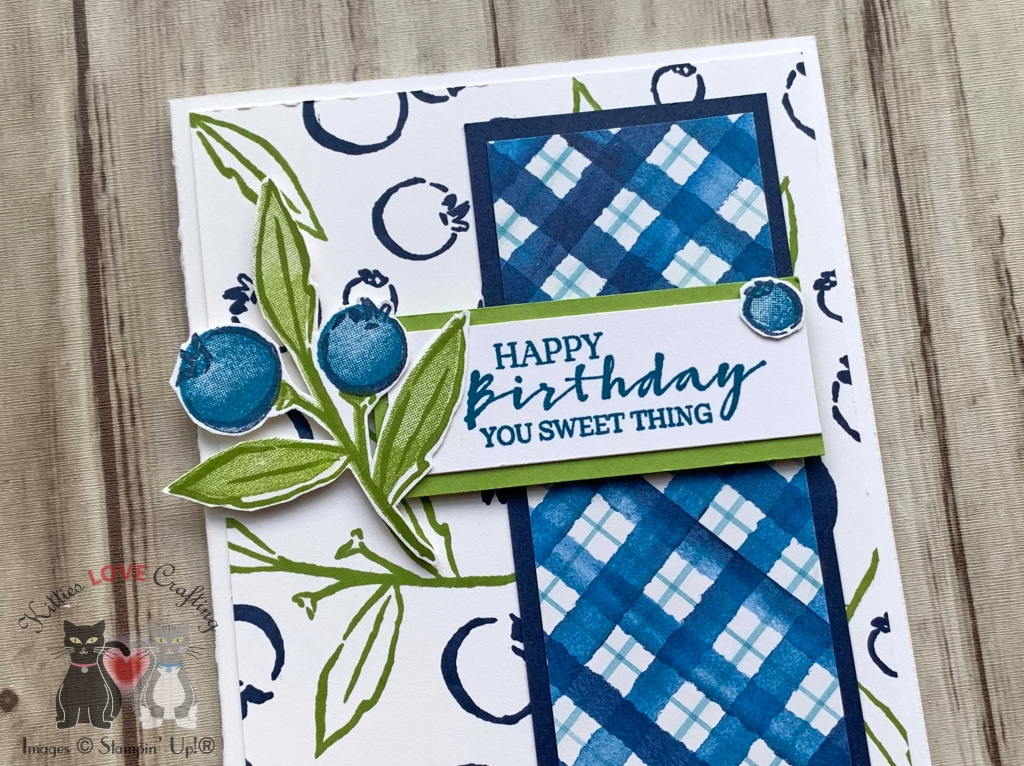
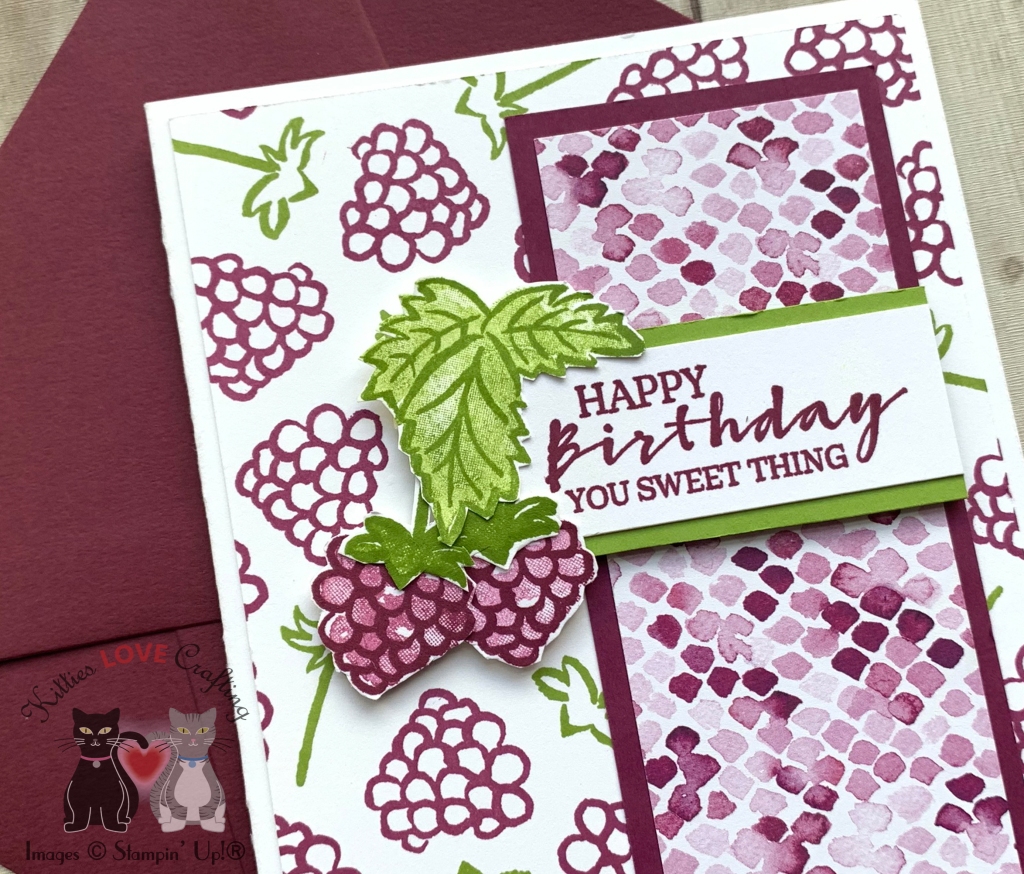
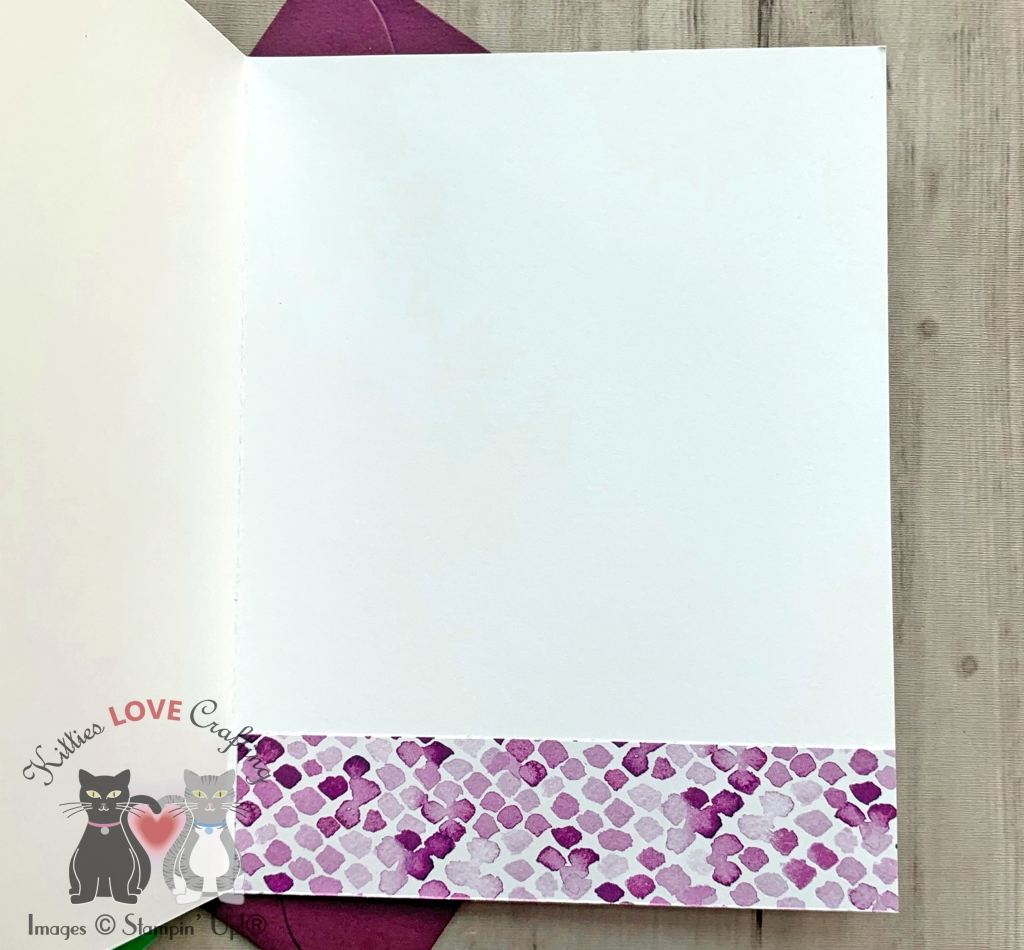
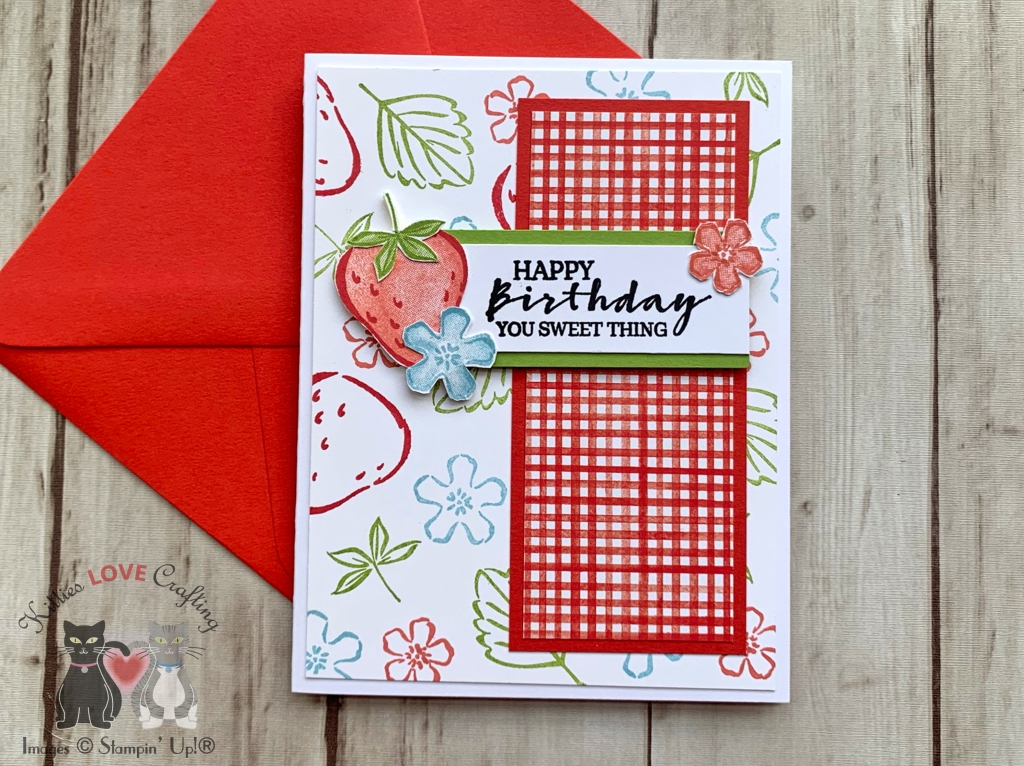
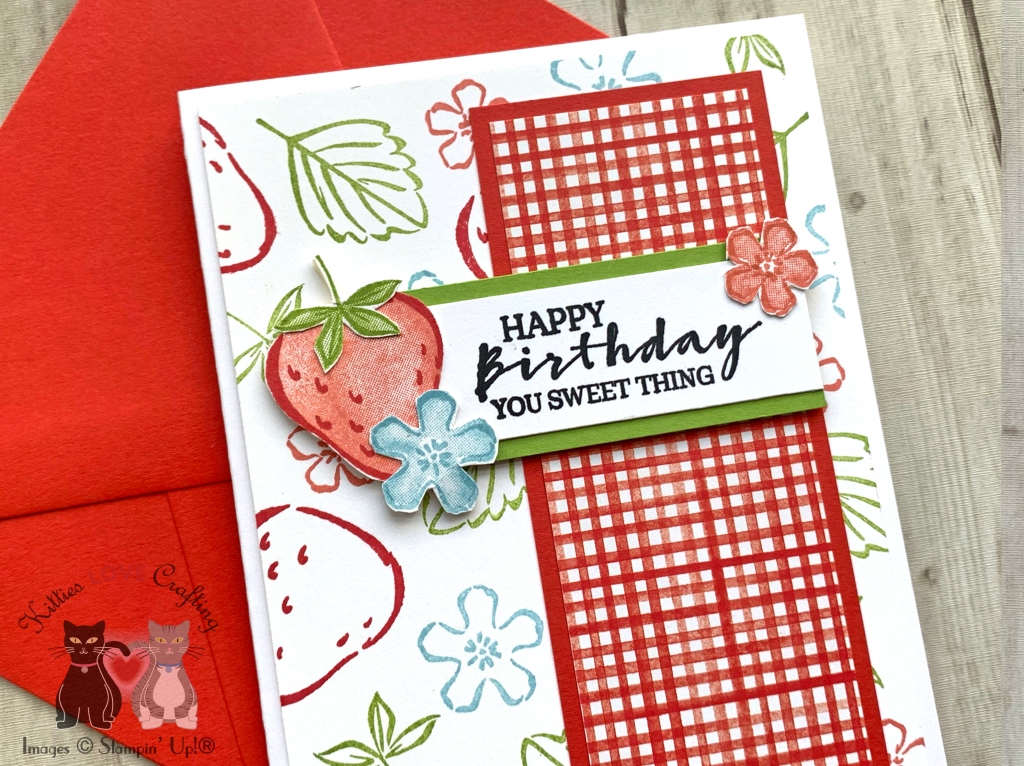
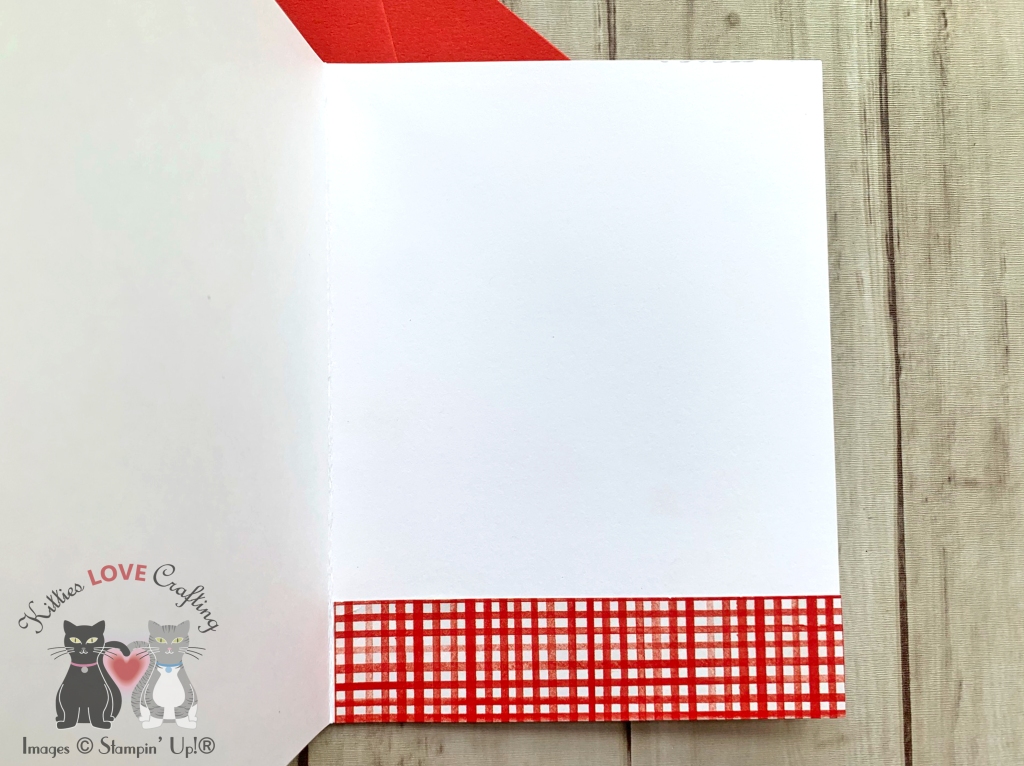
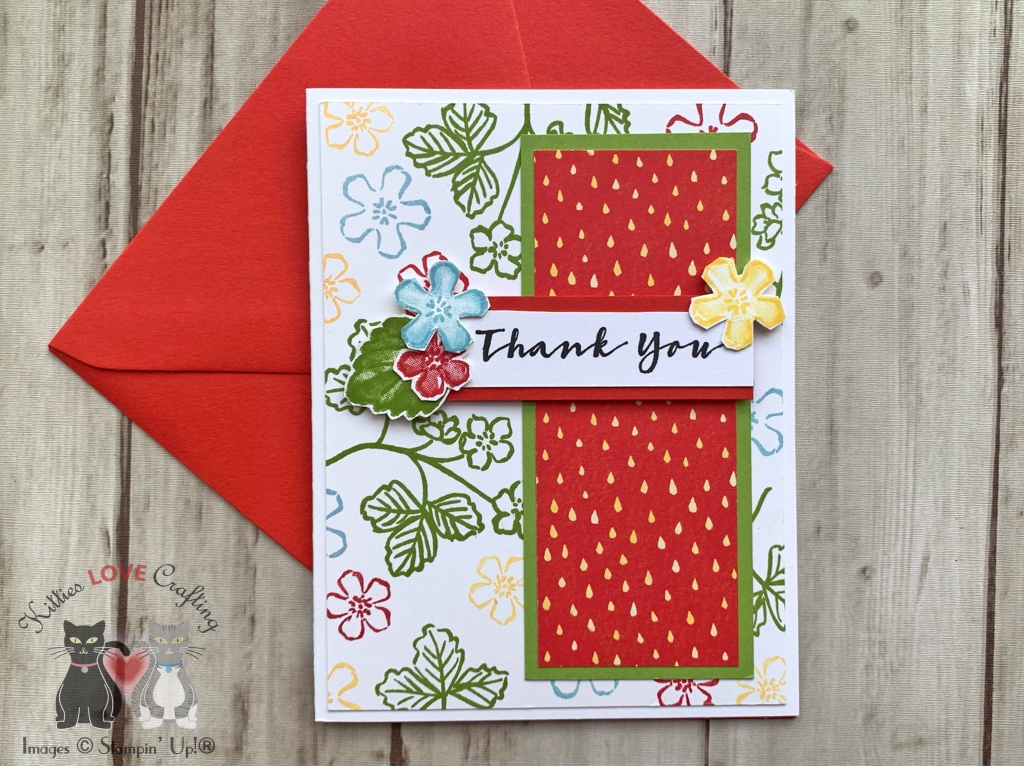
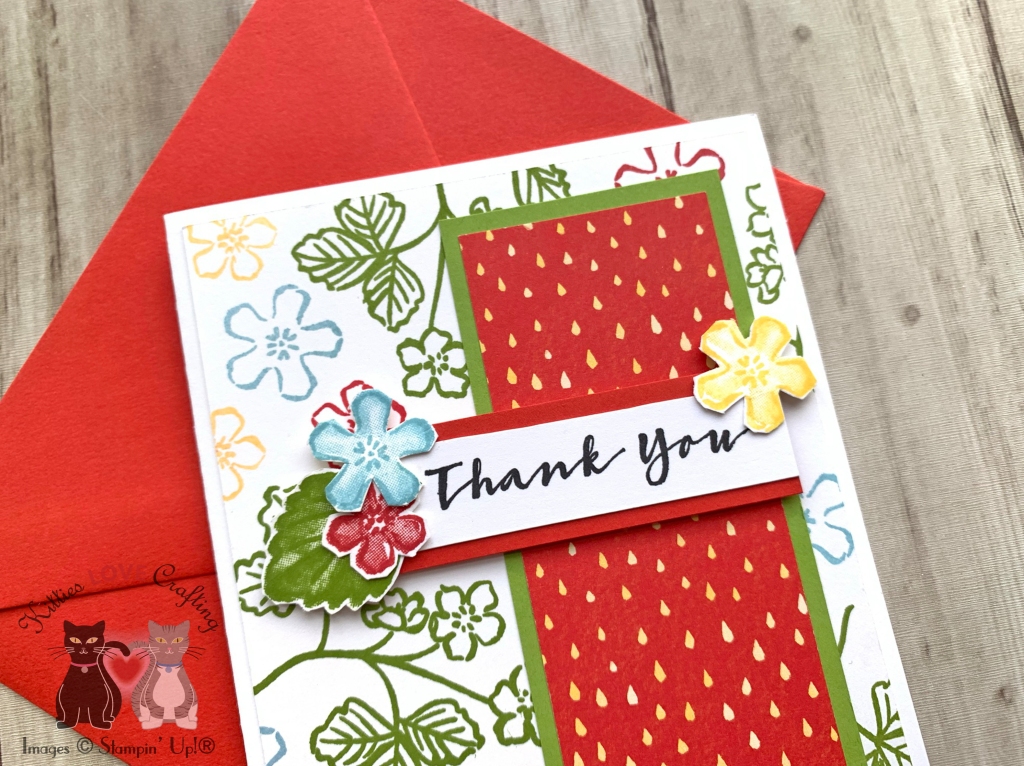
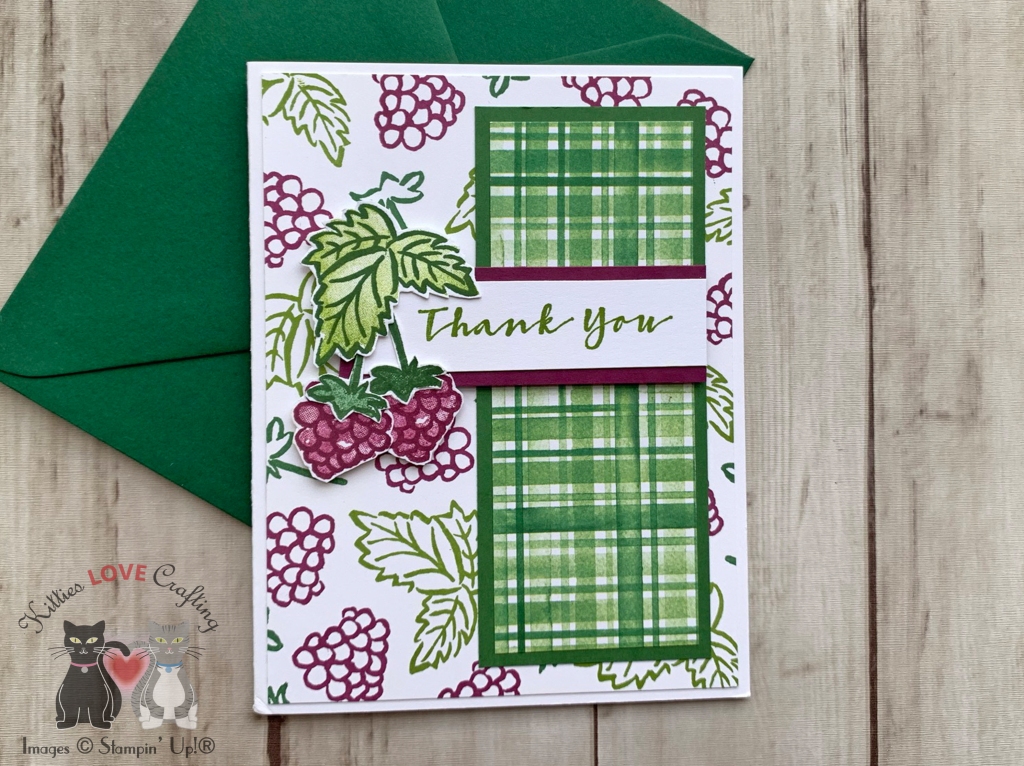
For the all the cards, I started by cutting a piece of Whisper White 8-1/2″ X 11″ Thick Cardstock to 5-1/2 x 8-1/2″ and scored at 4-1/4″ to make a card base and a panel to 4 x 5-1/4″.I stamped the outline images from the Berry Blessings Stampset and Sweet Strawberry Stampset to create the background and adhered it to the card base. Then cut a piece of Berry Delightful 12 x 12 DSP to 1-7/8 x 4-1/2″ and a piece of a Stampin’ Up! colored cardstock to x 1-3/4 x 4-3/4″ and adhered them together. I stamped and fussycut all focal point images using both the outlines and solid stamps. I then stamped all the sentiments onto a piece of Whisper White 8-1/2″ X 11″ Thick Cardstock, Cut them down and added colored cardstock behind them. I adhered the sentiment and images with 3M Foam Tape and Stampin’ Dimensionals.
Thanks for reading this post. I hope you enjoyed and I’ve inspired you to try these easy birthday cards using this stampset and paper for yourself! Leave comments or questions below or feel free to email me. If you want to share you creations with me tag me on instagram @kittieslovecrafting.
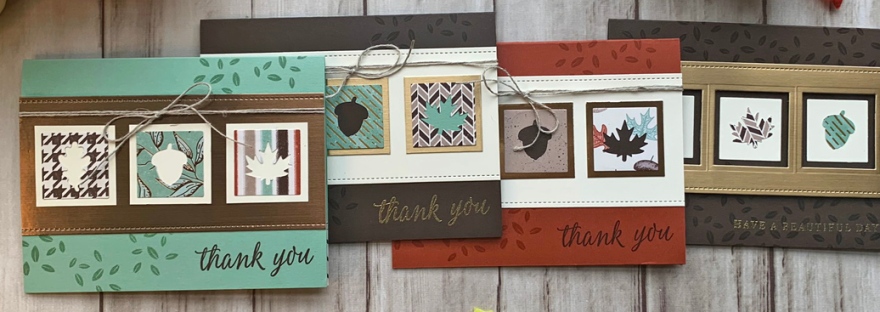
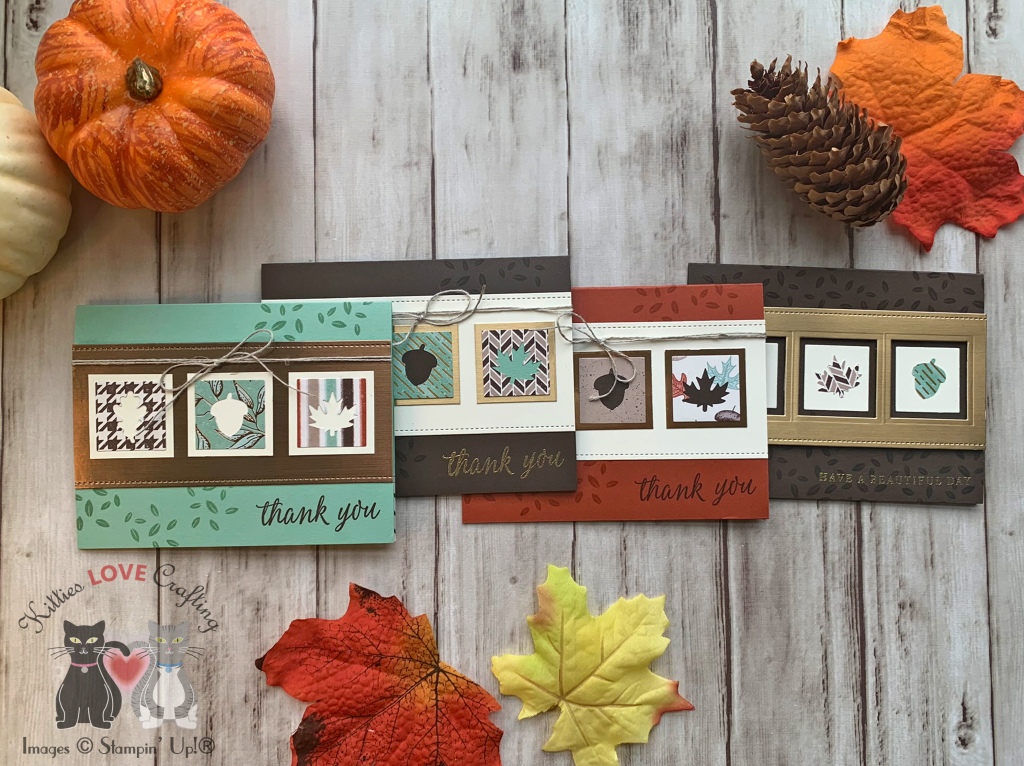
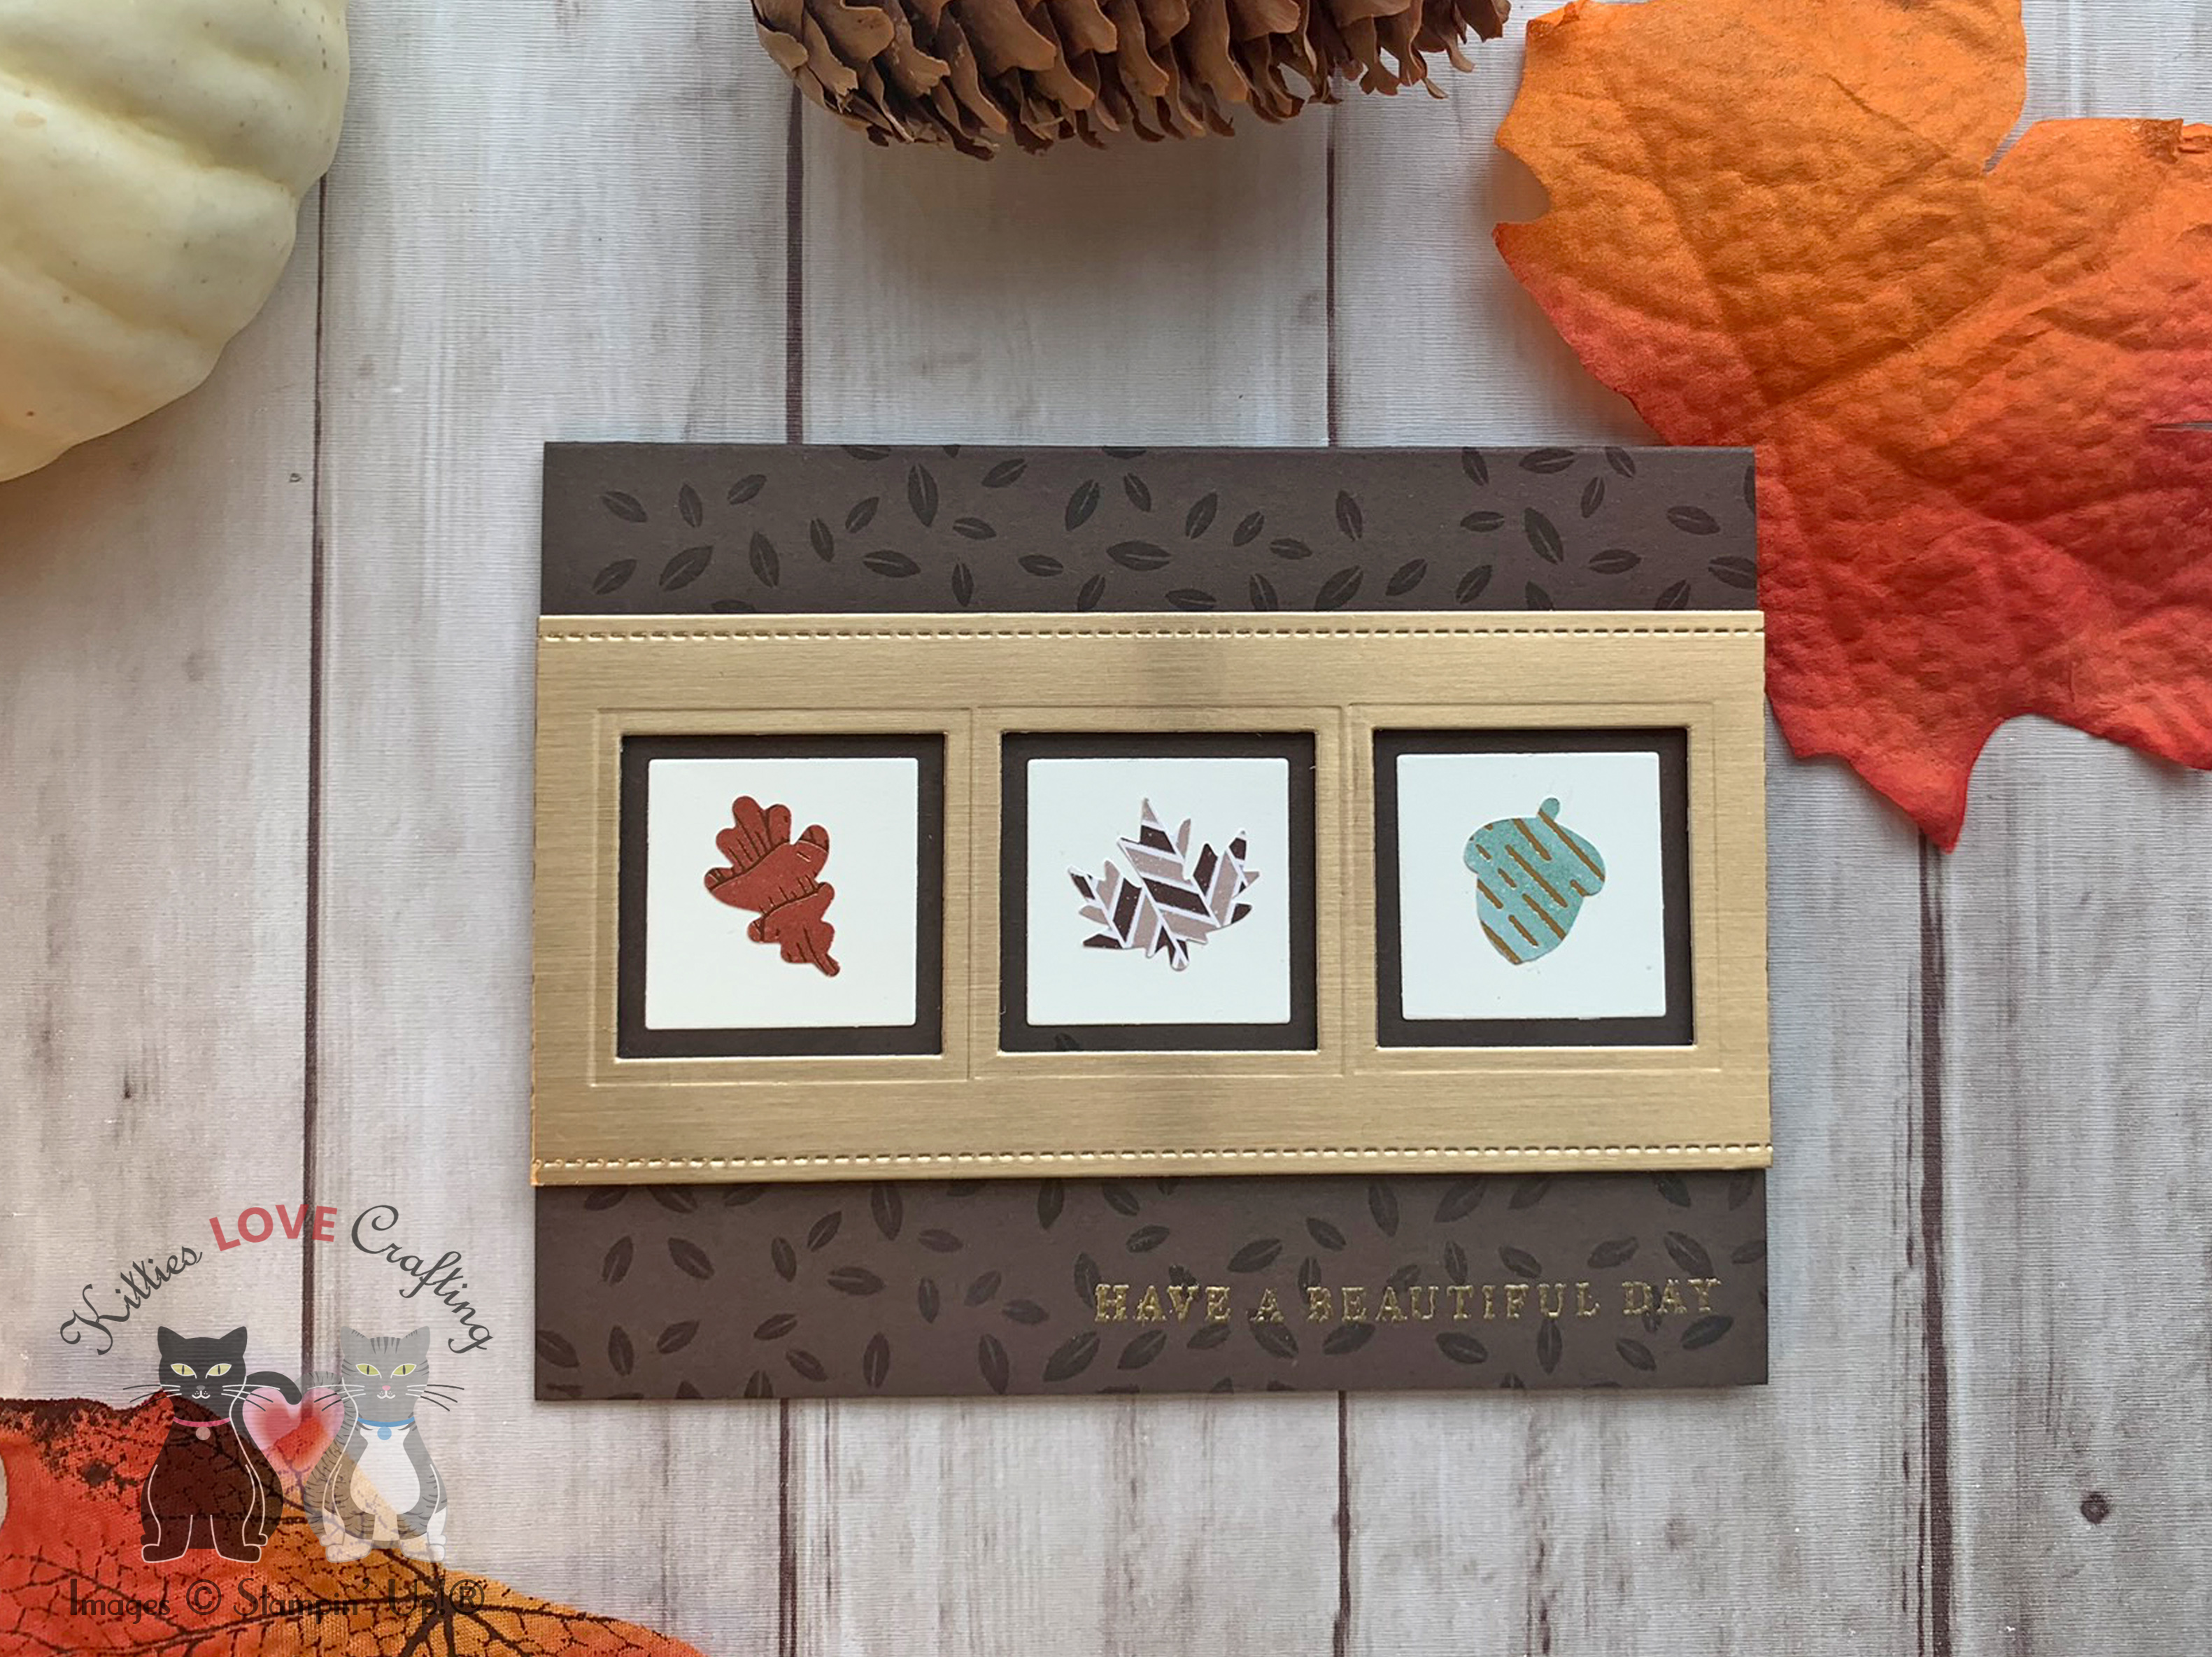
Hello friends. Need some quick thank you cards for Fall or Thanksgiving? Normally I would say these would be great to give a host after attending their dinner party. But since this year’s celebrations will look very different and we may not be gathering with friend and family, you can send these after receiving a gift or to a teacher for all the hard work they have had to do during these uncertain times. I made 3 cards and then found myself with extra leaf pieces from the squares I punched out so I made a fourth card.
I added 3M Foam Tapeto the back of the stitched gold foil piece and adhered it to the card base. I diecut three 1-3/16″ squares from Very Vanilla 8-1/2 x 11″ Cardstock using the Layering Squares Dies, adhered the leftover leaf images to each one, and adhered them inside the windows. And this completed this card.
Thanks for reading this post. I hope you enjoyed and I’ve inspired you to try these very quick and beautiful thank you cards for yourself! Leave comments or questions below or feel free to email me. If you want to share you creations with me tag me on instagram @kittieslovecrafting. If you would like a Stampin’ Up! catalog, please email me as well. All current catalogs can be found on the right side of this post and the Stampin’ Up! page. All news and fun stuff happening at Stampin’ Up! are listed there!
The colors in the Guilded Autumn Suite by Stampin’ Up are stunning. It has the perfect Fall colors, one of my favorites for many years being Cajun Craze. It is the primary color I envision when I think of Fall. What’s your favorite Fall color? Honestly, when I got this Suite I was stumped as to what to make with it but I was having a creative block at the time. I flipped through the catalog and decided to CASE one of the cards on page 44. I loved the colors and the wreath. I encourage you to CASE cards from the catalogs if you can’t figure out what to make. It helps get the creative juices flowing.
For the wreath I wanted to do something different from the original. I used the pattern paper that has copper and gold foiled leaves and acorns because when I saw this paper I fell in love. I used the Autumn Punch Pack to cut out the individual images. Having the punches made this process soooo much faster! I recommend getting this suite or the Beautiful Autumn Bundle.
I adhered the tiny images to around the circle on the very vanilla square panel. Tip: don’t add glue to the front end of your images. it makes it easier to tuck other leaves and later the sentiment strip underneath them. I stamped the sentiment from the Beautiful Autumn stampset onto a piece of Very Vanilla 8-1/2 x 11″ Cardstock with Cajun Craze Ink and trimmed it down to 3/4 x 2-7/8″, adhered it to a piece of Gold Foil paper cut to 1 x 2-7/8″ and it to the wreath, tucking ti under some of the leaves. I added Foamto the back of the Very Vanilla panel and added it to the card front.
To finish it off, I added a piece of Linen Thread. This card already has a ton of shine so it didn’t need a lot more extraness.
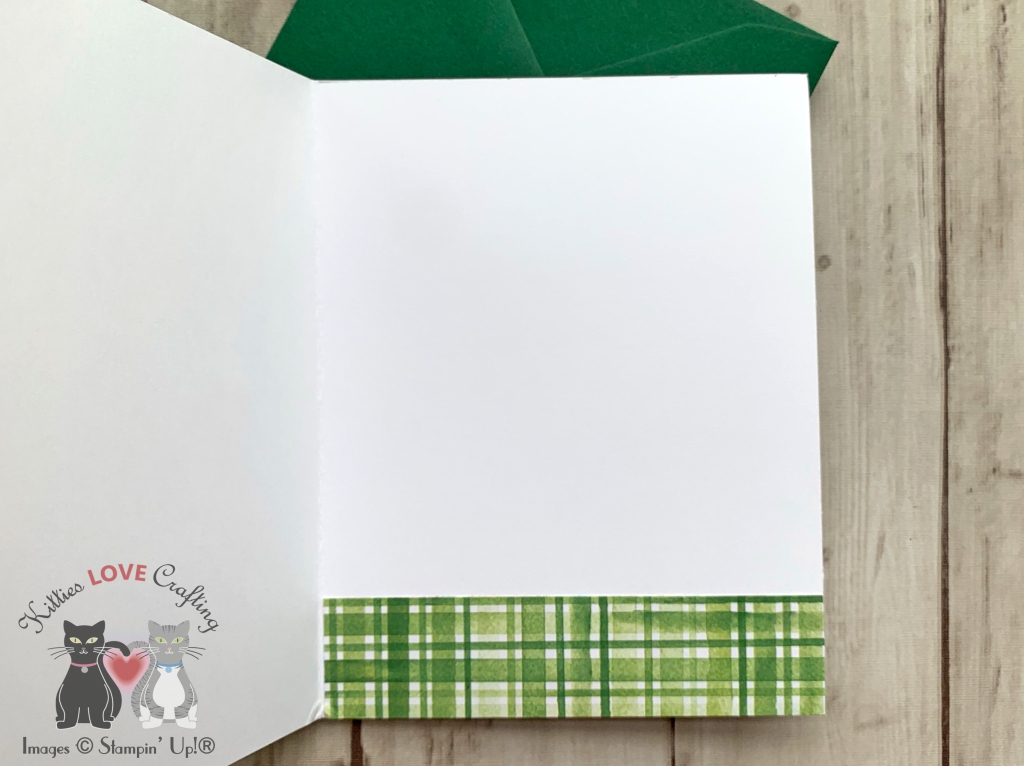
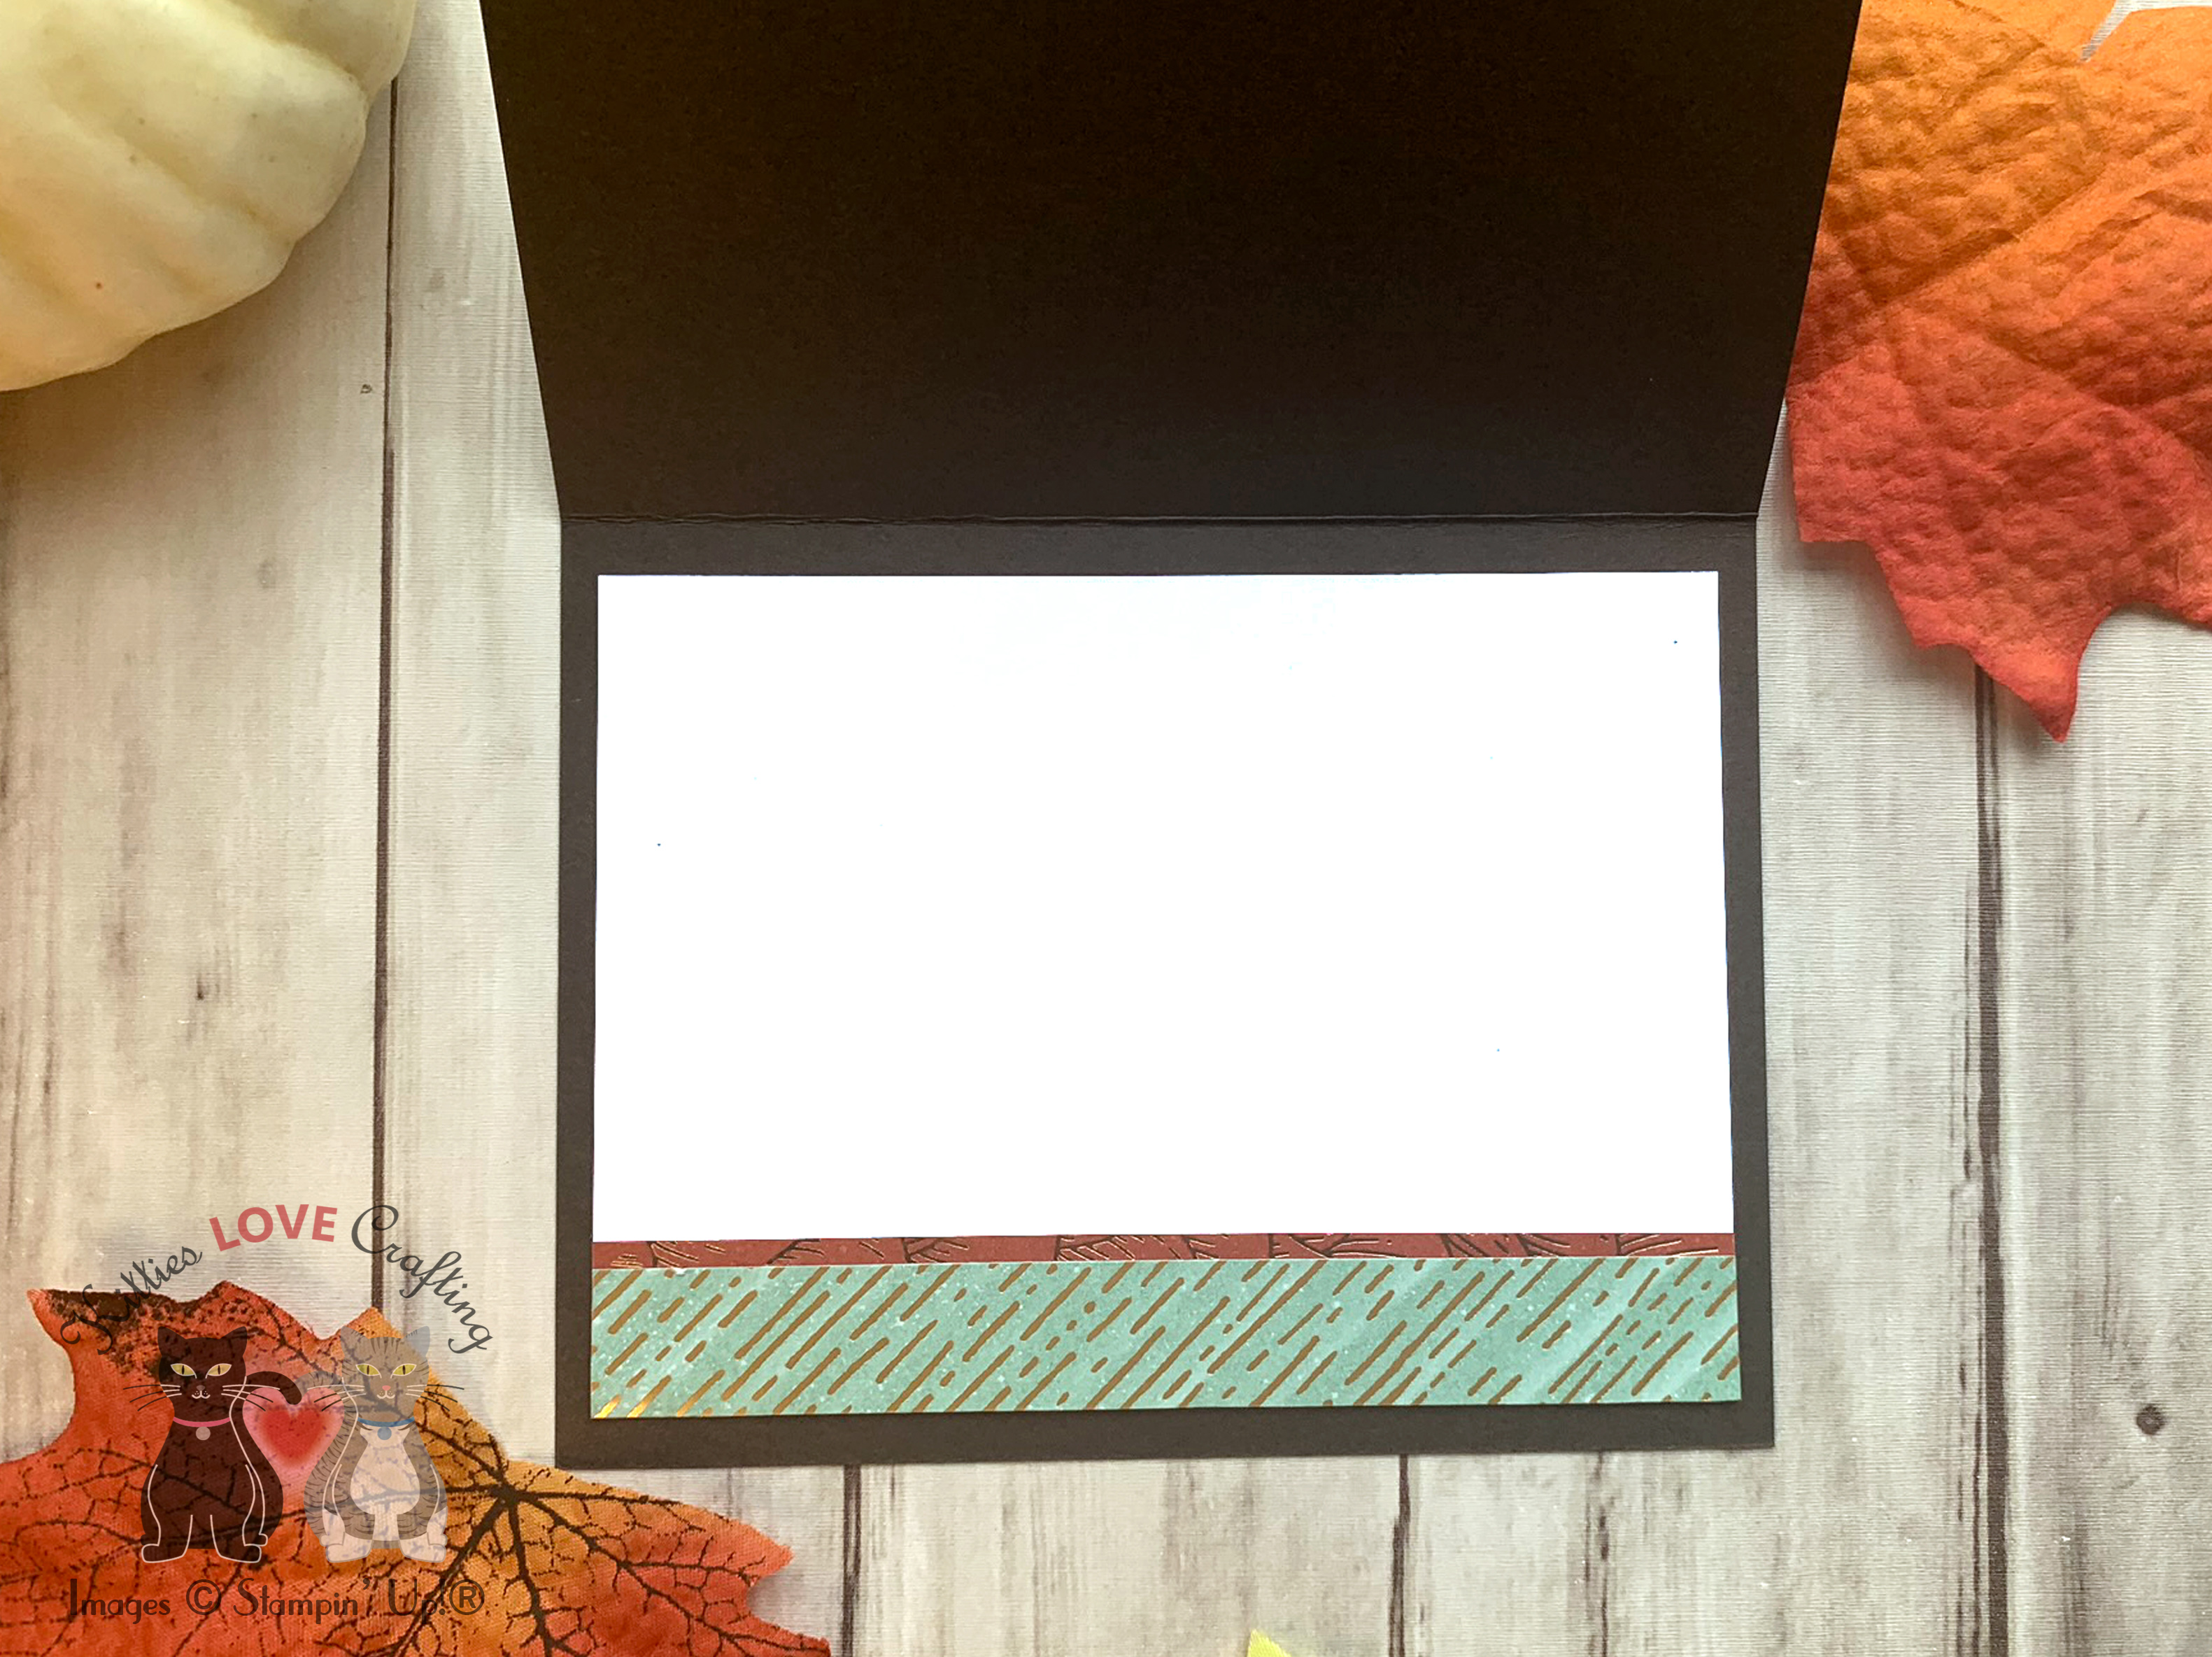
For the inside of the card, again I kept it simple. I cut a piece of Whisper White 8-1/2″ X 11″ Cardstock to 4 x 5-1/4″ and added a strip of the Gold Foil paper, measuring 1/2 x 4″ and two gold foiled acorns from the pattern paper to the bottom.
While I was making the first card, I thought ‘I wonder what it would look like if the wreath was square?’ So… I created a simpler version of the first one.
Thanks for reading this post. I hope you enjoyed and I’ve inspired you to try these fall cards using this beautiful suite for yourself! Leave comments or questions below or feel free to email me. If you want to share you creations with me tag me on instagram @kittieslovecrafting. If you would like a Stampin’ Up! catalog, please email me as well. All current catalogs can be found on the right side of this post and the Stampin’ Up! page. All news and fun stuff happening at Stampin’ Up! are listed there!


 https://linkdeli.com/widget.js?id=f5e8378456858c916708