The colors in the Guilded Autumn Suite by Stampin’ Up are stunning. It has the perfect Fall colors, one of my favorites for many years being Cajun Craze. It is the primary color I envision when I think of Fall. What’s your favorite Fall color? Honestly, when I got this Suite I was stumped as to what to make with it but I was having a creative block at the time. I flipped through the catalog and decided to CASE one of the cards on page 44. I loved the colors and the wreath. I encourage you to CASE cards from the catalogs if you can’t figure out what to make. It helps get the creative juices flowing.

For this card, I started by cutting a piece of Cajun Craze 8-1/2 x 11″ Cardstock to 5-1/2 x 8-1/2″ and scored at 4-1/4″ to create a card base. I also cut a piece of pattern paper from the Guilded Autumn 12 x 12 Specialty Paper Pack to 4 x 4″ and a Very Vanilla 8-1/2 x 11″ Cardstock to 3-3/4 x 3-3/4″. I stamped the leaves from the Beautiful Autumn stampset with Cajun Craze Ink onto the card base and adhered the pattern paper to the card base with Tombow Mono Multi Liquid Glue. I diecut a circle in the center of the Very Vanilla 8-1/2 x 11″ Cardstock square with the Layering Circle Dies.

For the wreath I wanted to do something different from the original. I used the pattern paper that has copper and gold foiled leaves and acorns because when I saw this paper I fell in love. I used the Autumn Punch Pack to cut out the individual images. Having the punches made this process soooo much faster! I recommend getting this suite or the Beautiful Autumn Bundle.
I adhered the tiny images to around the circle on the very vanilla square panel. Tip: don’t add glue to the front end of your images. it makes it easier to tuck other leaves and later the sentiment strip underneath them. I stamped the sentiment from the Beautiful Autumn stampset onto a piece of Very Vanilla 8-1/2 x 11″ Cardstock with Cajun Craze Ink and trimmed it down to 3/4 x 2-7/8″, adhered it to a piece of Gold Foil paper cut to 1 x 2-7/8″ and it to the wreath, tucking ti under some of the leaves. I added Foam to the back of the Very Vanilla panel and added it to the card front.
To finish it off, I added a piece of Linen Thread. This card already has a ton of shine so it didn’t need a lot more extraness.
For the inside of the card, again I kept it simple. I cut a piece of Whisper White 8-1/2″ X 11″ Cardstock to 4 x 5-1/4″ and added a strip of the Gold Foil paper, measuring 1/2 x 4″ and two gold foiled acorns from the pattern paper to the bottom.

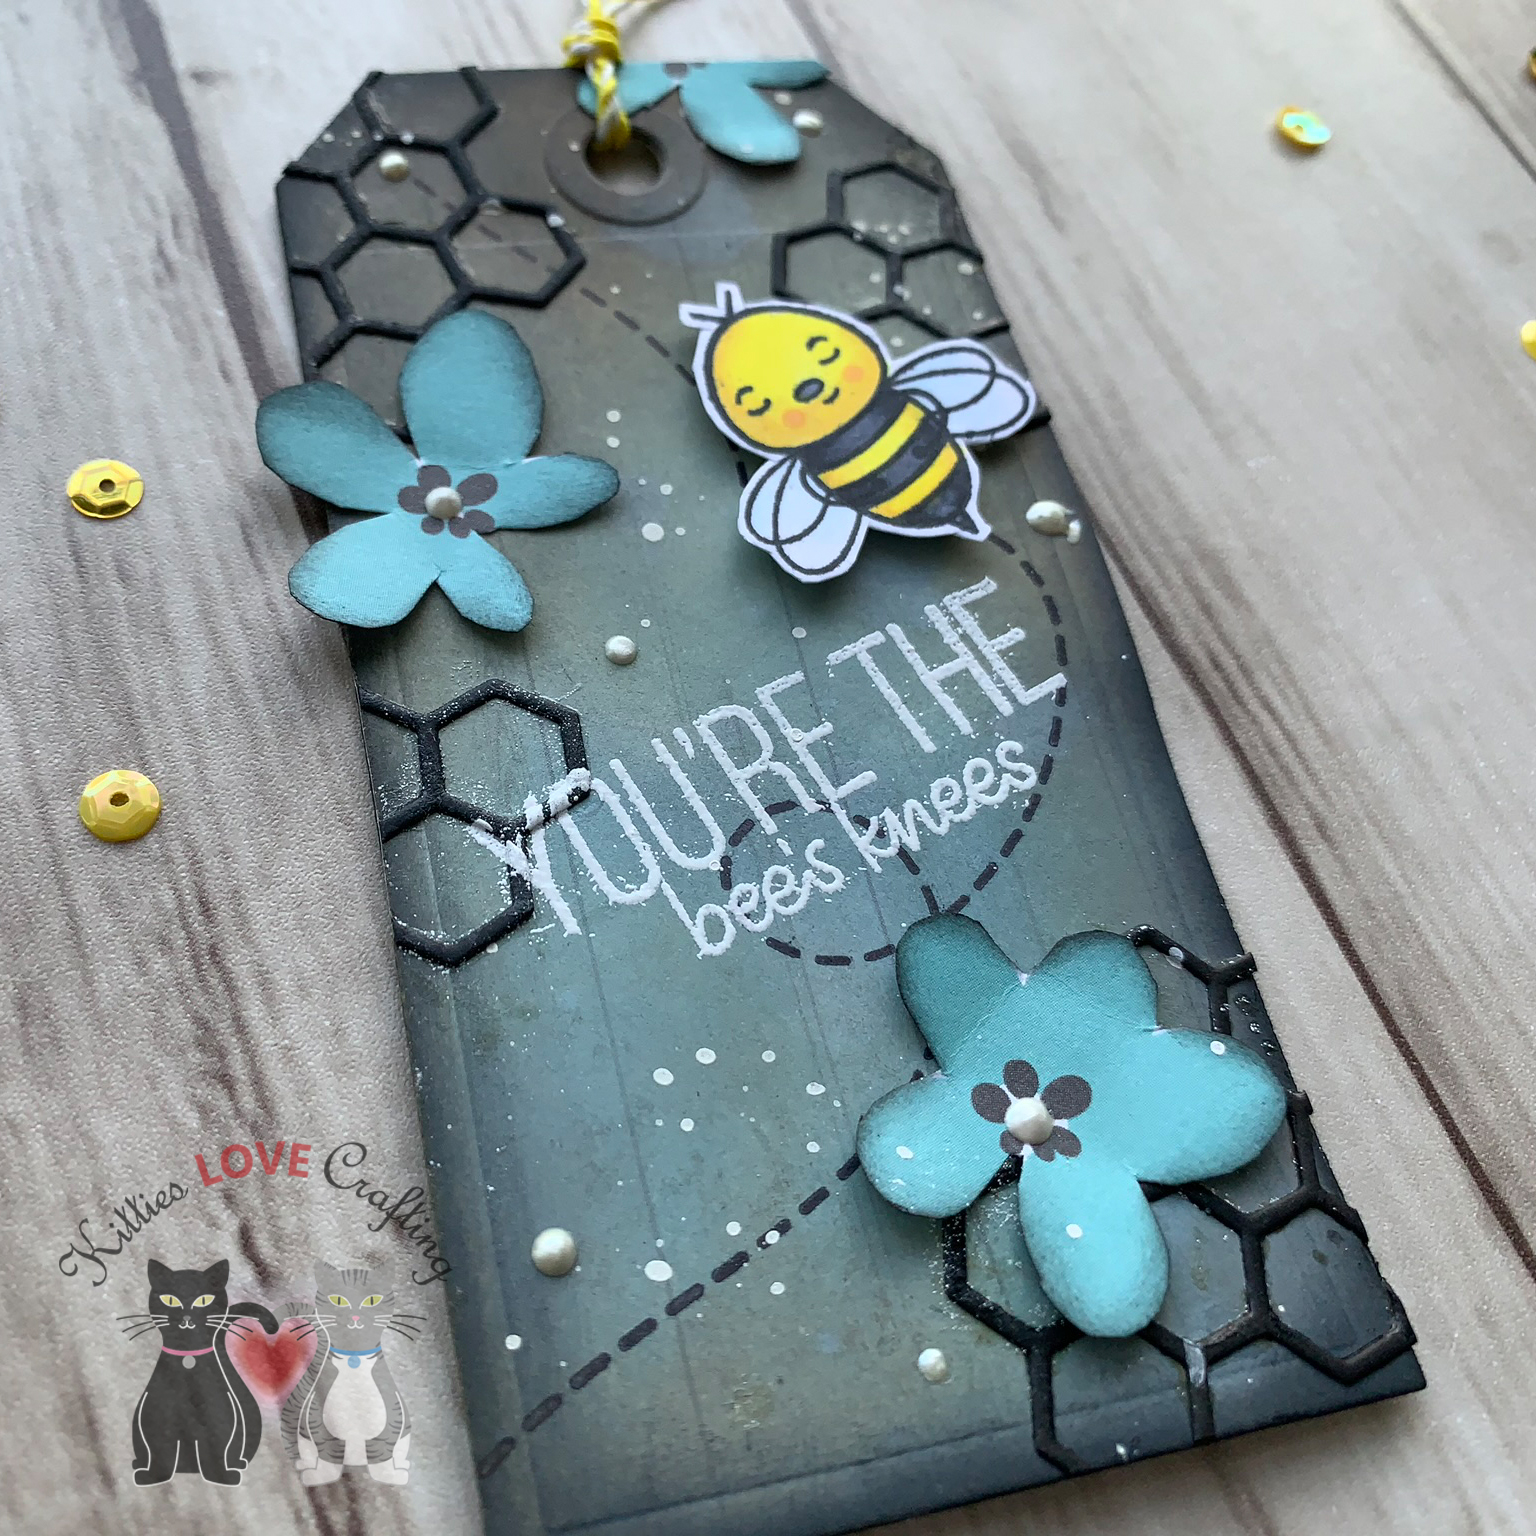
I also made tags for the cards to show you how you can make a whole gift set if you want. For the tag, I started by cutting a piece of Crumb Cake 8-1/2 x 11″ Cardstock to 2 x 4-3/4″ and a piece of paper paper from the Guilded Autumn 12 x 12 Specialty Paper Pack to 2 x 2 and adhered them together. Next, I punched the top of it with the Scalloped Tag Topper Punch. I cut out a piece of Cajun Craze 8-1/2 x 11″ Cardstock, measuring 2 x 2 which I tore on one end and adhered to the bottom of the tag. I rounded the bottom corners with the Crop-A-Dile – Corner Chomper Tool. I cut out a strip of the Gold Foil paper, measuring 1/4 x 2″ and added it to the bottom of the tag.

I cut a 2-1/8″ circle from Very Vanilla 8-1/2 x 11″ Cardstock using the Layering Circle Dies. and stamped a sentiment from Beautiful Autumn stampset with Cajun Craze Ink. I adhered the circel to the tag offset and cut off the excess. I used the Autumn Punch Pack to punch out several leaves from the same paper I used for the card wreath. I adhered them around the circle to create a wreath. Lastly, I added copper ribbon and Linen Thread to the top of the tag.

Dimensions
- Card Base = 5-1/2 x 8-1/2″ and scored at 4-1/4″ Cajun Craze 8-1/2 x 11″ Cardstock
- Top Panel = 3-3/4 x 3-3/4″ Very Vanilla 8-1/2 x 11″ Cardstock
- Back Panel = 4 x 4″ Guilded Autumn 12 x 12 Specialty Paper Pack
- Sentiment Strip = 3/4 x 2-7/8″ Very Vanilla 8-1/2 x 11″ Cardstock; 1 x 2-7/8″ Gold Foil paper
- Inside Panel = 4 x 5-1/4″ Whisper White 8-1/2″ X 11″ Cardstock; Strip = 1/2 x 4″ Gold Foil paper
While I was making the first card, I thought ‘I wonder what it would look like if the wreath was square?’ So… I created a simpler version of the first one.
For this card, I started by cutting a piece of Cajun Craze 8-1/2 x 11″ Cardstock to 5-1/2 x 8-1/2″ and scored at 4-1/4″ to create a card base. I also cut a piece of pattern paper from the Guilded Autumn 12 x 12 Specialty Paper Pack to 3-3/4 x 5-1/2″. I cut a 2-5/8″ square on the inside of the top panel with the Layering Squares Dies.

I stamped the leaves, acorn and pinecone from the Beautiful Autumn stampset onto Whisper White 8-1/2″ X 11″ Cardstock with Cajun Craze Ink, Mint Macaron Ink, Early Espresso Ink, Crumb Cake Ink and Soft Suede Ink. To create the lighter effect for the inside of the images I stamped off once. I used the Autumn Punch Pack to punch out the images. I fussycut the pinecones.
I adhered the images around the square window of the top panel with Tombow Mono Multi Liquid Glue. I stamped the sentiment from the Beautiful Autumn stampset onto a piece of 3-1/4 x 3-1/4″ Whisper White 8-1/2″ X 11″ Cardstock with Early Espresso Ink. I added Foam to the back of the panel, adhered the sentiment pane behind it and then to the card base. I added two strips of Gold Foil paper cut to 1/8 x 5-1/2″ to the top and bottom of the front panel. I finished it off by adding Linen Thread to the wreath.
For the inside of the card, I cut a piece of Whisper White 8-1/2″ X 11″ Cardstock to 4 x 5-1/4″ and added a strip of the same Guilded Autumn 12 x 12 Specialty Paper Pack, measuring 9/16 x 4″ and a few extra stamped images to the bottom.

For the tag to match this card, I started by cutting a piece of Cajun Craze 8-1/2 x 11″ Cardstock to 2 x 4-3/4″. Next, I punched the top of it with the Scalloped Tag Topper Punch. I cut out a piece of Guilded Autumn 12 x 12 Specialty Paper Pack, measuring 1-1/2 x 2 which I tore on one end and adhered to the bottom of the tag. I cut out a strip of the Gold Foil paper, measuring 1/2 x 2″ and added it to the bottom of the tag. I rounded the bottom corners with the Crop-A-Dile – Corner Chomper Tool.

I stamped a sentiment from Beautiful Autumn stampset onto a piece of Whisper White 8-1/2″ X 11″ Cardstock with Early Espresso Ink and cut it down to 1 x 2″ and added it to the tag. I used the Autumn Punch Pack to punch out several leaves from the one of the papers in the Guilded Autumn 12 x 12 Specialty Paper Pack which has leaves and acorns and adhered them to the tag. Lastly, I added Linen Thread to the top of the tag.

Dimensions
- Card Base = 5-1/2 x 8-1/2″ and scored at 4-1/4″ Cajun Craze 8-1/2 x 11″ Cardstock
- Top Panel = 3-3/4 x 5-1/2″ Guilded Autumn 12 x 12 Specialty Paper Pack; 1/8 x 5-1/2″ Gold Foil paper
- Sentiment Strip = 3-1/4 x 3-1/4″ Whisper White 8-1/2″ X 11″ Cardstock
- Inside Panel = 4 x 5-1/4″ Whisper White 8-1/2″ X 11″ Cardstock; Strip = 9/16 x 4″ Guilded Autumn 12 x 12 Specialty Paper Pack
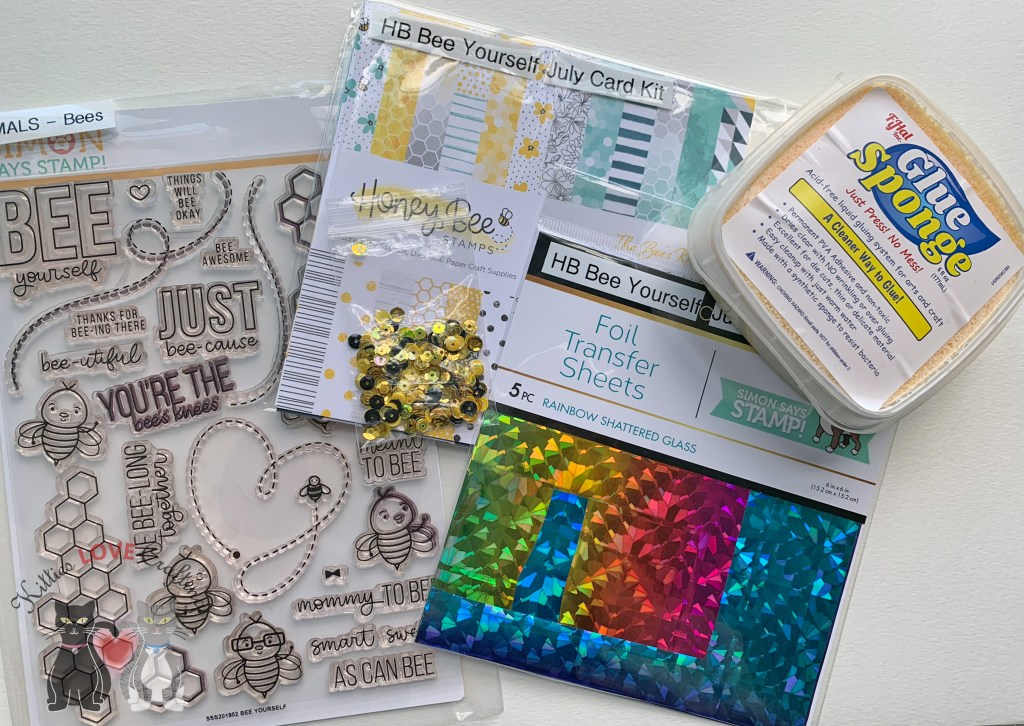
Supplies
 https://linkdeli.com/widget.js?id=f5e8378456858c916708
Thanks for reading this post. I hope you enjoyed and I’ve inspired you to try these fall cards using this beautiful suite for yourself! Leave comments or questions below or feel free to email me. If you want to share you creations with me tag me on instagram @kittieslovecrafting. If you would like a Stampin’ Up! catalog, please email me as well. All current catalogs can be found on the right side of this post and the Stampin’ Up! page. All news and fun stuff happening at Stampin’ Up! are listed there!