Hello friends. When I’m making cards, I like to be as non-wasteful as possible. With these cards, I am using the Positive and Negative die cuts to make two cards. I am using products from the Baking Spirits Bright Card Kit Box (from Catherine Pooler Designs) as well as some others. See how easy this was below.


For the first card, I cut a piece of Neenah 100lb Classic Crest Cardstock 8.5 X 11″ to 5-1/2 x 8-1/2″ and scored at 4-1/4″. I also cut another to 3-3/4 x 4″ which I stenciled the panel using the Ditsy Holly Stencil (included in the Baking Spirits Bright Card Kit) and CP Rouge, Cotton Candy, Matcha and Sea Glass Inks.
I die cut a circle (measuring 2-7/16″) from the left side of the panel (save this for another card) as well as two circles (measuring 2-3/8″ and 2-3/4″) from Neenah 100lb Classic Crest Cardstock 8.5 X 11″ using the Stampin’ Up! LAYERING CIRCLES Dies (retired). I colored the scallop circle using the direct-to-paper technique with CP Rouge Ink and stamped a sentiment from the CP Sweet Holiday Sentiments Stampset (included in the Baking Spirits Bright Card Kit) on the smaller one with Sea Glass Ink.
I stamped the snowflake from the Baking Spirits Bright Stampset using CP Cotton Candy Ink and the detail with Rouge then die cut it with the coodinating dies. I embellished it with Sparkling Sugar Sparkles Glitter by WOW.

I die cut the spatula and rolling pin from the CP Mix & Bake dieset. I used Neenah 100lb Classic Crest Cardstock 8.5 X 11″ for the spatula and colored it with Matcha Ink. The handle and all the rolling pin was die cut from CP From the Kitchen 6 x 6 Pattern Paper (included in the Baking Spirits Bright Card Kit).
Lastly I finished the card by adding some CP Bavaria Sequin Mix (included in the Baking Spirits Bright Card Kit).
On the inside of the card I stamped a sentiment from the CP Here We Come A Caroling Stampset (this was part of the Winterhaven Stamp of Approval 2017 release) with CP Rouge Ink and added a mitten and spatula.

Dimensions
- Card Base = 5-1/2 x 8-1/2″ and scored at 4-1/4″ Neenah 100lb Classic Crest Cardstock 8.5 X 11″
- Top Panel = 3-3/4 x 4″ Neenah 100lb Classic Crest Cardstock 8.5 X 11″

For the second card, I cut a piece of Neenah 100lb Classic Crest Cardstock 8.5 X 11″ to 5-1/2 x 8-1/2″ and scored at 4-1/4″. I also cut a piece of CP From the Kitchen 6 x 6 Patterned Paper (included in the Baking Spirits Bright Card Kit) to 4-1/4 x 5-1/2″, and a piece of Neenah 100lb Classic Crest Cardstock 8.5 X 11″ to 4 x 5-1/4″. I die cut a piece of white cardstock with the Hobnob Cover Plate Die and used that as a stencil with some CP Matcha Ink to add some interest to the background panel.

Next I cut a strip of CP Bushel and a Peck 6 x 6 Patterned Paper to 1 x 4-1/4″ and one from CP From the Kitchen 6 x 6 Patterned Paper (included in the Baking Spirits Bright Card Kit) to 1-1/4 x 4-1/4″. I used the left over stenciled circle (2-7/16″) from the previous card and added a Vellum scallop circle measuring 2-7/16″ which I die cut using the Stampin’ Up! LAYERING CIRCLES Dies (retired). I stamped a sentiment from the CP Sweet Holiday Sentiments Stampset (included in the Baking Spirits Bright Card Kit) with Tsukineko Stazon MIDI JET BLACK Ink.
I used a 1-3/8″ circle punch to cut some circles from same white panel I die cut with the Hobnob Cover Plate Die. And colored them using the direct-to-paper technique and CP Rouge and Matcha Inks.
I finished the card by adding some CP Bavaria Sequin Mix (included in the Baking Spirits Bright Card Kit).
On the inside of the card I cut two strips of CP From the Kitchen 6 x 6 Patterned Paper to 1 x 4-1/4″ and 1-1/8 and 4-1/4″.

Dimensions
- Card Base = 5-1/2 x 8-1/2″ and scored at 4-1/4″ Neenah 100lb Classic Crest Cardstock 8.5 X 11″
- Top Panel = 4-1/4 x 5-1/2″ CP From the Kitchen 6 x 6 Patterned Paper; 4 x 5-1/4″ Neenah 100lb Classic Crest Cardstock 8.5 X 11″
- Inside Strips = 1 x 4-1/4″ and 1-1/8 x 4-1/4″ CP From the Kitchen 6 x 6 Paper
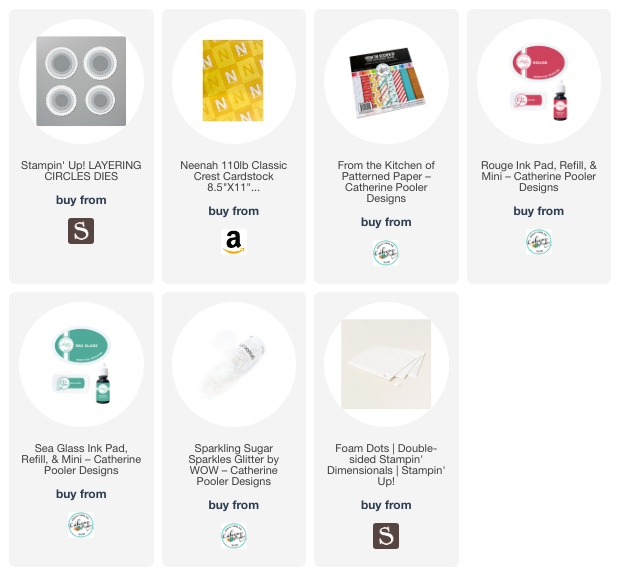
Supplies
 https://linkdeli.com/widget.js?id=f5e8378456858c916708
Thanks for reading this post. I hope I’ve inspired you to give this cute and sweet holiday card a try for yourself. Leave comments or questions below or feel free to email.