Hello friends. Here is one last card to close out my Fall series! This one is an easy inlay technique — and oldy but goody! lol

For the first card, I cut a piece of Neenah 100lb Classic Crest Cardstock 8.5 X 11″ to 5-1/2 x 8-1/2″ and scored at 4-1/4″ to create a card base and a piece of Catherine Pooler Designs Sunflower Fields Forever Patterned Paper to 4-1/4 x 5-1/2″. I also die cut a piece of Neenah 100lb with the Catherine Pooler Woven Cover Plate Die.
I cut another piece Neenah 100lb Classic Crest Cardstock 8.5 X 11″ to 3-1/2 x 4-3/4″ which I colored with Catherine Pooler Designs Spiced Ink using the direct-to-paper technique. Then die cut another piece using the second largest die (3-1/2 x 4-1/2″) from the Lawn Fawn Large Stitched Rectangle Stackables Lawn Cuts Dies.

I die cut a window from the white top panel using the shadow from the Honey Bee Stamps Large Thanks Dies (retired) as well as one from Catherine Pooler Designs Sunflower Fields Forever Patterned Paper which I then inlay into the window area. I stamped the rest of the sentiment from Lawn Fawn Thanks Thanks Thanks Stampset using Catherine Pooler Green Tea Ink.
I die cut 2 pumpkins from some Neenah 100lb Classic Crest Cardstock 8.5 X 11″ using the Catherine Pooler Fall Frames. I colored them using ink. I used Catherine Pooler Sauna and Orange Peel and Green Tea Inks and popped one up with Stampin’ Up! Stampin’ Dimensionals.
I finished off the card by adding some Nuvo Drops in Metallic Bright Gold and Bottle Green.

I stamped a sentiment from the Lawn Fawn Thanks Thanks Thanks Stampset with Catherine Pooler Green Tea Ink on the inside of the card and added a piece of Catherine Pooler Designs Sunflower Fields Forever Patterned Paper measuring 1 x 5-1/2″ and 1-1/8 x 5-1/2″.
Dimensions
- Card Base = 5-1/2 x 8-1/2″ and scored at 4-1/4″ Neenah 100lb Classic Crest Cardstock 8.5 X 11″
- Top Panel = 4-1/4 x 5-1/2″ Catherine Pooler Designs Sunflower Fields Forever Patterned Paper and Neenah 100lb Classic Crest Cardstock 8.5 X 11″; 3-1/2 x 4-3/4″, 3-1/2 x 4-1/2″, and 4-1/4 x 5-1/2″
- Inside Panels = 1 x 5-1/2″ and 1-1/8 x 5-1/2″ Catherine Pooler Designs Sunflower Fields Forever Patterned Paper
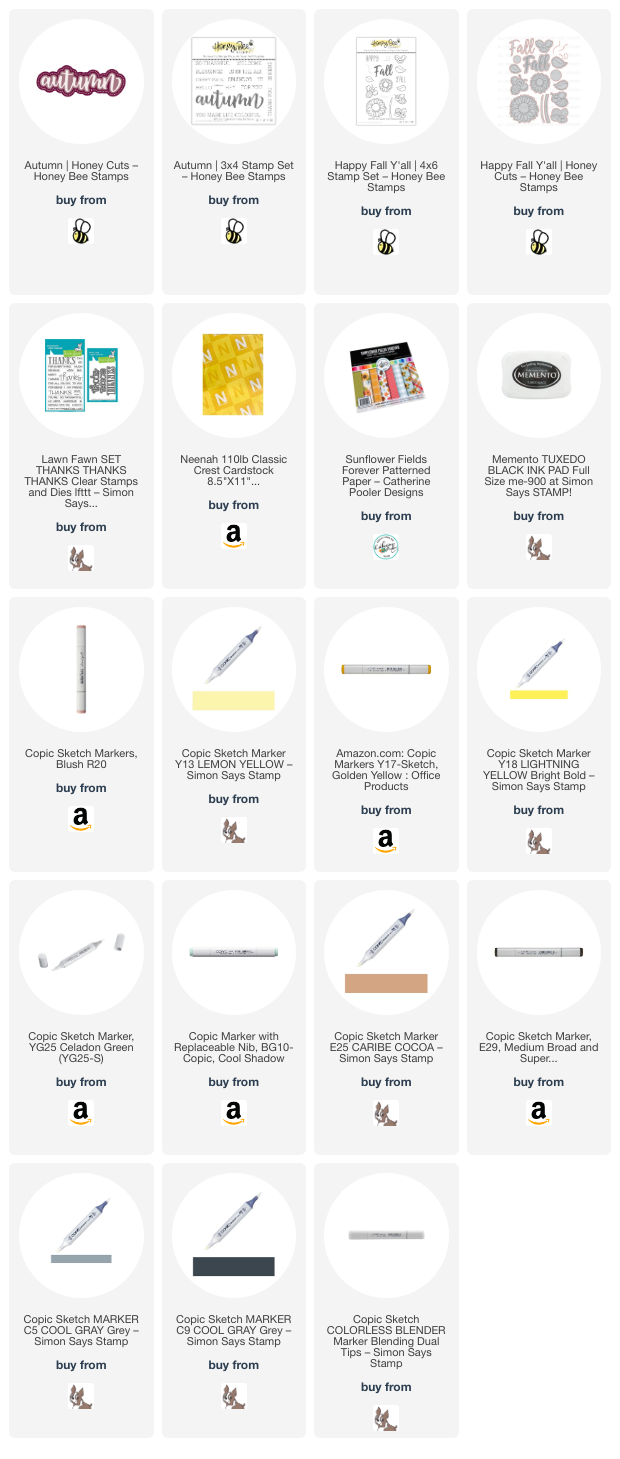
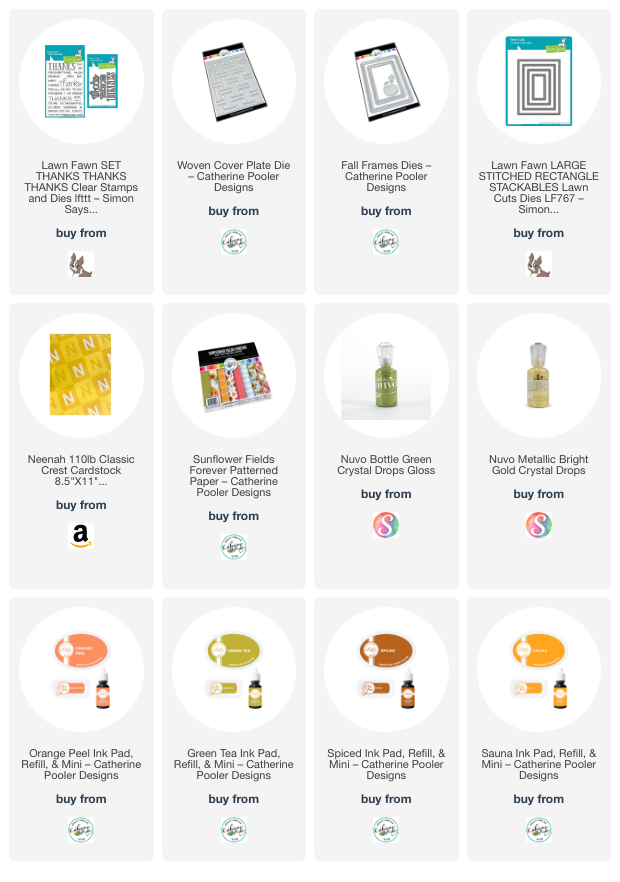
Supplies
 https://linkdeli.com/widget.js?id=f5e8378456858c916708
Thanks for reading this post. I hope I’ve inspired you to give this easy Thank You card a try for yourself. Leave comments or questions below or feel free to email.