
September is coming to a close very soon and you may be starting to panic if you don’t have enough or any Christmas cards made yet. I’ve been there so I know the feeling. Much as we try to keep to schedule and timelines sometimes life gets in the way.
Well I’m here to help. Beginning my Christmas card series today and hopefully will give you lots of ideas for cards. I rarely mass produce cards for Christmas (unless I run out of time) but some of the cards I will be making can be easily mass produced. I will do my best to give you as many options as possible.
Non Traditional Christmas Card
Going to kick this off with this cute card featuring fish from the Lawn Fawn Christmas Fishes Clear Stampset. While this card is a little involved (lots of coloring), the results are worth the effort. For this one I wanted to try not to use 100% traditional Christmas colors since this stampset is not your traditional Christmas one. Fish with santa hats and an underwater Christmas tree?!? What a brilliant idea! And as always Lawn Fawn sea creatures are super cute. Ok, I digress…
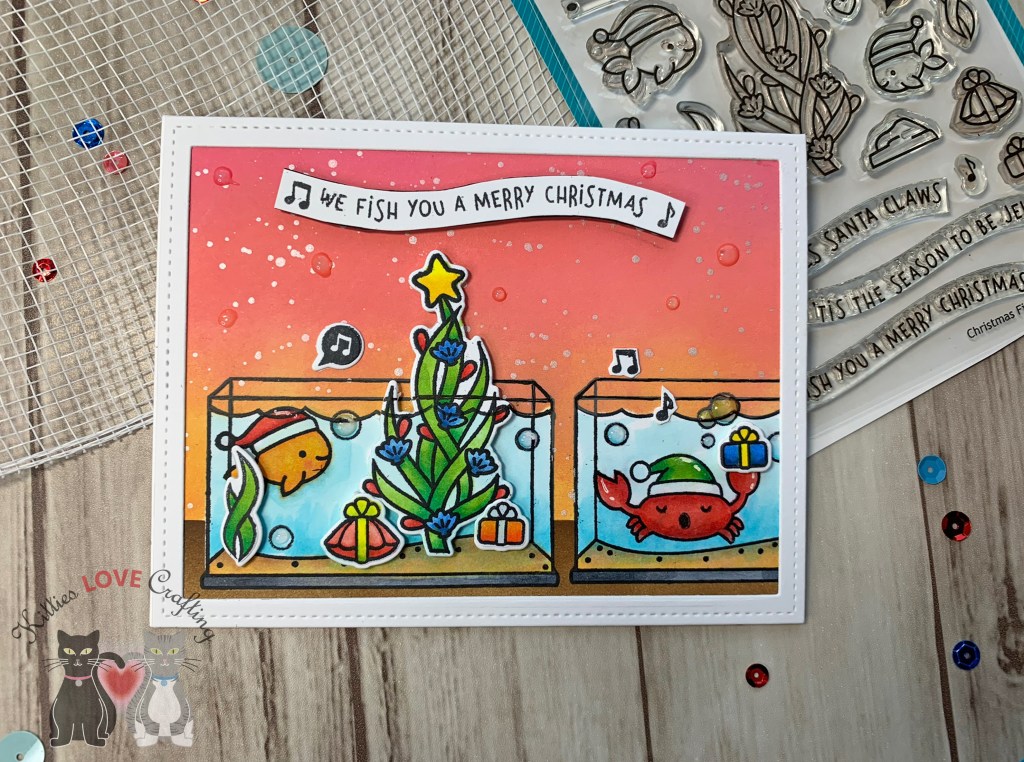
I started by cutting down a piece of Neenah 110lb Classic Crest Cardstock 8.5″X11″ to 5-1/2 x 8-1/2″and scored at 4-1/4″, another piece to 4 x 5-1/4″, and lastly I cut a piece to 4-1/4 x 5-1/2″ using the largest of the Lawn Fawn SMALL STITCHED RECTANGLE STACKABLES and Lawn Fawn LARGE STITCHED RECTANGLE STACKABLES, creating a 1/4-inch stitched border.
Using my MISTI, I stamped all the images onto the 4 x 5-1/4″ white panel. Originally I was going to make this card flat but in the end I decided to pop things up. So I stamped all the images as well as additional presents, a fish and the tree and plants onto Neenah 110lb Classic Crest Cardstock 8.5″X11″ with Memento Tuxedo Black Ink. I also stamped 2 additional images of the fish tank and 1 of the tree onto Super Sticky Post-It Notes to use as a mask. I fussycut the masks out and placed them on my card. Time to get inky…

I taped off the bottom portion of my panel with some 2-inch Post-It Tape. Using Distress Oxide Inks in Spiced Marmalade, Worn Lipstick, Abandoned Coral, Picked Raspberry (in that order from the bottom) I created a gradient. Distress Oxides are awesome because you don’t have to blend them super well to get a smooth transition in color. I sprayed some water droplets using my Tim Holtz Distress Sprayer by Ranger. Then I splattered some pearlescent acrylic paint onto the panel using Martha Stewart Crafts Multi-Surface Pearl Acrylic Craft Paint. Once that was dry, I removed the Post-It Tape from the bottom and placed it just above the edge of the background. Using Distress Ink in Gathered Twigs, I inked up the bottom of the card.

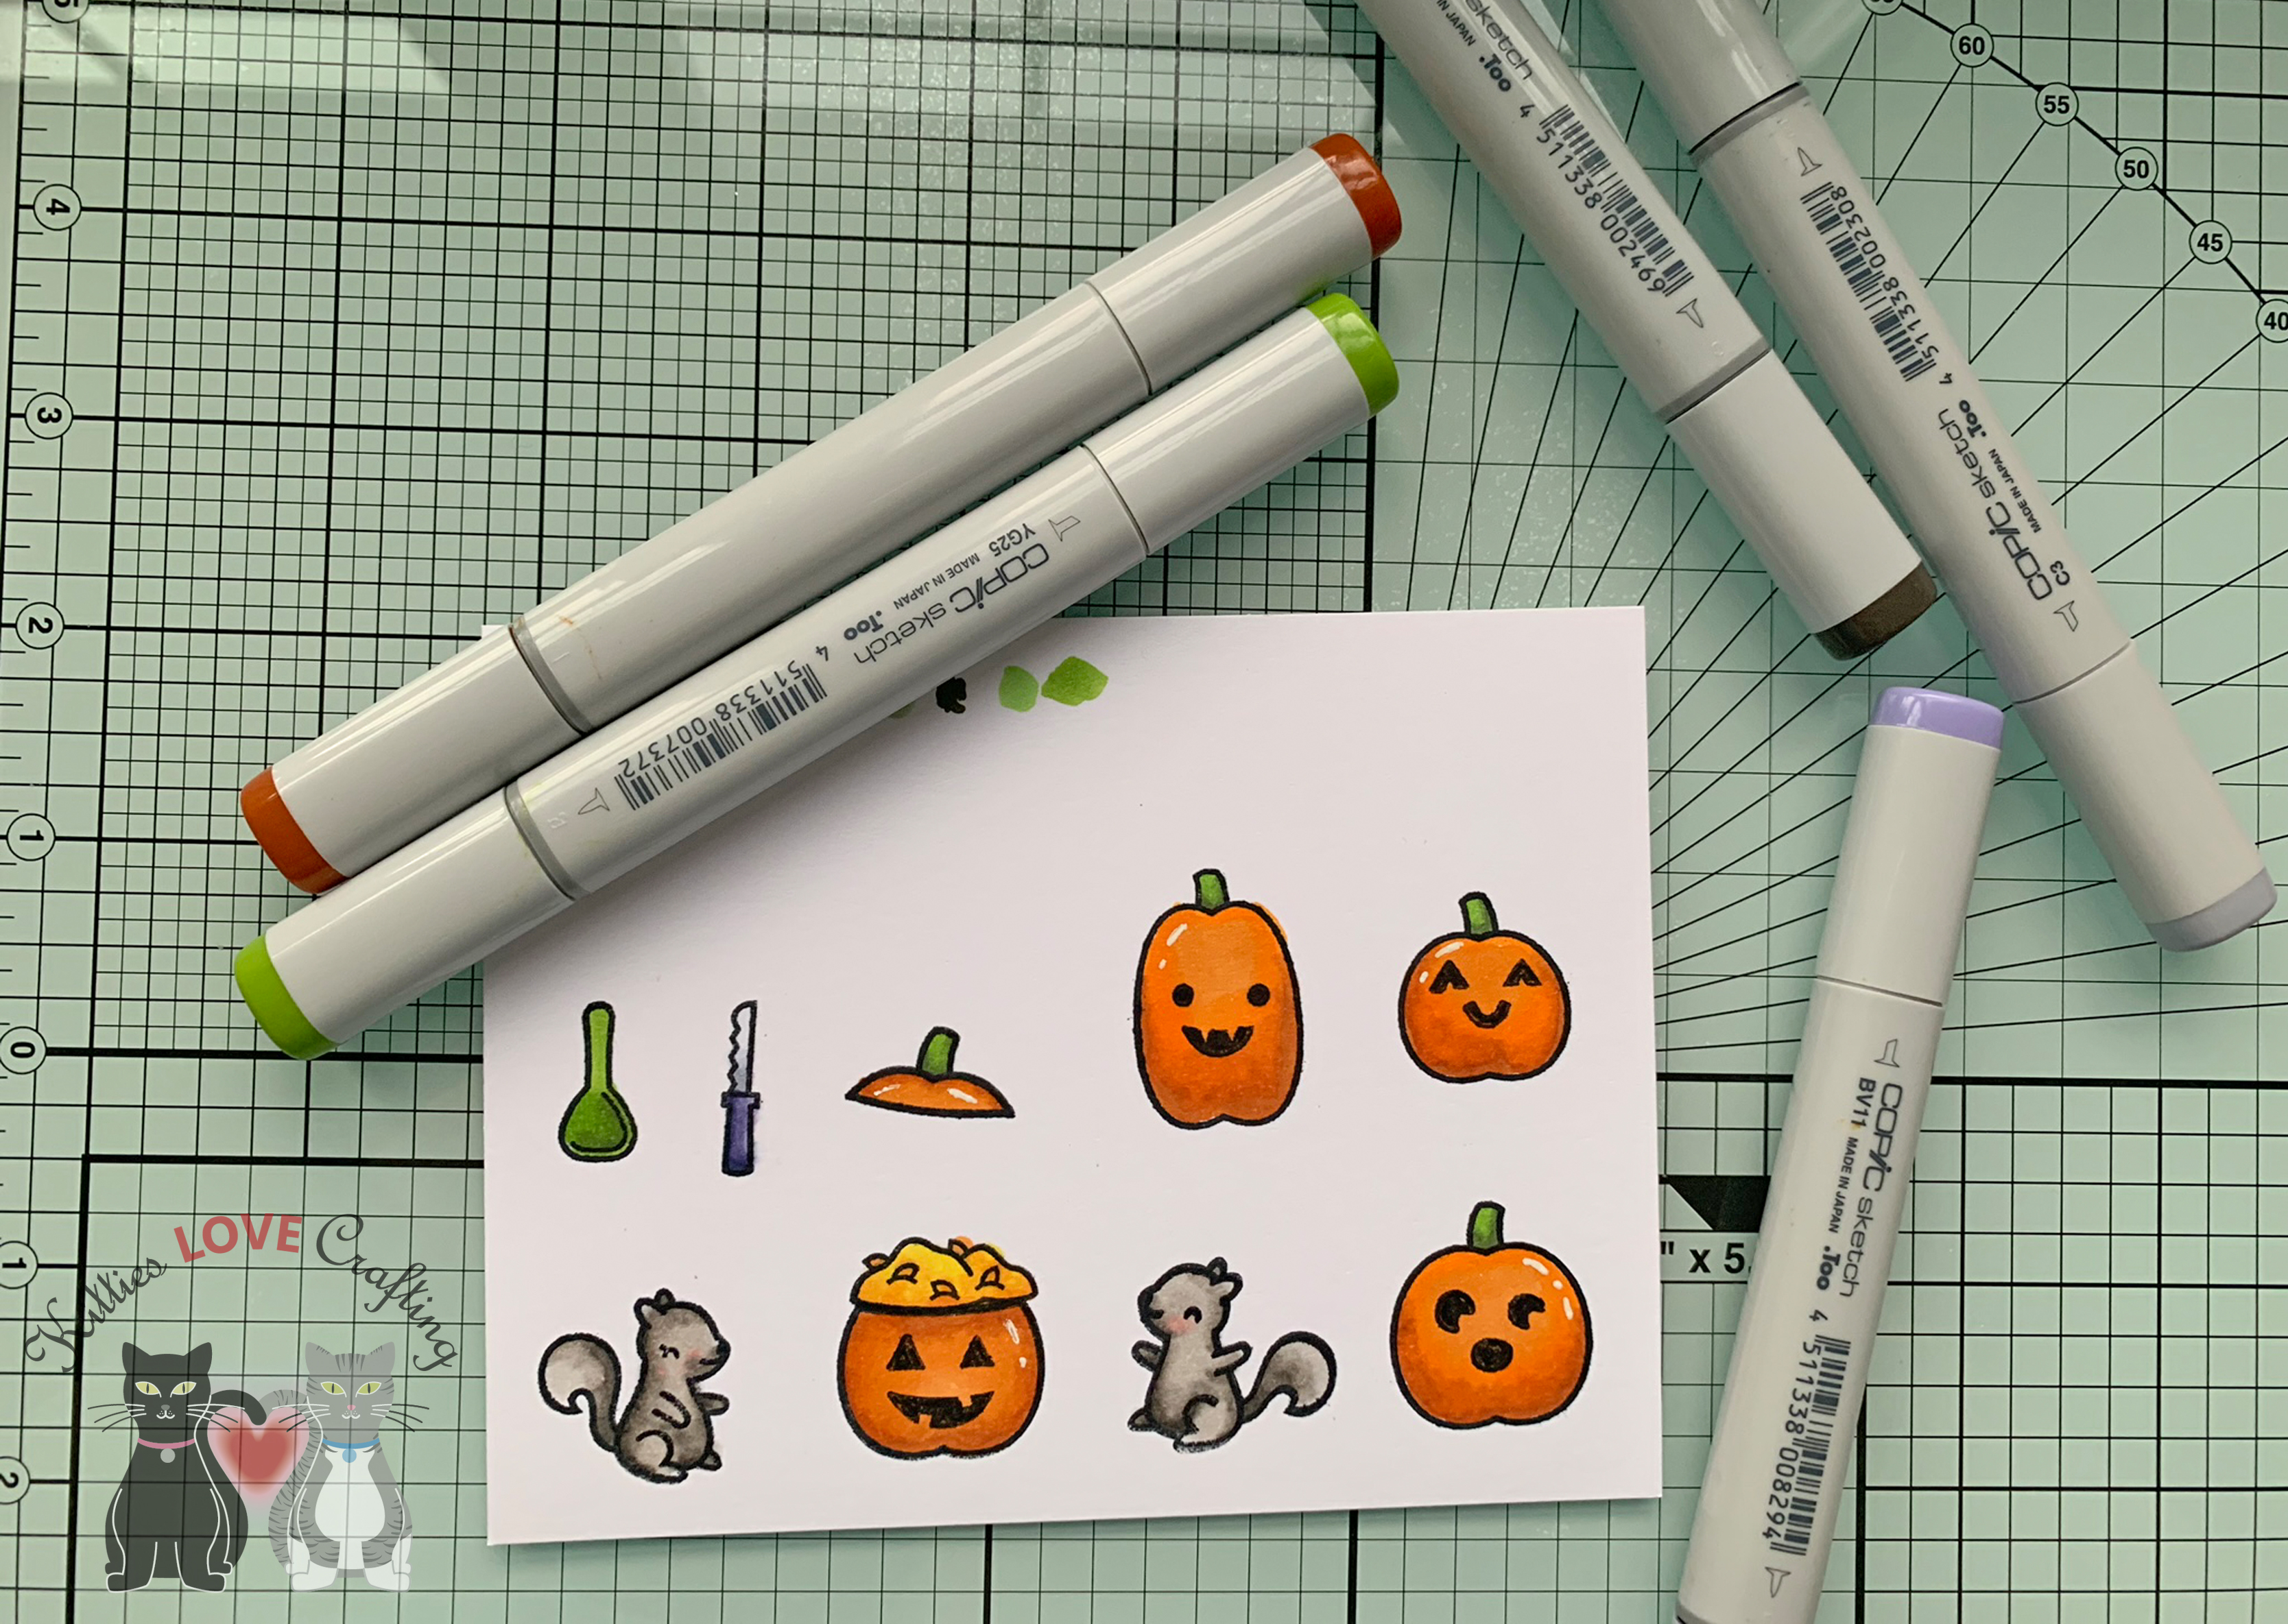
Once the ink was all dry, I colored all the images using COPIC markers and diecut them using the coordinating dies. I added some highlights to the images with Uni-Ball White Signo Broad Point Gel Pen. I added Stampin’ Dimensionals to pop up the images in the front. Then I stamped the greeting onto Neenah 110lb Classic Crest Cardstock 8.5″X11″ with Memento Tuxedo Black Ink and fussycut it out.
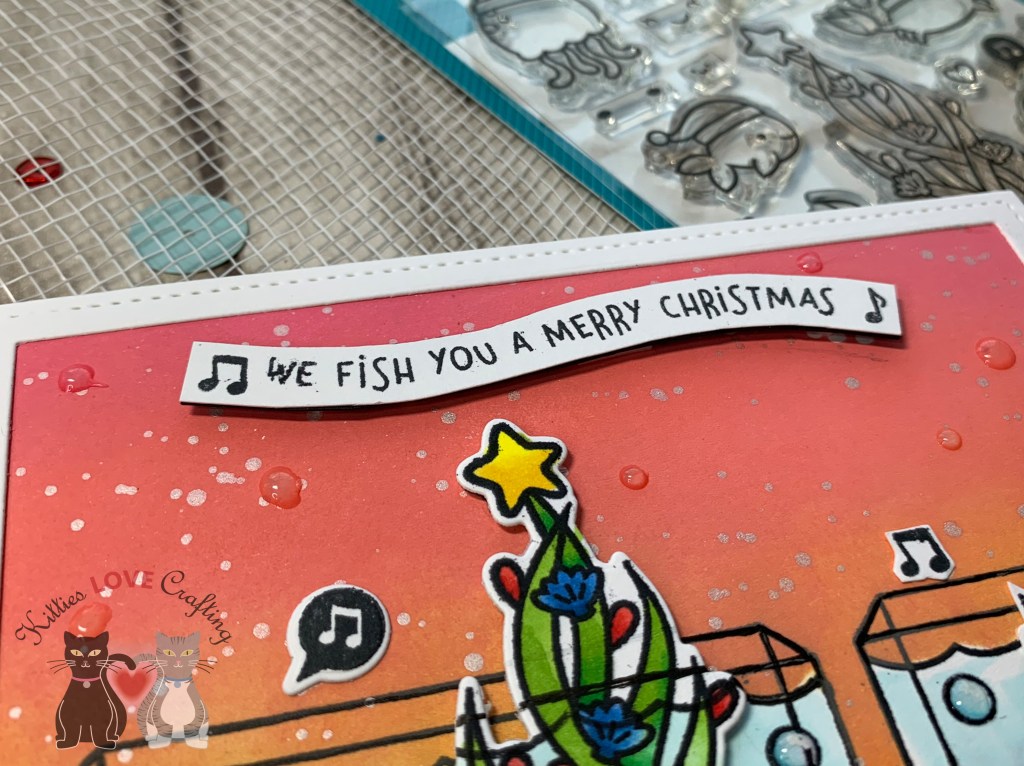
I glued the top panel to the card base and then added the white stitched border with some Simon Says Stamp Foam Tape. I added the sentiment strip to the card with Foam Tape as well. To finish off the front of the card, I added some Nuvo Drops in Morning Dew to the water bubbles.

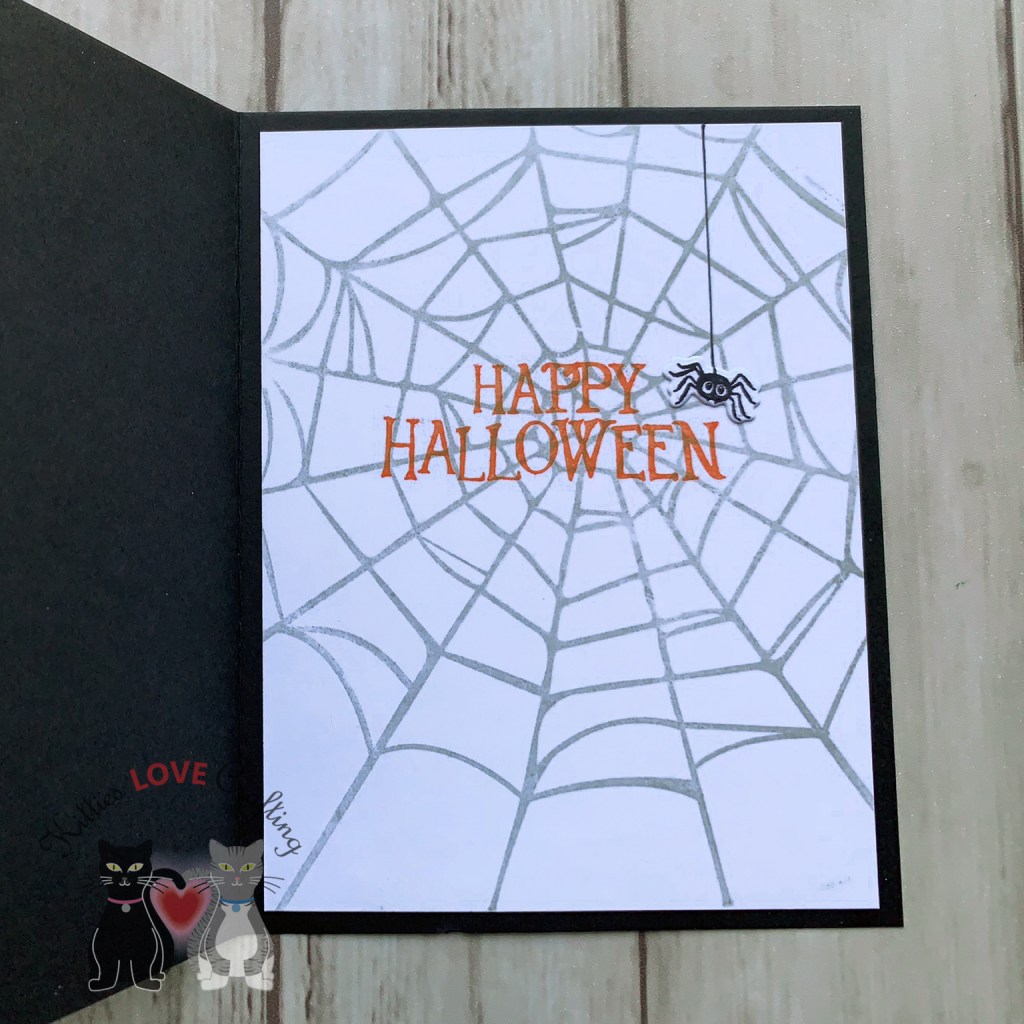
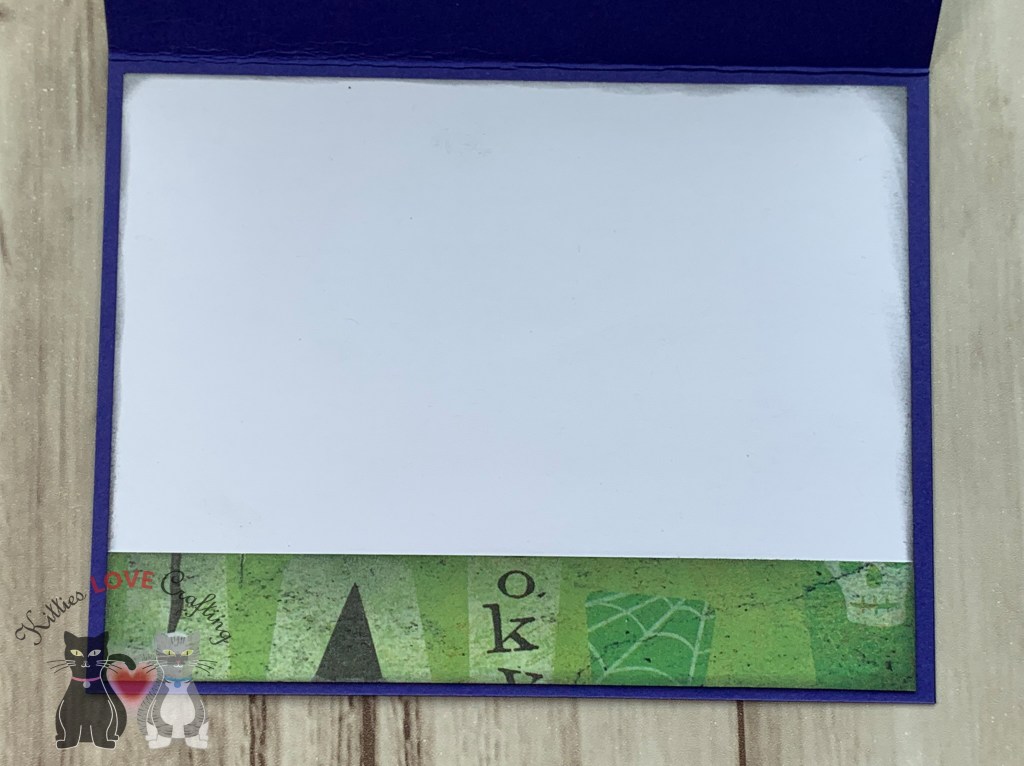
I kept the inside of the card very simple and just stamped another sentiment with Memento Tuxedo Black Ink and some water bubbles.

Lastly, I stamped the little crab and some water bubbles onto a white envelope with Memento Tuxedo Black Ink .

Dimensions
- Card Base = 5-1/2 x 8-1/2″and scored at 4-1/4″ Neenah 110lb Classic Crest Cardstock 8.5″X11″
- Top Panel = 4 x 5-1/4″ Neenah 110lb Classic Crest Cardstock 8.5″X11″
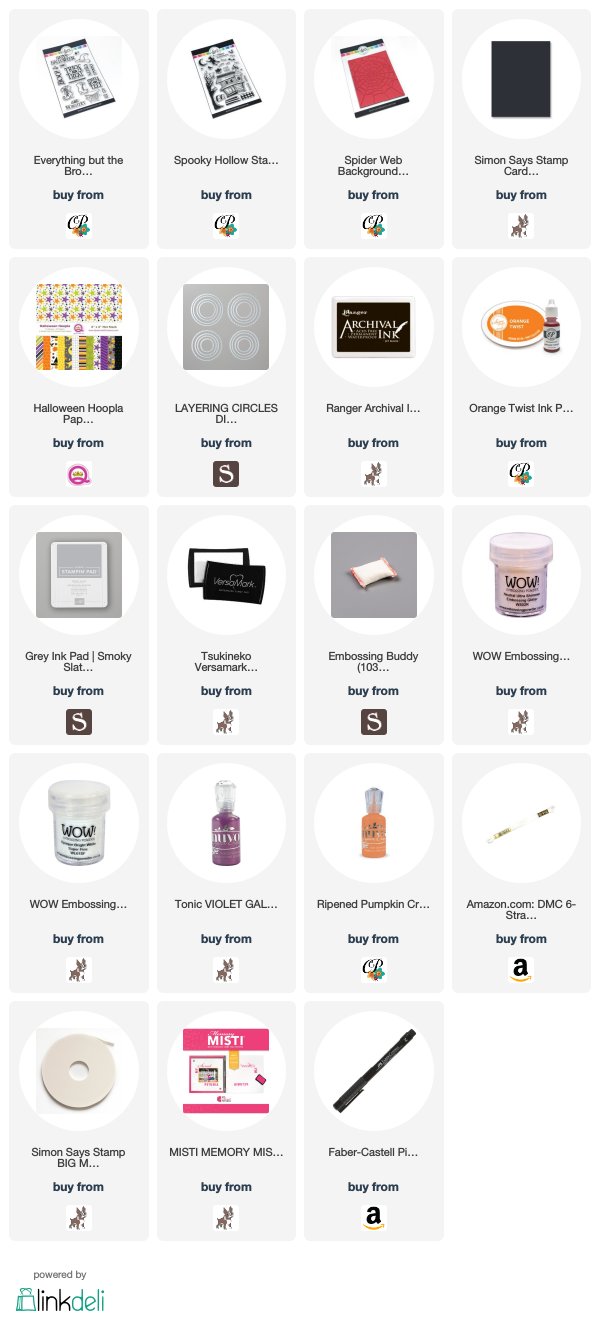
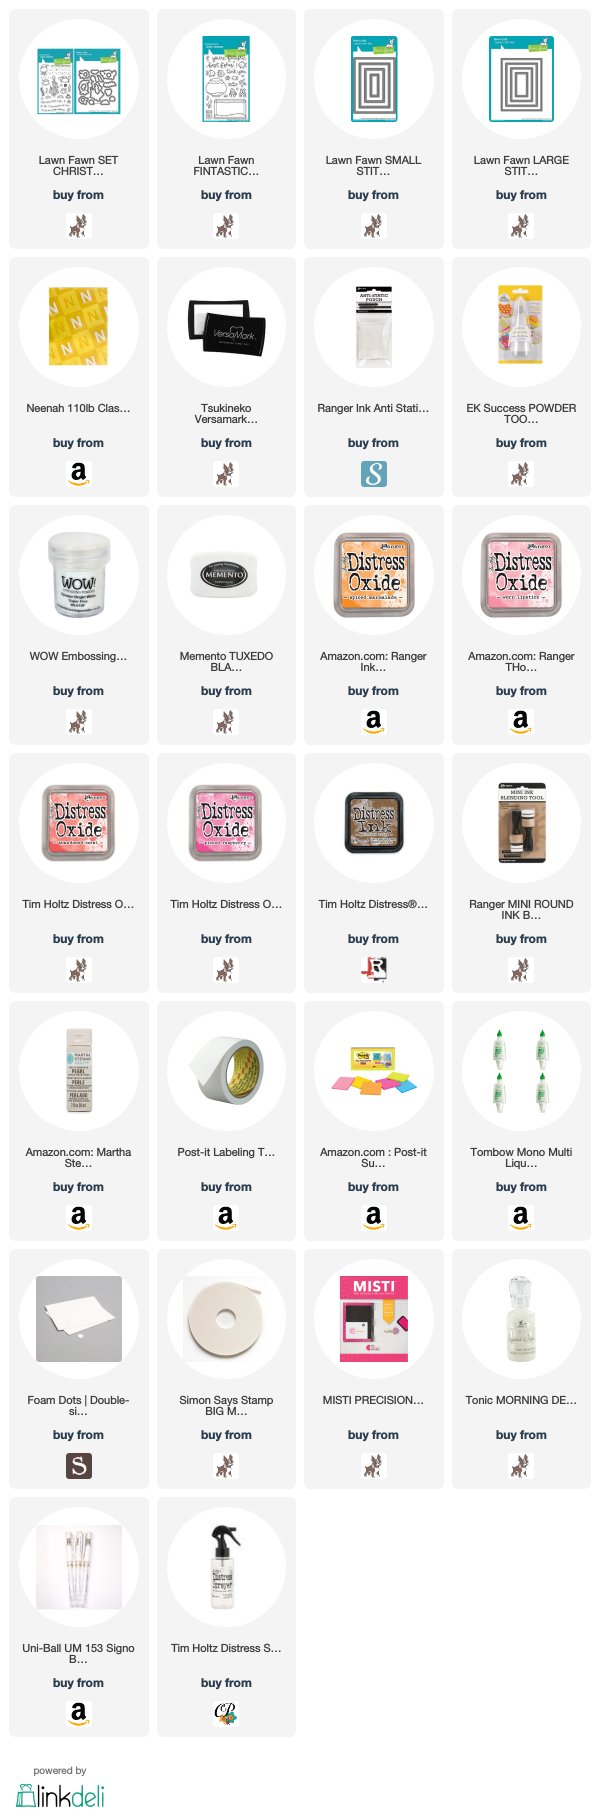 https://linkdeli.com/widget.js?1559654439292
Thanks for reading this post and I hope I’ve inspired you to start making Christmas cards of your own. Leave comments or questions below or feel free to email me.


