Hello friends. This little llama found his luck at the end of the rainbow! With this card I created some layers with stencils and stamps. It’s easy to do this by masking off areas. Keep reading to see how I did this…

For this card, I cut a piece of Neenah 110lb Classic Crest Cardstock 8.5 X 11″ to 5-1/2 x 8-1/2″ and scored at 4-1/4″ to create the card base. Then cut another panel to 4 x 5-1/4″. I rounded the corners on both using We R Memory Keepers Crop-A-Dile Corner Chomper, 0.25″ & 0.5.
For the background, I stamped a rainbow using the Simon Says Clear Stamps RAINBOW IS MY FAVORITE COLOR and Catherine Pooler Designs Samba, Catching Rays, Lime Rickey, and Cummerbund inks. I masked off the rainbow with some post-it notes and then using the Simon Says Stamp Stencil BUILD A RAINBOW and Catherine Pooler Designs Catching Rays Ink to add a sun behind it.
I stamped the clouds from the Simon Says Clear Stamps RAINBOW IS MY FAVORITE COLOR, the llama. shamrocks and sentiment from Simon Says Stamp Wooly Lucky onto some Neenah 110lb Classic Crest Cardstock 8.5 X 11″ with Memento Tuxedo Black Ink.

I colored the images with Copic colors. I used W0, W1 & 0, R20, & C7 for the llama; G07 & G09, C7 & C9, Y15 & Y17 for the hat and bow; YG03 for the shamrocks; YG03, YG17, G07, Y15 & Y17 for the blanket; and BG000 & 0 for the clouds. I fussy cut all the images and adhered them to the card.
I added some 3M Foam Tape to the cloud in the front and finished off the card by adding sparkle to the clouds with Spectrum Noir CLEAR OVERLAY Sparkle Pen and Nuvo Crystal Drops in Metallic Bright Gold to the sun.
I left the inside of the card blank and just added some shamrocks.

Dimensions
- Card Base = 5-1/2 x 8-1/2″ and scored at 4-1/4″ Neenah 110lb Classic Crest Cardstock 8.5 X 11″
- Top Panel = 4 x 5-1/4″ Neenah 110lb Classic Crest Cardstock 8.5 X 11″
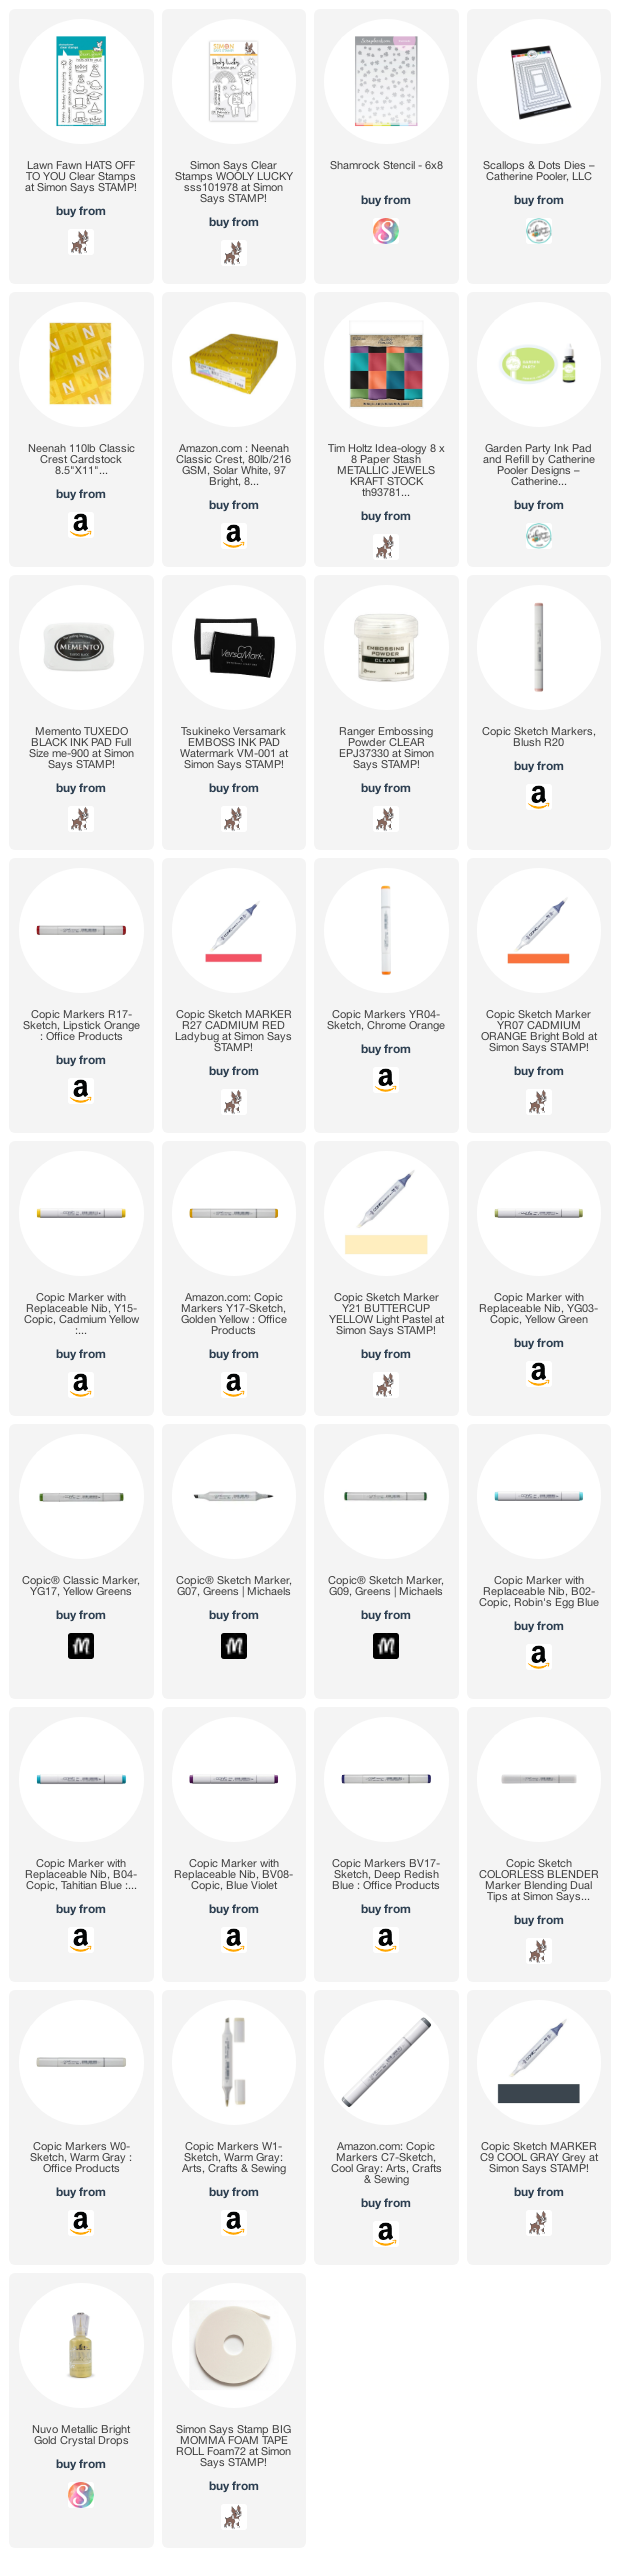
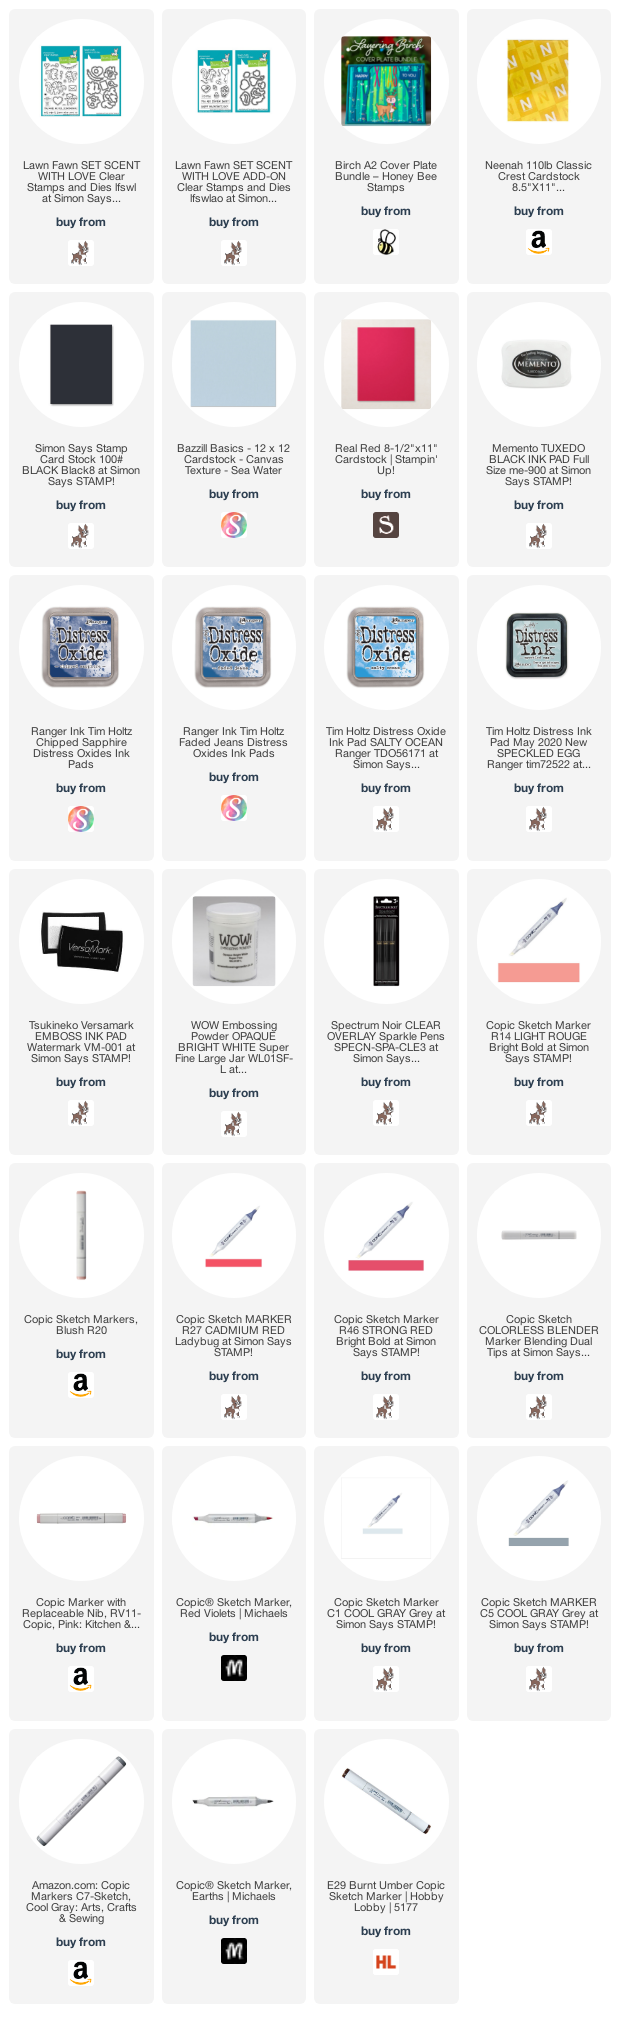
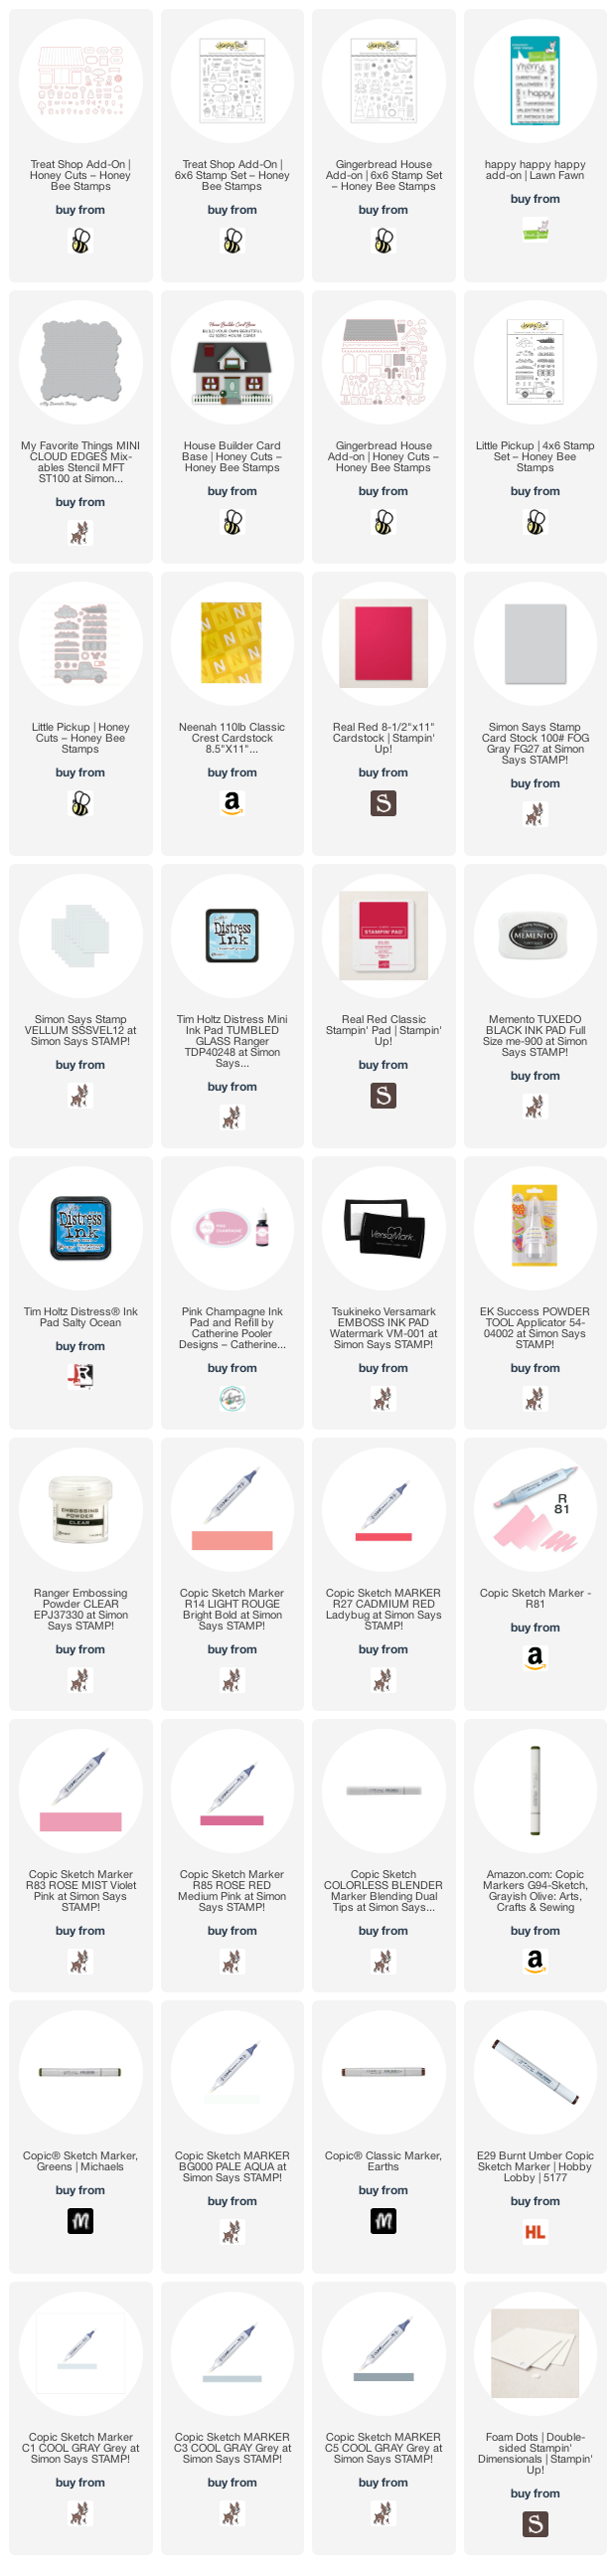
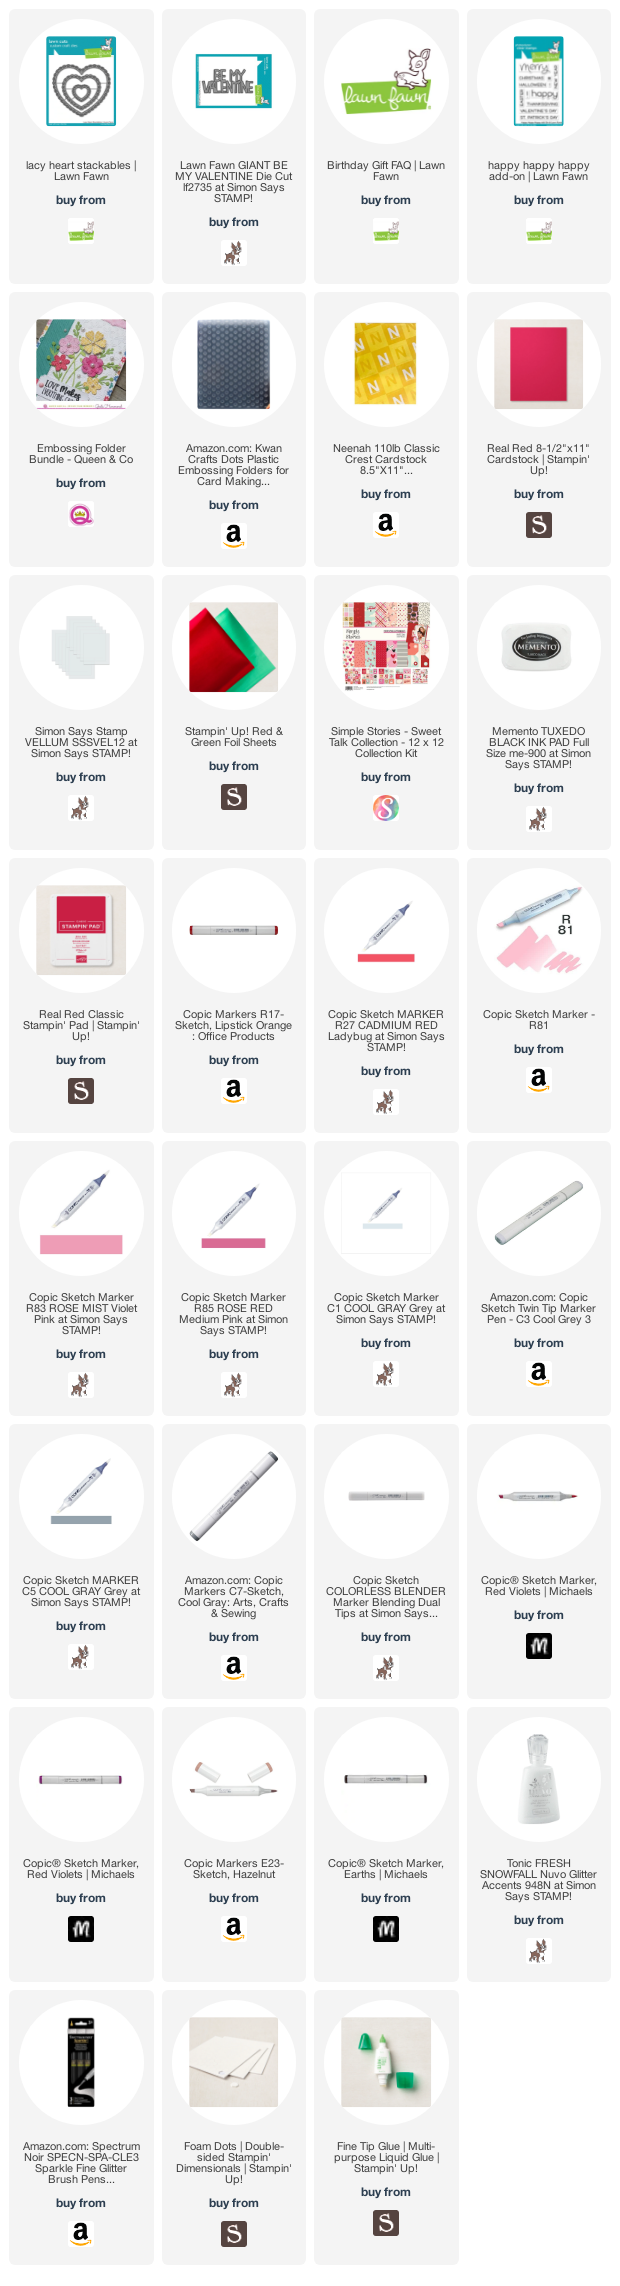
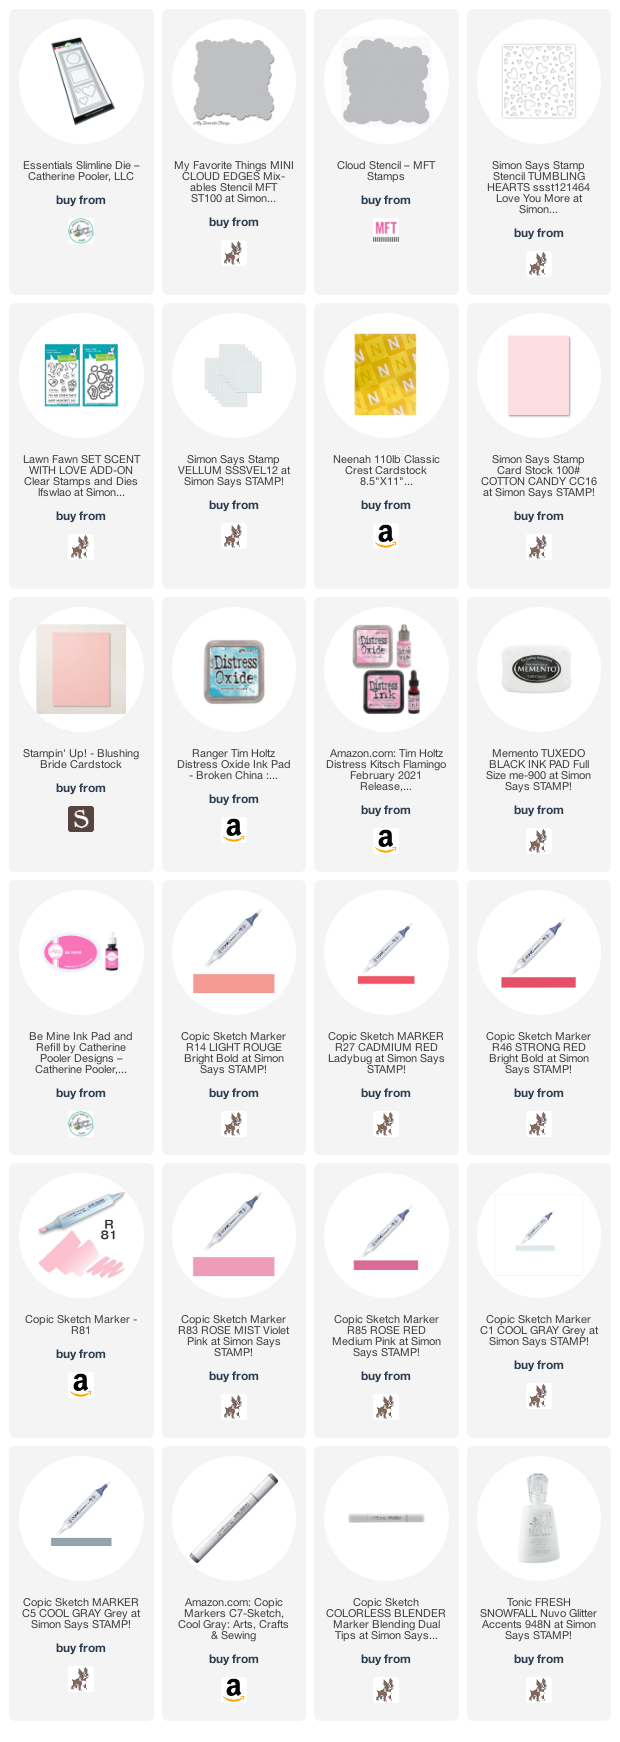
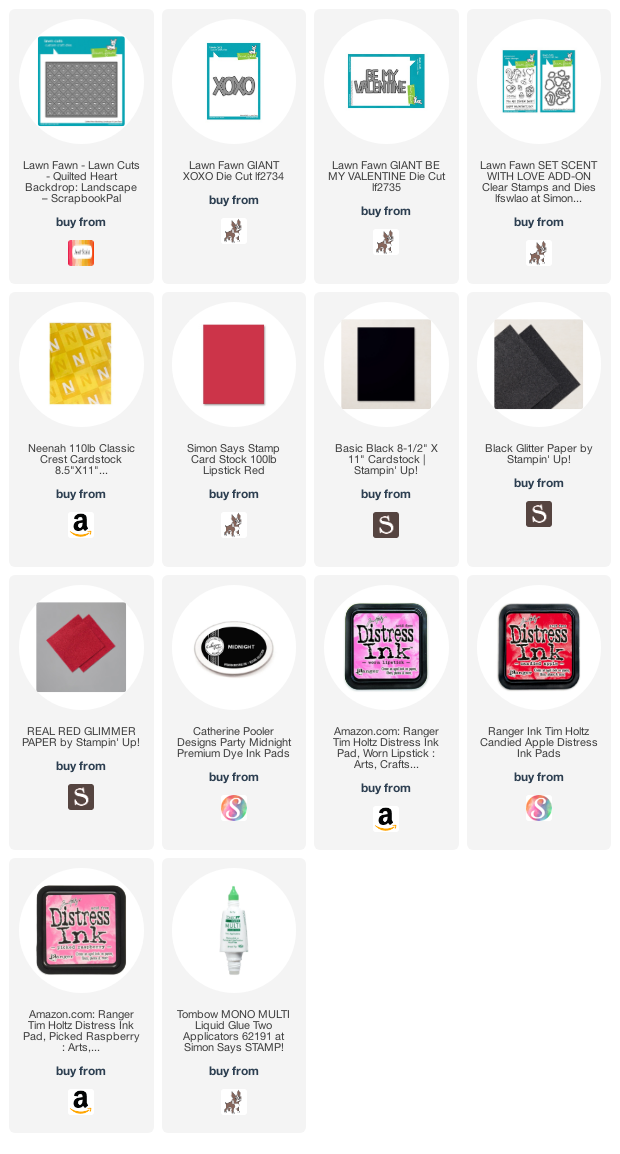
Supplies
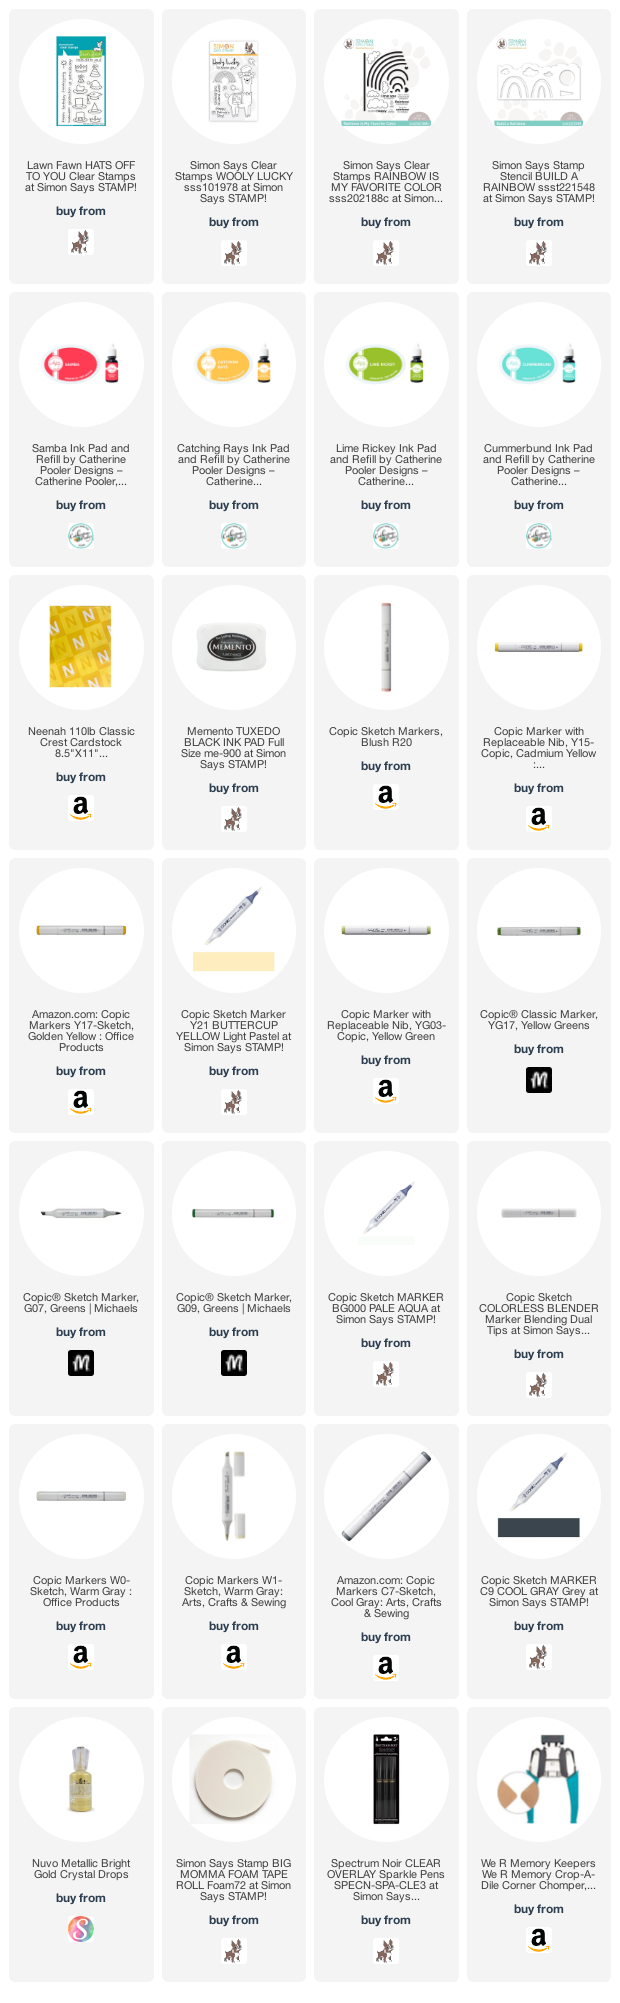 https://linkdeli.com/widget.js?id=f5e8378456858c916708
Thanks for reading this post. I hope you enjoyed and I’ve inspired you to give this card a try for yourself. Leave comments or questions below or feel free to email.