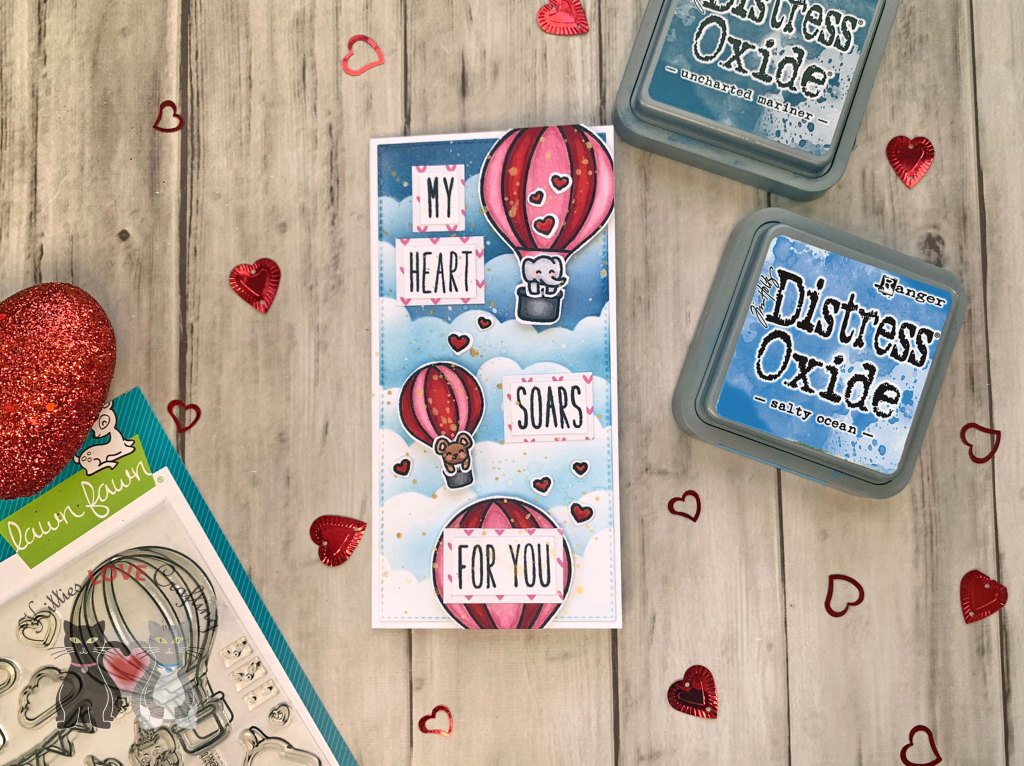
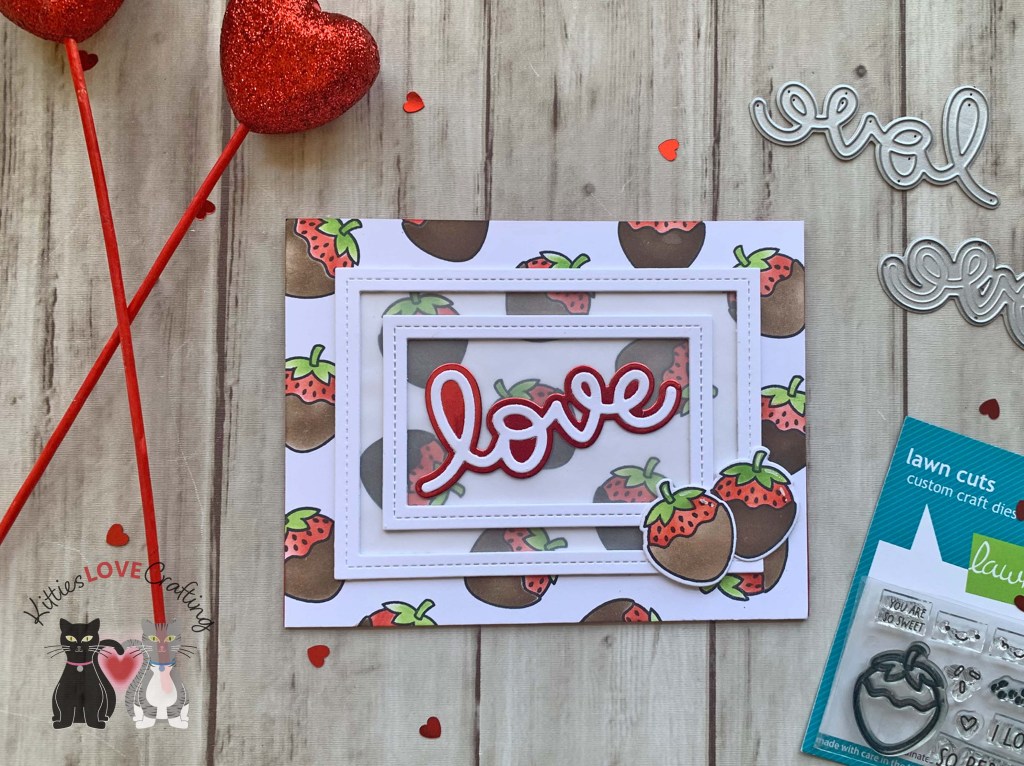
Hello friends. I’m starting my Valentine’s Day card series with a cute but simple card using new Lawn Fawn Sweet Strawberry stamp and coordinating stencil. The stencil made building my background so much faster than coloring with markers. I love my Copic markers but sometimes it’s nice not to have to color.
For this card, I cut a piece of Neenah 100lb Classic Crest Cardstock 8.5 X 11″ to 5-1/2 x 8-1/2″ and scored at 4-1/4″ to create an A2 card base. I cut another piece to 4-1/4 x 5-1/2″.
I stamped the strawberries from the Lawn Fawn Sweet Strawberry stampset onto the back panel with Memento Tuxedo Ink and then used the coordinating stencil to color the images. I used Tim Holtz Candied Apple Distress Oxides Ink for the strawberry, and Tim Holtz Mowed Lawn and Ground Espresso Distress Oxides Ink.
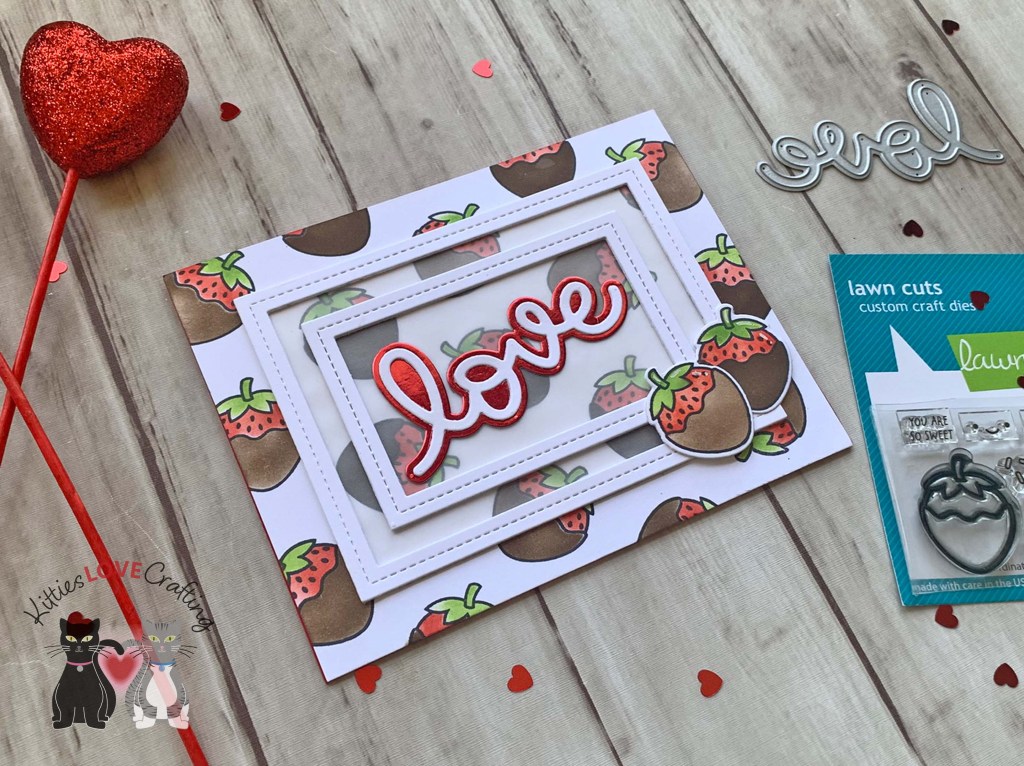
I die cut the frames from Neenah 100lb Classic Crest Cardstock 8.5 X 11″ using the Lawn Fawn Stitched Rectangle Frame and added a piece of vellum behind the largest frame measuring 3 x 4-1/4″.
I stamped 2 more strawberries from the Lawn Fawn Sweet Strawberry stampset onto Neenah 100lb Classic Crest Cardstock 8.5 X 11″ with Memento Tuxedo Ink and then used the coordinating stencil to color the images as well the coodinating dies to cut them out.
I die cut the sentiment from Neenah 100lb Classic Crest Cardstock 8.5 X 11″ using the Lawn Fawn Scripty Love and the shadow/outline from red metallic cardstock from Tim Holtz idea-ology 8 x 8 Paper Stash Metallic Jewels Kraft Stock using the Lawn Fawn Scripty Love Outline Add-on die.
I adhered the strawberries with some Stampin’ up! Dimensionals and added some shimmer with a Spectrum Noir Clear Overlay Sparkle Pen and some highlights with a white gel pen.

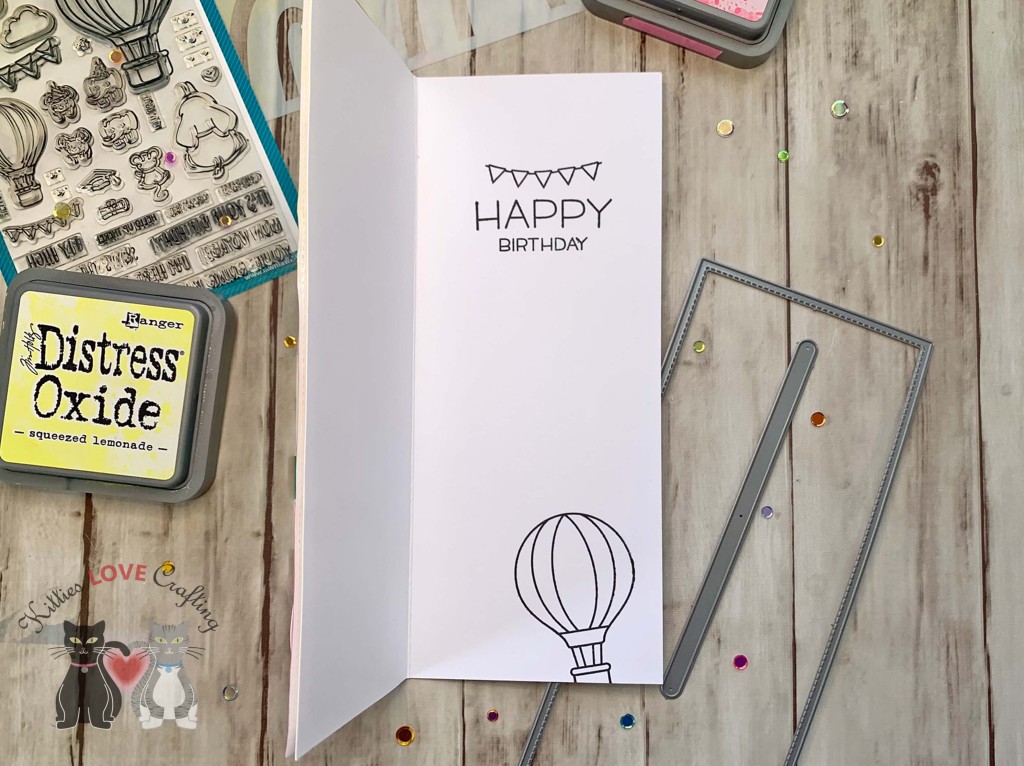
On the inside of the card I cut a piece of Neenah 100lb Classic Crest Cardstock 8.5 X 11″ to 4 x 5-1/4″ and stamped part of the sentiment from Lawn Fawn Henry’s Build-A-Sentiment – Winter and Lawn Fawn Henry’s Build-A-Sentiment – Love using CP Lime Rickey. Then die cut the word ‘Berry’ from Stampin’ Up! Real Red 8-1/2″ X 11″ Cardstock using the Lawn Fawn – Henry’s ABCs.
Dimensions
- Card Base = 5-1/2 x 11″ and scored at 5-1/2″ Neenah 100lb Classic Crest Cardstock 8.5 X 11″
- Background Panel = 4-1/4 x 5-1/2″ Neenah 100lb Classic Crest Cardstock 8.5 X 11″
- Inside Panel = 4 x 5-1/4″ Neenah 100lb Classic Crest Cardstock 8.5 X 11″
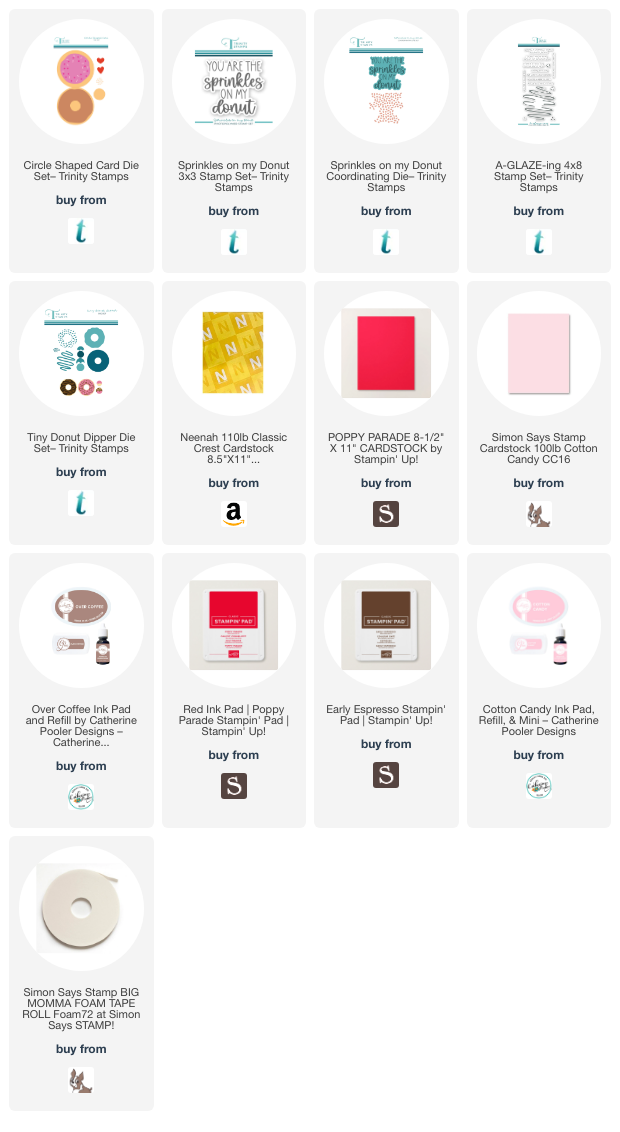
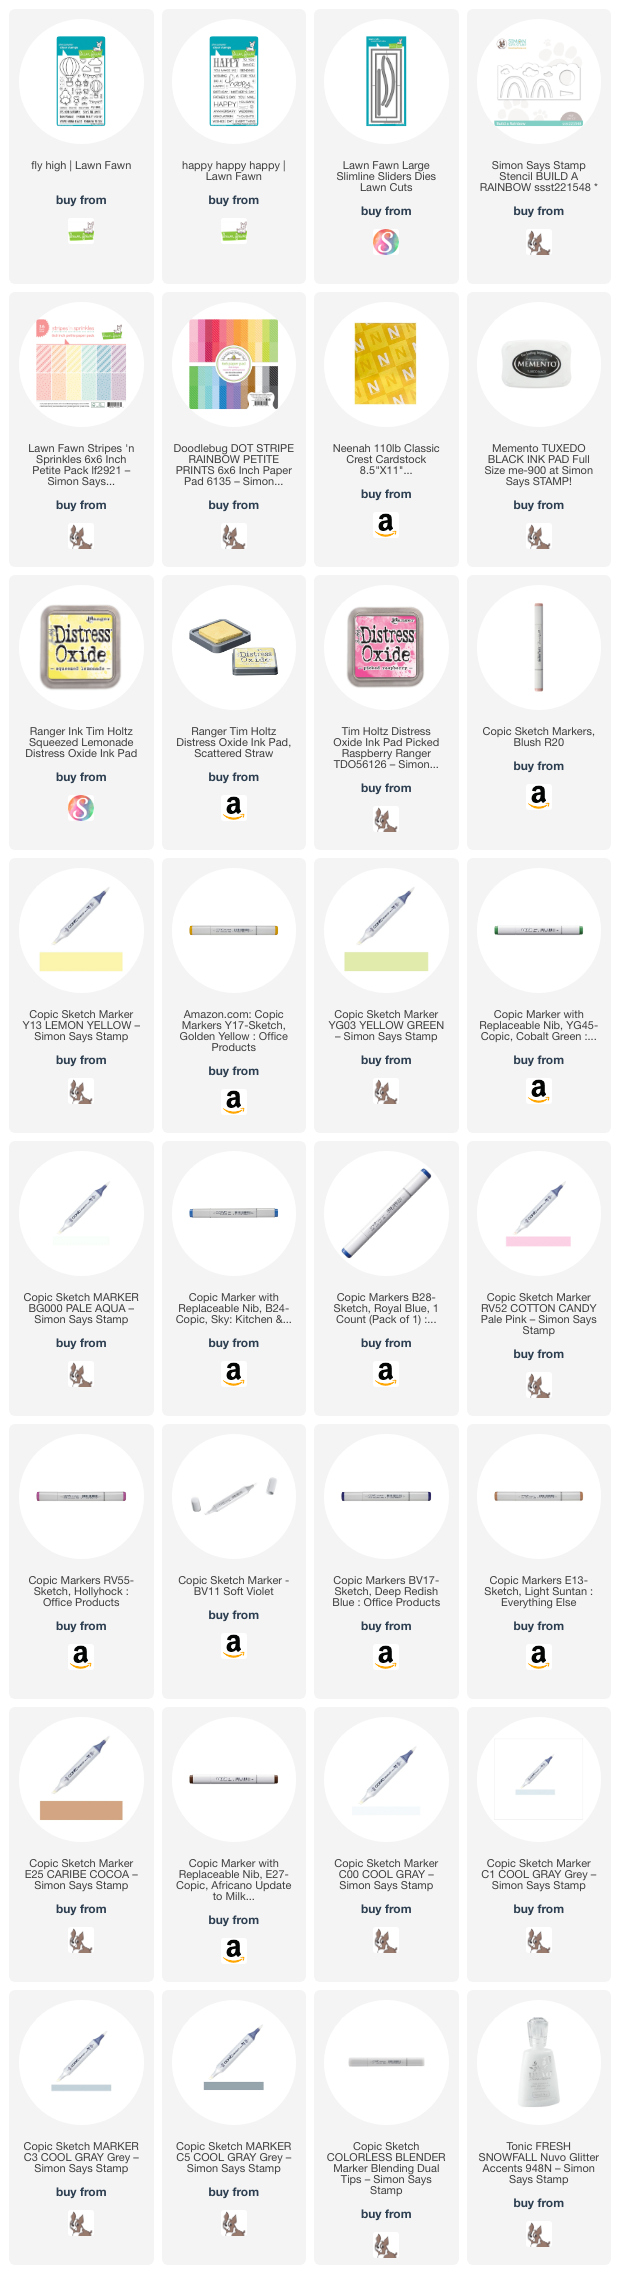
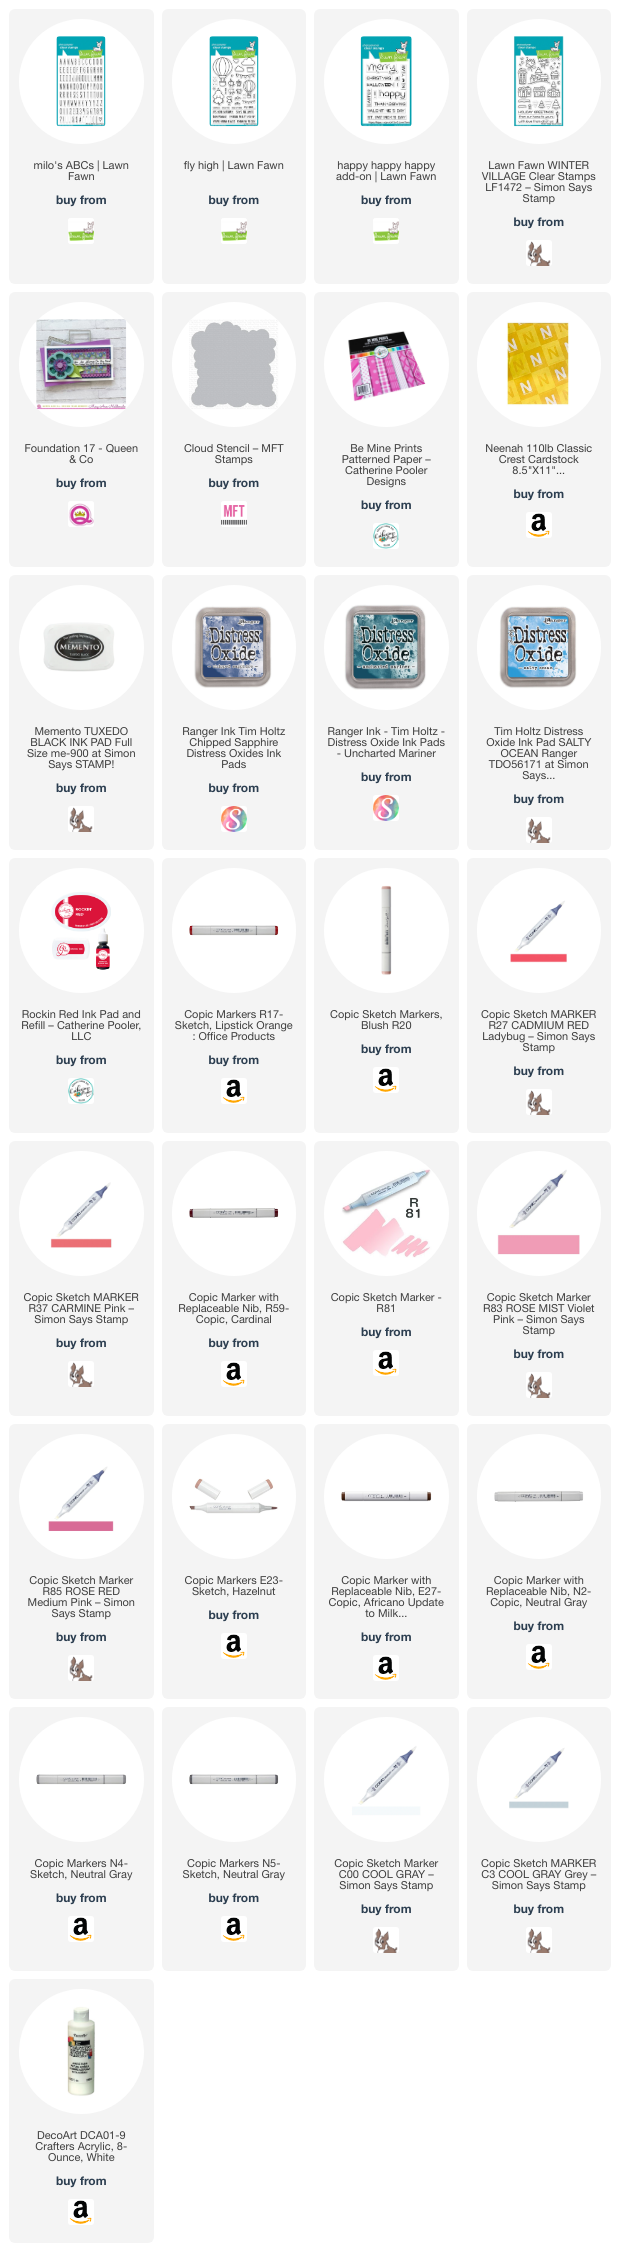
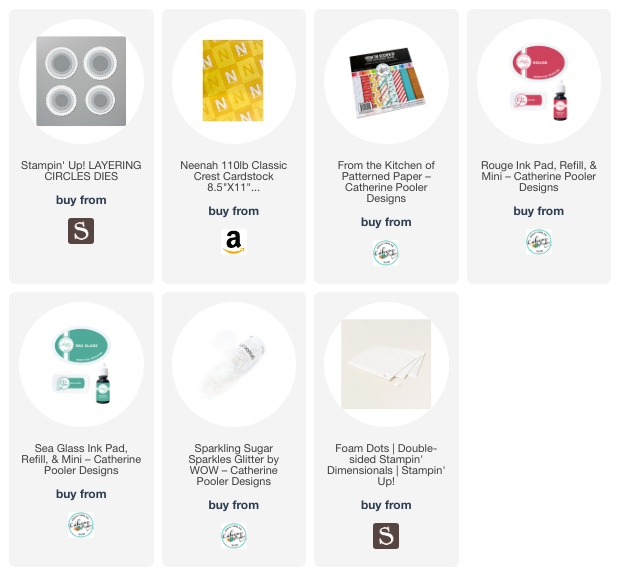
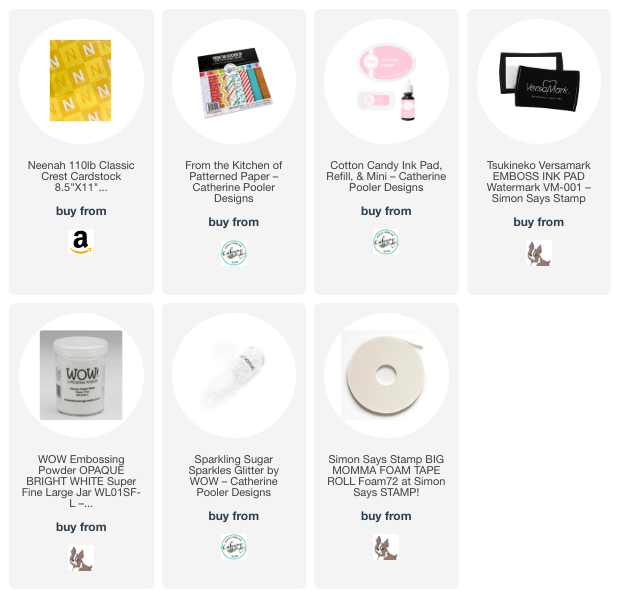
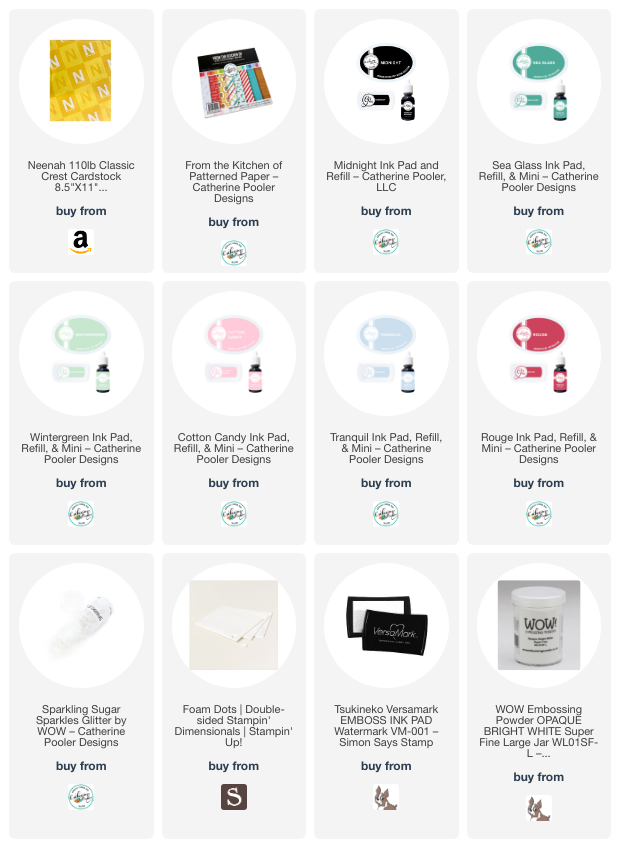
Supplies
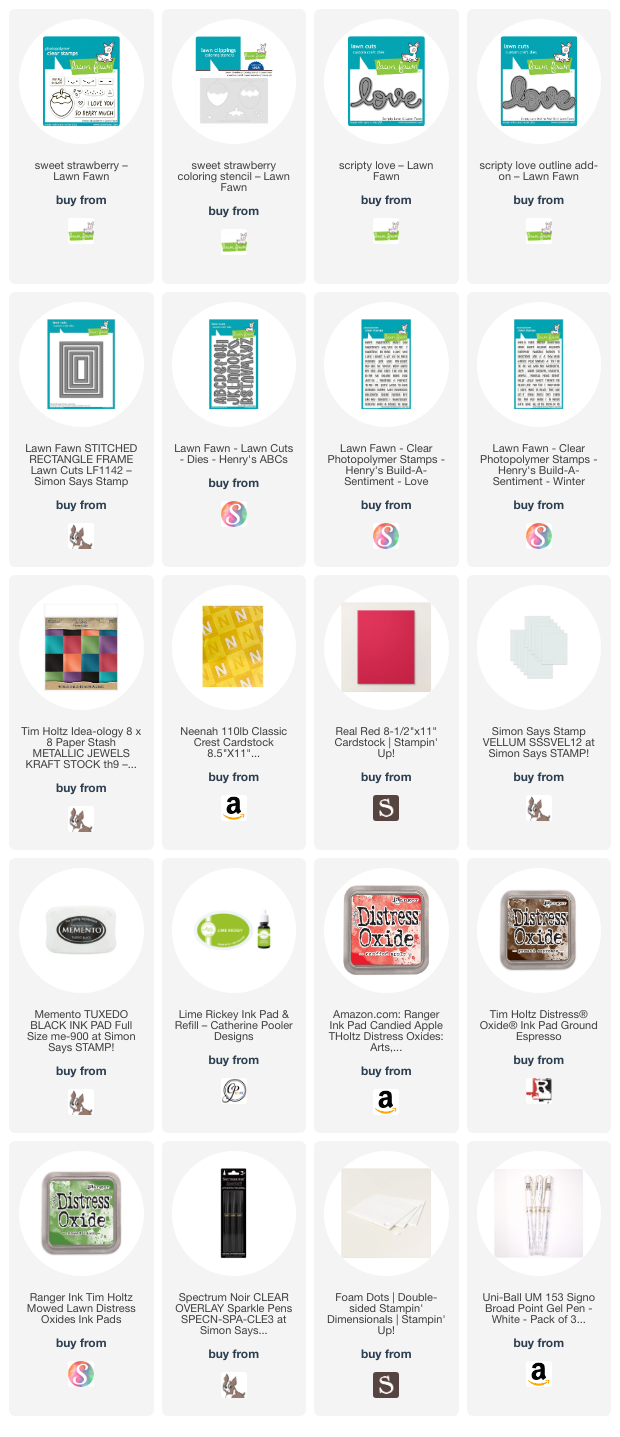 https://linkdeli.com/widget.js?id=f5e8378456858c916708
Thanks for reading this post. I hope I’ve inspired you to give this cute strawberry background card a try for yourself. Leave comments or questions below or feel free to email.