Christmas, Distress Ink Techniques, Stenciled Background, Winter

Winter Village Christmas Scene Card featuring a Stenciled Pattern Paper Background

Hello friends. For this cute holiday card, I uses a technique I had forgotten about but recently reminded of while watching a Youtube video. The technique is stenciling on pattern paper. It’s an easy way to add depth and interest to a background without adding extra bulk. This card features the Lawn Fawn Spooky Forest Backdrop die and the Lawn Fawn Winter Village Stamps.
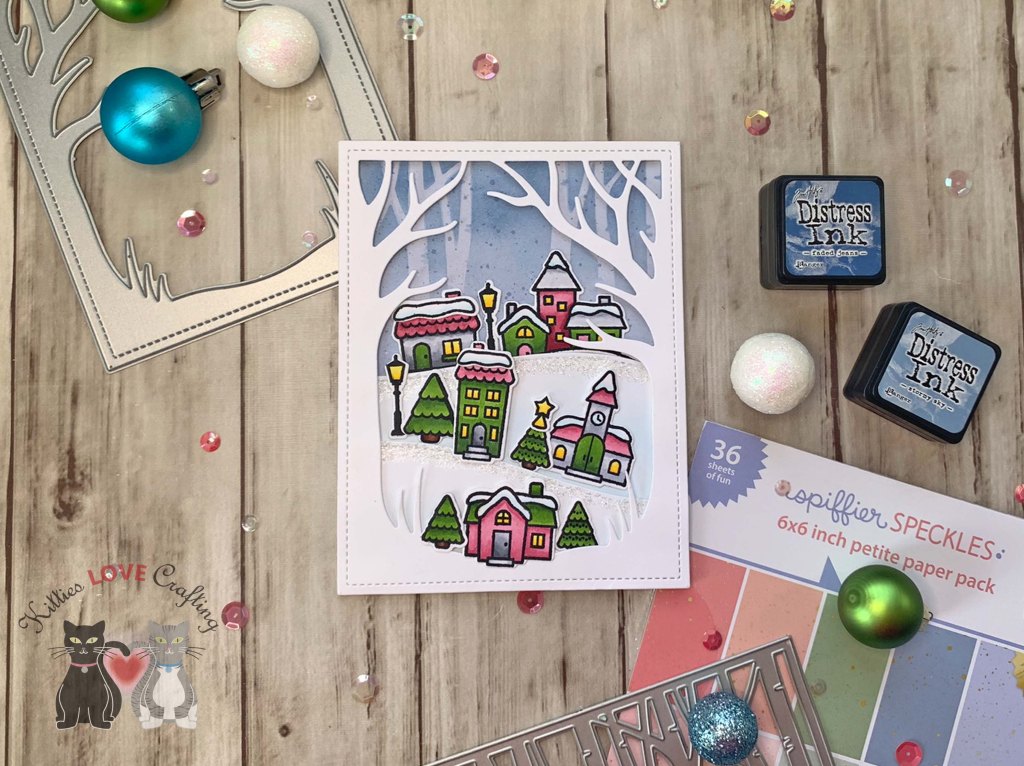
For this card, I cut a piece of Neenah 100lb Classic Crest Cardstock 8.5 X 11″ to 5-1/2 x 8-1/2″ and scored at 4-1/4″ to create a card base and a piece of Lawn Fawn Spiffier Speckles 6×6 Paper to ~4 x 5-1/4″ for the background. I used the Tim Holtz Stormy Sky and Faded Jeans Distress Ink along with the Honey Bee Stamps Birch A2 Cover Plate to give some dimension to the background.

Next I die cut the forest from Neenah 100lb Classic Crest Cardstock 8.5 X 11″ with the Lawn Fawn Spooky Forest Backdrop, the snowy hills from more Neenah 100lb Classic Crest Cardstock 8.5 X 11″ with the Lawn Fawn Stitched Hillside Borders and inked it with Tumbled Glass Distress Ink. I also added some Nuvo Fresh Snowfall Glitter Drops to the snowy hills. I used 3M Foam Tape to adhere the forest panel as well as some behind the snowy hills for more dimension.
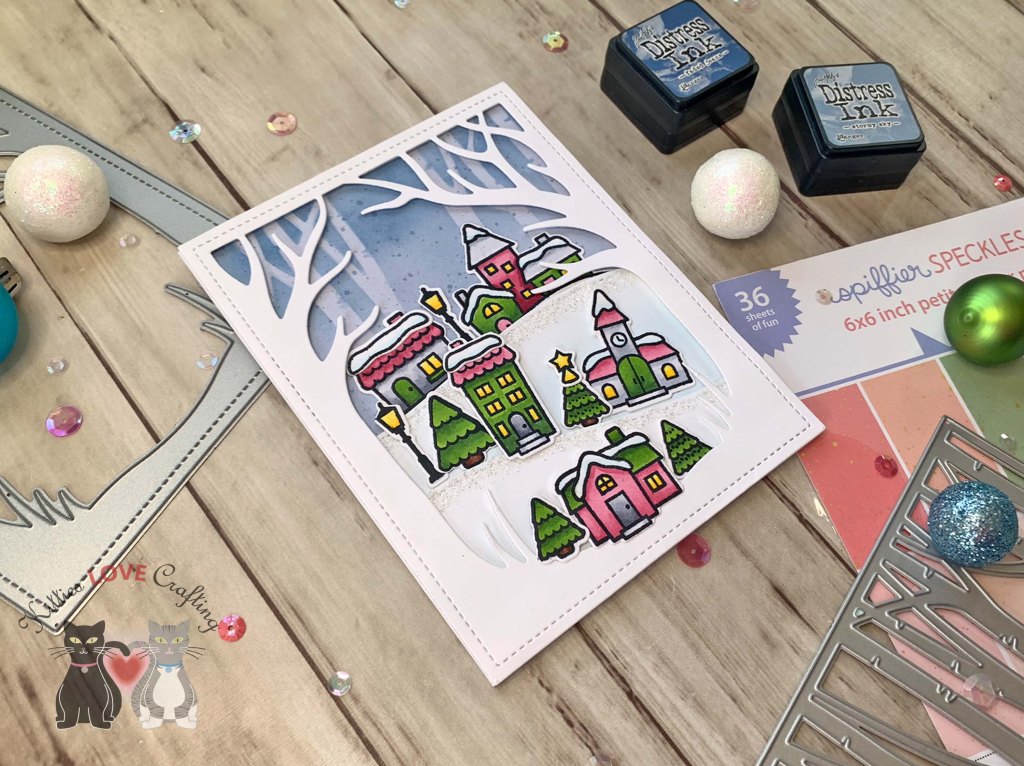
I stamped the images from the Lawn Fawn Winter Village Stamps onto Neenah 100lb Classic Crest Cardstock 8.5 X 11″ with Memento Tuxedo Black Ink and colored them with Copic Markers. I used Y13 & Y18 for the lantern, windows and star; R81, R83, & R85, YG25, YG17 & YG67, C0, C1, C3 & C5 for the houses; YG25, YG17 & YG67 and E25 & E29 for the trees; BG000 and 0 for the snow.

I decided to do a radical thing on this card and have NO sentiment on the outside. What?!? Unheard of, right? LOL. Sometimes it’s ok to leave the outside of your card with just a pretty scenes. Let the recipient be surprised when they open the card.
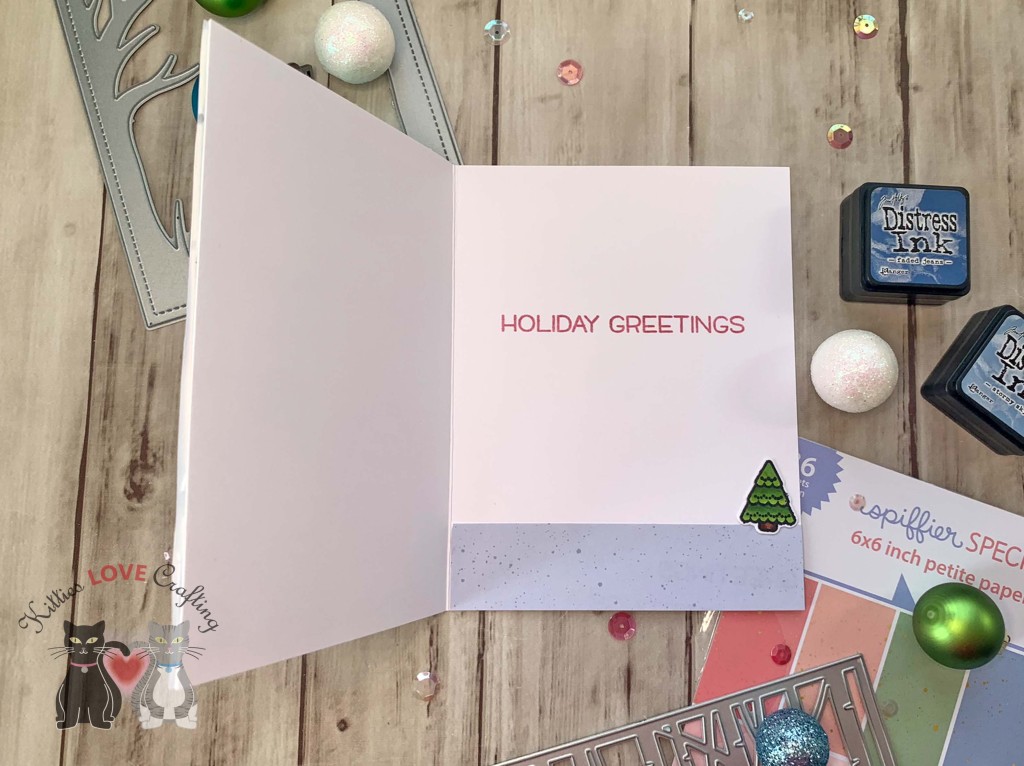
On the inside of the card, I cut a piece of Lawn Fawn Spiffier Speckles 6×6 Paper to 1 x 4-1/4″ and stamped a sentiment from the Lawn Fawn Winter Village Stamps with Catherine Pooler Rose Petals Ink.

Dimensions


Supplies

https://linkdeli.com/widget.js?id=f5e8378456858c916708

Thanks for reading this post. I hope I’ve inspired you to give this cute penguin Christmas card a try for yourself. Leave comments or questions below or feel free to email.

Christmas, Distress Ink Techniques

Stretching Your Dies: A Winter Scene Card feat. the Lawn Fawn Spooky Forest Backdrop

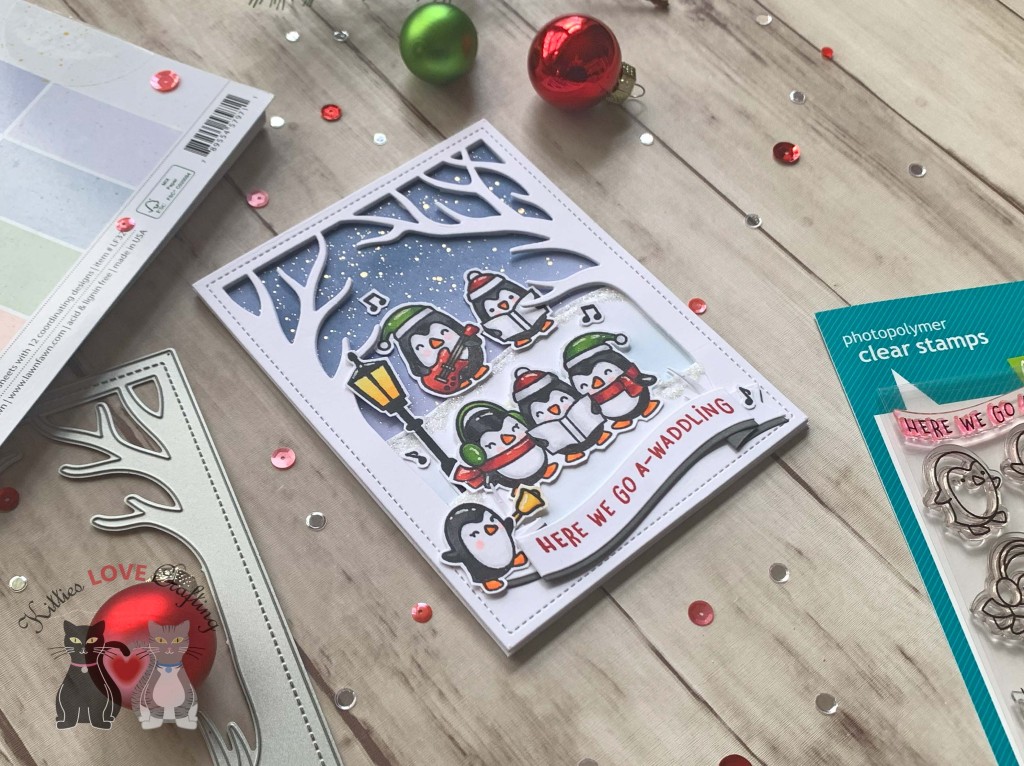
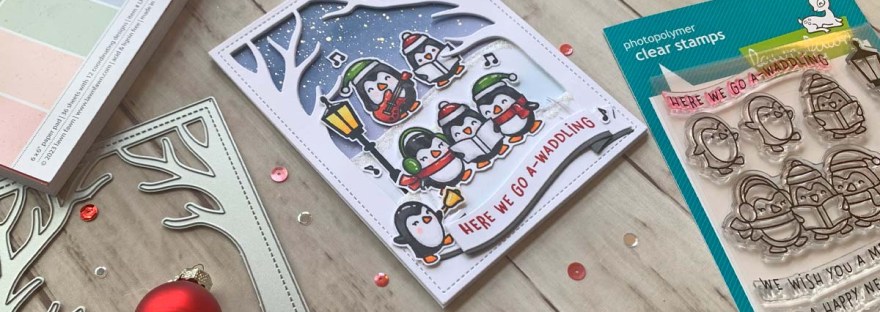
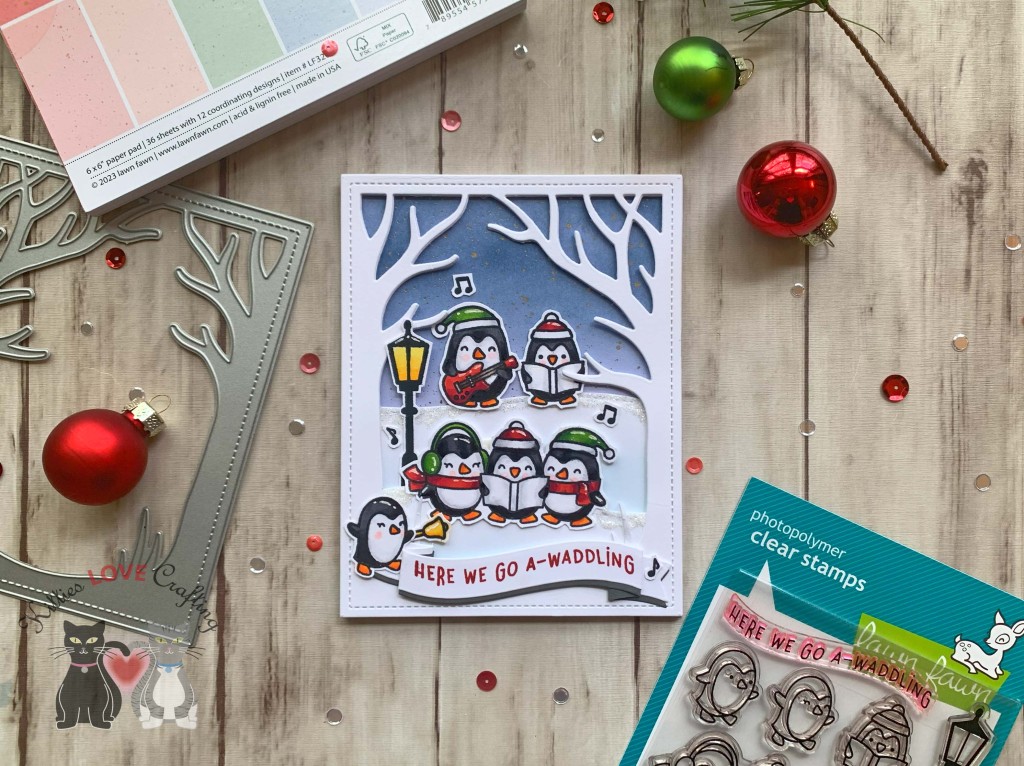
Hello friends. Here’s a Christmas/Winter scene card using the Lawn Fawn Spooky Forest Backdrop dies. This dieset is very versatile and allows you to create cards for several occasions. I combined it with the very cute Lawn Fawn HERE WE GO A-WADDLING Clear Stamps to create this fun card!

For this card, I cut a piece of Neenah 100lb Classic Crest Cardstock 8.5 X 11″ to 5-1/2 x 8-1/2″ and scored at 4-1/4″ to create a card base and a piece of Lawn Fawn Spiffier Speckles 6×6 Paper to 4-1/4 x 5-1/2″ for the background. I used the Tim Holtz STORMY SKY Distress Ink to give some dimension to the background.

Next I die cut the forest from Neenah 100lb Classic Crest Cardstock 8.5 X 11″ with the Lawn Fawn Spooky Forest Backdrop 3x, the snowy hills from more Neenah 100lb Classic Crest Cardstock 8.5 X 11″ with the Lawn Fawn Stitched Hillside Borders and inked it with Tumbled Glass Distress Ink. I also added some Nuvo Fresh Snowfall Glitter Drops to the snowy hills.

I stamped the images from the Lawn Fawn HERE WE GO A-WADDLING Clear Stamps onto Neenah 100lb Classic Crest Cardstock 8.5 X 11″ with Memento Tuxedo Black Ink and colored them with Copic Markers. I used R20 (cheeks), N1, N3, N4, N5, N7 & N8, 0 (body), YR04 & YR07 (feet and beak), R17, R27 & R59 (hats and scarves), YG25, YG67 & YG17 (hats and ear muffs) for the penguins; Y13, Y15 & Y17 for the bell and lantern.

I die cut the banner from Neenah 100lb Classic Crest Cardstock 8.5 X 11″ and Stampin’ Up! Basic Gray 8-1/2 x 11″ Cardstock with the Lawn Fawn Fancy Wavy Banner Dies. I then stamped the sentiment from the same stampset onto the banner with Catherine Pooler Rockin’ Red Ink. I added highlights using a Uni-ball Signo Broad Point White Gel Pen.

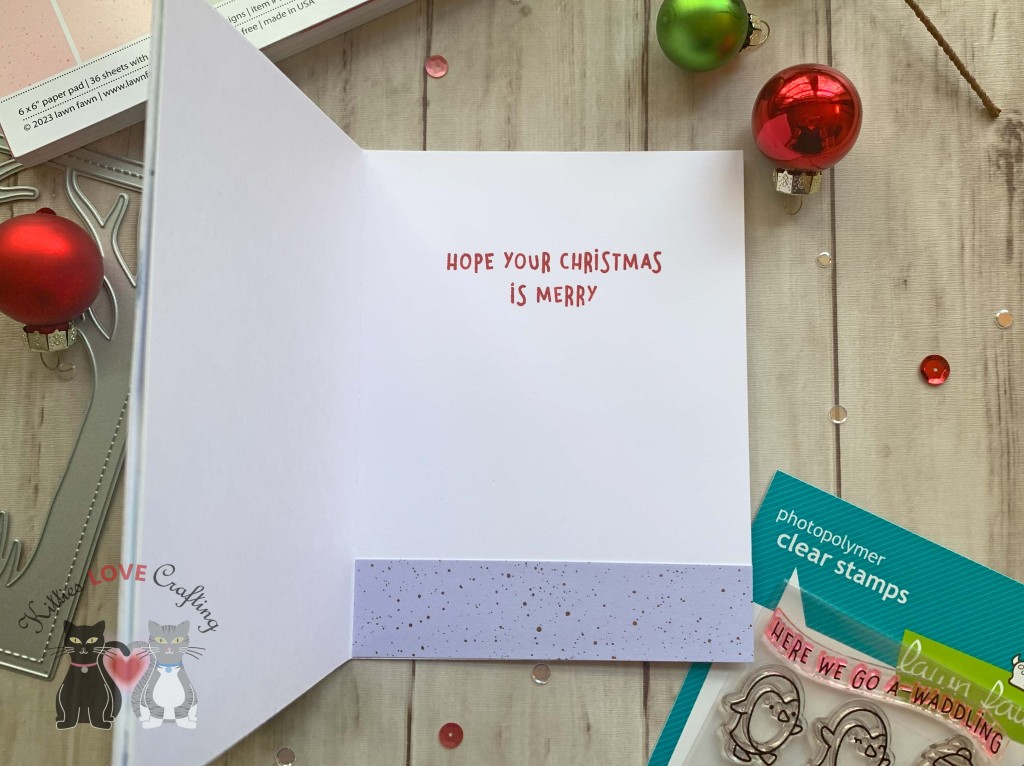
On the inside of the card, I cut a piece of Lawn Fawn Spiffier Speckles 6×6 Paper to 1 x 4-1/4″ and stamped a sentiment from the Lawn Fawn HERE WE GO A-WADDLING Clear Stamps with Catherine Pooler Rockin’ Red Ink.

Dimensions


Supplies

https://linkdeli.com/widget.js?id=f5e8378456858c916708

Thanks for reading this post. I hope I’ve inspired you to give this cute penguin Christmas card a try for yourself. Leave comments or questions below or feel free to email.
Distress Ink Techniques, Halloween

Spooky Distressed Background feat. Lawn Fawn Spooky Village

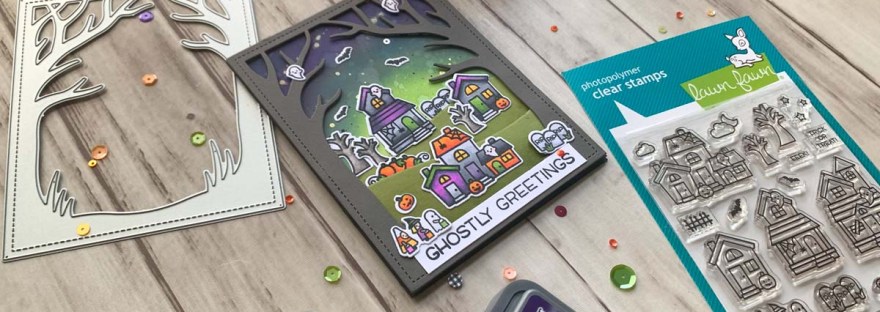
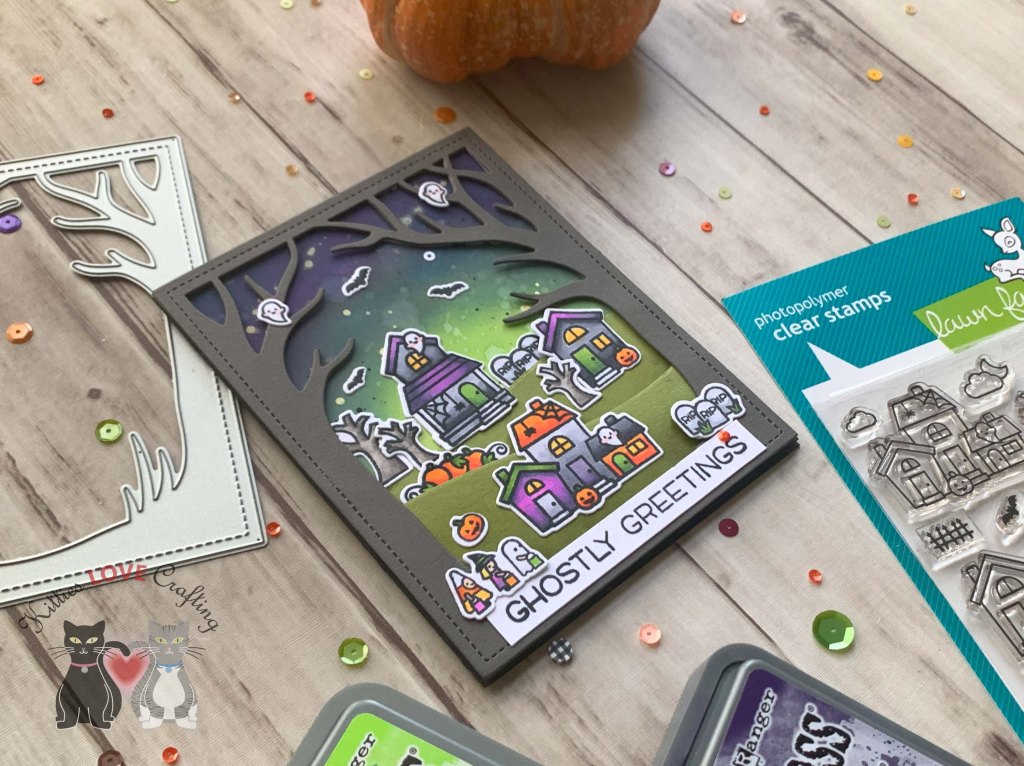
Hello friends. It’s time for another cute Halloween card featuring Lawn Fawn dies and stamps. This one features the Lawn Fawn Spooky Forest Backdrop and Lawn Fawn Spooky Village Stamps dies. It’s really easy to create fun or spooky dimensional cards with these dies. I’m truly loving this backdrop dieset! Stay tuned for some Christmas/Winter cards using this dieset coming up soon.

For this card, I cut a piece of Simon Says Stamp 100lb Black Cardstock to 5-1/2 x 8-1/2″ and scored at 4-1/4″ to create a card base and a piece of Neenah 100lb Classic Crest Cardstock 8.5 X 11″ to 4 x 5-1/4″ for the background. I used Twisted Citron, Mowed Lawn and Villainous Potion Distress Oxide Inks to color the background panel. I added some splatters with Black Acrylic Paint and Zig Kuretake Gansai Tambi STARRY COLORS Watercolors.

Next I die cut the forest from Simon Says Stamp 100lb Black Cardstock with the Lawn Fawn Spooky Forest Backdrop 2x, the grass from Stampin’ Up! Old Olive 8-1/2 x 11″ Cardstock with the Lawn Fawn Stitched Hillside Borders and inked it with Stampin’ Up! Old Olive Ink.

I stamped the images from the Lawn Fawn Spooky Village Stamps onto some Neenah 100lb Classic Crest Cardstock 8.5 X 11″ with Memento Tuxedo Black Ink and colored with Copic Markers. I used YG25 & YG67 for the pumpkins; C1 & C3, and YG25 & YG67 for the stones; C1 & 0 and R20 for the ghosts; Y15 & Y17 for the house windows; V04, V25, & BV08, YG25 & YG67, C1, C3, C5 & C9, YR04 & YR06 for the houses; W3, W5, & W7 for the trees; and E21, V04 & V25, YG25 & YG67, C5 & C9, YR04 & YR09 for the trick or treaters.

I stamped the sentiment from the Lawn Fawn Spooky Village Stampset onto Neenah 100lb Classic Crest Cardstock 8.5 X 11″ with Memento Tuxedo Black Ink . I trimmed it down to 1/2 x 4″.

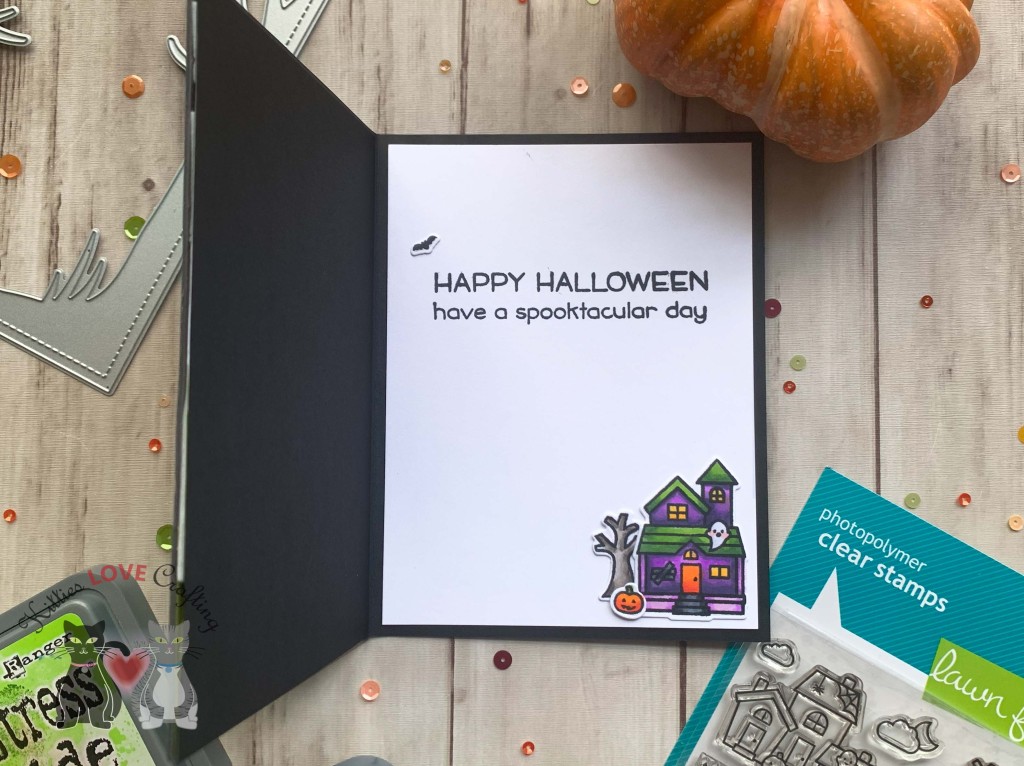
On the inside of the card, I cut a piece of Neenah 100lb Classic Crest Cardstock 8.5 X 11″ to 4 x 5-1/4″ and stamped a sentiment from the Lawn Fawn Spooky Village Stampset with Memento Tuxedo Black Ink. I also added some more images from the Spooky Village.

Dimensions


Supplies

https://linkdeli.com/widget.js?id=f5e8378456858c916708

Thanks for reading this post. I hope I’ve inspired you to give this cute Halloween card a try for yourself. Leave comments or questions below or feel free to email.
Distress Ink Techniques, Emboss Resist Technique, Halloween, Stenciled Background

Halloween Card Using Only Dies feat. Lawn Fawn

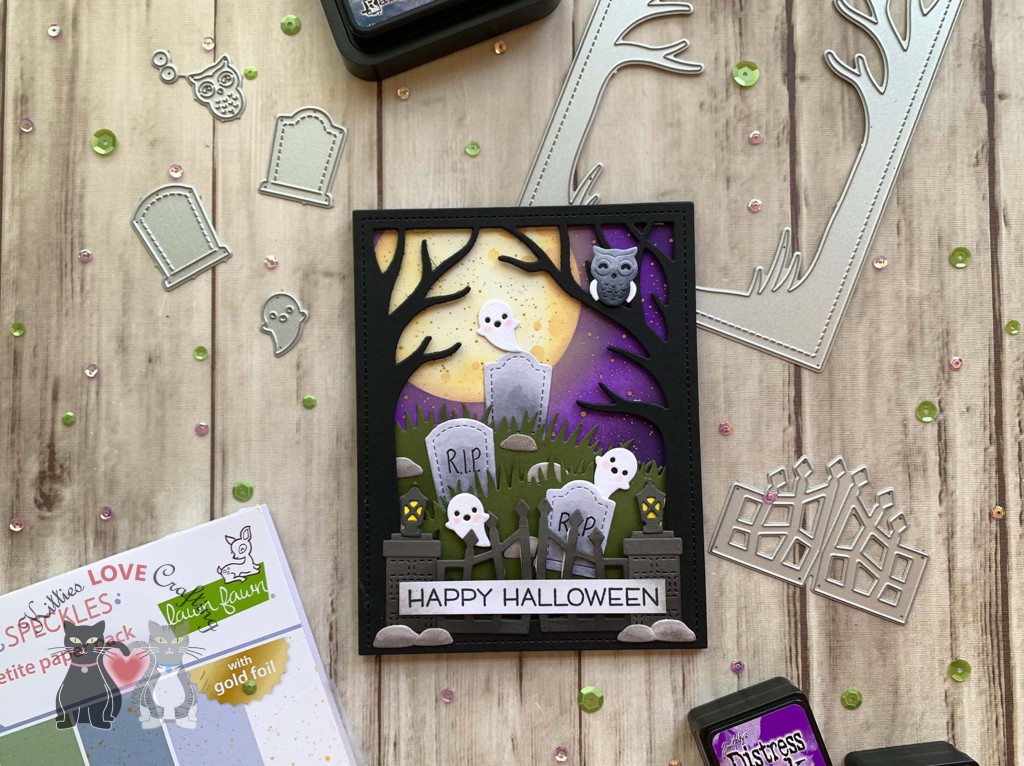
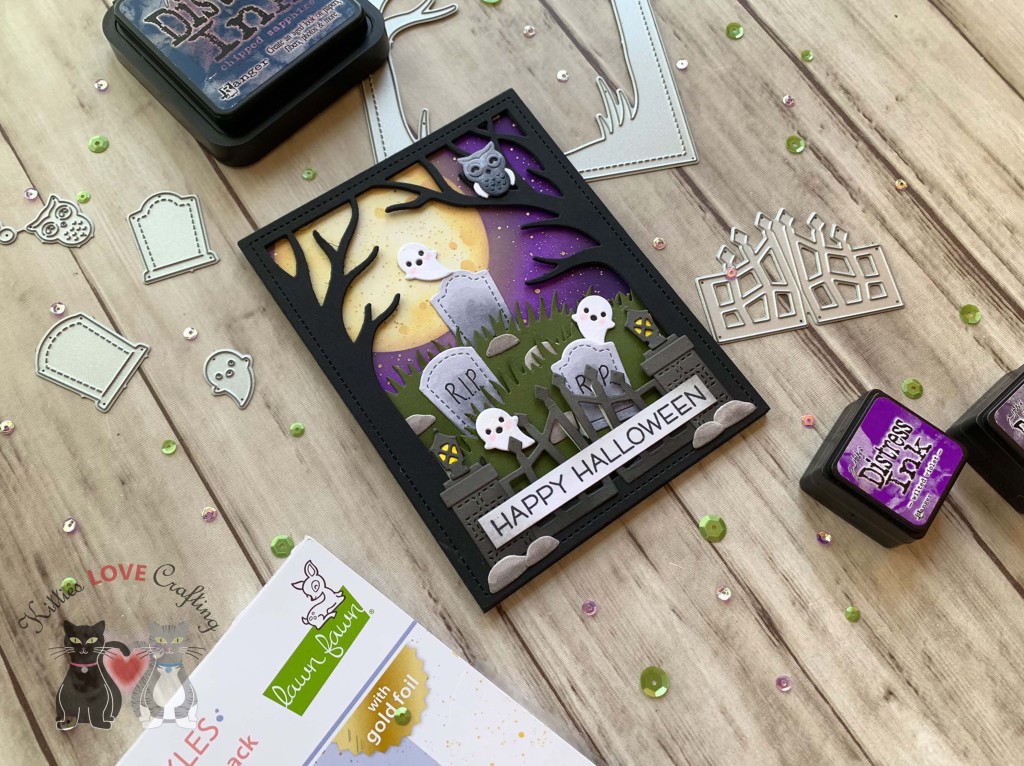
Hello friends. It’s been a few weeks since I posted a Halloween card so it’s time for some new ones. Here is one using only Lawn Fawn dies and stencils. It features the Lawn Fawn Spooky Forest Backdrop and Spooky Gate dies. It’s really easy to create fun or spooky dimensional cards with these dies.

For this card, I cut a piece of Simon Says Stamp 100lb Black Cardstock to 5-1/2 x 8-1/2″ and scored at 4-1/4″ to create a card base and a piece of Lawn Fawn Spiffier Speckles 6×6 Paper to 4-1/4 x 5-1/2″ for the background. I used the Lawn Fawn Nighttime Sky Stencil with Tim Holtz Wilted Violet, Dusty Concord, Chipped Sapphire Distress Inks, and Scattered Straw Distress Oxide Ink.

Next I die cut the forest from Simon Says Stamp 100lb Black Cardstock with the Lawn Fawn Spooky Forest Backdrop 3x, the grass from Stampin’ Up! Mossy Meadow Cardstock (retired) with the Lawn Fawn Simple Grassy Hillsides and inked it with Stampin’ Up! Mossy Meadow Ink (retired), and the gate from Simon Says Stamp Slate 100lb Gray Cardstock with the Spooky Gate and inked it with Tim Holtz Black Soot Distress Ink to add some dimension. I die cut tombstones, ghosts, stones, and owl from Neenah 100lb Classic Crest Cardstock 8.5 X 11″ and colored with Copic Markers. I used R20, C00, 0, & 110 for the ghosts; C3, C5, C9 & 110 for the owl; N1 & N4 for the tombstones; and W3 & W5 for the stones.

I stamped the sentiment from the Lawn Fawn Spooky Village Stampset onto Neenah 100lb Classic Crest Cardstock 8.5 X 11″ with Catherine Pooler Midnight Ink. I trimmed it down to 1/2 x 4″.

I finished off the card by adding some sparkle to the ghosts and the owl with a Spectrum Noir Clear Overlay Sparkle Pen.

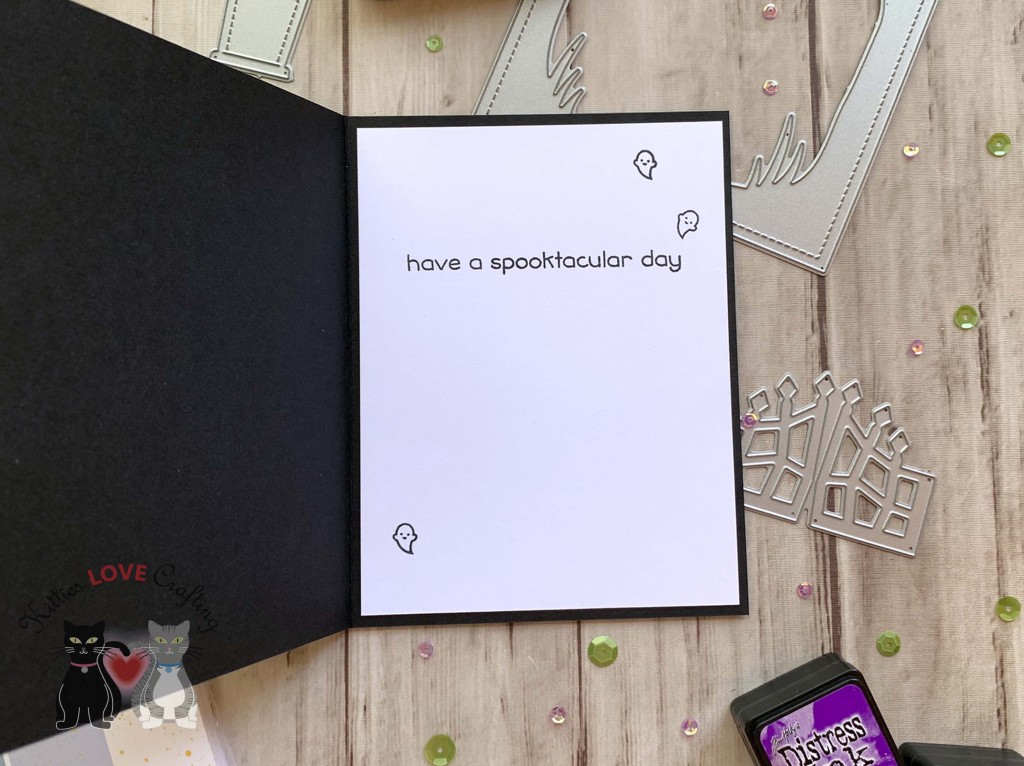
On the inside of the card, I cut a piece of Neenah 100lb Classic Crest Cardstock 8.5 X 11″ to 4 x 5-1/4″ and stamped a sentiment and ghosts from the Lawn Fawn Spooky Village Stampset with Catherine Pooler Midnight Ink.

Dimensions


Supplies

https://linkdeli.com/widget.js?id=f5e8378456858c916708

Thanks for reading this post. I hope I’ve inspired you to give this cute Halloween card a try for yourself. Leave comments or questions below or feel free to email.