Hi friends. This cute little pickup truck is from Honey Bee Stamps Big Pickup Tailgate Stampset. And it is adorable! I love this stampset. I loved it so much I also purchased the Big Pickup Cab Stampset and Dies as well as the Tailgate Alphabet Dies!!! This stamp set alone gives you lots of options to make a variety of cards. I made mine into a truck shaped card which is so much fun!
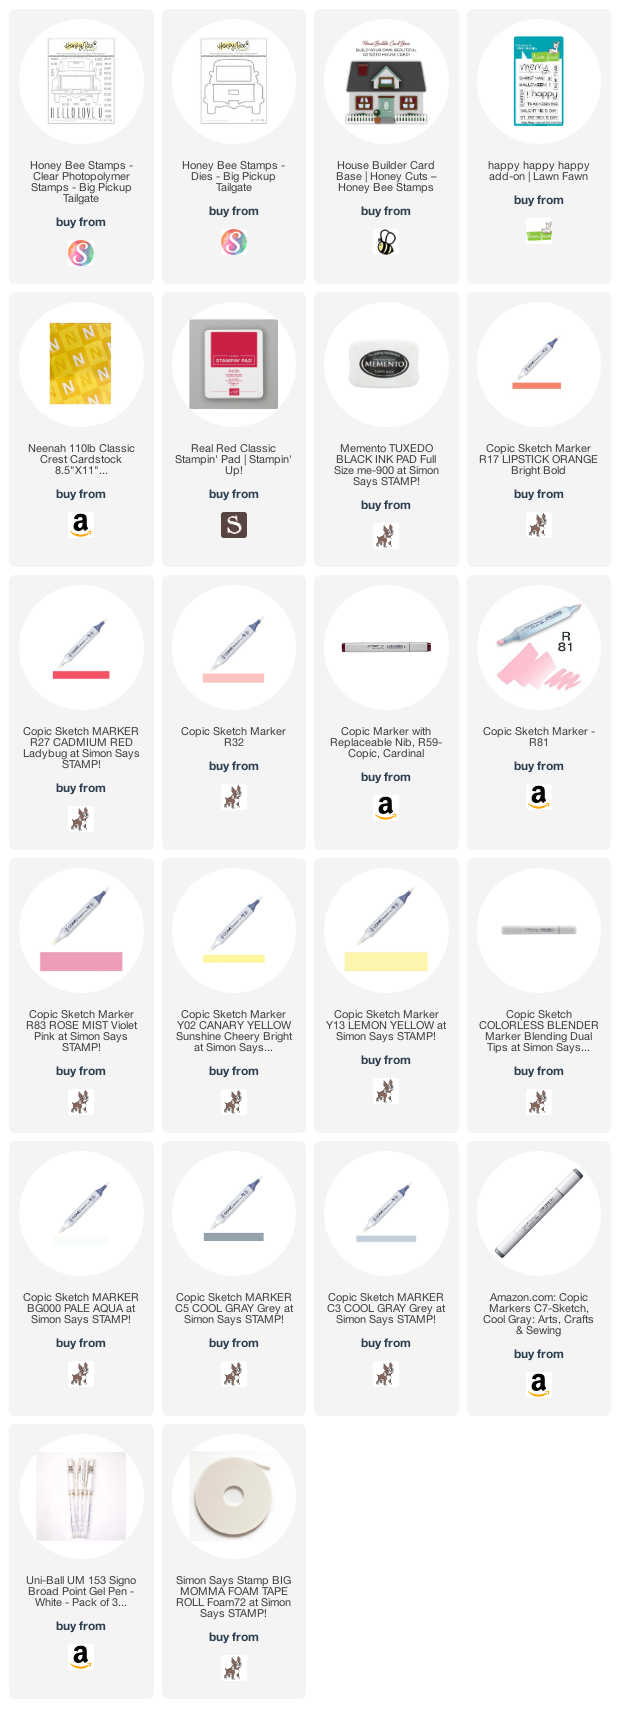
I started by stamping the truck image from Honey Bee Stamps Big Tailgate Stampset with Memento Tuxedo Black Ink onto Neenah 110lb Classic Crest Cardstock 8.5 X 11″ and die cutting it with the coordinating die set. I also cut a second truck (no stamping) for the back of the card. I stamped ‘Hot Rod’ on the license plate and stamped a second version of the truck bed and a sentiment on it and used the die to cut just the back piece. This dieset allows you to cut three different components of the truck bed which allows for so many more fun options.
I colored the truck using Copic Markers. I used R17 + R27 + R59 (for the truck bed); R17 + R23 (for the back of the bed truck with sentiment); Y02 + Y13 (for the headlights); BG000 + 0 blender for the windows; C3 + C5 + C7 (for the metal components); and R81 + R83 (for the license plate). I adhered the sentiment piece using 3M Foam Tape. To finish it off, I added some highlights using a Uni-Ball Signo Broad Point White Gel Pen.
Thanks for reading this post. I hope you enjoyed and I’ve inspired you to give this card a try for yourself. Leave comments or questions below or feel free to email me.
Hi friends. Need a quick and easy card for Valentine’s Day??? This card uses only dies and paper and came together very quickly. Here’s how it came together.
Thanks for reading this post. I hope you enjoyed and I’ve inspired you to give this card a try for yourself. Leave comments or questions below or feel free to email me.
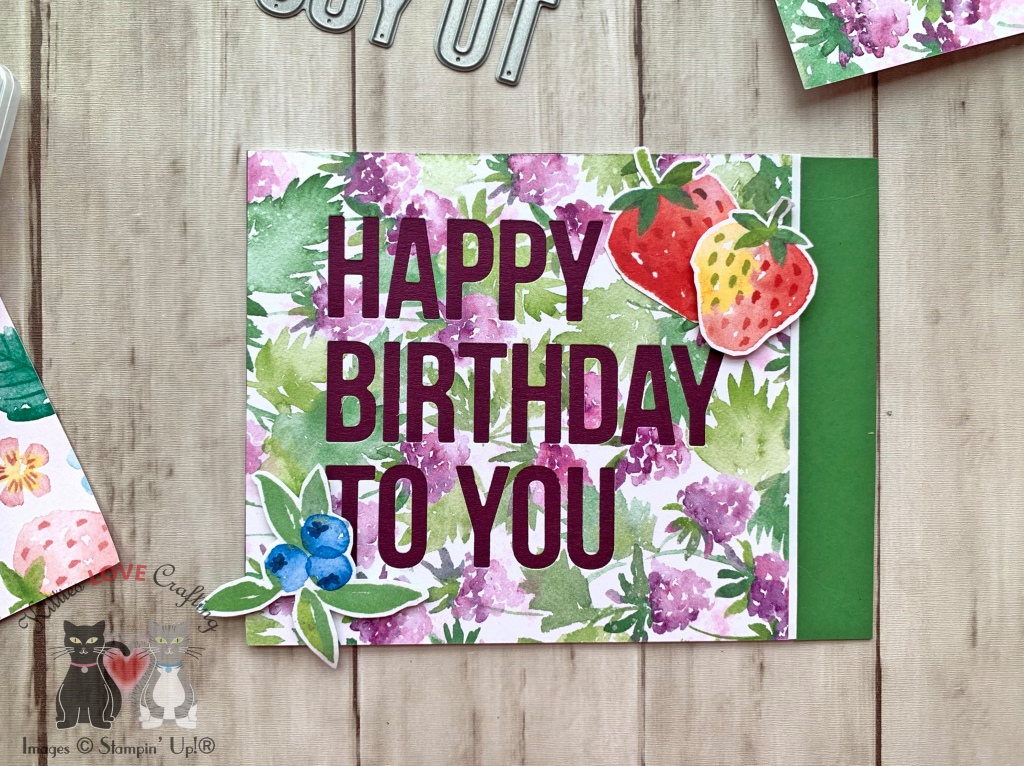
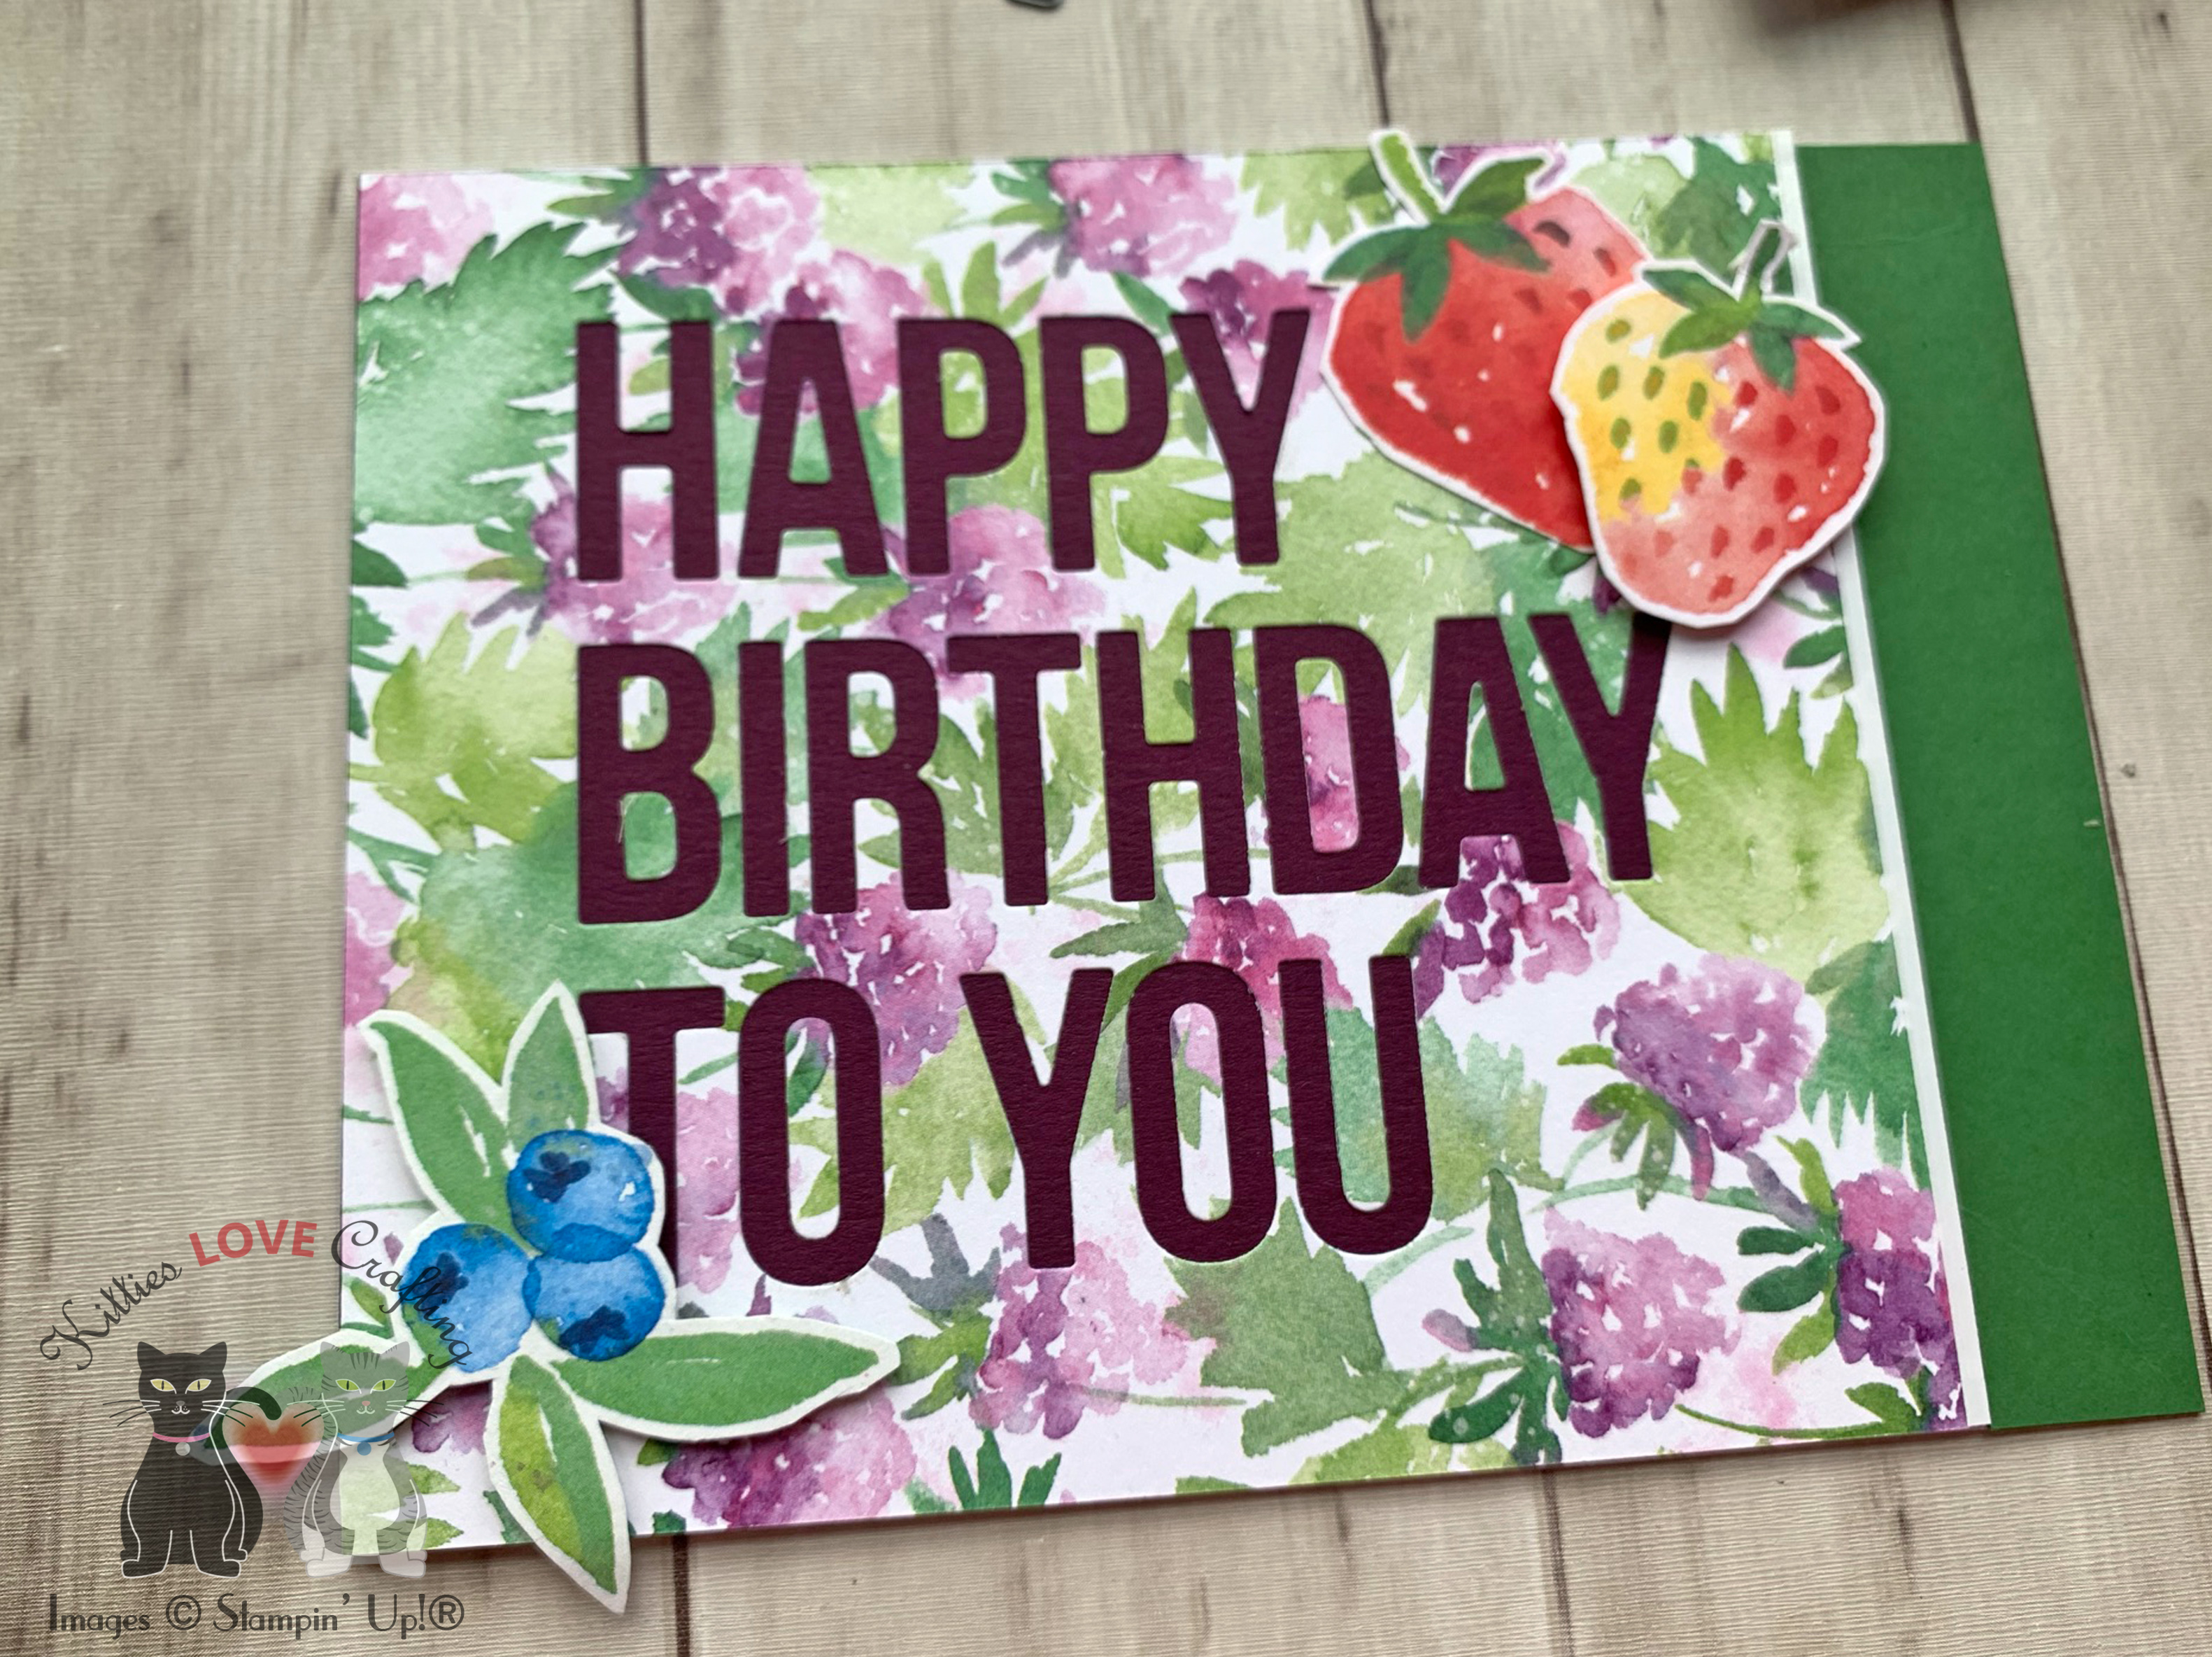
Hi everyone! I made some fruity birthday cards using the positive and negative created using the Happy Birthday To You Die from My Favorite Things (discontinued). This is a great way to make multiple cards with minimal supplies and not waste anything. This paper I uses can be found on page 14 of the new Sale-A-Bration Catalog.
For the first card, I started by cutting a piece of Whisper White 8-1/2″ X 11″ Thick Cardstock to 5-1/2 x 8-1/2″ and scored at 4-1/4″ to make a card base. I adhered the letters for the sentiment to the card with Tombow Mono Multipurpose Glue. Tip: To easily aand perfectly dhere the sentiment, cut a scrap piece of the sentiment and tape it down to the card suing low-tack tape. Then adhere your letters in the negative space. You won’t need to try to space out or align the letters.
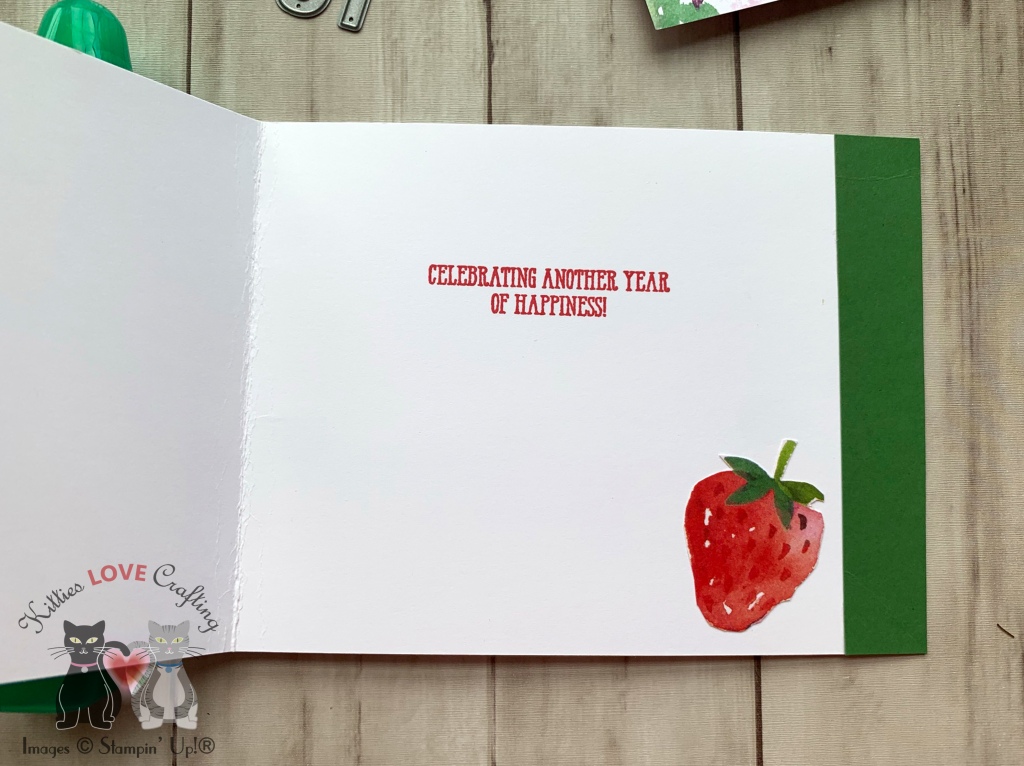
Thanks for reading this post. I hope you enjoyed and I’ve inspired you to try these easy birthday cards using this stampset and paper for yourself! Leave comments or questions below or feel free to email me. If you want to share you creations with me tag me on instagram @kittieslovecrafting.
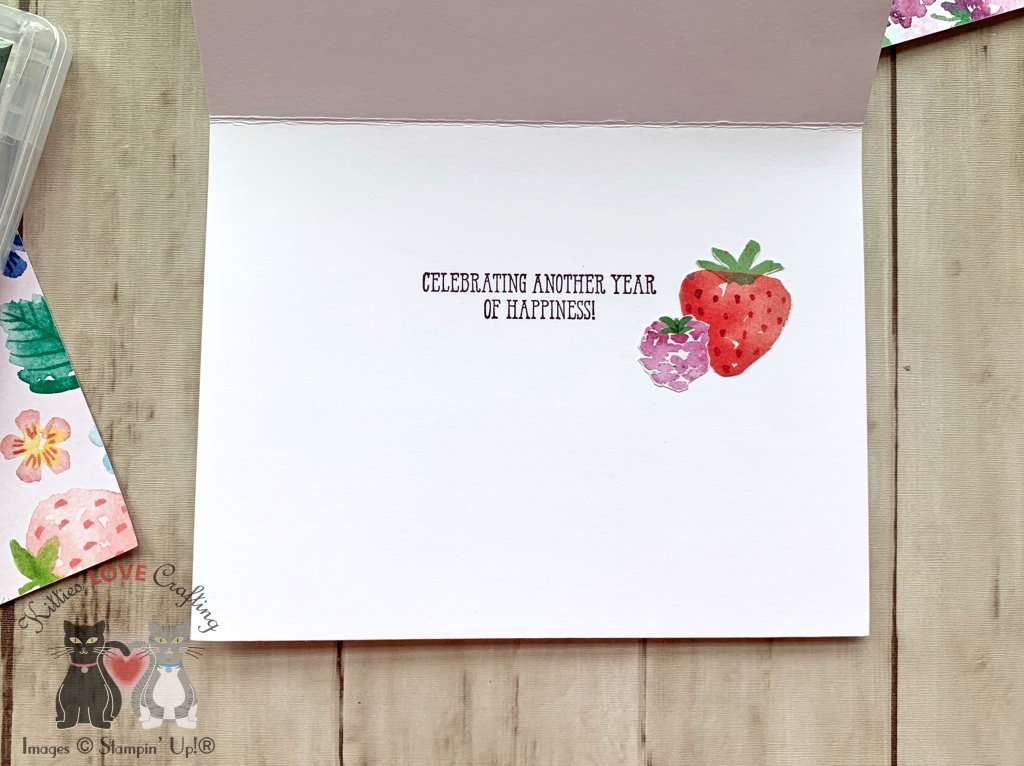
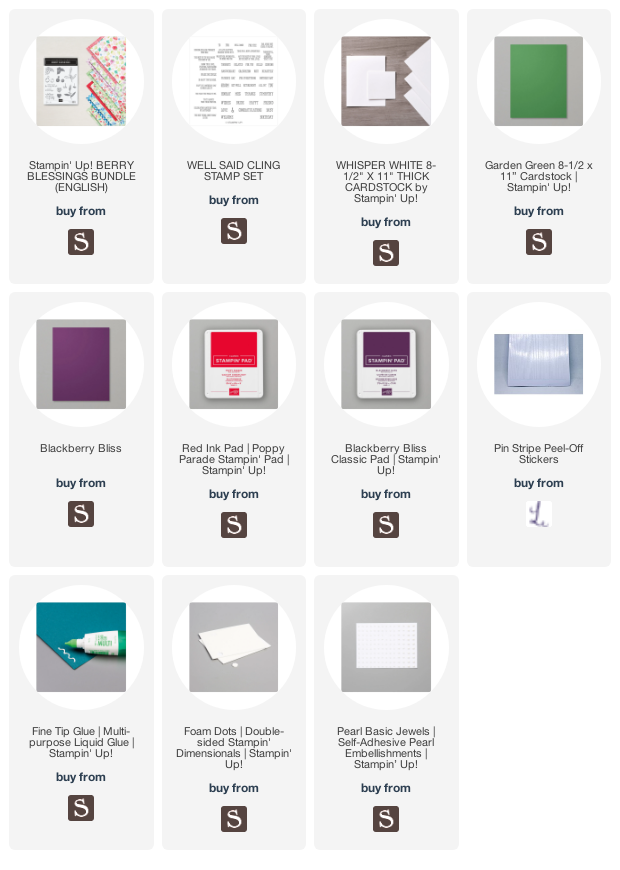
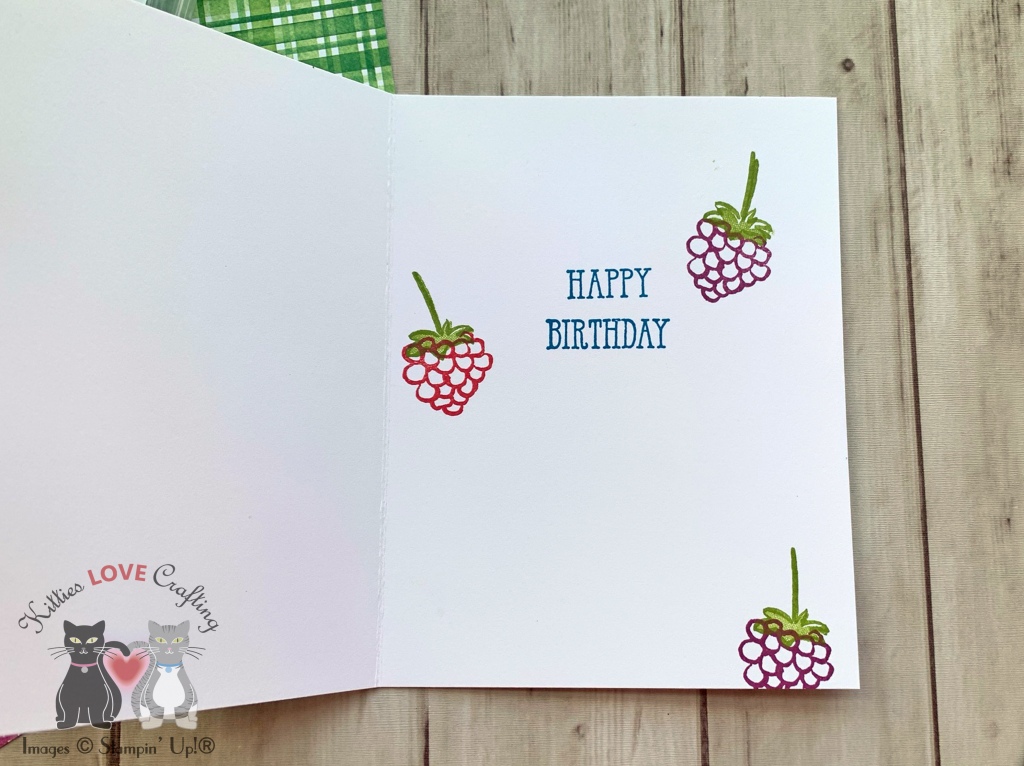
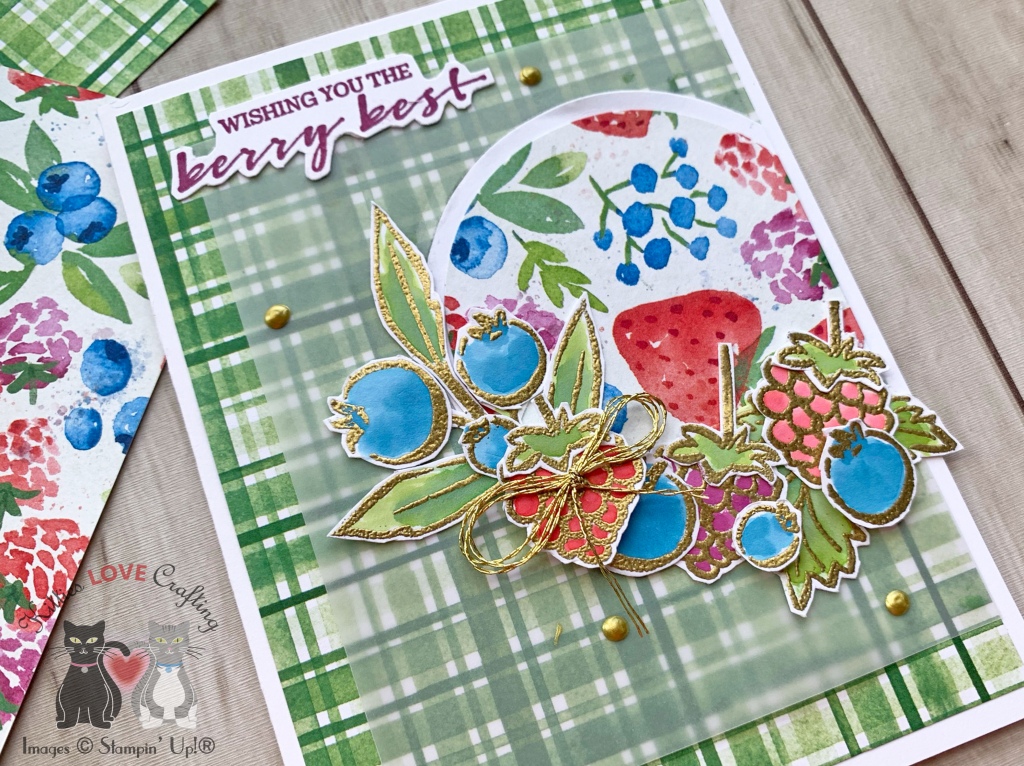
Happy New Year everyone! New year, time for some new posts! I want to start the year by introducing you to this cute watercolor berry stampset (Berry Blessings Stampset) and paper featured on page 14 of the new Sale-A-Bration Catalog. Yes, it is time for Sale-A-Bration people!!! It’s time to get free items with your purchases and who doesn’t like free goodies?!? I get very excited about gift-with-purchase promotions. 🙂
I kept these simple, letting the stamps and paper to do the hard work for me. For the first card, I started by cutting a piece of Whisper White 8-1/2″ X 11″ Thick Cardstock to 5-1/2 x 8-1/2″ and scored at 4-1/4″ to make a card base and a panel to 4 x 5-1/4″.Then diecut a circle with a 2-5/8 circle die from the Stampin’ Up! Circle Layering Dies.
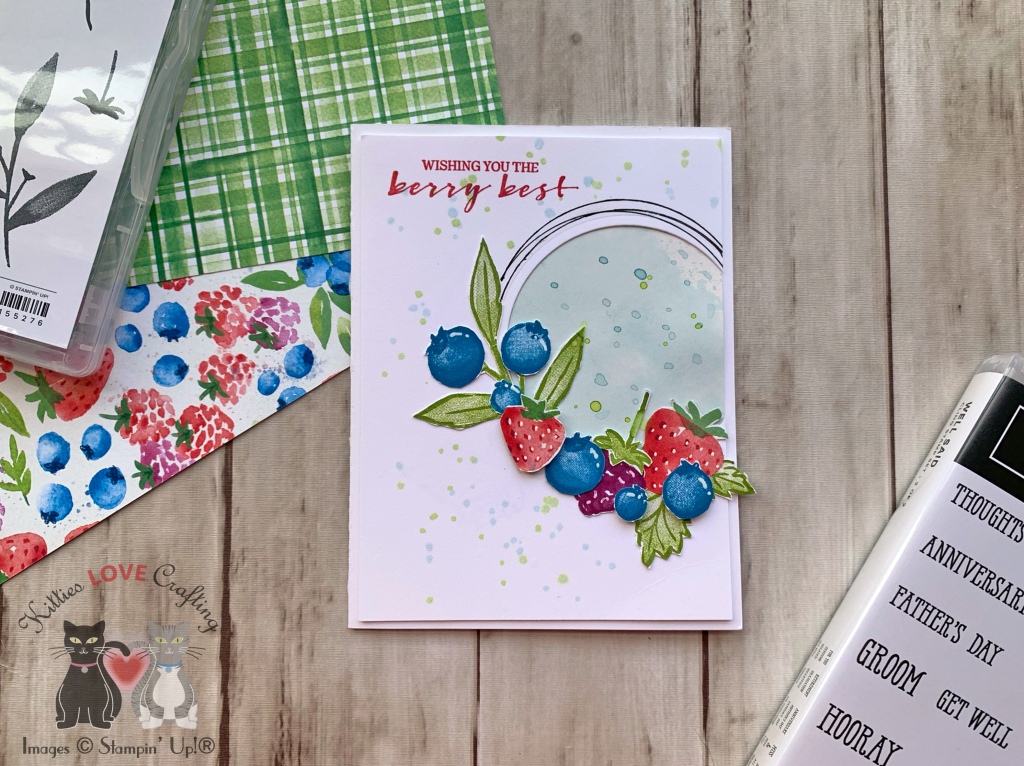
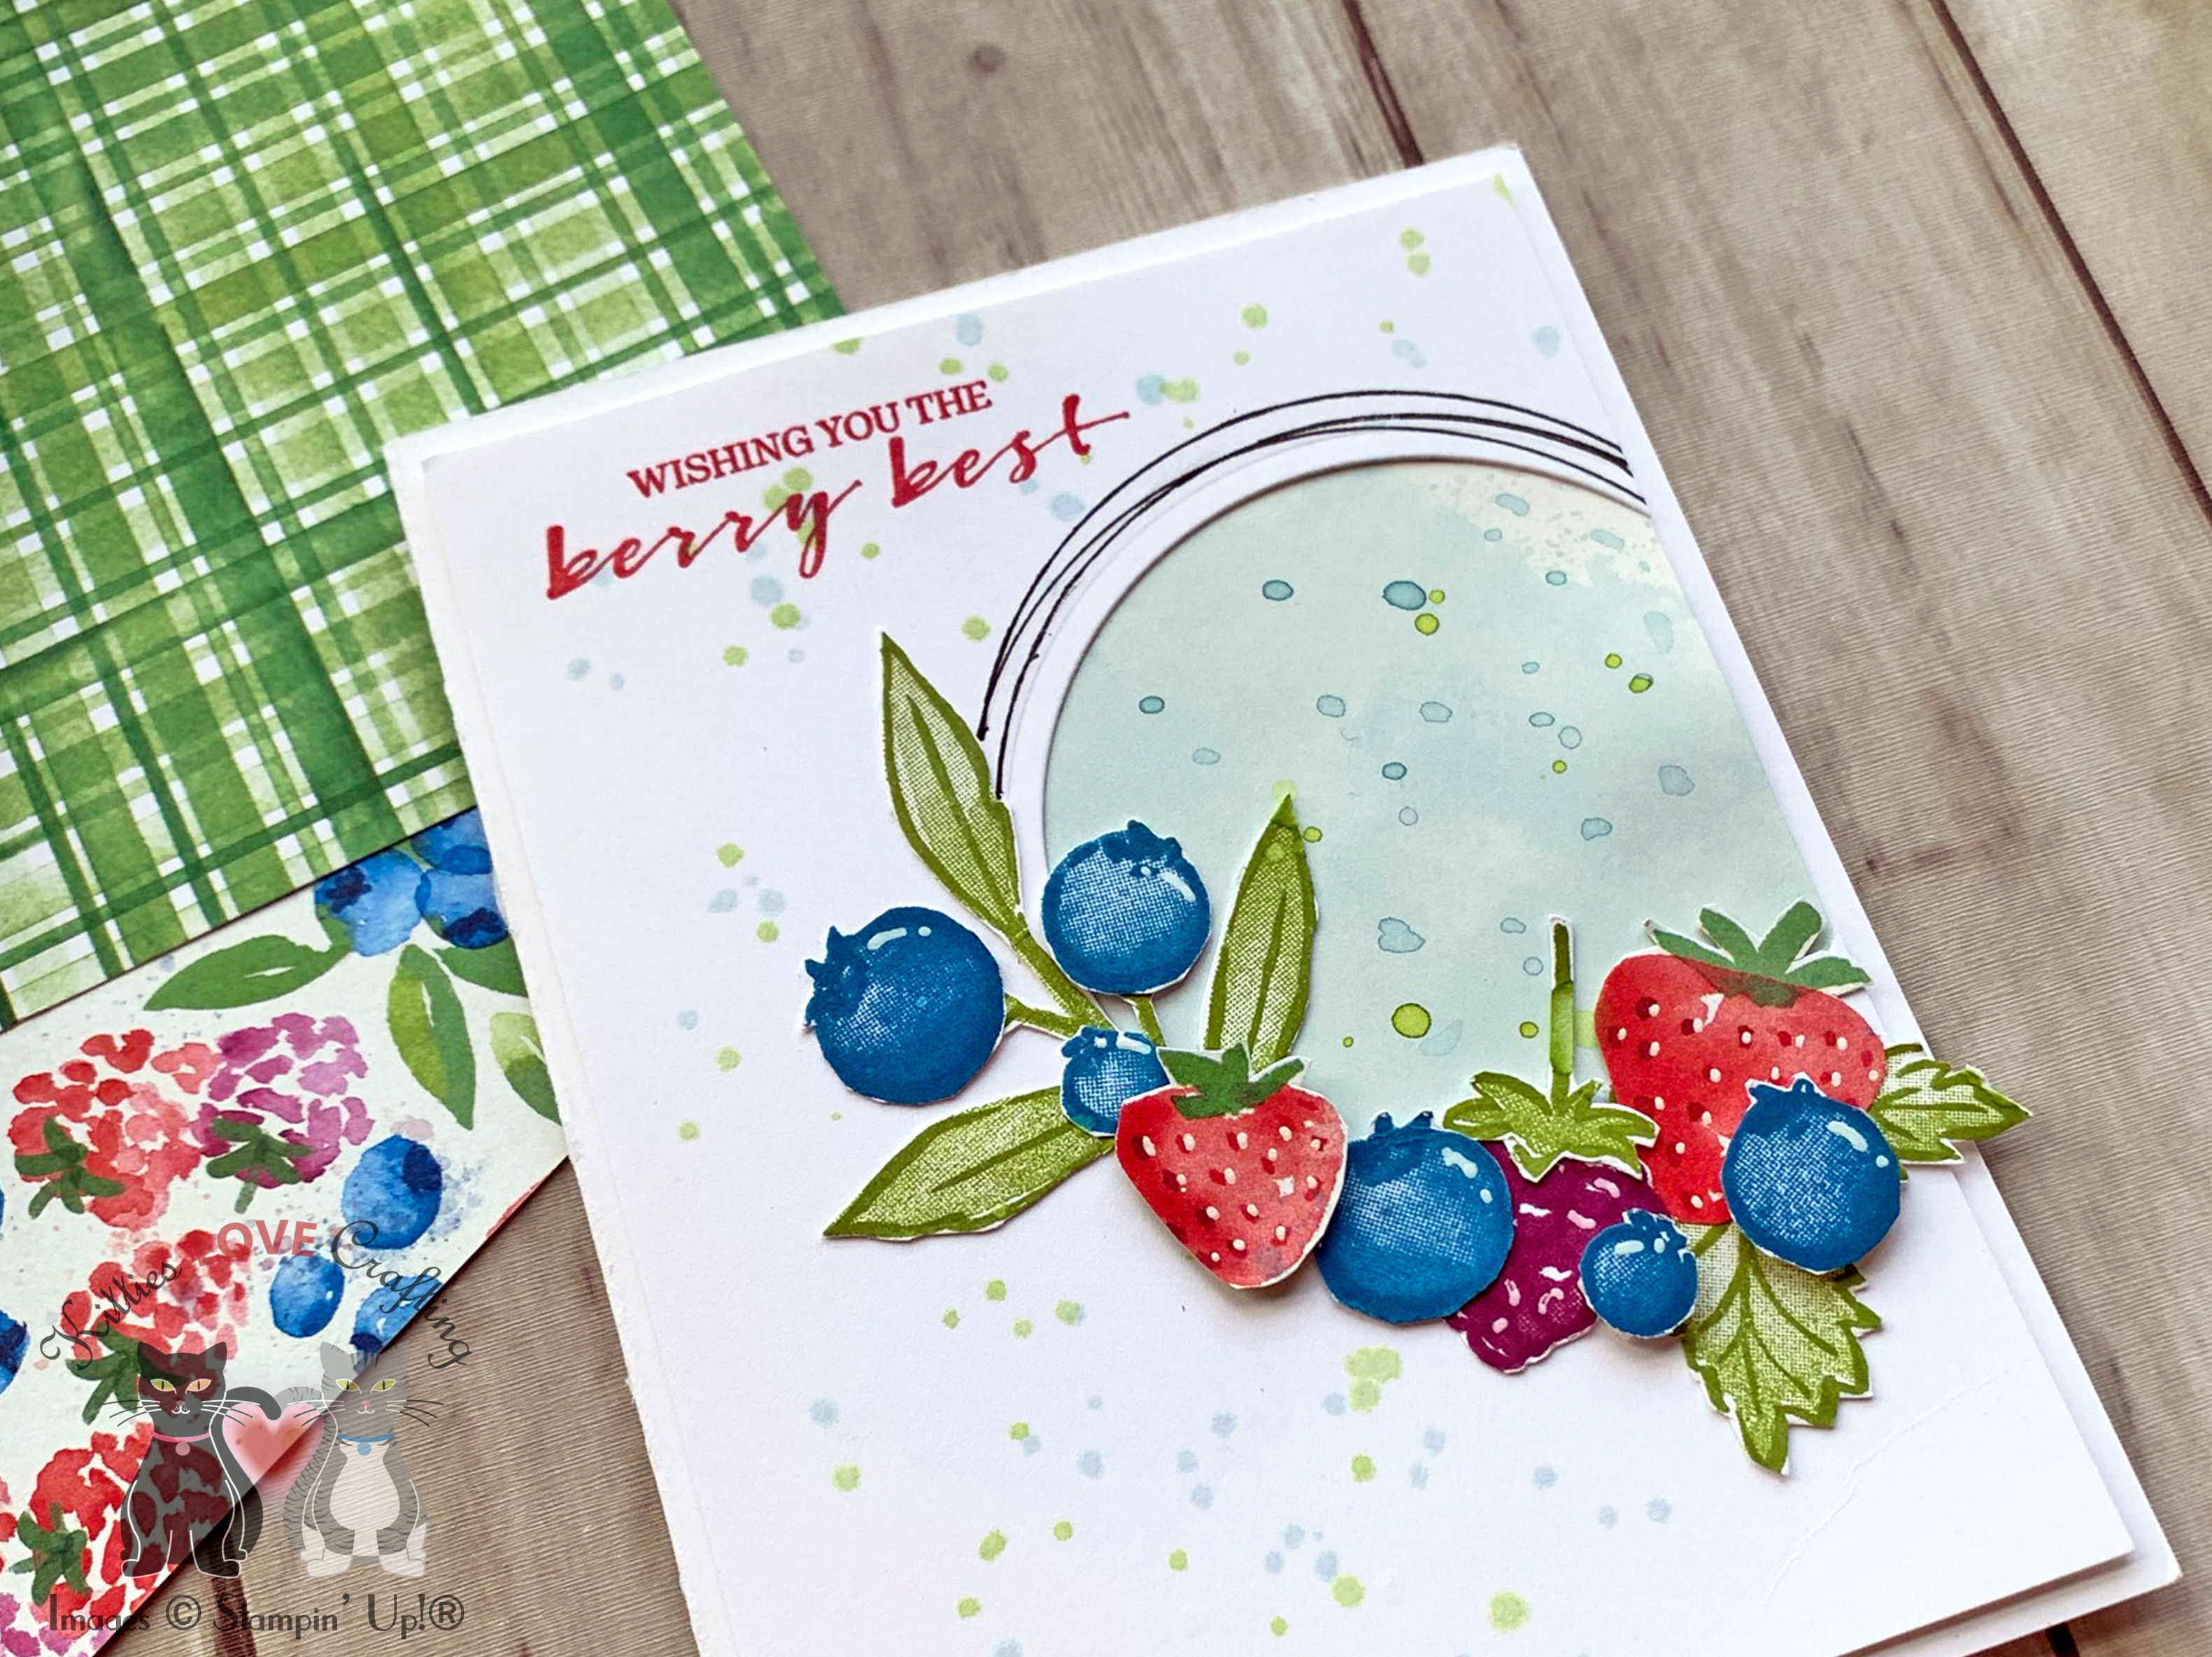
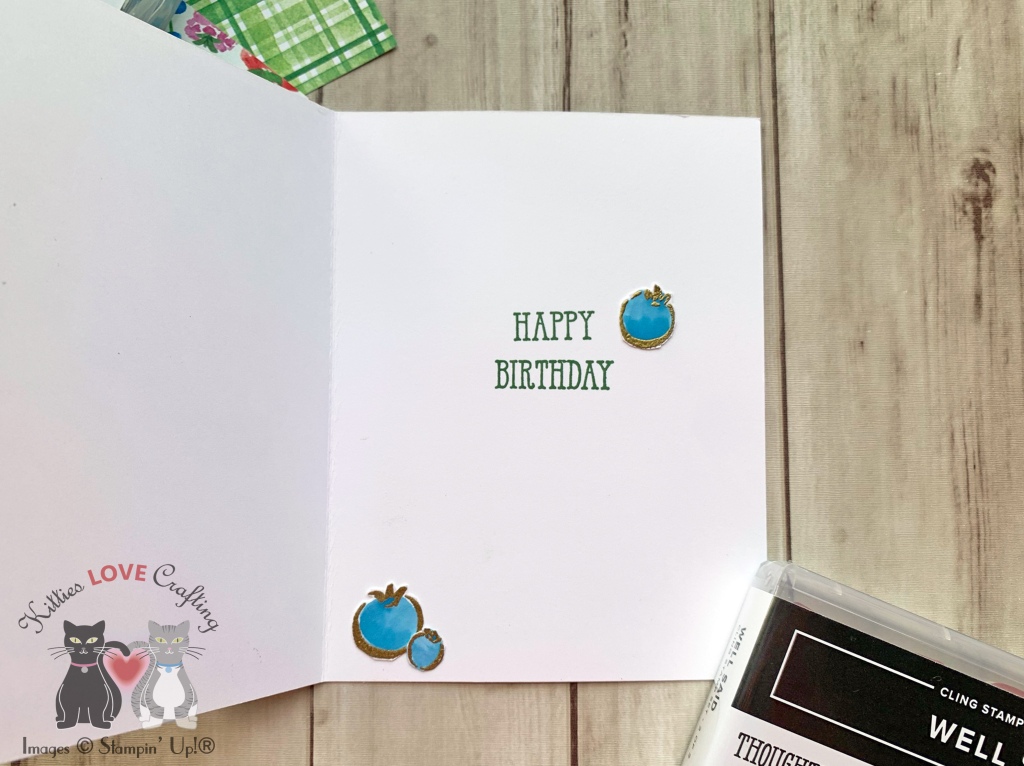
For the second card, I made an stepped up version. I started by cutting a piece of Whisper White 8-1/2″ X 11″ Thick Cardstock to 5-1/2 x 8-1/2″ and scored at 4-1/4″ to make a card base and a panel of Berry Delightful 12 x 12 DSP to 4 x 5-1/4″ and a piece of Vellum to 3-5/8″ x 4-1/2″ and adhered them to the card base.
Thanks for reading this post. I hope you enjoyed and I’ve inspired you to try these easy birthday cards using this stampset and paper for yourself! Leave comments or questions below or feel free to email me. If you want to share you creations with me tag me on instagram @kittieslovecrafting. If you would like a Stampin’ Up! catalog, please email me as well. All current catalogs can be found on the right side of this post and the Stampin’ Up! page. All news and fun stuff happening at Stampin’ Up! are listed there!
February’s Paper Pumpkin kit—Bouquet of Hope—provides a way to offer comfort, care, and condolences to those enduring life’s challenges. With beautiful blooms and supportive sentiments, the Bouquet of Hope Paper Pumpkin Kit will soothe sorrow and share sympathy in a heartfelt, handmade way. While you can create nine cards of comfort and coordinating envelopes with this month’s kit, the kit’s exclusive, versatile stamp set can be used to uplift loved ones during trying times, any time.
Coordinating colors: Basic Black, Bumblebee, Just Jade, Merry Merlot, Mossy Meadow, Rococo Rose
Coordinates with the Flower & Field Designer Series Paper, an exclusive Sale-A-Bration item.
Subscription Information
Subscribe to the February 2021 Paper Pumpkin Kit from 11 January and 10 February at paperpumpkin.com.
Note: Supplies may be limited toward the end of each subscription period.
Leave comments or questions below or feel free to email me. If you would like a Stampin’ Up! catalog, please email me as well. All current catalogs can be found on the right side of this post and the Stampin’ Up! page. All news and fun stuff happening at Stampin’ Up! are listed there!
The new January–June 2021 Mini Catalog is now available! It is packed with awesome goodies for all occasions. Check out the PDF below and start shopping! Also the Mini Stampin’ Cut & Emboss Machine is now available for purchase. I bought one and I love it! It’s adorable, works well and saves tons of space.
Sale-a-Bration runs from January 5, 2021—February 28, 2021. During this period you can earn free stampsets and bundles with your purchases. Check out the catalog below for details and products you can choose.
Leave comments or questions below or feel free to email me. If you would like a Stampin’ Up! catalog, please email me as well. All current catalogs can be found on the right side of this post and the Stampin’ Up! page. All news and fun stuff happening at Stampin’ Up! are listed there!


 https://linkdeli.com/widget.js?id=f5e8378456858c916708