Happy New Year everyone! New year, time for some new posts! I want to start the year by introducing you to this cute watercolor berry stampset (Berry Blessings Stampset) and paper featured on page 14 of the new Sale-A-Bration Catalog. Yes, it is time for Sale-A-Bration people!!! It’s time to get free items with your purchases and who doesn’t like free goodies?!? I get very excited about gift-with-purchase promotions. 🙂
This stampset looks like you spent hours watercoloring images without the hassle; I love watercoloring but it can be time consuming and I’m not great at it. It also coordinates with the Sweet Strawberry Stampset and Strawberry Builder Punch found on page 44 in the new January-June 2021 Mini Catalog.

I kept these simple, letting the stamps and paper to do the hard work for me. For the first card, I started by cutting a piece of Whisper White 8-1/2″ X 11″ Thick Cardstock to 5-1/2 x 8-1/2″ and scored at 4-1/4″ to make a card base and a panel to 4 x 5-1/4″. Then diecut a circle with a 2-5/8 circle die from the Stampin’ Up! Circle Layering Dies.
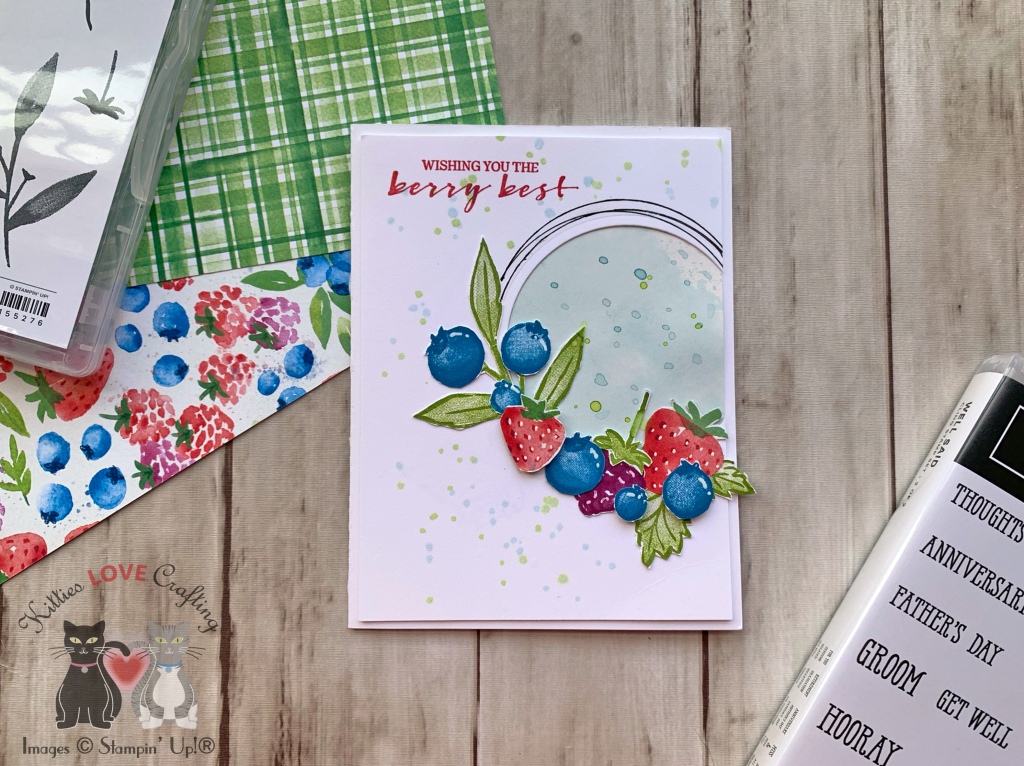
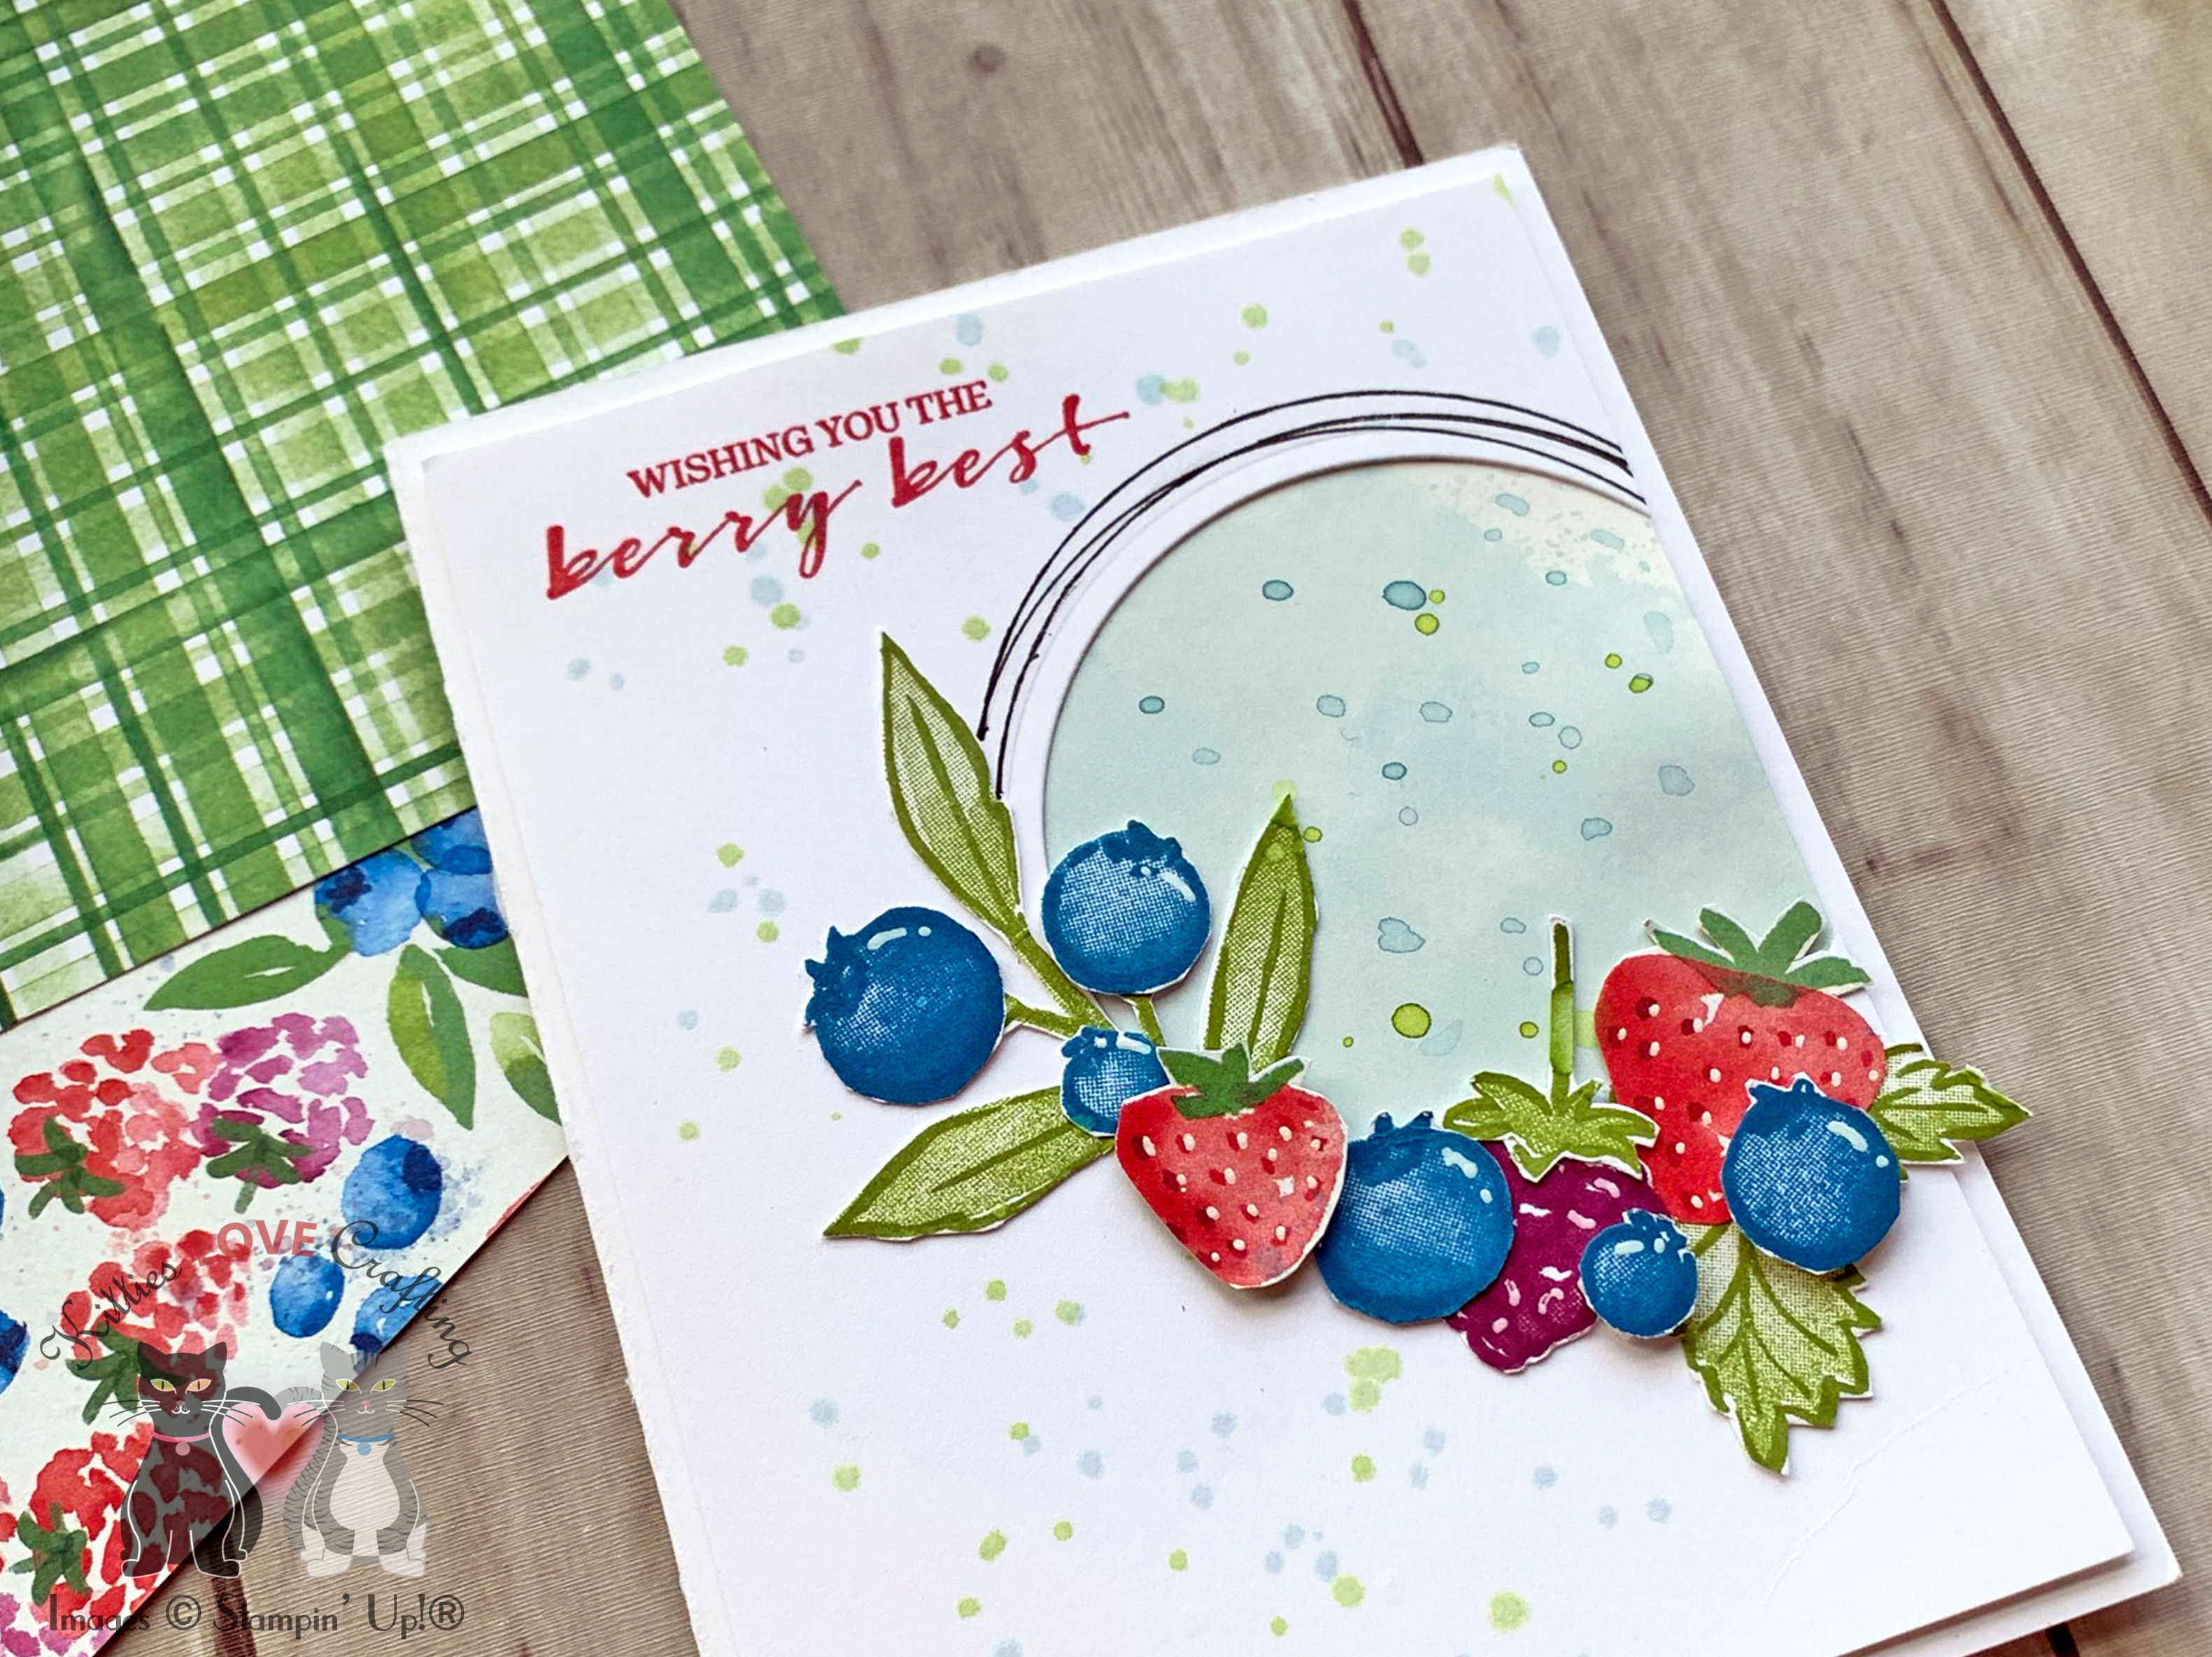
I diecut a 2-7/8 circle from a piece of Strathmore 300 Series Bristol Smooth Paper and used Stampin’ Up! Balmy Blue Ink and a large watercolor brush to create a watercolor background on the circle piece. Then added splashes using a small watercolor brush and Stampin’ Up! Balmy Blue Ink and Granny Apple Green Ink to the watercolor circle as well as the top panel. Once dry, I adhered the circle to the back of the top panel in the window and the top panel to the card base with Tombow Mono Multipurpose Glue.
Next, I stamped and fussycut fruit and leaf images from the Berry Blessings Stampset and also fussycut some strawberries from the Berry Delightful 12 x 12 DSP. I used Granny Apple Green Ink, Pacific Point Ink, and Rich Razzleberry Ink.
Before adhering the fruit images, I stamped a sentiment from Berry Blessings Stampset with Poppy Parade Classic Ink onto the card then adhered the fruit images, popping some up with Stampin’ Dimensionals. Lastly I added some black lines around the circle using a circle die and a Black 0.03 Sakura Pigma Micron Pen.
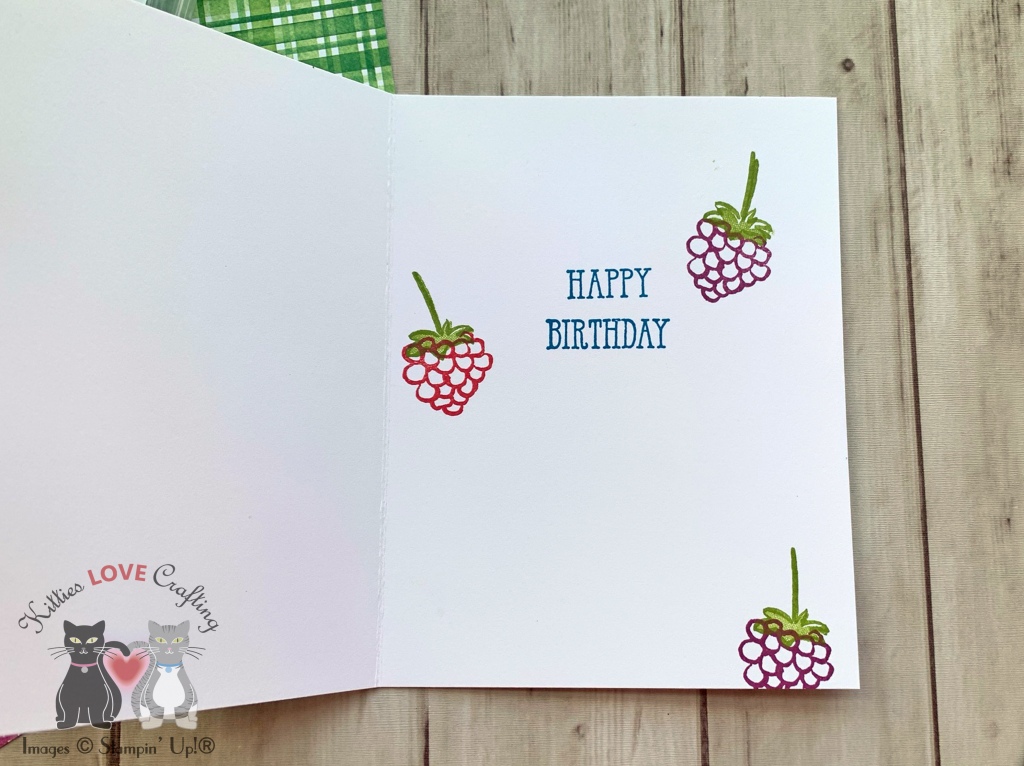
On the inside, I stamped a sentiment from Stampin’ Up! Well Said Stamp Set with Pacific Point Ink and some berries from the Berry Blessings Stampset with Granny Apple Green Ink, and Rich Razzleberry Ink.
Dimensions
- Card Base = 5-1/2 x 8-1/2″ and scored at 4-1/4″ Whisper White 8-1/2″ X 11″ Thick Cardstock
- Top Panel = 4 x 5-1/4″ Whisper White 8-1/2″ X 11″ Thick Cardstock
For the second card, I made an stepped up version. I started by cutting a piece of Whisper White 8-1/2″ X 11″ Thick Cardstock to 5-1/2 x 8-1/2″ and scored at 4-1/4″ to make a card base and a panel of Berry Delightful 12 x 12 DSP to 4 x 5-1/4″ and a piece of Vellum to 3-5/8″ x 4-1/2″ and adhered them to the card base.

Then diecut a 2-7/8 circle from Whisper White 8-1/2″ X 11″ Thick Cardstock and 2-5/8 circle from Berry Delightful 12 x 12 DSP with dies from the Stampin’ Up! Circle Layering Dies and adhered them to the card.
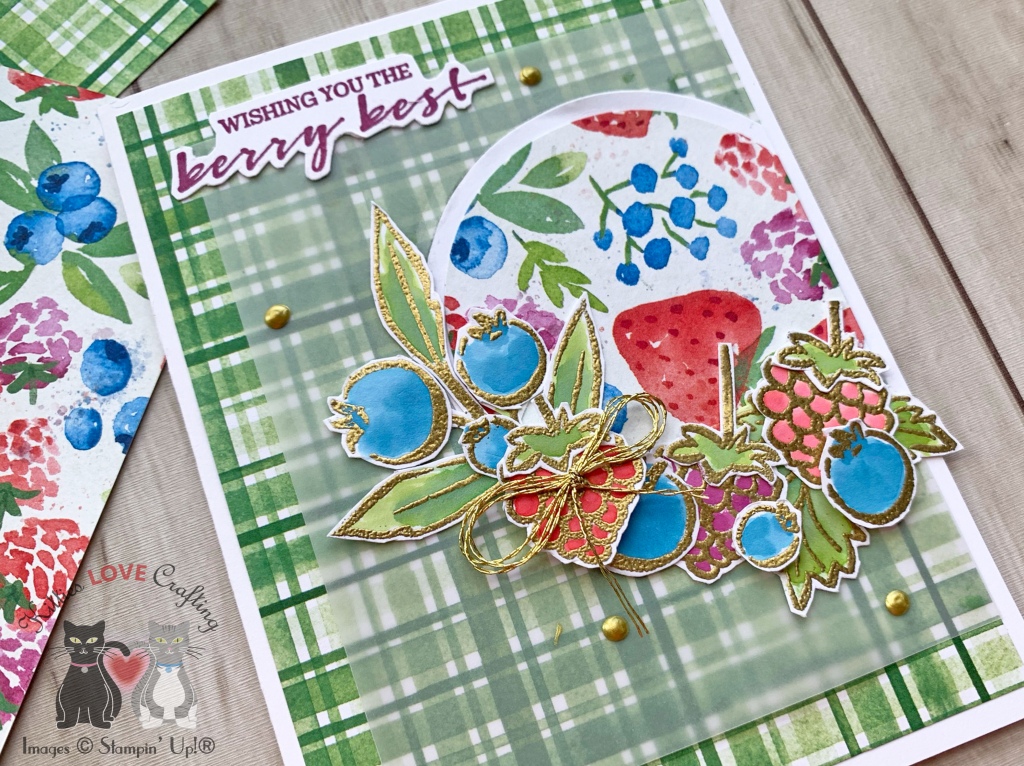
Next, I stamped fruit and leaf images from the Berry Blessings Stampset with Versamark Ink and heat embossed with Gold Emboss Powder. I watercolored the images using Granny Apple Green Ink, Garden Green Ink, Pacific Point Ink, Poppy Parade Ink and Rich Razzleberry Ink. I fussycut them all out and adhered them to the card, popping some up with Stampin’ Dimensionals.
Lastly, I stamped a sentiment from Berry Blessings Stampset with Rich Razzleberry Ink, fussycut it out, and adhered it to the card. To finish it off, I added some Metallic Bright Gold Nuvo Drops and Gold Twine.
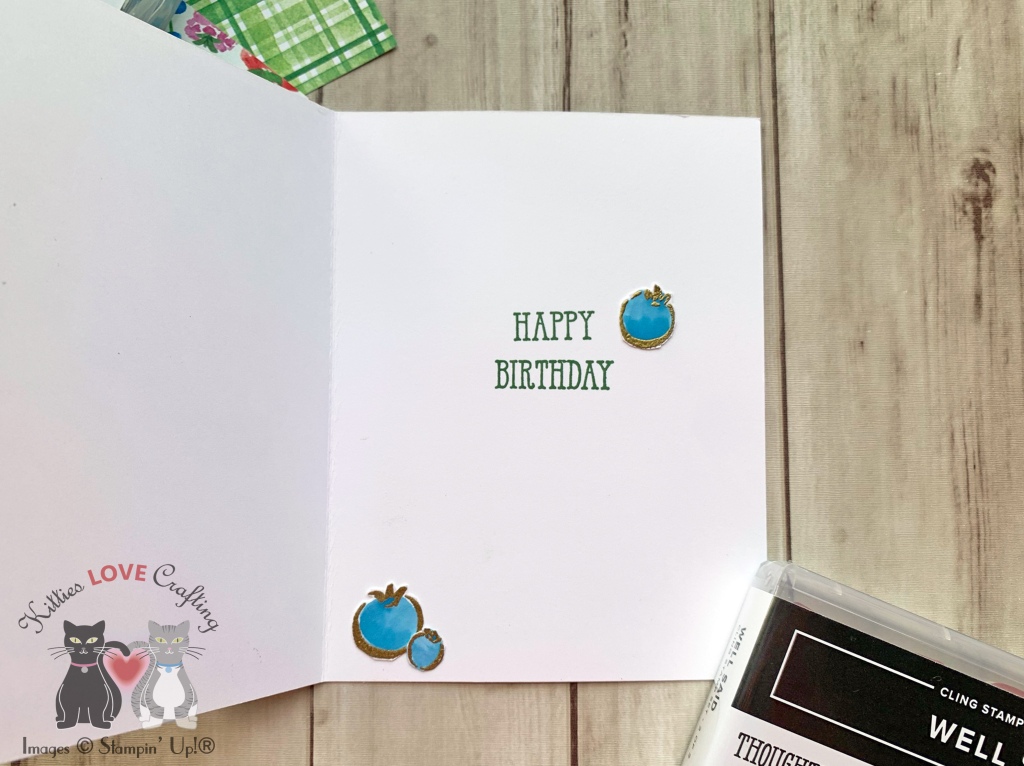
On the inside, I stamped a sentiment from Stampin’ Up! Well Said Stamp Set with Garden Green Ink and adhered some blueberries I had previously stamped and watercolored.
Dimensions
- Card Base = 5-1/2 x 8-1/2″ and scored at 4-1/4″ Whisper White 8-1/2″ X 11″ Thick Cardstock
- Top Panel = 4 x 5-1/4″ Berry Delightful 12 x 12 DSP
- Vellum Panel = 3-5/8″ x 4-1/2″ Stampin’ Up! Vellum
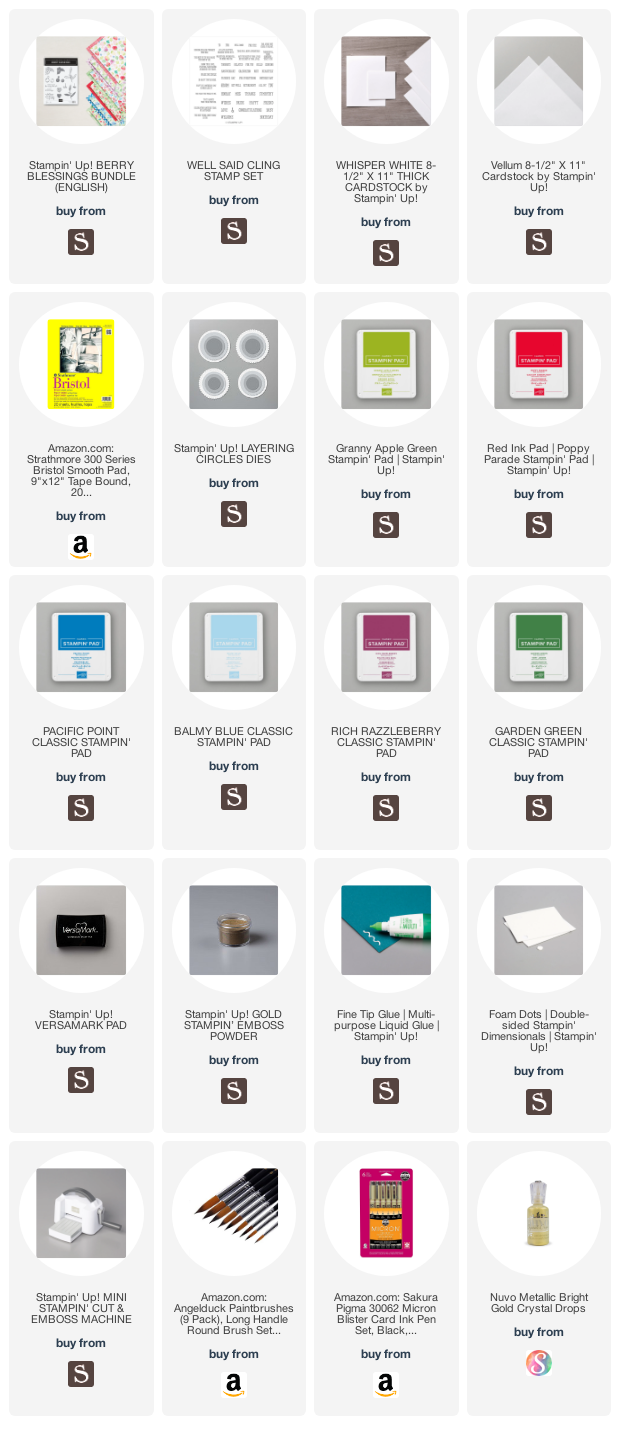
Supplies
 https://linkdeli.com/widget.js?id=f5e8378456858c916708
Thanks for reading this post. I hope you enjoyed and I’ve inspired you to try these easy birthday cards using this stampset and paper for yourself! Leave comments or questions below or feel free to email me. If you want to share you creations with me tag me on instagram @kittieslovecrafting. If you would like a Stampin’ Up! catalog, please email me as well. All current catalogs can be found on the right side of this post and the Stampin’ Up! page. All news and fun stuff happening at Stampin’ Up! are listed there!