Thanks for reading this post. I hope you enjoyed and I’ve inspired you to make some watercolor Easter cards yourself! If you want to share you creations with me tag me on instagram @kittieslovecrafting. Leave comments or questions below or feel free to email me.
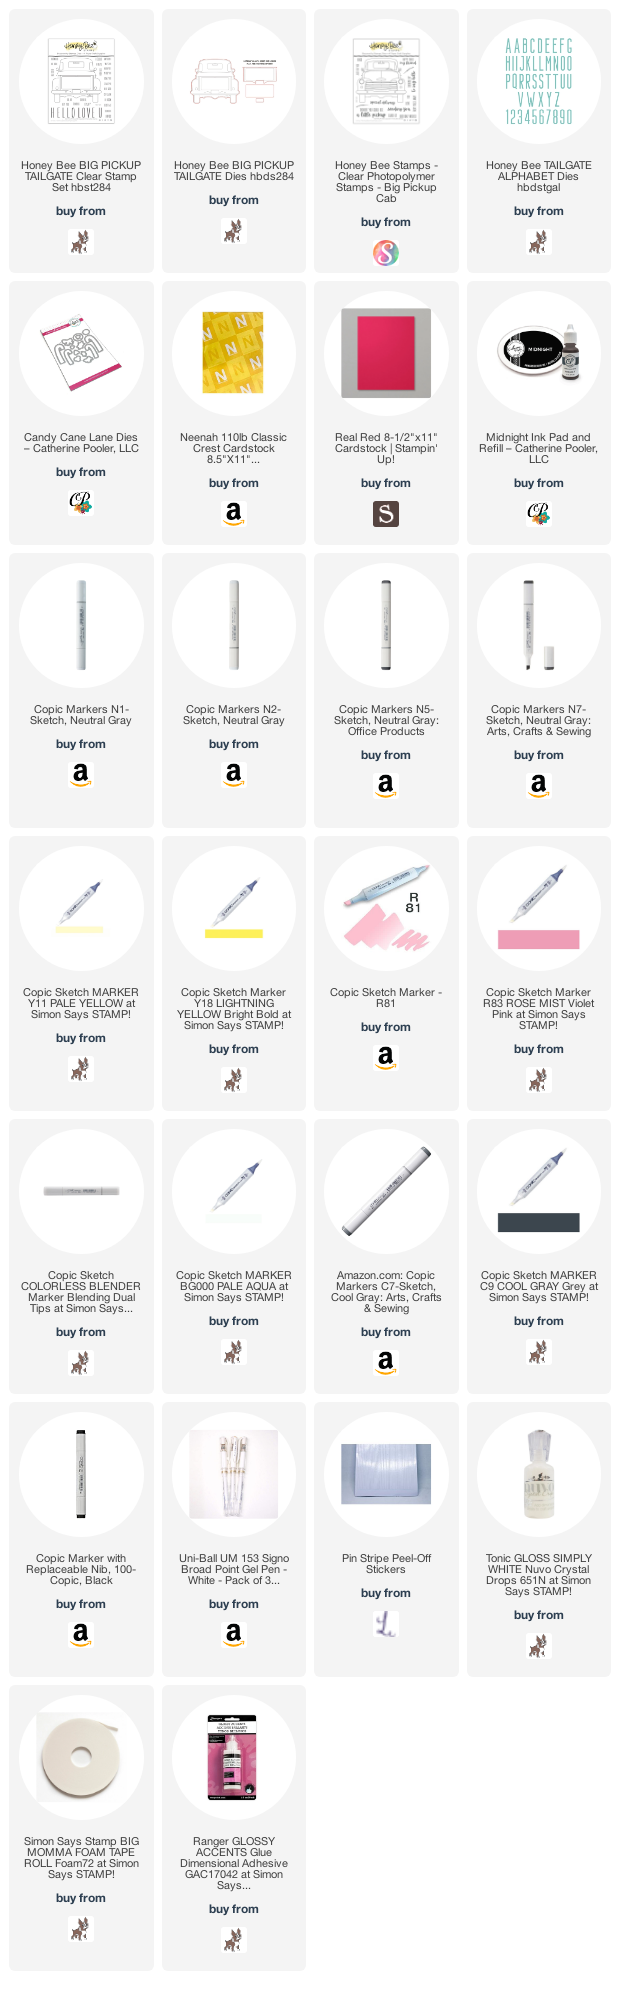
I colored the images with Copic Markers and die cut it with the coordinating dies. I used N1, N2, N5, N7 and 0 (for the cab); N1, N2, and N5 (for the truck bed); N2, N5, and N7 (for the bumper and underside); Y11, and Y18 (for the headlights) and BG000 and 0 (for the windows); R81 and R83 (license plate); C7, C9 and 100 (for the wheels). I adhered the truck to the card, adding 3M Foam Tape to the extra pieces of the truck bed.
Thanks for reading this post. I hope you enjoyed and I’ve inspired you to give this card a try for yourself. Leave comments or questions below or feel free to email me.
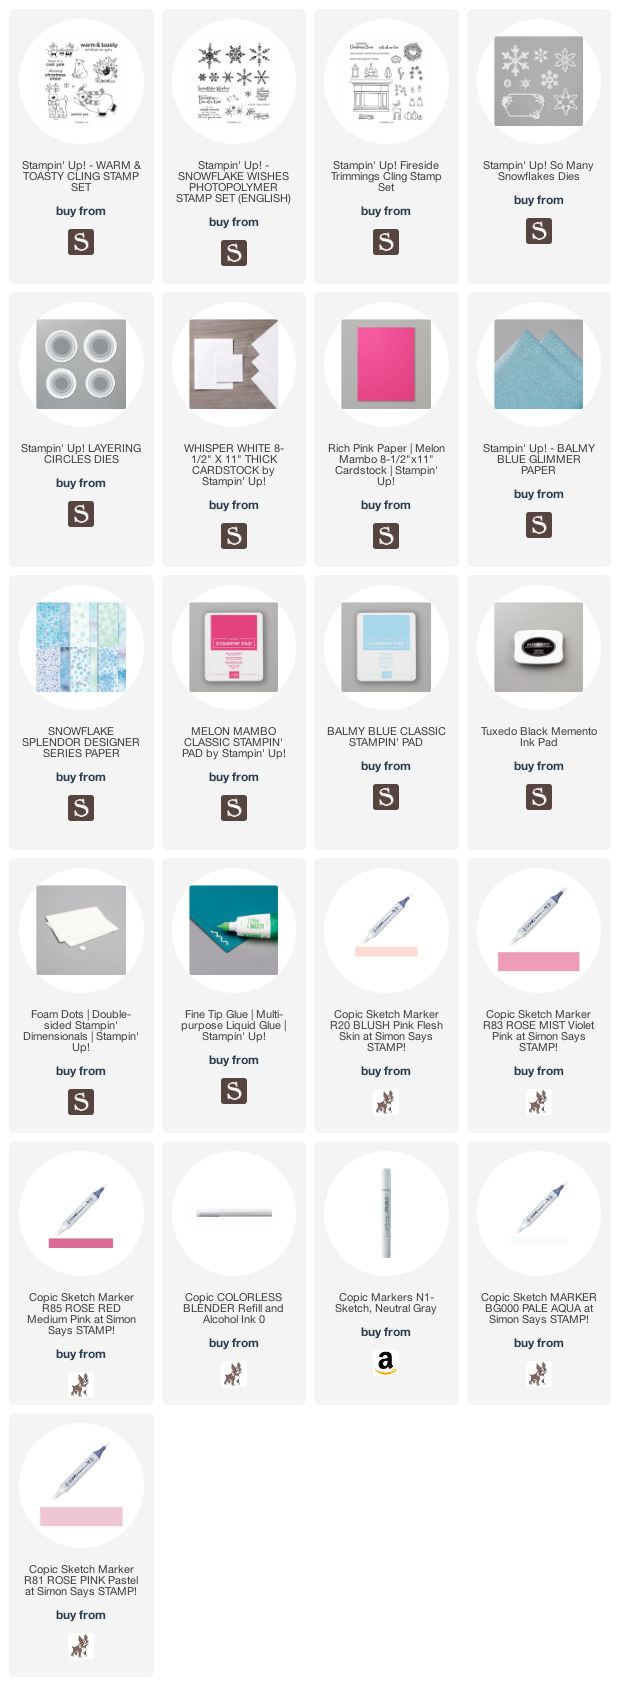
I stamped the ice skating bear from the Warm & Toasty Stampset onto a piece of Whisper White 8-1/2″ X 11″ Thick Cardstock with Memento Tuxedo Black Ink. I colored him using Copics since I don’t have enough colors in my Stampin Blends. I used R20 (cheeks); R81, R83, R85 & R56 (hat and scarf); and N1, BG000 & 0 (bear). I fussycut the image out and set it aside.
Thanks for reading this post. I hope you enjoyed and I’ve inspired you to try these easy holiday cards using this stampset for yourself! Leave comments or questions below or feel free to email me. If you want to share you creations with me tag me on instagram @kittieslovecrafting. If you would like a Stampin’ Up! catalog, please email me as well. All current catalogs can be found on the right side of this post and the Stampin’ Up! page. All news and fun stuff happening at Stampin’ Up! are listed there!
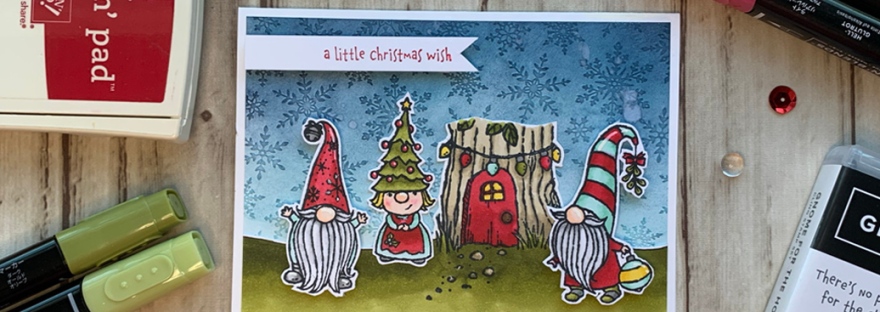
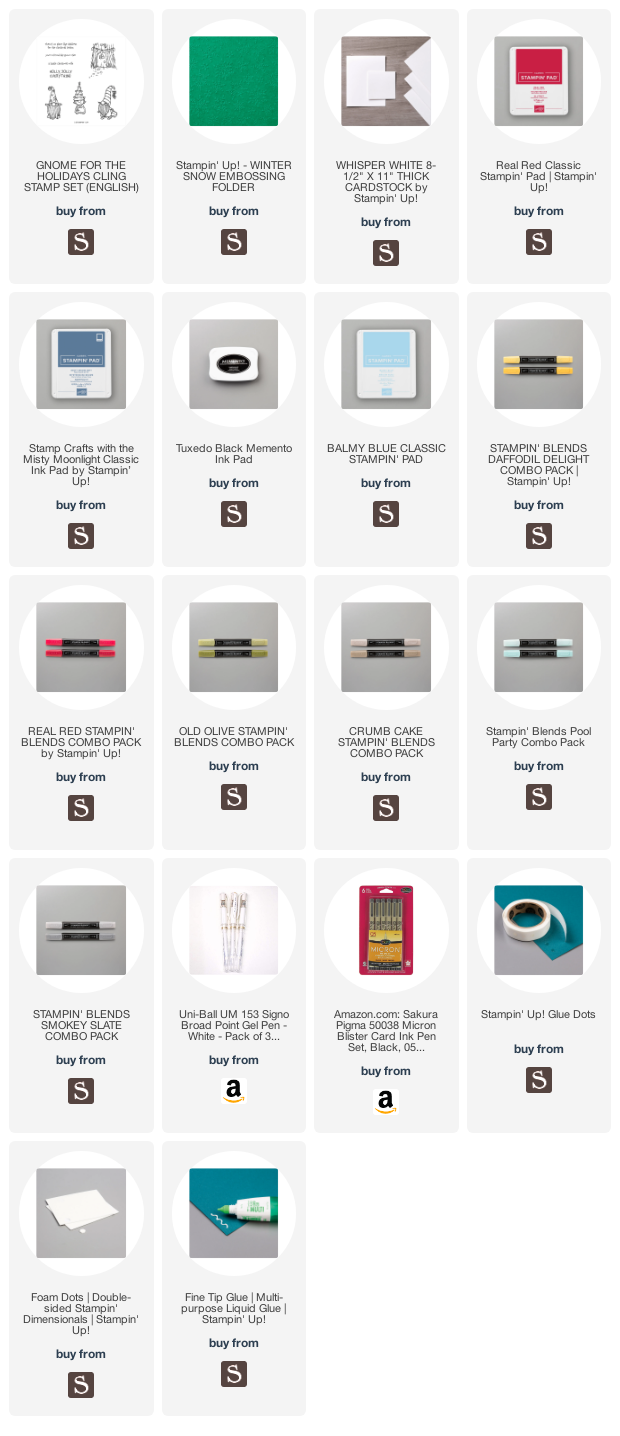
Hello friends. These little gnomes featured in the Stampin’ Up!’s Gnome for the Holidays are super adorable! They were pretty easy to color and fussycut. I was able to stamp and quickly color the images. This stampset can be found on page 23 of the new Aug-Dec Mini Catalog.
Thanks for reading this post. I hope you enjoyed and I’ve inspired you to try these easy holiday cards using this stampset for yourself! Leave comments or questions below or feel free to email me. If you want to share you creations with me tag me on instagram @kittieslovecrafting. If you would like a Stampin’ Up! catalog, please email me as well. All current catalogs can be found on the right side of this post and the Stampin’ Up! page. All news and fun stuff happening at Stampin’ Up! are listed there!
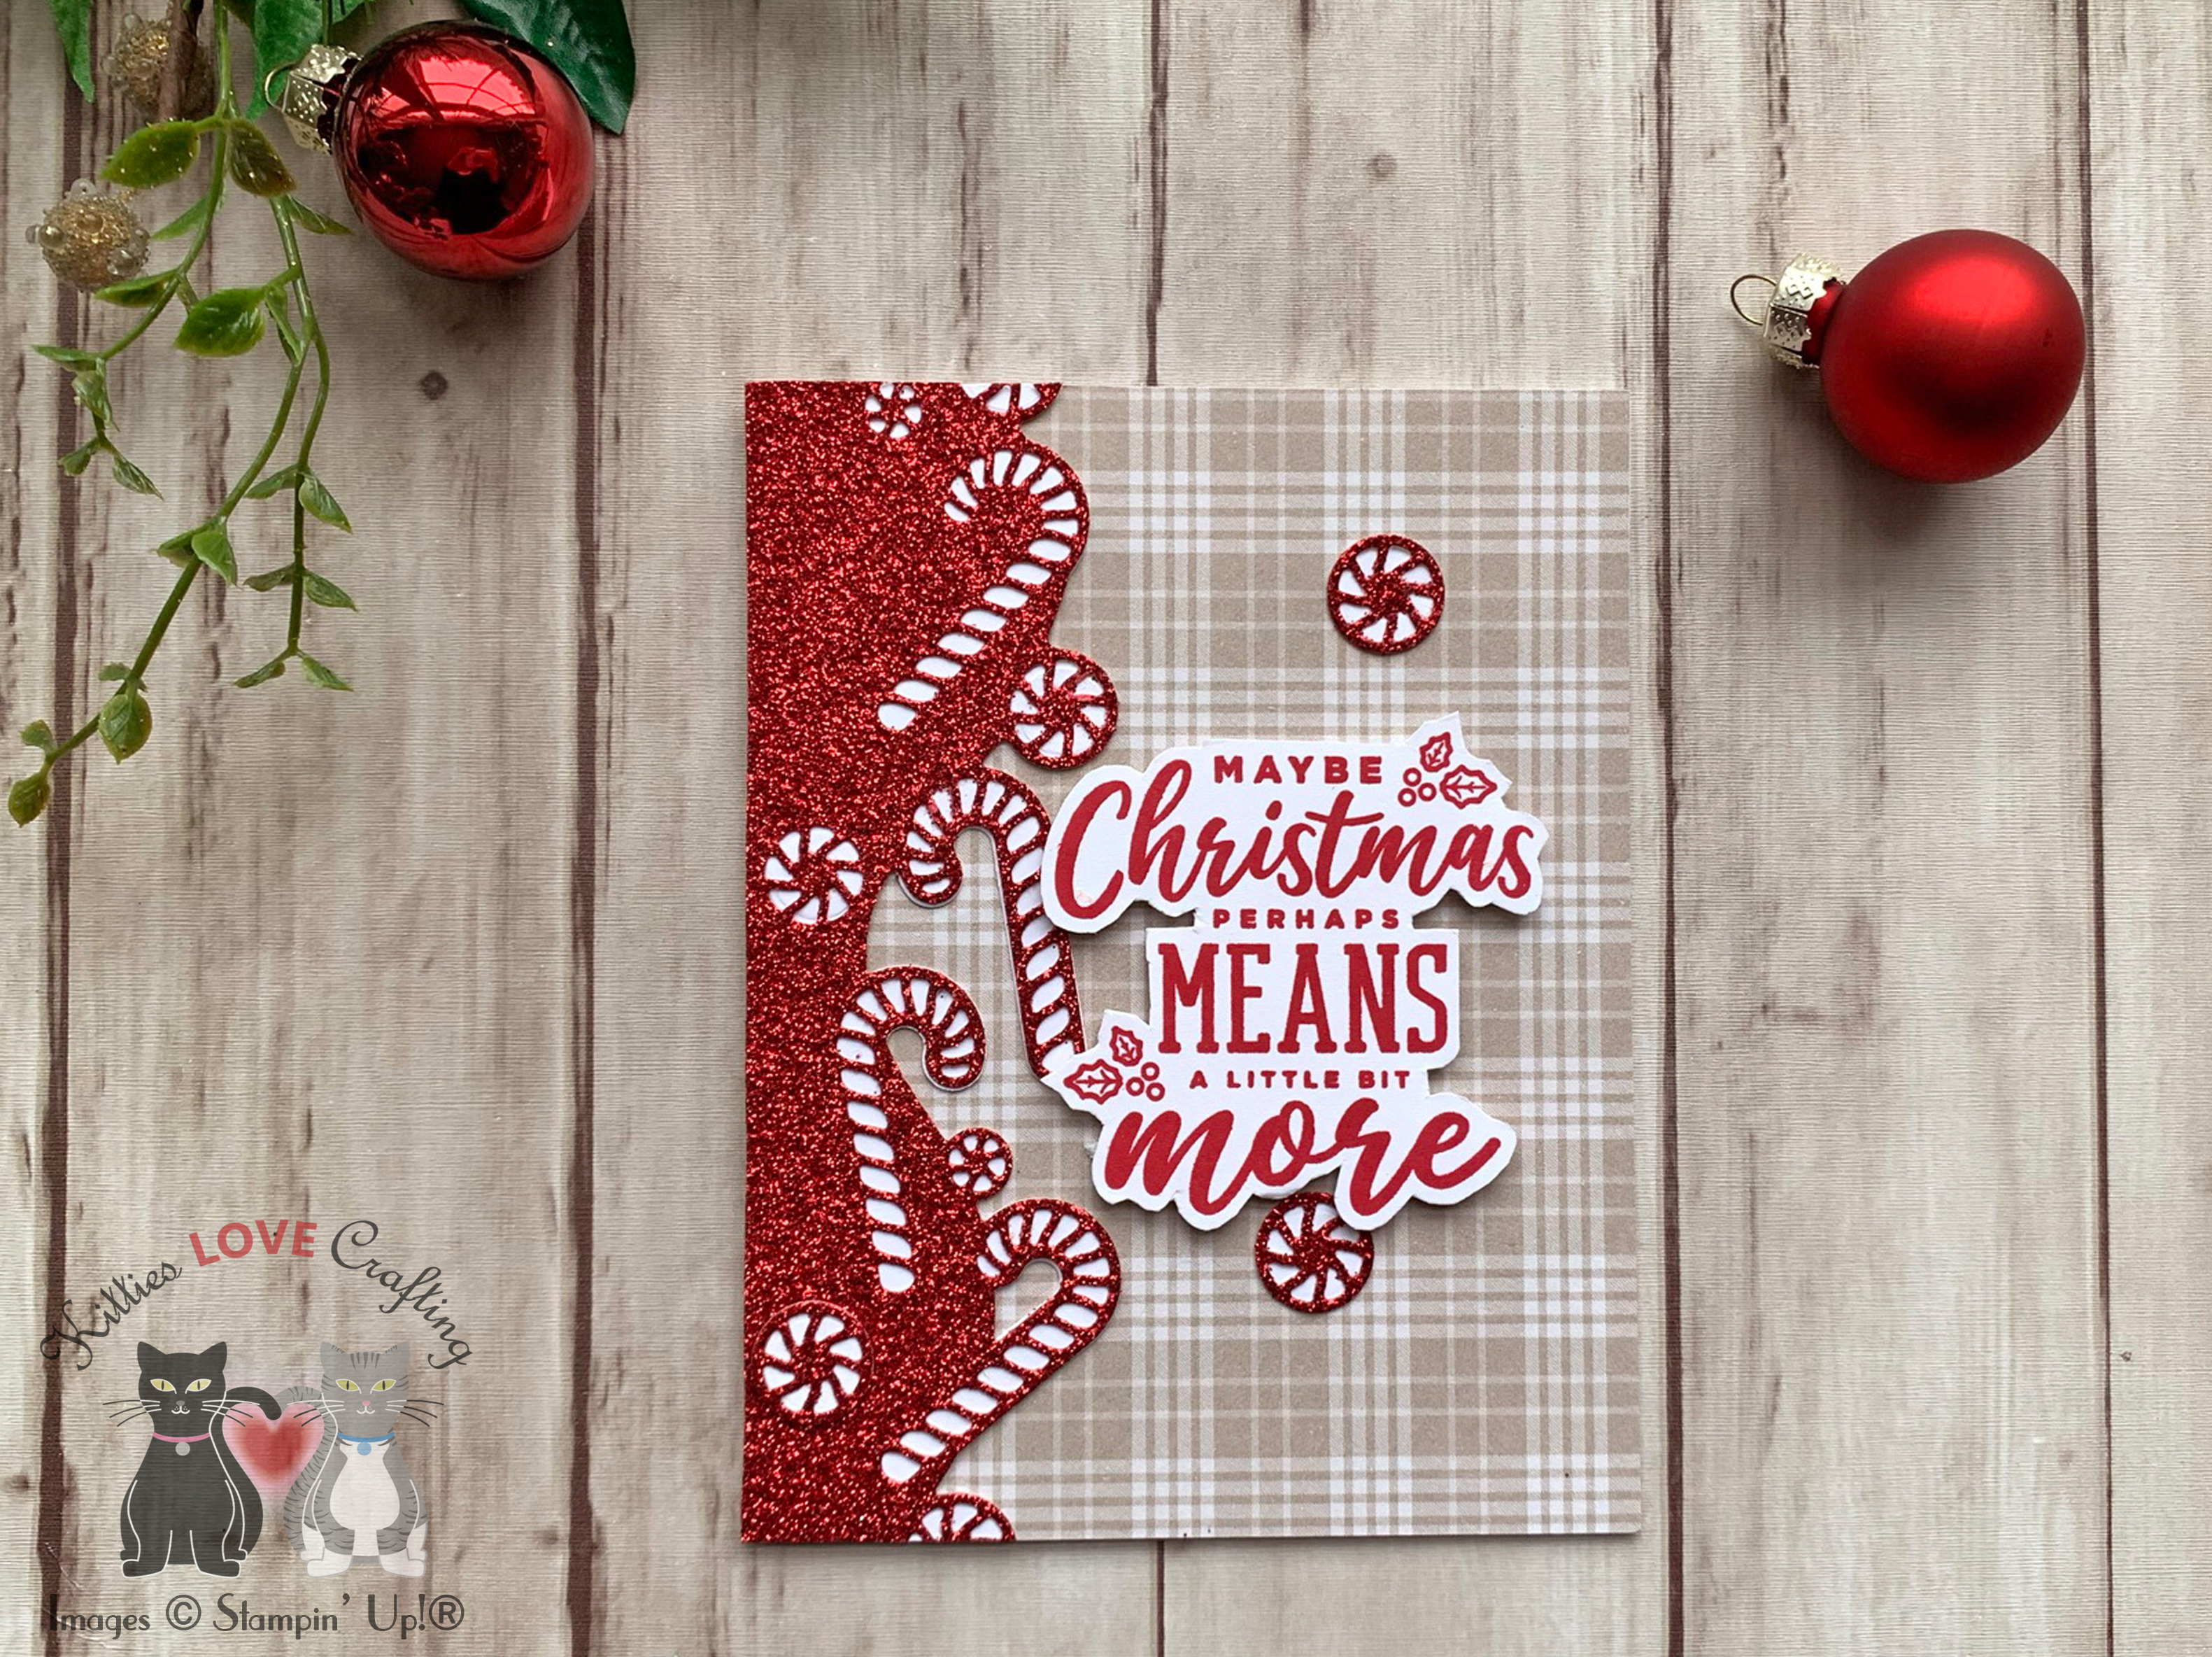
What is better than candy canes during the holiday season?!?? Well maybe, hot chocolate and candy canes (yum!). 🙂 This cute candy cane border is from Stampin’ Up!’s Sweetest Borders Dieset which also features a holly leaves border and individual candy canes, peppermints and holly leaves. Lots of options with this dieset. It can be found on page 21 of the new Aug-Dec Mini Catalog. It also coordinates with the Sweetest Time Stampset.
I kept these cards simple but changed the papers and ink colors. For the first card, I started by cutting a piece of Whisper White 8-1/2″ X 11″ Thick Cardstock to 5-1/2 x 8-1/2″ and scored at 4-1/4″ to make a card base. Then cut a piece of Plaid Tidings 6″ X 6″ Designer Series Paper to 4-1/4 x 5-1/2″ for the top panel and adhered it to the card base.
I diecut the candy cane border as well as some extra peppermints and candy canes with the Sweetest Borders Dies from Red Glitter Paper. I also diecut some candy canes and peppermints in white using the solid dies which cuts the backing. For the tiny peppermints I just added a piece of white cardstock behind it. I adhered the border to the card and trimmed off the excess.
I diecut the candy cane border as well as some extra peppermints and candy canes with the Sweetest Borders Dies from Red Foil. I also diecut some candy canes and peppermints in white using the solid dies which cuts the backing. For the tiny peppermints I just added a piece of white cardstock behind it. I adhered the border to the card and trimmed off the excess.
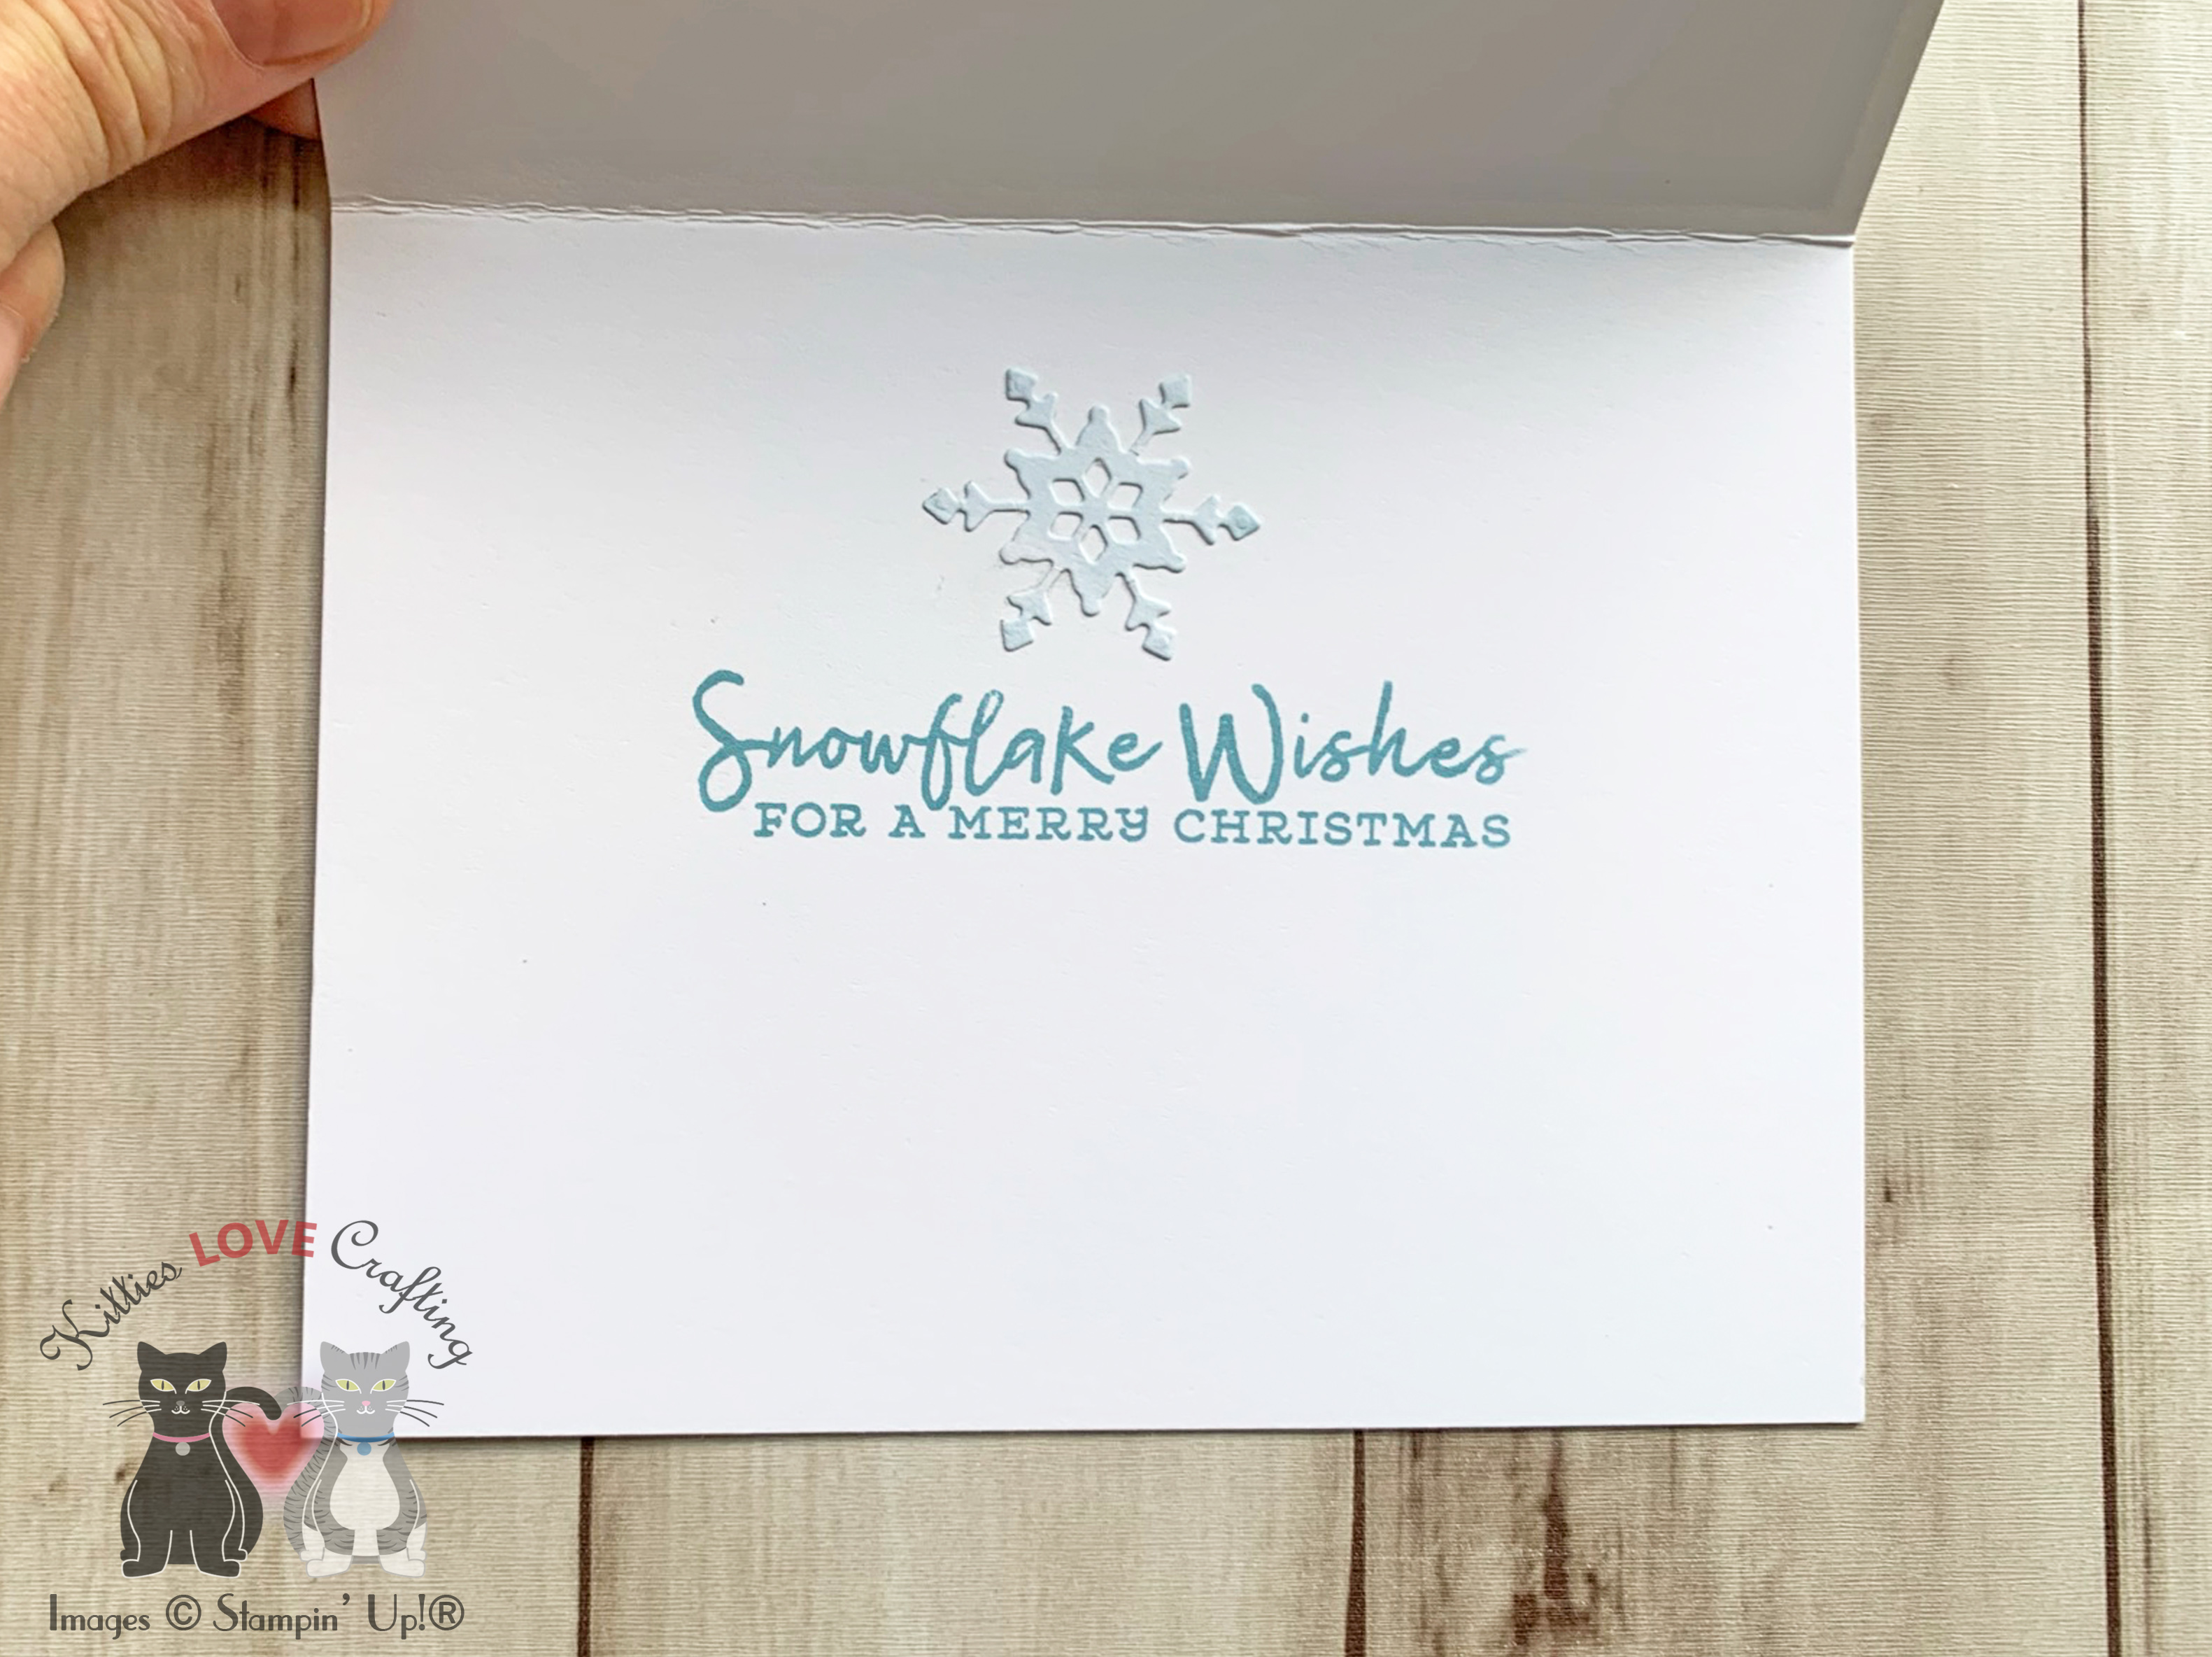
On the inside, I stamped a sentiment from the Fireside Trimmings with Real Red Ink and added a red foil candy cane. And that’s it for both these cards. So easy!
Thanks for reading this post. I hope you enjoyed and I’ve inspired you to try these easy holiday cards using this cute dieset for yourself! Leave comments or questions below or feel free to email me. If you want to share you creations with me tag me on instagram @kittieslovecrafting. If you would like a Stampin’ Up! catalog, please email me as well. All current catalogs can be found on the right side of this post and the Stampin’ Up! page. All news and fun stuff happening at Stampin’ Up! are listed there!
Do you love decorating gingerbread houses but don’t like the mess? Fear not I have the perfect craft for you! This gingerbread house features Honey Bee Stamps Gingerbread House Add-On Stamps and Dieset. Combine it with the House Builder Card Dieset to make tons of cute house cards for all occasions.
Thanks for reading this post. I hope you enjoyed and I’ve inspired you to give these watercolored cards a try for yourself. Leave comments or questions below or feel free to email me.
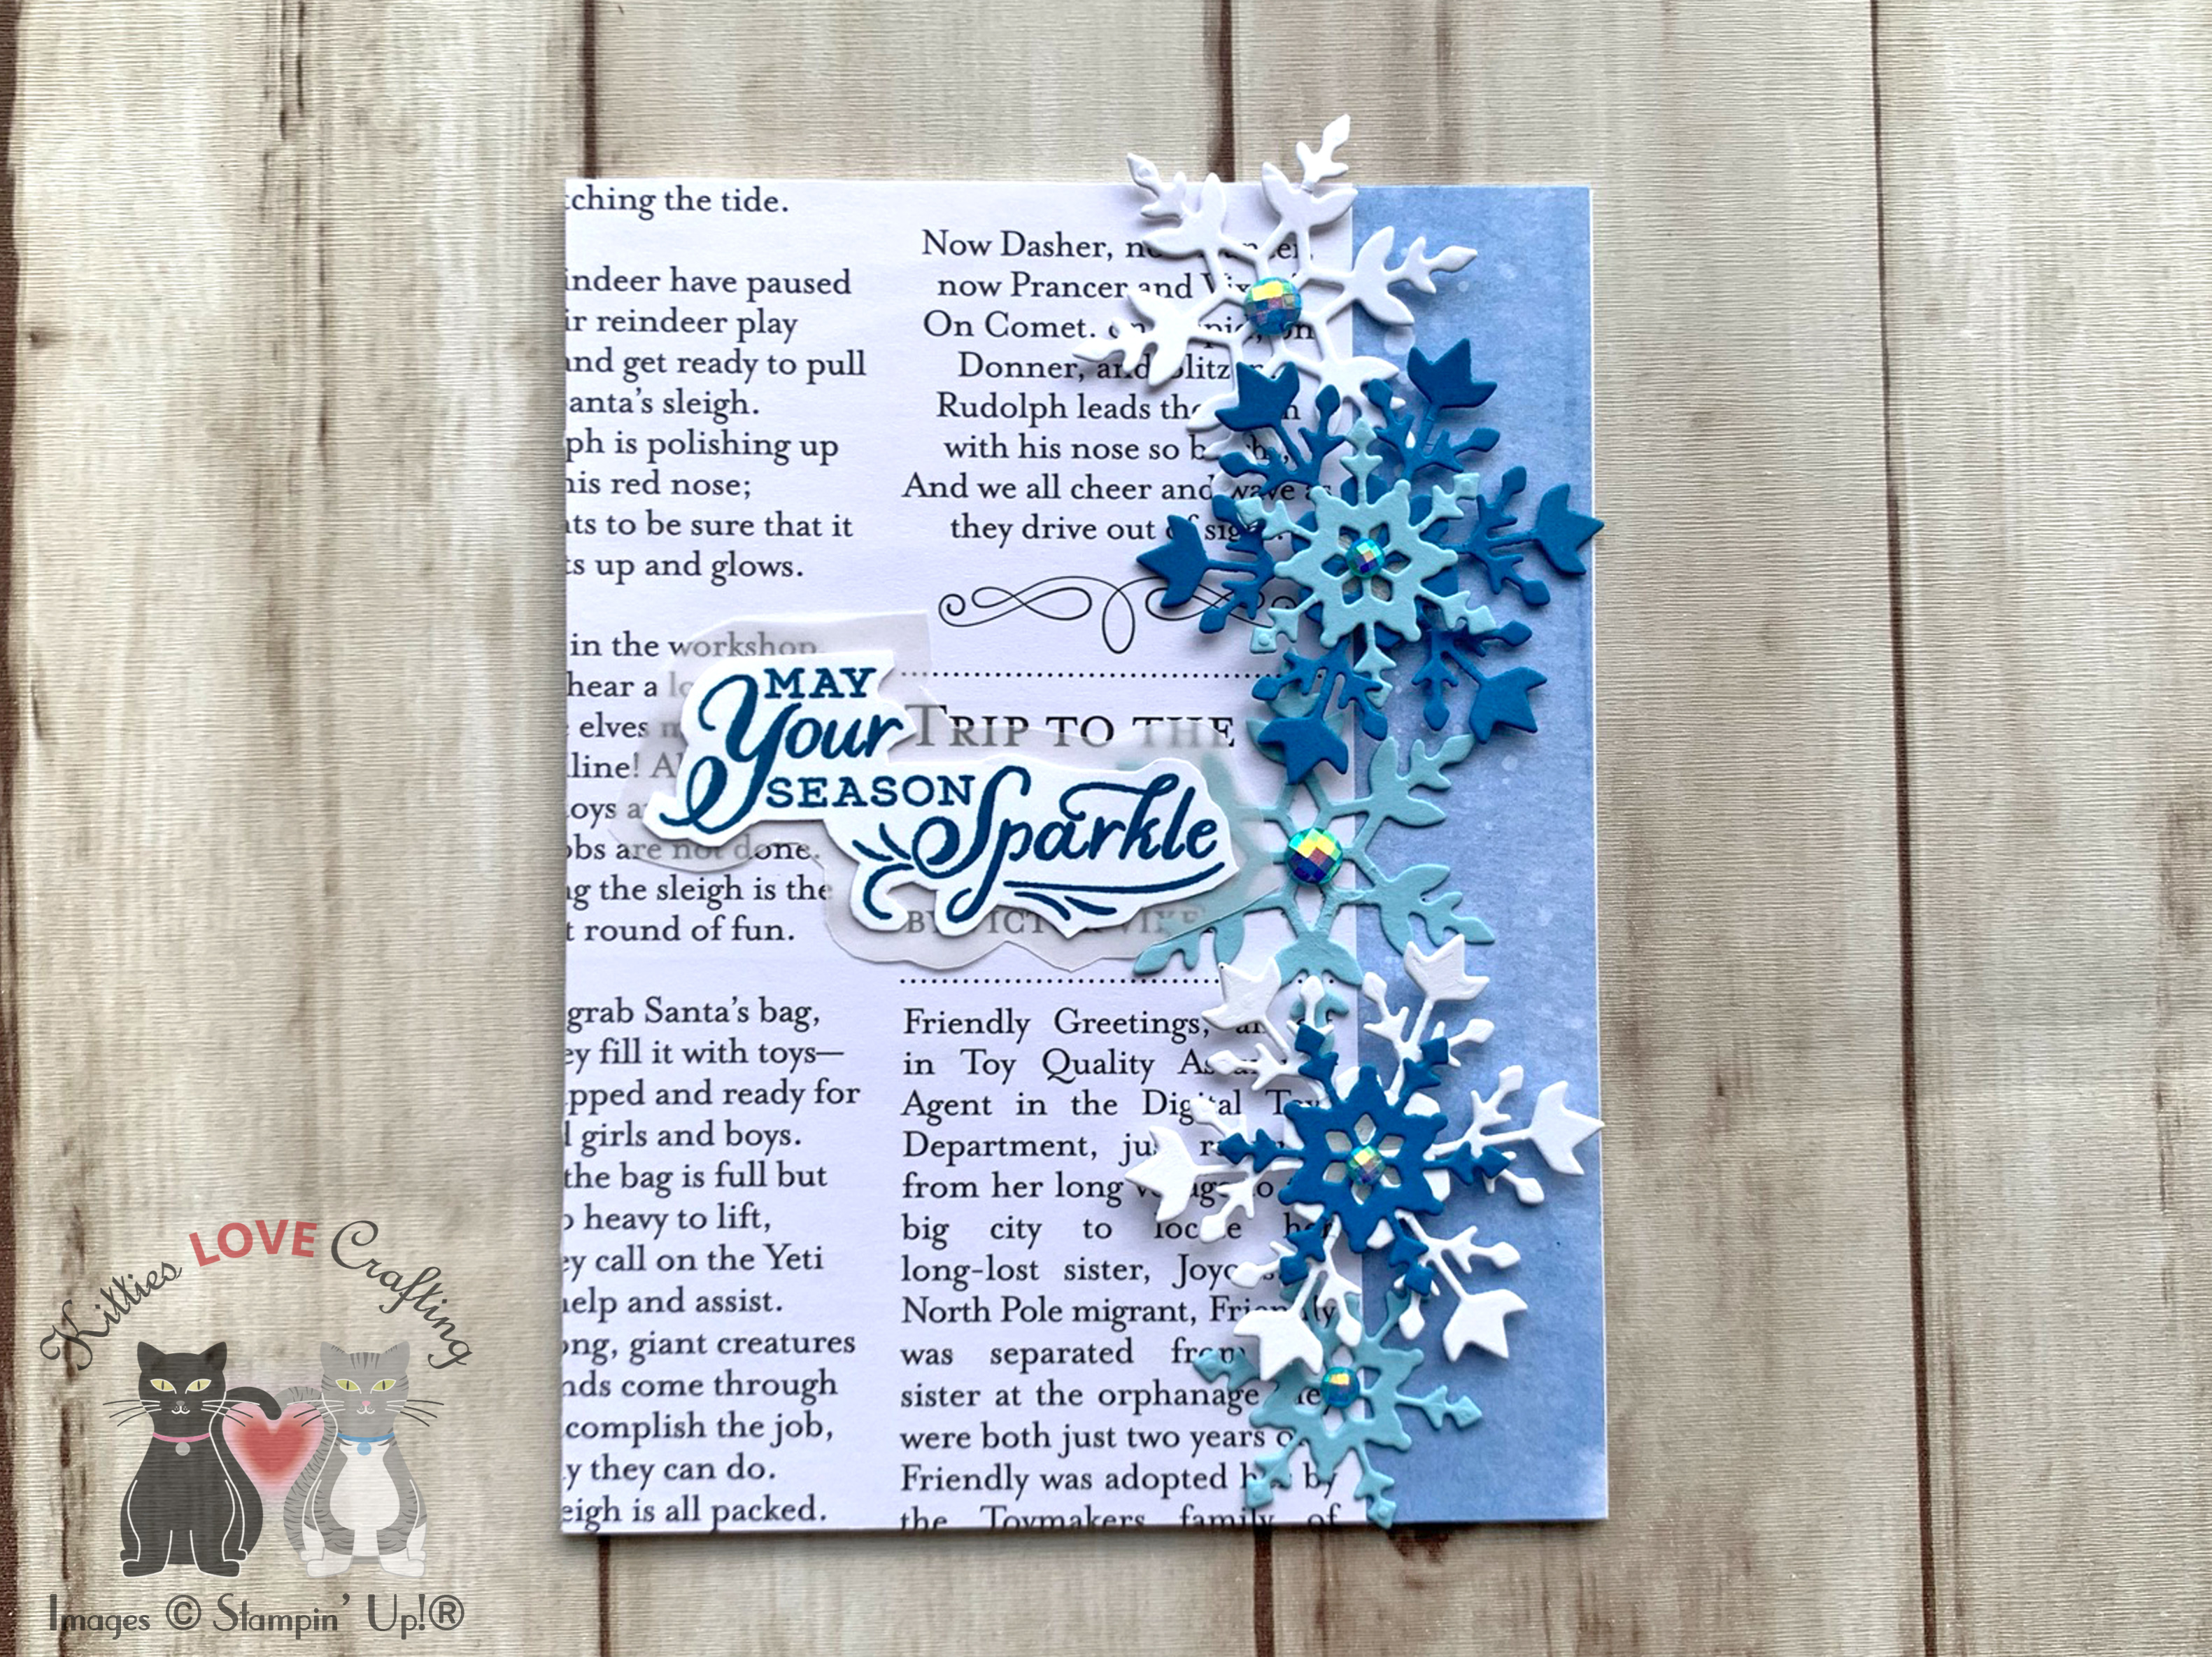
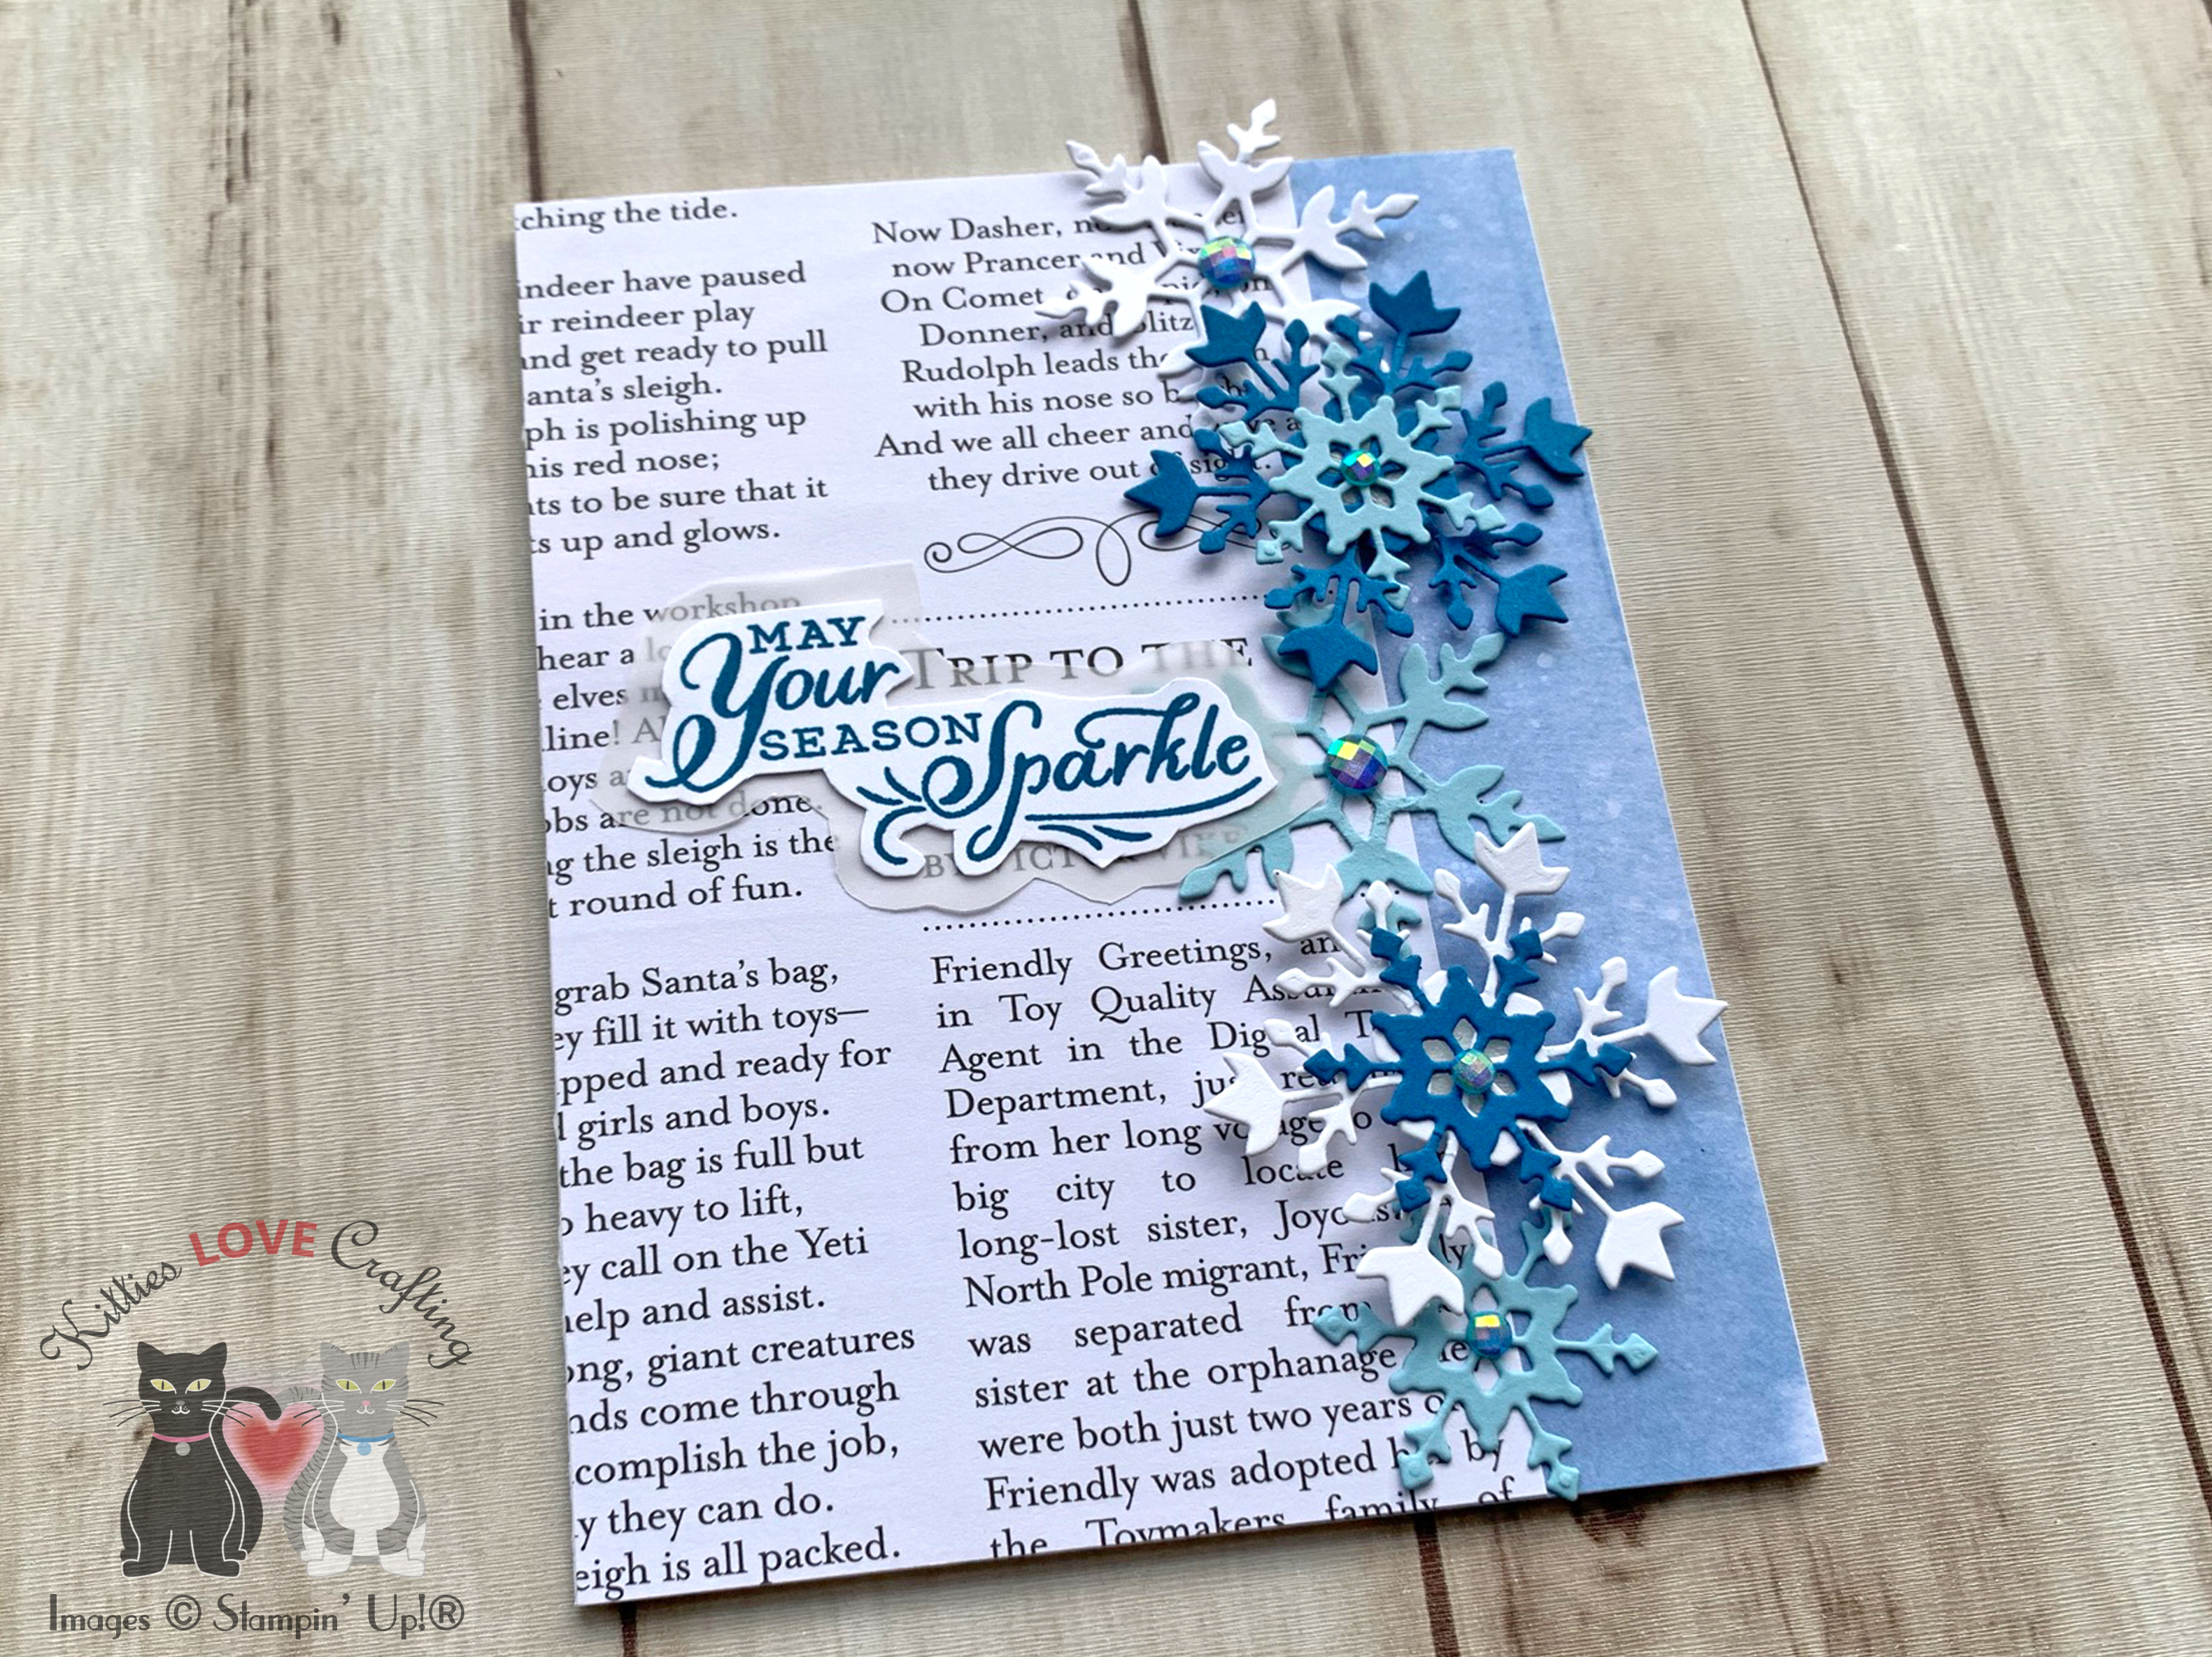
Need some quick last minute cards??? These pretty snowflake cards were all created using the Snowflake Splendor Suite from Stampin’ Up! and came together quickly. This suite can be found on page 37 of the new Aug-Dec Mini Catalog; it features lots of beautiful papers in shades of blues, aquas and purples.
Thanks for reading this post. I hope you enjoyed and I’ve inspired you to try these easy holiday cards using this stampset for yourself! Leave comments or questions below or feel free to email me. If you want to share you creations with me tag me on instagram @kittieslovecrafting. If you would like a Stampin’ Up! catalog, please email me as well. All current catalogs can be found on the right side of this post and the Stampin’ Up! page. All news and fun stuff happening at Stampin’ Up! are listed there!
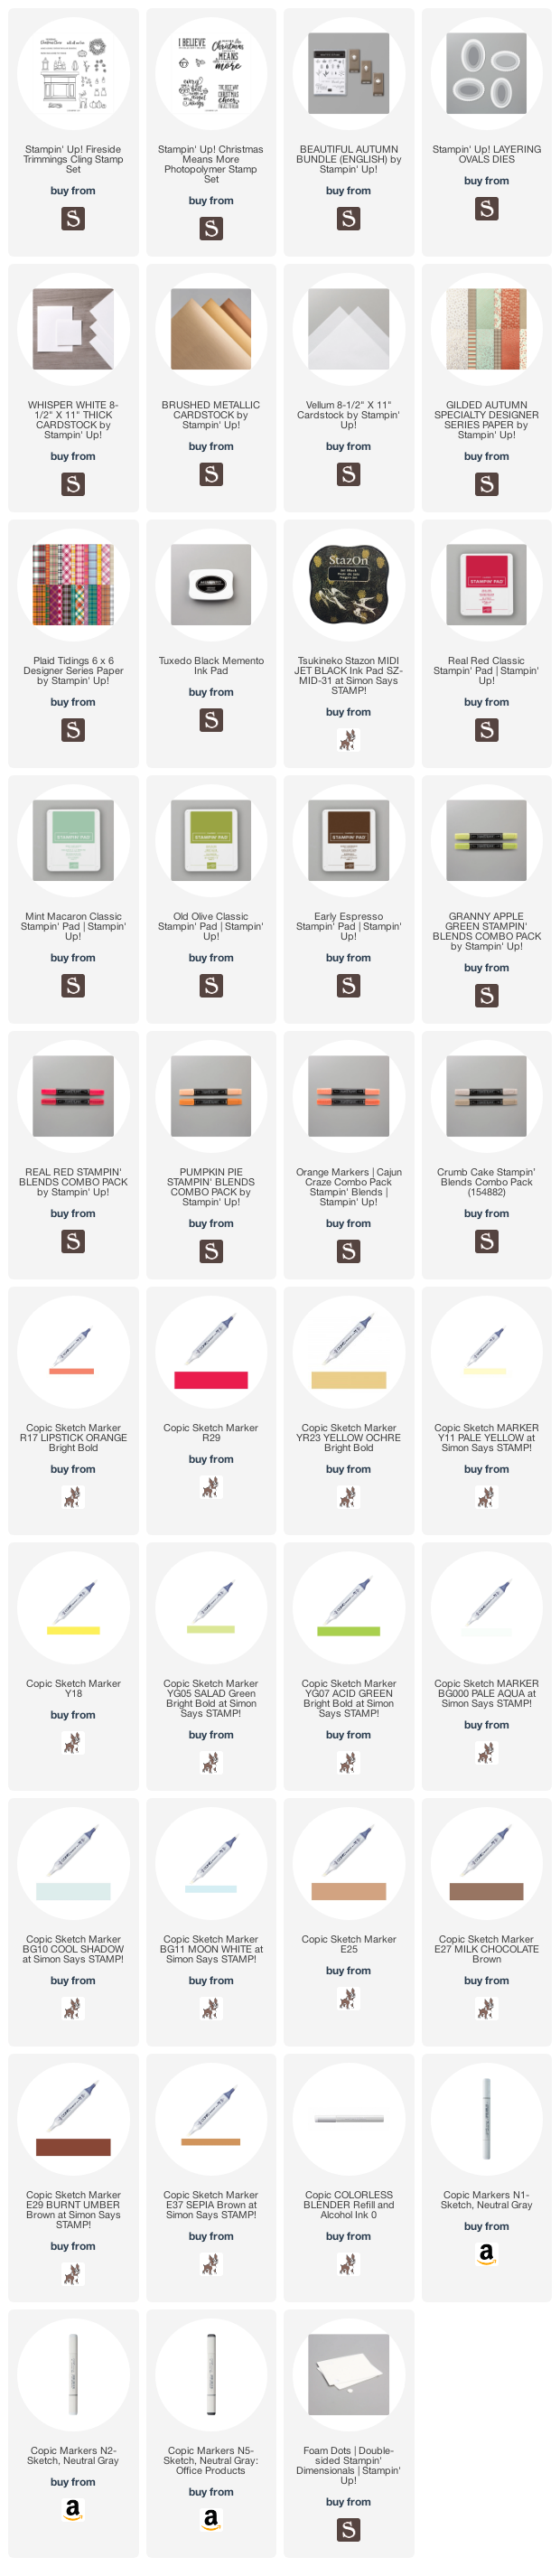
Hi friends. I have one last Fall card and of course another Christmas card. Now I know Fall is over for most of us even though the calendar says it doesn’t end until December 21st but I wanted to show the possibilities with this stamp set. Stampin’ Up!’s Fireside Trimming stampset is good for Fall, Halloween, Christmas and many other occasions. This stampset can be found on page 20 of the new Aug-Dec Mini Catalog. It also coordinates with the Fireside Dies.
I stamped the fireplace from Stampin’ Up!’s Fireside Trimming stampset with Memento Tuxedo Black Ink onto the panel, and all the images onto another piece of Whisper White 8-1/2″ X 11″ Thick Cardstock. I also stamped several holly from the Christmas Means More Stampset. On this card I colored everything with Copic Markers. I used YG05 & G07 for the trees and holly leaves, R17 & R29 for the holly berries, E25 & E27 for the tree bases and reindeer, E29 for the tree trunks, E25, E27 & E29 for the wood logs, Y11, Y18 & Y23 for the lantern and clock) and N1, N2, N5 & ) for the fireplace. I fussycut the images and adhered them to the card panel. I popped up the lantern and clock with Stampin’ Dimensionals. And adhered the panel to the card.
Thanks for reading this post. I hope you enjoyed and I’ve inspired you to try these fall cards using this beautiful suite for yourself! Leave comments or questions below or feel free to email me. If you want to share you creations with me tag me on instagram @kittieslovecrafting. If you would like a Stampin’ Up! catalog, please email me as well. All current catalogs can be found on the right side of this post and the Stampin’ Up! page. All news and fun stuff happening at Stampin’ Up! are listed there!
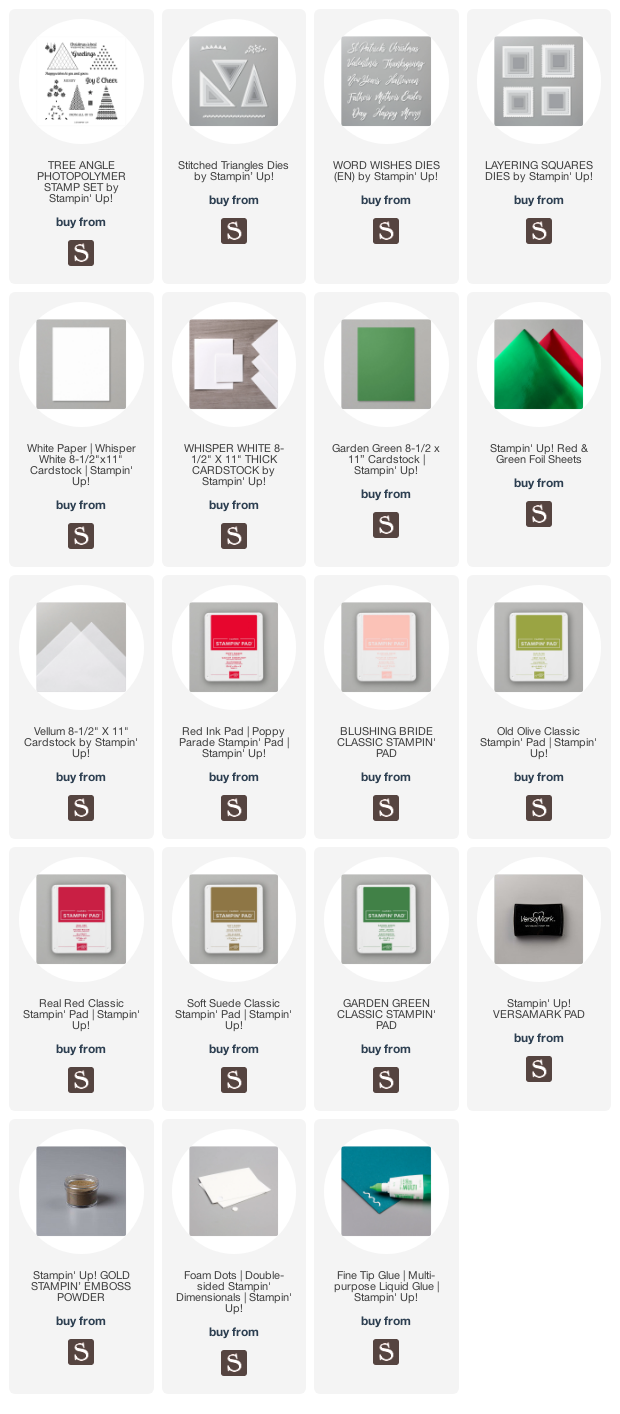
These two card backgrounds were created using the stamps in the Tree Angle Stampset by Stampin’ Up which can be found on page 22 of the new Aug-Dec Mini Catalog. You can make lots of quick backgrounds with these stamps. This stampset coordinates with the Stitched Triangles Dies (pg 179 of the Annual Catalog).
I stamped all the tree patterns except the poinsettias from the Tree Angle Stampset onto all over the Garden Green panel with Stampin’ Up! Garden Green Ink, creating a geometric pattern and adhered the panel to the card base.
Thanks for reading this post. I hope you enjoyed and I’ve inspired you to try these easy holiday cards using this stampset for yourself! Leave comments or questions below or feel free to email me. If you want to share you creations with me tag me on instagram @kittieslovecrafting. If you would like a Stampin’ Up! catalog, please email me as well. All current catalogs can be found on the right side of this post and the Stampin’ Up! page. All news and fun stuff happening at Stampin’ Up! are listed there!
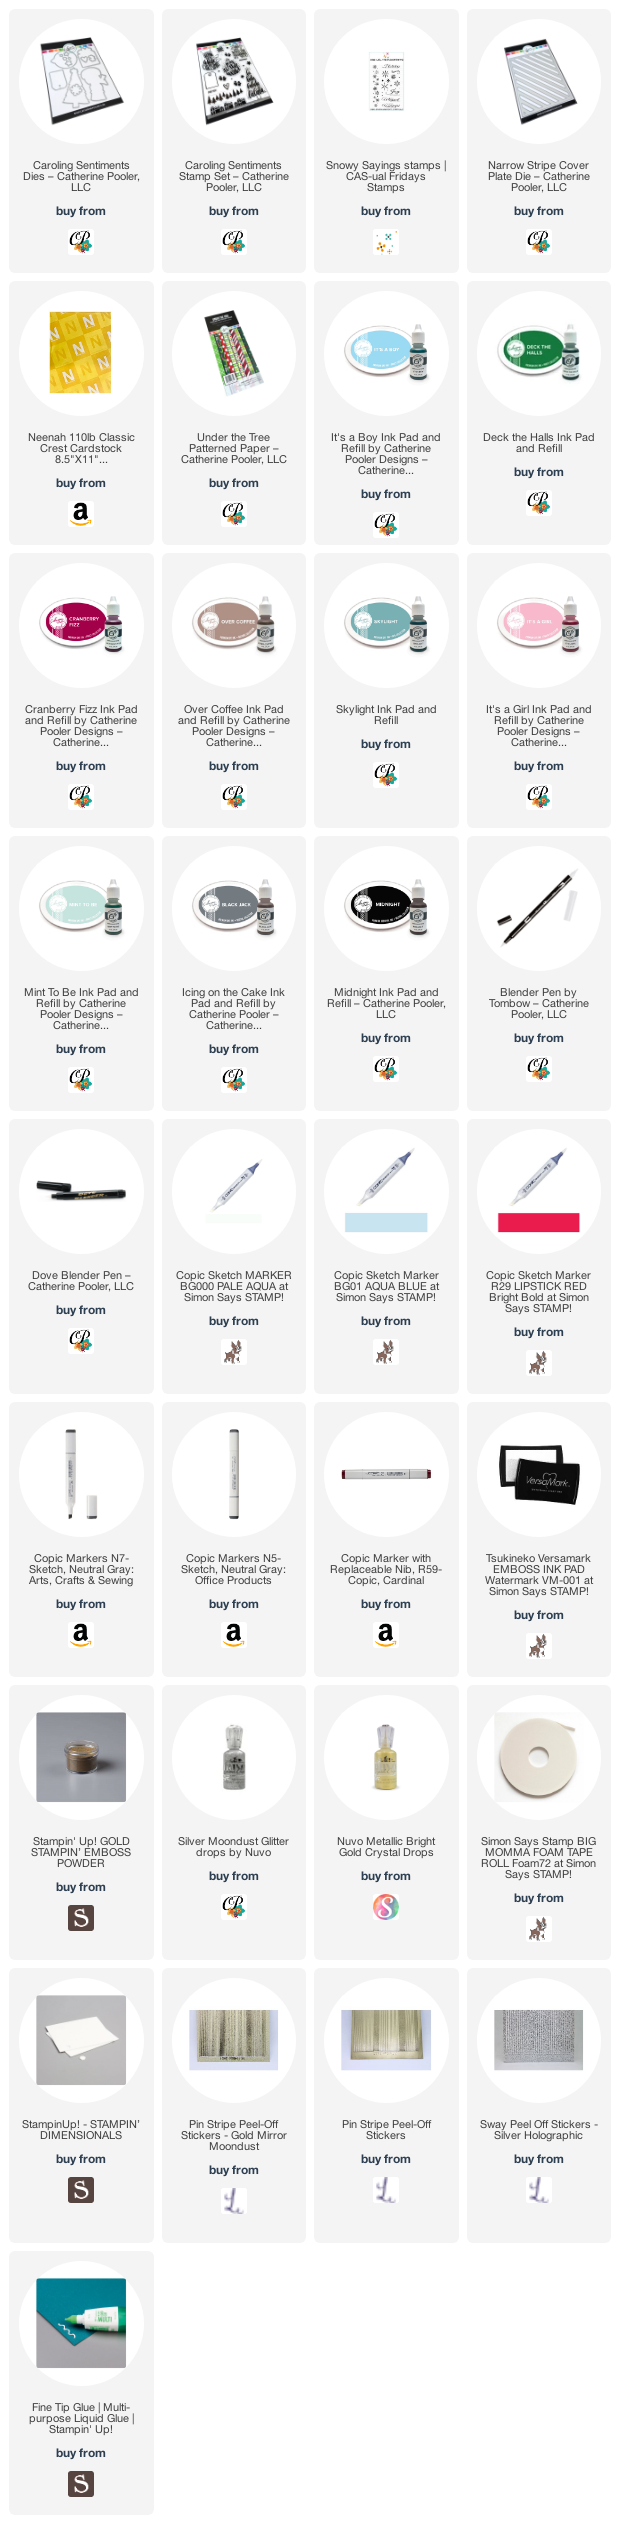
Hello friends. Catherine Pooler’s Caroling Sentiments Stampset is a great stampset to create quick cards. It features large sentiments that are shaped like images and is part of the new Jolly Holiday release. If you need some quick Christmas cards this year, check it out! Super cute!
I stamped the snowman image onto a piece of Neenah 110lb Classic Crest Cardstock 8.5 X 11″ with Midnight Ink from Catherine Pooler. I stamped a second hat and scarf as well. I colored the hat and scarf with COPIC markers. I used BG000 + BG01 and N5 + N7 for the hat; and R29 + R59 for the scarf. I diecut it with the coordinating dies, added some Foam Tape to the back and adhered it to the card panel.
For my second card, I wanted to play with heat embossing one of the sentiments and the onament one seemed fitting. I cut a piece of Neenah 110lb Classic Crest Cardstock 8.5 X 11″ to 4-1/2 x 8″ and scored at 4″ to create a card base and another to 3-3/4 x 4-1/4″ for the top panel.I used the Narrow Stripe Cover Plate Die to create a stencil using masking paper, then stenciled using It’s a Girl Ink from Catherine Pooler. I diecut a window using the ornament die from the Caroling Sentiments Dies and set that aside.
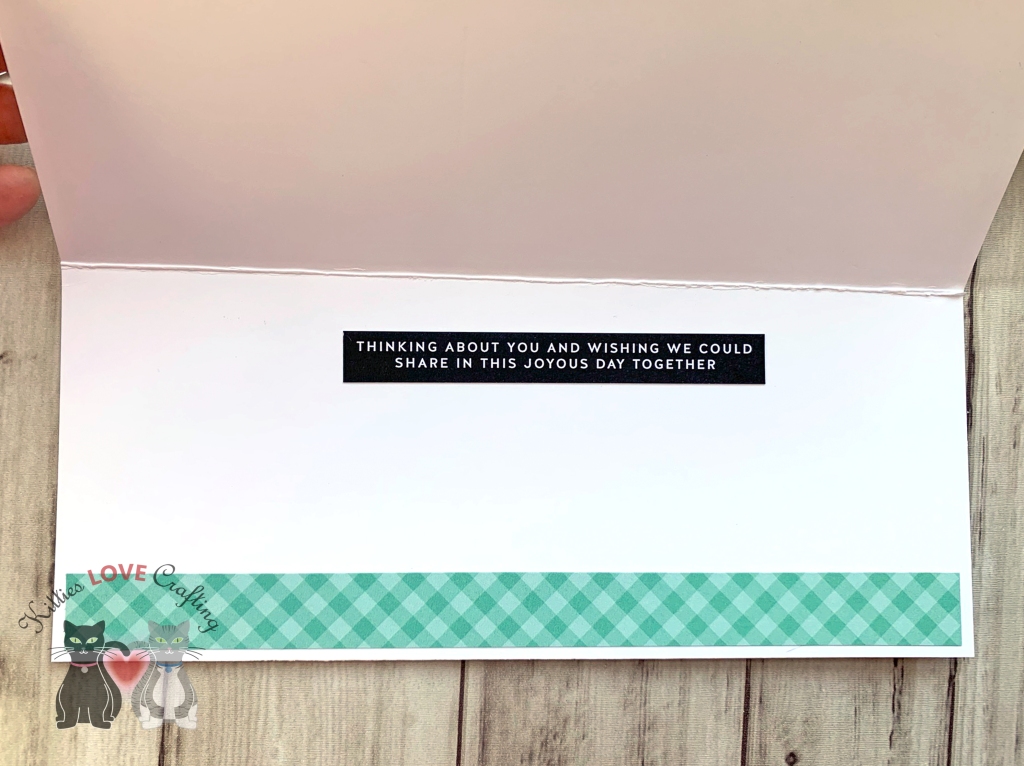
On the inside of the card, I stamped a sentiment from a very old stampset I have with Cranberry Fizz and used some of the leftover presents to adhere at the bottom.
Thanks for reading this post. I hope you enjoyed and I’ve inspired you to give these cards a try for yourself. Leave comments or questions below or feel free to email.


 https://linkdeli.com/widget.js?id=f5e8378456858c916708